Monthly Archives: July 2009

#10. Girl’s Week Cornbread

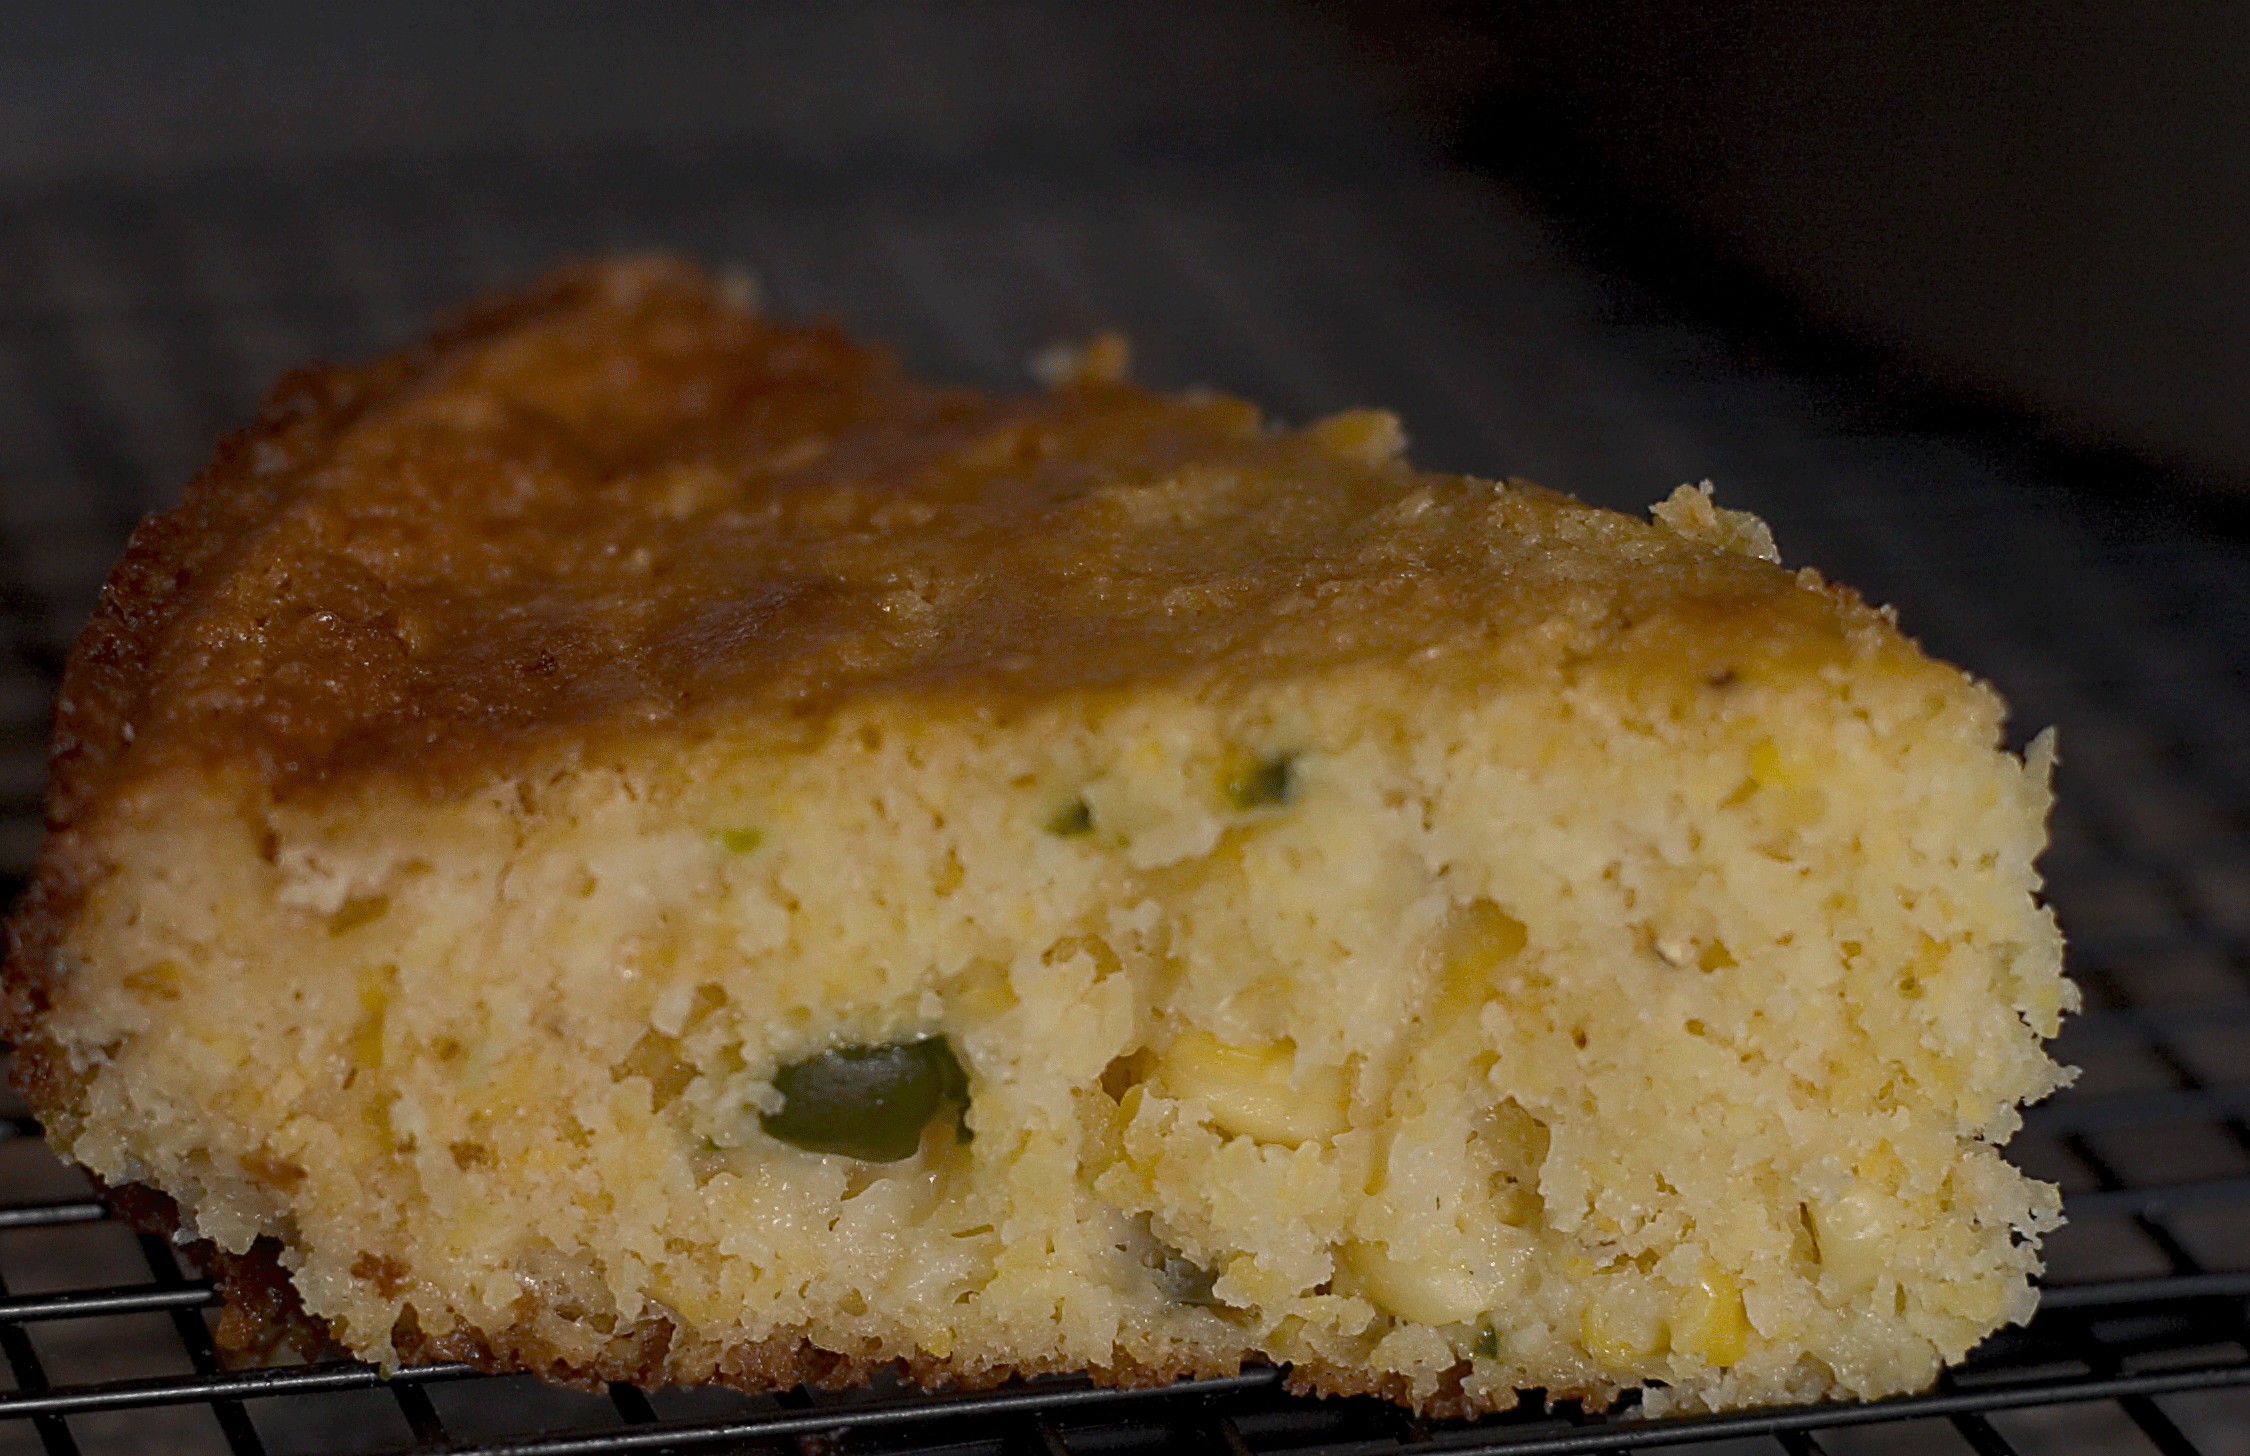
slice

I have to admit, I didn’t go into this week’s challenge with high expectations.  I have been making the same cornbread recipe since 1987, when my friend Pam shared her recipe with me.  I love her cornbread.  It combines cornmeal and corn flour and makes for a very tender cornbread.  I add canned corn to it which enhances the sweetness and finely diced jalapeno which helps to temper the sweetness.  All in all a wonderful recipe.  I was never tempted to stray from this perfection.  However, the Bread Bakers Apprentice Challenge called for making Peter Reinhart’s cornbread recipe this week.

This is the only bread recipe in the book that does not call for yeast.  In baking terminology, it’s what is known as a “quick bread” which relies on chemical leavening, typically baking soda and/or baking powder.  While classified as  a quick bread, this version of cornbread takes 2 days to make.  However, day 1 just consists of 5 minutes of time to make the cornmeal soaker.  Coarse cornmeal (also known as polenta) is given an overnight bath in buttermilk.  I did not have any buttermilk, and as I am at the lake at my cottage, I did not feel like driving 20 minutes to the store, so I just added a bit of lemon juice to the milk to sour it.

The next day assembling the rest of the bread is simple.  Sift flour, baking powder, baking soda and salt into a mixing bowl.  Stir in brown and white sugar.  In a separate bowl, the eggs are beaten and honey and melted butter are mixed into the eggs.  This whole mixture then gets combined with the buttermilk soaked polenta.  Dry and wet ingredients are combined and some frozen corn is mixed in.  I also added a finely diced jalapeno.

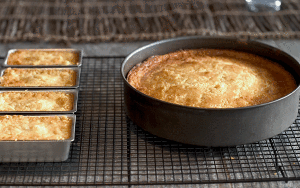
The cornbread is baked in a 10 inch pan.  I only had a 9 inch pan so I also used some mini loaf pans.  The baking dishes are coated in bacon grease and heated in the oven for 5 minutes before the cornbread batter is added.  This gives the cornbread a crisp crust.  I was not using bacon so I just brushed the pans with vegetable oil and heated them.

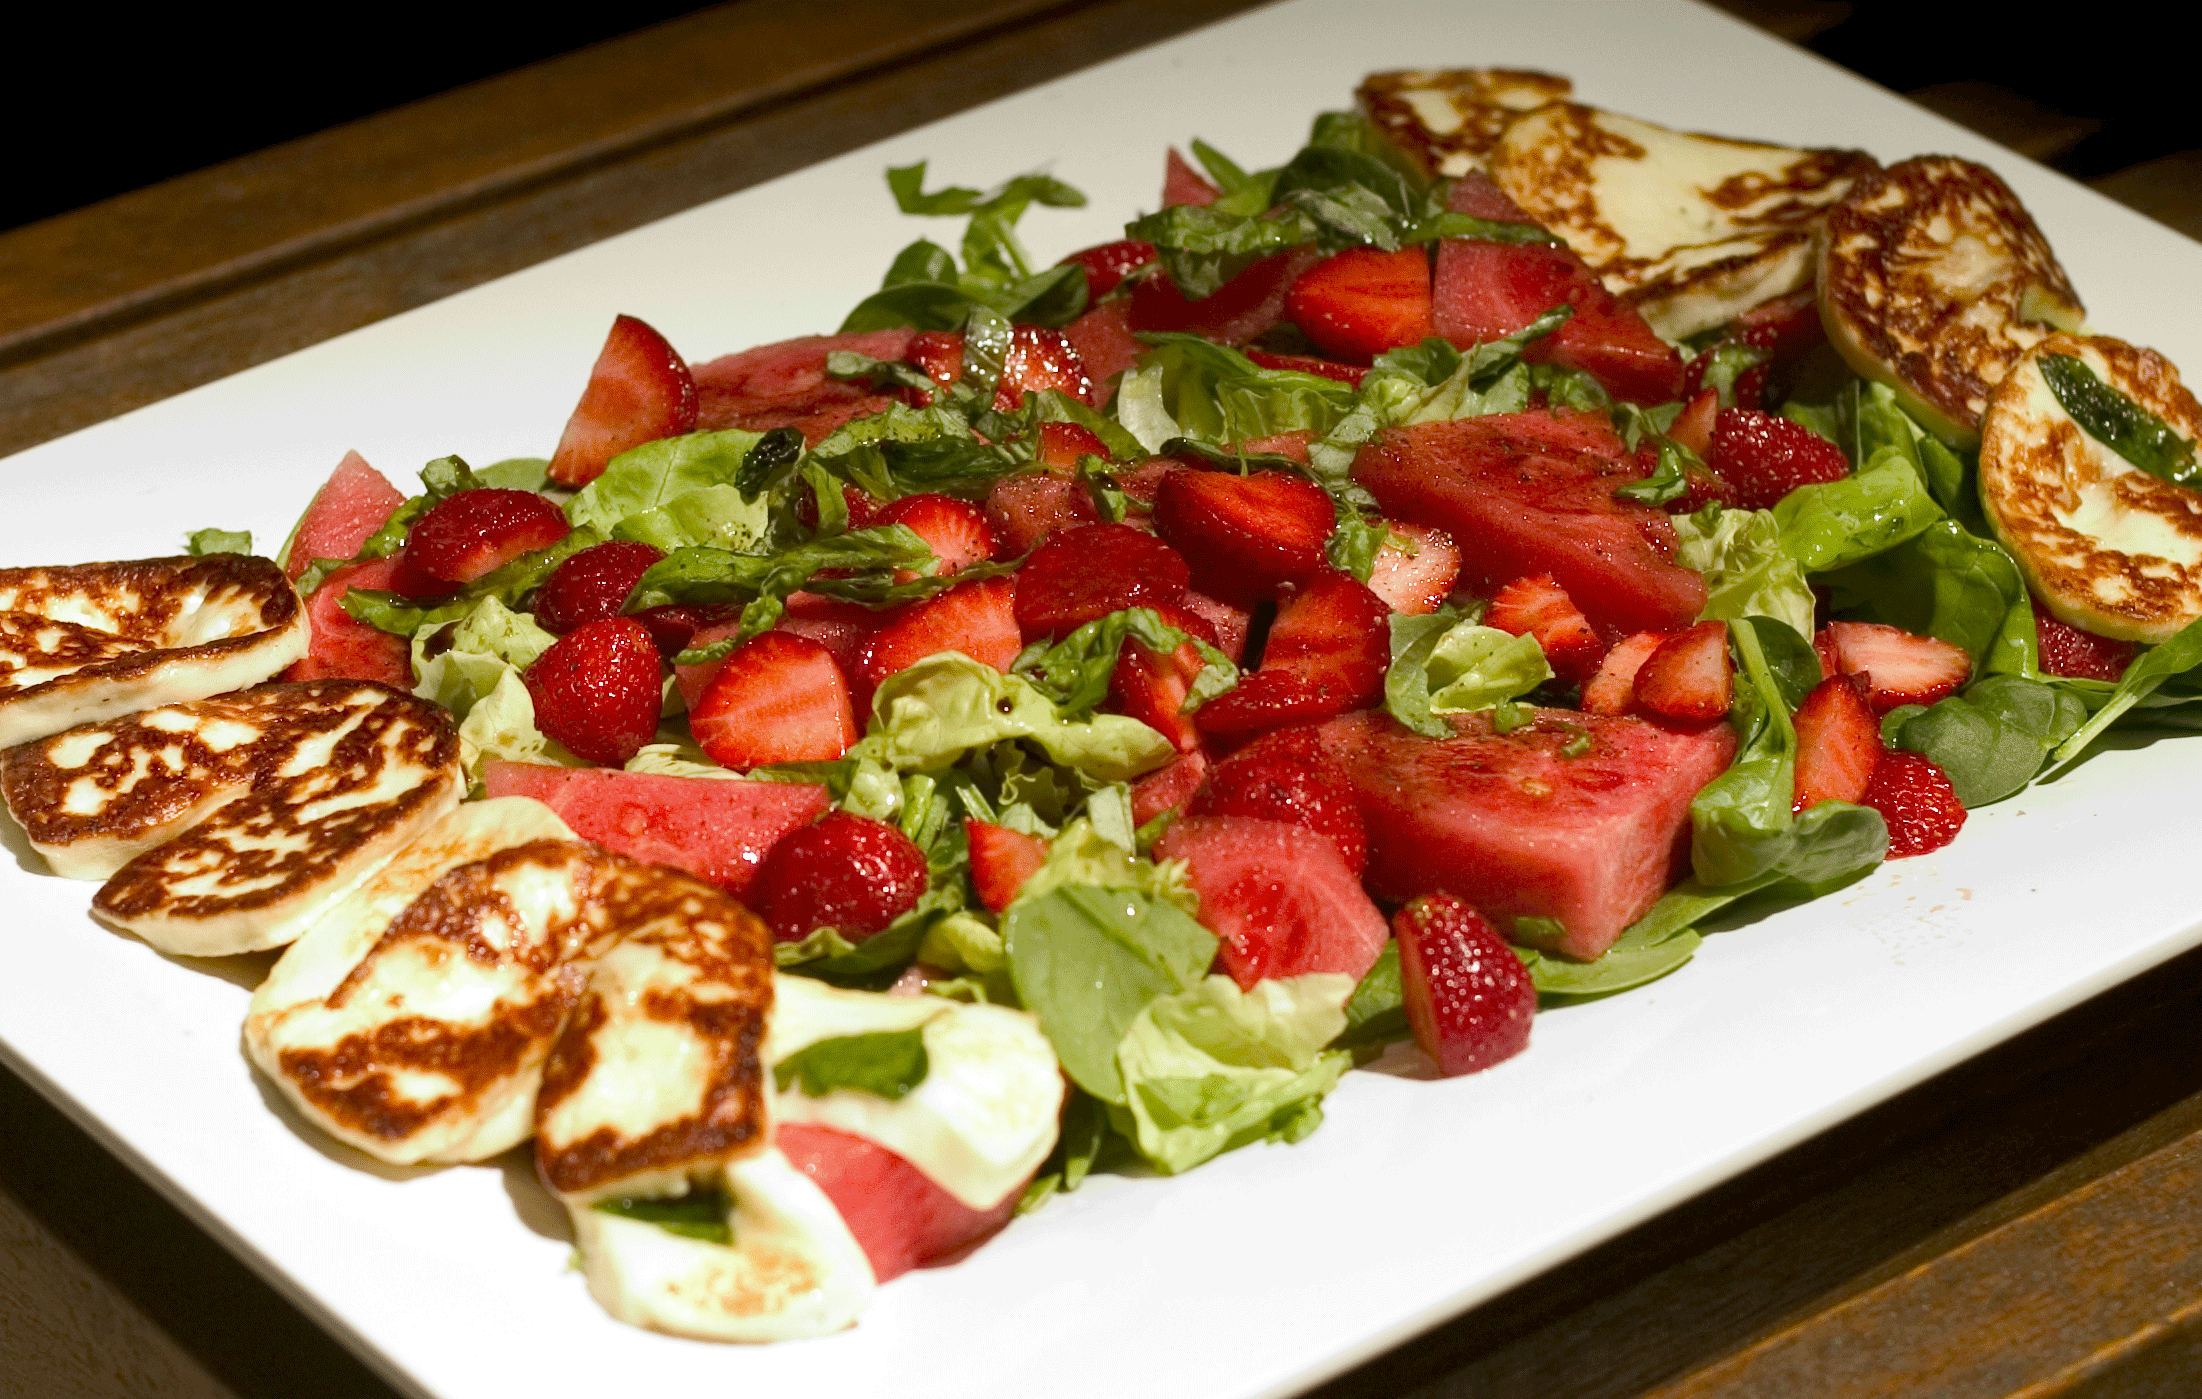
I was a bit distracted as I baked the cornbread and did not take my usual step by step photos.  For this you can blame my friends Lynnie and Paula.  They came up to my cottage to spend a few days with me and we were very busy laughing and drinking wine while I made this.  Lest you think I totally slacked off, I did make them cheddar jalapeno bagels on day two of their visit, cornbread on day three and for a final send off on day four I rolled them out the door with tummies full of sticky buns.  We also collaborated on an amazing spinach, watermelon, strawberry and halloumi cheese salad.  Halloumi cheese is a delicious cheese from Cyprus, somewhat like feta but it is served fried.

The finished cornbread was delicious.  I was surprised at how much I loved it.  It had a coarse crumb and crunchy crust and was denser than the cornbread I usually make.  I will be revisiting this cornbread again, but not too soon.  I’m still coming down from my carb loading week with my friends.

cornbread-in-pans

I won’t be publishing the cornbread recipe from the Bread Baker’s Apprentice Cookbook as all the challengers have agreed that out of respect to Peter Reinhart, we will only promote his wonderful book and not give away his recipes for free.  For an equally delicious cornbread, try my friend Pam’s recipe.

Pam’s Cornbread

This recipe comes from my cooking school friend, Pam.

What you need:

1 1/3 cups all-purpose flour
2/3 cup cornmeal, can use medium or coarse grind
½ cup corn flour
2/3 cup sugar
5 teaspoons baking powder
½ teaspoon salt
1 1/3 cups whole milk
2 ½ ounces melted butter
1 large egg, beaten
1 can corn, drained
1 jalapeno pepper, seeded and finely diced

What you do:

1.  Preheat oven to 350 degrees F.  In a large bowl, combine the first six ingredients.  In a separate bowl, combine  milk, egg and melted butter, add to dry ingredients and mix until just combined.  Gently mix in drained corn and jalapeno.

2.  Pour batter into a greased 8-inch square cake pan or a 9 x 5 loaf pan.  Bake on middle rack of oven for about 45 – 50 minutes.

3.  Let cornbread cool in the pan, on a rack for about 45 minutes.  Turn out onto a rack to finish cooling or eat warm.

Watermelon and Halloumi Cheese Salad

halloumi-salad-for-web

I first learned about Halloumi cheese last summer when I watched Jamie Oliver prepare it on his TV show, “Jamie at Home”. Halloumi is a traditional cheese from Cyprus, an island in the Mediterranean Sea. It is made from a mixture of goat and sheep milk, although some halloumi can be bought that also contains cow’s milk. Halloumi can be fried until brown without melting due to its higher-than-normal melting point. The resistance to melting comes from the fresh curd being heated before being shaped and placed in brine. When sliced and fried in a bit of olive oil, Halloumi is a wonderful treat. It goes all crispy on the outside and soft and slightly chewy on the inside. It makes a great squeak when you chew it, sort of like fresh cheese curds.

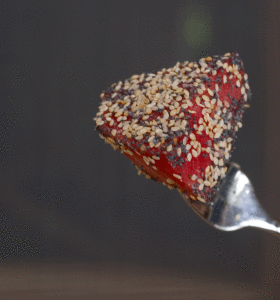
This salad was inspired by an empty bagel platter.  After a lunch of homemade bagels all that was left was the poppy seeds, sesame seeds and fleur de sel that had fallen off the bagels.  My girlfriend speared a piece of watermelon and dipped it into the bagel topping.  She loved how the salt balanced the sweet of the watermelon.  That got me thinking about combining these flavours.  The next day I decided to pair it with Halloumi cheese because it has a great salty taste.  Fried halloumi cheese with watermelon, strawberries, and spinach is an inspired flavour combination!

watermelon-with-bagel-toppi

What you need:

1 quart strawberries, washed, hulled and sliced
1/4 seedless watermelon, cut into 1 inch chunks
5 ounce box of baby spinach, washed and dried
2 tablespoons balsamic vinegar
3-4 tablespoons extra virgin olive oil
kosher salt
freshly ground black pepper
2 tablespoons extra virgin olive oil
8 ounces Halloumi cheese, sliced into 8 thin slices

What you do:

1.  Place baby spinach on a large platter.  Scatter strawberries and watermelon over spinach.  Drizzle with olive oil and balsamic vinegar.  Sprinkle with salt and pepper.

2.  Heat 2 tablespoons olive oil in non-stick skillet.  Fry halloumi cheese for about 3 minutes on each side until golden brown. 

3.  Place halloumi slices around edge of salad platter.  Serve.

#9 Living on a Cinnamon Cloud

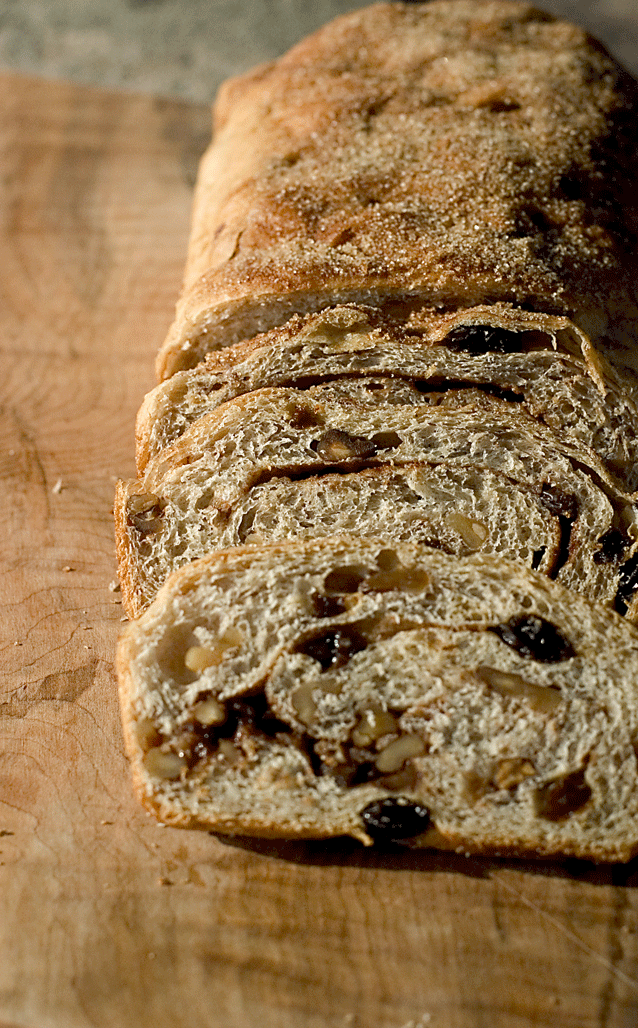
sliced-1

I am only just now beginning to come down from that cinnamon cloud I have been living on for the past two weeks.  I have gone through an entire jar of cinnamon in just 13 days.  Usually a jar will last about 4 months in my house.  I used about 2/3 of the jar making cinnamon and sticky buns, (okay I confess to making them four times!!) and the rest of the jar was used making this week’s Bread Bakers Apprentice Challenge,  Cinnamon Raisin Walnut Bread. 

The next statement I am about to make may shock and surprise you.  This bread actually improves with age.  That’s not a phrase normally associated with bread but with this loaf, it happens to be true.  While it was delicious fresh and warm from the oven, the next morning, thickly sliced, lightly toasted and slathered with (salted!) butter, it was sublime.

This bread came together beautifully, although not for the first time I silently cursed Peter Reinhart (PR) for putting the measurements in imperial rather than metric. Trying to measure out .31 ounces of salt is impossible. Weighing 9 grams of salt (the metric equivalent of .31 ounces) is easy. This rant has been brought to you by the “Cookbooks Go Metric” committee (me).  Anyways, forgive this aside, back to the Cinnamon Raisin Bread. 

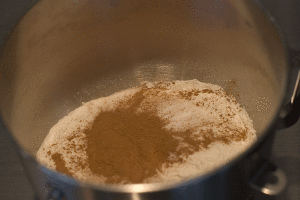
It begins by combining the dry ingredients (bread flour, sugar, salt, yeast, and cinnamon) in the bowl of the mixer. 

Dry-ingredients


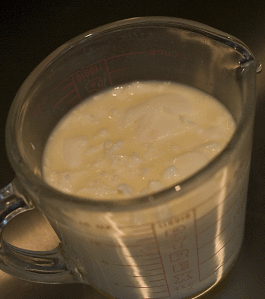
Next the wet ingredients (egg, melted butter, milk, and water) are combined and added to the dry.

wet-ingredients


I mixed the dough on medium speed for about 8 minutes.  I needed to add an additional 3 tablespoons of flour.  The final dough was “soft and pliable, tacky but not sticky”, exactly as RP prescribed.  I learned from fellow BBA challenger  Phyl at “Of Cabbages and Kings“, that “the easiest way is to tell if your dough is tacky or sticky is to press your hand onto the dough and then lift it up. If the dough pulls up with your hand and then releases (so your hand comes away clean), the dough is tacky. If you end up with dough stuck to your hand, it’s sticky.”

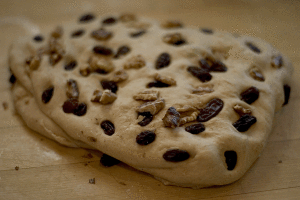
The raisins and walnuts are kneaded in by hand at the end of the mixing period so they don’t get too crushed.  I toasted my walnuts first to really bring out their nutty essence.

mixing-in-walnuts-and-raisi


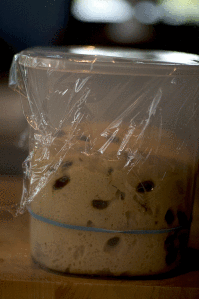
The next step is to let the dough ferment (the first rising) for at least 2 hours or until doubled in bulk.  I have always had trouble with the instruction, “doubled in bulk”.. I used to let my dough rise in a bowl and could never judge when it had exactly doubled.  I learned a tip from my fellow challengers on how to easily tell.  They let their dough rise in a square plastic container and put a rubber band around the outside at the top of the dough.  As the dough rises you can easily judge that moment when it has doubled.  So simple but brilliant!

dough-ready-for-fermentatio


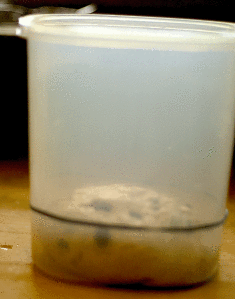
Here is the dough after 3 hours.  Easy to tell it has doubled.  Actually it more than doubled because I went to exercise, got distracted and forgot about it.

after-2-hours

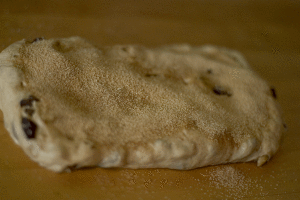
Next the dough is divided in half and each piece is rolled out to an 8 x 5 inch rectangle.  For an extra burst of cinnamon flavour the whole surface is sprinkled with a cinnamon sugar mixture.

sprinkle-on-cinnamon-and-su

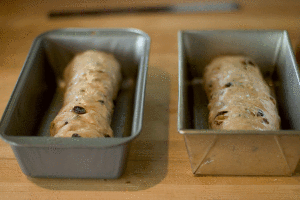
Then the dough is rolled up into a tight log and placed in a small (8 1/2 x 4 1/2 inch) loaf pan for the second rising (proofing).

into-the-pan-for-proofing

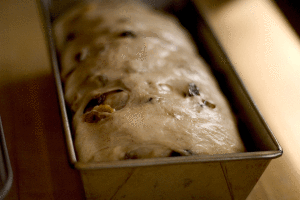
Once the dough “crests above the lip of the pan”,  about 2 1/2 hours later, they’re ready for the oven.

after-2.5-hours-2

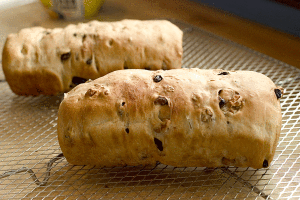
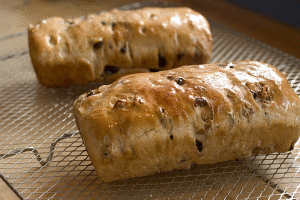
They go into a 350 degree oven for about 30-40 minutes until an instant read thermometer, inserted into the center of the bread, registers 190 degrees F.  The bread will be golden brown all over.

just-baked-2

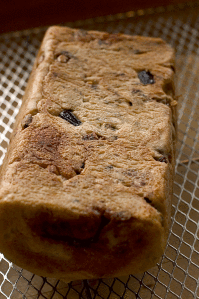
I thought that the  bottom of the loaf was quite beautiful so I shot that to show you as well!

the-underside

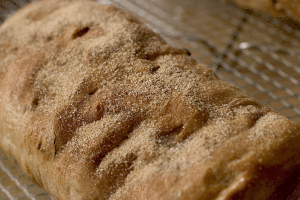
To really boost the cinnamon flavour PR suggests brushing the loaf with melted butter and then sprinkling the top with cinnamon sugar.  Is it any wonder I have used an entire jar of cinnamon this month?

Brushed with melted butter.

Brushed with melted butter.

Topped with cinnamon sugar.

Topped with cinnamon sugar.

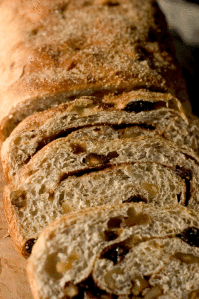
After an agonizing 90 minute wait (I sent impatient angry husband on a bike ride as the aroma was driving him wild!!), we sliced into it and had a few slices with a glass of sauvignon blanc.  Interesting flavour combo.

sliced-2

While this bread was delicious stilll warm from the oven, it really shone the next morning, toasted with butter and a latte!!  I’ll definately be making this one again.  Thanks Mr Reinhart for another keeper!

#8. My Cinnamon Bun Epiphany


breakfastThere comes a time in almost every woman’s life when she realizes with crystal clarity that “Yikes,  I’m turning into my mother!”  (I don’t think the same is true for men and their fathers). That time happened for me last week while I was standing in line, waiting to pay, at the Smiths Falls Walmart. 

I went in to buy some raisins to make the cinnamon buns.  While there, I picked up a few other items.  There was an older woman in line behing me.  She tapped me on the shoulder and when I turned around I saw that she had picked up the sports bra I had in my cart.  “Excuse me” she said, “Is this a brassiere?”  I replied that yes indeed it was.  She then proceeded to ask me the price, and upon hearing I was paying $16.00 for a bra, she felt it her duty to inform me that there were bras available for $4.00 at “Giant Tiger” (a discount store, about one step up from the dollar store).

By this time she felt that we were well acquainted enough and she proceeded to lift up her shirt to show me this bargain bra!  I really did not want or intend to look but it’s like a car accident, you can’t tear your eyes away from the wreck!    All I can say is, you get what you pay for.  This bra had no support at all and her boobs drooped down to her stomach.

As I stood there wishing the ground would open up and swallow me whole, wondering “why me?”, it suddenly occurred to me that it’s all in the DNA.  When I was little, my siblings and I would marvel at the way my mother knew the life stories and troubles of almost every stranger she encountered.  She knew the pharmacist’s mother-in-law problems, she knew that grocery check-out girl’s boyfriend had cheated on her, and she knew that although the dry cleaner’s daughter was 5 years old, she still was not sleeping through the night.  My mother emitted some kind of aura that drew strangers towards her.   My mother has many fine qualities, why this particular one was passed on to me I do not know.  I just hope it goes away soon!

 Just thought I’d share that little moment with you all!  Anyways, on to cinnamon buns!

Finally week #8 of the Bread Baker’s Apprentice Challenge.  This was the recipe I have been waiting to make.  I am one of those people who cut out interesting recipes and then file them away to try at some later date.  At the end of the year, when I go through that file, I inevitably find at least 10 different recipes for cinnamon buns.  Yet, I never bake any of them.  It always seems to be too much of an ordeal.  Plus, secretly, I think I am afraid to be alone in the kitchen with 12 freshly baked cinnamon buns.  I’m not sure how many would survive before my family came home.  However, cinnamon buns was this week’s assignment and I have always been a good student when it comes to doing my homework.

I decided to do half cinnamon buns and half sticky buns.  While this is a one day bread, I decided to begin at night and let the buns proof in the fridge overnight so that I could bake them the next morning.

All ready to go:
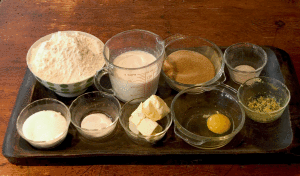
Cinnamon bun mise-en-place

Cinnamon bun mise-en-place

Mixing up the dough was fairly simple.  It begins with creaming together the butter,  sugar and salt in the mixer with the paddle attachment.
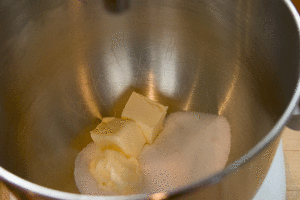
Cream-butter-and-sugar-toge

Next whisk in the egg and lemon zest.  Finally add the yeast and milk and flour (I used all-purpose).   Once the dough forms a ball, you are instructed to switch to the dough hook attachment.  Mine never formed a ball, so I added about 1/4 cup more flour and it sort of formed a ball so I switched to the dough hook.  Here is the dough at the beginning of the mixing period.  It was very wet and sticky.  I had my doubts about this forming a dough I could actually work with, but I took a leap of faith and let the machine do it’s work for 10 minutes.
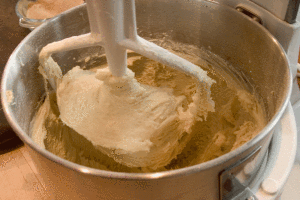
The beginning of the dough mixing.

The beginning of the dough mixing.

Finally after 10 minutes and about an additional 1/4 cup of flour the mixing was complete.  The dough did come together as promised. 
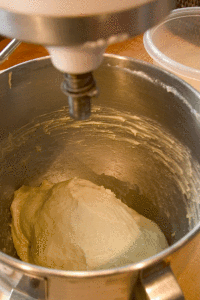
After 10 minutes of mixing with the dough hook.

After 10 minutes of mixing with the dough hook.

Then it was time for the dough to have it’s primary fermentation (that’s baker’s speak for the first rise.)  Into a greased container it went until it doubled in size.
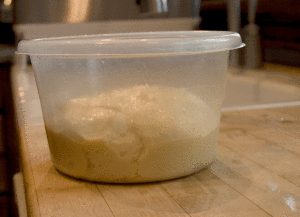
Dough ready for primary fermentation

Dough ready for primary fermentation

While the dough was rising, I mixed up the caramel glaze for the sticky buns.  The recipe in the book was created by Peter Reinhart’s wife, Susan.  It is an amazing feat of baking chemistry that turns a gooey mixture made from white and brown sugar, butter, corn syrup, salt and vanilla extract into a caramel glaze.  The mixture is spread on the bottom of the baking pan and then the cinnamon buns are placed on top.  As it bakes the sugar caramelizes.  The trick, he says, is to catch it just as it begins to turn a golden amber.  Then it will cool to a soft creamy caramel.  If you leave it in for too  long, and the glaze goes dark brown, the caramel will cool and harden. I figured it would be easiest to tell when the correct colour was reached if I baked my sticky buns in a glass pan.  I used a 8 x 12  inch glass pyrex dish.

The dough took about 2 hours to double in size.
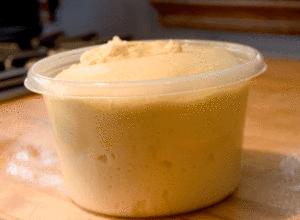
dough-finished-primary-ferm

Then I rolled it out to an 18 x 9 inch rectangle.  It was a beautiful, supple dough to work with.  After rolling I sprinkled it liberally with cinnamon sugar.
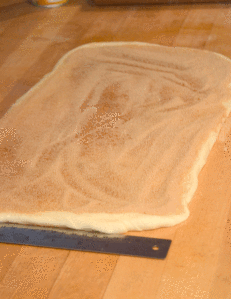
dough-rolled-out-to-9-x-18-

I decided to add toasted chopped pecans and raisins inside my buns.
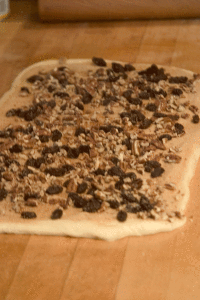
pecans-and-raisins

While this made rolling and cutting the dough a bit more difficult, it was worth it.
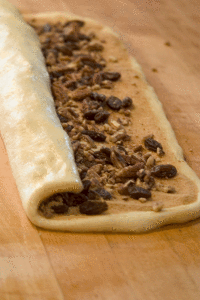
rolling-up-dough

Cutting was a bit messy.  Pecans and raisins spilled out everywhere, but I just stuffed them back in.  I wished I had read Tammy’s blog before I did the cutting.  She reminded me of a trick I had forgotten, to use thread or dental floss (not mint!) to make beautiful slices.

I placed 6 of the buns on top of the caramel glaze in the 8 x 12 pyrex pan.  The other six went into a glass dish lined with parchment paper.  They were covered with plastic wrap and then put into the fridge for an overnight rest.
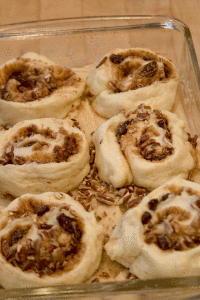
Sticky Buns ready for proofing in the fridge.
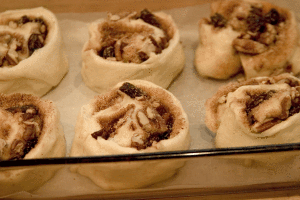
Sticky Buns ready for proofing in the fridge.

Cinnamon buns ready for proofing in the fridge.

Cinnamon buns ready for proofing in the fridge.

At this point my husband arrived at the cottage.  He wanted to know when we could eat them.  I said that in the morning they could be taken out of the fridge, but had to sit at room temperature for 3-4 hours, to finish proofing, before they could be baked.  He got up at 6:00 am to take them out of the fridge.  It was a holiday (Canada Day) and I slept in a little.  When I came into the kitchen at 9:00 he was all excited to put them in the oven.  I looked at them and felt them and decided they needed a little longer.  They were still kind of small and cool.  He was very anxious so I told him to go for a run and when he came back they would be ready.  I neglected to tell him that the book instructs you to let them cool for at least 30 minutes after removing from the oven.
Finally, at 10:00 they are ready for the oven.
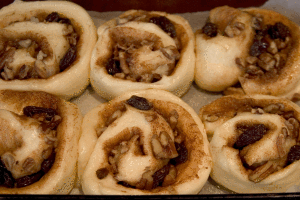
Cinnamon buns ready for the oven.

Cinnamon buns ready for the oven.

 The cinnamon buns were ready in about 30 minutes and the sticky buns took about 5 minutes longer.  The sticky buns are baked on the bottom shelf of the oven so that the heat can caramelize the glaze.  Cinnamon buns are left to cool in the pan for 10 minutes, then covered with a white fondant glaze (icing sugar, milk and vanilla extract).  Then they are taken out of the pan and left to cool for another 20 minutes.  My husband is convinced I am torturing him.
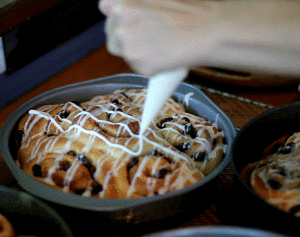
Glazing the cinnamon buns.

Glazing the cinnamon buns.

I have to confess, this is a photo of the second time I made the cinnamon buns (yesterday).  The book suggested you just streak the buns with the glaze.  The first time I used a fork, but this time I put the glaze into a disposable piping bag and artfully decorated them.
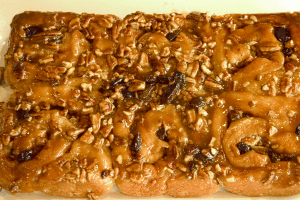
The sticky buns are cooled in the pan for 5 minutes and then you flip them over onto a serving platter and the bottom caramel glaze becomes the top.  Any excess caramel in the pan is poured onto the buns or eaten by hungry on-lookers!!  20 more minutes of cooling.
sticky-buns-out-of-oven-2

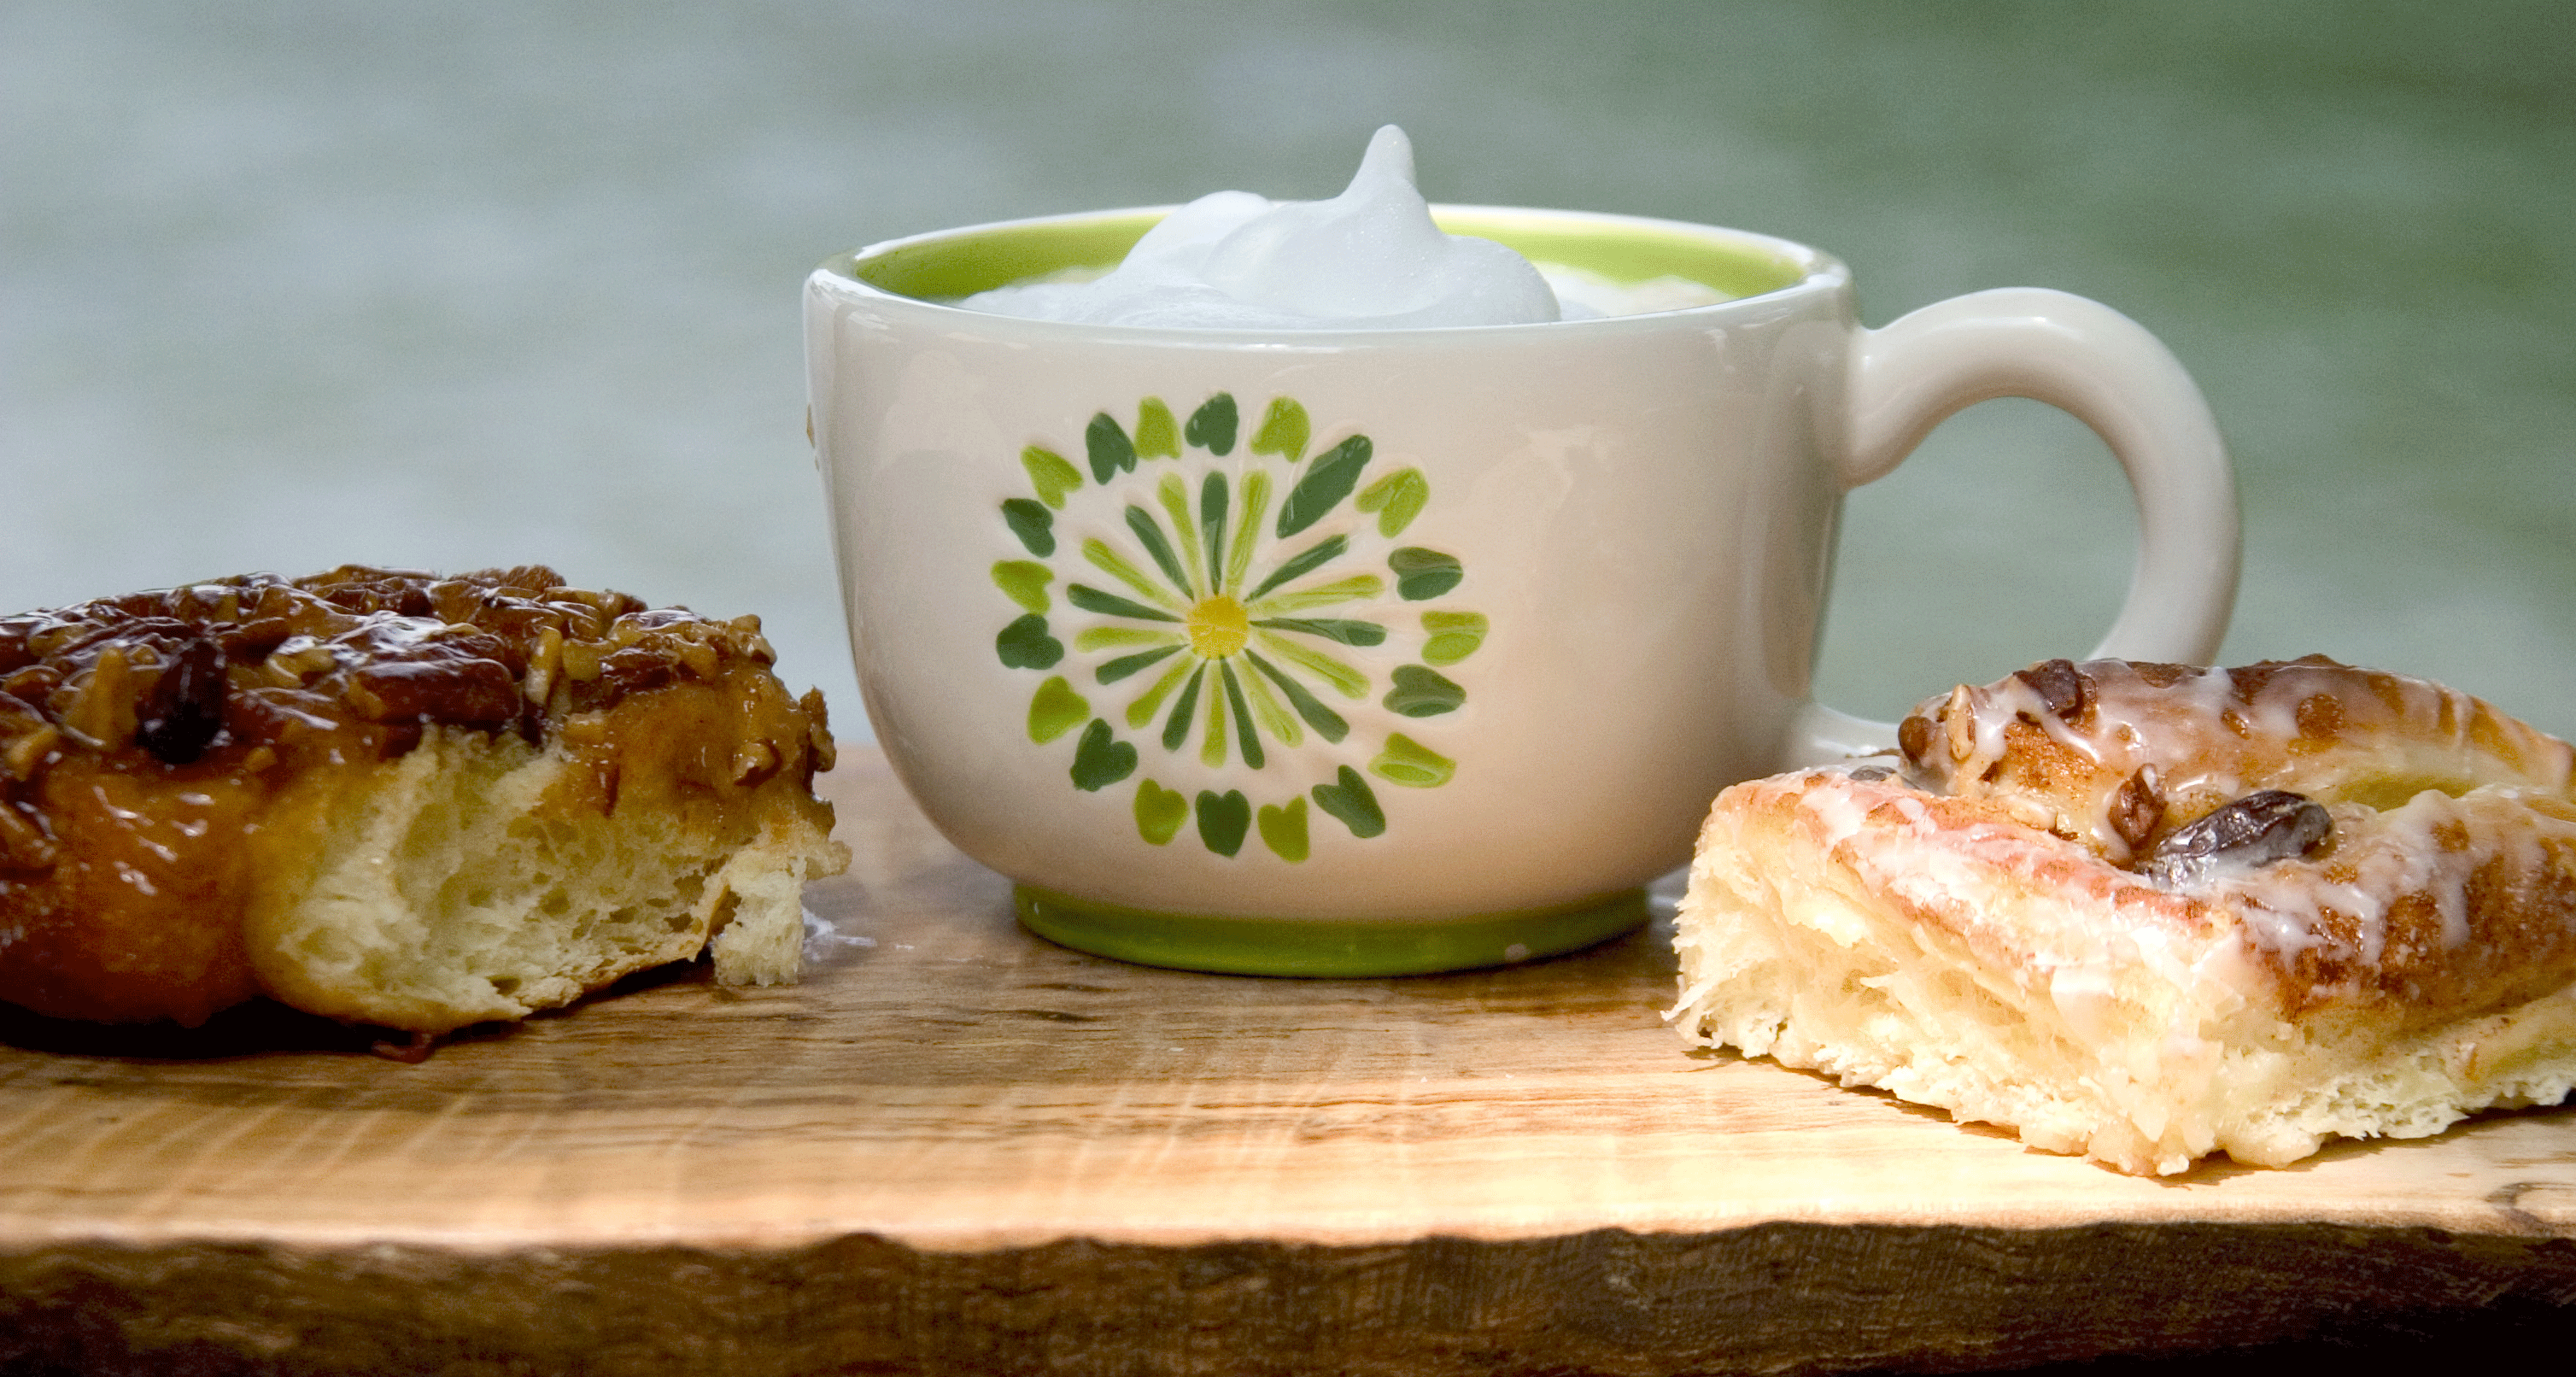
Finally it’s time to eat.  Here is angry impatient husband biting into cinnamon bun.

husband-taking-first-bite

Here is angry impatient husband biting into sticky bun.
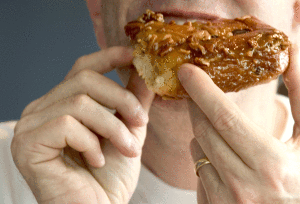
bite-of-sticky-bun-3

These were unbelievably good.  This recipe alone is worth the price of this cookbook.  My favourite were the sticky buns.  I am a lover of all things caramel but these are in a league of their own.  Biting into one, you get the chewy caramel crust and then inside is all pillowy soft cinnamon goodness. Apparently I actually moaned when I took my first bite.  

P.S.  Husband is no longer angry.  Especially since I made them a second time yesterday.