Monthly Archives: November 2009

#25. Holy Pizza!


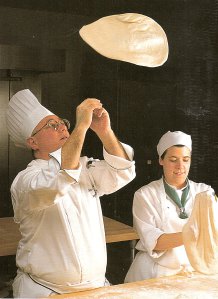
In week #25 of the Bread Baker’s Apprentice Challenge we make pizza. When I first bought this book, in May, I was flipping through it, looking at the pictures.  My heart skipped a beat when I got to page 208 and saw our bread guru, Peter Reinhart, tossing pizza dough in the air.  I have always wanted to do this and was so excited to learn how. 

I frequently make pizza and my go-to dough recipe comes from a little book titled, “Pizza” by James McNair.  The ingredients are fairly similar to Peter Reinhart’s recipe.  The main difference between the two recipes is that James McNair’s recipe follows the traditional route of dissolving the yeast in warm water, whereas Peter Reinhart has us using ice-cold water.  James’ dough rises for 1 1/2 hours and then you are ready to make pizza.  Peter has us refrigerate the dough overnight.  This supposedly gives the dough better flavour as well as relaxing the gluten in the dough so that it is not too elastic to work with.

After my resounding success  using ice water and an overnight fridge rest with Peter’s Pain a l’Ancienne, I was sold on the concept of “cold” as a method to develop flavour.  Peter describes the process as “delayed fermentation.”  So even though this pizza would take 2 days to make, I was excited to discover a new flavourful dough.  Most people think that pizza is all about the toppings.  In fact, the reverse is true.  If you have a cardboard crust,  even the most wonderful toppings in the world won’t save it.

This pizza dough can be made with either unbleached all-purpose flour or unbleached bread flour. The bread flour has a higher gluten content, thus making the dough a little tougher and more elastic.  Peter recommends adding a bit of olive oil if you opt for the higher gluten bread flour.  He says it helps to tenderize the dough.  Never one to pass up the opportunity to add more fat to my diet, I opted for bread flour with olive oil!

The dough came together very quickly.  The texture is silky and supple.  I refrigerated it overnight and took it out the next day, about 2 hours before we were planning to have dinner. Once the dough came to room temperature I got my camera all set up on the tripod and set it to the timer mode.  I was planing to have a shot of me flipping the dough into the air.  The timer was set to catch the flip in the air at just the right moment.  I was so excited to capture this moment on film.

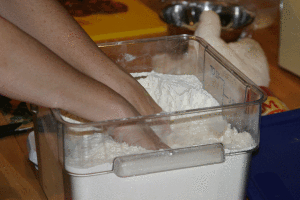
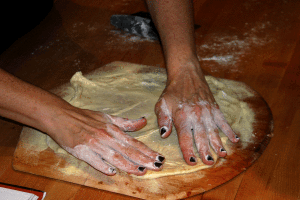
I dipped both hands in flour to coat them so the dough would not stick.

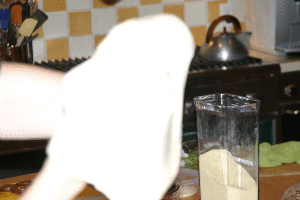
I got ready to toss.  I placed the  disc of dough over my fists, not my fingertips, as instructed in the book.  It became clear, immediately, that this dough was not going to be airborne.  It was such a soft dough that it slumped over my wrists and continued to make a downward slide over my arms.

I quickly transferred the dough to my pizza peel, which I had coated with semolina flour, to facilitate sliding the pizza off the peel and onto the baking stone which I had heating in a 550 degree oven.

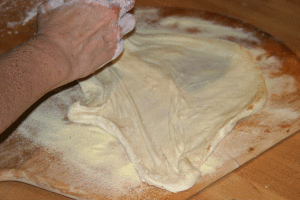
Using my hands, as gently as I could, I managed to spread it out into a very rustic circle.

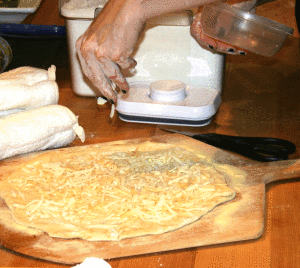
Then I added the toppings.  I decided to forgo tomato sauce.  I sprinkled it with Monterey Jack, Asiago and Parmesan cheese.

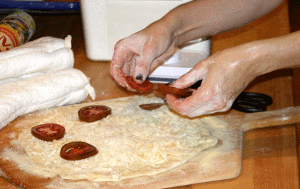
Next came slices of fresh tomato.

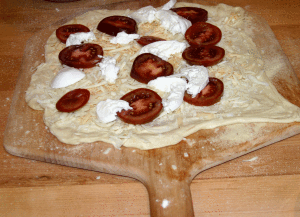
Finally I topped it off with chunks of fresh buffalo mozzarella.

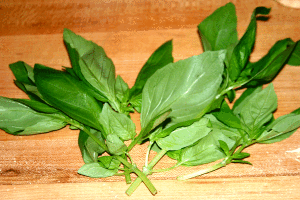
I planned to top it off with fresh basil once it came out of the oven.

It slid quite easily into the oven.

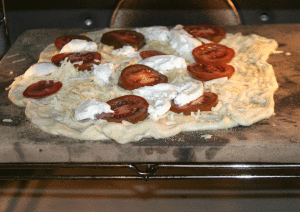
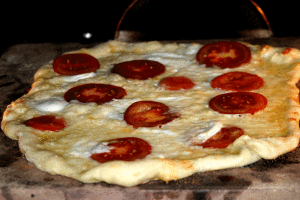
I snapped a quick picture after it had been baking for 5 minutes.  Almost ready!

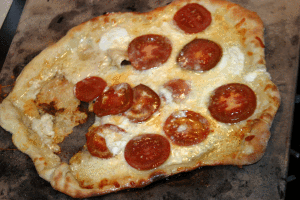
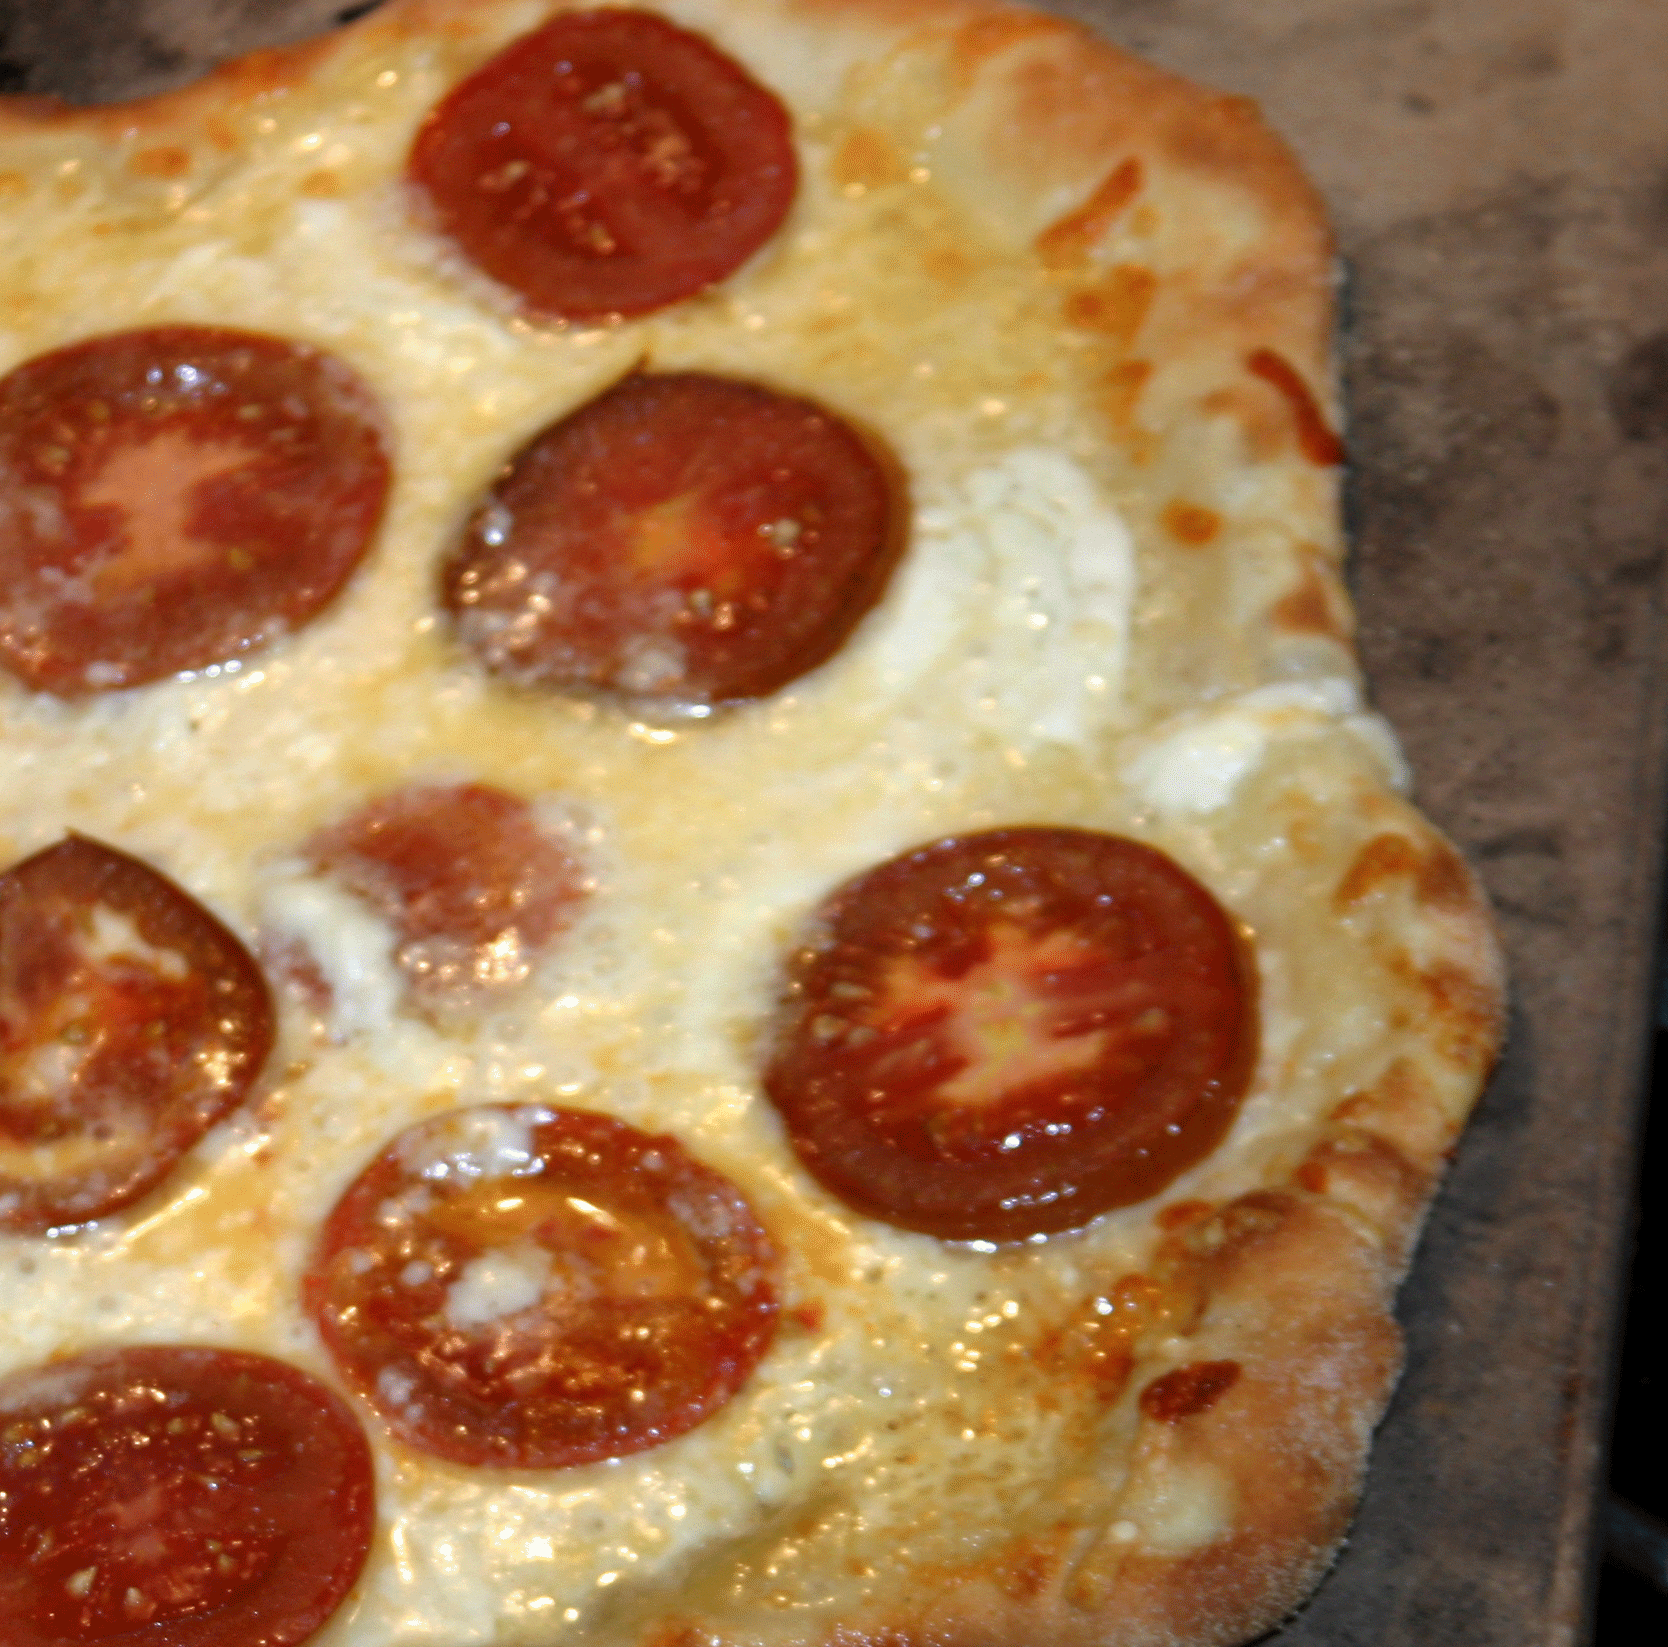
And then it all began to go horribly wrong.  I ran into a problem when I tried to remove the pizza from the oven.  I guess the dough had stretched a bit too thin in some spots, because when I tried to slide my pizza peel under it, to remove it from the oven, it wouldn’t budge.  The cheese had melted through a hole in the crust and was now stuck to the baking stone.  I finally wrestled it from the stone and here is what we ate for dinner.

The crust was light and crispy.  It was delicious.  I may try this one again as I am determined to get my dough airborne.  To be honest, I didn’t notice that much difference between my usual crust and this cold fermented one.  Maybe I should do a side by side comparison to see if it’s really worth the extra fermenting time for this dough.

#24. A very expensive Panettone.


bakedIn week 24 of the Bread Baker’s Apprentice Challenge, we prepare the Italian Christmas bread known as panettone.  I have never made or eaten panettone before so I really had no frame of reference on this one.  As I read through the ingredient list I told myself to keep an open mind.  However, I had my doubts about this one.  I hate brandy, rum and whiskey (I’m a wine girl), intensely dislike orange and lemon extract (they smell like furniture polish to me).  I believe that candied fruits have no place in the culinary world. 

 There was one ingredient that was unfamiliar to me, “Fiori di Siclia”.  Peter Reinhart describes it as a wonderful blend of extracts and floral oils.  I decided to hunt some down, as I wanted my panettone to be as authentic as possible, a lesson I  learned from my brother-in-law Brandon.  Whenever he visits a new city, he insists on eating whatever that city is famous for and only from the original source.  When he visited Philadelphia, he almost missed his flight waiting in line for a Pat’s Cheesesteak.  When he came to Ottawa, he strapped on his skates and a fur trapper hat and skated down the longest skating rink in the world to sample “Beavertails” (fried dough dipped in sugar and cinnamon).  President Obama ate one too when he visited Ottawa!

I had the option of ordering fiore di sicilia from King Arthur for $7.95 plus $25.00 delivery (why do they charge so much for Canadian deliveries???), or from  Golda’s Kitchen (a Canadian web site) for $30.00 plus $7.00 for shipping.  Both admittedly were ridiculous options, but I was convinced that without it my panettone would not be authentic.  Since the Canadian economy needs a bit of a boost, I did my part and ordered from the Canadian web site.  The parcel arrived the next day (that never happens with US web sites shipping to Canada).  It arrived in a huge box.  I was a bit confused as I only ordered a 4 ounce bottle.  It was so carefully wrapped in bubble wrap and styrofoam peanuts.  I finally managed to unearth the bottle and opened it up preparing myself for a heavenly aroma.  Feh… furniture polish.  After spending such an outrageous amount of money for this essence, I tried to convince myself that the aroma would transform into something sublime during the baking process.  Okay, so I’m an optomist.

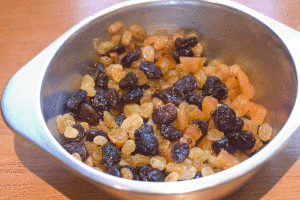
I decided to use dried sour cherries, cranberries, apricots instead of the candied fruit. Here they are soaked in rum.  They glistened,  just like little jewels.

fruit-soaked-in-rum

In addition to the dried fruits, soft butter and toasted almonds get added to the dough.
buttertoasted-almonds

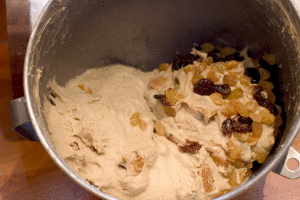
It was almost impossible to mix in all these ingredients with the mixer.  The dough hook just kept going round and round and the dried fruit and nuts sat on top.

fruit-just-not-mixing-in

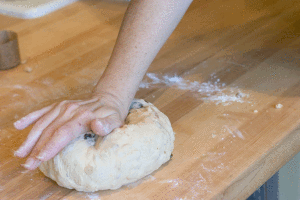
Time for hand kneading!

hand-kneading

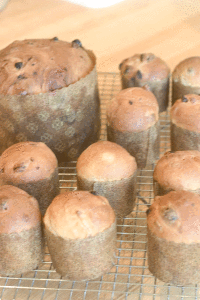
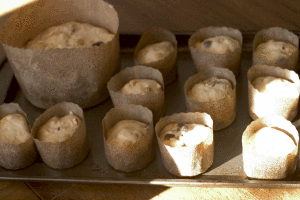
After mixing the dough is set aside to rise for about 2 hours.  Then the dough is formed into little round balls and placed into special paper Panettone moulds.  I decided to do one large one and lots of mini ones.  They just looked adorable in their little paper cups.

in-their-little-paper-cups

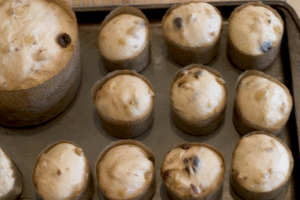
Two hours later they had risen to the top of the moulds. 

ready-for-oven

I had to go out so I left my husband in charge of the baking.  Armed with a timer and instant read thermometer, he did a wonderful job.  Here they are fresh from the oven.

baked

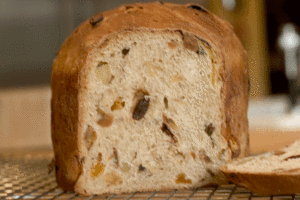
I let them cool and then we took a bite.  They looked so pretty and I wanted to love them, but it wasn’t to be.inside-crumb

The texture was dry, the aroma was overpowering and all I could taste was the rum and extracts.  I suppose if you were a rum lover, this would be a good thing.  My husband didn’t mind them and our babysitter loved them so she and her girlfriend took all 15 of the mini ones home.

The next day I got an e-mail from chefshop.com.  They are selling panettone in about 20 assorted flavours.  There is a Caffe Panettone with coffee, chocolate, hazelnuts and almond icing.  Now that’s my kind of Panettone!

#23. Pane Siciliano and lessons about yeast relearned!

done

You would think that after baking bread for the past 22 weeks, I would have learned a thing or two about the properties of yeast.  Specifically, that yeast causes bread dough to rise and expand.  Somehow I forgot this lesson when making Pane Siciliano, the 23rd bread in the Bread Baker’s Apprentice Challenge.

Pane Siciliano is an Italian bread made with both bread flour and semolina flour.  Semolina flour is milled from Durham wheat and is traditionally used to make pasta.  Peter Reinhart promises “a finished loaf with a beautiful blistered crust… and a crumb with large irregular holes.”  Ok, looks like we’re obsessing about bread holes again.

The bread begins with starter, made from  flour, water,  yeast and salt, prepared and refrigerated the day before.  The starter is then mixed with bread flour, semolina flour, water, yeast, olive oil, salt and honey to form a soft and pliable dough.  Then the dough is set aside to ferment for about 2 hours, until it doubles in size. 
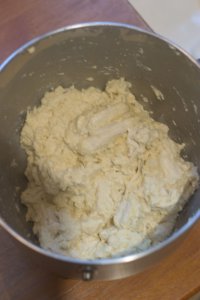
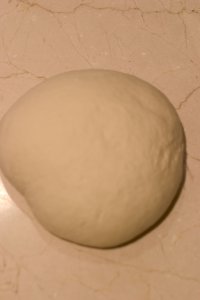
It still amazes me that when you first start mixing you have a shaggy mass.  And after a mere 10 minutes of kneading the dough is transformed into a smooth supple ball.

shaggy-dough

smooth-dough

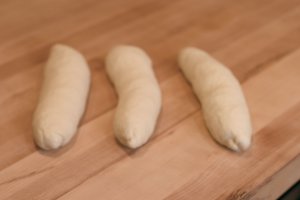
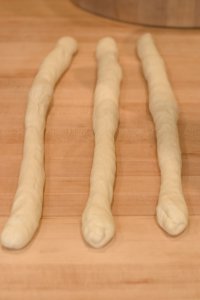
Then the dough is divided into 3 pieces and each is shaped into a baguette, and then extended until they are all about 24 inches long.  I appreciated the baguette shaping practice and my skill level is almost at the mediocre level.   Still a long way to go before I am good at this, but so much better than my first pathetic shaping experience.

divided-into-3

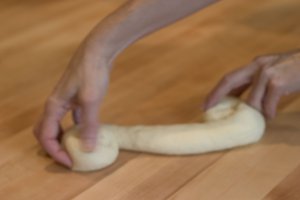
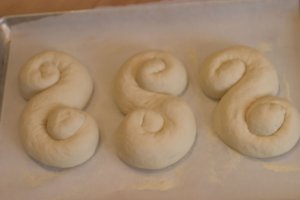
24-inch-baguettesThen the fun begins.  Working from both ends of the rope at the same time, coil the rope (in opposite directions) until it meets in the middle, forming an “S” shape.  I think that the bread shaping is one of the most fun parts of this challenge, (well aside from eating the breads, of course!)  The coiled loaves reminded me of snails with overgrown heads. 

coiling-1

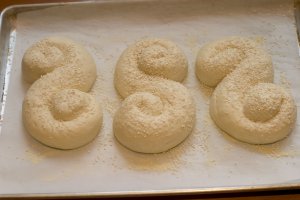
The loaves are placed on a parchment lined baking sheet that has been sprinkled with semolina flour.  And here is where it all started to go wrong.  I placed all 3 loaves on the same baking sheet.

all-coiled-up

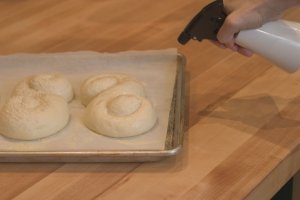
Clearly the past 22 weeks of bread baking had taught me nothing!  I misted the loaves with water, sprinkled sesame seeds on them, sprayed them again with vegetable spray oil, covered them with plastic wrap and put them to bed in the fridge for an overnight rest.

spraying-with-water

ready-for-fridge

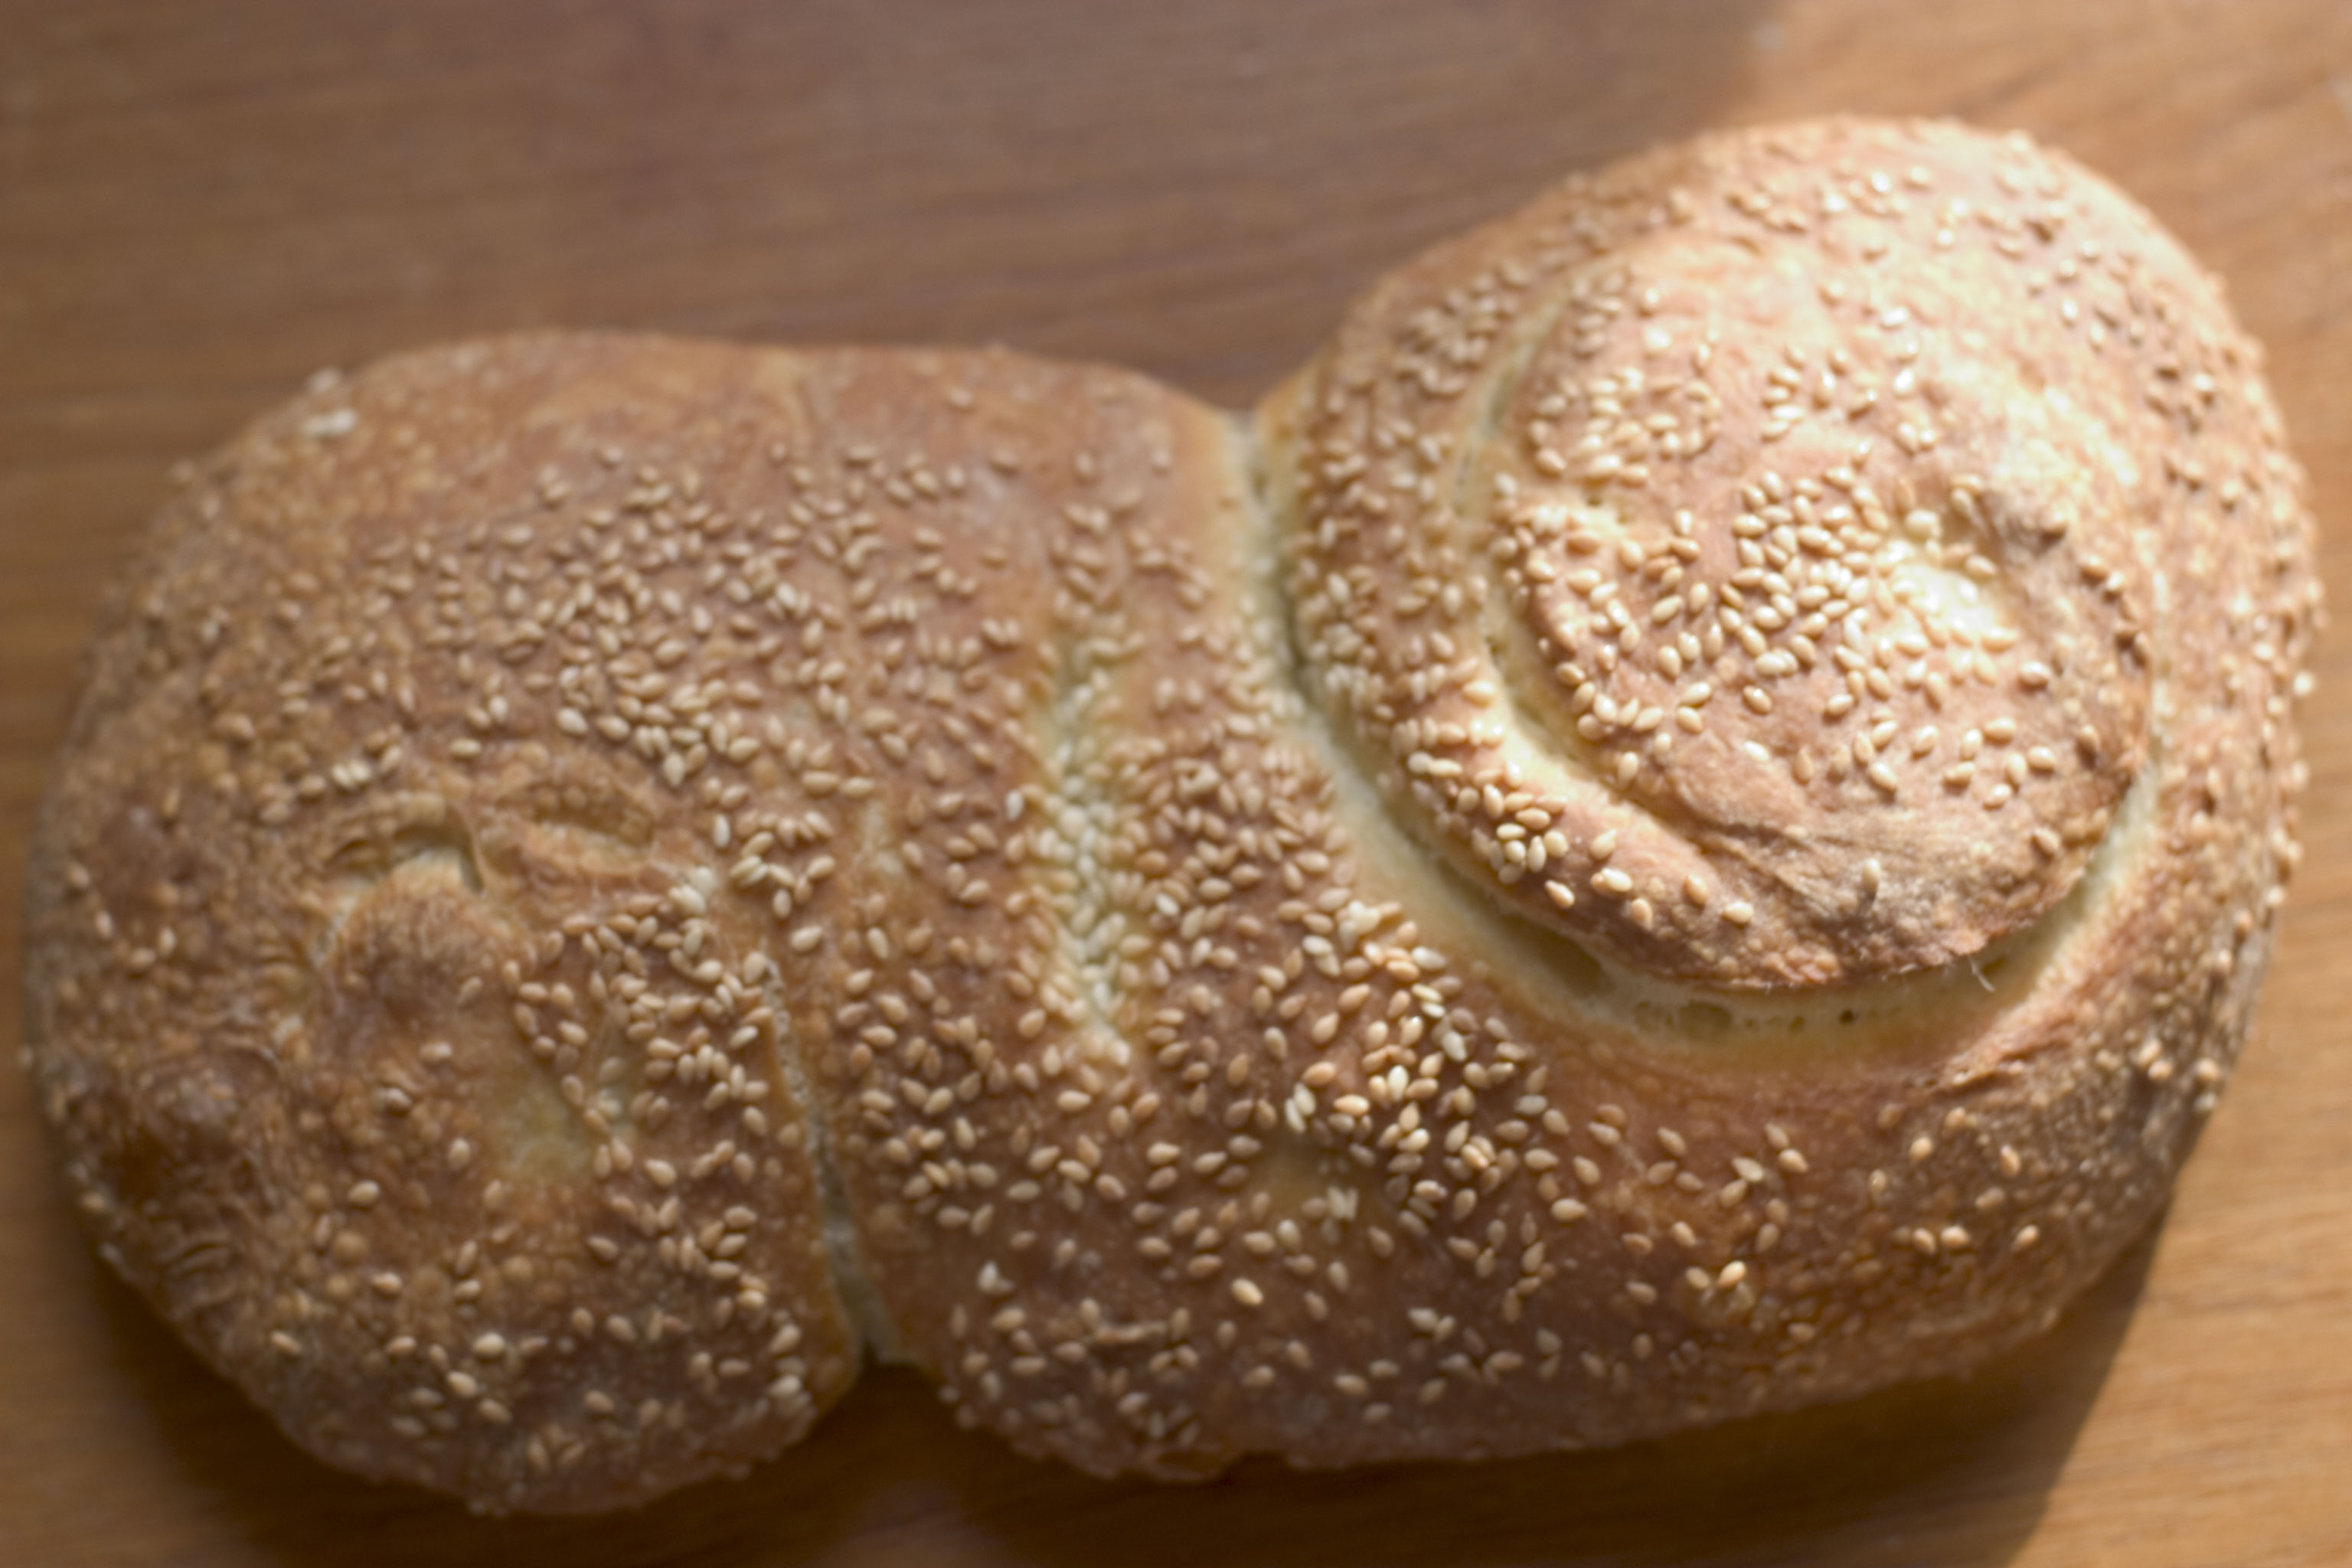
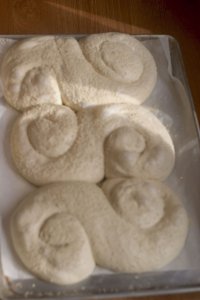
I’m not sure why I was so surprised with the scene that greeted me the next morning when I opened the fridge.  The 3 loaves had swelled and had grown together into one large snail monster. It looked like a genetic experiment gone horribly wrong.  Clearly, each loaf should have gone on it’s own baking sheet.

stuck-together-1

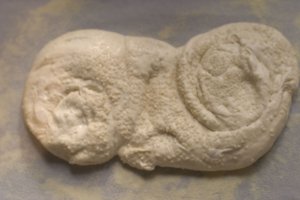
  I tried to pry the loaves apart as gently as possible but unfortunately, in trying to separate the siblings, I squished them and they lost any gas they had.  After separation,they looked a little worse for the wear. 

after-separating

The test to see if the loaves are ready for baking is to poke the dough  gently.  If the dough springs back quickly, they need more proofing time.  If the dough stays dimpled, they’re ready for baking.  After a gentle poke, it was clear there was no spring left in my loaves.  Into a hot oven they went for about 30 minutes.  They seemed to come back to life a bit during the baking process. 

done

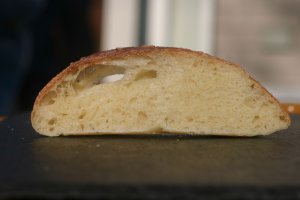
I let them cool for about an hour and sliced into them.  I had one nice large hole but the rest of the dough had a very tight crumb. 

sliced

The taste was slightly sweet and nutty and the texture quite tender.  I was hoping for a crisper crust and chewier inside.  We managed to eat about half of one of the loaves for dinner that night but unlike some of the other breads on this challenge, this one did not continue calling me into the kitchen all night for “just one more slice.”

Next week we tackle the Italian classic Christmas bread, Panettone.