Monthly Archives: December 2009

I’m still baking, just not baking bread!


 It’s been 16 days since my last post and lest you think I’ve been slacking off, my fellow bread freaks, I have been quite busy with some other baking projects. As a way of saying thanks to all those who are important to me in my life, I bake sweets for them around the holidays.  It started when I was in my 20’s when my girlfriend Marla and I would become Chocolatiers, turning my kitchen into an artisan chocolate shop, making about 6 different varieties of truffles (including Grand Marnier, Mint, Peanut Butter, Espresso, Milk Chocolate with Almond and Praline).  At the end of about 4 days we’d have turned out over 2000 handmade truffles, hand dipped and decorated.  We’d be covered in chocolate, weigh 5 pounds more than when we started and be thoroughly disgusted by the sight and smell of all that chocolate. We swore we would not do it again next year.  But of course we did!

 Then in 1993 I moved to Ottawa so I had to fly solo.  Without Marla beside me I didn’t have the heart to do truffles so I turned to cookies.  In those early years the main beneficiaries of those treats were my kid’s teachers and the staff at the pediatrician’s office.  You’d be amazed how effective a big basket of cookies is in getting your sick child in to see the doctor before 10 other screaming, sneezing, coughing kids in the waiting room!  Each year I’d add a few more people to my list and now I have about 45 people I send to each year.

This year I made:

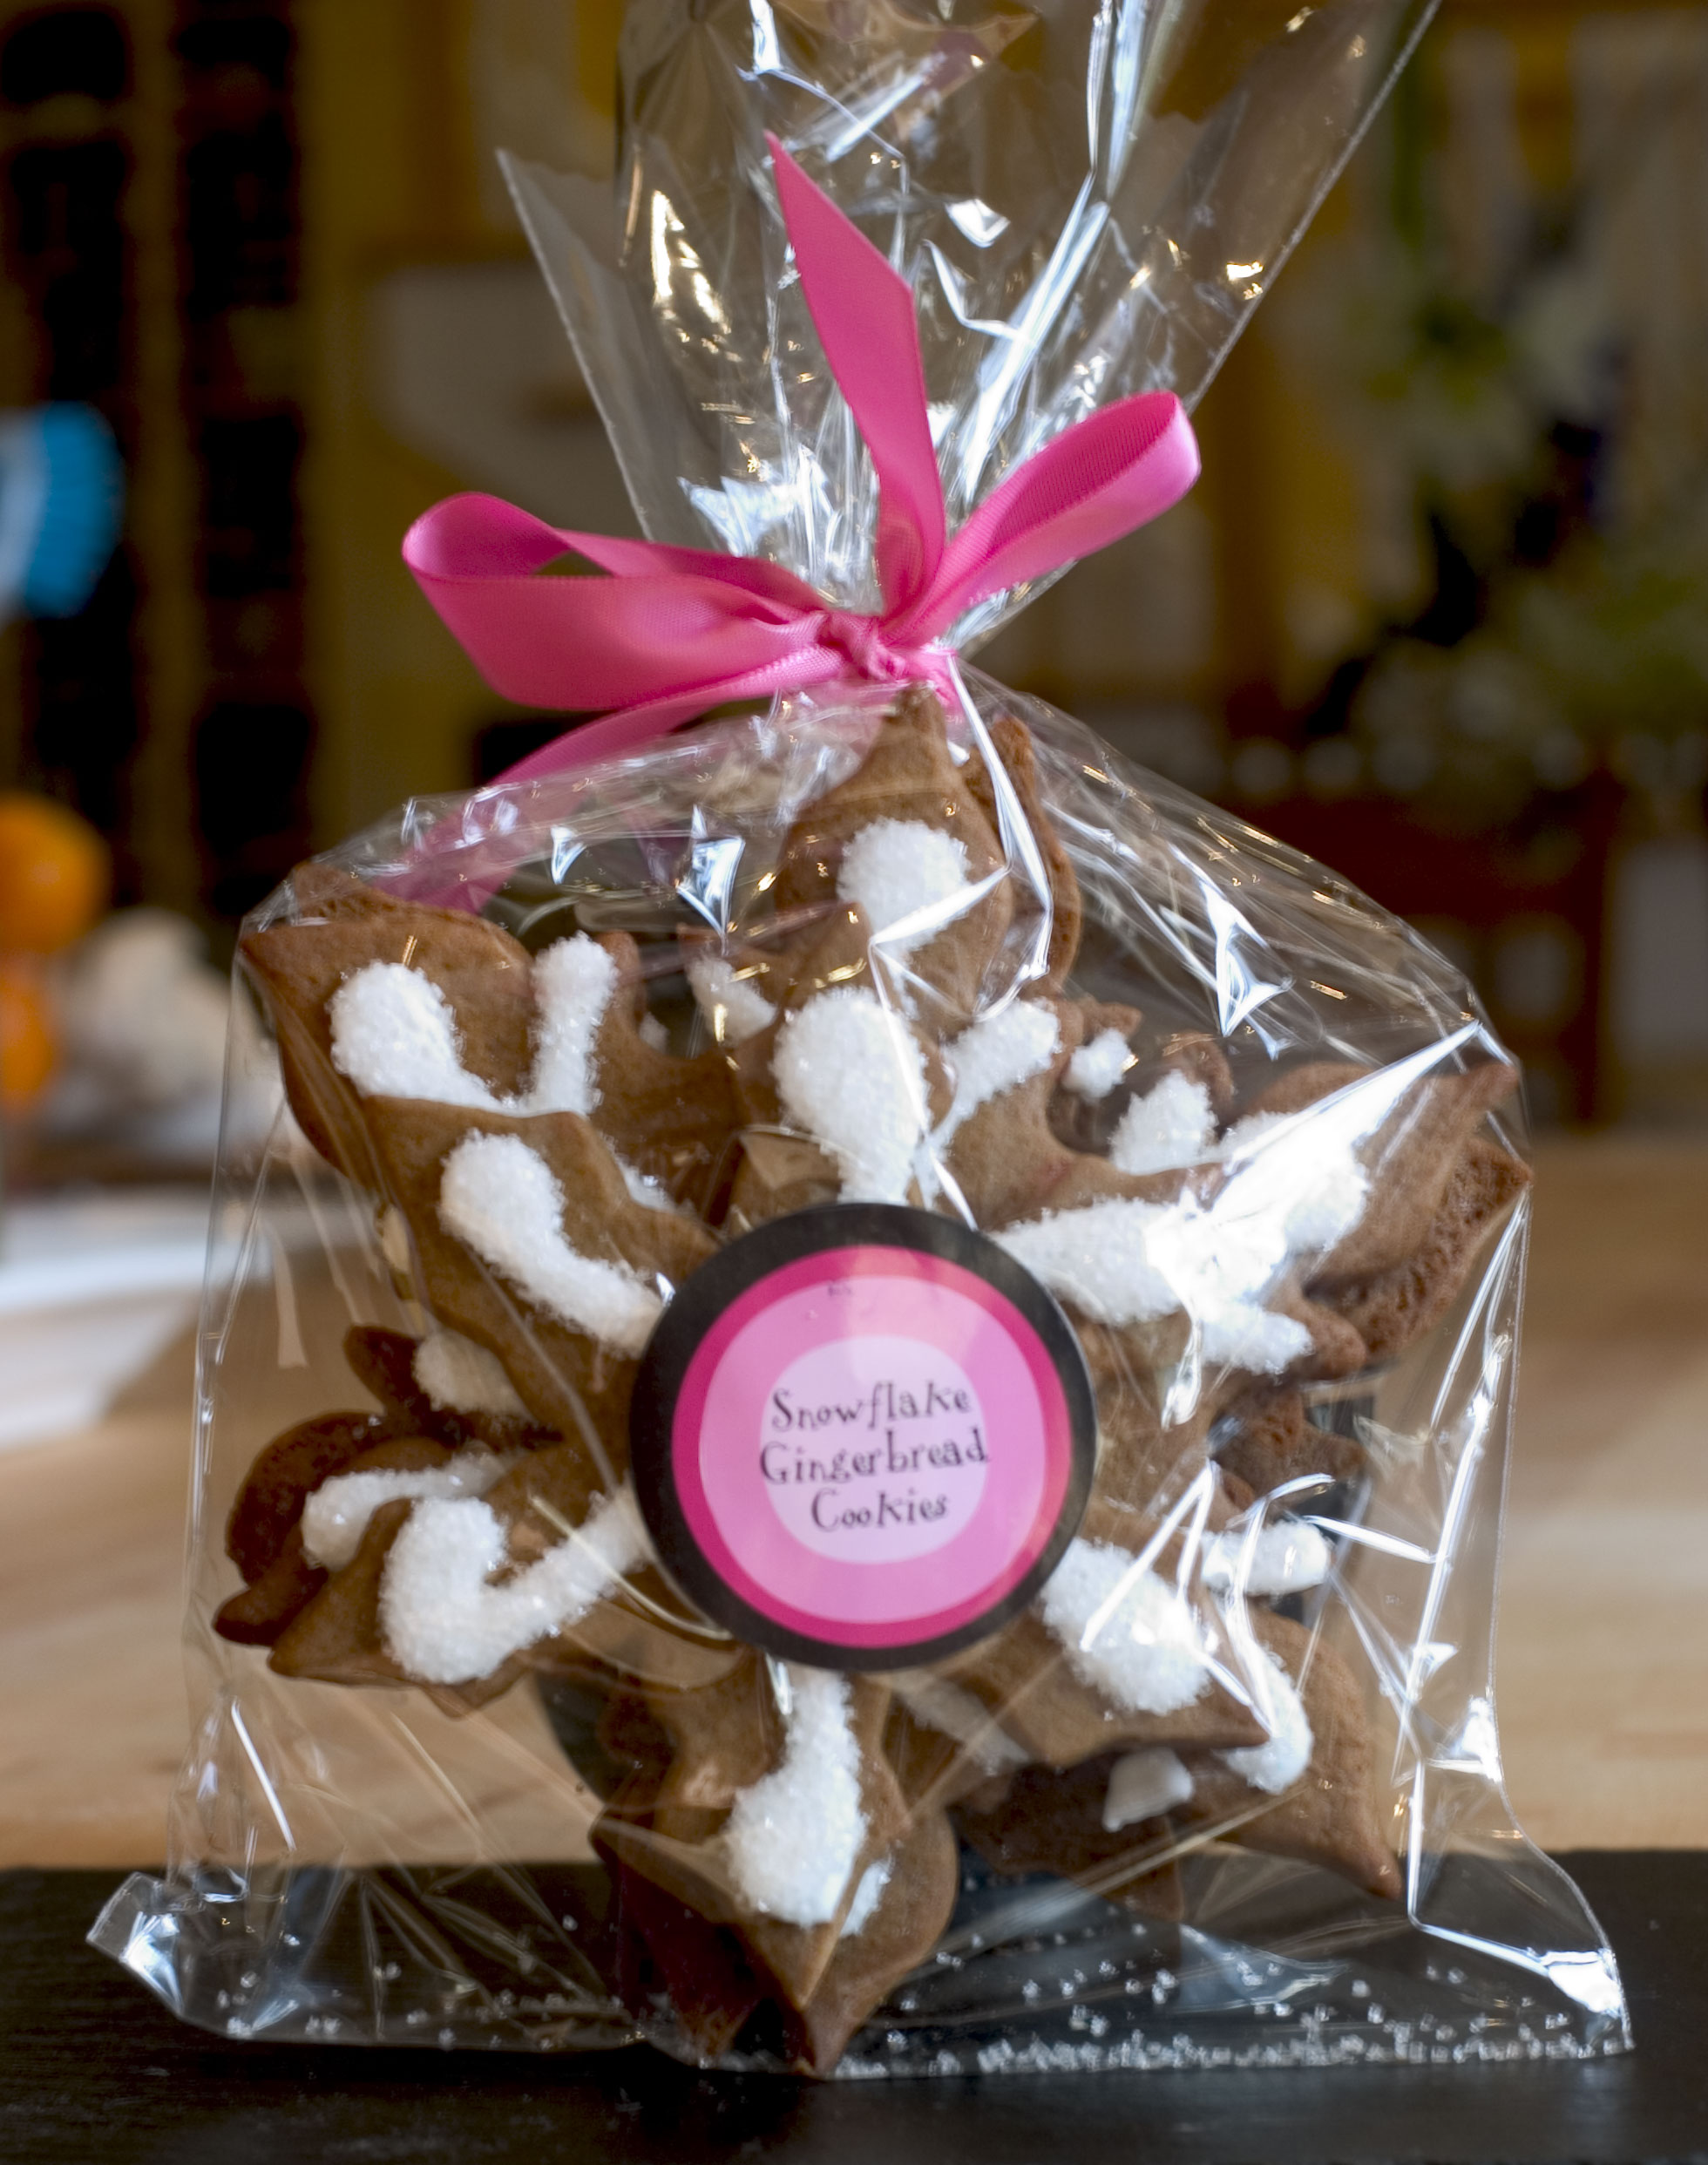
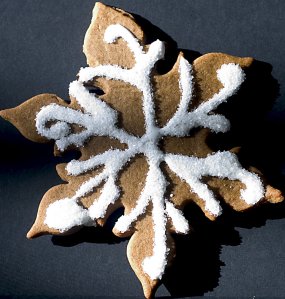
 Gingerbread Snowflake Cookies.  I piped white royal icing and sprinkled them with clear coarse sugar.  I made about 280 of these and by the time I was finished I had carpal tunnel syndrome in my piping hand.  My children thought it was quite funny that I injured myself baking!

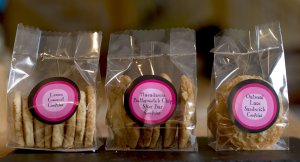
I also made Lemon Coconut Cookies, Macadamia Butterscotch Chip Skor Bar Cookies and  Oatmeal Lace Cookies (sandwiched with chocolate ganache).

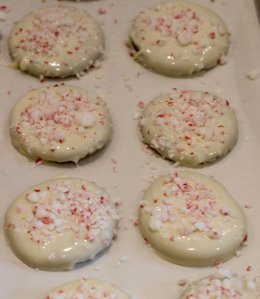
I made White Chocolate Dipped Peppermint Cookies.  I loved making these.  Here’s my chocolate dipping fork that I bought many years ago when I was heavily into truffle making.  It holds the flat cookies perfectly.

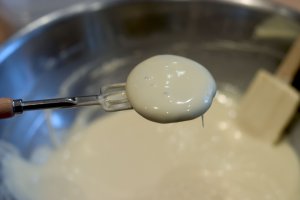
The crushed candy canes are sprinkled on before the chocolate has set.  I tempered the white chocolate.  I found a great site with step-by-step tempering directions.

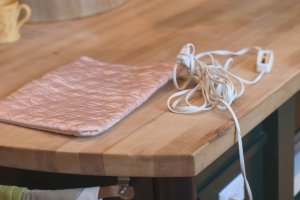
A heating pad, set on low, keeps the chocolate at the perfect temperature after tempering.  Don’t forget to cover the heating pad in foil to avoid chocolate stains!

Here are the finished cookies. 

 I also made Double Chocolate Peanut Butter Bark.  I have been making this for about 10 years now and am kind of sick of it but I can’t delete it from the roster as the receptionist at my doctor’s office, my yoga teacher and my hairdresser tell me that they wait for it all year.  So it’s become a staple.  It keeps well in the fridge for several weeks.

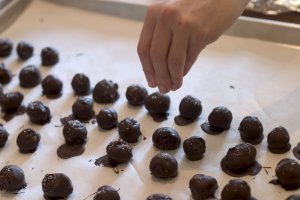
The last treat I made was Chocolate Caramel Truffles with Fleur de Sel.


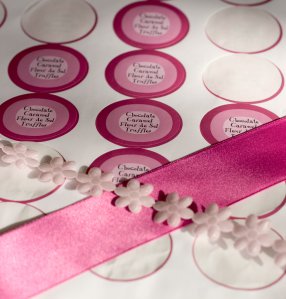
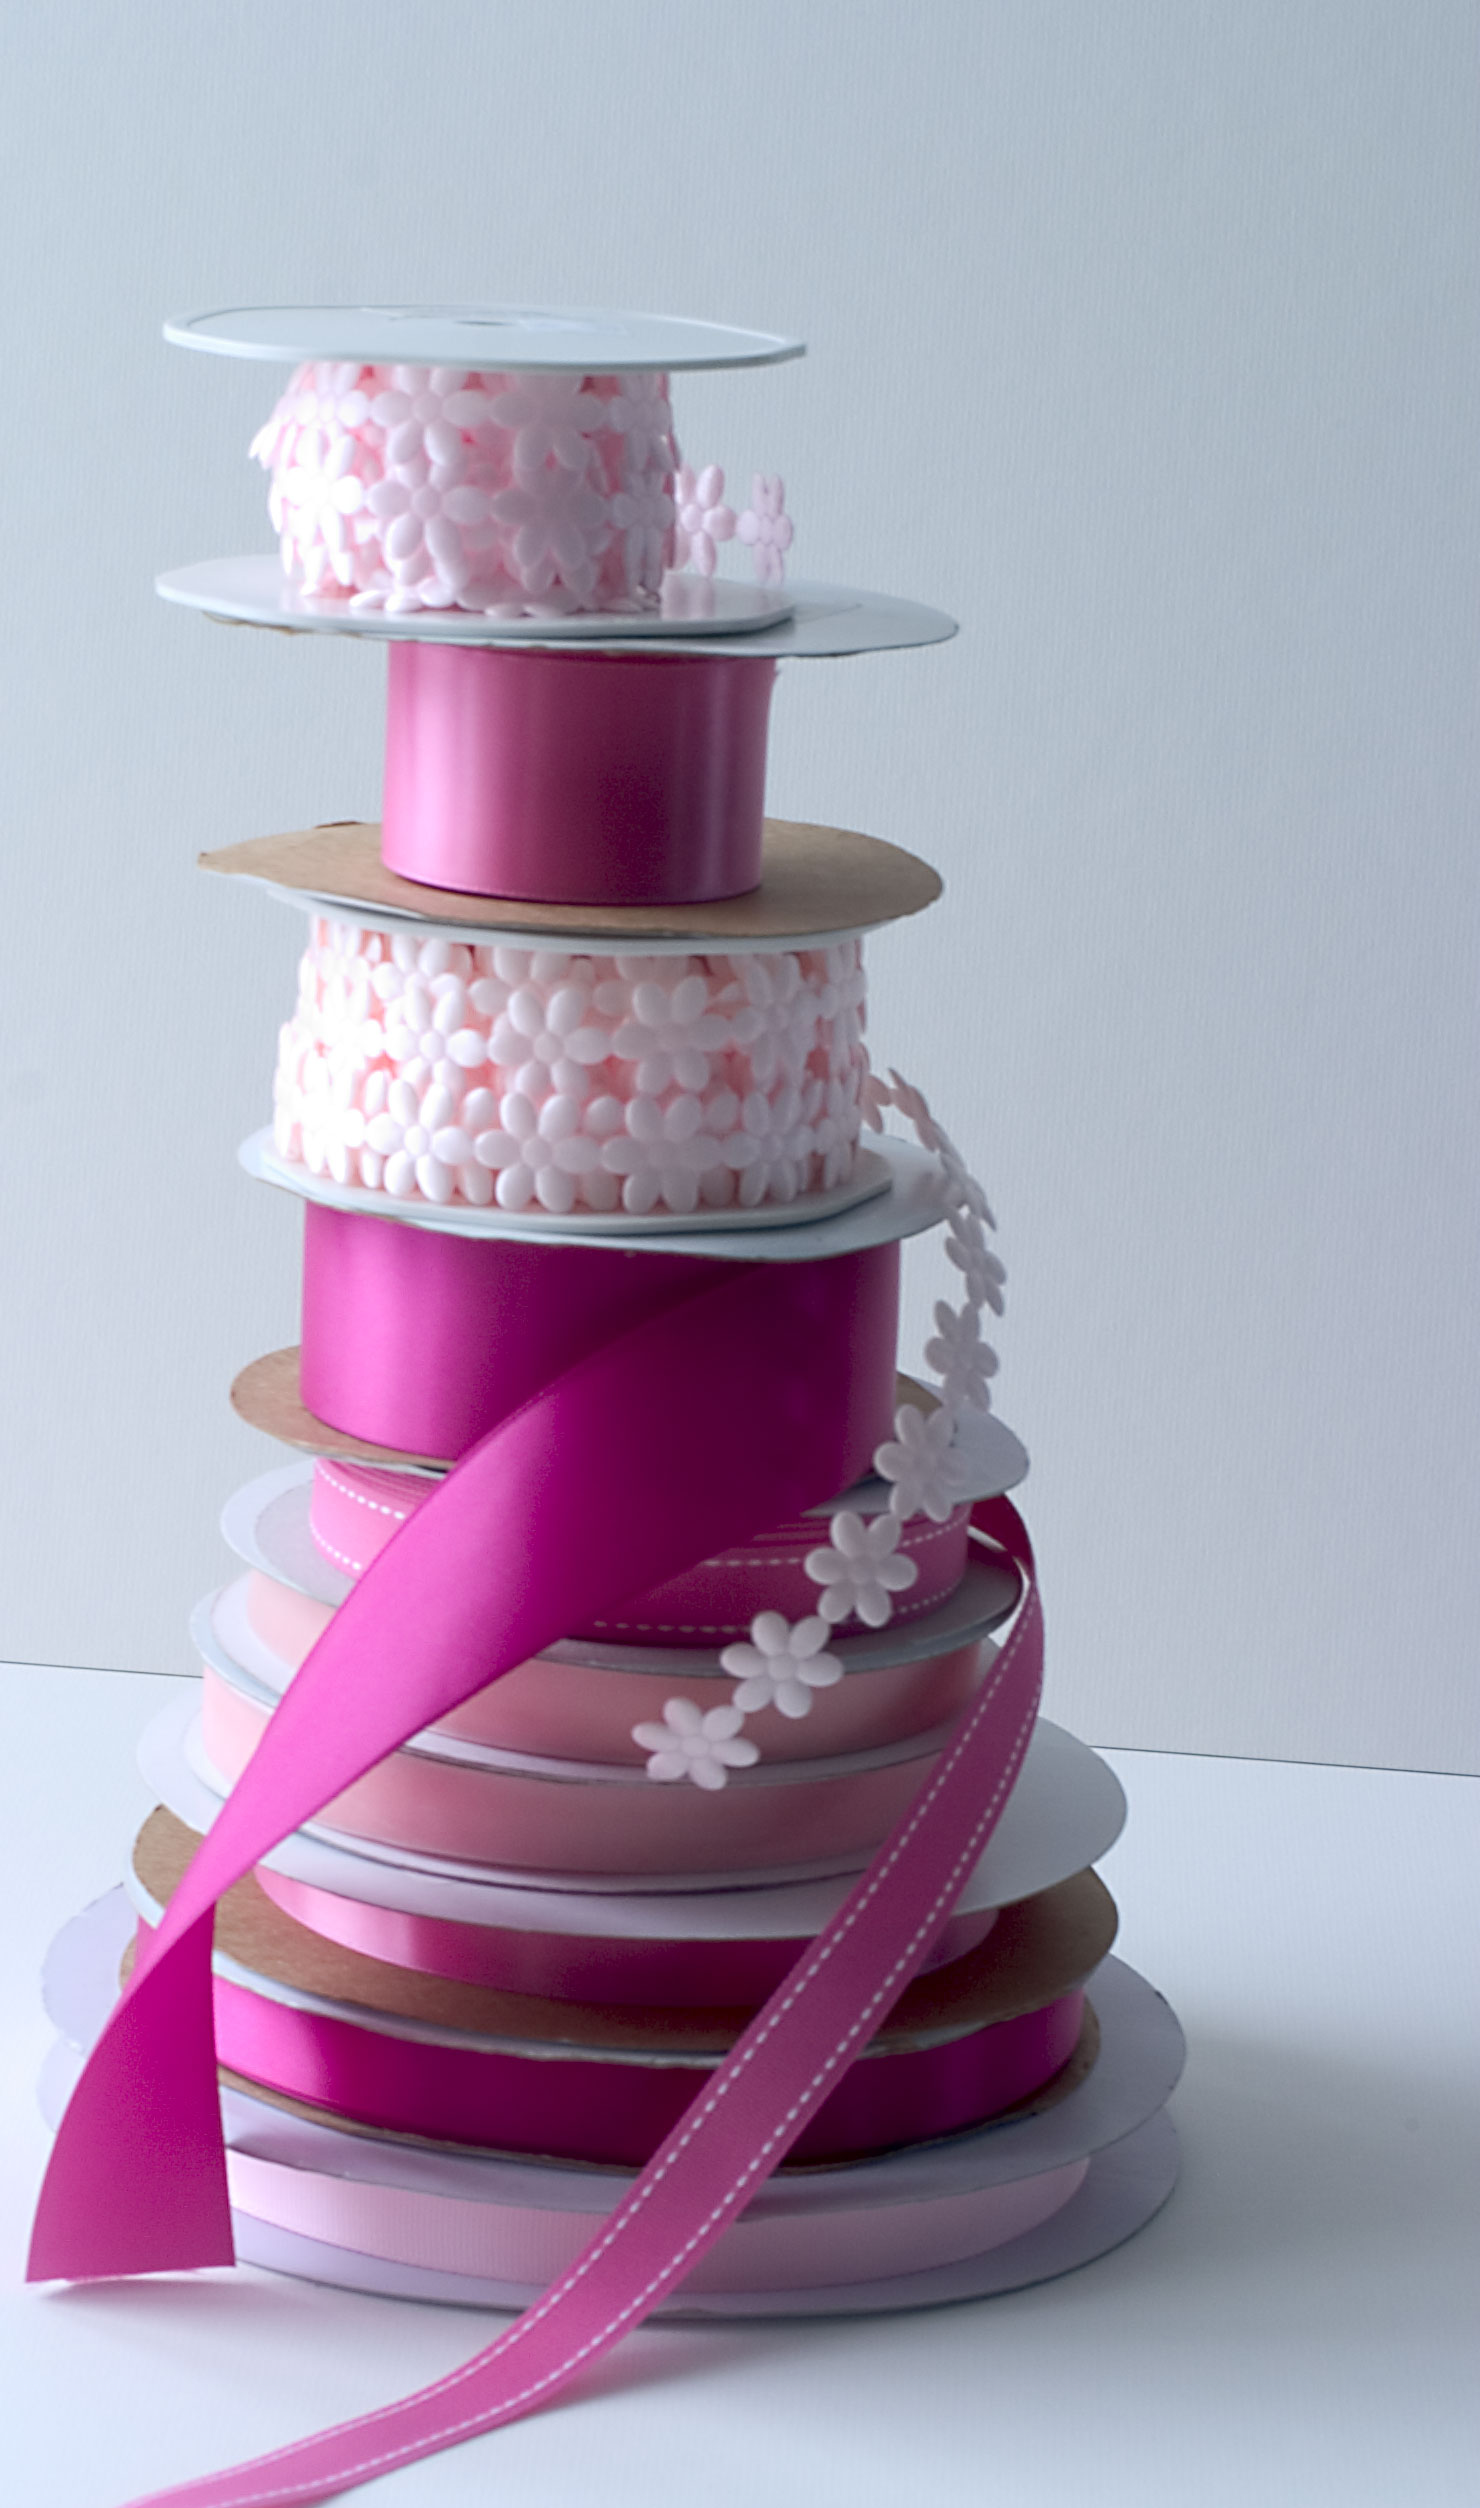
 While cookie baking is my passion, the real creative fun begins when I gather all my packaging material and design the labels.  I use a great graphics program called Print Shop and print out all the labels on glossy labels from www.onlinelabels.com.   Most of my ribbons and bags and boxes I get from www.pritchardpackaging.com, a wholesale outlet here in Ottawa where I live.

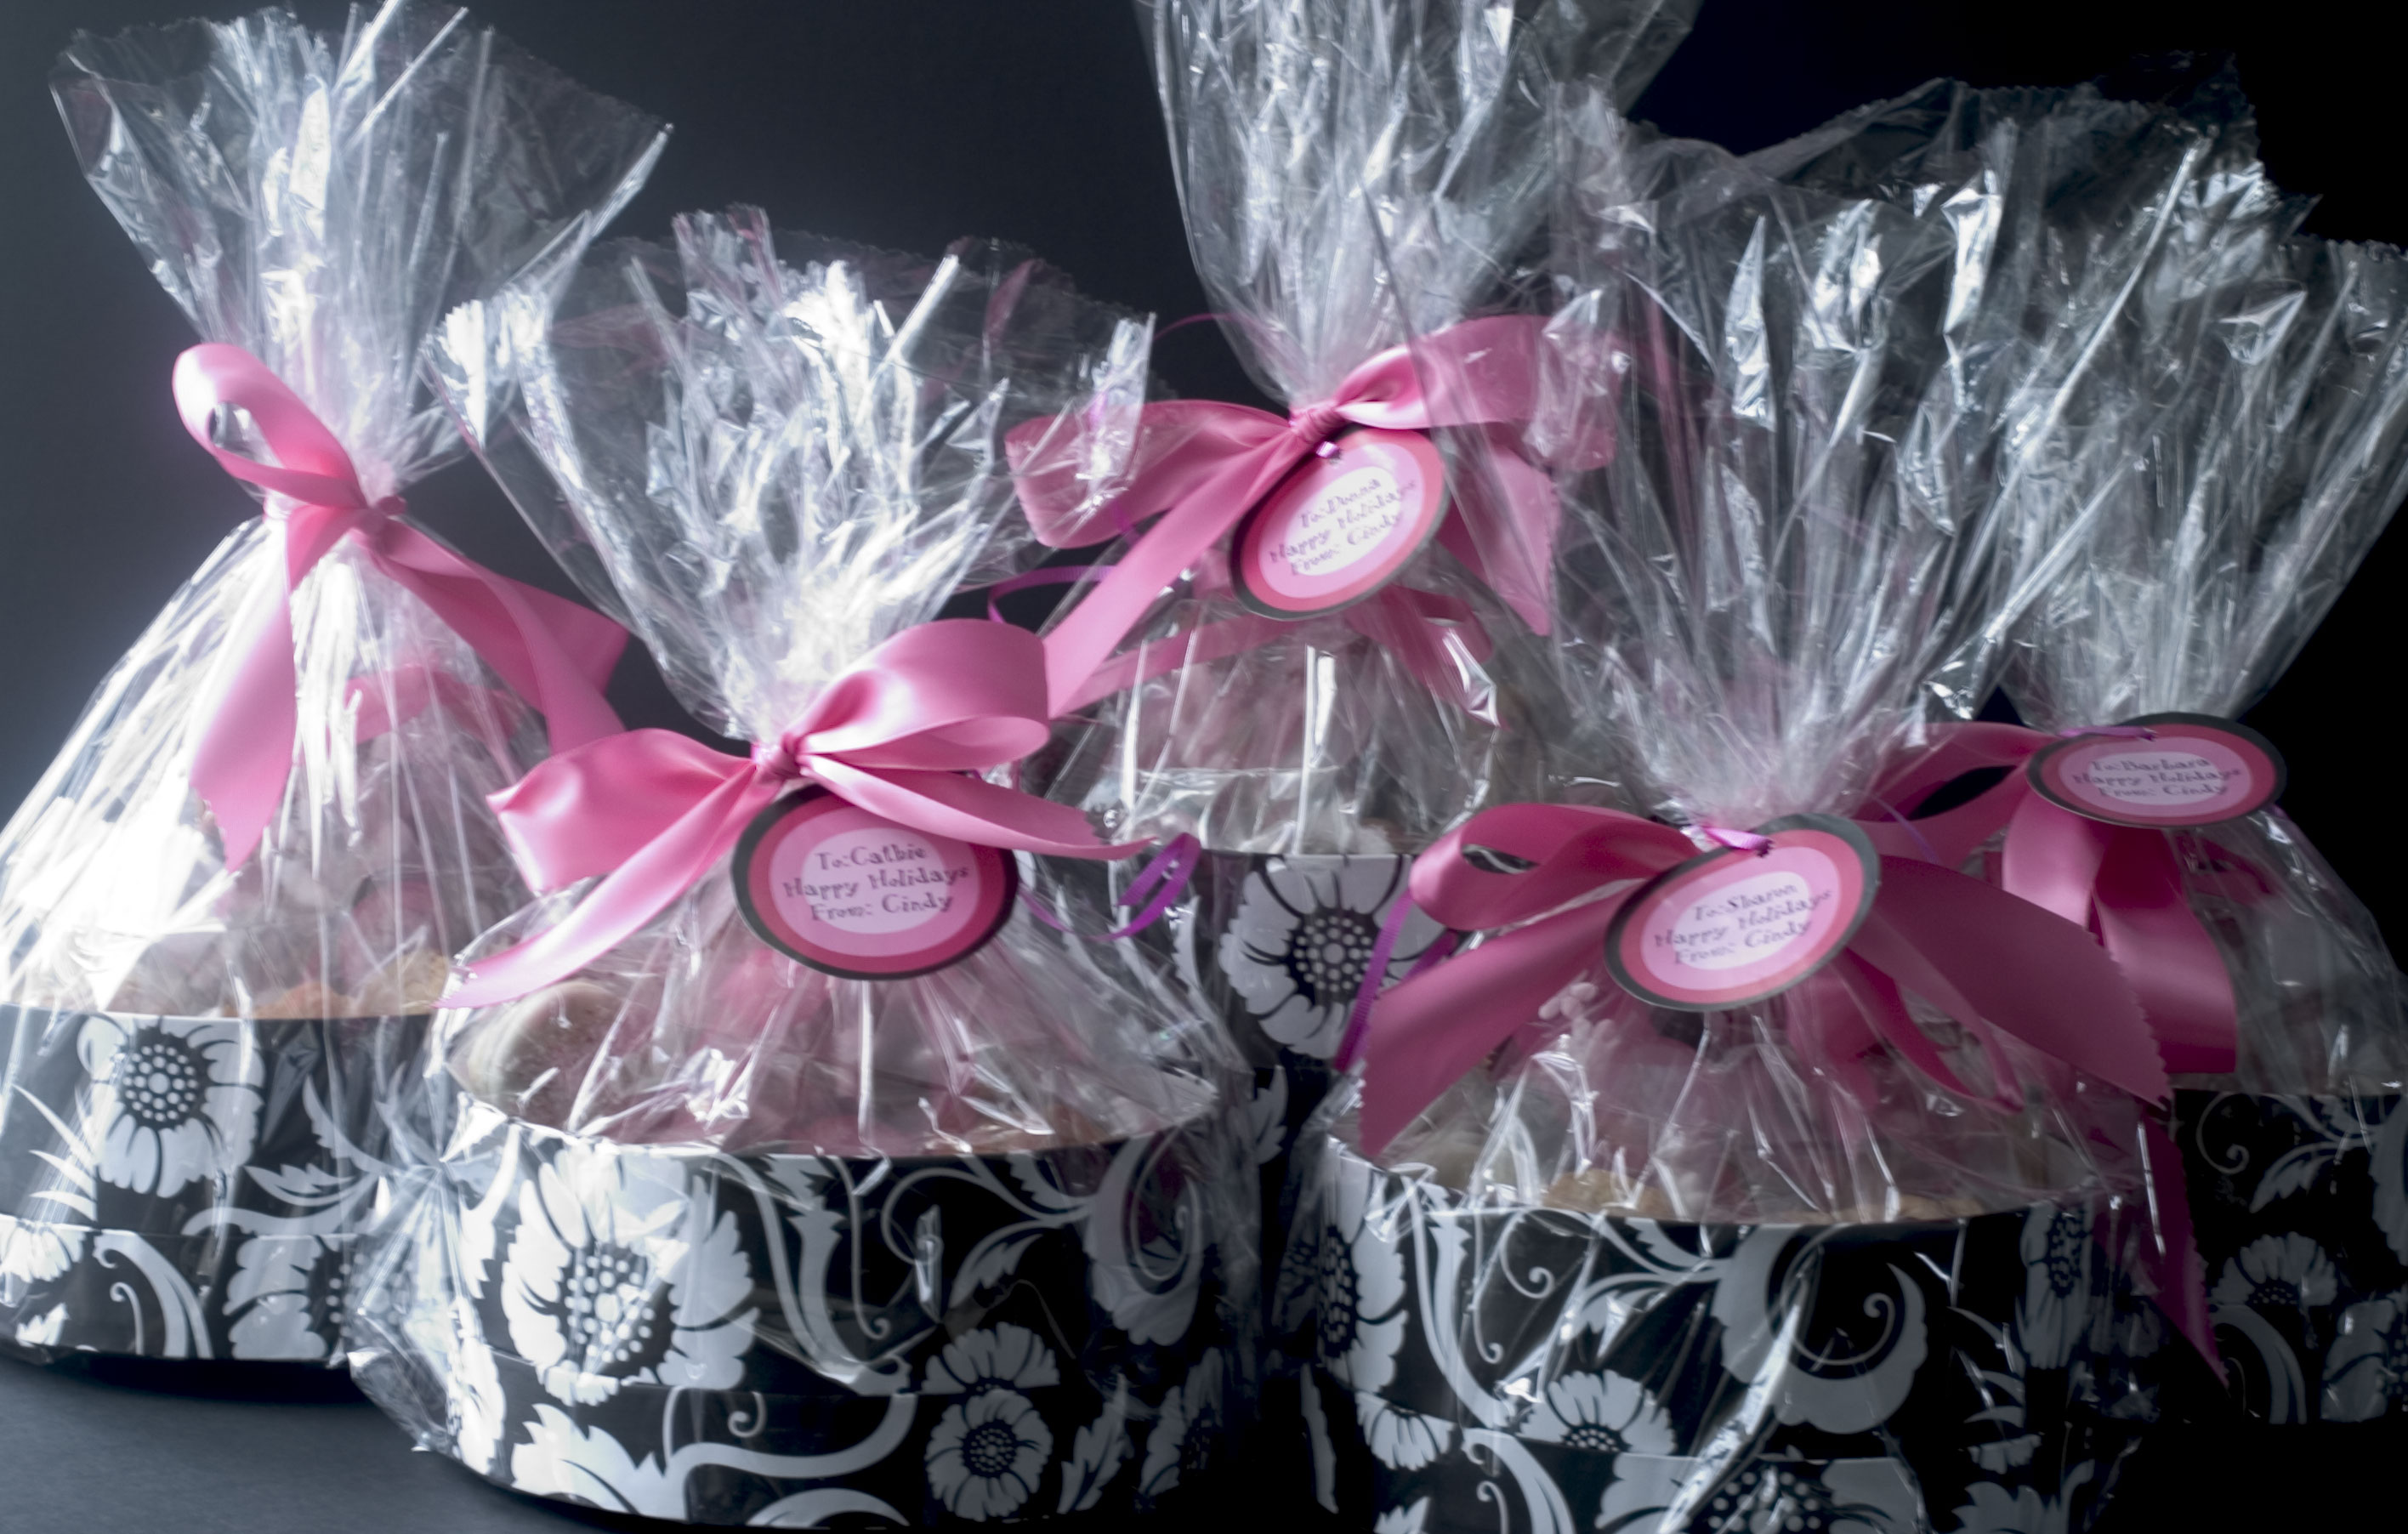
 I decided on a pink, black and white theme this year.

Here are the gift boxes all packaged up and ready to go:


 Next week I’m back to the Bread Baker’s Apprentice Challenge, I promise!

# 26. Poolish Baguette Interruptus


Last week my sister Bo asked me how the bread baking was going and what loaf I was working on.  I told her that this week’s bread was “Poolish baguette.”  She responded that “poolish” sounded like what might result from eating such a baguette.  That got me to thinking.  I am so deeply immersed in this bread project that I am bandying about all this new baking terminology. So , for my sister Bo , and all others reading the blog, and not familiar with “Poolish”, a little clarification.

Poolish is a mixture made of equal weights of flour and water with a small amount of yeast.  In other words, it’s a wet messy goo.  This mixture is made and refrigerated, usually overnight, and then incorporated into the final bread dough the following day.  Poolish is one of several “Pre-ferments”, bakers use.  (Other pre-ferments include biga, pâte fermentée and sponge)  A pre-ferment extends the fermentation time which allows for more time for flavour to be developed in the final loaf.

Polish bakers, are credited with inventing this preferment in Poland at the end of the 19th century.  The process then was adapted in Austria and later in France.  The French coined the term “Poolish” to honour the Polish bakers who created this technique for improving bread.

I made my poolish on Friday and planned to make the final baguette dough on Saturday.  Saturday morning I took the poolish out of the fridge and let it come to room temperature. For this baguette, I decided not to knead the bread but use a technique I have been reading a lot about lately, called “Stretch and Fold”. 

In my research I came across a very interesting post by Martha and Tom, where they do an experiment and bake 3 loaves side by side for comparison.  The first uses the no-knead method, the second, traditional kneading  and the third is the stretch and fold technique.  They concluded that while all the breads tasted quite similar, the stretch and fold had the best open crumb and lofty structure.  Stretch and fold rose the highest and had the most evenly distributed open holes of the three loaves.  They concluded that stretch and fold is best for “rustic” types of breads.

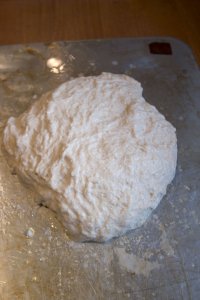
I mixed my dough up briefly in the stand mixer, just until everything came together.  Then I dumped it out onto the back of an oiled baking sheet.  As you can see, the initial dough is quite shaggy.


I found a wonderful video on You Tube, with Peter Reinhart demonstrating the stretch and fold method, and I followed his technique and instructions.

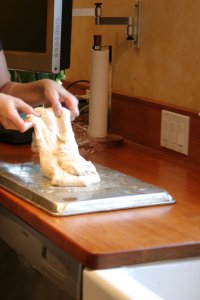
Stretch and fold is exactly what it sounds like.  You pull the dough to stretch it and then fold it back on itself.  This is done 4 times, with 10 minute rests between each stretch and fold session.  Wetting your hands with cold water really helps the dough not stick to them.  Here is photo of me stretching the dough.

I had to set my camera on timer as I was home alone.  That in itself was a neat trick for me as I had not used the timer function in quite a while and forgot how to do it.  I had to get my reading glasses and manual out and it was quite a production but now I know how, so look for more timer photos in future posts.  It’s opened up a whole world of photographic opportunities for me.

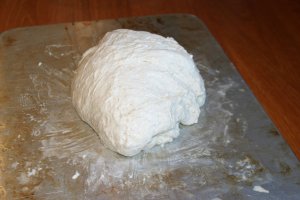
 I took a photo of the dough after the first stretch and fold so you can see how the dough is becoming smoother.

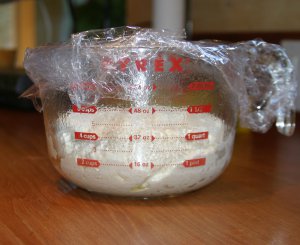
After the fourth stretch and fold I set the dough into an oiled container for the first rise.  The recipe said to allow the dough to ferment at room temperature for about 2 hours.  

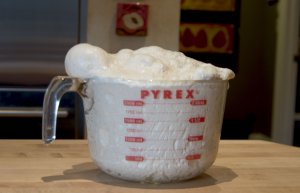
Here is where the bread making got interrupted.  I had to drive my son to his afternoon program, do a few errands and pick him up again.  I figured I could just stick the dough in the fridge and take it out and resume when I got home.  From my previous experiences with fermentation, I knew that the cold fridge would slow the dough rising annd I could finish later.  However, something went terribly wrong,  as when I pulled the dough from the fridge 4 hours later, this is what greeted me.

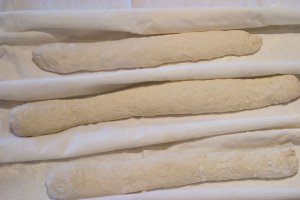
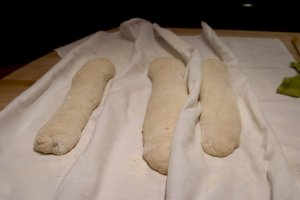
Clearly the dough was hard at work in the fridge while I was away.  It would seem that it had over-proofed.  Note to self;  the interruptus method of bread baking is not fool proof!  I decided to proceed and take my chances with the overproofed dough.  I formed the dough into baguettes and set them in my homemade couche for a final rise.  The couche (an old cotton apron) allows the baguettes to hold their shape and grow without touching each other. 

After about an hour they were ready for the oven.

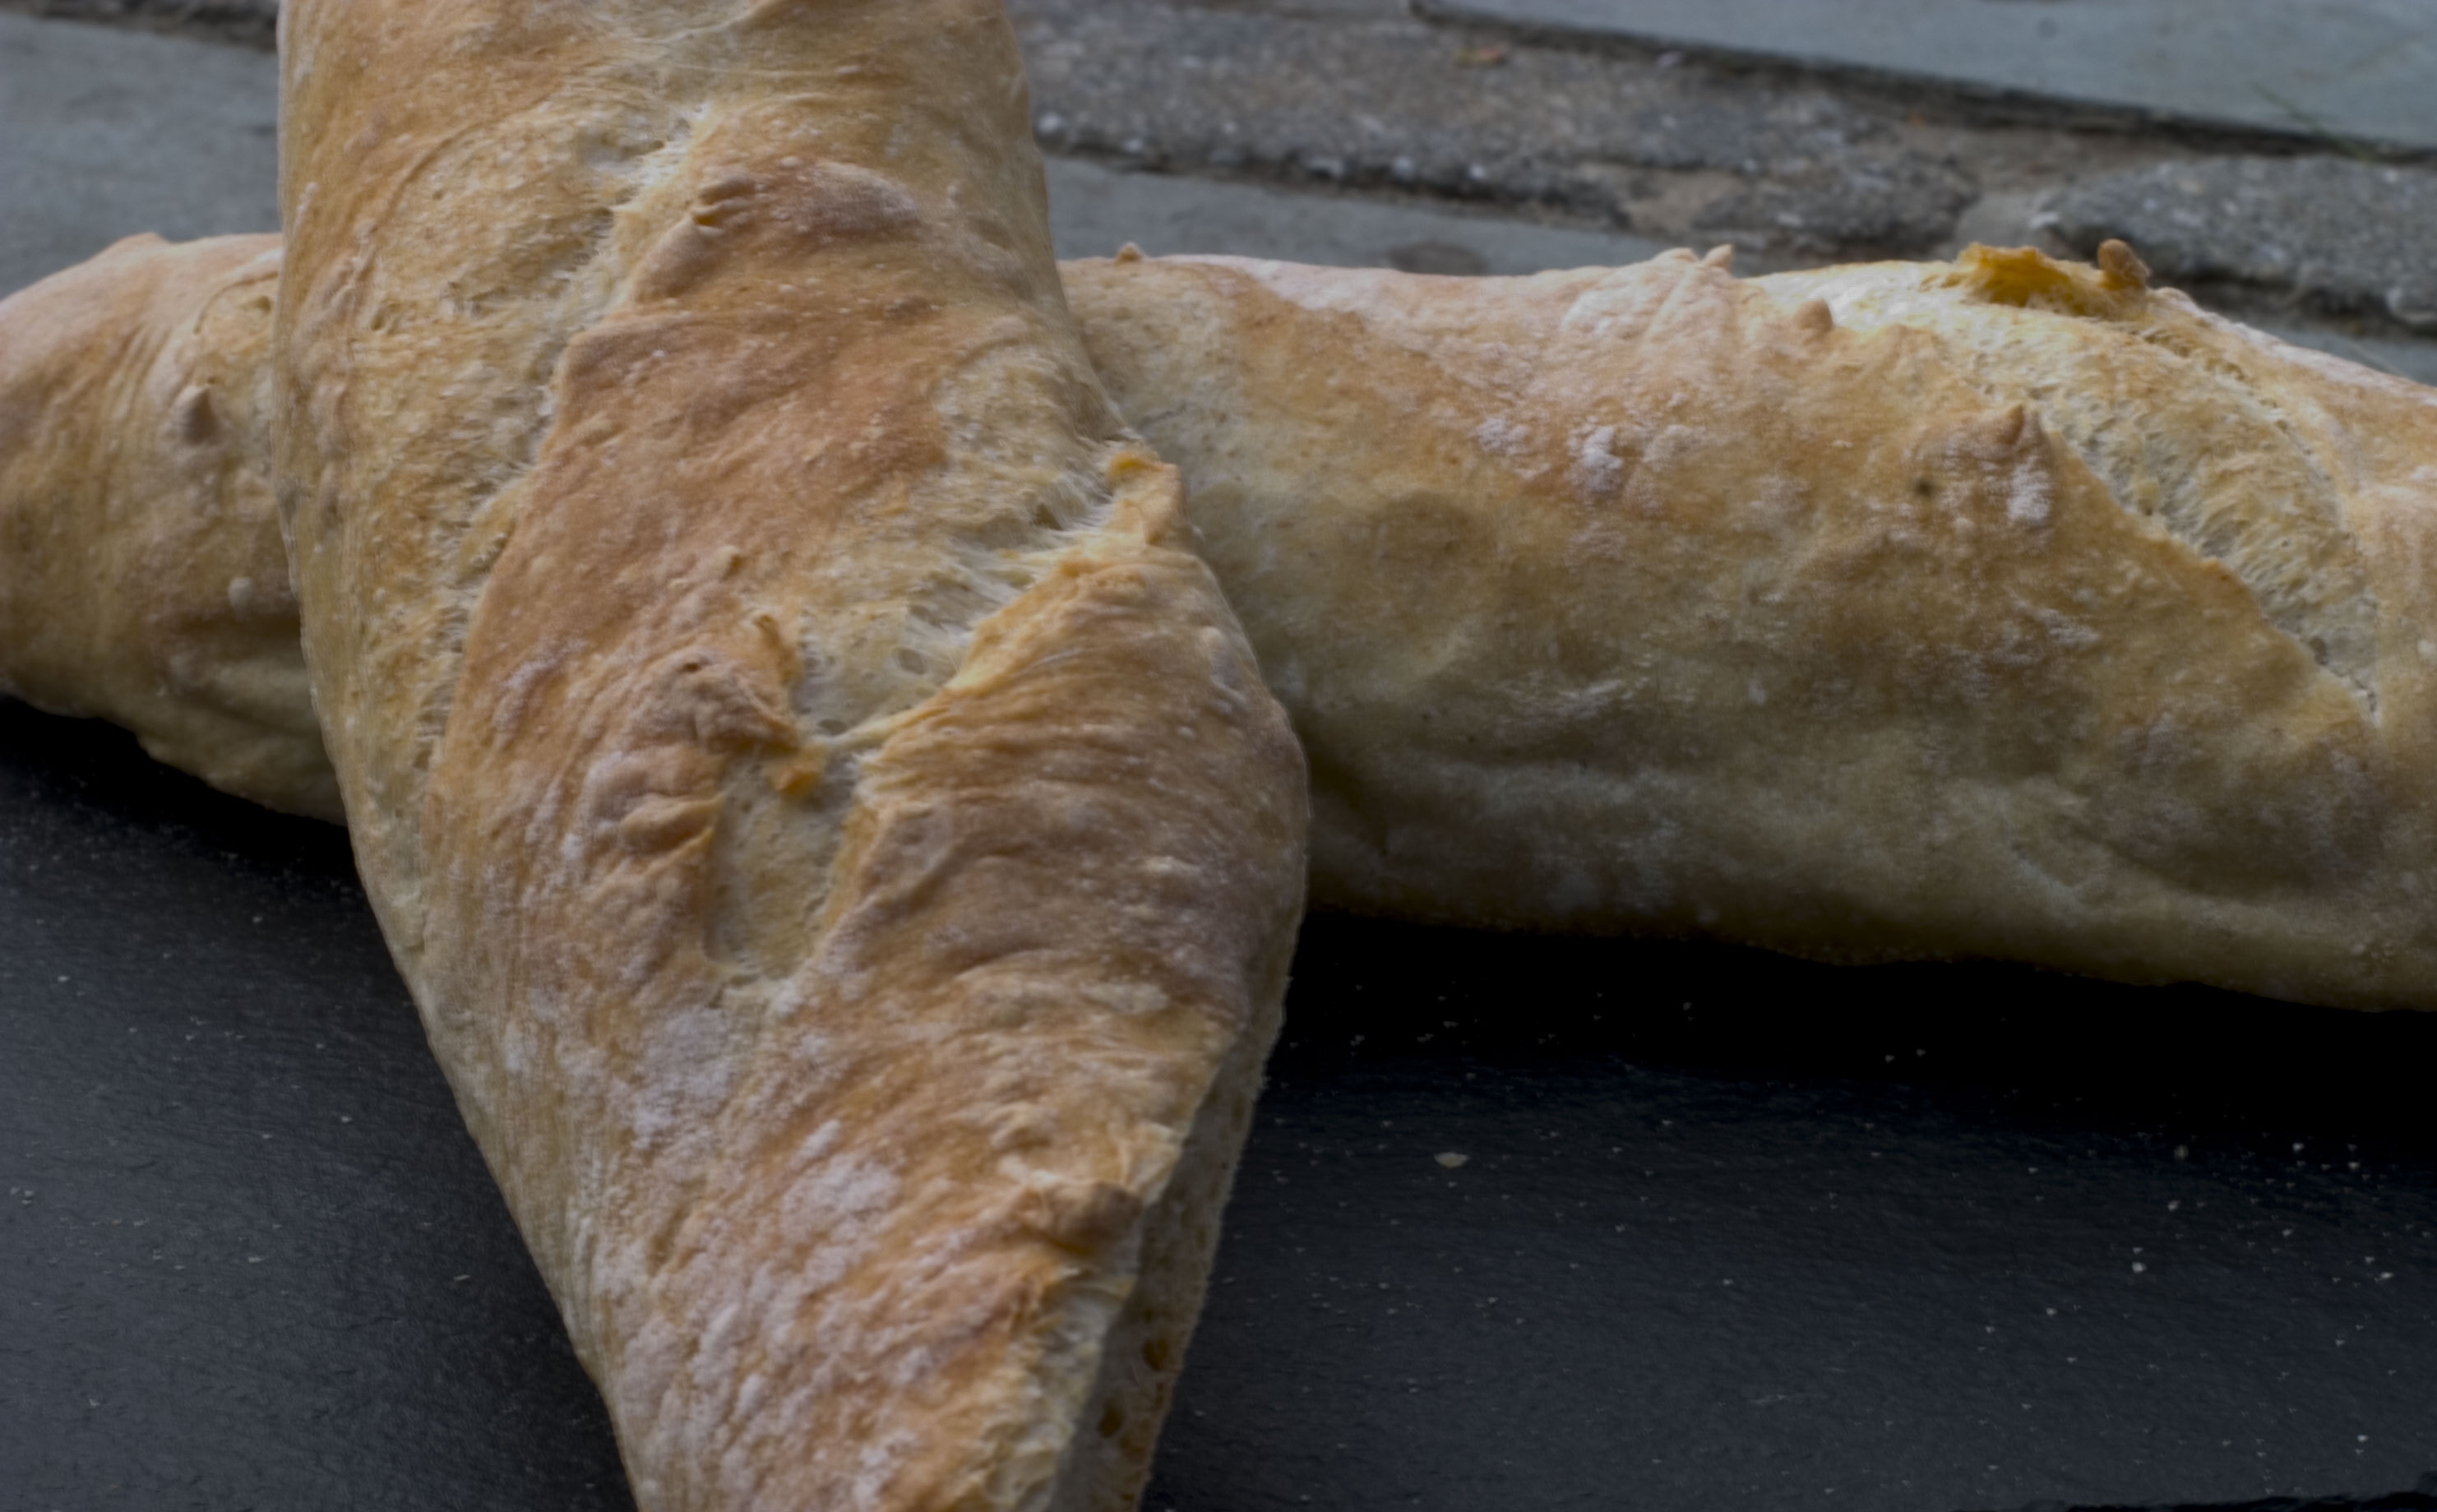
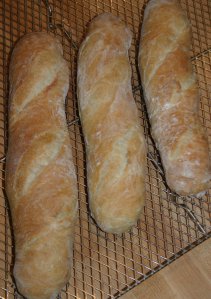
I carefully transferred the baguettes to a semolina dusted peel and slid them onto a baking stone in a very hot oven.  Unfortunately there are no photos of this process as I could not co-ordinate my sliding motion with the timer function on the camera.  My technical prowess still needs a bit of finessing!  However, the sliding went without incident and my loaves stayed relatively straight.  here they are fresh out of the oven.

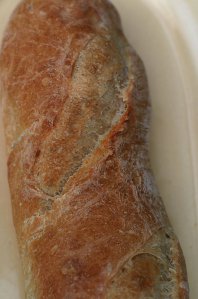
I would have liked them a bit darker but they were registering done (205º F) with the instant read thermometer, and I did not want dry bread.  I was quite pleased with the crackly crust.

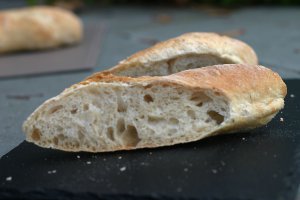
The true test, for all bread freaks out there is looking inside at the “holes” (the crumb structure).  Bread freaks want holes, dentists do not!

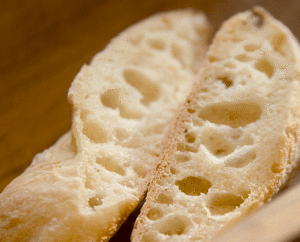
This is the third baguette we have made in the Challenge.  I thought the taste and open crumb structure of the Poolish baguette was quite good, but not nearly as good as the Pain à l’Ancienne baguettes we made in week 21 of our challenge.  Here is a photo of my holes from my Pain à l’Ancienne.  Much more open than the Poolish. 

 If I am going to make baguettes again, it will be the Pain à l’Ancienne recipe for sure.