Monthly Archives: February 2010

32. 100% Sourdough Rye

I KNOW THAT WHEN YOU ARE SHOUTING ONLINE YOU TYPE ALL IN CAPITAL LETTERS.   How do you whisper online?  I need to know because what I’m about to say should be whispered.  “I loved this bread!”  I am whispering it because I am afraid I may be drummed out of the Bread Baker’s Apprentice Challenge.

Most of my bread freak friends who have already made this bread absolutely hated it.  Many of them threw it out.  Some turned it into croutons and others into breadcrumbs. Someone (I won’t mention any names) called it play-doh with caraway seeds.  The main complaint was that it was way too dense and chewy.  This is precisely why I loved it.  This was no spineless bread.  It had guts and personality and wonderful flavour.

The last rye bread we made (New York Deli Rye) was about 1/3 rye flour and 2/3 white bread flour so it had a mild rye flavour.  This bread was 100% rye flour.  The thing you need to know about rye flour is that it contains pentosan, a gum protein that causes the dough to become gummy if mixed for too long.  Extra care has to be taken with kneading this bread.  Rye flour has a very low gluten content so we are warned that a 100% rye bread will not have the same soft and high crumb that a bread made with wheat flour will have.

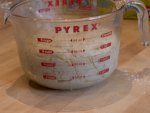
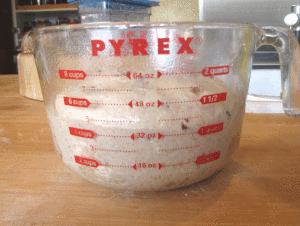
The bread begins with mixing about 1/2 a cup of Phyl (my starter) with rye flour and water.  It is just mixed until all the flour is hydrated.  No need for it to be smooth.  Then this is left on the counter until it doubles in size and this put in the fridge for an overnight rest.

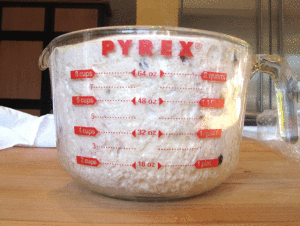
You also prepare a “soaker”.  This is a mixture of pumpernickel grind flour and water.  it is covered and left out on the counter all night.

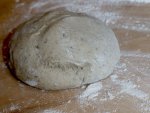
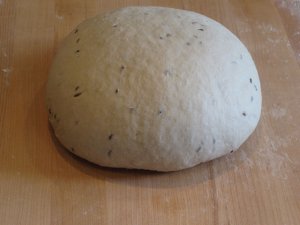
 The next day the soaker, the starter, white rye flour, salt, caraway seeds and water are mixed for about 6 minutes to form the dough.  Then the dough is put into an oiled glass container, covered and left to rise for almost 4 hours, until it doubles in size.  Usually this step takes about 1-2 hours.  The longer rising time is due to the lower gluten content in rye flour.

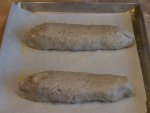
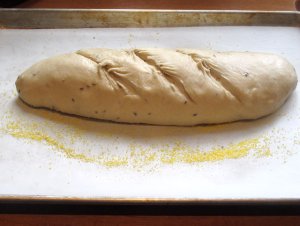
After the dough has doubled, it is gently divided into 2 pieces and then formed into batards (oval shapes).  Since it was quite late by this point, I covered the loaves and refrigerated them overnight.  The next morning  I took them out of the fridge and let them sit on the counter for about 4 hours, covered with plastic wrap.  You can see that they expanded widthwise, but not very much in height.

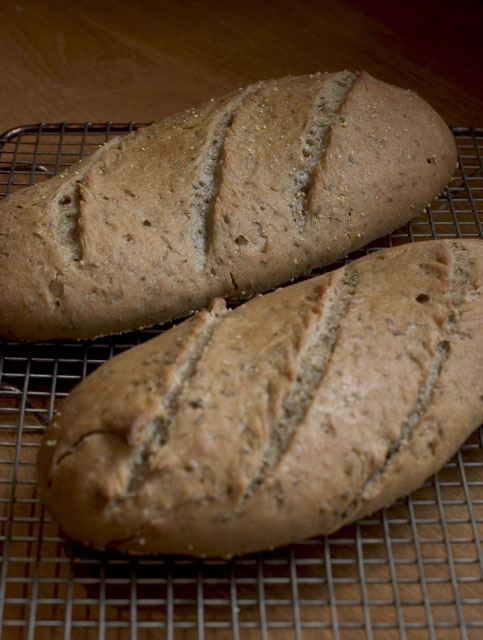
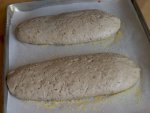
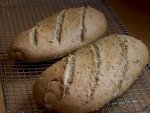
 Then they were scored and baked in a very hot oven.

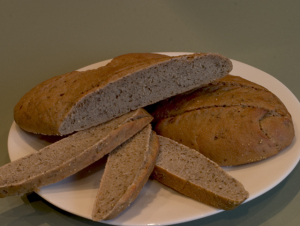
Indeed the crumb on this bread is not very open, quite dense.  And true, the bread did not rise very much, so my loaves were quite flat.  But I loved the true rye flavour of this bread and the chewy texture.

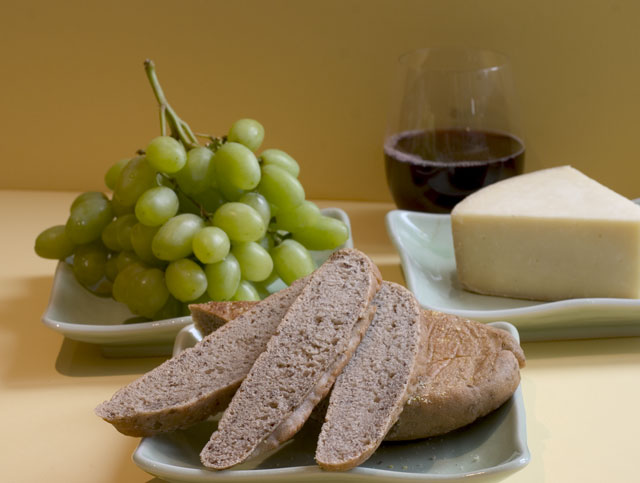
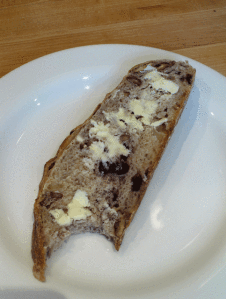
The bread was great with Le Blackburn cheese, grapes and a glass of Syrah wine.  I had it again this morning toasted for breakfast and loved it even more.

31. New York Deli Rye

New York Deli Rye“.  Those very words conjure up some pretty powerful images.  For Peter Reinhart, author of  The Bread Baker’s Apprentice, those words bring back the childhood memory of having to make that agonizing decision on visits to Hymie’s Deli; would it be a roast beef, schmaltz  and onion sandwich or a corned beef,  coleslaw and russian dressing sandwich?  But always on onion rye!  Oh, such decisions. 

For me, the memory does not involve rye bread at all.  I know, sacrilege to deli lovers everywhere and I apologize.  My starch of choice was potato chips.  I’d wrap the  pastrami slices around a great big potato chip.  The folded chips were the best.  (We called those wish chips)  Okay, all you cardiologists out there please don’t comment on this post warning me about impending heart disease.  I do not indulge in this on a regular basis any more, but every once in a while…


Bread # 31 in the Bread Baker’s Apprentice Challenge is New York Deli Rye.  The version in the book adds sauteed onions to the dough.  This seemed kind of strange to me.  (I know. … This coming from a woman who wraps her deli meat around potato chips).  I guess it just seems odd because I love rye bread best for breakfast, toasted with salted butter and American Spoon sour cherry preserves.  I ate this for breakfast every day for 2 entire years.  I tend to do that.  These days it’s Oat Squares cereal, with a handful of Fibre First on top and a sliced banana.  I’m just a wild and crazy girl!  All this to say, I decided to leave out the sauteed onions.

This bread is a two day affair.  I was thrilled because I got to use my sourdough starter “Phyl” again in this recipe.  I mixed 1 cup of Phyl with white rye flour and water and it sit on the counter for about 3 hours until bubbly.  Then into the fridge it went for an overnight rest.  The next day the starter is mixed with the rest of the ingredients (bread flour, rye flour, brown sugar, salt, yeast, caraway seeds, buttermilk and vegetable oil). 

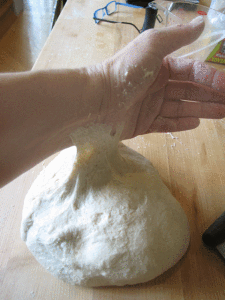
Rye flour has a very low gluten content (6-8%) as compared to regular bread flour (12%).  What this means is that you have to be careful and not knead this bread for too long or else the dough becomes very gummy.  I kneaded it by hand for about 6 minutes.  A regular wheat dough recipe normally requires 12 minutes of kneading.  I ended up with a beautiful supple dough.

After the dough rests and doubles in size, it’s time to form the loaves.  This bread could be formed into sandwich loaves and baked in a loaf pan but to me, rye bread should be an oval free form loaf.  So I shaped mine into batards (torpedo shape) so I would have a nice oval rye loaves.  Here’s a video of me forming the dough into batards.  Since no one was home at the time, I managed to figure out how to mount the camera onto a tripod as shaping batards takes 2 hands.  Another new skill mastered!

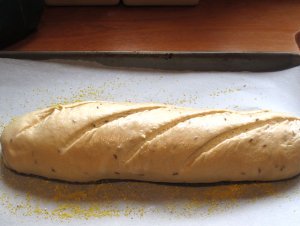
After about 90 minutes they have grown to about 1 1/2 times their original size and it’s time to slash.  Like this:

And like this: (I think I’m finally getting the hang of this!)

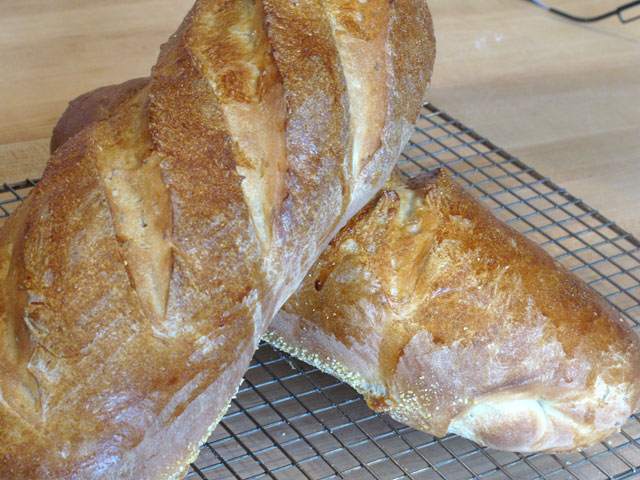
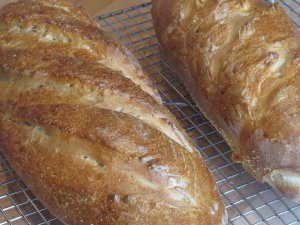
I brushed the loaves with beaten egg white to ensure a shiny finish.  I was not disappointed.  These were some gorgeous burnished loaves.

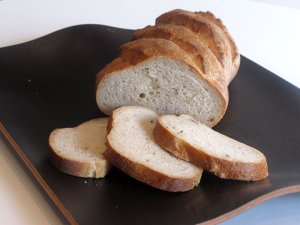
Slicing into the loaves revealed a fairly tight crumb with just enough holes to make me happy.

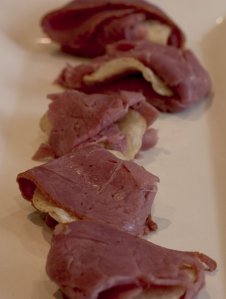
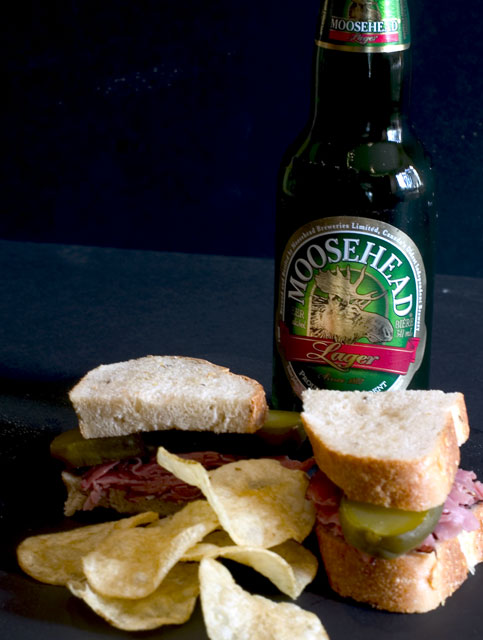
 This rye bread made excellent pastrami and dill pickle sandwiches and I threw in a few potato chips for old times sake.


Check out what some of my fellow Bread Freak friends thought of this bread:

Oggi of “I can do that” loved the flavour and chew of this bread.

Sally of “Bewitching Kitchen” was surprised at how much she liked this one.

Mags of “The Other Side of 50” made adorable bread bowls.

Paul of “Yumarama” changed things up a bit and used some dark rye flour.

Katya of “Bread Babes” baked her rye in a clay baker.

#30. Basic Sourdough Bread – My Bread Bat Mitzvah

There is a right of passage in the Jewish religion known as a Bar or Bat Mitzvah.  When a young boy turns 13 he has a Bar Mitzvah and we say “Today you are a man.” For girls the age is 12 and it is called a Bat Mitzvah (we mature faster!).  I feel that making sourdough bread for the first time is a right of passage for a baker.  This was my virgin sourdough.  Although I have created 29 other breads in this challenge, not until I reached the Basic Sourdough did I feel that I had the right to declare myself a bread baker.  However, with my first sourdough under my belt, I am proud to shout, “Today I am a bread baker!”

If your bread knowledge is limited you may be wondering what all the fuss is about?    What exactly is sourdough bread is and what makes it so special?   As Peter Reinhart says, “What we call sourdough bread should more correctly be called wild-yeast breads as it is natural wild yeast that leavens the loaf and not all wild yeast breads taste sour.  By wild yeast we are referring not to commercial yeast that you buy in the supermarket, but a homemade starter, which begins with flour and water.  As this mixture sits at room temperature it picks up natural yeast spores from the air and the mixture begins to ferment and a wild yeast starter is formed.  A portion of this starter is used in the making of sourdough bread and this starter dough acts as the leavener in the dough so you do not have to use any commercial yeast. 

This is a very rudimentary explanation of what sourdough is.  If you are the type that needs a deeper scientific explanation (and you know who you are) check out this web page on the Bread Baker’s Forum.  This wild yeast starter takes about 6 days to make and then you can tuck it in the fridge and basically ignore it, except for a weekly feeding where you add more flour and water to it to refresh it.  When you’re ready to make sourdough bread, just scoop out some starter and go.  Starters can live and thrive for years.  In fact they get better with age (just like women!).  Many people even name their starters. 

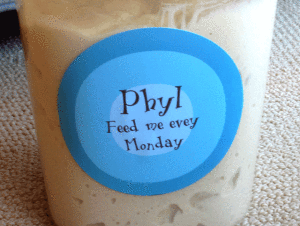
 I have named mine Phyl, in honour of a fellow BBA baker.   With his guidance and detailed instructions, I made my own starter.  He has idiot proof instructions on his web site.  I followed the steps, day by day.  When I arrived at day 4, Phyl said to wait until the starter doubles in volume before proceeding.  He said it may take quite a while.  By the next day mine still had not doubled.  I was convinced it was no good and e-mailed Phyl for advice, asking him if I should chuck it out and start again.  He advised me to goose it with a tablespoon of rye flour and see what happens.  Sure enough it doubled within two hours.  Here is a picture of “Phyl”.  He is 4 months old now.

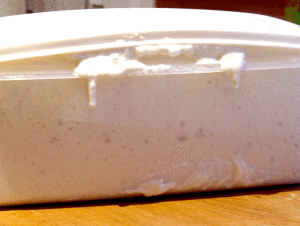
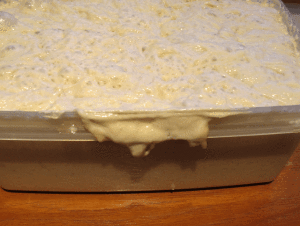
Be sure to use a large enough container to allow the starter to grow and thrive.  If you don’t you will end up with starter all over the inside walls of your fridge when it outgrows it’s home.

 To make the sourdough bread 2/3 of a cup of the starter are mixed with bread flour and water.  This is then left on the counter for several hours until it doubles.


Once it has doubled it, into the fridge it goes overnight to allow further good flavours to develop.  The next day,  this stage 2 starter is mixed with more flour (I used 1/3 whole wheat flour and 2/3 high gluten bread flour), salt and water.  You will notice that commercial yeast has not been added at any point.  Phyl (my wild yeast starter) is going to do all the heavy leavening.  This is a very sticky dough.

Since today is the day I have declared myself a bread baker, I decided to be even more authentic and knead by hand.  I figured out how to add video to my blog, so here is a short video of me kneading by hand.  Please ignore the  music in the background.  It is my son’s “Jazz and Jam” toy and it is the most annoying toy in the world.

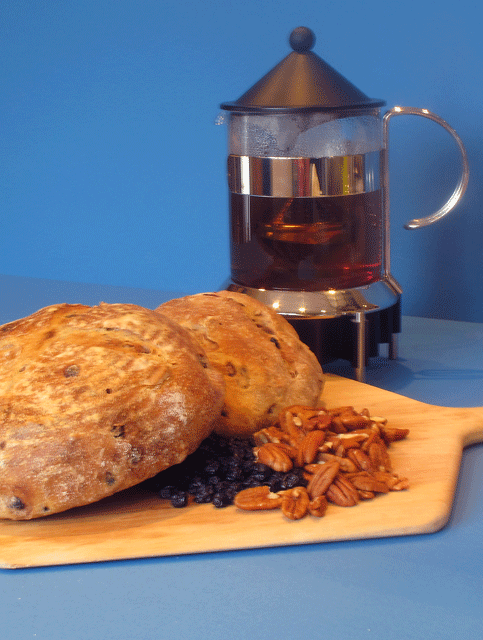
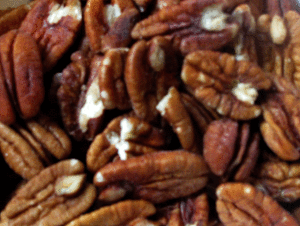
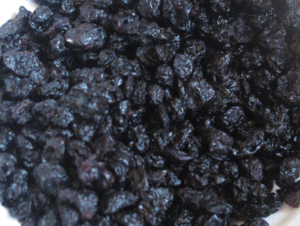
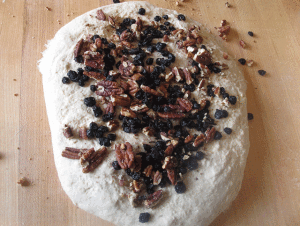
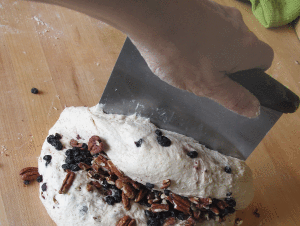
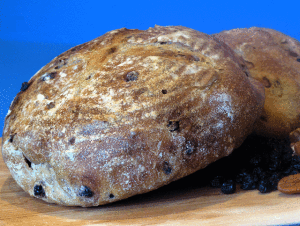
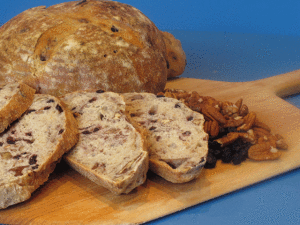
Inspired by a sourdough bread I recently ate on my trip to Jerusalem, I added dried blueberries and toasted pecans to my bread.  Additions are best kneaded in during the last 2 minutes of kneading so that they do not get too crushed.


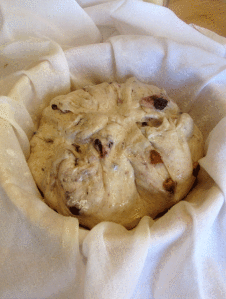
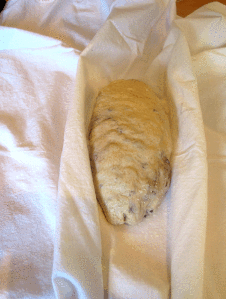
The dough is set aside to rise for about 2 hours until doubled.  Then it is divided in half and shaped into boules (balls) or batards (ovals).  The boules are placed into bannetons (special baskets) or a stainless steel bowl. lined with an oiled and well floured cloth, for their final proofing.  The batards are placed on a stiff cotton or canvas cloth with the sides built up around the dough so that the oval shape holds and does not flatten.  I made one boule and one batard.  After about 3 more hours the loaves had finished their final rise and were ready for the oven.

The loaves are baked on a baking stone in a hot (500 degree F) oven for about 20 minutes.

I had to slice into the bread before the recommended 45 minute cooling waiting period was up because someone was impatient.

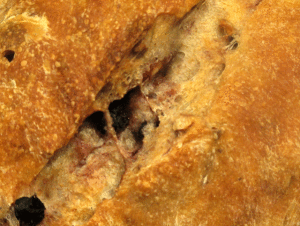
The sliced bread was quite beautiful studded with pecans and blueberries.


The bread was even better the next day with butter for breakfast .

#29. Pugliese bread


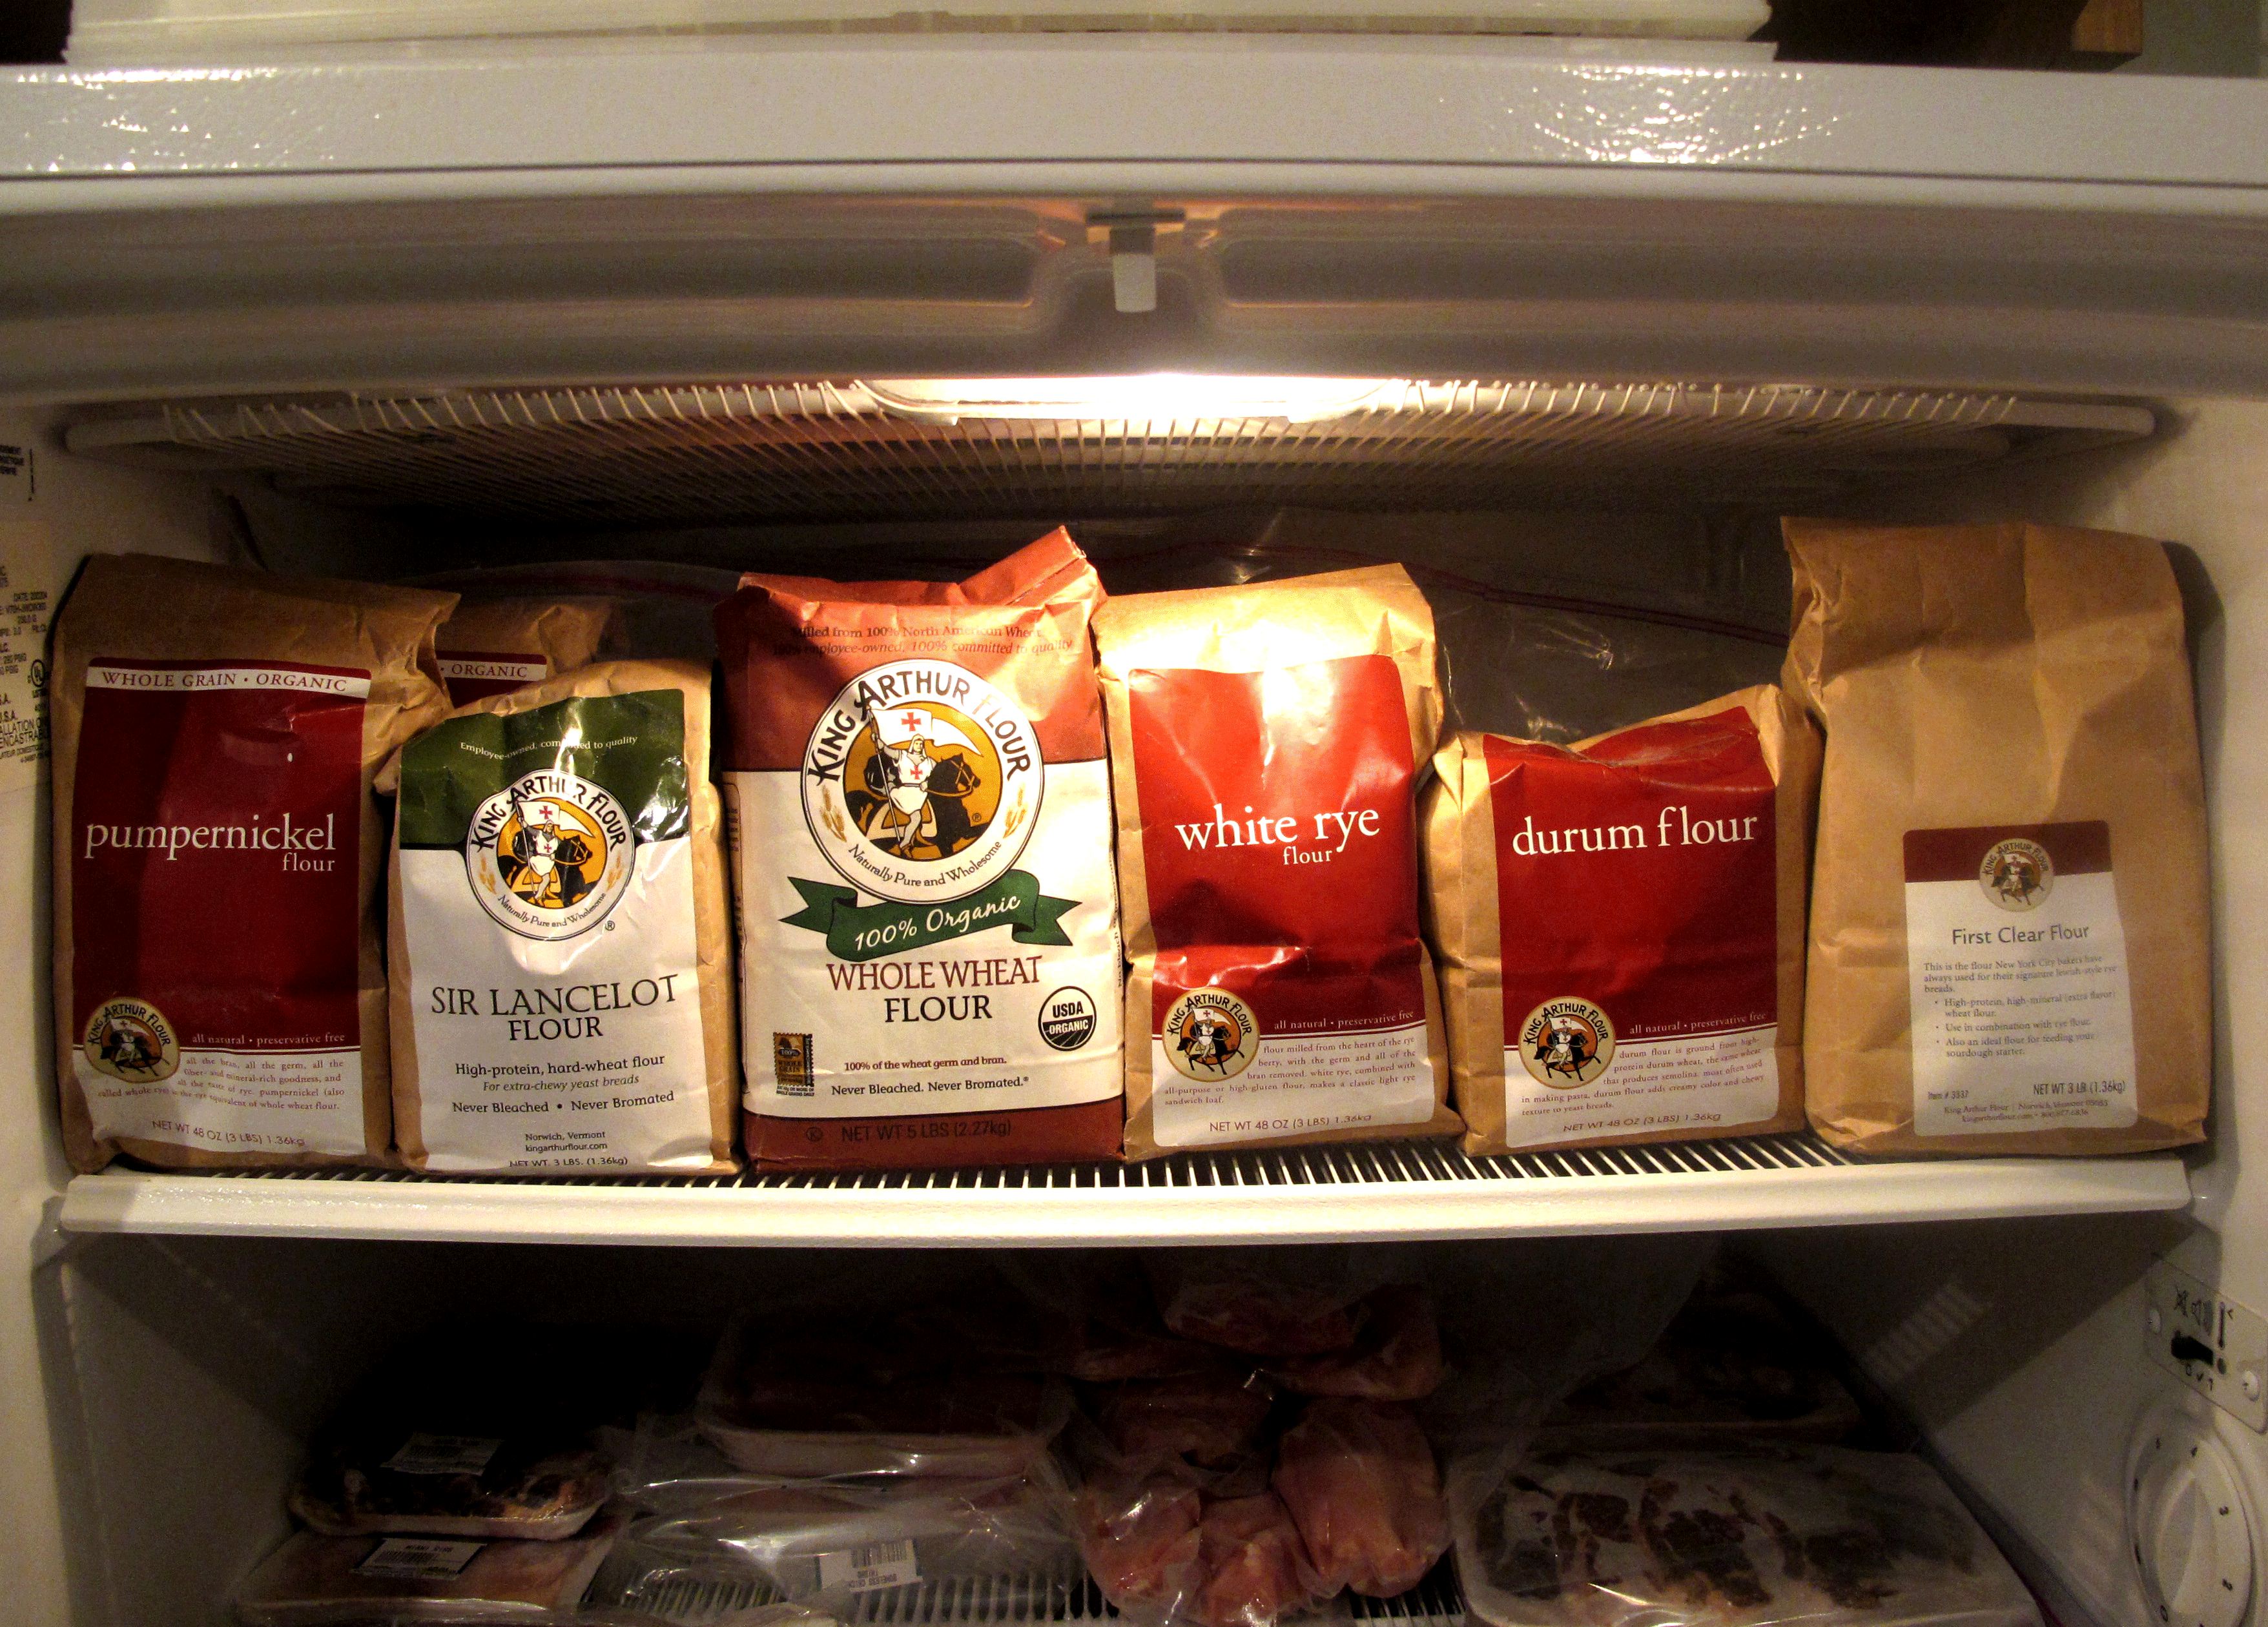
 Fancy durham flour!!?? Are you kidding me?  As I read through the ingredient list for this 29th bread of the Bread Baker’s Apprentice Challenge, I was stunned to discover that we needed yet another variety of flour to produce the Pugliese Bread.  My freezer already looks like an ad for King Arthur Flour.

In my pantry and freezer I currently have all-purpose flour, bread flour, high gluten bread flour, semolina flour, clear flour, white rye flour, pumpernickel flour, whole wheat flour and pastry flour.  But with a name like “Fancy “, how could I resist?  Of course I caved and bought a bag. 

Pugilese bread hails from the Apulia region of Italy.  It is similar to Ciabatta bread except that it is usually shaped in a round rather than the slipper shape of the ciabatta.  The other distinction is that authentic Pugilese bread uses  golden durham flour, which is finely milled and then packaged as Fancy durham flour.  And of course, I want my Pugilese breead to be authentic.

The making of this breads begins on day one with the preparation of a starter dough known as a biga.  The biga contains flour, yeast and water.  It rests on the counter for several hours and then is put in the fridge overnight to help boost flavour.  The next morning the biga is removed from the fridge and allowed to come to room temperature.  Then the final dough is made.  This is quite a wet dough. 
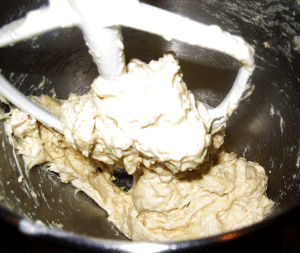
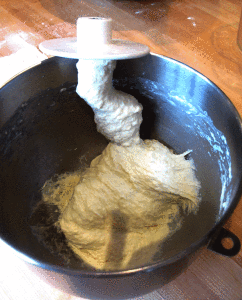
 I used the Kitchen Aid and mixed for about 6 minutes until the dough was smooth.  The dough cleared the sides of the bowl, but still stuck to the bottom.  This is exactly what you want.


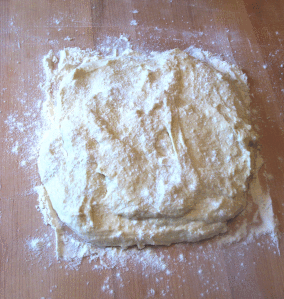
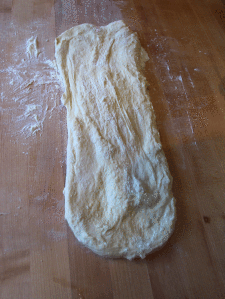
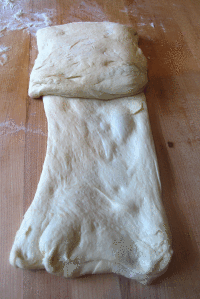
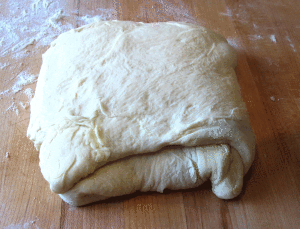
Then the dough is transferred to a heavily floured counter and is stretched and folded 3 times with a 30 minute rest between each session of stretch and fold.  


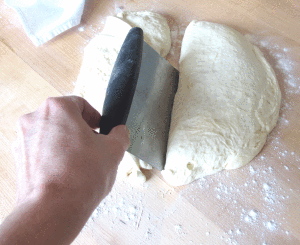
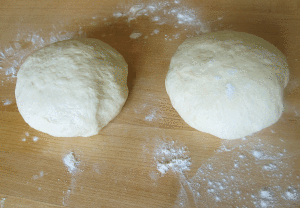
 Then the dough is placed in a bowl and covered with plastic wrap and covered for 2 hours.  Next, divide the dough in half and form 2 boules.

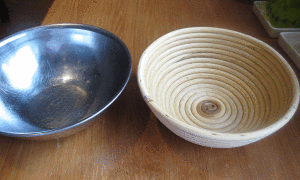
 Then the dough is set aside for it’s final rise in proofing bowls.  I was quite excited to try out my proofing basket.  I found it in my cupboard a few years ago and had no idea what it was for until I started this challenge.  I only have one of these so I used a small stainless steel bowl as well.

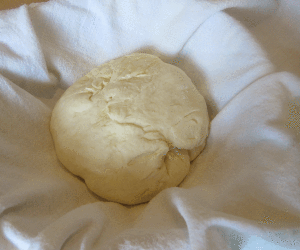
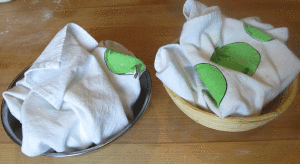
 Each bowl is lined with a clean cotton or linen towel which has been slightly sprayed with pam and dusted with flour.  The boules of dough go in seam side up and are covered with the towel for their final rise.

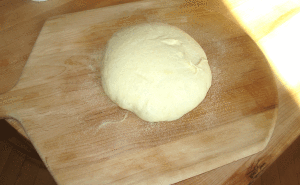
After about 90 minutes, the boules are placed on a baking peel, scored with a sharp knife and transfered to a baking stone in a very hot (500) oven.

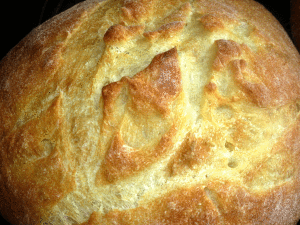
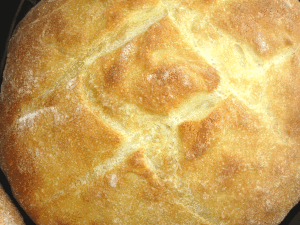
After about 20 minutes the loaves are done.  Scoring skills still need work.

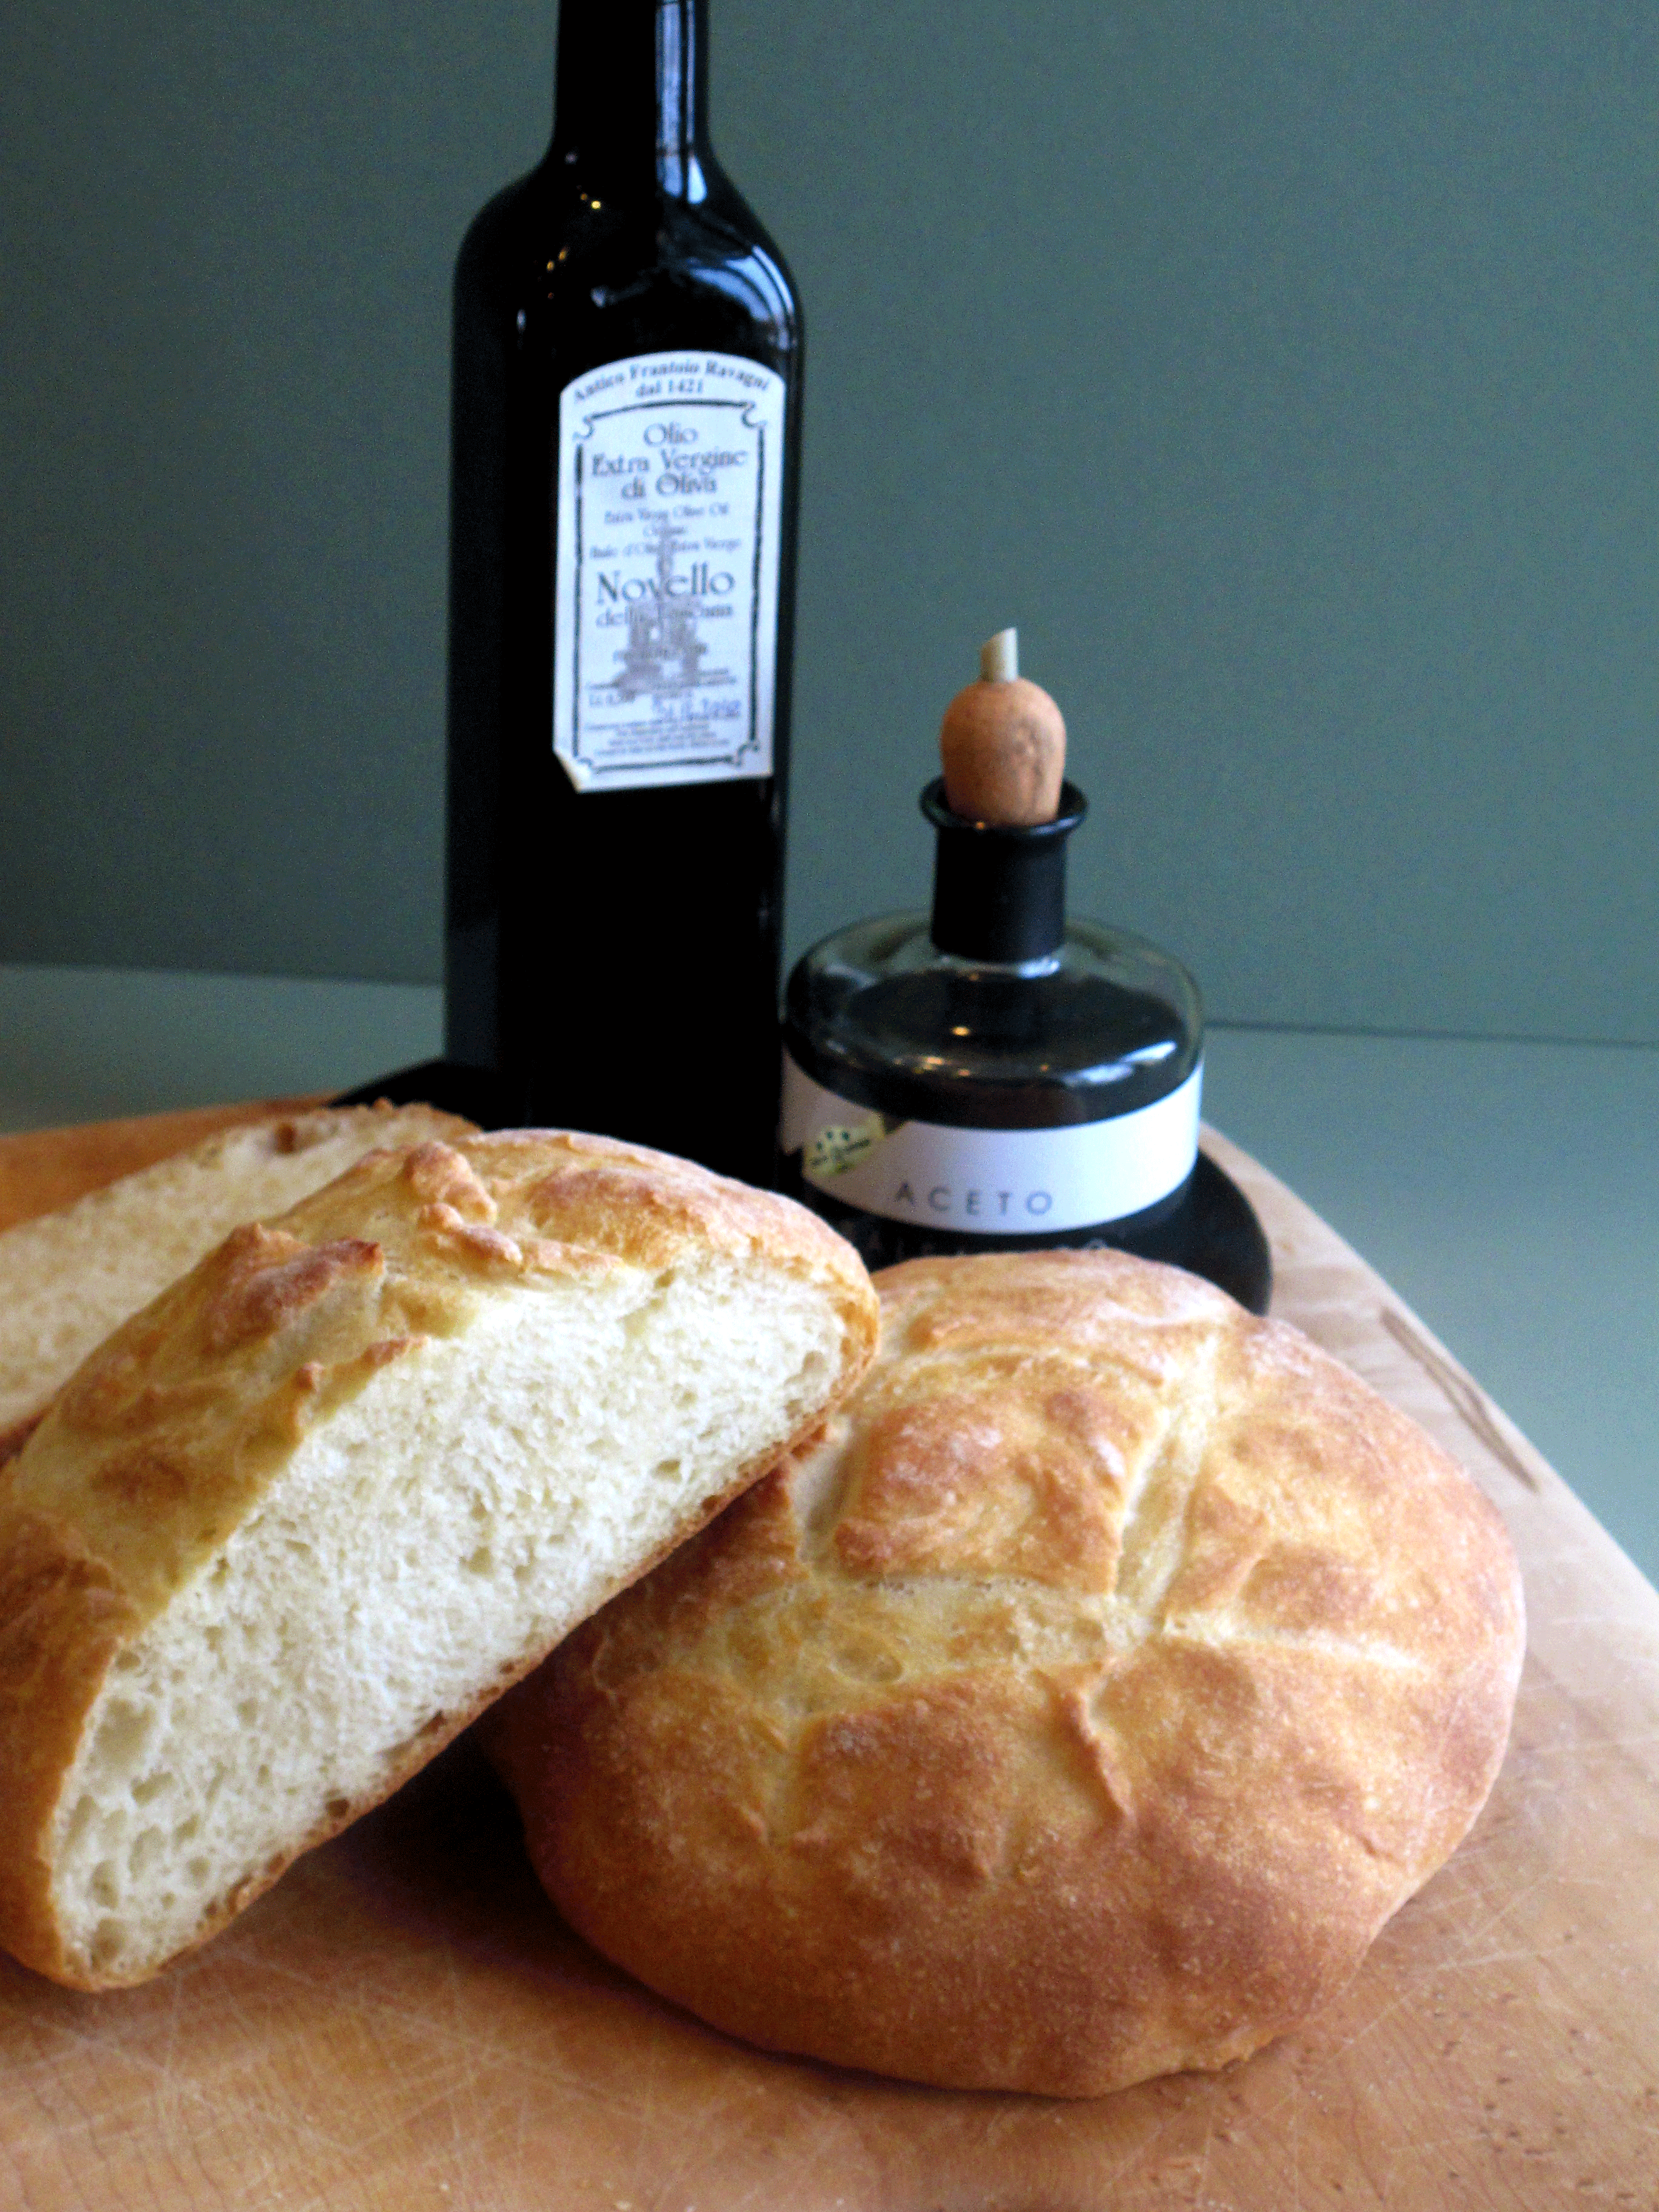
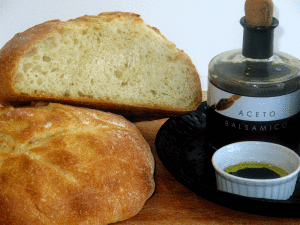
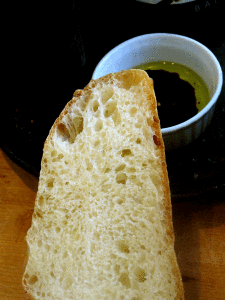
The bread was delicious dipped into olive oil and balsamic vinegar. 

The crumb was a bit tighter than I had imagined it would be, given the high hydration of this dough.

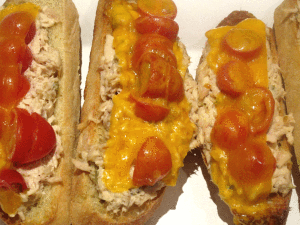
Pugilese bread is perfect for tuna melts the next day!