Monthly Archives: April 2010

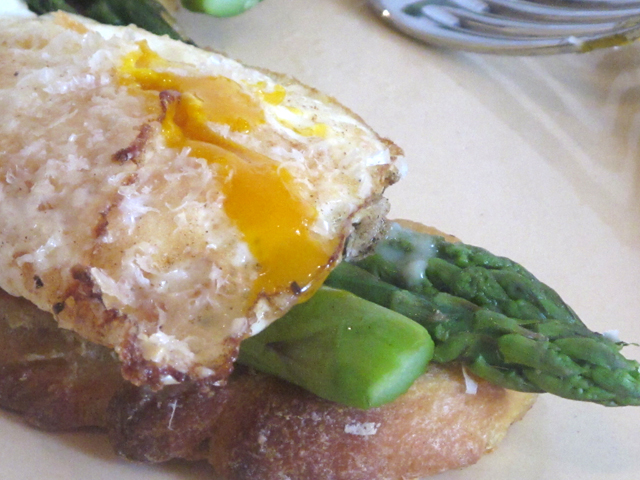
Asparagus Milanese French Toast for Dinner

Tonight’s dinner was inspired by a long ago and almost forgotten memory.  My daughter is spending the year travelling the globe and early this morning she texted me from Berlin. “Apparently it’s white asparagus season here.  It lasts for 3 weeks then goes away.  It’s a big deal.  Thought you’d like to know.”   Believe me, I know what a big deal white asparagus is! 

I was so traumatized by white asparagus that I am unable to eat or prepare it ever again.  In between my first and second year of culinary school I worked at a restaurant in Toronto called Orso.  I was the garde manger chef.  Garde manger means “keeper of the food”.  In short, I was the salad and cold appetizer chef.  It is an entry level position. The executive chef was named Helmut, an school stern German chef.  Kind of scary.  One of my jobs was to peel the white asparagus stalks. I was given a peeler and set to work.  Everytime I tried to peel them, the stalks would snap in half.  The chef kept yelling at me that these were very rare and expensive asparagus and they were only available for a few weeks every year.  I brought in my colorful peelers from home which were way easier to use.   But the chef yelled at me for using the wrong peeler.  I was never so happy to see white asparagus season come and go! 

In case you were wondering, how white asparagus differs from the more common green variety, here’s the explanation.  White asparagus comes from the process of etiolation, which is the deprivation of light.  While the asparagus grows, farmers mound earth uparound  the beds to keep the vegetable completely covered. This prevents any contact with sunlight, which would trigger the process of photosynthesis, and thus stimulate the production of chlorophyll, the pigment that lends plant matter its characteristic green colour.

Needless to say, I do not eat white asparagus.  But I love green asparagus. (aside from the effect it has on the aroma of your pee!)  I had bought a beautiful big bunch of it at the market yesterday and was planning to have it for dinner.  I also had a loaf of Tuscan bread in my freezer from last week.  Tuscan bread contains no salt so it needs very flavourful food to accompany it. I found inspiration from Chef Massimo Capra’s Asparagus Milanese French Toast.  My flavourless tuscan bread was the perfect loaf for this savory dish, although challah or a white hearty country bread would be great as well.

Asparagus Milanese on French Toast

Adapted from Chef Massimo Capra

1 bunch green asparagus
3 tbsp butter
5 eggs
4 tbsp Parmigiano, grated
4 slices bread
1/2 cup milk
Salt & pepper

1.  Preheat oven to 350º F.

2.  Break the ends off the asparagus and peel the stocks if desired.  (I never do if they are fresh and young).  Bring a large pot of water to the boil and add asparagus.  Boil uncovered for 2-3 minutes.  Drain and immediately rinse under very cold water.  Set aside.

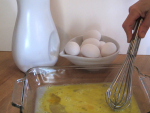
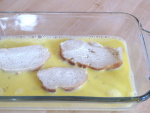
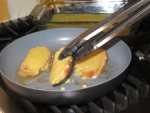
3.  Melt 2 tablespoons of butter in large frying pan.  Prepare the French toast: Mix 1 egg with the milk and season to taste. Dredge each slice of bread into the mixture and sauté in a frying pan with until golden. Set French toast aside in a large Pyrex baking dish.

4.  Melt 1 tablespoon of butter in large frying pan.  Fry 4 eggs, sunny side up, gently remove from pan and set aside.

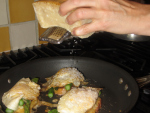
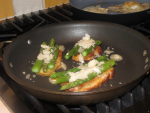
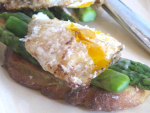
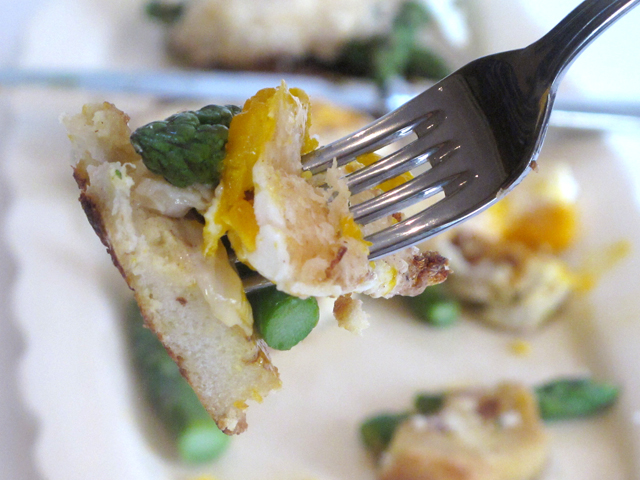
5.  Top each slice of French toast with several spears of asparagus.  Sprinkle some parmesan cheese over asparagus.  Top asparagus spears with fried eggs and sprinkle more parmesan cheese over the eggs.  Place Pyrex baking dish in preheated oven for 3-4 minutes, just until cheese melts. Serve immediately. 


#38. Tuscan Bread (Salt and Serenity bakes without salt!)


This week’s bread in the Bread Baker’s Apprentice Challenge presented me with a real dilemma.  You see, Tuscan bread is unique in that it is one of the only breads, the world over, that is made without salt.  If you are a regular reader of my blog you will know that those words, “without salt” chill me to my very core.  Salt is the essence of flavour. It provides a depth and complexity to whatever you are preparing.  It helps to enhance all the other ingredients and provides balance to any dish.  My greatest fear is that my doctor will tell me I have high blood pressure and then recommend a sodium reduced diet.  I am so worried about this that I actually bought a home blood pressure monitor and I religiously check my blood pressure every month.  It’s been averaging about 114 over 70, so for now I’m safe.

The response from my fellow BBA Challengers was less than stellar.  Phyl, of Cabbages and Kings said, “But, the big question was, how would it taste? Could a salt-free bread really stand up to the other amazing breads that have come out of the BBA Challenge? Would the flour paste make such a huge flavor difference that, as PR suggests, I might decide to incorporate it into other bread recipes?  In a word — meh.”

Sally of Bewitching Kitchen said,“… the lesson I took from this recipe wasthe fact that you can make a bread without salt, doesn’t mean you should”

Ok then, maybe I should just add salt to this bread.  But I think that would be cheating.  I decided to do a little research to see why the Tuscans, who make such fabulous food otherwise, would leave out the salt.  Most queries came up with the response that once upon a time, there was a prohibitive tax on salt in Tuscany and so people could not afford to use it.  Okay, I understand that was the case many years ago, but why would sane Tuscan people with fully functioning taste buds still put up with that?  There had to be another reason.

Renowned cooking  teacher and Florentine expert Giuliano Bugialli explains,  “The fact is that Tuscan food is highly seasoned and has always been so and the bread, which is eaten with the main course and is an essential part of the meal, provided a better balance without salt.”   From a culinary standpoint that made sense to me.   Alright then,  game on!  This was going to   be a double challenge for me:

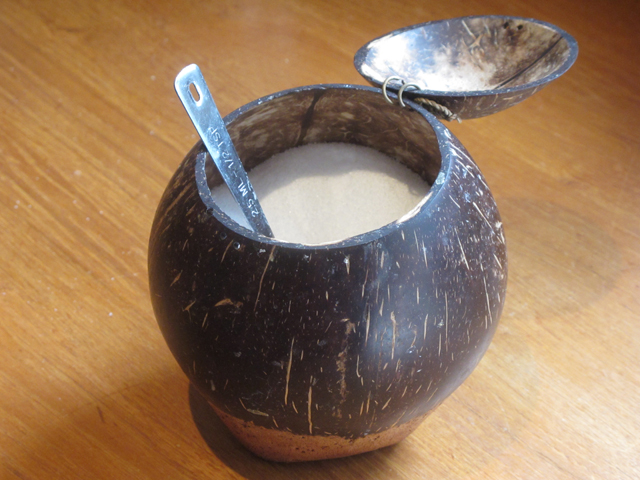
1. Resist temptation to add salt and make the bread as intended.  This proved difficult as my ever-present beautiful coconut husk salt-cellar sits out on the counter in plain sight.

2.  Find some amazingly flavourful foods to go with this bread.

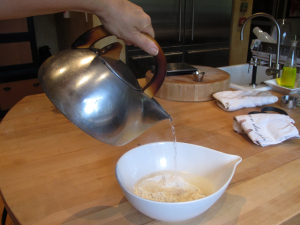
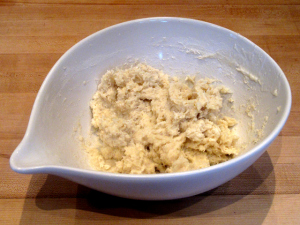
This bread is fairly simple to make but does require two days.  On day one you add boiling water to some bread flour, stir it up and let it sit out overnight on the counter.  Peter Reinhart explains that, “…the gelatinized starches release flavors that give this bread a distinct quality, quite unlike any other bread.”  Well good, I thought, this saltless bread is going to need all the help it can get.  As I mixed up this concoction I had a vague memory of smelling this particular aroma before but could not quite place it.


The next day the paste is mixed with yeast, olive oil, water and more bread flour.  Again I had a nagging sense that I had smelled this aroma before, but where?  I just could not place it.

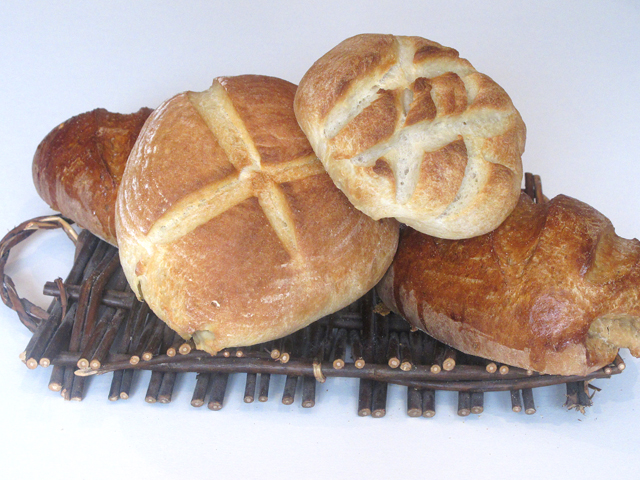
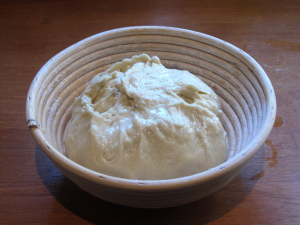
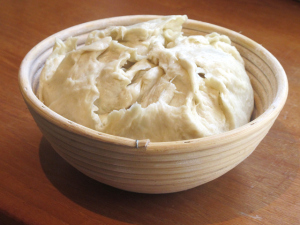
The dough was covered and set aside to rise until doubled.   Then I formed it into two loaves.  I chose the boule shape and decided to let it have it’s second rise in a banneton (a special wicker bread basket used for proofing dough).  The banneton would give the bread a beautiful appearance even if the taste was disappointing. As I only have one banneton, the other boule was left to rise freeform.  Within an hour the dough had doubled so it was time to bake it.

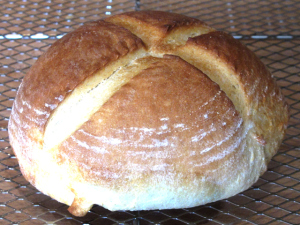
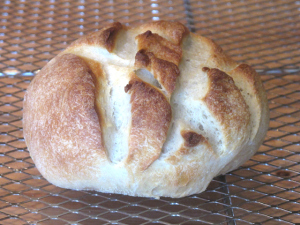
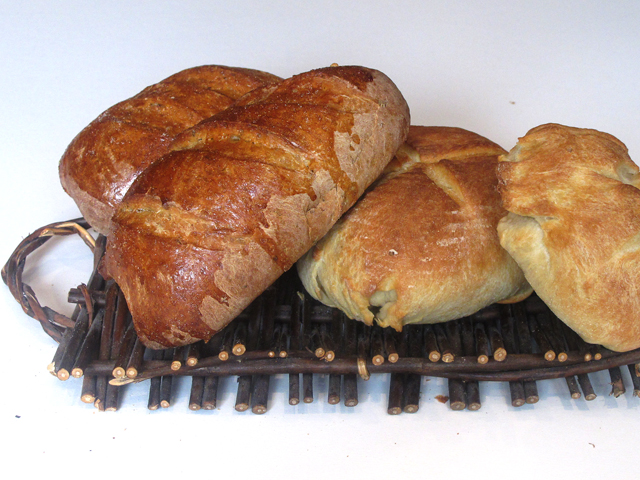
I slid my freeform loaf onto the baking stone in the oven.  Then I gently tipped the bread out of the banneton and onto my bread peel.  I gave it a quick slash with my sharp knife and slid it onto the baking stone .  So far, so good.  I placed a pan of hot water beneath the baking stone to provide extra moisture to the oven.  This should ensure a better shine on the crust.  25 minutes later the breads were done.  They looked just gorgeous.

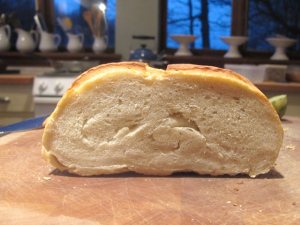
I let them cool for about an hour and sliced into them.  I handed a slice to my friend and as she held it to her mouth she took a sniff and said, “This bread smells like play-doh.”  AHA!!   That’s what the smell I could not place was.  Then I took a bite.  The play-doh aroma perfectly matched the play-doh taste.  You may be wondering how I know what play-doh tastes like. As a child I  sometimes tasted the food creations my sisters and I crafted from play-doh.  (Okay, maybe that should be placed in the “too much information” file).  To be fair, I think I may have underbaked this bread a bit as the center, even after cooking was quite doughy.

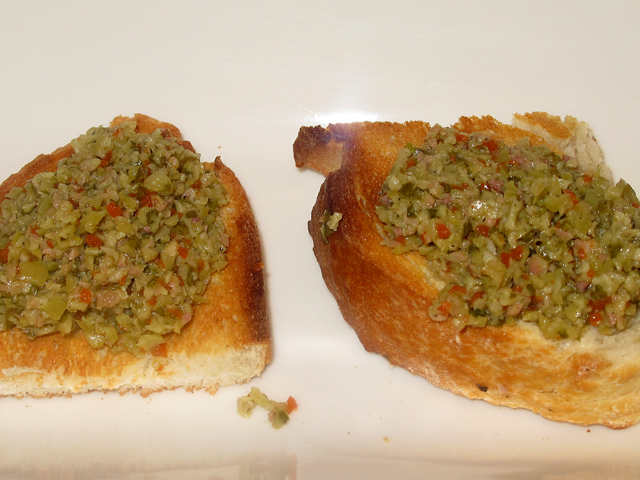
If anyone ever asks you to explain to them why most baking recipes contain a bit of salt all you have to do is hand them a slice of this bread.  No verbal explananation will be necessary.  This bread tasted flat, dull and lifeless.  But, I was not to be deterred.  I had a challenge of making this bread taste good.  Going through the list of possibilities of salty foods to pair this one with I immediately thought of my friend Sandy’s olive tapenade.  I whipped up a batch and toasted some of this bread and slathered it with the tapenade.  It did a wonderful job of masking the play-doh taste.

Cocktails at the Cottage

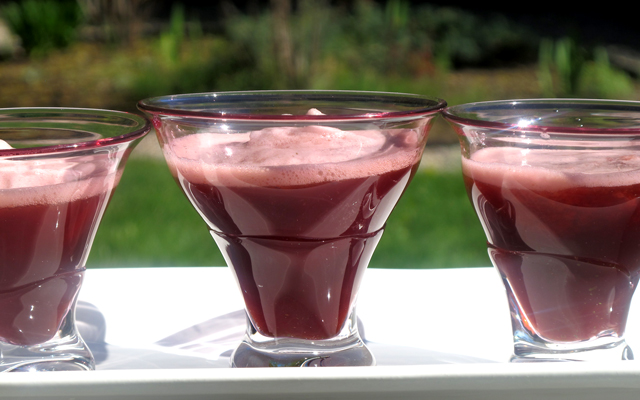
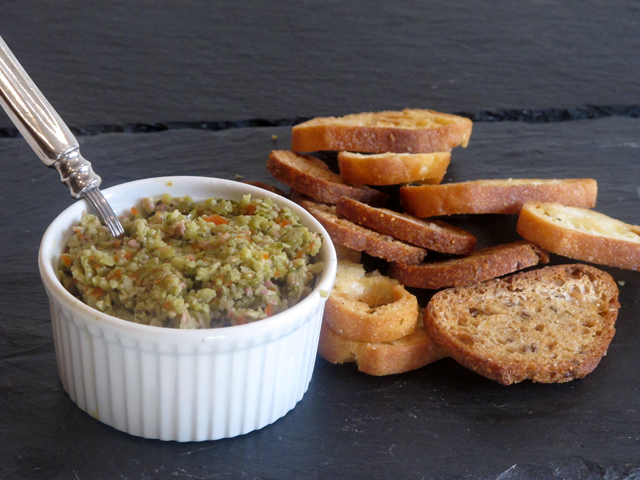
I think I have a special fondness for these recipes because the last time I  had them was at my friend Sandy’s cottage.  Sandy and her husband are the ultimate hosts.  After almost 3 weeks of rainy July weather, upon our arrival, they arranged for the sun to come out and there it stayed for the entire 3 days of our visit. Each day, at precisely 5:15 p.m., drinks and hors d’oeuvres were served on the dock.  There we were, lounging by the lake in our comfy Muskoka chairs and Sandy appeared with a bowl of this tapenade and flatbread crackers.  I think my love of this tapenade may also have something to do with the fact that she served it with these ice cold pomegranate martinis. 

Any left over tapenade keeps well in the fridge for weeks.  It is also wonderful in sandwiches and tossed with hot pasta.

Sandy’s Green Olive Tapenade

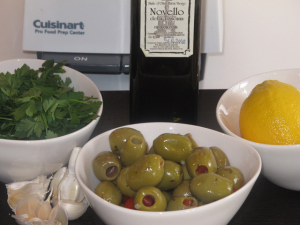
2 cups green olives with pimentos, drained of brine
1/3 cup Italian parsley leaves
1 large clove garlic
¼ cup extra-virgin olive oil
2 tablespoons lemon juice
¼ teaspoon freshly ground black pepper

 1.  Place green olives and parsley in the bowl of a food processor fitted with the metal blade.  Turn machine on and drop garlic clove through the top while blade is spinning.  Pulse mixture about 10 times until olives are coarsely chopped.

 2.  Add olive oil, lemon juice and black pepper and pulse 2-3 more times.  You want a chunky mixture.  Do not process until smooth.

 3.  Transfer mixture to small serving bowl and serve with crackers or slices of toasted baguette.

Frozen Pomegranate Martinis

This recipe is adapted from a July 2000 recipe in Gourmet Magazine.  In the original recipe they used frozen chunks of watermelon instead of the pomegranate ice cubes.

You can actually feel virtuous drinking this cocktail.  The antioxidants in pomegranate juice have been shown to be beneficial to heart health by breaking down fatty deposits on the artery walls.  This drink requires some advance planning as you need to make POM ice cubes from the juice.  Once frozen, they will keep in a zip-loc bag in your freezer for several months.  It’s always good to have a bag of POM cubes on hand.  You never know who will show up.  Serves 4

2 small bottles POM wonderful pomegranate juice (each bottle is 473 ml)
zest from 1 lime
¼ cup granulated sugar
¼ cup lime juice
½ cup Vodka  (regular, raspberry, lemon, mandarine) use whatever you have

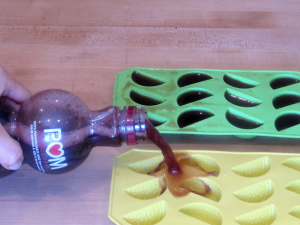
1.  Pour 2 bottles of pomegranate juice into ice cube trays and freeze for several hours, until solid.  If not using right away, frozen juice cubes can be kept in a zip-loc bag.

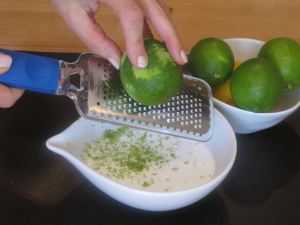
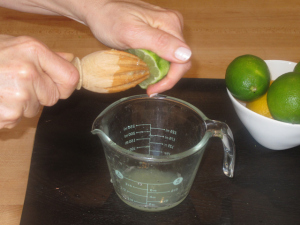
2.  Zest Lime and add to sugar.  Juice limes.

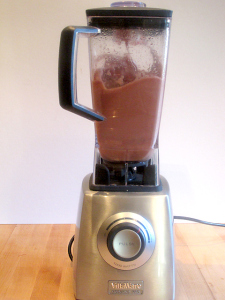
3.  In a blender, combine half the juice ice cubes, lime zest, sugar, and vodka.   Blend until almost smooth and add remaining juice cubes, a few at a time, blending until totally smooth.

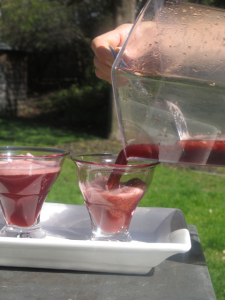
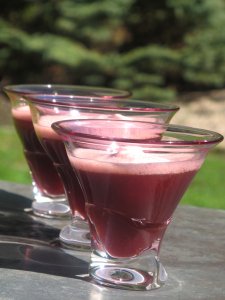
3.  Pour into martini or wine glasses and serve with a straw.  Beware of a brain freeze if you slurp too fast.

#37. Swedish Rye Bread and memories of an awkward teenage date.

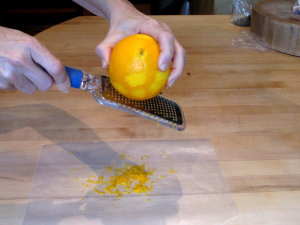
In week 37 of the Bread Bakers Apprentice Challenge we tackle Swedish Rye bread. How, you may ask, does Swedish Rye differ from the regular rye bread we are all familiar with?  This bread is flavoured with licorice flavoured aniseed and fennel seed and a pinch of cardamom.  It also calls for dried orange zest.  Fellow challenger Janice, of “Round the Table” is so dedicated, she dried her own orange zest from oranges growing  in her own yard.  Her own orange trees!  I am more than a little envious.


 To be honest, I’m not much of a black licorice lover. I’m more of a Twizzlers girl! 

My dislike of the licorice flavour probably goes back to when I was 18 years old and went out on my first real “grown up” date.  You know, dressing up and going to a nice restaurant, not just “hanging out” at his parents place or yours!  Things were going well until after dinner when the waiter brought 2 flaming liqueurs to the table.  I had no idea what you were supposed to do.   Should I blow out the flame or wait until the flame burned out and then drink it.  It was all just so awkward.  We  just stared at the drinks and then at each other, both too embarrassed to ask what to do.  Eventually the flame burned out and we drank the liqueur.  It was awful.  Eventually the romance also burned out (OK, full disclosure here, he dumped me!) I guess ever since then, licorice flavoured things have left a bitter taste in  my mouth. 

 Since then I have learned that right after the drink is lit you are supposed to blow it out and then down it.  For the more adventurous, you can take the shot and hold it in your mouth and then light the sambuca from your mouth and let the flames light up momentarily before swallowing the shot.  And then in the “don’t try this at home kids” category, you can let the flame keep burning and down the shot while still on fire. I think the logistics of this would be quite challenging and I can only imagine setting myself on fire if I tried to do this.

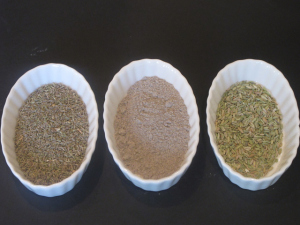
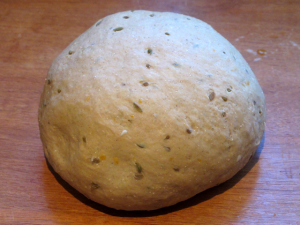
Whoops, I digress.  Back to Swedish Rye Bread.  To say that I was not looking forward to this bread was an understatement.  I was telling my friend Ross about this bread and he mentioned that he loved licorice flavoured foods.  I promised  I’d bake it for him.  This bread takes 2 days to make.  On day 1 the starter “sponge” is prepared.  It contains some of my sourdough starter, molasses, orange peel, aniseed, fennel seed, cardamom amd some white rye flour.  The next day the sponge is mixed wth yeast. salt, brown sugar, shortening and bread flour.  After a quick 6 minutes of kneading, I had a smooth dough.

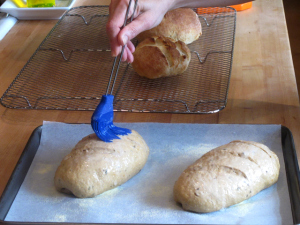
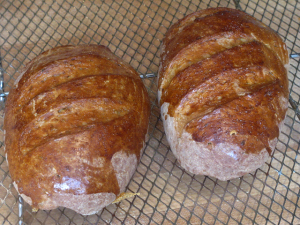
After the bread is allowed to rise for the first time the loaves are formed.  I opted for batards (free form ovals) as I would get a chance to practice my slashing skills.

 After slashing, the loaves rise for another 90 minutes.  They are egg washed and baked.  I have to admit they looked quite beautiful.  I sliced off a small piece to try and it was not as bad as I feared.  I guess my tastebuds as well as my taste in men have grown up a bit.  My friend Ross loved the bread.

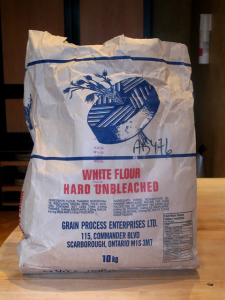
P.S.  I have now gone through my second 10 kilogram sack of bread flour.  Had anyone told me that at the beginning of this challenge, last May, I would have found it hard to believe.  Here is a photo of my empty bag!

Bobby Flay’s Peanut Butter Caramel Swirl Brownies


Okay, I have become a little bit obsessed with Bobby Flay’s show “Throwdown” on the Food Network.   It might be the catchy theme song that I just can’t stop singing, or maybe it’s just Bobby’s curls that I am obsessed about.  I used to have curls just like that before I discovered the CHI flat iron.  For those not familiar with the show,  here’s  The Food Network’s summary of the main plot :

“Flay is on a secret mission: to challenge the absolute masters in different kinds of cooking – award-winning BBQers, bakers, pizza makers and more. In each episode, one of these cooks thinks Food Network is shooting their profile for a show. What they don’t know is that Bobby is going to drop in for a surprise visit and challenge them to an unexpected cook-off.”

In 91 episodes so far Bobby has won 28 challenges, tied one and lost 63.  In baseball parlance he’s batting 307 which for a major league ball player is pretty respectable.  The latest episode I watched was a brownie throwdown.  Shawna Lidsky and Katherine Hayward of The Vermont Brownie Company prepared their famous goat cheese (chevre) brownies.  Bobby challenged with his Peanut Butter Caramel Swirl Brownie. 

 I was actually shocked that the judges chose the chevre brownie as the winner.  I am not a chevre lover.  I find the taste a bit cloying but perhaps the chocolate helps to temper that tang.  I was mighty pleased, however,  to see that Shawna and Katherine top their brownies with a pinch of sea salt.  Ever since watching that episode last week I have been unable to think about anything other than Bobby’s brownies.  I had to make them.

The original recipe instructs you to line  a 9 x 13 inch pan with foil.  My sister Bonnie has brainwashed me into believing that foil should never come into contact with food as studies have shown that Alzheimer’s sufferers have a high concentration of aluminum in their systems.  Although cooking in aluminum pots or using aluminum foil has not yet been scientifiacally proven to cause Alzheimers, my sister is adamant in her belief.  

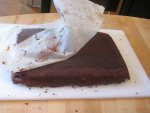
Besides, the foil does not usually peel right off the baked goods and someone always ends up biting into a brownie with foil stuck to one corner.  In my family, that someone is my Uncle Stephen.  He always gets the bone in the boneless chicken, the olive pit in the pitted olive salad and the foil on the brownie.  So now I line my baking sheets and cake pans with parchment.  Here is an easy way to line a square or rectangular baking dish that I learned many years ago when I worked at Dinah’s Cupboard in Toronto.

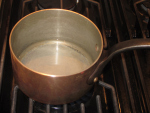
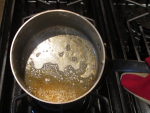
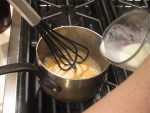
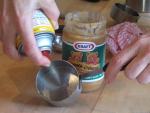
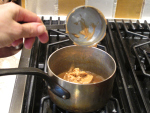
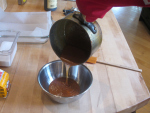
You begin by making a caramel sauce.  Water and sugar are combined in a small pot and cooked without stirring for several minutes until it caramelizes and becomes amber in colour.  Then whipping cream is whisked in.  Next a half cup of peanut butter is mixed in. Here’s a great tip: spray the measuring cup with Pam and the peanut butter will slide right out, without sticking.  Transfer to a bowl and let mixture cool for about 30 minutes.

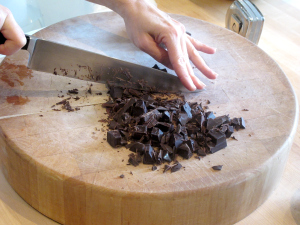
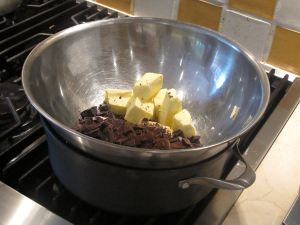
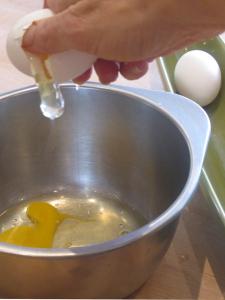
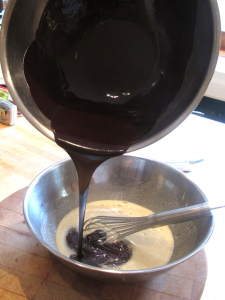
 Chop the chocolate. Then melt with butter over a double boiler.  While the chocolate mixture cools, break some eggs, whisk them with brown and white sugar and combine with the melted chocolate.  add some salt, flour and chocolate chunks.


 Then comes the fun part, making the peanut butter caramel swirl.

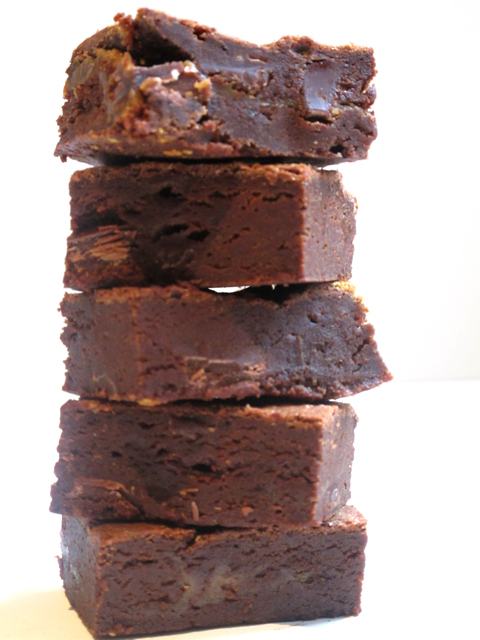
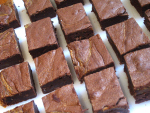
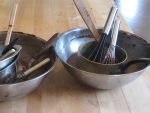
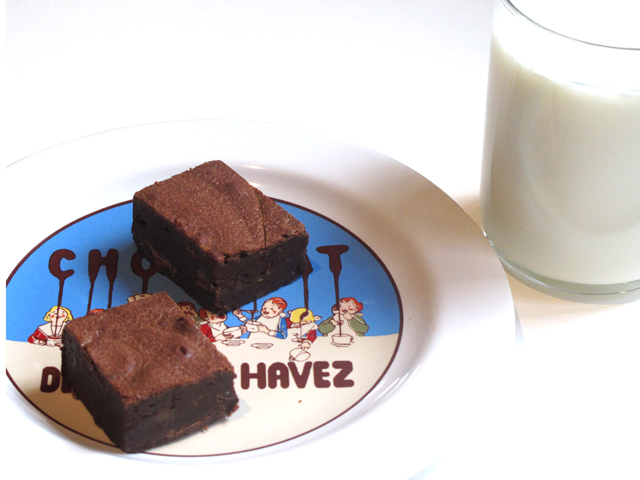
As promised, the parchment peels right off once the brownies have cooled.  Because of the high percentage of unsweetened chocolate in these brownies, they are not too sweet.  The taste of peanut butter is pronounced and the hit of caramel is a perfect background note.  Only one small complaint:  Making these dirties a lot of bowls and pots!


With a glass of milk, they are the perfect snack for watching an episode of Throwdown.

Peanut Butter Caramel Swirl Brownies

Ingredients

1/2 cup heavy cream
1/4 cup sugar
1/4 cup water
1/2 cup smooth peanut butter
1 tablespoon corn syrup
Pinch sea salt
1/8 teaspoon vanilla extract
1 cup (2 sticks) unsalted butter, cut into chunks
6 ounces high-quality unsweetened chocolate, coarsely chopped
2 ounces bittersweet chocolate, coarsely chopped

1 teaspoon espresso powder
4 large eggs
1 1/2 cups granulated sugar
1/2 cup packed light brown muscavado sugar
2 teaspoons pure vanilla extract
1/4 teaspoon fine salt
1 cup unbleached all-purpose flour
4 ounces bittersweet chocolate, coarsely chopped

Directions

  1. Bring the cream to a simmer over low heat in a small saucepan. Combine the sugar and water in a small saucepan over high heat and cook, without stirring until amber brown. Slowly whisk in the warm cream until smooth and let cook for 1 minute. Remove from the heat and whisk in the peanut butter, corn syrup, sea salt and 1/8 teaspoon of vanilla extract until smooth. Transfer to a bowl and let cool until thickened at room temperature, about 30 minutes.
  2. Put a rack in the middle of the oven and preheat the oven to 325 degrees F. Line a 9 by 13-inch baking pan with parchment paper..
  3. Combine the butter, unsweetened chocolate, 2 ounces bittersweet chocolate and espresso powder in a medium bowl set over a pot of simmering water. Let the chocolate melt over low heat, stirring frequently until smooth. Remove from the heat and let cool slightly, about 5 minutes.
  4. In a large bowl, whisk the eggs, both sugars, vanilla and salt until smooth. Whisk in the melted chocolate mixture until combined. Scrape down the sides of the bowl. Beat in the flour in 2 additions (the batter will be thick). Stir in the remaining 4 ounces of chopped bittersweet chocolate.
  5. Scrape half of the batter into the prepared pan and smooth the top. Using a tablespoon, drop dollops of half of the peanut butter caramel every 2 inches over the top of the batter. Carefully add the remaining batter and smooth over the caramel. Smooth the top and dollop the remaining caramel over the top. Use a butter knife to swirl through the batter to get a marbleized effect.
  6. Bake until the top is set but still soft and the edges are puffed and just beginning to pull away from the sides of the pan, about 23 to 25 minutes. A toothpick inserted in the center will come out still gooey (be brave!–underbaking the brownies is one of the secrets to their fudgy texture). Transfer the pan to a wire rack to cool completely.
  7. For the neatest cuts, refrigerate the pan for about 20 minutes before cutting the brownies. Using the foil, lift the brownie slab out of the pan. Carefully peel off the foil and put the brownie on a large cutting board. With a large sharp knife, cut the brownies into 48 squares. (The brownies can be stored in an airtight container, at room temperature, for up to 3 days; they can also be frozen, well wrapped, for up to 2 weeks.)

#36. Stollen and the visual learner.


Who knew that a German fruit filled bread could demonstrate my learning deficiencies so clearly?  As I read through the recipe for Stollen,  this week’s bread in Peter Reinhart’s The Bread Baker’s Apprentice, I knew that I had a real challenge on my hands.  I could not, for the life of me, figure out how to shape this loaf.  I read through the directions at least 4 times and it just didn’t make any sense to me.  There were even some pictures to demonstrate the method but I still could not figure it out. 

Full disclosure here, I am not really great with written instructions.  (I can see my husband laughing his head off right about now as he reads this).  I never the read instruction manuals that come with anything new I buy.  I believe that things should be designed so that they are intuitive.  Usually I end up breaking something before I give in and pull out the manual.  I have never assembled anything from Ikea where I did not have at least 3 or more extra bolts or screws left over, leaving me wondering about the stability of whatever I just put together. 

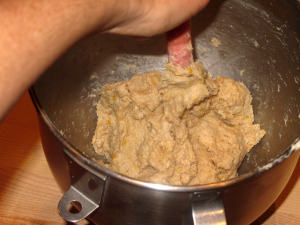
Sorry, got a little off track there.  I proceeded to make the dough for the Stollen, without a clear plan on how I was going to shape it.  I figured that I’d just wing it when I got to that part.  The recipe begins with mixing some warm milk with flour and instant yeast to make a sponge.

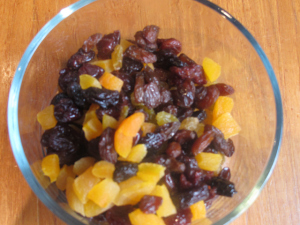
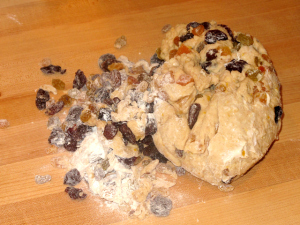
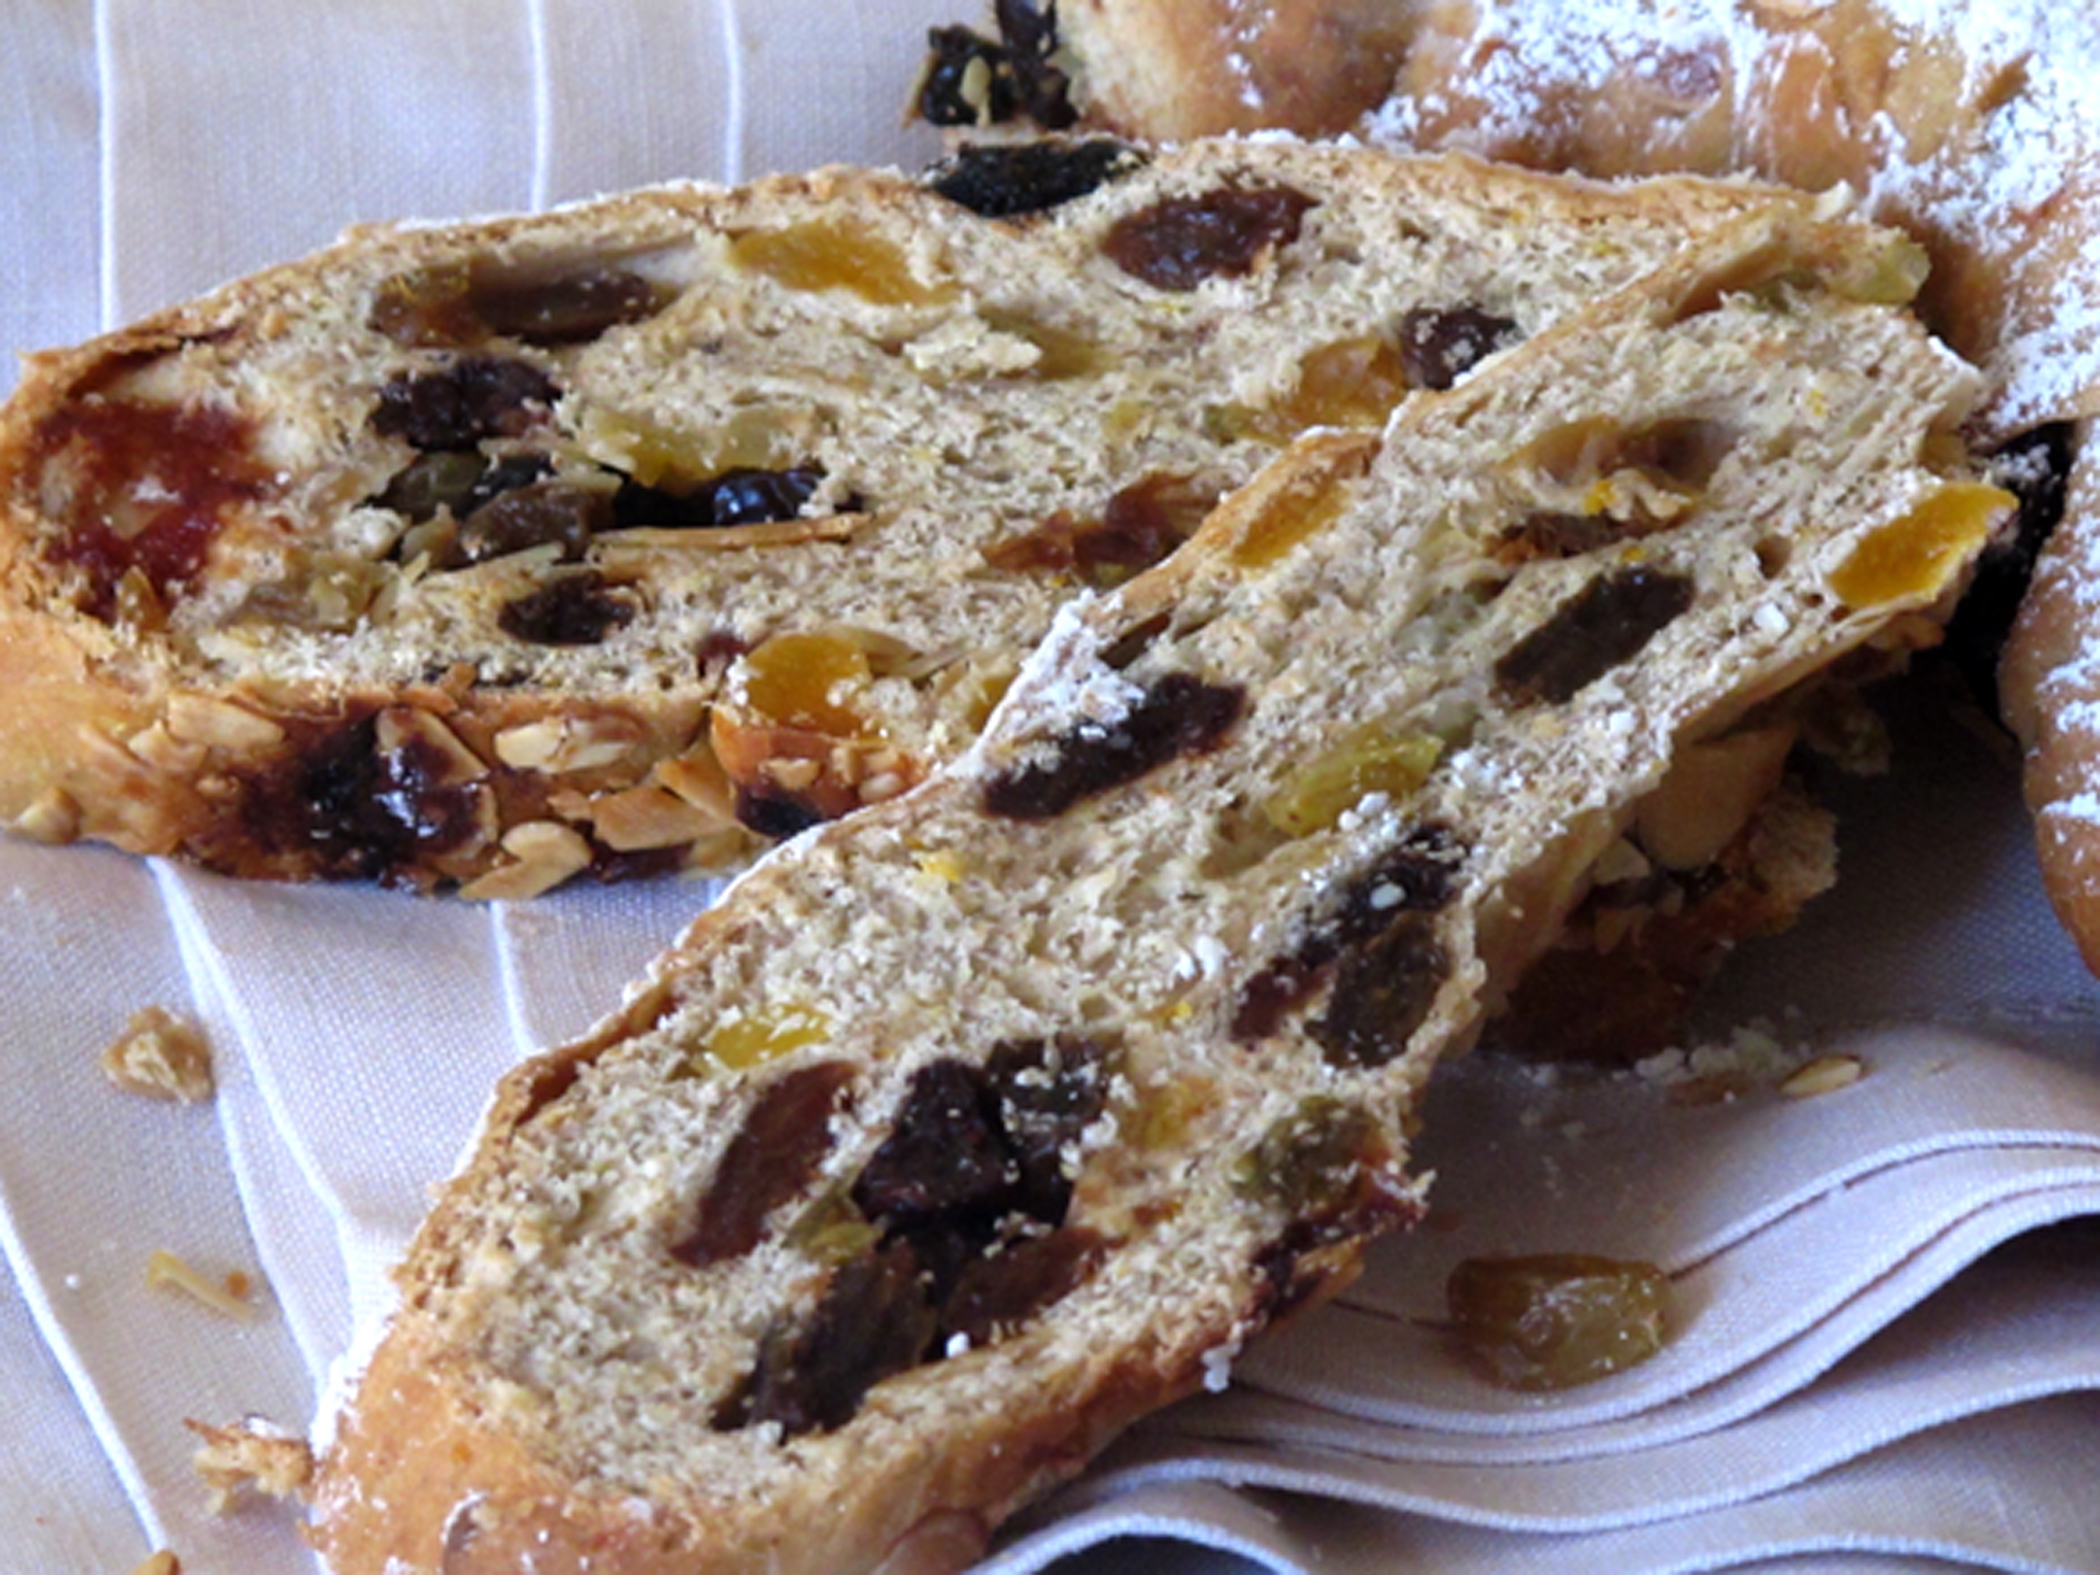
This mixture is set aside for about an hour, to get all bubbly.  The recipe called for golden raisins and candied fruit mix to be soaked in brandy or rum and orange or lemon extract.  I remembered  my experience with the Panettone bread I made back in November.  I hated that bread with the dried fruits soaked in alcohol so I decided to forgo this step.  As well, I decided to leave out the citrus extract.  I figured I’d get enough citrus flavour from orange and lemon zest.  I decided to skip the candied fruits as well and went with a combo of golden raisins, sultana raisins, dried cherries and dried apricots. 
 

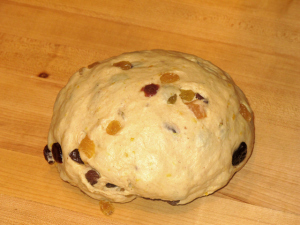
Once the sponge was all bubbly, it is added to all-purpose flour, sugar, salt, orange and lemon zest and cinnamon.  Butter, an egg and a bit of water are added until a sticky dough is formed.  Then about 3/4 of the dried fruit is added. The remainder gets added during shaping. I was feeling a bit lazy and decided to knead the fruit in by machine but it soon became apparent that hand kneading was in order.  I dumped the mixture onto the counter and kneaded for about 5 minutes until I had a silky dough and all the fruit was evenly incorporated.

Then the dough was set aside to rest, covered for about 45 minutes.  At that point I figured I’d better do some research to figure out what I was going to do about shaping this bread.  I googled Stollen and came up with several variations and shaping suggestions. 

There was a wreath shaped stollen from Martha Stewart’s mother. David Lebovitz formed his stollen into simple batards (oval-shaped loaves).   My favourite, however, was the stollen shaped like Mick Jagger’s lips from Philadelphia Chef John Gallagher.  Once baked, his version is dipped in melted butter and then rolled in a sugar-cinnamon mixture. 

I was just about to make the Mick Jagger version when I decided to read the shaping instructions in the Bread Baker’s Apprentice book one last time.  Eureka!  After my 5th read through I thought I finally understood how to do this.  It seemed that the shaping instructions were describing a simple letter fold.  Because I am a visual learner, I videoed myself shaping the bread for all you other visual learners out there.

I was quite proud of myself for figuring out how to shape this bread, and I only had to read the instructions 5 times.  I was just about to slide the stollen into the oven when a phrase in the instructions caught my eye, “Turn the dough seam side up….”  Huh?? I read it one more time and it was on my 6th read through that I finally understood that Peter Reinhart was describing an accordion style fold.  So I opened up my stollen and reshaped it.

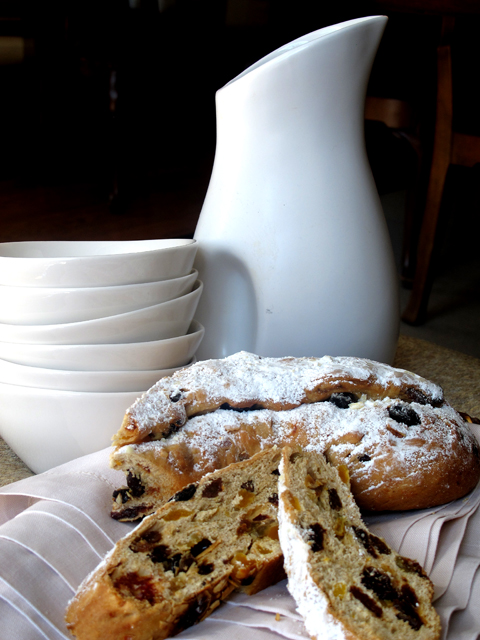
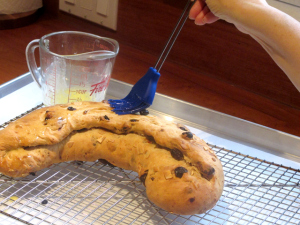
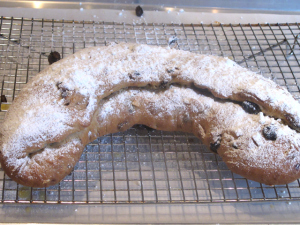
Although the recipe called for brushing the baked bread with vegetable oil, I opted for melted butter.   Then 2 coats of icing sugar and it’s done.

 As I baked this bread on Friday, I used it as our Sabbath challah stand-in.  I believe that the finished loaf is supposed to symbolize the blanket of baby Jesus.  Oh well, the world needs a little more culinary coexistence.  It was delicious and a nice change from our usual challah.  It was even better toasted with butter for breakfast the next day.
P.S.  I just discovered that fellow BBA challenger Kelly of Something Shiny figured out the accordian fold about a month ago and posted about it on her blog.  She also originally thought it was a letter fold and only after making it a second time worked out the proper shaping technique.
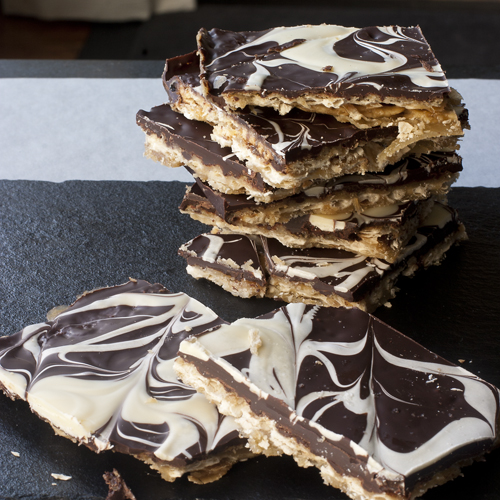
Marble Matzoh Crunch

This week in the Bread Baker’s Apprentice Challenge I am scheduled to bake Stollen.  However, it’s Passover this week and I’m not eating bread.  So in honour of this holiday I offer my favourite Passover treat, “Marble Matzoh Crunch.”  The original recipe comes from Montreal baker extraordinaire Marcy Goldman.  Her cookbook Better Baking.com is one of my go to standards.

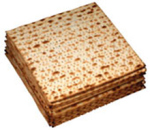
For those unfamiliar with matzoh, it is a cracker-like unleavened bread made of white plain flour and water. The dough is pricked in several places and not allowed to rise before or during baking, thereby producing a hard, flat bread.  Matzoh is the substitute for bread during Passover, when bread and other leavened products are not permitted. There are two major explanations for eating matzoh. One is historic and the other is symbolic.

Historically, Passover is a commemoration of the exodus of the Jewish people from a life of slavery in Egypt. The Israelites left Egypt in such a hurry, they could not wait for their bread dough to rise. The resulting product was matzoh.  The other reason for eating matoh is symbolic.  On the one hand, matzoh symbolizes redemption and freedom, but it is also known as poor man’s bread.  So it serves as a reminder to be humble, and to not forget what life was like as slaves of the Egyptians. Also, leavening of the bread symbolizes corruption and pride as leaven “puffs up”. Eating the “bread of affliction” is both a lesson in humility and an act that enhances one’s appreciation of freedom.

All that history and symbolism for a little cracker!  There are those that compare eating matzoh to cardboard.  I wholeheartedly disagree.  I love Matzoh.  Perhaps it’s because the rest of the year, for health reasons, I spread butter and jam so thinly on my toast  I can barely taste it.  However at Passover I spread both butter and jam on with reckless abandon.  Passover is my excuse to consume butter and jam and matzoh is the perfect vehicle for allowing me to do it.

Marcy Goldman’s Matzoh Crunch is guaranteed to convert any matzoh hater into a matzoh worshipper.  You don’t even need to be Jewish to love this treat.

Ingredients:

6 slices matzoh
1 cup (2 sticks) unsalted butter or kosher for Passover margarine
1 cup firmly packed brown sugar
2 generous cups finely chopped bittersweet chocolate or semi-sweet chocolate chips (about 12 ounces)
1 1/2 cups white chocolate, finely chopped (about 8 ounces)
1 teaspoon sea salt or kosher salt

Directions:

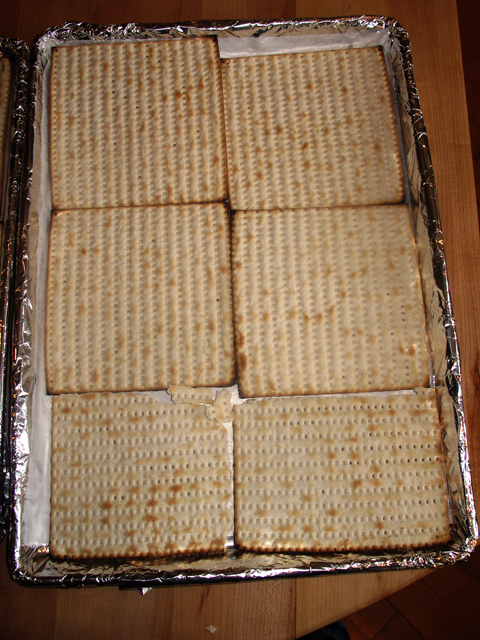
1.  Preheat oven to 350º F.  Cover an 18 x 13 inch rimmed cookie sheet with foil and then cover the foil with a sheet of parchment paper. Do not leave this step out or you will be cursing me when it comes time to cleanup!  Cover the parchment paper evenly with the matzoh.  You will have to trim some of the matzoh with a sharp knife to make it fit into a flat even layer.  You will have some matzoh scraps left over.  Slather with butter and jam and eat.

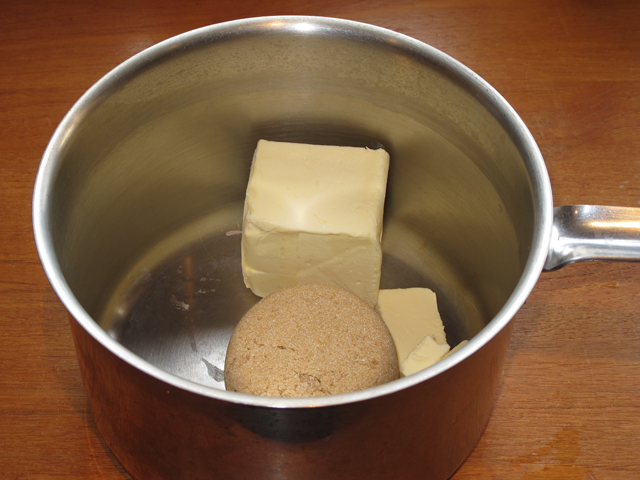
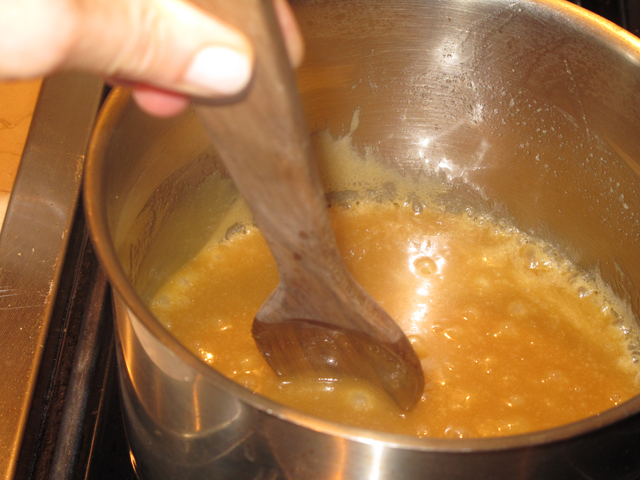
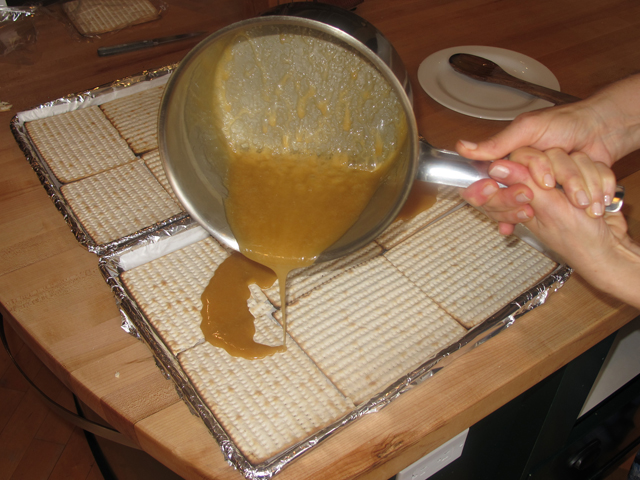
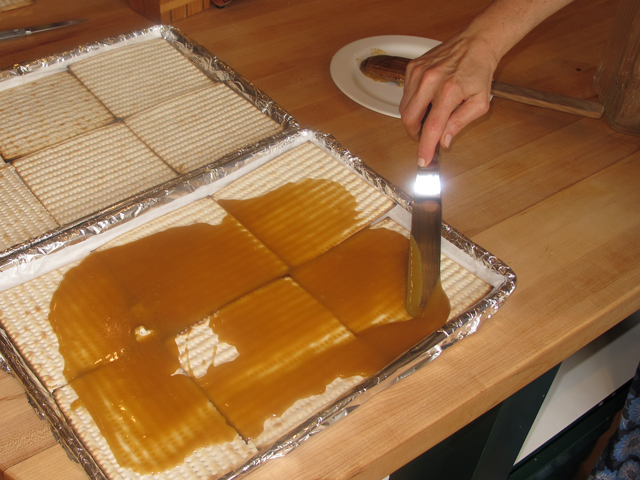
2.  In a large heavy bottomed saucepan, add brown sugar and butter or margarine.  Cook over medium heat, stirring constantly with a wooden spoon, until the mixture comes to a boil.  This will take about 2-4 minutes.  At one point it will look like the butter is separating from the sugar and it will appear to be an oily mess.  Just keep stirring, it will come together again.  Once mixture comes to a boil, keep stirring for about another 3 minutes.   Carefully pour caramel onto matzoh.  Using a metal spatula, spread it out into an even layer.

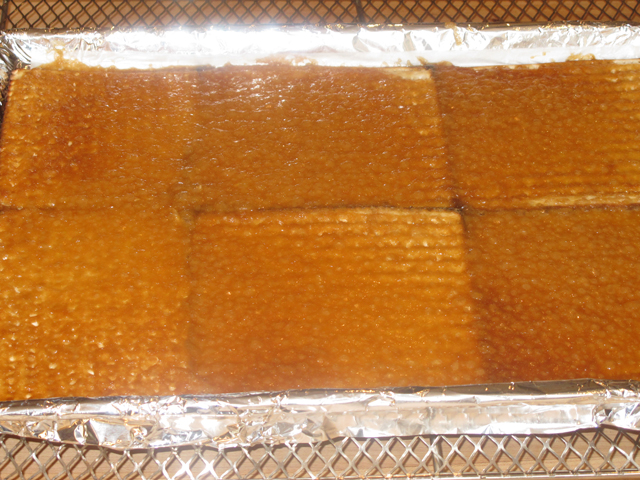
3.  Place baking sheet into oven and bake for about 12 minutes until the caramel topping is golden brown and bubbling.

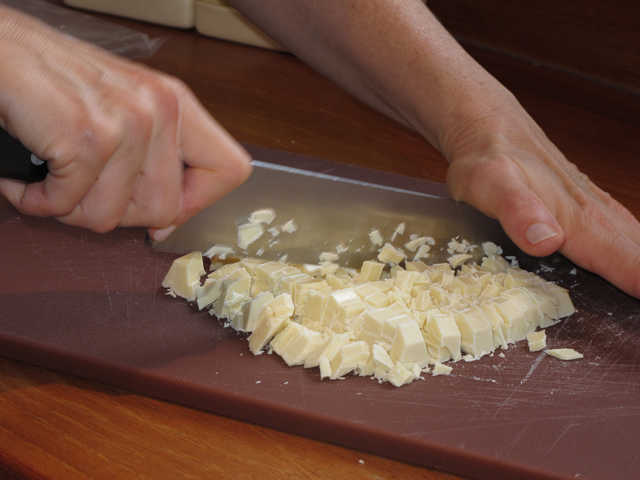
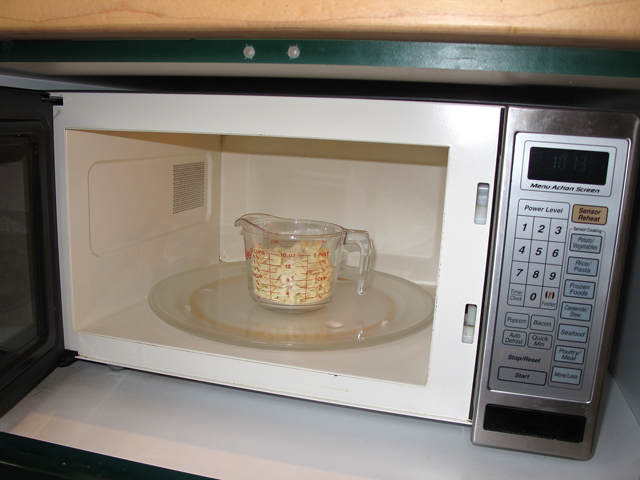
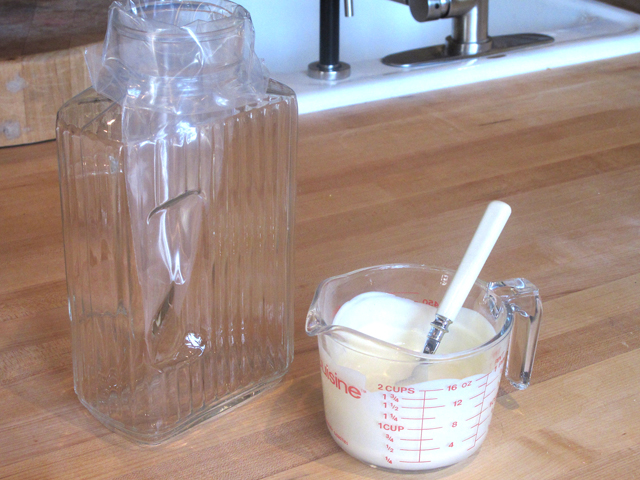
4.  While caramel is baking chop white chocolate into small pieces.  Place in glass measuring cup and microwave on medium power for 2 minutes.  When you remove chocolate from microwave, it will look like the chocolate is not finished melting.  Take a clean dry spoon and stir white chocolate.  It will continue to melt as you stir.  Pour melted white chocolate into a disposable plastic piping bag.  The easiest way to do this, if you are alone, is to place the piping bag in a large glass or pitcher and fold down the top.  Pour in white chocolate and let sit until you are ready to use it.


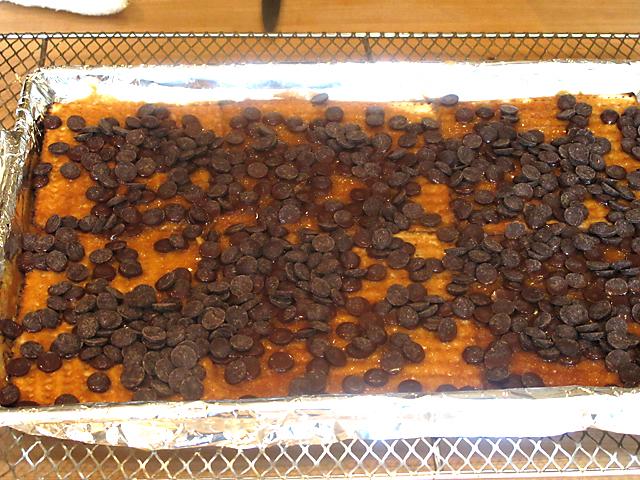
5.  Remove caramel covered matzoh from oven after about 12 minutes when it is golden brown and bubbly.  Place pan on a wire cooling rack on the counter.  Immediately sprinkle caramel matzoh with chopped bittersweet chocolate or chocolate chips. 


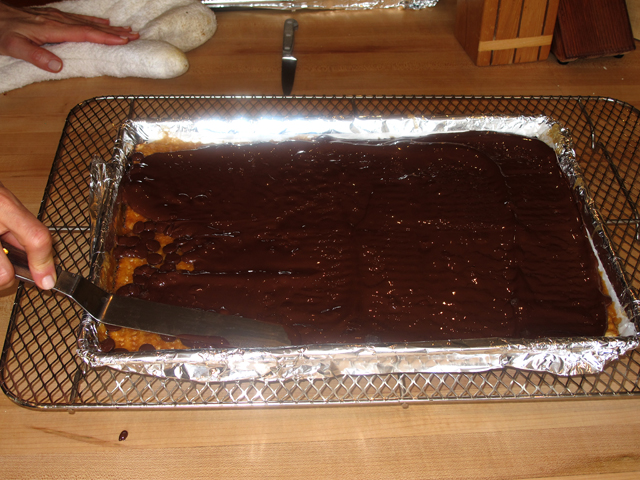
6.   Wait for a few minutes until chocolate has a chance to soften.  Then, using a metal spatula, spread chocolate into an even layer.

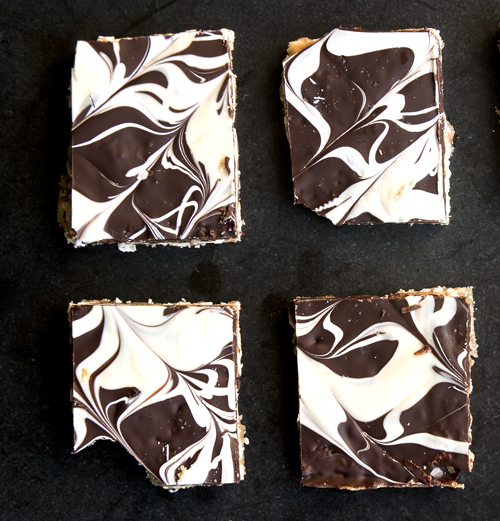
7.  Now comes the fun part!  Making a marble design with the white chocolate.  Twist the top of the piping bag closed and using a sharp scissors, cut a small tip off the end of the bag.  Starting in one corner of the pan, pipe white chocolate in a zig zag pattern.  Then starting in the opposite corner, pipe a zig zag pattern in the opposite direction.  Using the sharp tip of a wooden skewer, drag it through the wet white and dark chocolate making a nice design. You can either drag skewer in a circular pattern or go in straight lines.  Below is a video of me demonstrating the process:

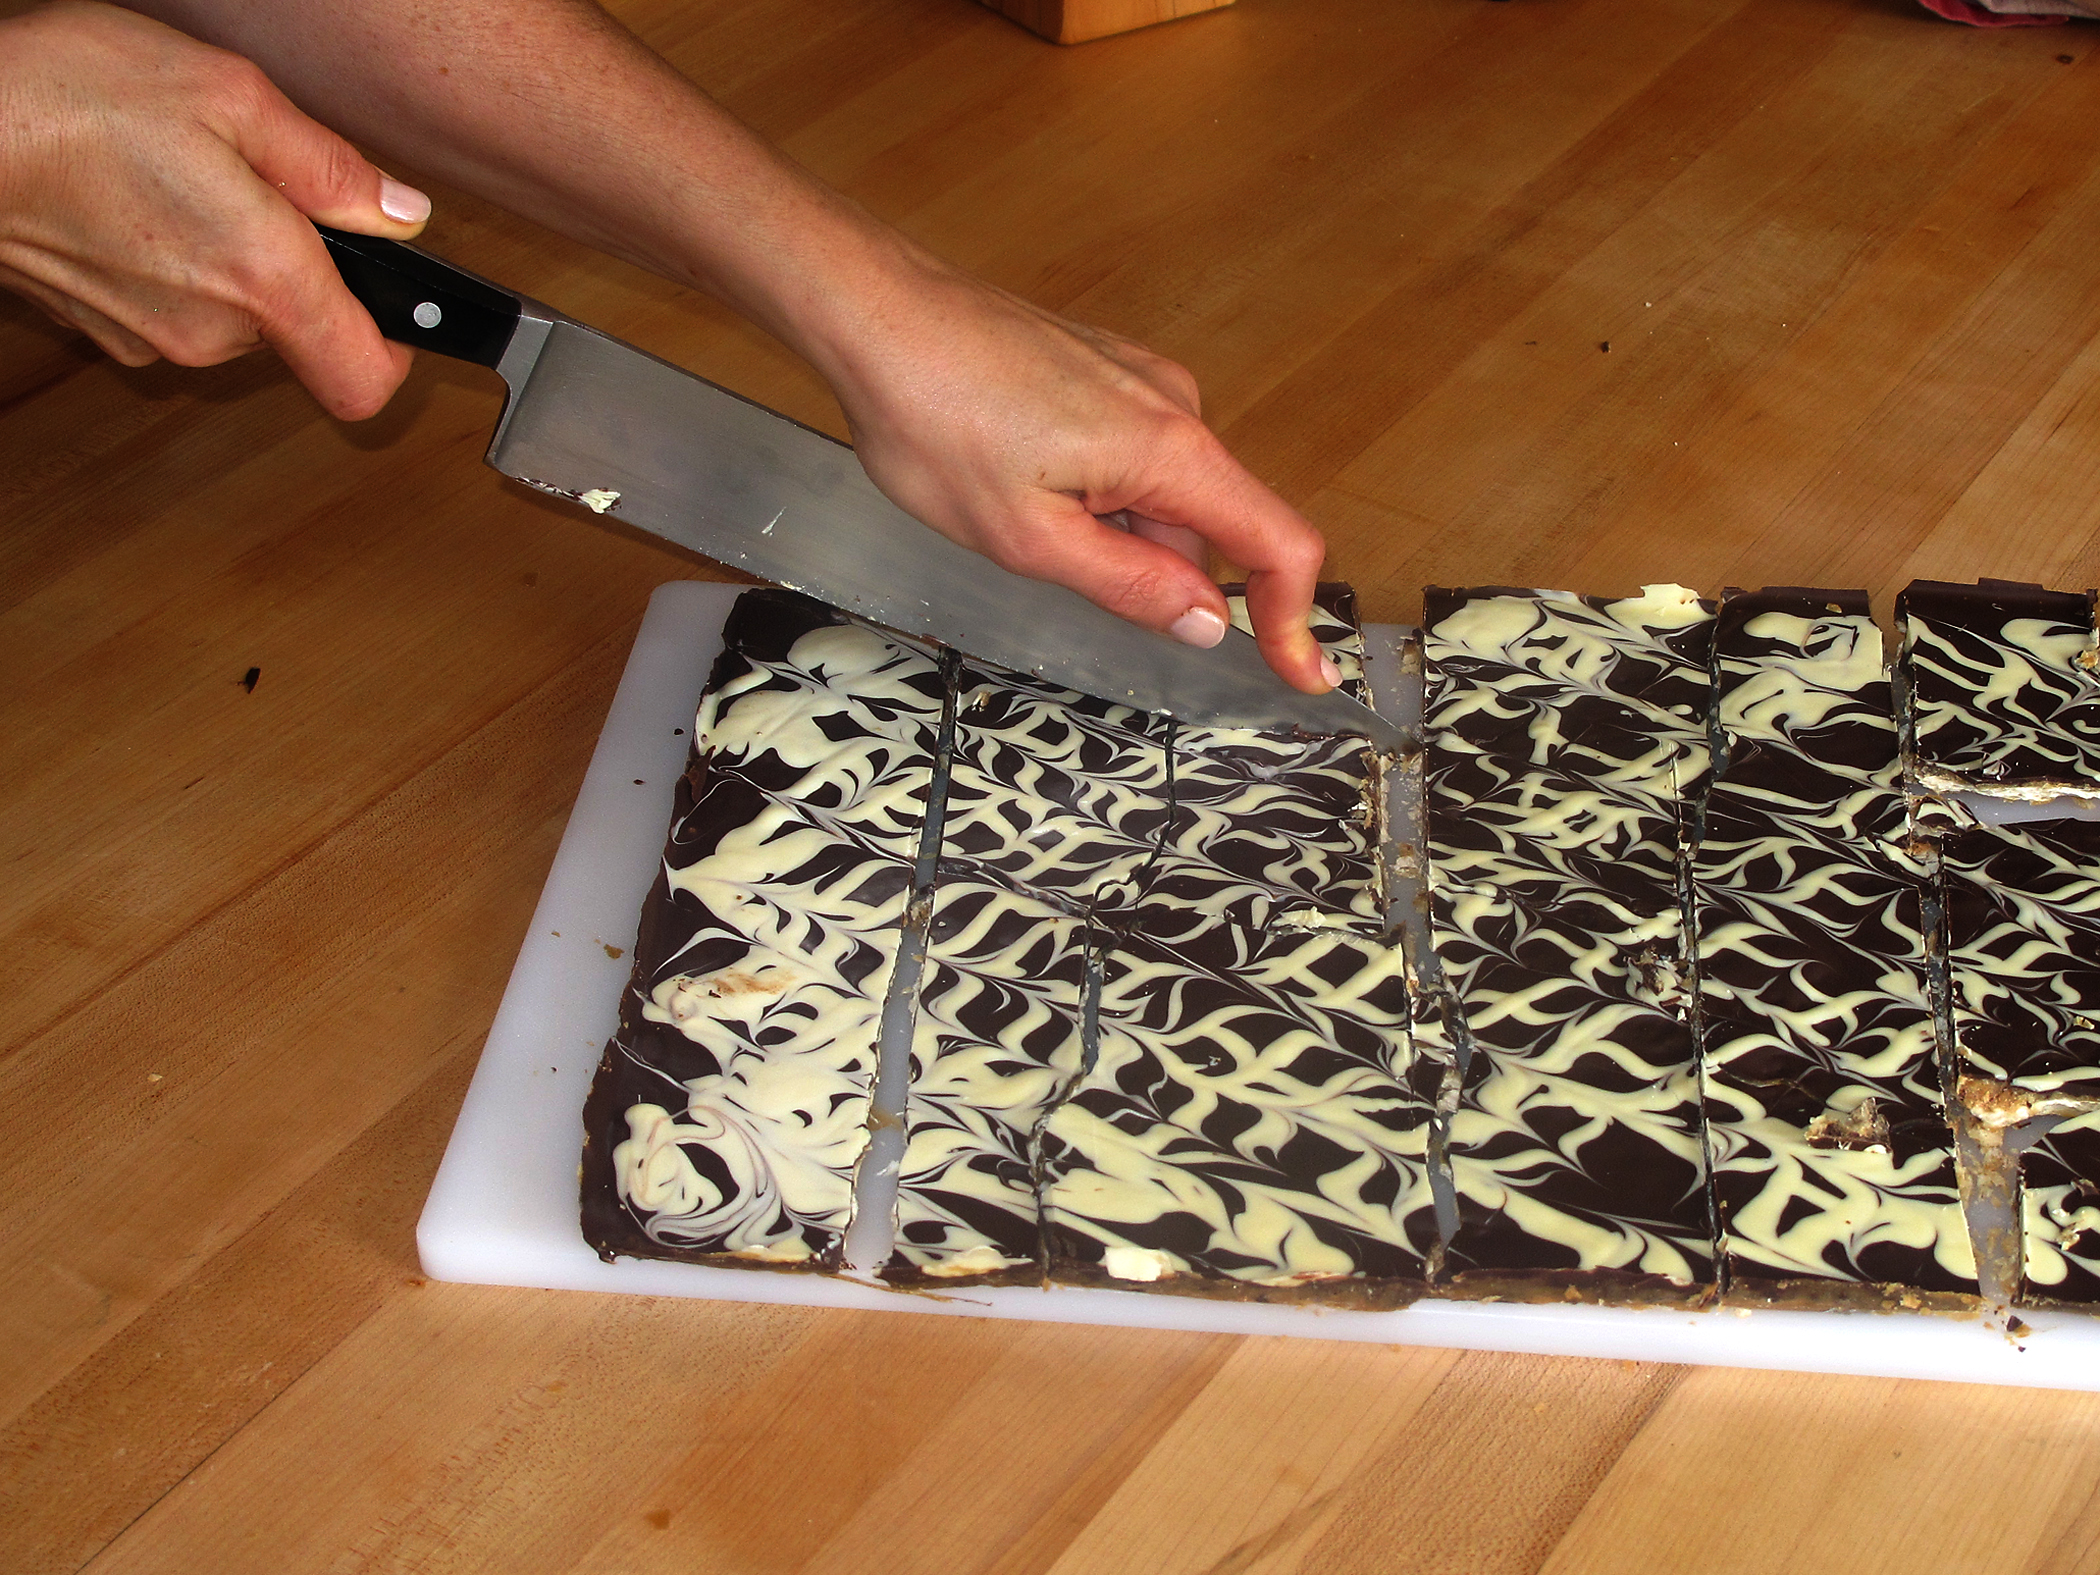
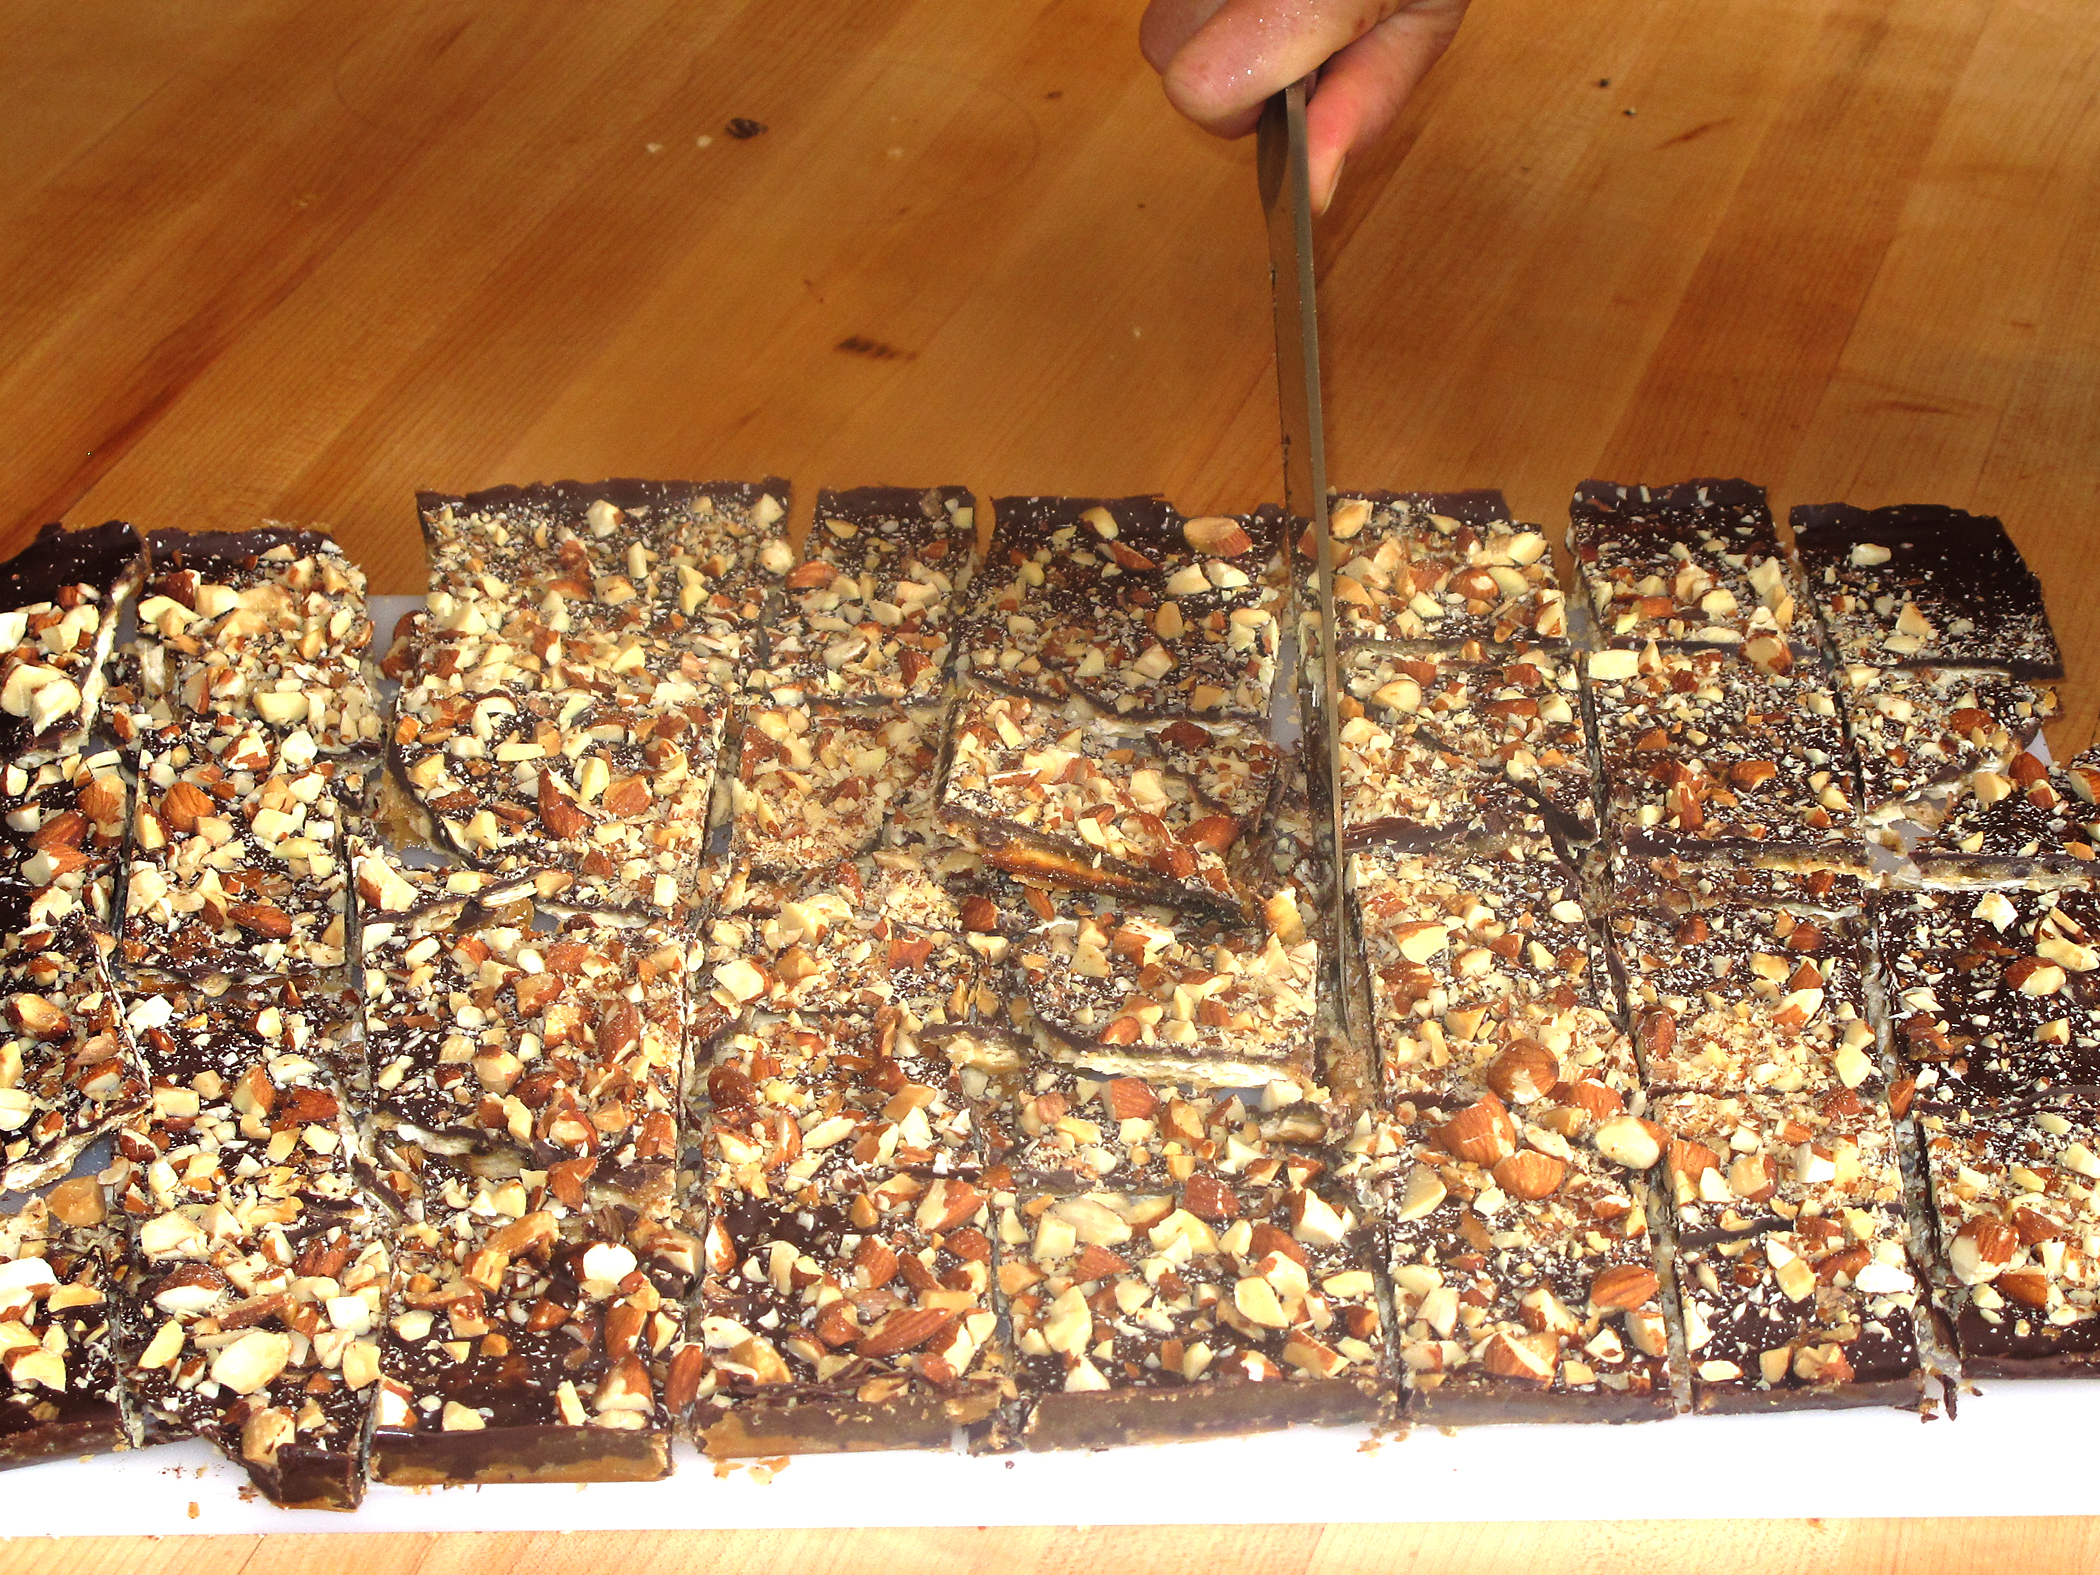
8.  While chocolate is still wet, sprinkle with sea salt.  Chill pan for several hours until chocolate is firm.  Peel off foil and parchment paper and place marble matzoh crunch on a large cutting board. Using a very large sharp knife, cut matzoh into large squares.  For an 18 x 13 inch pan, I usually get about 18 pieces.  Store matzoh crunch in an airtight container in the fridge.  It keeps well for about 5 days. (That is as long as no one else in the house knows it’s there!)

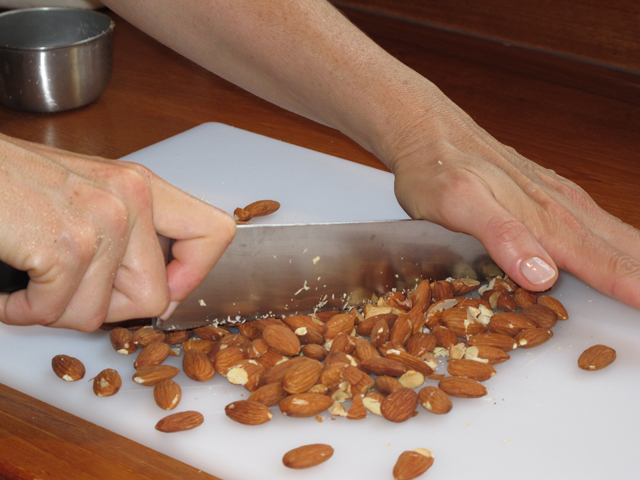
For an equally delicious variation, instead of marbling with white chocolate,  sprinkle dark chocolate with toasted chopped unblanched almonds (about 1 1/2 cups).  Or try milk chocolate and almonds, or dark chocolate and dried cherries, or white chocolate and chopped pistachios or macadamia nuts.  The possibilities are endless.  Have fun!