Monthly Archives: April 2011

Pear Endive Salad

In an earlier post, I talked (perhaps a bit too much) about a recent wonderful holiday in the Caribbean. While I loved the beach, the conch shells, and the silver toast holder, what I loved best was the treadmill in the fitness center at our hotel. You see, each treadmill had a little TV attached to it, and the best part was, wait for it… they carried The Food Network and The Cooking Channel. We don’t have the Cooking Channel here in Canada yet, so I was quite excited to check it out.

My husband finds it quite perverse that I watch food shows while exercising. But here’s my theory. I categorize people into one of two groups. The first group is those who “Eat to Live.” You know these people, they view food as fuel for their bodies. They are the ones who say things like, “Oh, I was so busy, I forgot to eat lunch.”, or, “I was so stressed, I couldn’t eat and lost 5 pounds.” Then there is the second group, those who “Live to Eat.” In this group you have the people who, if they are not eating, they are thinking about food. They are the ones who are planning what to have for dinner while they are still finishing breakfast. They are the ones who watch the Food Network while exercising.  I always wondered why the TV on those exercise machines are tuned to CNN when I turn the machine on. Do people actually watch that when working out, or do they just change the channel after they are done so you will think they are intellectuals?

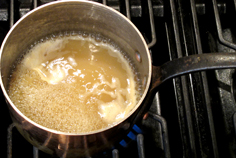
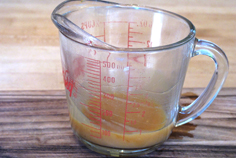
On the third day of our holiday we were in the gym working out. I had already done 30 minutes on the Elliptical machine and was planning to do 30 minutes on the treadmill. 15 minutes into my treadmill workout, a new episode of  “Chuck’s Day Off” began on the Cooking Channel. He was making a Pear and Endive Salad. Not so thrilling, you may think, at first glance. But then, I watched him prepare the pear vinaigrette and he had me hooked. He took pear nectar, and reduced it on the stove until he had a thick pear caramel. I did not know you could do that! He whisked that thick caramel into a vinaigrette for the salad.

Just as he was beginning to put the whole thing together my husband came by my treadmill and asked if I was done yet. My inner voice screamed, “NO! Chuck hasn’t finished making the vinaigrette. I can’t leave yet. This is the most exciting part.”  What I actually responded to my husband was something like, “Not quite yet. The endorphins are just kicking in and I’m really getting into the “zone” here. I think I’ll just go for another 12 minutes. You go ahead, I’ll meet you back in the room.” He trotted off. I  did an extra 12 minutes on the treadmill (which I figure burned enough calories for a bonus glass of Prosecco) and got to see Chuck complete the Pear and Endive Salad. Everybody wins!

Chuck Hughes, if you don’t know him, is a Montreal chef with a show on Food Network Canada. The US Cooking Channel recently added his show to their lineup. He is very sweet and very cute and he has the cooking chops to back it up. He beat Bobby Flay on Iron Chef America in “Battle Canadian Lobster”. The premise of his show is that on his day off he cooks for all the people in his life that mean something to him. He cooks for the cops who patrol the area around his restaurant, the garbagemen who are on his route, his bouncers and even his coffee supplier. You gotta love this guy. His arms are covered in tattoos of lobster, arugula, bacon, shrimp, lemon meringue pie. This is a guy who Lives to Eat!

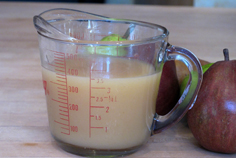
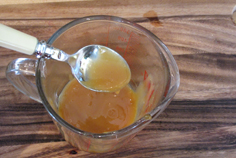
Pear nectar is readily available in the juice aisle at your supermarket. I found a really nice one in the organic aisle. You start with 2 cups of nectar and boil it down until it is really thick. Then you just let it cool and whisk it into the remaining vinaigrette ingredients.

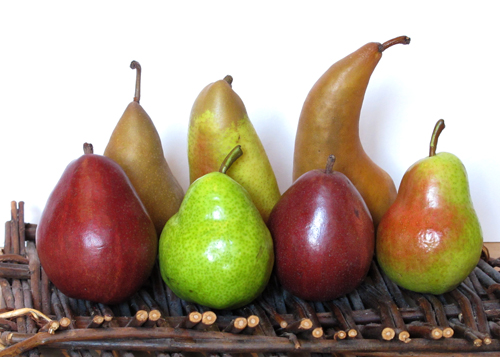
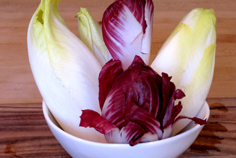
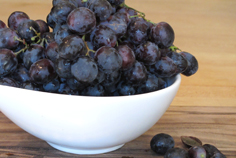
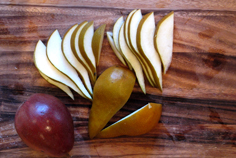
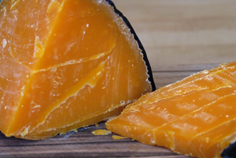
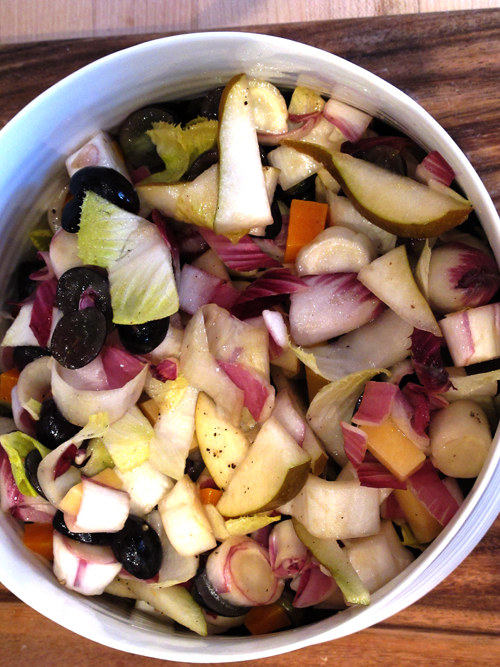
I used Belgian endive and radicchio, red and green pears, black seedless grapes and a wonderful French cheese called mimolette. If you can’t find mimolette, Gouda would also be great.

To print recipe for this salad, click here.

My Passover Faux Pas (Shmura Matzoh Crunch)

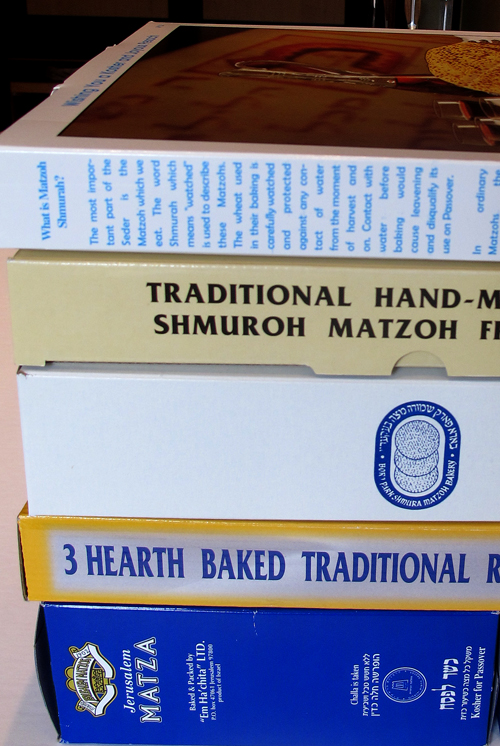
Everyday at 5 pm, in the week leading up to Passover this year, the doorbell would ring. When I opened the door, there would be a flat square box of matzoh left on the front porch. By the end of the week, I had a stack of about 6 boxes. Various Jewish organizations around our city were dropping them off at our house with wishes for a happy and healthy Passover.

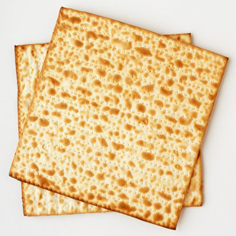
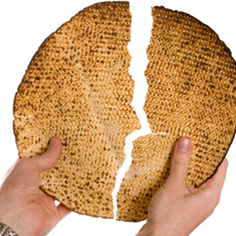
These were not like the ordinary boxes of matzoh I bought at the supermarket.  Regular matzoh are about 8 inches square and come 10 to a box. They are machine-made. Shmura matzoh are round in shape, about 12 inches in diameter. They are hand-made. We traditionally ate this matzoh on the first night of Passover, at the Seder.  That was about all I knew about Shmura matzoh.
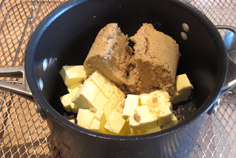
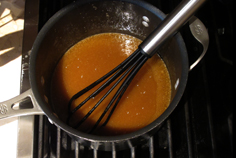
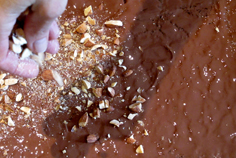
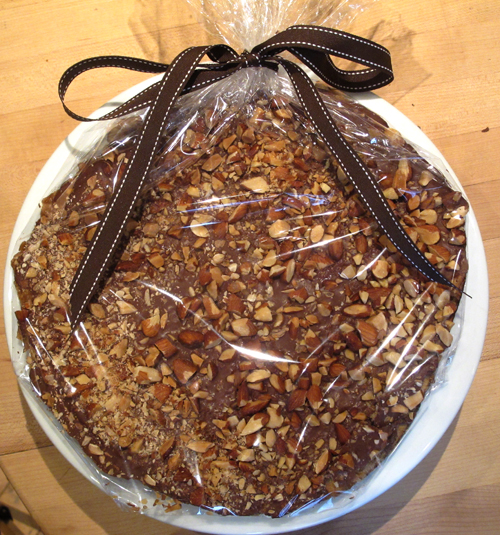
As I stared at this stack of matzoh boxes, I wondered what we were going to do with all of them. After all, I still had 8 boxes of the regular stuff in the storage room. Suddenly, divine inspiration struck. I didn’t want to let this special matzoh go to waste. I was going to give it the royal treatment. First, I would coat it in a warm butter and brown sugar caramel and then I would slather it in milk chocolate and finally, top the whole thing off with toasted chopped almonds. Who wouldn’t feel special and loved with this treatment. I think there may actually be a spa treatment similar to this somewhere in the world. If not, there definitely should be!

Last year I made Marble Matzoh Crunch with Bittersweet and White Chocolate. This is my adaptation of  Montreal baker Marcy Goldman’s creation. Everyone I feed it to rolls their eyes in ecstasy. When I made it with the square matzoh, I broke it into small rectangular pieces. How beautiful it would be, I thought, to wrap up an entire 12 inch circle of this coated beauty!

I had 6 of these all wrapped and chilling in the fridge, ready to go to Toronto for our family Seders. My husband was packing up the car for our drive and he asked me where all the boxes of Shmura Matzoh were. I proudly showed him what I had created. He was horrified! Apparently my creations were sacrilegious. I managed to calm him down by telling him that several boxes survived unscathed and we could take those boxes to his sister’s house. I fed him small bites of the chocolate almond shmura matzoh crunch during out 4 hour drive and he had forgiven me by the time we arrived.

When we returned home I did some research and discovered that Shmura means “watched” in Hebrew, as in, to watch over something carefully. This matzoh is called shmura because it is made under strict rabbinical supervision, meaning that the rabbi is keeping an eye on the process, which must be completed according to a strict set of Jewish religious rules, and in 18 minutes.

thecitycook.com provided this explanation: “The Seder is the centerpiece of Passover. For some who observe and celebrate this holiday, it is particularly meaningful to replace factory-made matzoh, the unleavened bread so essential for the Seder meal, with shmura — or shmurah — matzoh. Shmura means watched from the harvest, which signifies that every step of the process of making this matzoh, from harvesting the grain to the final baking, has been supervised by a rabbi. It also means that when the bread is being made in its small batches, the flour and water are kept in separated cubicles as extra insurance that there is no premature contact between them until the last possible moment, thus preventing any leavening.”

I also discovered that a box of 3 Shmura matzoh, will set you back about $15.00 -$20.00. Shmura matzoh is expensive, because producing it is very labor intensive. Every piece is made by hand, not machine. The production of shmura matzoh is a labour of religious love. Think of it as Artisnal Matzoh.

Whether you decide to give regular or Shmura matzoh the royal treatment, you will not regret it!

To print the recipe for Shmura Matzoh Crunch, click here.

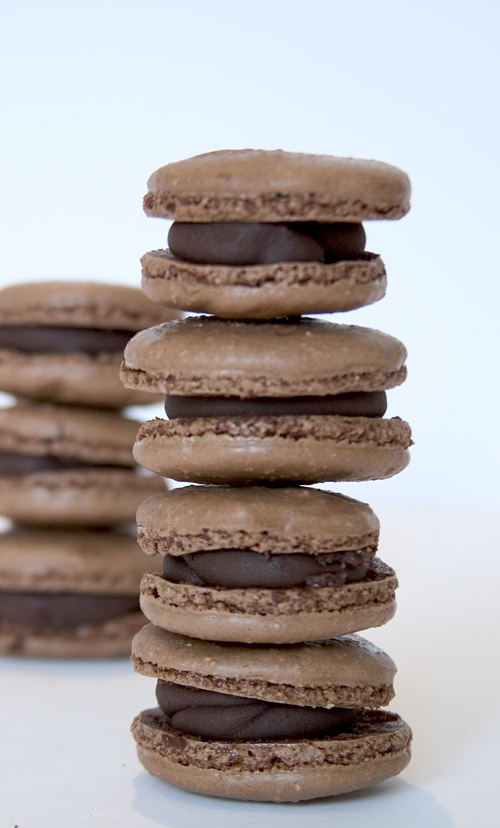
Chocolate Macarons with Chocolate Ganache Filling


Okay, now I’m really confused. In my last post I cleared up the difference between macarons and macaroons. According to my thorough research, macarons (one o) are the French almond meringue sandwich cookie and macaroons (two oo’s) are the American coconut based cookie. In my pretentious little blurb, I even went so far as to instruct you on how to pronounce macaron correctly with a French accent. Imagine my surprise when I visited the web site of Ladureé. They spell the ubiquitous little almond meringue sandwich cookie, MACAROON!!  Huh?

Now, given that it was Ladureé’s first cousin, who at the beginning of the 20th century first thought of taking two macaron shells and joining them with a delicious ganache filling, you would think that Ladureé would know the correct spelling. If anyone out there can clear up this spelling mystery for me, please do!

However you spell it or pronounce it, there is no denying that this is an incredible confection. Light and crisp on the outside and chewy and soft in the center, it is the perfect little mouthful. In my last post I tackled the more complex Italian meringue technique for making macarons, where the egg whites are beaten with a sugar syrup cooked to 230ºF -240ºF. They were delicious but I will admit that there was quite a bit of work and dirty pots and bowls involved.

I have been making a simplified version of macarons for several years now, using an old recipe from Gourmet magazine. But, now that I am more knowledgeable about macarons, I discovered that my Gourmet recipe was not quite authentic. I decided to try the French meringue technique, which is a bit more involved than my old recipe, but not as challenging as the Italian technique.

Here are the main differences between the Gourmet recipe I have been making for several years now, the  French and the Italian.

Gourmet Recipe

French Meringue Technique

Italian Meringue Technique

Ground AlmondsGrind Your OwnUses pre-groundUses pre-ground
SieveNot forced through sieveForced through sieveForced through sieve
Egg WhitesBeaten without sugarBeaten with sugarBeaten with cooked sugar syrup

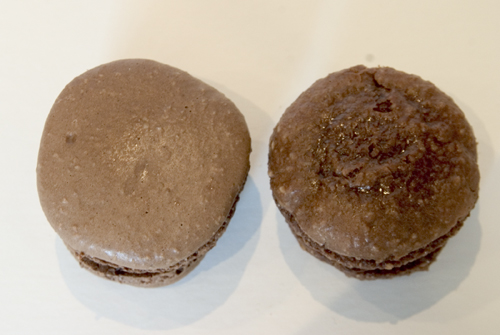
Of course I had to do a side by side comparison between what I have been baking (the Gourmet recipe) and the classic french meringue technique so I prepared both. For the french technique, I used Sue’s recipe from her blog, You can do it at home.

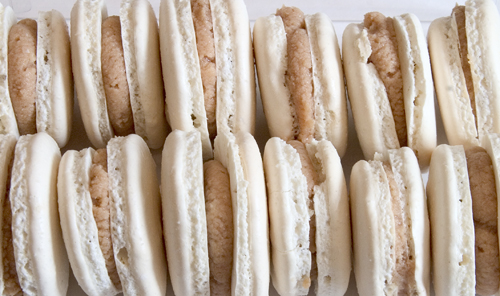
The one on the left is the macaron made using the classical French meringue technique.  The one on the right is the Gourmet Magazine recipe. The classical one is smoother, shinier and has a more complex structure. The outside is crisp and as you bite into it, the shell shatters and gives way to a chewy interior. The Gourmet recipe is much more one-dimensional texture wise. The whole thing is chewy. I much prefer the Classical French Macaron. I urge you to give it a try. You will be thrilled with the results!

Before starting, make sure you have a scale. From all the recipes I read, it seems that you are more likely to achieve success if you weigh your ingredients rather than measure. Weighing is much more exact than measuring. That is how all professional pastry chefs bake. You will need either a stand mixer or a handheld mixer for beating the egg whites. A food processor is needed to grind the almond meal and icing sugar. A pastry bag (disposable is fine) and half-inch plain piping tip will be needed.

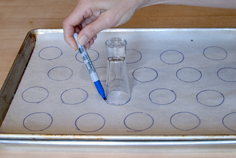
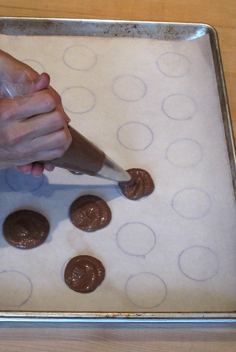
Finally, before you begin, if your piping skills are not top-notch, it’s a good idea to make a template so that all your macarons will be the same size. Take a sheet of parchment and trace out 1.5 inch circles (a shot glass is ideal for this), leaving about 1/2 inch space between the circles. Place the template on a baking sheet and then place a second sheet of parchment on top. That way, once you have piped your circles, you can slip out the template sheet and reuse it. It is also a good idea to double up your baking sheets to protect the bottom of the macarons from burning.

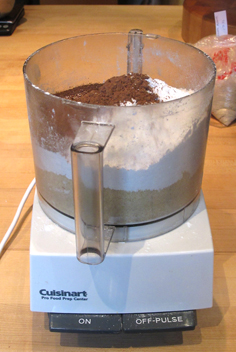
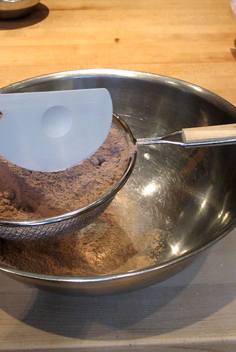
Almond meal is essentially ground blanched almonds. It is readily found at bulk food and natural food stores. It is sometimes called “Almond Flour”, although it contains no flour. The almond flour and confectioners sugar are ground for several minutes in the food processor and then pushed through a coarse sieve. This ensures that the batter will not contain any lumps.

I encountered quite a discussion about the egg whites. Most of the experts agreed that the egg whites should be aged for at least 24 hours. What this means is that you need to separate the eggs one day before you plan to make the macarons. Put the egg whites in a covered container in the fridge to age. According to Duncan, of Syrup & Tang, “Egg whites consist of proteins and quite a lot of water. The water can make the final batter unmanageably wet, either in the making or in the oven (where the macarons refuse to dry adequately). Old egg whites have lost some of their water content through evaporation so can yield a more successful batter.”  Remove the egg whites 2 hours before you plan to use them so they can come to room temperature.

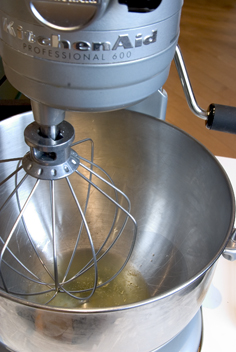
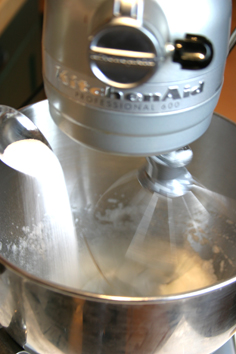
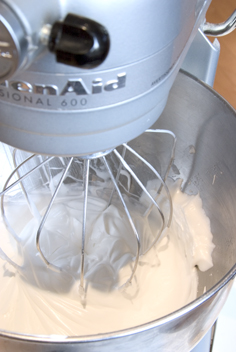
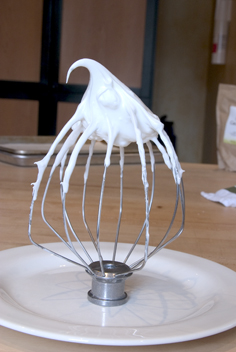
The egg whites are beaten to soft peaks and then finely ground granulated sugar is slowly added to the egg whites, while still beating, until the mixture is glossy and holds stiff peaks.

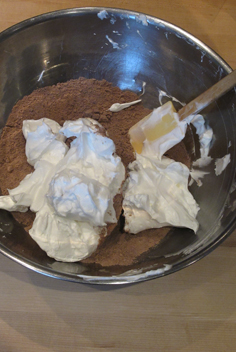
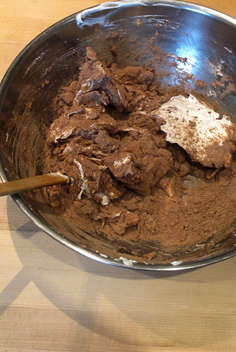
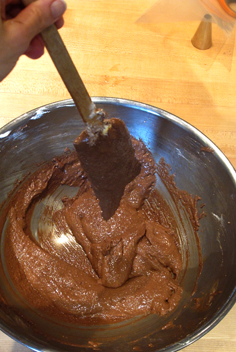
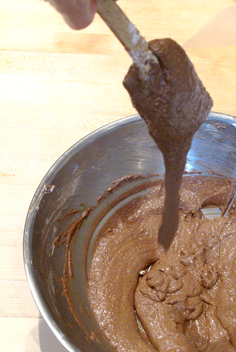
Next the almond mixture is combined with the beaten egg whites. Sue of “You can do it at home” gave one of the best descriptions on how to combine the two so that the batter is not overmixed. “Put the whipped egg whites into the almond meal & icing sugar mixture. Stir vigorously for the first 10 stokes or so. Then continue to mix the mixture until fully combined. At this point, you might wonder if you have deflated your meringue. Don’t worry, we’re not after the air and texture of meringue. It’s more important that the batter is totally blend-in and combined. The batter should have the consistency of thick cake batter and have the ribbon-like consistency…or many website described it as “magma-like consistency”

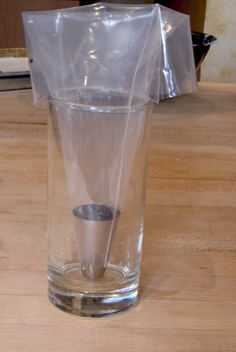
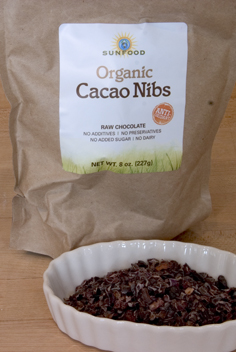
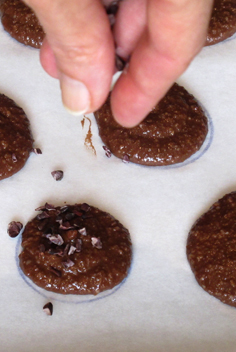
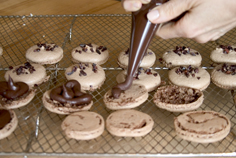
To make it easy to fill the piping bag, place it in a tall glass or pitcher and turn the bag down like a cuff.  After the macarons are piped, you can top half of them with a sprinkling of cocoa nibs. These will become the tops of your sandwich cookies. The bitterness of the cocoa nibs plays off very nicely with the sweetness of the macarons.

The baking sheets are then tapped against the counter to flatten out the macarons a bit.  Then the macarons sit at room temperature for about 30 minutes before baking. You want them to be dry to the touch before baking. If batter still sticks to your finger when you touch it, let it dry a bit more. This helps to ensure the macarons bake without cracking.

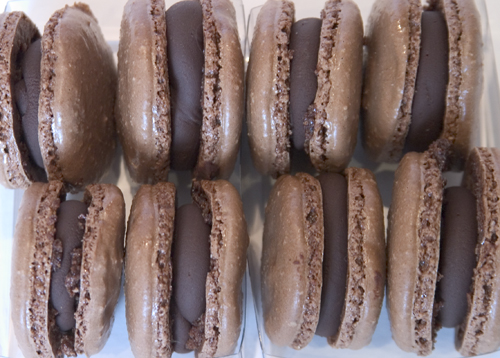
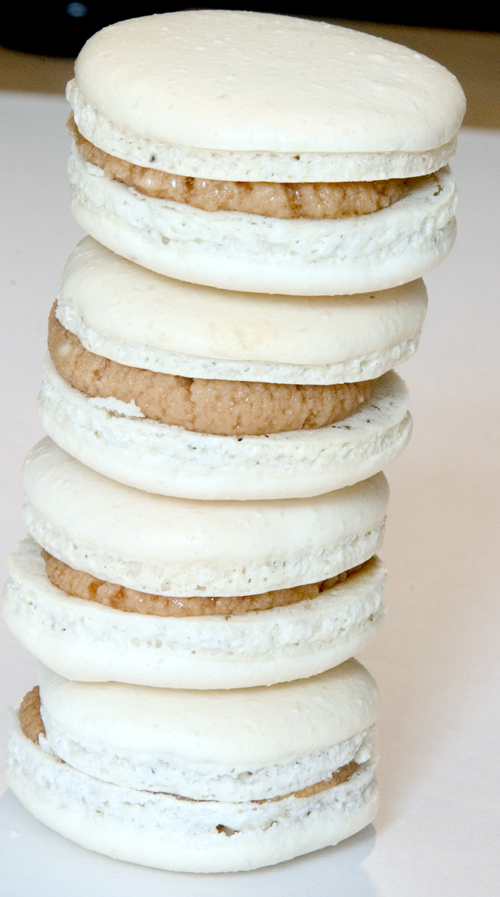
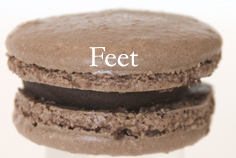
When the shells are baked let them cool completely before trying to take them off the parchment paper. Turn the macarons upside down. Then spoon or pipe the filling onto half the shells and cover with remaining half to make sandwiches. A successful macaron has what they call, “feet”. This refers to that fuzzy little ring around the edge. My macarons grew feet and I was proud!

To print recipe for Chocolate Macarons with Chocolate Ganache Filling, click here.

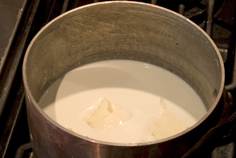
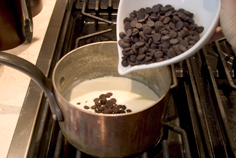
It is best to make the fillings a day ahead of time and give them a chance to firm up overnight in the fridge. Chocolate ganache is simple to make. Heat 35% cream and butter in a pot until simmering. Add chocolate and stir until melted. Pour into a container and refrigerate until firm.

Salted Caramel Macarons


Apparently, this year in desserts, cupcakes are out and macarons are in. Macarons, not to be confused with macaroons, are the new darling of the pastry world. These are French macarons we are talking about here (one o), made with ground almonds, not American macaroons (two oo’s), and made with coconut. Essentially they are an ethereal confection consisting of 2 almond meringue cookies, sandwiched together with a filling.

The correct pronunciation, if you care about things like that, is Ma-Ka-ROHN, (the “r” is rolled)  Check out this YouTube video  (http://www.youtube.com/watch?v=TiKKh7Rf9AQ) to hear it pronounced. If you’re Canadian, well then, you’re ahead of the game as you already know how to roll your r’s .

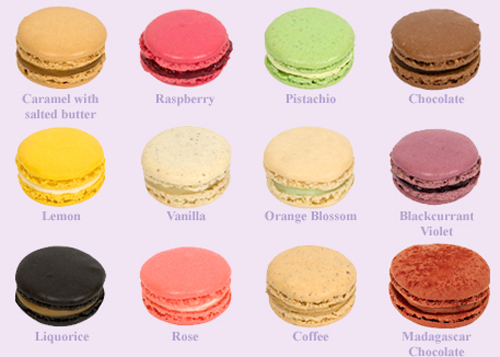
Clearly I am ahead of the trend, as I have been making macarons for about 5 years now. However, in my mind, they were associated with Passover and not Paris. Until recently, I thought they were a Jewish creation because I only made and ate them at Passover. It was only once I visited the venerable Ladureé (London store), that I realized this was a French cookie and was blown away by the flavour variations possible. I whipped out my camera to take a picture and the saleslady started screaming at me. No photos allowed! I did manage to copy a photo from their website.

Once I visited the store and tried all the flavour variations I became slightly obsessed with them. I realized that there was a whole world of macarons beyond my Passover variation.  There are several food bloggers out there who excel at macarons and I began lurking on their sites. Sue, of “You can do it at home”, http://youcandoitathome.blogspot.com/2010/10/i-heart-macarons.html, has mastered the art and I am awed by her talent. Duncan, of “Syrup and Tang” is another master.  I also purchased 2 wonderful little books, which have step by step photos and offer some amazing flavour variations (Secrets of Macarons and Macarons).

I have discovered that there are two main methods for making macarons. The first is simpler. It involves using a French meringue, which is essentially egg whites beaten with finely ground granulated sugar. This is then folded into the ground almonds and icing sugar. The second method is a bit more complex. It involves using an Italian meringue, which is a cooked sugar syrup poured into egg whites and then beaten until stiff and glossy.Apparently the Italian method yields a shinier, smoother macaron as well as more consistent results.

Below I chronicle, by video, my first attempt at making italian Meringues, filled with Salted Caramel Buttercream. The meringue method and recipe are courtesy of Duncan at www.syrupandtang.com.

Duncan’s recipe for the macarons can be found here .

My recipe for the Salted Caramel Buttercream, to fill the macarons with, can be found here.

Admittedly, the macarons are a labour of love. I still have a long way to go to perfect the technique. Mine aren’t nearly as lovely as Duncan’s or Sue’s. Luckily, I will have lots of practice in the following week as I offered to bring dessert to the Passover seder at my sister-in-law’s (35 guests), the Passover Seder at my mom’s (41 guests) and a Passover dinner party at a friend’s house (10 guests). I expect, that by the end of the week, my macaron skills will improve greatly.

Stay tuned as more eggs are sacrificed, and my pants become tighter. In a few days I will post about the French macaron method when I prepare Chocolate Macarons with a Chocolate Ganache filling.

Winter Slaw


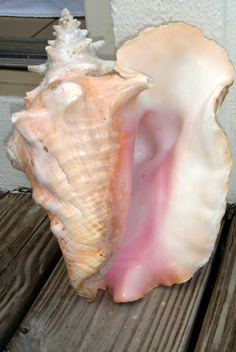
They say if you hold a conch shell up to your ear you can hear the sound of the ocean. I brought one home from our recent trip to the Caribbean not so much as a souvenir, but as a way of continuing the peace and bliss of my vacation. You see, at our hotel, if you put your conch shell outside your hotel room door, you would not be disturbed. It was wonderful. The phone didn’t ring, no one knocked at our door and no one demanded anything from me.

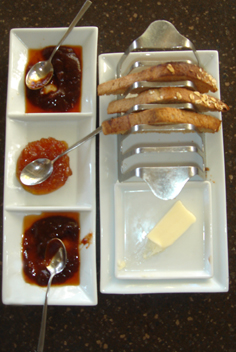
When we got home, I placed my conch shell outside my bedroom and closed the door.  Despite this “do not disturb” symbol, clearly left outside the door for anyone to see (or trip over) the phone rang, my blackberry dinged and my son called me for help with some inane i-tunes request. Clearly the shell’s magical powers only work in the Caribbean!  The post holiday bliss balloon bubble has burst! Everyone disturbing me and no one bringing me my morning toast in a silver toast holder with 3 jam choices. As my husband would say, “Get over it!”

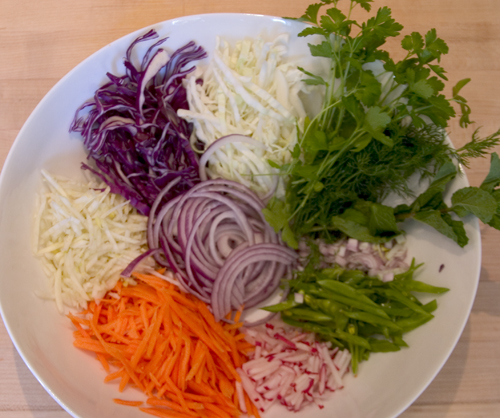
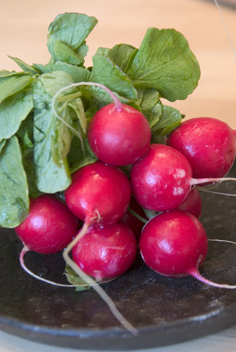
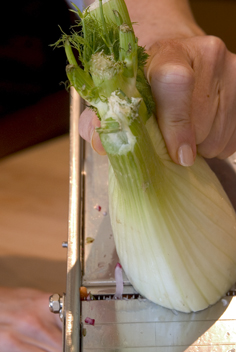
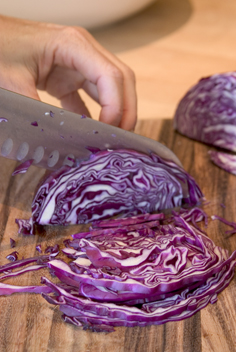
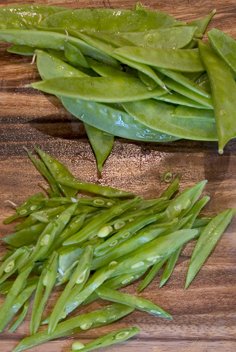
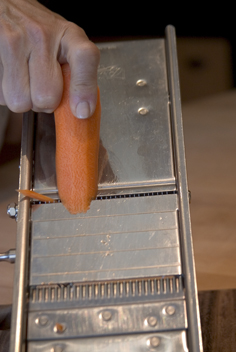
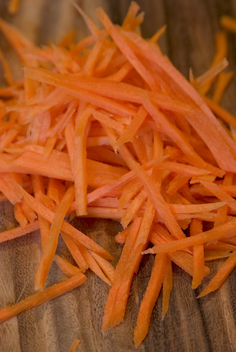
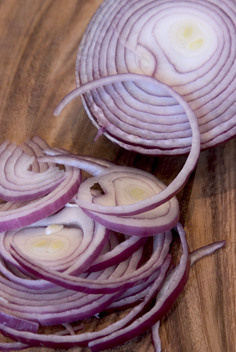
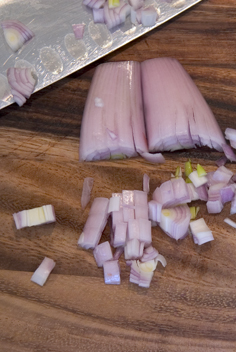
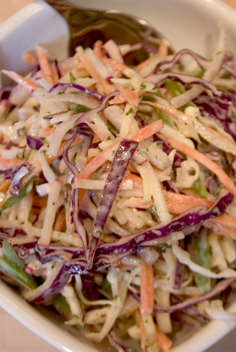
So back to reality and cooking dinner. I was so inspired by all the fresh fruits and vegetables I ate when I was away. However, although the calendar says April, spring vegetables have not quite arrived here in Ottawa. The pickings were pretty slim at the market. I had recently watched Jamie Oliver prepare “The Best Winter Veg Coleslaw” and adapted it to work for me. I found some beautiful radishes, still attached to their leaves, fennel, red and green cabbage, snow peas, carrots, purple onion and shallots. I picked up some Italian parsley, mint and dill and set to work creating.

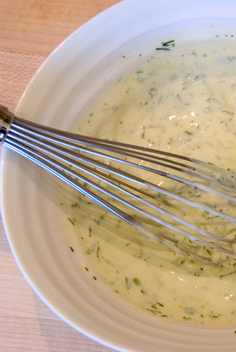
I made a herb, lemon and yogurt dressing. If I crunched really loudly, I could almost block out all the annoying sounds!

To print the recipe for Winter Slaw, click here.