Monthly Archives: January 2012

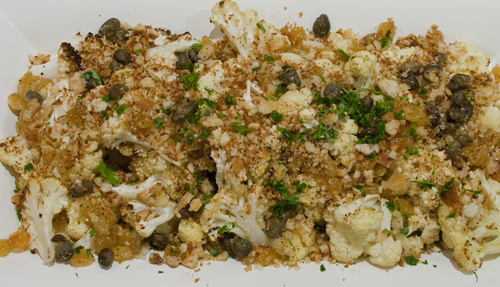
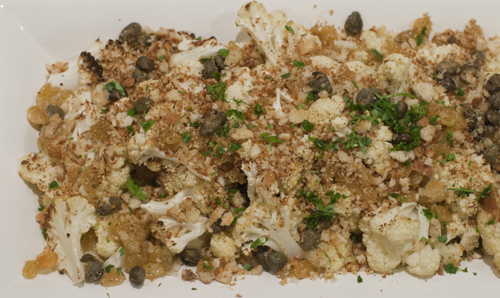
Crispy Cauliflower with Capers, Raisins and Breadcrumbs

Roasted cauliflower recipes are a dime a dozen these days. It seems that everyone is embracing roasting as a cooking method for all kinds of vegetables. It’s true, roasting really does bring out some very special flavours. It mellows cauliflower’s pungent qualities. So, with all that being said, does anyone really need another roasted cauliflower recipe. The answer is a resounding YES!If I needed proof that this treatment of cauliflower is the ultimate, I need look no further than my own kitchen and dining room.  The first time I made it, it was just my husband and I for dinner. The recipe says it feeds 8. The two of us almost finished it all! I made it again this past weekend for a family dinner. I served grilled rib steaks, roasted parsnips and rainbow carrots, spicy-sweet green beans and this cauliflower dish (I made a double recipe!). The cauliflower was the first to go and there were no leftovers.

The NHL All-Star game was in Ottawa this weekend and our family came to visit from Toronto. Several members of our Toronto family are diehard Toronto Maple Leaf fans. My brother-in-law is what I consider to be an ultimate fan. I remember one winter weekend they were visiting when the Leafs were playing the Sens. They stayed at the same hotel as the Leafs and my brother-in-law, used his one year old son as “bait”.  He dressed the baby  in Maple Leaf  pyjamas and took him down to the hotel bar at 11:00 p.m. The plan was to meet the players as they were coming into the bar after the game. And it worked. They all fell upon this adorable baby in his footed Leafs p.j’s!

To say that my dining room resembled an episode of The Hatfields and The McCoys, would only be a slight exaggeration. Here in Ottawa, our NHL team is the Ottawa Senators. While we are not rabid Sens fans, there is a healthy amount of hate going on for the Leafs! It is a fairly intense rivalry that all members of the family have embraced. To further fan the flames of discord, I baked two varieties of gingerbread cookies and set them on the table on alternating plates. Great fun was had by all, especially when it came time for my sister to help her sons brush the blue food colouring from their teeth and tongues!

The flavour profile of this dish is Sicilian inspired. The recipe hails from the November 2011 issue of Bon Appetit magazine. I have some words of advice for you before you tackle this recipe.

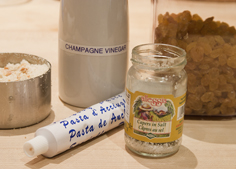
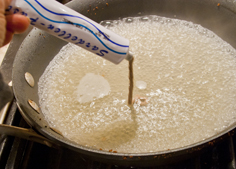
1. You may be tempted to leave out the anchovy paste. DON’T! It adds a depth of flavour, that you can not get from anything else. The finished dish will not taste fishy, I swear!

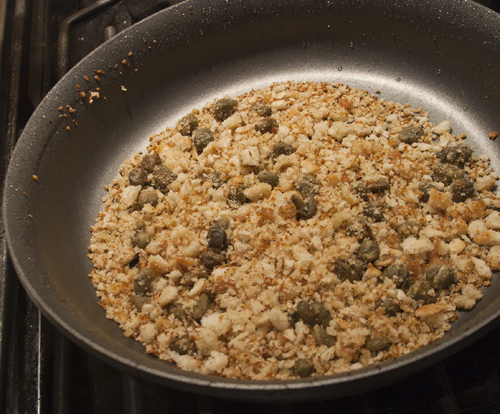
2. You may be tempted to substitute dried breadcrumbs from the grocery store, for the fresh ones called for in this recipe. DON’T! Take the time to cut some stale good quality bread into cubes and buzz them in the food processor until you have coarse crumbs. You will be rewarded, I promise you.

There are several steps in this recipe, but all can be done ahead of time, so when it comes time to serve it, it’s a simple matter of assembly.

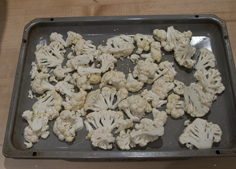
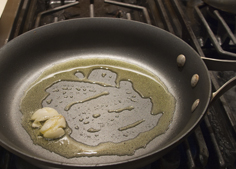
Make sure you give the cauliflower ample room on the roasting pan. Don’t crowd it. The original recipe called for slicing the garlic thinly and then cooking until golden. I had a really hard time from preventing it from burning, once I added the other ingredients and kept cooking it, so I recommend just smashing the whole cloves and gently frying them in the oil. Once they turn golden, remove them and discard. They will have imparted their garlicy goodness into the oil and you won’t run the risk the bitter taste that results from burnt garlic.

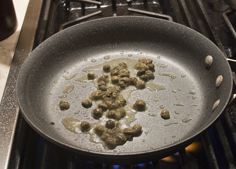
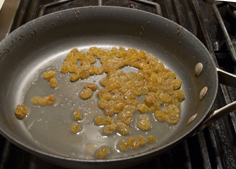
Resist the temptation to eat the toasted breadcrumbs and fried capers, if you can!

Click here to print the recipe for Crispy Cauliflower with Capers, Raisins and Breadcrumbs.

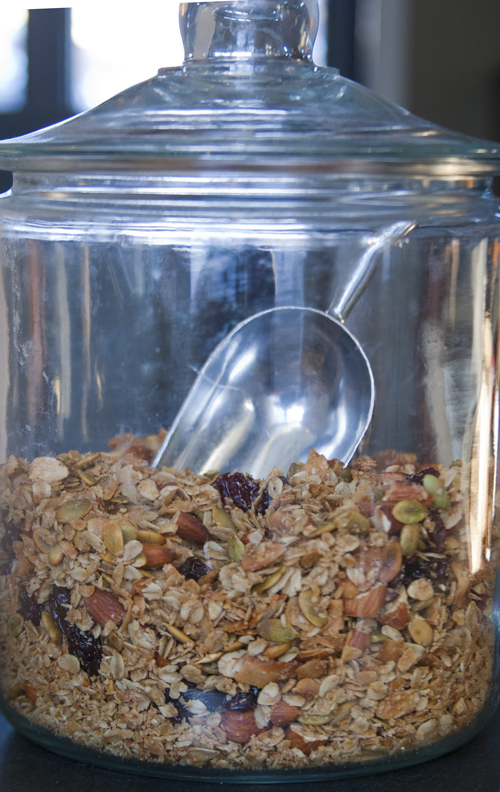
Double Coconut Granola

I have a confession to make. I have a bit of a cookbook crush. I’m not sure there is such a thing, but if there is, I have it. Melissa Clark’s new book, “Cook This Now”, is aptly named. As I leafed through this book, I felt compelled to run to the kitchen and create almost every recipe in the book, immediately. This is not a glossy photo filled coffee table book. There are some colour photos, but the stories she tells, the descriptions of the food and the recipes themselves make glossy photos totally unnecessary.

I have come to be a granola lover fairly late in life. When it comes to breakfast, I am a creature of habit. I tend to eat the same breakfast every morning for several years in a row, until I start to feel bored. First it was Cheerios and bananas. Sometimes I would get a little wild and crazy and have multi-grain Cheerios instead of the original. Then I switched over to Rideau Bakery rye bread, toasted, with salted whipped butter and sour cherry jam. Next, it was Quaker Oats Squares, with blueberries in the summer and bananas in the winter. From there I moved onto oatmeal, sweetened with a hint of maple syrup.

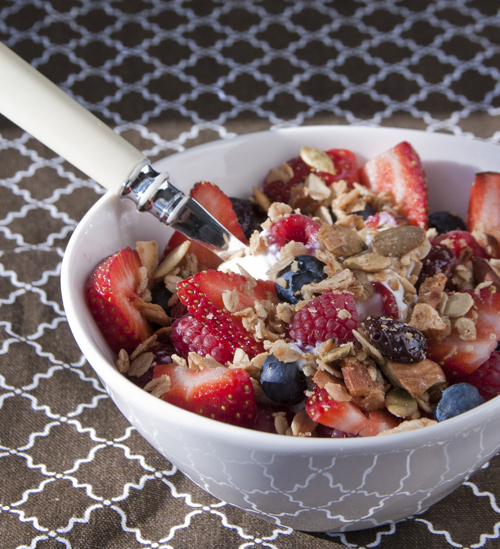
And then, everything changed when fat-free plain Greek yogurt became widely available at my local supermarket last year. I mixed the yogurt with some berries and then crumbled a Dad’s oatmeal cookie on top. The crunch and sweetness of the cookie was a wonderful complement to the creamy, tangy yogurt. A new breakfast routine was born.

Then, last fall when I was away on holiday in Italy there were no Dad’s oatmeal cookies to crumble on my yogurt. I sprinkled some granola on top and was shocked at how good it was. This granola had big clumps and was chock full of almonds, seeds, oats, raisins and coconut. When I tried to get the recipe I discovered it was not home-made, but was Kellogg’s Fruit and Nut Granola. I was unable to find it at home and have been dreaming about it ever since. I frequently save different granola recipes to try out, but then when I look at them again, they just don’t appeal to me.  But when I read through Melissa’s granola recipe I thought I might have found a contender.

To be honest, she had me hooked when I read the title. DOUBLE COCONUT! My girlfriend Sandy says that coconut is one of those polarizing ingredients. People either love it or hate it. I happen to love it. Without a doubt, Joanne Yolles’ coconut cream pie from Scaramouche restaurant in Toronto would be my last meal request.
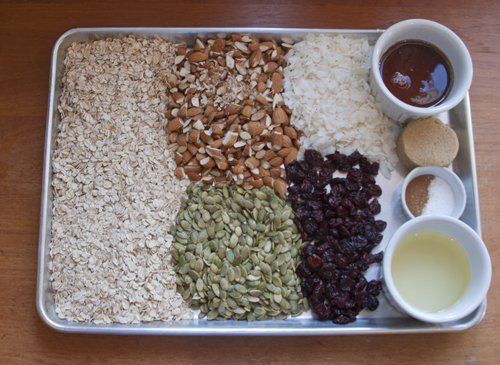
The first coconut in this granola recipe comes from what Melissa calls “Coconut Chips”.  Essentially, these are just large flakes of unsweetened dried coconut. Shredded won’t be the same, you need to seek out the large flakes. I buy mine locally at the bulk food store.

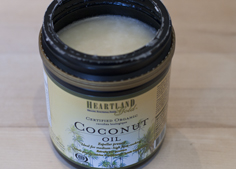
The second form of coconut is coconut oil. Melissa calls for virgin coconut oil. When I went shopping I just picked the first coconut oil off the shelf, which was organic expeller pressed coconut oil. Upon doing a little bit of research, I learned that Expeller Pressed Coconut oil is less expensive than Virgin Coconut Oil, and because it goes through a steam deodorizing process the taste is very bland, unlike Virgin Coconut Oil which retains the odor and taste of fresh coconuts. If you don’t want the coconut flavour to be overwhelming, go for the expeller pressed. I used the expeller pressed, but will definitely seek out the virgin for my next batch, to really amp up the coconut flavour.

I was really shocked (and thrilled) to learn some of the health benefits of coconut oil, not the least of which is that it aids in weight loss. Apparently it contains short and medium-chain fatty acids that help in taking off excessive weight. Not that I really understand what short and medium chain fatty acids are, but I am happy to be delusional in thinking that eating large handfuls of this granola will help me lose weight! Coconut oil also contains lauric acid, which is a key ingredient in breast milk. Now really, could you get any healthier than mother’s milk?

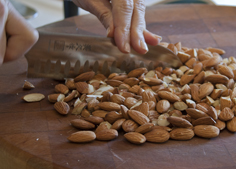
The coconut oil is solid and must be melted before using. To be honest, it looks more like a cream to rub all over the body for moisturizing. The original recipe called for pecans but I used almonds instead.

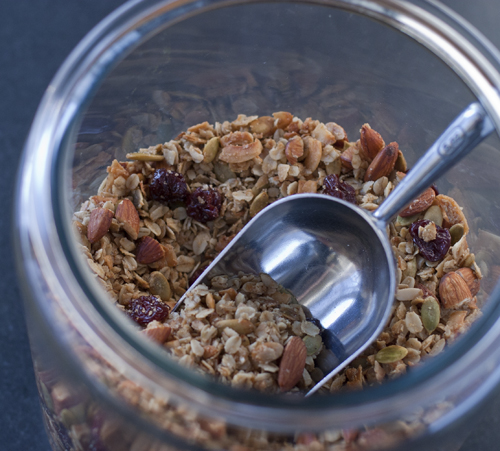
Rolled oats, pumpkin seeds, dried cherries, maple syrup, brown sugar, cinnamon, nutmeg and salt round out the ingredient list.

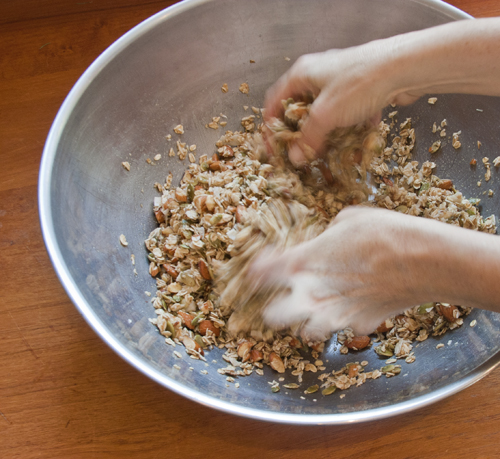
Use your hands to toss everything together, then spread it out on a baking sheet.

It takes about 40 -45 minutes to bake, and you should toss it every 10 minutes for even browning.

This granola is like a party in your mouth! It has the perfect balance of flavours and textures. Slightly salty with great crunch from the almonds and pumpkin seeds, some chewiness from the dried cherries and coconut, and a hint of maple and cinnamon, this granola makes me very happy! Mornings just got a whole lot better around here!

Click here to print the recipe for Double Coconut Granola.

Crisp Roasted Chicken with Chickpeas, Lemons and Carrots

There has been quite a bit of buzz (well in the culinary world at least), about New York Times food columnist Melissa Clark’s new cookbook, Cook This Now. My kitchen shelves are bulging with cookbooks and I resolved not to buy anymore, but I did order one to give as a gift to my sister. When it arrived, of course I had to look through it. Melissa organizes the book by month, which ordinarily irritates me. My husband can provide anyone interested with the entire litany of little things that irritate me, but let’s  keep it pleasant and not go there today. As I was saying, ordinarily, I prefer when cookbooks are organized by traditional categories (ie: appetizers, breads, chicken etc…) However, Melissa had me hooked from the very first January recipe, “White Bean Stew with Rosemary, Garlic and Farro.” She had me at farro!

So of course, I kept the cookbook for myself and ordered another one for my sister, plus a bonus book (Momofuko’s Milk Bar) as my penalty for being late. Bo, if you’re reading this, now you know why your gift was late.

And rebel that am, I skipped right past the first 2 January recipes and boldly tackled the 3rd one first!  Full disclosure here, I’m really not that much of a rebel, I just happened to have a whole chicken defrosting in the fridge.

Melissa likes to play a game when she looks through food magazines. She doesn’t read the recipes. Instead, she looks at the photos and imagines what she thinks the recipe should be. She says that her track record is pretty good at guessing accurately, but sometimes she’s way off base. And that’s how the recipe for crisp Roasted Chicken with Chickpeas, Lemons and Carrots was born. Melissa explains:

“The photo was of a roasted chicken on a bed of chickpeas and what I thought were tiny cubes of carrot. I could taste the dish in my head. The chickpeas were crunchy and salty next to the melting, sweet carrots and everything was suffused with chicken fat from the roasting bird.

    In fact, the carrots turned out to be bits of orange bell pepper (definitely not in season in January in New York) and the chickpeas were added to the pan during the last few minutes of cooking so they would stay moist and soft, without the time to absorb much in the way of chicken essence. I’m sure it was a perfectly good dish. But I liked my own idea better.”

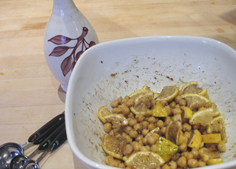
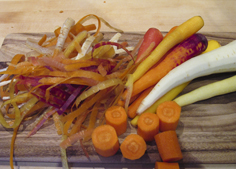
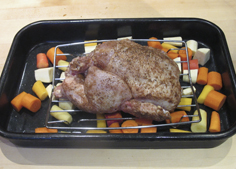
Her description was very persuasive. I set to work right away. Lemons are sliced into little wedges and then mixed with chickpeas and garam masala, an Indian spice blend. I happened to have rainbow carrots and some parsnips, so they got thrown into the pan as well.

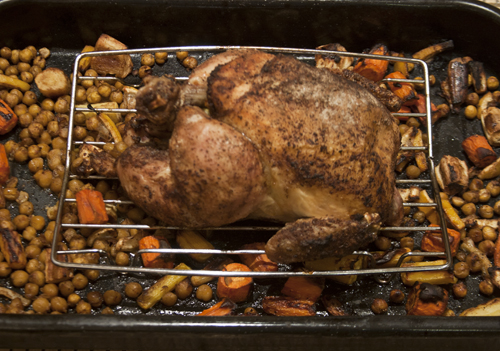
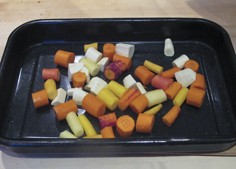
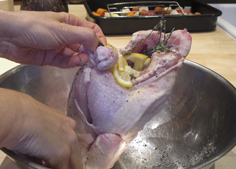
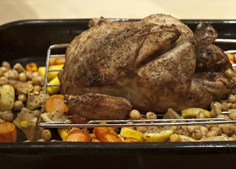
More garam masala is rubbed all over the chicken and then the chicken is seasoned with salt and pepper and then stuffed with more lemon and some fresh thyme. Melissa suggests rubbing the chicken with softened butter, but I left this step out as I didn’t want the extra fat. The stuffed chicken is placed on a rack, above the carrots and parsnips and roasted in a 400° F oven for 30 minutes.

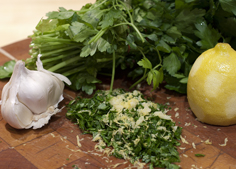
After 30 minutes, the chickpea-lemon mixture is added to the bottom of the pan and the chicken gets about another hour in the oven. While it was roasting I prepared the gremolata garnish.

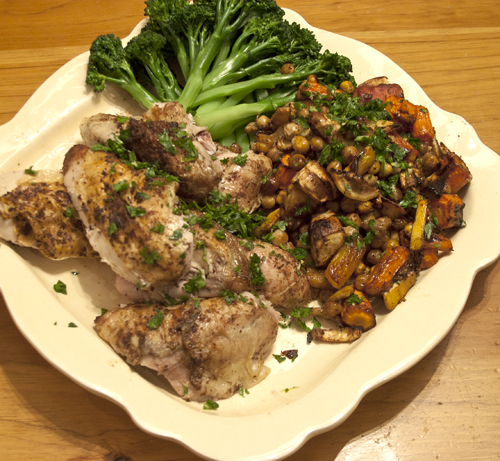
This dish is pure roast chicken goodness! Moist and succulent and intensely flavourful.The carrots and parsnips turned dark brown and had a wonderful sweet caramelized flavour. The chickpeas turned all crispy from roasting in the chicken juices. The only part of the dish we didn’t love was the roasted lemons. Melissa says they are edible, but we found them to be too bitter. Next time, and there will be a next time very soon, I will add only the zest of the lemons to the chickpeas.

Click here to print the recipe for Crisp Roasted Chicken with Chickpeas, Lemons and Carrots.

Spicy-Sweet Green Beans

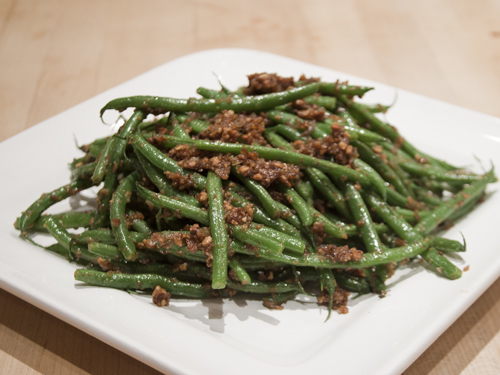
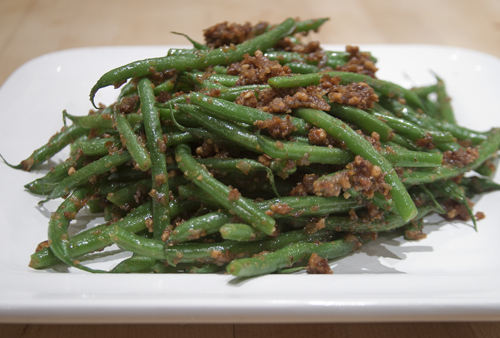
I wish you were here with me right now in my kitchen. Because I am about to tell you about some of the most amazing green beans I have ever eaten. And I’m not sure my writing and photography skills will be sufficient to convince you. If you were here beside me to smell them and taste them, I could make a believer out of you.

Now you may be wondering why I am raving about green beans. I can almost hear you now, in that disbelieving tone, “Come on, really? Green beans? Is she that hard up for healthy January recipes?”

This recipe came to me in a quiet e-mail from my sister Faith. It was actually a forwarded e-mail from her friend Kerry. Subject line read: Green Beans. The message was a simple one liner, “You’ll love these” and then on the next line was the link to the recipe.

I happen to love green beans. I think they are the Rodney Dangerfield of vegetables. They simply do not get the respect they deserve. They are the perfect canvas for carrying any flavour profile. They are healthy and I think they’re quite pretty to look at. I eat them at least twice a week and I’m always on the look-out for new ways to dress them up. So my sister had my attention.

When I clicked on the link I knew right away this recipe was a winner. When it comes to the plethora of on-line recipes floating around out there, you must always consider the source. And this time the source was Mark Bittman. Or Bitty as I like to call him ever since I heard Gwyneth Paltrow call him that on their PBS series “Spain – On the Road Again.”

Mark Bittman, New York Times Food columnist and author of several cookbooks, including the culinary bibles “How to Cook Everything” and “How to Cook Everything Vegetarian”, has yet to steer me wrong. As I went down the ingredient list of this recipe, I started to get excited. Almonds, garlic, dried hot chiles, olive oil, shallots, honey and soy sauce. How could it be anything but spectacular?

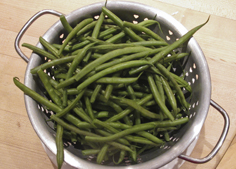
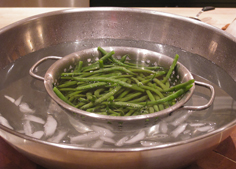
The green beans are cooked in boiling salted water for about 2 minutes. Please try salting your vegetable water if you have never done this before. It really makes a difference. Your vegetables will not taste salty, just well seasoned and way more flavourful than if you salt them after cooking. Once the beans are cooked to crisp tender, about 2-3 minutes,  shock them  in ice water to stop the cooking. Costco has been carrying the nicest Kenyan green beans lately (those skinny green beans sometimes referred to as called haricots vert) so I used those.

I used whole, unblanched almonds. I toasted them first, as I believe you get the best flavour from toasted nuts. I think untoasted nuts are a crime! (Sorry, just a little pet peeve of mine) Toasted almonds, garlic, dried red chiles and a bit of olive oil get turned into a paste in the Cuisinart. The recipe calls for 1 or 2 dried hot red chiles. I didn’t have whole dried chiles, just red pepper flakes, so I used about a teaspoon of the flakes. I like spicy but not painful hot, so a teaspoon was perfect for me.

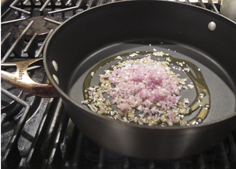
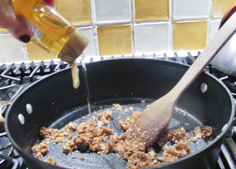
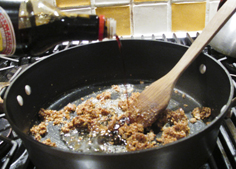
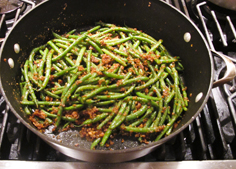
Chopped shallots are sautéed in a bit of olive oil and then the almond-garlic-chile paste gets added to the pan. Honey and soy sauce follow and then the green beans are bathed in this heavenly paste. I couldn’t stop eating them right out of the pan. They possess the perfect balance of flavour and texture. Crunchy from the green beans and almonds, a bit f heat from the red pepper, salt from the soy sauce and sweet from the honey.  This recipe is pure genius. Really! And eating more vegetables and less meat will make Bitty really happy!

Click here to print the recipe for Spicy-Sweet Green Beans.

Osso Buco Pasta Sauce

When the view out your window abruptly changes from this:

To this:

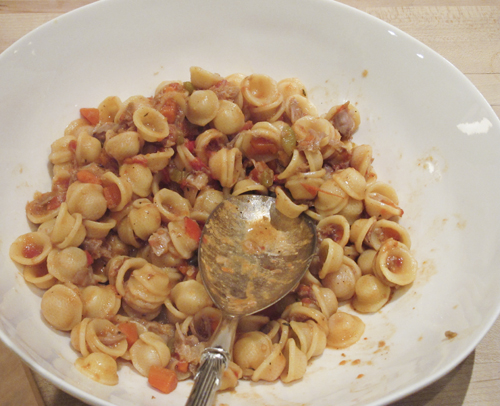
Then you know it’s time to make this:

Sadly, our winter holiday came to an end last week. When we left our island paradise on Thursday morning, the temperature was a balmy 28° C (82° F). Upon our arrival in Ottawa, when I looked out the airplane window and saw the baggage handlers and grounds crew wearing balaclavas, I knew we were in trouble! If you are unfamiliar with balaclavas, click here to see what I am referring to. And then consider yourself blessed that you never had to wear one.

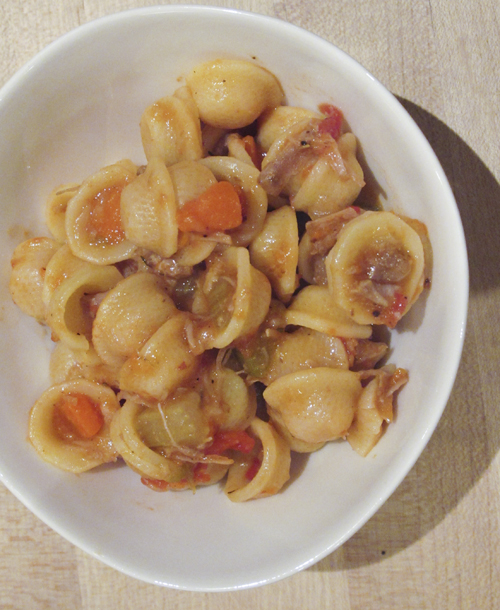
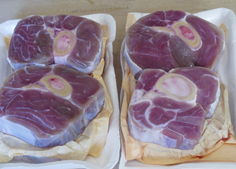
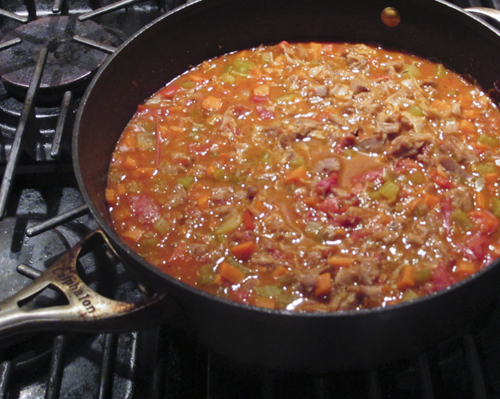
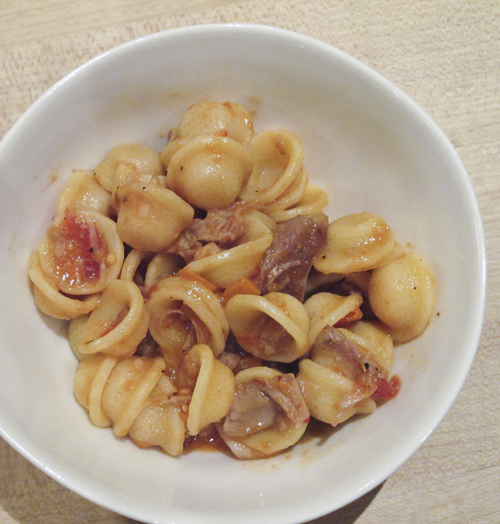
Osso buco, literally translated in Italian means “bone with a hole”. The hole refers to the marrow hole at the center of the cross-cut veal shank. Traditionally, the cross-cut veal shanks are slowly braised in stock, wine, tomatoes and vegetables and then served with some polenta or perhaps risotto. I decided to take the braised meat off the bone, shred it up and mix it back with the flavourful braising liquid and vegetables and serve it over orecchiette pasta. Any pasta that has little nooks and crannies to trap the delicious bits of this chunky sauce would be fine.  Warm, hearty, rich, tangy and just a little bit spicy, this dish really is a celebration of winter.  Um, just read that last sentence back and realized that was a bit over the top. Let’s just say it makes winter  a bit more bearable!

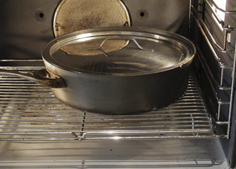
I especially love this dish because once the chopping and browning are done, the whole thing is covered and popped into the oven for 2 hours, leaving you time to do something else.

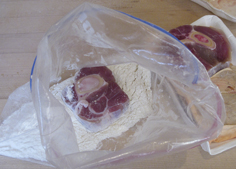
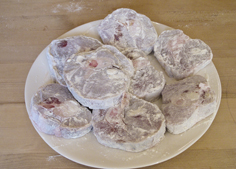
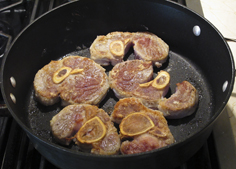
Veal shanks are dusted with flour and sautéed in oil, over high heat, until golden brown.

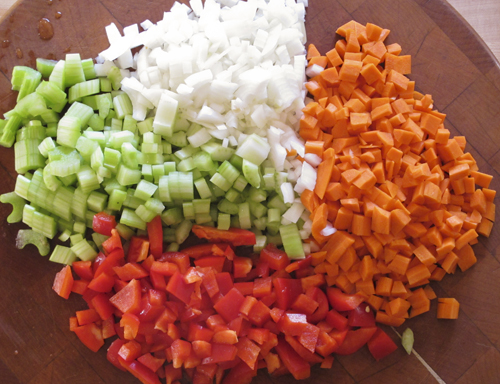
Carrots, onions, celery and red bell pepper are chopped.

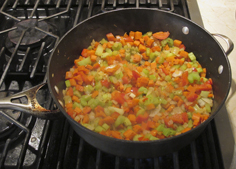
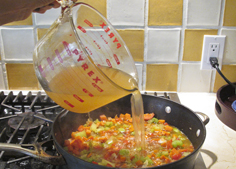
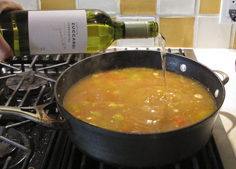
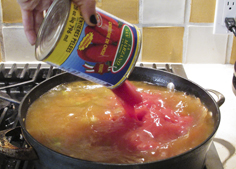
Once the vegetables are sautéed, chicken stock, water, wine, and canned tomatoes are added and the bones go back into the pot. The pot is covered and placed into the oven for several hours until the meat is falling off the bone.

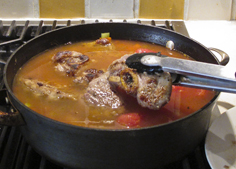
The meat is then removed from the bones and shredded using your hands or 2 forks. The veal goes back into the braising liquid and is simmered for a few more minutes until everything is well combined.

Click here to print the recipe for Osso Buco Sauce.