Monthly Archives: February 2012

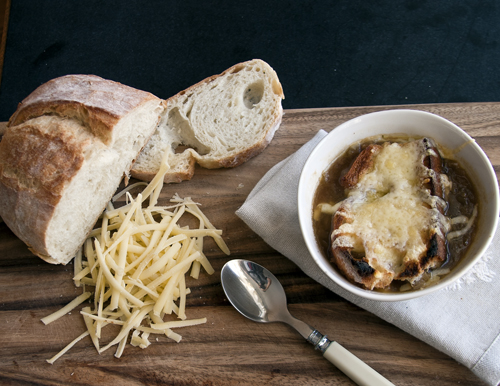
Vegetarian French Onion Soup

Last weekend was one of those rare ones when Canada and the U.S. get their act together and both have a long weekend at the same time. Here in Ontario, Monday was “Family Day”, and in the U.S. where my daughter goes to school, it was President’s Day. Family Day, in case you are interested is one of those made-up holidays, created by the Liberal Party of Ontario, in an effort to suck up to voters. Truthfully, we all need a day off mid-February. With apologies to T.S. Eliot, February is the cruellest month.

So, last weekend the whole family was together under the same roof again, if only for a few days. I feel so content when we are all together. Granted the contentment wears a bit thin when the two oldest make their younger brother laugh so hard he almost chokes to death.

Tuesday morning my fridge was empty and my countertops were covered in a fine layer in flour, butter and chocolate and I wasn’t even pissed off!  Since my daughter lives in a college residence, when she comes home, she likes to bake. And it fills me with great joy to see her creating.

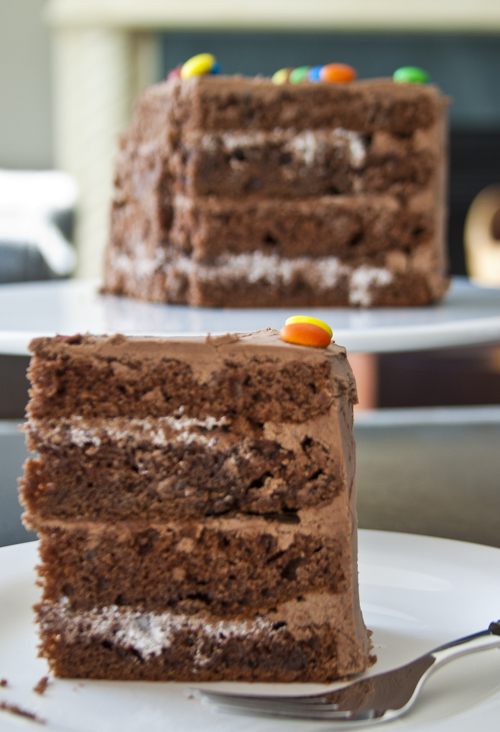
She baked a milk chocolate cake for her best friend’s birthday.

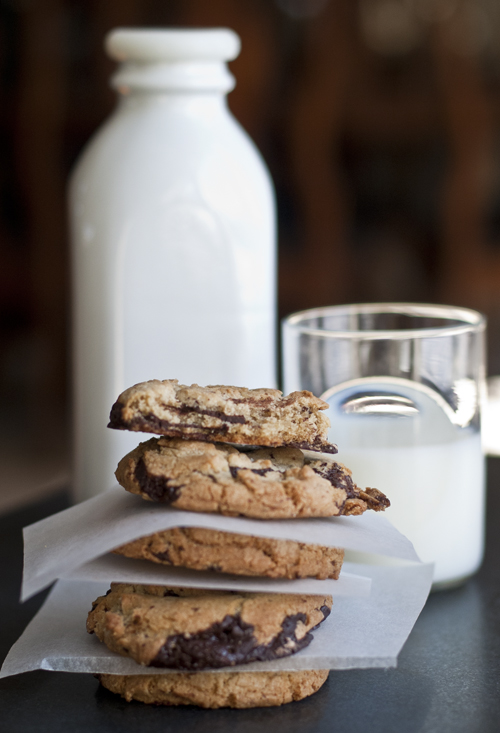
She baked The Perfect Chocolate Chip Cookie for her sorority sisters.

And she baked chocolate cookies filled with peanut butter for her residence suite mates.

Sorry, got a bit sidetracked by all that chocolate.

While all the family was home, I did a bit of cooking myself. I had never considered making French Onion Soup before. I knew that the foundation for a really great French Onion Soup was homemade beef stock. Since we have a vegetarian in the family, I make most of my soups with vegetable stock. And I never imagined that vegetable stock would have the oomph and body necessary for French Onion Soup. And then I discovered the roasted vegetable stock created by Mark Bittman. That man is pure genius! It has almost all the depth and richness of a beef stock. The secret is roasted vegetables (including mushrooms) and soy sauce!

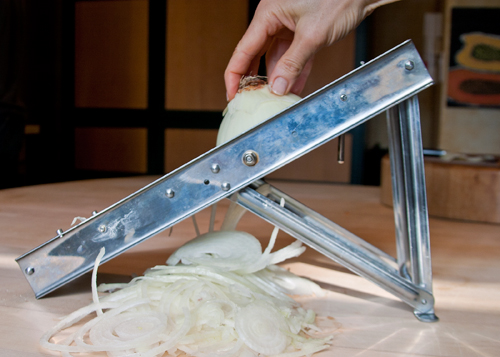
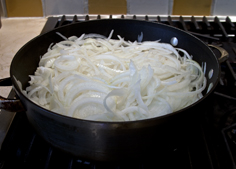
The other key to an authentic French Onion Soup is cooking heaps of onions, low and slow. A mandoline does a great job slicing the onions nice and thin.

.

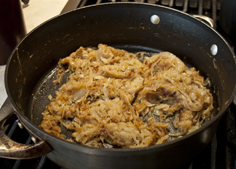
Two pounds of sliced onions are cooked over a low heat for almost 45 minutes, until they shrink down to a caramelized pile of sweet oniony goodness. Be patient. Do not turn up the heat in order to finish sooner. You will have bitter blackened onions.

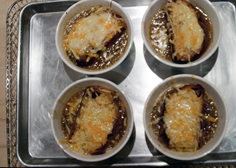
Make sure you use a good sturdy bread and toast it well before topping it with cheese. I used a combination of Gruyère and Cheddar.

When you break through the top layer of gooey cheese and crusty bread, your patience in taking the time to caramelize the onions slowly, is rewarded with a sweet and mellow broth.

Click here to print recipe for Vegetarian French Onion Soup.

Vegetarian Chili

I have been making this vegetarian chili on a regular basis for almost 10 years now. You would think I would be sick of it, but I’m not. Perhaps it’s because I top it with crushed tortilla chips and shredded cheddar and then pop the whole bowl in the oven until the cheese is hot and bubbly. A dollop of sour cream and some spring onions don’t hurt either!

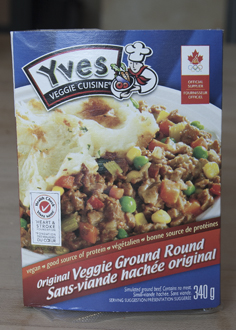
When my daughter was 11 years old, she came home from camp and announced that she was now a vegetarian. Of course I thought it was a phase and figured she would grow out of it. After a year of subsisting on mainly cheese and peanut butter, I figured I better begin researching alternate protein sources for her. I started cooking with tofu and she really liked it. Problem was, the rest of the family, especially me, couldn’t stand it so it meant making two different dinners. And then I stumbled across this product.

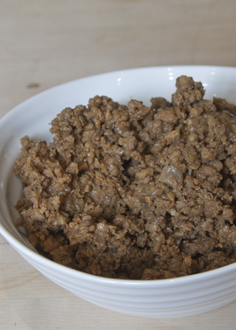
Consisting of soy and wheat protein, it basically has not much taste, but is loaded in protein. I figured I could make a chili, loaded with spices and vegetables and use the veggie ground round for texture. I added some rice and beans for more bulk and protein and came up with a delicious vegetarian option that everyone would eat without too much grumbling. Several years later I got the brain wave to top the chilli with crushed tortilla chips and grated cheddar cheese. I put the whole thing in the oven for about 10 minutes until it was all hot and bubbly. After that, everyone was really happy!

If you can chop vegetables and open cans, you can make this. I thought it was a fairly foolproof recipe until my daughter’s friend, Christina, who requested this every time she ate at our house, decided to make it herself. She had just moved into her first apartment at university and sent me an e-mail for the recipe. A few days later, my daughter told me that the recipe did not turn out. Christina had burned it. I just could not fathom how this had happened. The recipe uses 3 cups of water as well as liquid from the canned tomatoes. How could it possibly burn with that much liquid?

Upon further interrogation, the answer became clear. She looked at the mixture in the pot after adding the canned tomatoes and decided that it already looked liquidy enough. She decided she did not need to add the water. What she didn’t factor into the equation was that she had also added a cup of raw rice. Rice absorbs liquid and swells to three times its original volume as it cooks. (She is not a science major!) Without the extra liquid, the rice had nothing to soak up and it just burned. She was so embarrassed so I decided to share my Jell-O fiasco with her so she wouldn’t feel so badly.

My earliest cooking disaster was back in the 70’s when Jell-O molds were all the rage.  My mom used to make whipped Jell-O desserts.  My favourite was a red Jell-O and frozen raspberry concoction that had sour cream or whipped cream folded into it.  It had a mousse like consistency.  Sometimes, when she was feeling a little exotic she would make a green Jell-O and crushed pineapple variation. When that happened, I had to call my friend Corrie, immediately.  It was her favourite.

I begged my mom to let me help her make the Jell-O dessert. She had everything laid out on the counter.  She gave me my instructions, “When the water boils, add two packages of lime Jell-O”.  She went upstairs to get the fish-shaped mold and left me alone. In a few minutes, clouds of steam were billowing out of the kettle so I added the Jell-O powder – right into the kettle!  Suffice it to say, it was a while before she let me help her again. My story left Christina feeling a little bit better about her burned chili, and since that time she has gone on to make it successfully, many times.

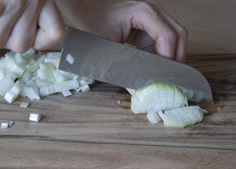
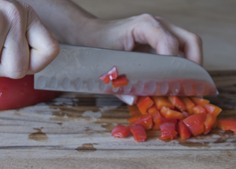
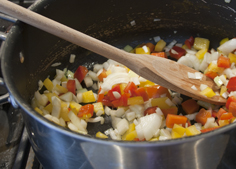
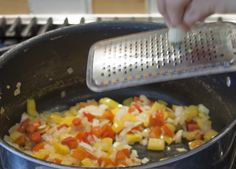
Begin with chopped onions, red and yellow peppers. Sweat in olive oil for a few minutes and then grate some garlic into the pot.

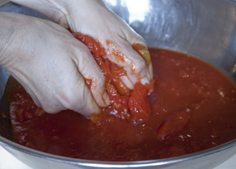
Add canned beans (white or black or both), canned corn, canned plum tomatoes, which have been coarsely chopped, rice, water and spices. My favourite way to chop canned tomatoes is to dump them out into a large bowl and squish them with my hands. For my chili, I used cumin powder, and a combination of Ancho chili powder and New Mexico chili powder (mild). Then add some white long grain rice and more water. Let the whole thing simmer for about 30 minutes.

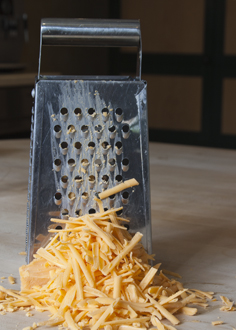
After about half an hour, add diced zucchini and the veggie ground round. Cook for an additional 10 minutes and then spoon unto heatproof bowls. Top with crushed tortilla chips and grated cheddar and bake in a hot oven until the cheese melts.

Click here to print recipe for Vegetarian Chili .

Peanut Butter Sizzle Truffles

If you think you are about to read a sweet Valentines Day post, you would be wrong. This is not that kind of story.

As a parent, when your children are young, they idolize you. They think that you can do no wrong and that you have the answers to all of life’s mysteries. But then gradually, that paradigm begins to shift. And there comes that day, usually when your kids are in their teens or early twenties, that they suddenly look at you and think, “My parents are so clueless.” For me, I can pinpoint the exact moment it happened with my oldest son. It was yesterday morning at precisely 6:17 a.m.

Let me back up a minute and go to the beginning of this tale. Wednesday afternoon I was in the bathroom, washing my hands. I went to open the door, but the handle seemed jammed. I twisted, jimmied and turned the handle for several minutes, before coming to the realization that I was locked in the bathroom. I opened my hair accessory drawer and tried to MacGyver my way out. After breaking several hairclips, a comb and some bobby pins, I realized I needed help.

Luckily my oldest son was home. I yelled for him and banged on the door, and eventually he heard me. “How could you possibly get locked in there?” he asked. After explaining to him that kind of comment was not helpful, I sent him to find a screwdriver. He tried to unscrew the handle to get it off, but somehow the screws would not budge. He suggested that perhaps I climb out the window. I was on the second floor, and there was no ledge or roof outside the bathroom window, so I quickly nixed that plan. He offered to get a ladder. I told him to call our handyman. Peter, the handyman, arrived and somehow got the door handle off and rescued me. I left the handle on the bathroom counter to deal with it later.

That night, when my husband came home, I told him what had happened. He asked, “How could you possibly get locked in there?” Why do they ask the unanswerable? We discussed how we would get the lock fixed or replaced and then we went to sleep. Fast forward to 6:00 a.m, when I was roused from a deep slumber by a loud banging from inside our bathroom. I went to the door, and my husband was calling my name.

Unbelievably he had gotten locked inside the bathroom. Of course I could not resist asking, “How could you possibly get locked in there?” Apparently, Peter just removed the handle and not the locking pin mechanism. So when he closed the bathroom drawer, the locking pin got jammed again. We had left the screwdriver in the bathroom the day before so he began fiddling, but nothing was budging. I suggested he remove the hinges and we could try to open the door that way. This was followed by grunting and cursing, but he got the hinges off. I tried to push on the door, but it would not budge. I needed my oldest son’s muscle.

I knocked on his bedroom door, and apologized profusely for waking him up. I explained that his father had gotten himself locked in the bathroom and I needed his assistance. As the realization of what had happened began to dawn on him, I could almost see the little speech bubble forming above his head and the words forming…”These people are idiots!” However, I guess I raised him right because he never actually said the words. He slowly walked down the hall and used his shoulder and hip top give a few good pushes to the door. It finally gave way and my husband was free.

I spent the next few hours, on-line trying to find matching door handle sets, to no avail. I was feeling stressed! I needed to create and it had to be something chocolate.

I needed a complex project to take my mind off the whole bathroom door fiasco. Peanut Butter Sizzle truffles it was. This recipe hails from Andrew Garrison Shotts beautiful book, “Making Artisan Chocolates.” The sizzle in the title refers to a pinch of cayenne pepper in the filling. Just the thing to calm my nerves!

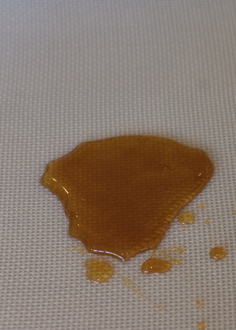
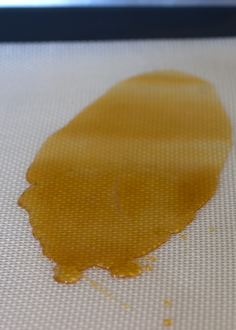
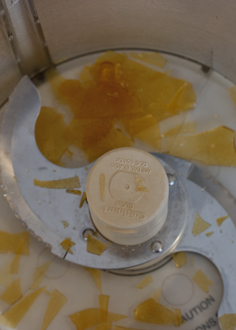
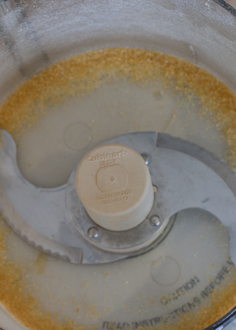
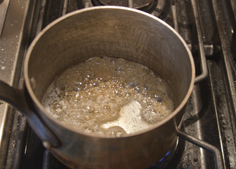
It begins with the making of the “Caramel Crunch”. Sugar and corn syrup are cooked until amber and then poured onto a silpat sheet or some parchment paper. Cover with a second sheet of parchment and roll with a rolling-pin until flat. let harden and then pulverize in the food processor.
Melt some milk chocolate to 88° F. Add smooth peanut butter (not the kind you buy at the health food store), the caramel crunch, some cocoa butter and a pinch of cayenne. I tasted after adding a pinch but felt it needed more. I probably used almost half a teaspoon. It was that kind of day! Let the mixture sit for a few hours until it firms up a bit. Resist the urge to eat it out of the bowl, just like this.
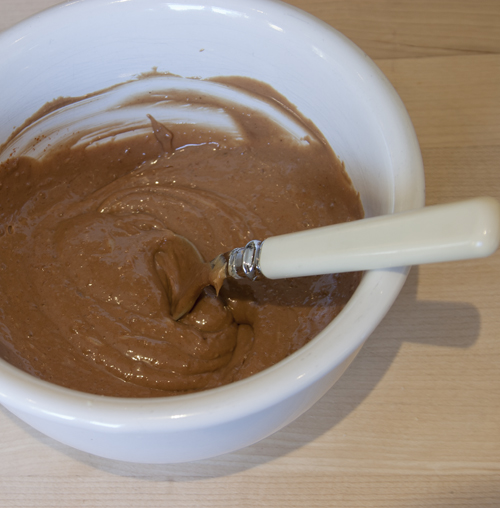
Then spoon it or pipe it out into little mounds and chill for a while. Crush and toast some salted peanuts.

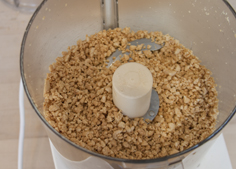
When the mounds are firm (I chilled mine all day), roll them between your hands to form round little balls. Get some bittersweet chocolate ready for dipping. Andrew says to temper the bittersweet chocolate for dipping. Since you are rolling them in peanuts after dipping, it is not absolutely necessary to temper the chocolate. If you are keen to learn to do so, here are some step-by-step instructions. Andrew Garrison Shotts explains the difference between tempered and untempered chocolate beautifully,

“Tempered chocolate sets quickly at room temperature, hardens as it dries, is shiny and brittle, shrinks slightly as it sets (and therefore releases easily from a mold), has a smooth mouth-feel, and once set, holds it’s luster and shape at room temperature for extended amounts of time without melting.”

Or if you actually have a tempering machine, now would be the time to break it out! I have been dreaming of having my own ever since visiting here, so I finally broke down and bought one.
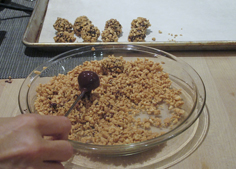
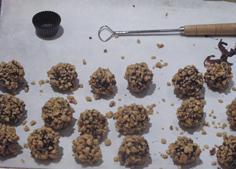
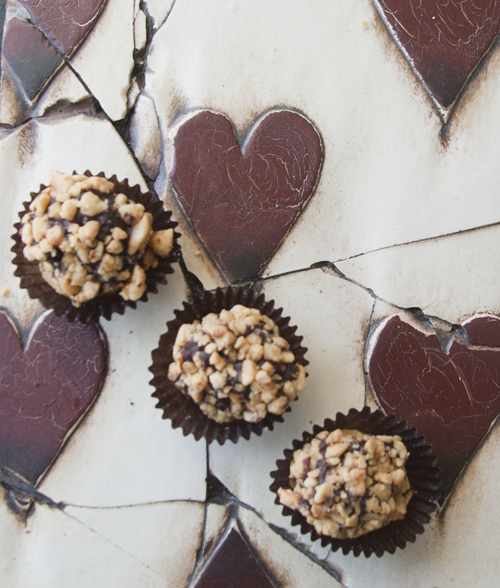
The outside is salty and crunchy from the chopped peanuts. Then you bite through the dark bittersweet shell and inside you discover the sweet creamy peanut butter filling, with a bit of crunch from the caramel. It’s not until after you swallow that you get the bit of heat from the cayenne, right at the back of your throat. A pleasant little sizzle. Just the thing to calm the nerves! I think I may have to stash a supply of these in the bathroom, just in case!
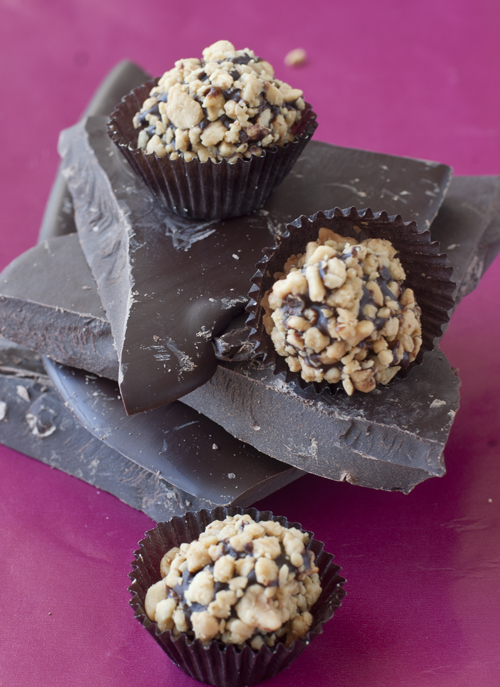
Click here to print the recipe for Peanut Butter Sizzle Truffles.

Caramel Apple Cake

I learned how to make this cake many years ago, at one of my very first professional cooking jobs. I was working in an upscale take-out food shop in Toronto’s Yorkville area called Dinah’s Cupboard. I learned so much from Dinah Koo, the shop’s owner. She demanded perfection and precision and a certain discipline that is lacking in many kitchens. She cooked with big flavours and was a master at presentation. I am forever grateful to her for teaching me so much. It was my job to make 4 of these cakes every day. We baked them in 9 x 13 inch rectangular cake pans and cut the cakes into large squares to sell in the shop.

After I left Dinah’s Cupboard, I didn’t make that cake again, for a very long time. I guess I was sick of it or had just forgotten about it. But then a few years ago I was working on a column for Rosh Hashanah (the Jewish New Year). It is traditional to have honey cake on Rosh Hashanah, to symbolize a sweet new year, however, I hate honey cake. Luckily, it is also traditional to have apples on Rosh Hashanah, so I decided to feature an apple dessert of some sort. And then, I remembered this apple cake. I decided to bake it in a Bundt pan, to make it look a little fancier. We had several other desserts at our dinner, but this was the first to disappear.

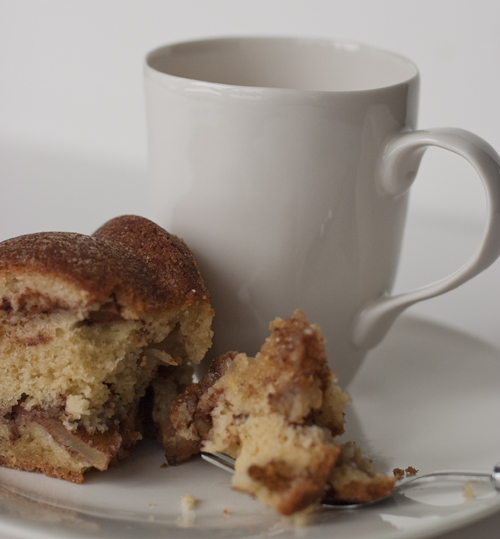
I had forgotten what a great cake it is. It is perfect for entertaining as it can be made a day ahead of time. it is also wonderful for breakfast with a big glass of milk, or at bedtime with a cup of tea. It is a moist, dense, intensely flavourful cake. The outside of the cake gets a bit crispy from the caramel glaze that is poured on top of the cake. The inside is tart from the apples, but also sweet, in that slightly bittersweet way that only dark caramel can be.   This is cake perfection. I am warning you that it is very hard to have just a little bit. Your guests will ask for just a sliver and then they will be back at the cake, hacking away at it for more slivers, until there are only crumbs left. Not that my friends and family are like that, of course!

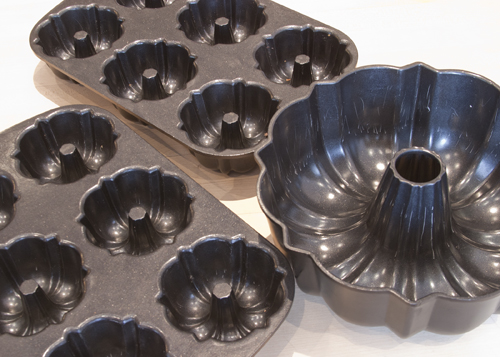
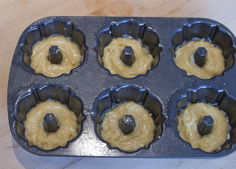
I decided to make it again this weekend, so I could take pictures and tell you all about it. I went to the basement to find my Bundt pan, and sitting next to it on the shelf were my mini Bundt pans. I decided to make a double recipe and make a big cake as well as some minis. An applepalooza around here! My husband was so happy.
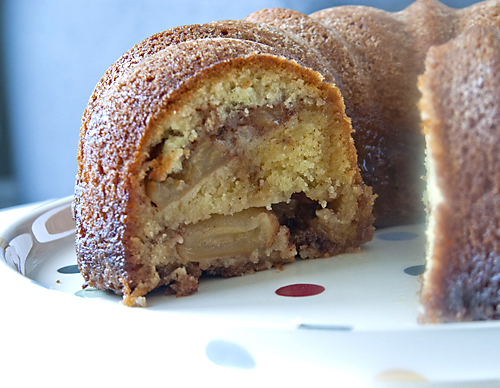
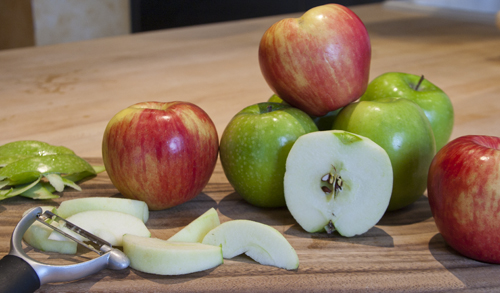
I decided to use a mix of Granny Smith and Honey Crisp apples. You want some tart apples in this dish that will hold their shape when baked.

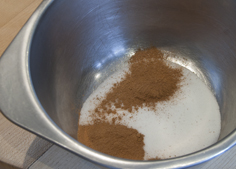
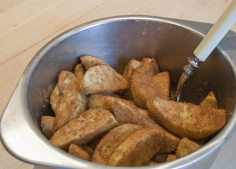
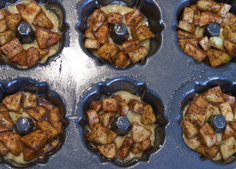
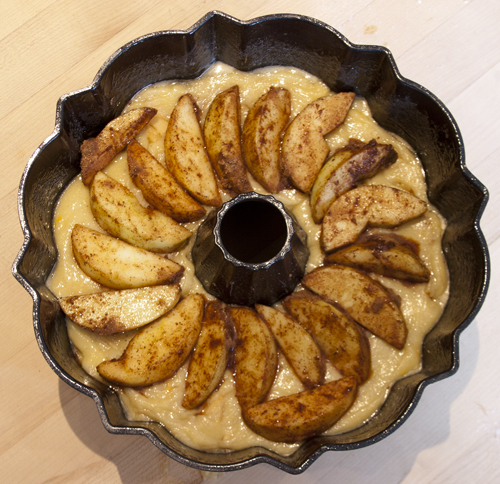
The apples get peeled and sliced into wedges for a big cake or diced for the mini cakes. Then the apples are then bathed in a sugar cinnamon mixture.

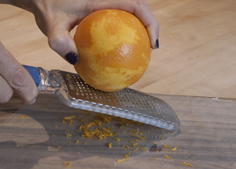
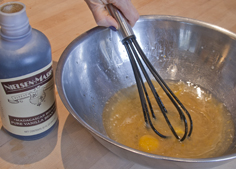
No need to take out your mixer for this cake. Everything gets mixed together in a big bowl. Whisk eggs, vegetable (or coconut) oil, orange zest, orange juice and vanilla extract together. Lately I have been using vanilla bean paste, instead of vanilla extract. You get those pretty vanilla flecks in the cake.

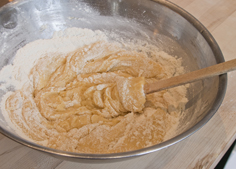
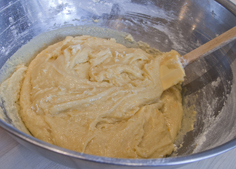
Then the dry ingredients are added to the wet and the whole batter gets mixed. You will think that there is no way all the dry ingredients will get incorporated, as this is such a heavy dense batter. But persist, use some elbow grease and it will all come together. Just think of all the calories you will be burning in advance of eating this cake!
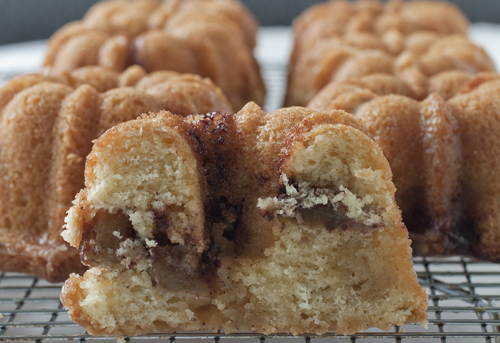
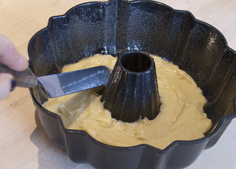
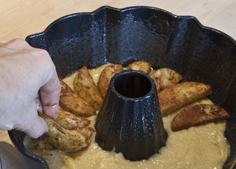
Then the cake gets assembled. It’s a little like making lasagna. Layer 1/3 of the batter into the pan. Arrange one half of the apples on top, then more batter, a second layer of apples and finally the last third of the batter.

The minis are just so adorable!

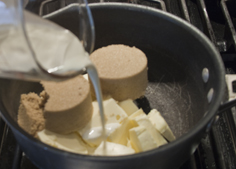
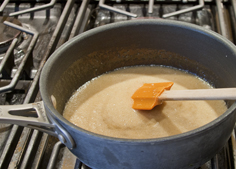
Once the second layer of apples are covered with batter, into the oven it goes. While it is baking, you can prepare the caramel glaze. Butter, brown sugar and heavy cream are cooked until hot and bubbly.

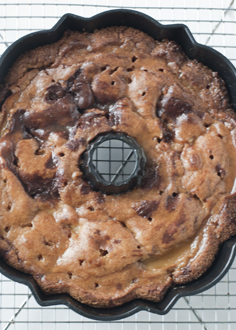
Once the cake comes out of the oven, it’s time to add the caramel. Now I’ll share with you the secret to what makes this cake so incredible.

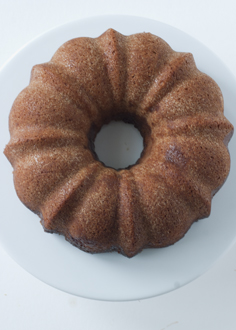
Then you must exercise extreme patience and let the cake cool COMPLETELY, before trying to unmold it. Looking at the sad bottom of this cake, all riddled with holes may have you a little concerned. Then you unmold it and it just looks like a boring Plain Jane Bundt cake. But wait, yee of little faith.  Slice into it and taste. You will be a believer!

Click here to print recipe for Caramel Apple cake.