Tag Archives: Chocolate

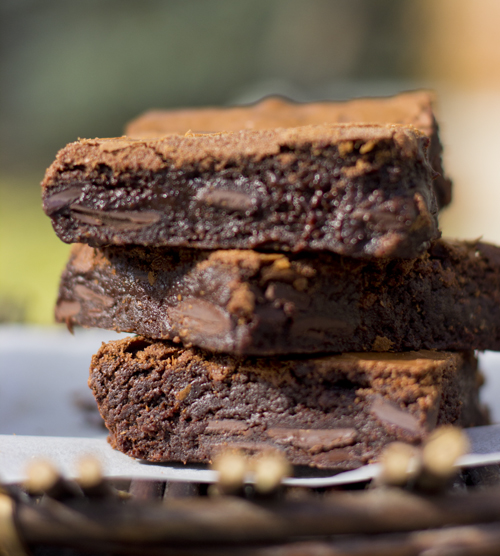
Incredibly Fudgy Triple Chocolate Brownies

If we are to be completely honest with ourselves, we all have one! I’m referring to celebrity crushes here. You know what I’m talking about; someone in the public eye that you would actually have no chance with, but can’t help but like/be attracted to/daydream about. Celebrity crushes are a harmless way to perk up an otherwise drab day.

So here’s what I’m thinking. If somehow my darling husband meets his maker and dies an early death, and George Clooney were not available, I would likely hook up with Nick Malgieri. WHO???

Nick is an acclaimed pastry chef, teacher and author, with over 10 cookbooks to his name. I first began crushing on him in 2000 when I discovered his book, “Cookies Unlimited.” Here was a man who spoke my language and completely understood me. I think there is no better way to end a meal than a cookie. Nick shares my philosophy and offered me over 400 cookies to choose from. He really sealed the deal when I made his oatmeal lace cookies. Two gossamer thin oatmeal cookies sandwiched together with chocolate ganache.

Before Nick, there was Rance Mulliniks. And unless you are a major league baseball fan from the last century, you may once again say, “WHO??” Check him out in Wikipedia.”Rance played third base for the Toronto Blue Jays during their heyday period. He batted over .300 three times (1984, 1987 and 1989) and demonstrated great patience at the plate, regularly posting on-base percentages near .400. In 1984 he was named to Sports Illustrated’s Dream Team as a utility infielder.”

My husband is not threatened by either Nick or Rance. If you were to Google them you would instantly see why. Neither is genetically blessed with movie star looks, but physical pulchritude is besides the point here. Nick and I would spend our sunset years eating cookies and he would not care one bit how fat I became. Rance and I would watch reruns of the 1992 and 1993 World Series games over and over again. I never grow tired of hearing Jerry Howarth and Tom Cheek announcing, “Now batting for the Blue Jays, Number 5, Raaaance Mulliniks.”

As I was thinking about writing this column, it occurred to me that I had never asked my husband who his celebrity crush was. I suppose I should be flattered that it took him a full 8 hours to come up with an answer, and a further 7 hours to recall her name. (It was actress Mila Kunis, in case you are curious.) Upon further reflection, I wondered if his inability to instantly come up with a celebrity name meant he just lacked imagination. Not so, it’s just that he is very firmly rooted in practicality. So practical in fact, that he has decided that should I go first, he will take up with one of my good friends, since she already knows her way around the cottage kitchen! You have to admire his pragmatic nature.

Celebrity crushes are really quite innocuous, unless of course you start to take it too far and begin imagining that your crush would adore you if he met you, or start wondering if there is enough closet space for all your clothes at his place, once he tells his wife he’s leaving her for you. You know you have moved into danger territory if you start visualizing how your dishes will look in his kitchen and wondering if he would find you too forward if you insisted he paint his kitchen Benjamin Moore 360 (San Fernando Sunshine) as the current paint colour he has offends your strong sense of aesthetic. If this happens, you need to seek help, or a restraining order may be in your future.

My sister has fallen into the stalker territory with her crush on P.E.I Food Network Chef Michael Smith. It all seemed harmless enough at the beginning but once she found out he was separating from wife Rachel, visions of co-parenting their son Gabe, filled her head. Gabe is an amazing little guy, who eats everything his chef dad makes for him! Her hopes were quickly dashed when she discovered he was having a second child with a new love, Chastity Fizzard. Folks, I am not making this stuff up!

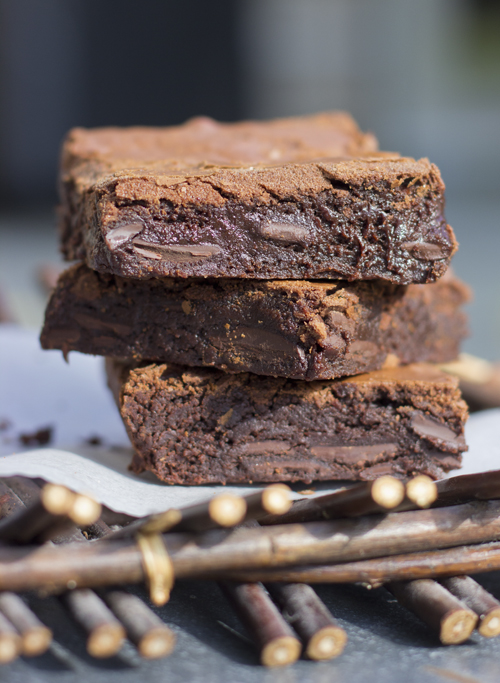
My sister has recovered, but Chef Michael’s star has somewhat tarnished in her eyes. That being said, she is correct in bragging about his Triple Chocolate Brownies. I have tried many different brownie recipes in my years of baking, but these come close to perfection. Deeply chocolate, chewy, fudgy and very rich and decadent. They could be just the thing to help you get over your celebrity crush.

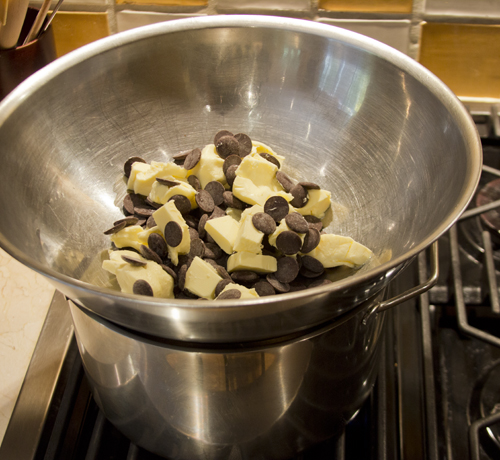
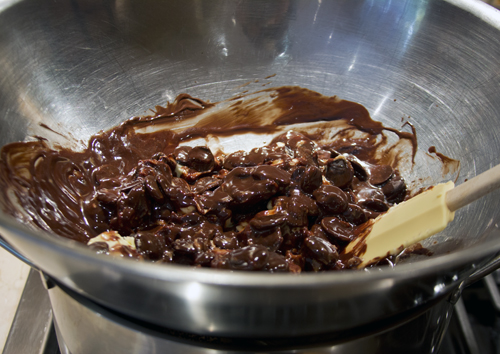
Melt butter and 8 ounces of the very best quality bittersweet chocolate you can find. Do not use chocolate chips here. Chocolate chips contain an emulsifier in them to help them hold their shape during baking. Buy good quality chocolate (at least 60-70% cocoa content). I like Callebaut 70 %. Lindt bars  (70%) will also work quite well. I melt the butter and chocolate in a large stainless steel bowl set over a pot of simmering water. Make sure the water does not touch the bottom of the bowl.

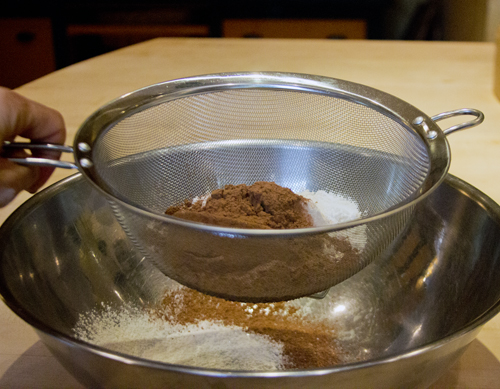
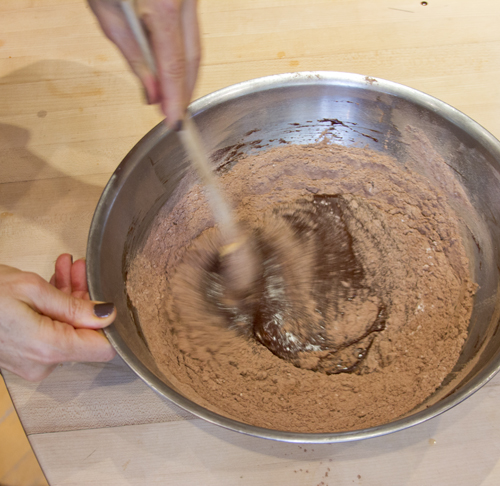
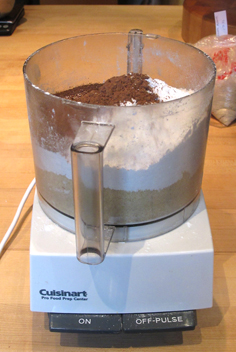
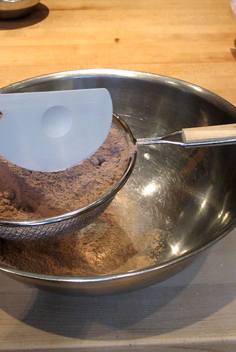
Sift the flour, baking powder, salt and cocoa powder so that there are no lumps.

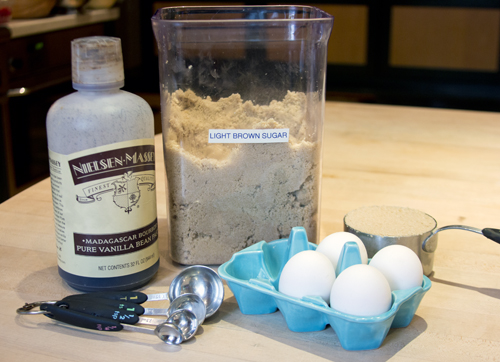
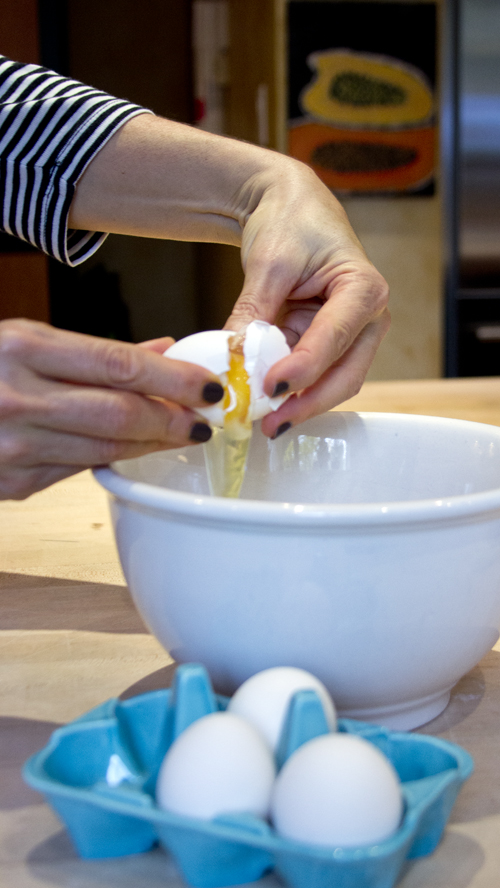
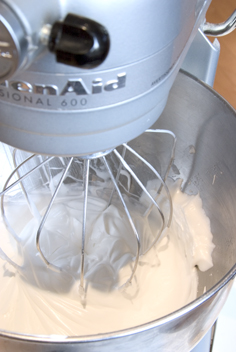
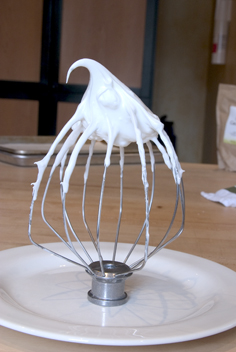
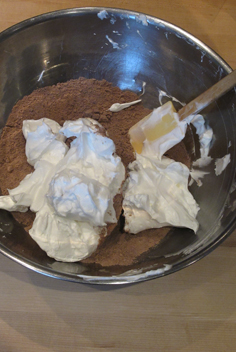
Eggs, brown sugar and vanilla are added. The chocolate in these brownies is ramped up  even further by the addition of chocolate chips. You can use regular chocolate chips for this part of the recipe, but you will have even more stellar results if you just chop up some of the good stuff! (70% bittersweet chocolate)

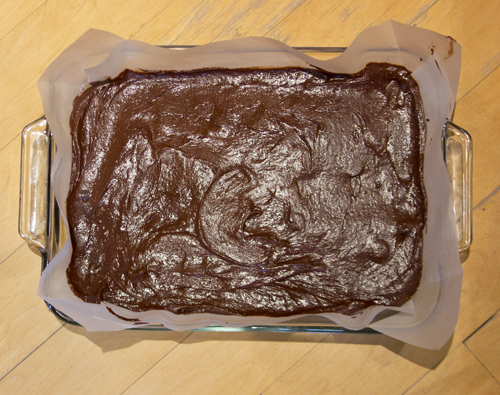
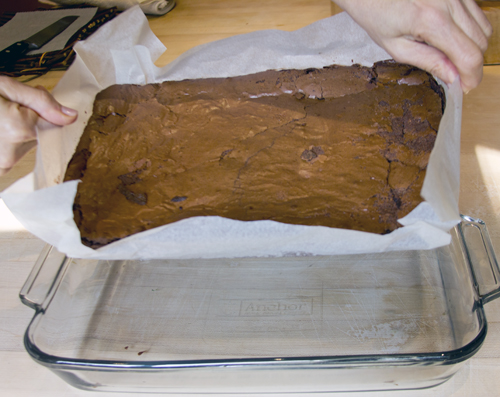
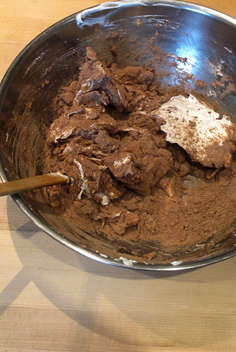
Batter is mixed and poured into a parchment lined 9 x 13 Pyrex pan. You can grease and flour the pan, but parchment makes cleanup so easy and it makes cutting the brownies into squares a snap.

My sister likes to cut them into perfect Isosceles triangles. My fine motor skills are not quite as finely honed, but any shape will be devoured. They are quite moist and fudgy and the addition of chocolate chips to the batter makes for a nice surprise.

Click here to print recipe for Michael Smith’s Triple Chocolate Brownies.

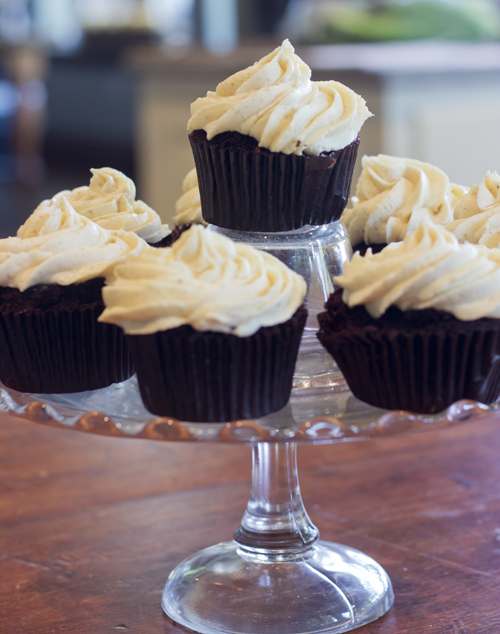
Ambivalent Birthday Cupcakes

You always remember your first. No, I’m not talking about THAT first. This is a not that kind of blog!

I have the good fortune of being blessed with 14 nephews and 9 nieces. I have a special place in my heart for each and every one of them, but there is something quite special about becoming an aunt for the first time. My oldest nephew was an adorable, sweet-natured baby and has turned into a wonderful, responsible, very funny young man with a strong sense of family. His 29th birthday coincided with a visit to our cottage last week. I wanted to make a family dinner for him. I know he has been following the Paleo diet for some time now, and birthday cake is not really on the approved Paleo list. However, a birthday without cake is just too sad for me to contemplate, so last week I sent him the following e-mail:

Would you eat cake on your birthday? If so, what would your preference be? Chocolate, Berry Shortcake, Carrot, or anything else.

I got the following response:

Well, I would have some cake if there was one in front of me, but I’d rather not.  I know I’d enjoy it in the moment, but I’d probably regret the sugar and gluten the next day.  But if I had to choose?  Chocolate or Berry Shortcake sounds great.

As far as what I eat…pretty much meat and veg these days – still on the Paleo diet.  I basically stay away from gluten/grains, dairy, and most processed food.  That being said, however, given your penchant for baking (I don’t remember the last time I was at your cottage and didn’t see something delicious cooling down on those huge racks you’ve got) I’d imagine I’ll be doing a bit of cheating those few days.
Anything I can bring?
WHAT???? Talk about an ambivalent response! How was I to interpret that?
This party was beginning to look like no fun at all. I fired off a quick e-mail:
Do you still drink alcohol?
He responded:
Yes, just wine and tequilla. 
Whew, he hadn’t completely lost his mind.
Now I had to decide if I would be the Evil Aunt and tempt him with something anti-Paleo, or should I be considerate and respectful of his diet and make him a Paleo Chocolate Birthday Cake with Coconut Honey Frosting?
I decided that to go with a full-on, loaded with gluten, dairy and sugar cake would be cruel, but it really seemed to me that he was asking me to help him cheat. So. I decided to make cupcakes, because they’re small and not really a true cake. Sort of an ambivalent cake for his ambivalent response.
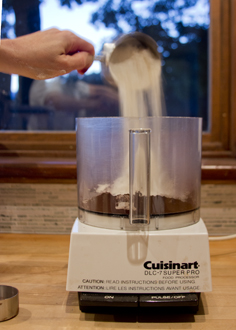
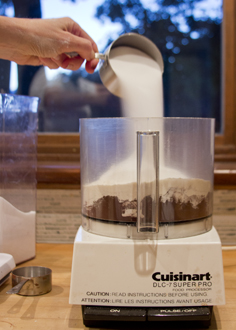
For the base of the cupcakes, I knew chocolate was the right road to follow. I have tried many different chocolate cake recipes over the years, and have come to the conclusion that butter is not always better when it comes to the moistest cake. Vegetable oil really does make a better cake. Our family’s go-to chocolate cake comes from Noreen Gilletz’s “Pleasures of Your Food Processor.”  Rich, moist and very deeply chocolate, but not too sweet, it makes a perfect cake or cupcakes every time.

I am thrilled with the Cocoa Barry brand of cocoa powderI just bought. (Cocoa Barry is the French division of Callebaut)

I wanted to try a different buttercream this time. A few years ago I had dinner at a wonderful restaurant in Ottawa called Beckta. Before the meal they brought bread and some type of butter spread to the table. I was smitten from the first bite! I begged the waiter for the recipe for this spread. He told me that they melt butter until it turns a medium nutty brown colour. Then they chill it ao that it becomes a solid again and whip it with a little regular butter. This was my first foray into the land of browned butter (the French call it beurre noisette) and I must say that it has haunted my dreams ever since.
Given my success with browned butter berry tarts, I suspected that browned butter in a buttercream would be fantastic. Something magical happens when you brown butter. It enhances the flavour of just about anything you add it to, and the aroma will drive you wild. Making brown butter is quite simple. Use a saucepan with a light coloured bottom, so that you will be able to judge when the butter is browned to perfection. A dark bottom pan can lead to burned butter and trust me, that aroma and taste will not leave you craving more!

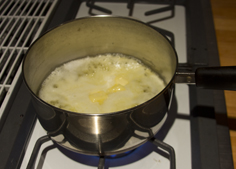
As the butter melts, it will begin to foam. Swirl the pan to ensure even melting. The color will progress from pale yellow to golden-tan to, finally, a burnt sienna (remember that crayola crayon colour?). Once you smell that nutty aroma, take the pan off the heat and transfer the browned butter into a heat-proof bowl to cool.

The milk solids will cook faster and you’ll see them settle on the bottom of the pan. You can strain the brown butter through cheesecloth to leave those milk solid particles behind, or you can incorporate them into the buttercream. I really like the almost burnt taste of them as well as seeing the specks of browned butter in the icing, so I did not strain mine.

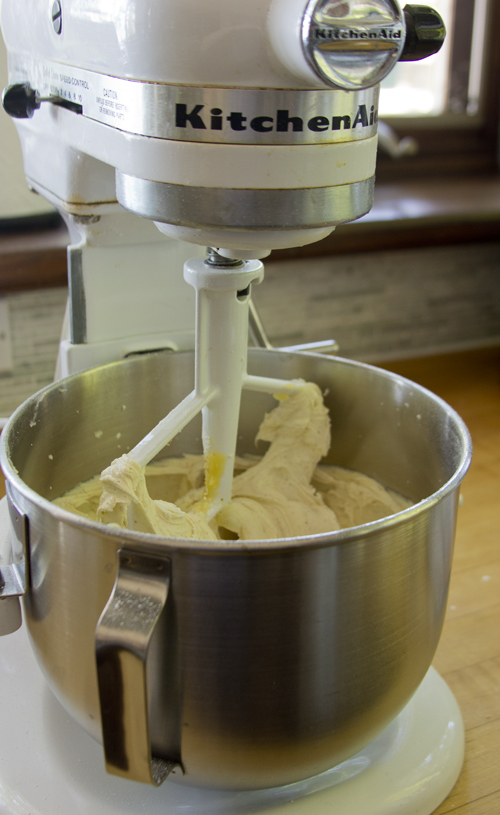
The brown butter is chilled for about an hour until it becomes solid again. The ideal temperature of the brown butter for making the buttercream is room temperature. If it becomes too hard in the fridge, leave it on the counter to soften a bit. Beat the brown butter with icing sugar, a pinch of salt and a little vanilla extract.

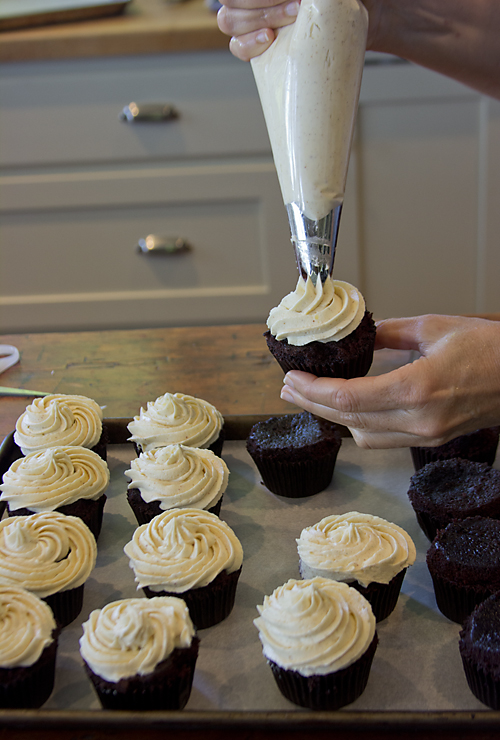
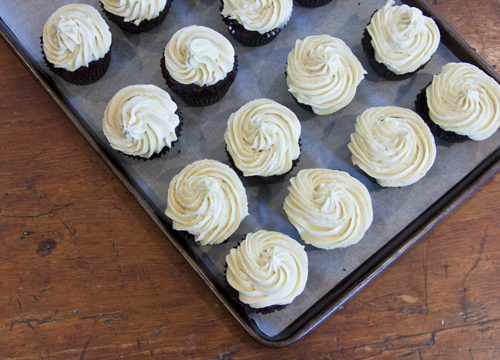
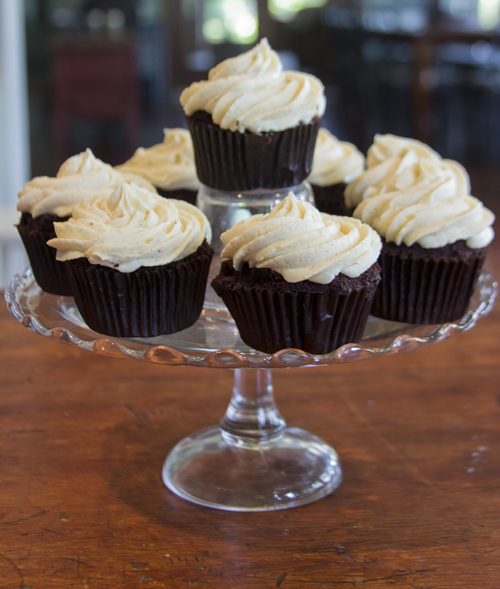
Fit a disposable piping bag with a large star tip and frost the cupcakes.

The cupcakes were a huge hit. My nephew inhaled two of them and asked for two more to be wrapped up to go. I have a feeling he may have had a bit of a gluten-sugar hangover the next morning, but I think he will agree that they were worth it.

Click here to print the recipe for Chocolate Cupcakes with Browned Butter Icing.

P.S. Just read about browned butter on field fresh tomatoes. Check it out!

Salted Caramel Chocolate Tarts and a very sweet Mother’s Day.

Today I am grateful for several small and large blessings! I am grateful to be relatively pain free. If you read my last post,  you, may recall that I was in bed for over 8 days with terrible back and leg pain. The MRI revealed a bulging disc which was pressing on a nerve and causing me back pain. It seems to have eased greatly and I am back on my feet again. I feel grateful for a wonderful husband who brought me an extra hot skim milk latte in bed this morning.

Although I couldn’t be in Toronto today to celebrate Mother’s Day with my mom, I am grateful to have 5 siblings all living there to celebrate with her. They gathered at my baby sister’s house and had a “friendly” game of softball. Some family members tend to get a bit competitive about these things so hopefully no one sprained a hamstring sliding into first base or got bonked on the head from being tagged out at home plate. I’m sure to get a play by play analysis very soon.

Finally, I am grateful for my sweet children. My oldest was unable to spend today with me, but he drove for over 5 hours to come home for a short visit yesterday. My middle child bought me a beautiful blue hydrangea plant and gave me a very fitting (and funny) card .

And my youngest, with the help of his sister, made me a video on YouTube, serenading me with Elvis’ “Love me Tender.” So sweet!

I made these tarts a few days ago and thought we would have them today for dessert. Unfortunately they were all gone the day I made them. Luckily I have other sweet things to satisfy me!

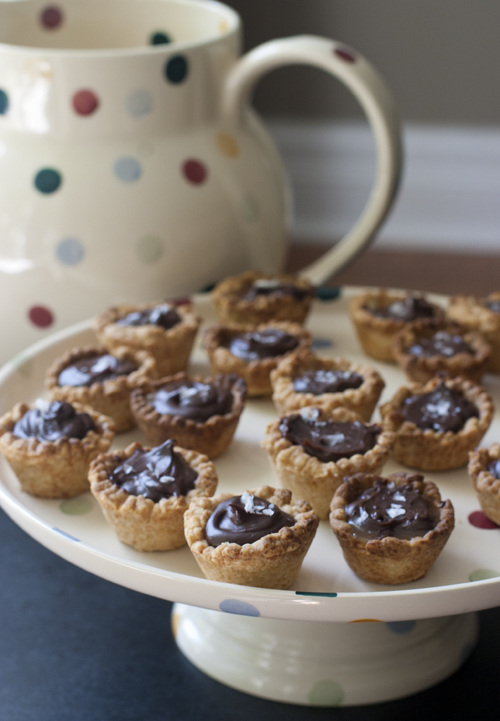
These tarts are the creation of Lucy Waverman, food columnist for the Globe and Mail. I have adapted the recipe somewhat.  The original recipe produced tarts that had a thin layer of caramel and then a thick layer of ganache. I doubled the caramel recipe so that the finished tarts would have a thick layer of both caramel and chocolate.I also added some salt to the caramel filling as well as a few decorative flakes on top of the ganache filling.

I made them in mini muffin tins. Not only do they look adorable, but there is no guilt at all involved in popping one (or three) of these into your mouth. The contrast in textures of this mini bite are what make it so special. Biting into the crisp flaky pastry you discover a silky smooth layer of bittersweet slightly salty caramel covered in a thick layer of chilled chocolate ganache. The ping on your tongue from a melting crystal of fleur de sel helps these tarts from being too cloyingly sweet.

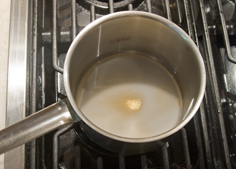
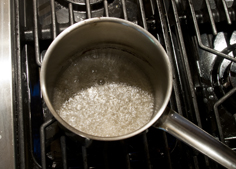
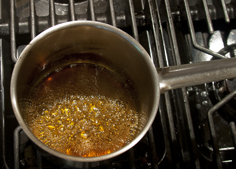
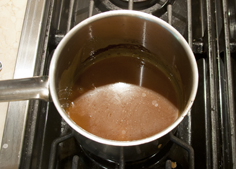
Begin with making the caramel, as it needs time to cool and firm up. Sugar, water and corn syrup are boiled until a rich amber colour is reached. Finish with whipping cream and a pinch of kosher salt.

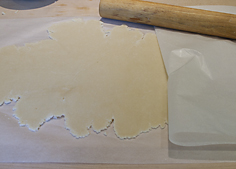
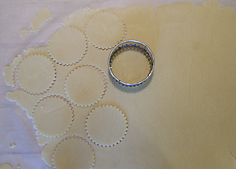
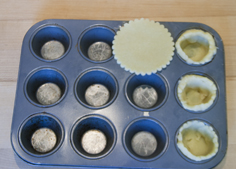
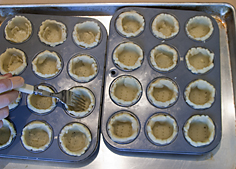
I like to roll out the pastry dough between 2 sheets of parchment paper, right after making the dough. Then I chill the rolled out dough. Be sure to roll the dough very thin (1/8 of an inch thick) for these mini tarts.

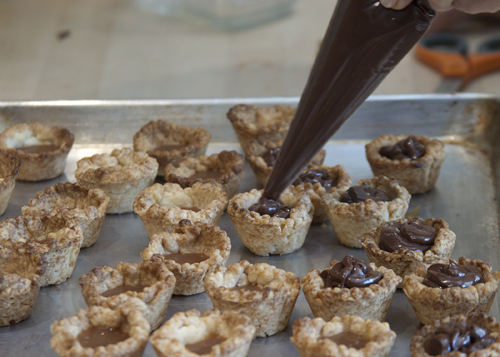
Let the tart shells cool completely before filling. I find it easiest to put the caramel filling into a disposable piping bag.

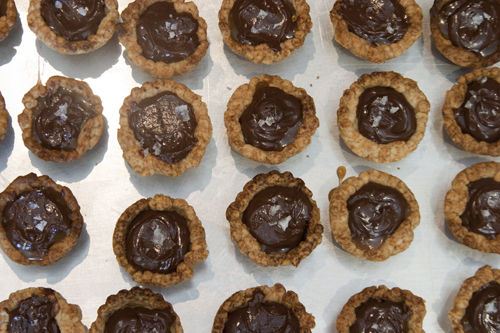
Finish off with chocolate ganache and a few flakes of fleur de sel.

Click here to print recipe for Salted Caramel Chocolate Tarts.

Chocolate Sparkle Cookies

For our family Passover seders in Toronto, I help out by bringing desserts. Last year I made Matzoh Crunch, Salted Caramel Macarons, Chocolate Macarons as well as Coconut Macaroons. My nephew Riley will cause a revolt if I don’t show up with Matzoh Crunch, so that stays in the rotation, but I needed to come up with something new to add to the plate this year. Passover desserts are quite limiting as you can’t bake with flour during Passover. For many years, people used Matzoh Meal as a substitute for flour in their favourite desserts. The results were always leaden and heavy and stayed with you almost as long as the eight days of Passover. Coconut is a very prevalent ingredient on the Passover dessert table, usually in the form of macaroons.  But even coconut lovers have their limit.

This post is dedicated to all the coconut haters out there. I may not be a member of your tribe, but I respect your right to hate coconut. I may not understand it, but I do respect it. Coconut is one of those polarizing flavours, much like cilantro. You either love it or hate it. I happen to love it.

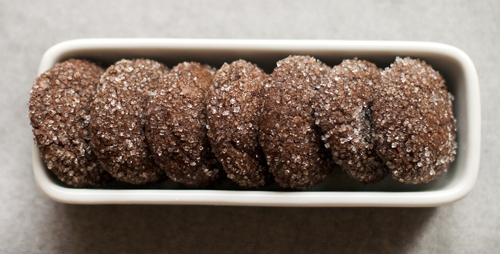
This is a great recipe to make for the coconut haters. This recipe was sent to me several years ago, by my sister Bonnie. I keep a very organized filing system and the recipe was exactly where I thought it should be. Trust me, that doesn’t always happen. Aside from being simple to make, they are quite beautiful to look at. They glitter like Kim Kardashian’s engagement ring and will disappear even quicker than her marriage! The texture of these cookies is a perfect combination of crunchy on the outside and chewy in the middle.

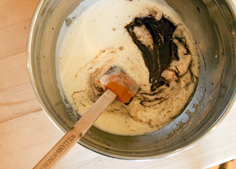
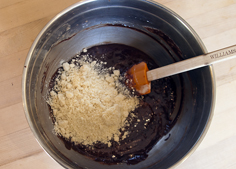
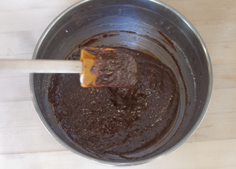
Eggs, sugar and honey are beaten very well, then melted chocolate and butter are mixed in. Ground almonds and a touch of cocoa powder are added and then the whole mixture is chilled for several hours.

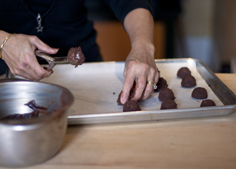
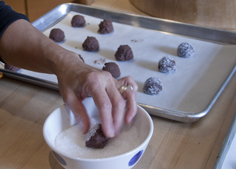
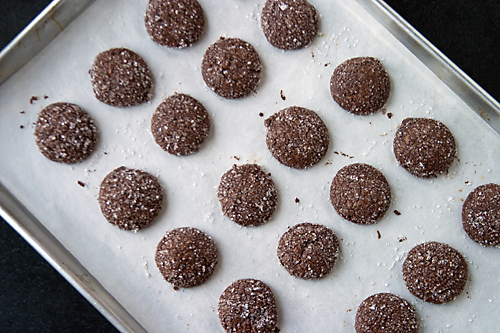
Scoop cookies onto baking sheet, roll in coarse sugar and bake.

Click here to print recipe for Chocolate Sparkle Cookies.

Peanut Butter Sizzle Truffles

If you think you are about to read a sweet Valentines Day post, you would be wrong. This is not that kind of story.

As a parent, when your children are young, they idolize you. They think that you can do no wrong and that you have the answers to all of life’s mysteries. But then gradually, that paradigm begins to shift. And there comes that day, usually when your kids are in their teens or early twenties, that they suddenly look at you and think, “My parents are so clueless.” For me, I can pinpoint the exact moment it happened with my oldest son. It was yesterday morning at precisely 6:17 a.m.

Let me back up a minute and go to the beginning of this tale. Wednesday afternoon I was in the bathroom, washing my hands. I went to open the door, but the handle seemed jammed. I twisted, jimmied and turned the handle for several minutes, before coming to the realization that I was locked in the bathroom. I opened my hair accessory drawer and tried to MacGyver my way out. After breaking several hairclips, a comb and some bobby pins, I realized I needed help.

Luckily my oldest son was home. I yelled for him and banged on the door, and eventually he heard me. “How could you possibly get locked in there?” he asked. After explaining to him that kind of comment was not helpful, I sent him to find a screwdriver. He tried to unscrew the handle to get it off, but somehow the screws would not budge. He suggested that perhaps I climb out the window. I was on the second floor, and there was no ledge or roof outside the bathroom window, so I quickly nixed that plan. He offered to get a ladder. I told him to call our handyman. Peter, the handyman, arrived and somehow got the door handle off and rescued me. I left the handle on the bathroom counter to deal with it later.

That night, when my husband came home, I told him what had happened. He asked, “How could you possibly get locked in there?” Why do they ask the unanswerable? We discussed how we would get the lock fixed or replaced and then we went to sleep. Fast forward to 6:00 a.m, when I was roused from a deep slumber by a loud banging from inside our bathroom. I went to the door, and my husband was calling my name.

Unbelievably he had gotten locked inside the bathroom. Of course I could not resist asking, “How could you possibly get locked in there?” Apparently, Peter just removed the handle and not the locking pin mechanism. So when he closed the bathroom drawer, the locking pin got jammed again. We had left the screwdriver in the bathroom the day before so he began fiddling, but nothing was budging. I suggested he remove the hinges and we could try to open the door that way. This was followed by grunting and cursing, but he got the hinges off. I tried to push on the door, but it would not budge. I needed my oldest son’s muscle.

I knocked on his bedroom door, and apologized profusely for waking him up. I explained that his father had gotten himself locked in the bathroom and I needed his assistance. As the realization of what had happened began to dawn on him, I could almost see the little speech bubble forming above his head and the words forming…”These people are idiots!” However, I guess I raised him right because he never actually said the words. He slowly walked down the hall and used his shoulder and hip top give a few good pushes to the door. It finally gave way and my husband was free.

I spent the next few hours, on-line trying to find matching door handle sets, to no avail. I was feeling stressed! I needed to create and it had to be something chocolate.

I needed a complex project to take my mind off the whole bathroom door fiasco. Peanut Butter Sizzle truffles it was. This recipe hails from Andrew Garrison Shotts beautiful book, “Making Artisan Chocolates.” The sizzle in the title refers to a pinch of cayenne pepper in the filling. Just the thing to calm my nerves!

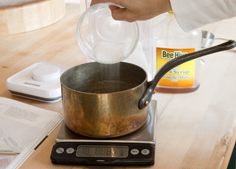
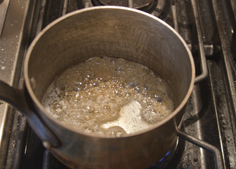
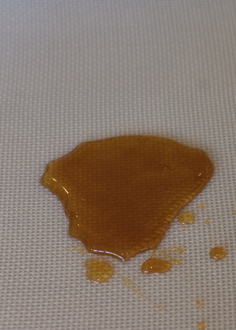
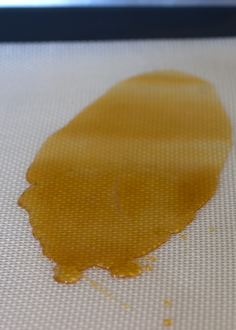
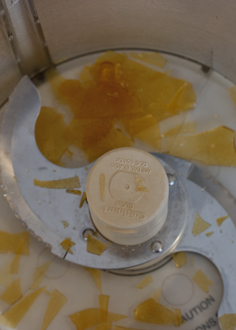
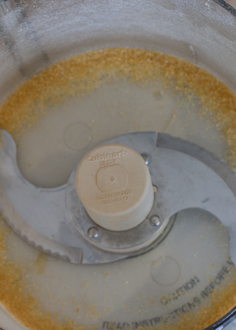
It begins with the making of the “Caramel Crunch”. Sugar and corn syrup are cooked until amber and then poured onto a silpat sheet or some parchment paper. Cover with a second sheet of parchment and roll with a rolling-pin until flat. let harden and then pulverize in the food processor.

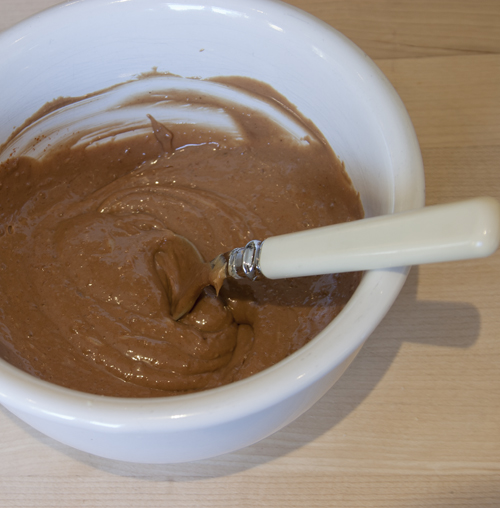
Melt some milk chocolate to 88° F. Add smooth peanut butter (not the kind you buy at the health food store), the caramel crunch, some cocoa butter and a pinch of cayenne. I tasted after adding a pinch but felt it needed more. I probably used almost half a teaspoon. It was that kind of day! Let the mixture sit for a few hours until it firms up a bit. Resist the urge to eat it out of the bowl, just like this.

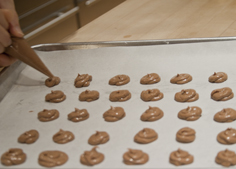
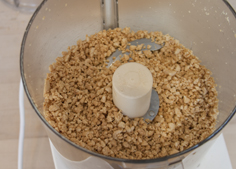
Then spoon it or pipe it out into little mounds and chill for a while. Crush and toast some salted peanuts.

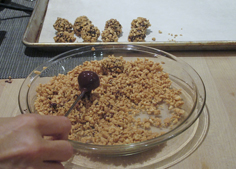
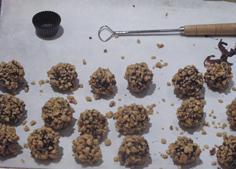
When the mounds are firm (I chilled mine all day), roll them between your hands to form round little balls. Get some bittersweet chocolate ready for dipping. Andrew says to temper the bittersweet chocolate for dipping. Since you are rolling them in peanuts after dipping, it is not absolutely necessary to temper the chocolate. If you are keen to learn to do so, here are some step-by-step instructions. Andrew Garrison Shotts explains the difference between tempered and untempered chocolate beautifully,

“Tempered chocolate sets quickly at room temperature, hardens as it dries, is shiny and brittle, shrinks slightly as it sets (and therefore releases easily from a mold), has a smooth mouth-feel, and once set, holds it’s luster and shape at room temperature for extended amounts of time without melting.”

Or if you actually have a tempering machine, now would be the time to break it out! I have been dreaming of having my own ever since visiting here, so I finally broke down and bought one.

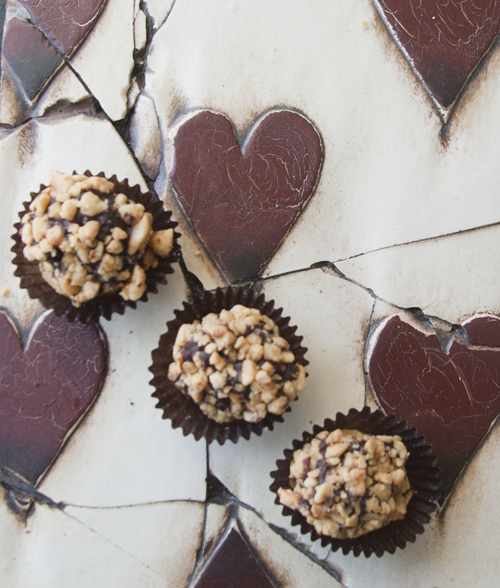
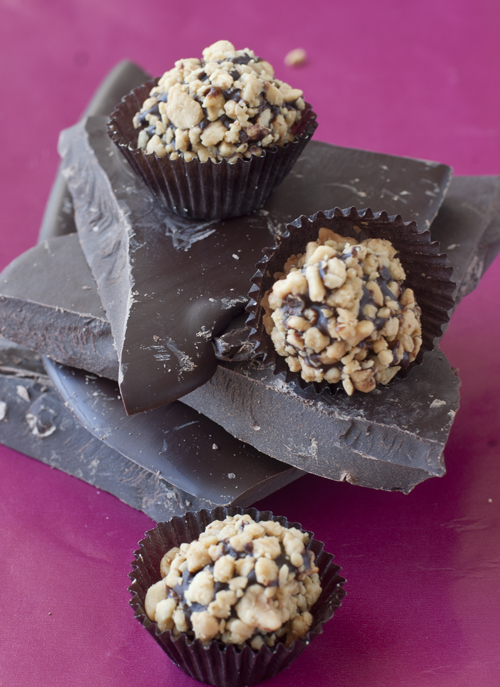
The outside is salty and crunchy from the chopped peanuts. Then you bite through the dark bittersweet shell and inside you discover the sweet creamy peanut butter filling, with a bit of crunch from the caramel. It’s not until after you swallow that you get the bit of heat from the cayenne, right at the back of your throat. A pleasant little sizzle. Just the thing to calm the nerves! I think I may have to stash a supply of these in the bathroom, just in case!

Click here to print the recipe for Peanut Butter Sizzle Truffles.

Holiday Baking Day 4: Chocolate Covered Pretzel Brittle

Follow Me on Pinterest
They do exist. Those people who claim, “I’m not really a dessert eater. I don’t have much of a sweet tooth.” I just don’t happen to be a member of their tribe. I do have a sweet tooth! However, I also happen to have a salty tooth. Wait; is there such a thing? I do know that I love the combination of salt and sweet. I think I first discovered this as a young child, when my mom would put out snacks when we were having company.

There would be bowls of jube jubes, chocolate covered almonds, salted cashews and potato chips. I would eat a few jube jubes and then follow them with a few salted cashews. Of course that was the gateway to the huge glass cookie jar filled with red licorice and then some salty potato chips to chase the sugar with. When I got older, I discovered Milk Duds at the movie theatre. A few handfuls of popcorn, followed by the sweet chocolate caramel flavour of Milk Duds is an incredible flavour combo. Then my daughter introduced me to McDonald’s French fries dipped into a chocolate milkshake. Hey, don’t judge until you’ve tried it!

All this to say that when I serve those from the “Non Sweet Tooth” Tribe, one of my salty-sweet treats, I get an entirely different reaction. There is something about the addition of salt that makes sweet taste so much better. Suddenly, they’ve grown a sweet tooth.

But, have you ever wondered why salt and sweet taste so good together? Justine Sterling, contributor to the food blog delish.com, explained it so eloquently,

“We all know that taste buds allow us to taste (it’s in the name, after all). But what you may not know is that each taste bud contains 50 to 100 taste cells, which are actually what do the tasting. Each of these cells responds to a different flavor: sweet, salty, sour, bitter, or umami. We perceive taste (let’s use sweet as an example) when sugar and a sweet receptor protein interact, causing the sweet cell to become excited and send a signal to the brain, which then registers the flavor as sweet. This is a process that scientists have known for a long time.

 But recently the process has been further complicated by what researchers have found out about certain sweetness receptors. A study, published in Proceedings of the National Academy of Sciences, found that certain sugar receptors that were thought only to exist in the stomach, were spotted on sweet taste cells on the tongue. Researchers, led by Dr. Robert Margolskee, of the Monell Chemical Sense Center, found the SGLT1 receptor — which transports sugars into cells only when sodium is present — on sweet taste cells on the tongues of mice. This could explain why sweetness is accentuated by salt — the receptors are activated when salt accompanies sugar.”

 O.K. science lesson is over. On the fourth day of holiday baking I bring to you a yummy salty and sweet treat guaranteed to convert those from the “No sweet tooth” tribe over to the dark, oops,I mean, sweet side!

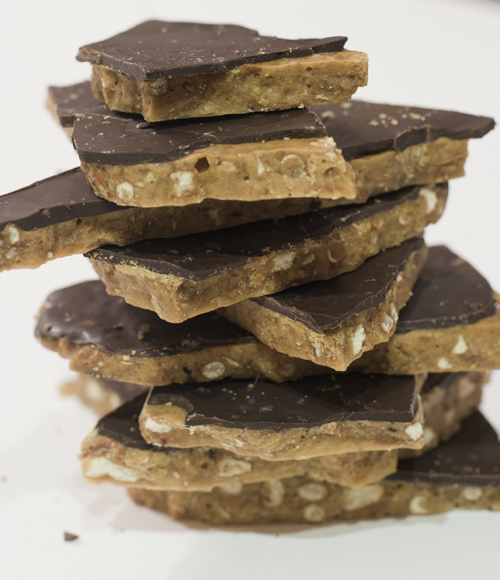
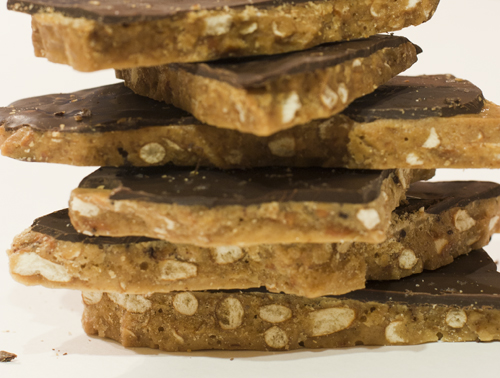
Chocolate Covered Pretzel Toffee, comes from Lucy Baker, contributor to www.seriouseats.com. Essentially you make a sort of peanut brittle, but with crushed pretzels instead of peanuts. Then the whole slab is covered in dark chocolate and finished off with a sprinkling of coarse sea salt.

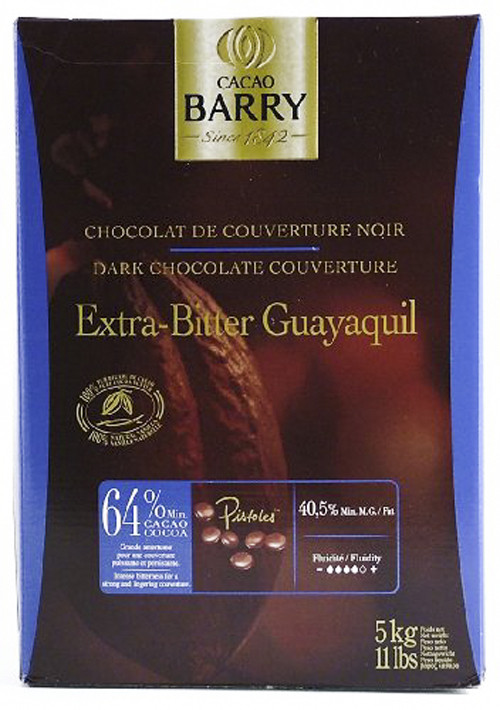
I have altered her recipe slightly. She originally called for topping the hot toffee base with chocolate chips, letting them melt and then spreading them out. I find that chocolate chips don’t melt quite as nicely as bar chocolate. Chocolate chips are actually formulated to hold their shape and are a bit too sweet for this, so I would recommend buying bittersweet chocolate (at least 64%) and chopping it up quite fine.  I used Cocoa Barry  64%. I buy it in bulk (20 kilograms at a time, and I get a great price of $15.79 per kilo. (The chocolate will keep for 2 years in a cool dry place.)

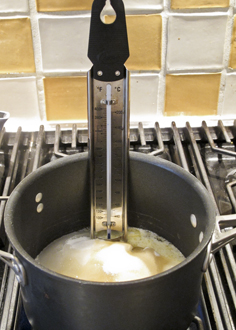
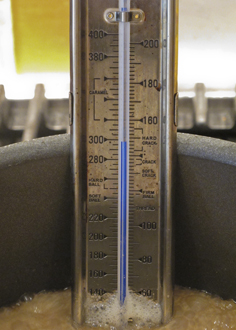
This is quite quick and easy to put together, provided you have the right equipment. Invest in a candy thermometer if you plan to do any sugar or caramel work. This is a great one as it has a foot at the bottom of the thermometer which prevents the bulb from touching the bottom of the pot, and giving you a false reading.

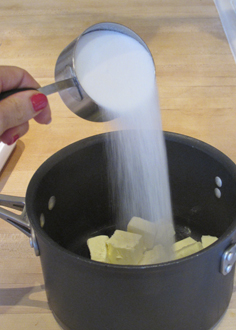
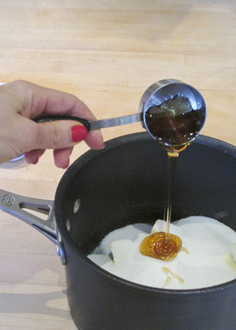
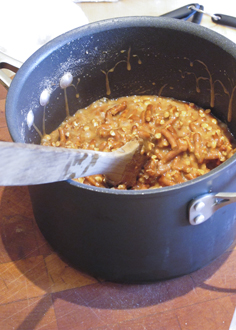
Butter, sugar, corn syrup, salt and water are cooked to 300° F.

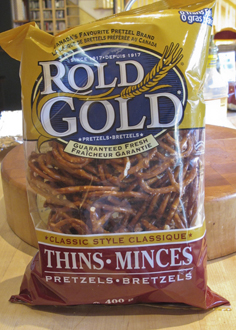
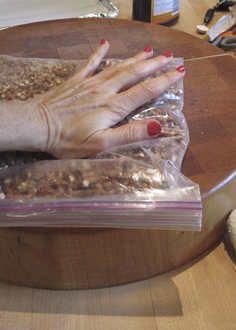
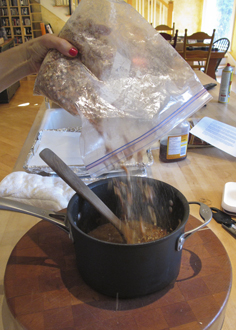
Baking soda, vanilla extract and crushed pretzels are mixed in.

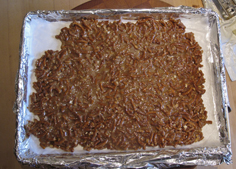
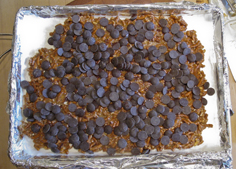
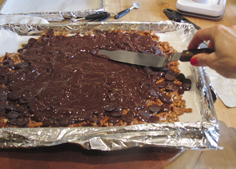
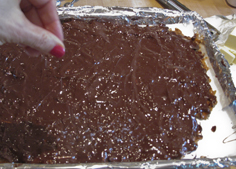
Spread out on parchment lined baking sheet and top with good quality finely chopped chocolate (NOT CHOCOLATE CHIPS!). I used Cocoa Barry  64%. I buy it in bulk (20 kilograms at a time, and I get a great price of $15.79 per kilo. (The chocolate will keep for 2 years in a cool dry place.)  Wait 3 minutes, spread chocolate and top with a light sprinkling of sea salt. Chill and break into pieces.

Click here to print recipe for Chocolate Covered Pretzel Toffee.

Holiday Baking Day 2: Chocolate Chunk Caramel Cookies

When it comes to chocolate chip cookies, people are very particular. Some like them thin and crispy; others love them thick and chewy. There are those who love them all warm and gooey from the oven.   Then there are those who prefer them once they have totally cooled, and the chocolate has a snap when you bite into them.  Finally, there are those who love them best straight from the freezer once they have cured for a few days.  Granted, that camp is quite small (by the way, I am firmly in this camp) but they have their followers. Here is a tale about one chocolate chip cookie that is far superior to any other I have ever tried.

A few months ago, while surfing various food blogs I came across the following sentence, “I have found the last chocolate chip cookie recipe I will ever need.” Wow, I thought, that is a very bold statement and one not to be uttered lightly. However, being a food blogger myself, I know how we, as a group, are prone to exaggeration. These cookies were originally created buy Ashley at notwithoutsalt.com.

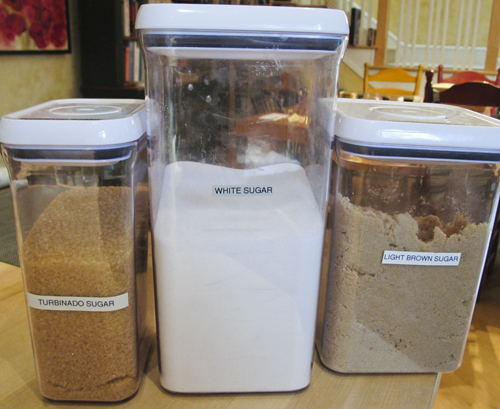
As I read through her recipe I became intrigued. All of the chocolate chip cookie recipes I have made over the years use both white and brown sugar. The white sugar makes the cookies crisp and the brown sugar, because of its hygroscopic (i.e.: it absorbs moisture from the air) properties, makes the cookies chewy. This is the first recipe I have ever seen that uses a third sugar – Turbinado sugar. Turbinado sugar is a golden coloured natural brown sugar is produced by extracting the juice from sugar cane, heating it to evaporate water and crystallize the sugar, then spinning in a centrifuge to remove some impurities and further dry the sugar. It can commonly be found at bulk food stores.

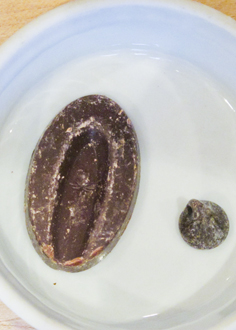
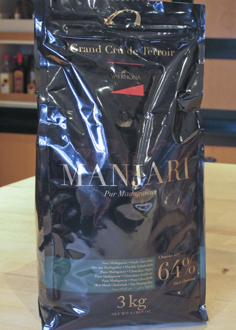
I must say a few words about the chocolate you choose for these cookies. Ashley says you must use the best quality chocolate you can afford. I made them with Valrhona Manjari 64% Chocolate from Madagascar. I know, I sound like such a chocolate snob, but I really believe that this chocolate took my cookies from good to outstanding. The Manjari chocolate is often sold in what they call “Les Feves” or “pistoles”. Essentially these are discs of chocolate that are reminiscent of chocolate chips on steroids. But they have none of the chalky, waxy quality of chocolate chips. I cannot emphasize too strongly, do not use chocolate chips for these cookies. Chocolate chips contain an emulsifier in them to help them hold their shape during baking. You want the chocolate to completely melt in baking and then harden once again after cooling. There is some kind of physical change that takes place during the melting and cooling, that gives chocolate chunk cookies a special snap or bite to them that you just do not get with chocolate chips. Buy a few bars of good quality chocolate (at least 60-70% cocoa content). If you can’t find Valrhona Manjari 64% Chocolate, try some chopped Callebaut or even Lindt dark chocolate.

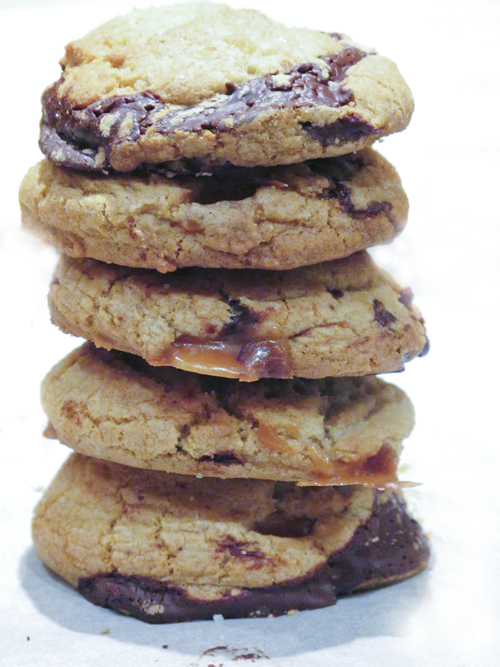
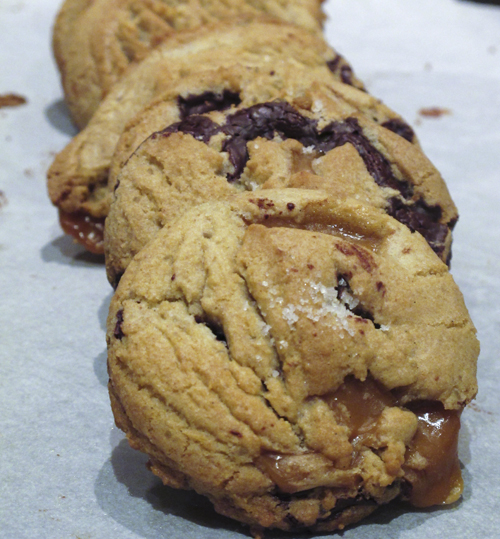
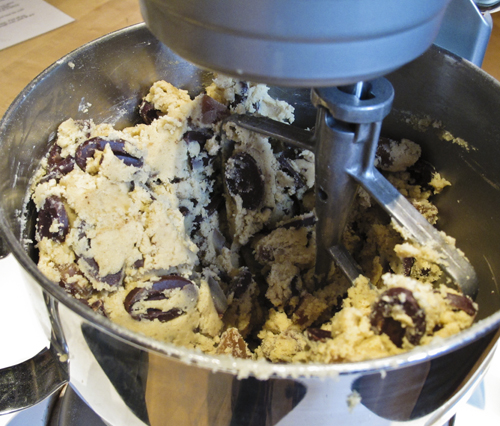
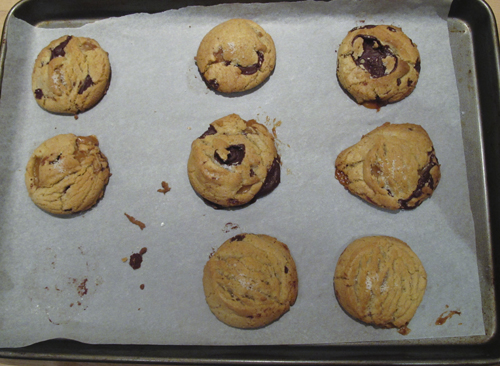
With a small sprinkling of fleur de sel, just before baking, these cookies are pretty close to perfection. But, not one to leave well enough alone, I added chopped caramel candies to mine. These are a hefty cookie, crammed full of large shards of chocolate and little tunnels of caramel.

This recipe makes about 32 cookies, or less if you are they type to nibble on raw cookie dough. You know who you are, so adjust your yield expectations accordingly!

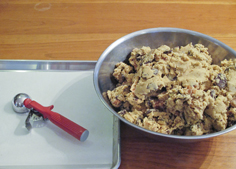
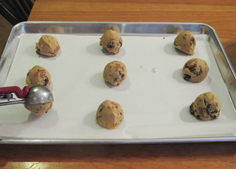
I used a 2 inch ice cream scoop and put 9 cookies on a 18 x 31 inch cookie sheet.

Warm from the oven or cold from the freezer, these cookies are pretty fantastic.

Click here to print the recipe for The Perfect Chocolate Chunk and Caramel Cookie.

A Very Sweet New Year with Caramel Chocolate Dipped Apples

]

Follow Me on Pinterest

I know that in my last post, I promised a daily update on “The Best Thing I Ate Today”, while travelling through Umbria, Italy. Unfortunately, the internet service at our villa was knocked out by a tremendous thunderstorm and so I was unable to blog daily. I promise to post about the trip very soon. But in the meantime, a very sweet post!

Tonight at sundown the Jewish New Year  (Rosh Hashanah) begins. On Rosh Hashanah, we traditionally dip apples in honey in order to symbolize our wishes for a sweet year for family, friends and all the Jewish people. While this explanation makes sense, I wondered why specifically apples and honey?  Why not bananas dipped into maple syrup?  (Hmmm, I see a new recipe developing).

In researching this question, I came upon an interesting explanation on the website torah.org.  The insight they offered, regarding the apple part of the equation, goes like this:  “On most fruit trees the leaves appear before the fruit, thus providing a protective cover for the young fruit.  The apple, however, makes a preemptive move by appearing before the leaves.  The Jewish people are compared to an apple because we are willing to live out our Jewish lives even if this seems to leave us unprotected.  We have confidence that God and the instructions in the Torah could never mislead us.”

They explained the choice of honey with this insight:  “A bee can inflict pain by its sting, yet it also produces delicious honey.  Life has this same duality of potential.  We pray that our choices will result in a sweet year.”

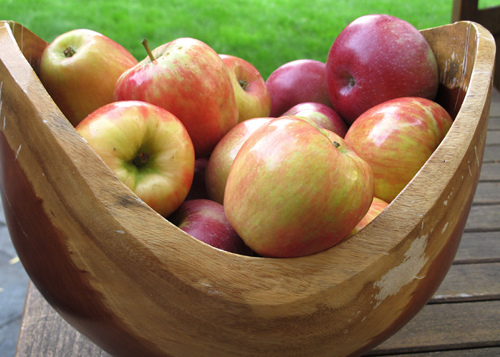
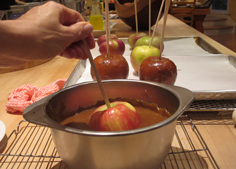
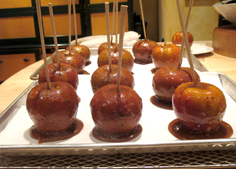
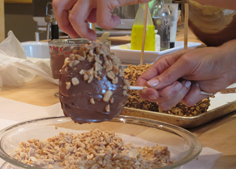
While I love apples, honey has never been a favourite of mine. Honey cake can be found on many Rosh Hashanah dessert tables. But not mine. This year I decided to do a twist on the apples dipped in honey. I dipped my apples in caramel sauce and then melted chocolate. Then I covered some of them in mini m&m’s, some in salted chopped peanuts and the rest in skor bits. A sweet new year indeed!

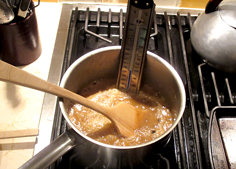
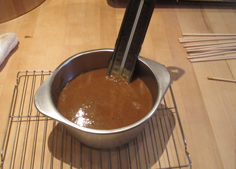
This caramel sauce contains the usual ingredients of butter, brown sugar and corn syrup. However, where it gets interesting is the addition of small amounts of maple syrup and molasses. These 2 ingredients, while small in quantity add a wonderful dimension and depth of flavour to the caramel. A candy thermometer is needed to make these.

Wishing you all a sweet and healthy new year!

To print the recipe for Caramel Apples Dipped in Chocolate, click here.

My Passover Faux Pas (Shmura Matzoh Crunch)

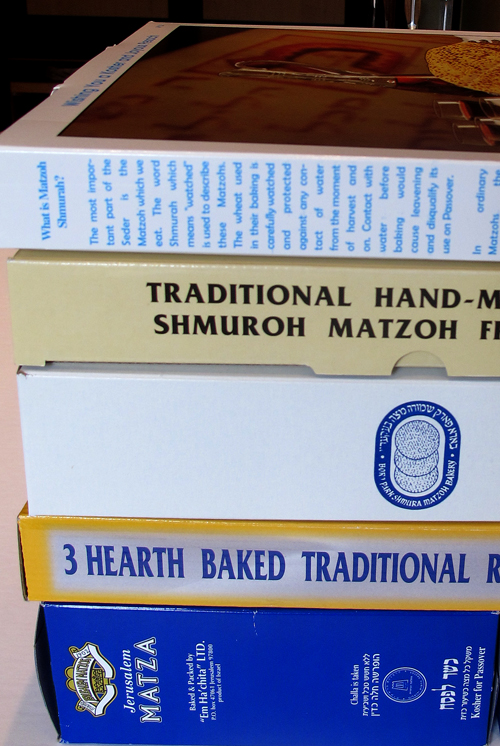
Everyday at 5 pm, in the week leading up to Passover this year, the doorbell would ring. When I opened the door, there would be a flat square box of matzoh left on the front porch. By the end of the week, I had a stack of about 6 boxes. Various Jewish organizations around our city were dropping them off at our house with wishes for a happy and healthy Passover.

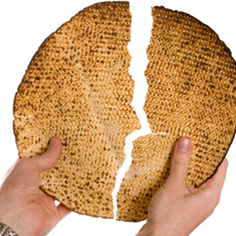
These were not like the ordinary boxes of matzoh I bought at the supermarket.  Regular matzoh are about 8 inches square and come 10 to a box. They are machine-made. Shmura matzoh are round in shape, about 12 inches in diameter. They are hand-made. We traditionally ate this matzoh on the first night of Passover, at the Seder.  That was about all I knew about Shmura matzoh.

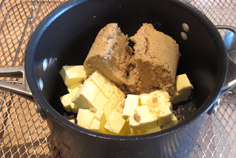
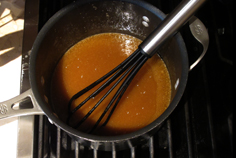
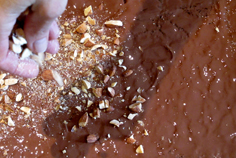
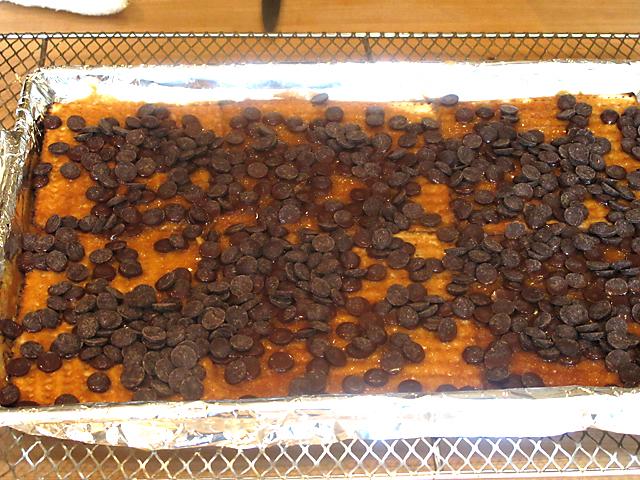
As I stared at this stack of matzoh boxes, I wondered what we were going to do with all of them. After all, I still had 8 boxes of the regular stuff in the storage room. Suddenly, divine inspiration struck. I didn’t want to let this special matzoh go to waste. I was going to give it the royal treatment. First, I would coat it in a warm butter and brown sugar caramel and then I would slather it in milk chocolate and finally, top the whole thing off with toasted chopped almonds. Who wouldn’t feel special and loved with this treatment. I think there may actually be a spa treatment similar to this somewhere in the world. If not, there definitely should be!

Last year I made Marble Matzoh Crunch with Bittersweet and White Chocolate. This is my adaptation of  Montreal baker Marcy Goldman’s creation. Everyone I feed it to rolls their eyes in ecstasy. When I made it with the square matzoh, I broke it into small rectangular pieces. How beautiful it would be, I thought, to wrap up an entire 12 inch circle of this coated beauty!

I had 6 of these all wrapped and chilling in the fridge, ready to go to Toronto for our family Seders. My husband was packing up the car for our drive and he asked me where all the boxes of Shmura Matzoh were. I proudly showed him what I had created. He was horrified! Apparently my creations were sacrilegious. I managed to calm him down by telling him that several boxes survived unscathed and we could take those boxes to his sister’s house. I fed him small bites of the chocolate almond shmura matzoh crunch during out 4 hour drive and he had forgiven me by the time we arrived.

When we returned home I did some research and discovered that Shmura means “watched” in Hebrew, as in, to watch over something carefully. This matzoh is called shmura because it is made under strict rabbinical supervision, meaning that the rabbi is keeping an eye on the process, which must be completed according to a strict set of Jewish religious rules, and in 18 minutes.

thecitycook.com provided this explanation: “The Seder is the centerpiece of Passover. For some who observe and celebrate this holiday, it is particularly meaningful to replace factory-made matzoh, the unleavened bread so essential for the Seder meal, with shmura — or shmurah — matzoh. Shmura means watched from the harvest, which signifies that every step of the process of making this matzoh, from harvesting the grain to the final baking, has been supervised by a rabbi. It also means that when the bread is being made in its small batches, the flour and water are kept in separated cubicles as extra insurance that there is no premature contact between them until the last possible moment, thus preventing any leavening.”

I also discovered that a box of 3 Shmura matzoh, will set you back about $15.00 -$20.00. Shmura matzoh is expensive, because producing it is very labor intensive. Every piece is made by hand, not machine. The production of shmura matzoh is a labour of religious love. Think of it as Artisnal Matzoh.

Whether you decide to give regular or Shmura matzoh the royal treatment, you will not regret it!

To print the recipe for Shmura Matzoh Crunch, click here.

Chocolate Macarons with Chocolate Ganache Filling


Okay, now I’m really confused. In my last post I cleared up the difference between macarons and macaroons. According to my thorough research, macarons (one o) are the French almond meringue sandwich cookie and macaroons (two oo’s) are the American coconut based cookie. In my pretentious little blurb, I even went so far as to instruct you on how to pronounce macaron correctly with a French accent. Imagine my surprise when I visited the web site of Ladureé. They spell the ubiquitous little almond meringue sandwich cookie, MACAROON!!  Huh?

Now, given that it was Ladureé’s first cousin, who at the beginning of the 20th century first thought of taking two macaron shells and joining them with a delicious ganache filling, you would think that Ladureé would know the correct spelling. If anyone out there can clear up this spelling mystery for me, please do!

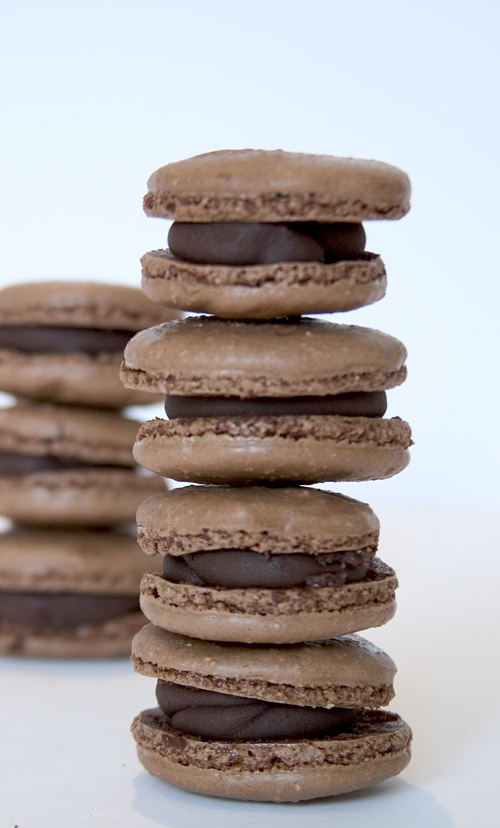
However you spell it or pronounce it, there is no denying that this is an incredible confection. Light and crisp on the outside and chewy and soft in the center, it is the perfect little mouthful. In my last post I tackled the more complex Italian meringue technique for making macarons, where the egg whites are beaten with a sugar syrup cooked to 230ºF -240ºF. They were delicious but I will admit that there was quite a bit of work and dirty pots and bowls involved.

I have been making a simplified version of macarons for several years now, using an old recipe from Gourmet magazine. But, now that I am more knowledgeable about macarons, I discovered that my Gourmet recipe was not quite authentic. I decided to try the French meringue technique, which is a bit more involved than my old recipe, but not as challenging as the Italian technique.

Here are the main differences between the Gourmet recipe I have been making for several years now, the  French and the Italian.

Gourmet Recipe

French Meringue Technique

Italian Meringue Technique

Ground AlmondsGrind Your OwnUses pre-groundUses pre-ground
SieveNot forced through sieveForced through sieveForced through sieve
Egg WhitesBeaten without sugarBeaten with sugarBeaten with cooked sugar syrup

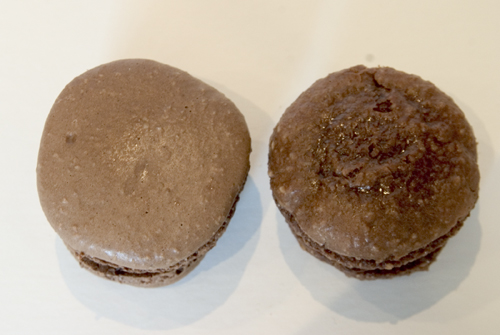
Of course I had to do a side by side comparison between what I have been baking (the Gourmet recipe) and the classic french meringue technique so I prepared both. For the french technique, I used Sue’s recipe from her blog, You can do it at home.

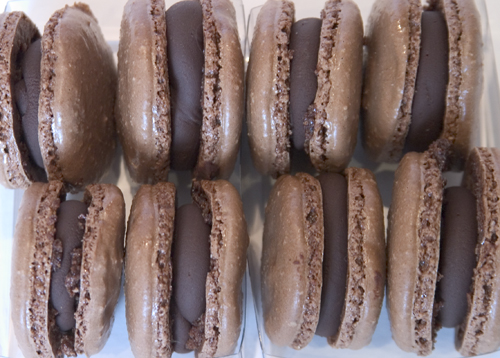
The one on the left is the macaron made using the classical French meringue technique.  The one on the right is the Gourmet Magazine recipe. The classical one is smoother, shinier and has a more complex structure. The outside is crisp and as you bite into it, the shell shatters and gives way to a chewy interior. The Gourmet recipe is much more one-dimensional texture wise. The whole thing is chewy. I much prefer the Classical French Macaron. I urge you to give it a try. You will be thrilled with the results!

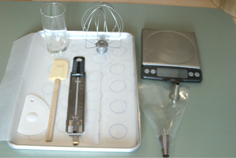
Before starting, make sure you have a scale. From all the recipes I read, it seems that you are more likely to achieve success if you weigh your ingredients rather than measure. Weighing is much more exact than measuring. That is how all professional pastry chefs bake. You will need either a stand mixer or a handheld mixer for beating the egg whites. A food processor is needed to grind the almond meal and icing sugar. A pastry bag (disposable is fine) and half-inch plain piping tip will be needed.

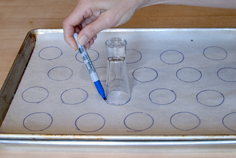
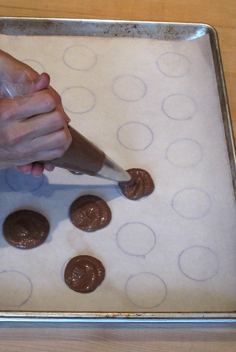
Finally, before you begin, if your piping skills are not top-notch, it’s a good idea to make a template so that all your macarons will be the same size. Take a sheet of parchment and trace out 1.5 inch circles (a shot glass is ideal for this), leaving about 1/2 inch space between the circles. Place the template on a baking sheet and then place a second sheet of parchment on top. That way, once you have piped your circles, you can slip out the template sheet and reuse it. It is also a good idea to double up your baking sheets to protect the bottom of the macarons from burning.

Almond meal is essentially ground blanched almonds. It is readily found at bulk food and natural food stores. It is sometimes called “Almond Flour”, although it contains no flour. The almond flour and confectioners sugar are ground for several minutes in the food processor and then pushed through a coarse sieve. This ensures that the batter will not contain any lumps.

I encountered quite a discussion about the egg whites. Most of the experts agreed that the egg whites should be aged for at least 24 hours. What this means is that you need to separate the eggs one day before you plan to make the macarons. Put the egg whites in a covered container in the fridge to age. According to Duncan, of Syrup & Tang, “Egg whites consist of proteins and quite a lot of water. The water can make the final batter unmanageably wet, either in the making or in the oven (where the macarons refuse to dry adequately). Old egg whites have lost some of their water content through evaporation so can yield a more successful batter.”  Remove the egg whites 2 hours before you plan to use them so they can come to room temperature.

The egg whites are beaten to soft peaks and then finely ground granulated sugar is slowly added to the egg whites, while still beating, until the mixture is glossy and holds stiff peaks.

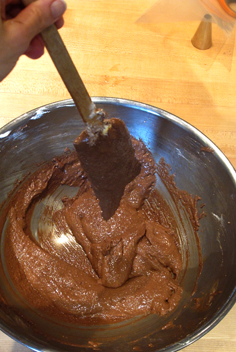
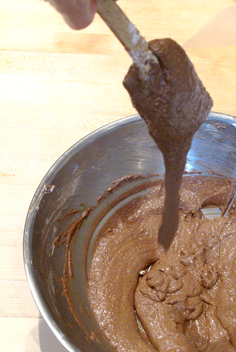
Next the almond mixture is combined with the beaten egg whites. Sue of “You can do it at home” gave one of the best descriptions on how to combine the two so that the batter is not overmixed. “Put the whipped egg whites into the almond meal & icing sugar mixture. Stir vigorously for the first 10 stokes or so. Then continue to mix the mixture until fully combined. At this point, you might wonder if you have deflated your meringue. Don’t worry, we’re not after the air and texture of meringue. It’s more important that the batter is totally blend-in and combined. The batter should have the consistency of thick cake batter and have the ribbon-like consistency…or many website described it as “magma-like consistency”

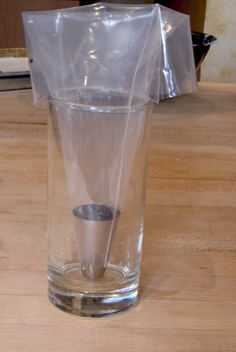
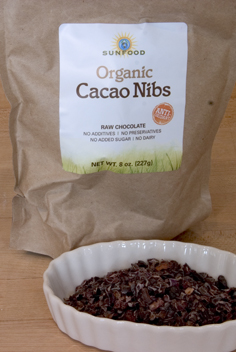
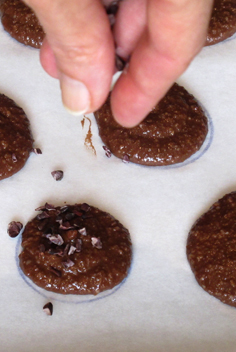
To make it easy to fill the piping bag, place it in a tall glass or pitcher and turn the bag down like a cuff.  After the macarons are piped, you can top half of them with a sprinkling of cocoa nibs. These will become the tops of your sandwich cookies. The bitterness of the cocoa nibs plays off very nicely with the sweetness of the macarons.

The baking sheets are then tapped against the counter to flatten out the macarons a bit.  Then the macarons sit at room temperature for about 30 minutes before baking. You want them to be dry to the touch before baking. If batter still sticks to your finger when you touch it, let it dry a bit more. This helps to ensure the macarons bake without cracking.

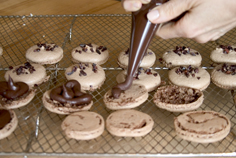
When the shells are baked let them cool completely before trying to take them off the parchment paper. Turn the macarons upside down. Then spoon or pipe the filling onto half the shells and cover with remaining half to make sandwiches. A successful macaron has what they call, “feet”. This refers to that fuzzy little ring around the edge. My macarons grew feet and I was proud!

To print recipe for Chocolate Macarons with Chocolate Ganache Filling, click here.

It is best to make the fillings a day ahead of time and give them a chance to firm up overnight in the fridge. Chocolate ganache is simple to make. Heat 35% cream and butter in a pot until simmering. Add chocolate and stir until melted. Pour into a container and refrigerate until firm.

Day 5: Double Chocolate Peanut Butter Bark

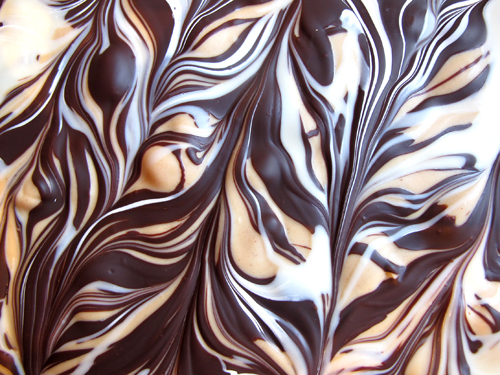
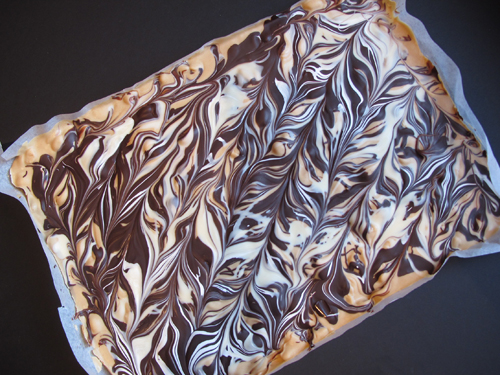
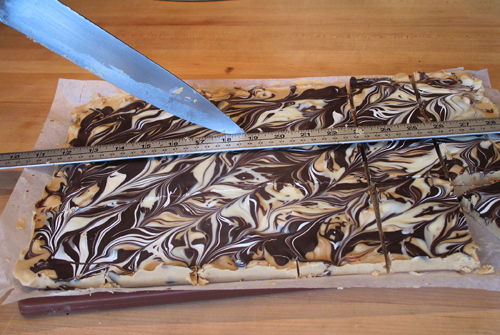
On the 5th day of holiday baking my true love ran to the store to get me another 2 kg jar of crunchy peanut butter for this creation.  I think I love this recipe so much because it really allows the artist in me to come out.  I was never very good at drawing, so baking has become my creative outlet.  With this peanut butter bark, you get to swirl the chocolates with the tip of a knife and create an unbelievably beautiful marble pattern.  It is so impressive.  I have made this recipe probably over 150 times over the past 18 years and it never ceases to thrill me.

I am not even sure where I found the original recipe anymore.  I think it was printed in our local newspaper (The Ottawa Citizen).  It is critical to use good quality chocolate when making this.  Do not use chocolate chips for melting as chocolate chips are made to hold their shape when baked. Chocolate chips have hardly any cocoa butter and that is why they keep their shape. Chocolate chips are not usually good for melting as they may be lumpy and some types may even have a gritty texture after melting.

My sister told me about an amazing source for top quality chocolate.  www.qzina.com.  They are the largest North American Importer and Distributor of Gourmet Professional Chocolates & Specialty dessert ingredients.  They sell to Whole Foods, Ritz Carleton, Four Seasons, Loblaws, Safeway and other retail giants.  But they will also ship to home consumers.  I paid $16.92 a kilo for Cacao Barry White Chocolate (callet form) and $15.04 a kilo for Cacao Barry 64% Bittersweet chocolate (callet form).  And is there anything sweeter than having a huge crate of chocolate delivered to your house?

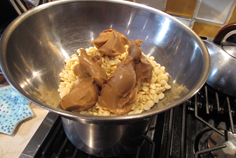
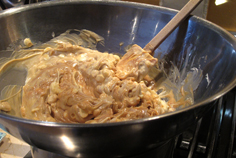
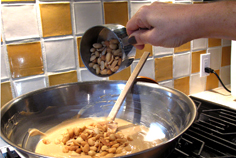
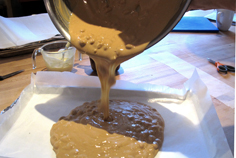
Melt white chocolate and peanut butter together in a large bowl, set over a pot of simmering water.  Do not even think about using health-food store peanut butter.  Kraft or Skippy are best!  When they are smooth stir in salted roasted peanuts.  Pour this mixture onto a foil and parchment lined jelly roll pan.

Then comes the art.  I made a little video showing how to do the next few steps.  Watch!

Chill and slice!

To print recipe, click here.

Marble Matzoh Crunch

This week in the Bread Baker’s Apprentice Challenge I am scheduled to bake Stollen.  However, it’s Passover this week and I’m not eating bread.  So in honour of this holiday I offer my favourite Passover treat, “Marble Matzoh Crunch.”  The original recipe comes from Montreal baker extraordinaire Marcy Goldman.  Her cookbook Better Baking.com is one of my go to standards.

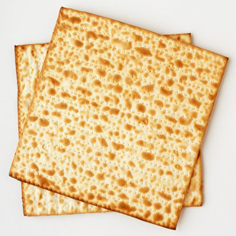
For those unfamiliar with matzoh, it is a cracker-like unleavened bread made of white plain flour and water. The dough is pricked in several places and not allowed to rise before or during baking, thereby producing a hard, flat bread.  Matzoh is the substitute for bread during Passover, when bread and other leavened products are not permitted. There are two major explanations for eating matzoh. One is historic and the other is symbolic.

Historically, Passover is a commemoration of the exodus of the Jewish people from a life of slavery in Egypt. The Israelites left Egypt in such a hurry, they could not wait for their bread dough to rise. The resulting product was matzoh.  The other reason for eating matoh is symbolic.  On the one hand, matzoh symbolizes redemption and freedom, but it is also known as poor man’s bread.  So it serves as a reminder to be humble, and to not forget what life was like as slaves of the Egyptians. Also, leavening of the bread symbolizes corruption and pride as leaven “puffs up”. Eating the “bread of affliction” is both a lesson in humility and an act that enhances one’s appreciation of freedom.

All that history and symbolism for a little cracker!  There are those that compare eating matzoh to cardboard.  I wholeheartedly disagree.  I love Matzoh.  Perhaps it’s because the rest of the year, for health reasons, I spread butter and jam so thinly on my toast  I can barely taste it.  However at Passover I spread both butter and jam on with reckless abandon.  Passover is my excuse to consume butter and jam and matzoh is the perfect vehicle for allowing me to do it.
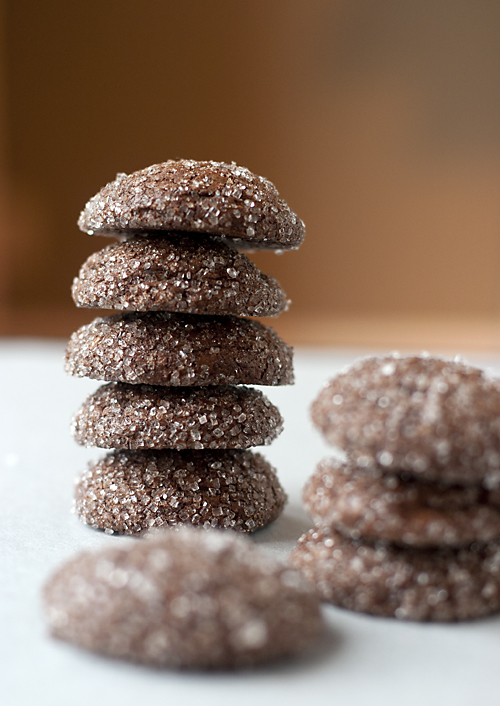
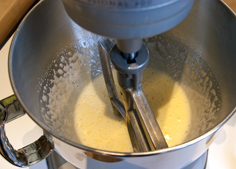
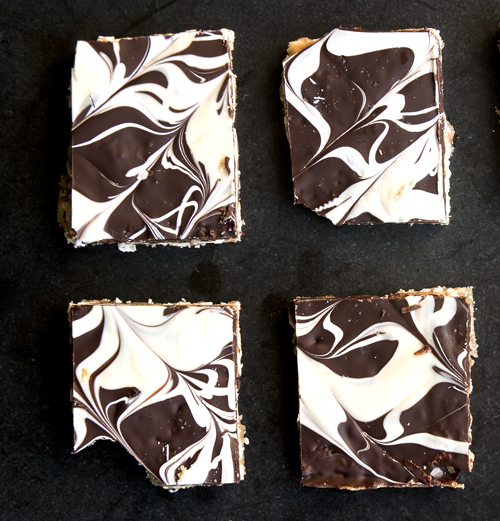
Marcy Goldman’s Matzoh Crunch is guaranteed to convert any matzoh hater into a matzoh worshipper.  You don’t even need to be Jewish to love this treat.

Ingredients:

6 slices matzoh
1 cup (2 sticks) unsalted butter or kosher for Passover margarine
1 cup firmly packed brown sugar
2 generous cups finely chopped bittersweet chocolate or semi-sweet chocolate chips (about 12 ounces)
1 1/2 cups white chocolate, finely chopped (about 8 ounces)
1 teaspoon sea salt or kosher salt

Directions:

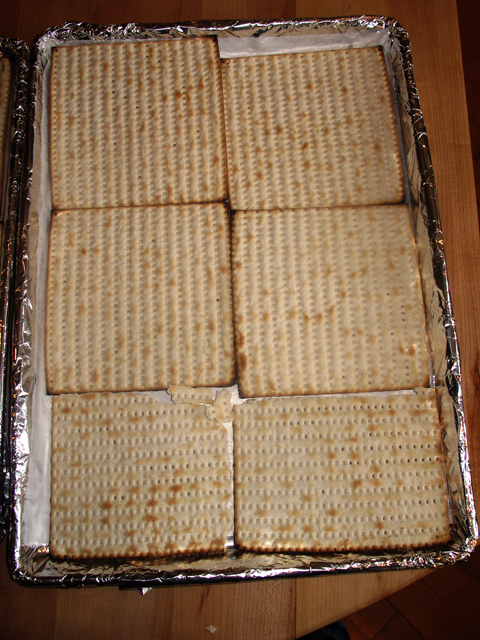
1.  Preheat oven to 350º F.  Cover an 18 x 13 inch rimmed cookie sheet with foil and then cover the foil with a sheet of parchment paper. Do not leave this step out or you will be cursing me when it comes time to cleanup!  Cover the parchment paper evenly with the matzoh.  You will have to trim some of the matzoh with a sharp knife to make it fit into a flat even layer.  You will have some matzoh scraps left over.  Slather with butter and jam and eat.

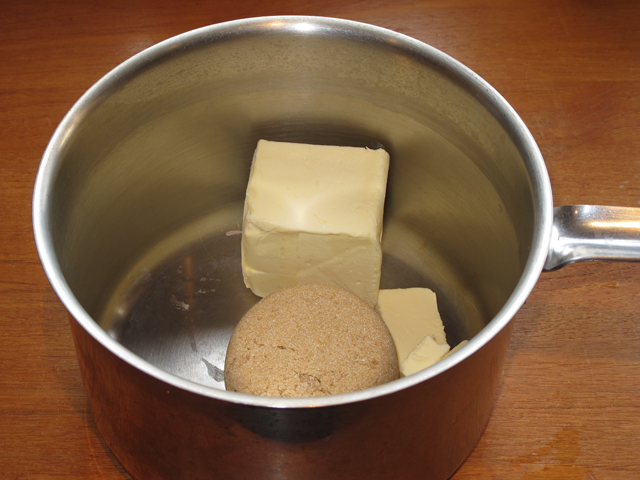
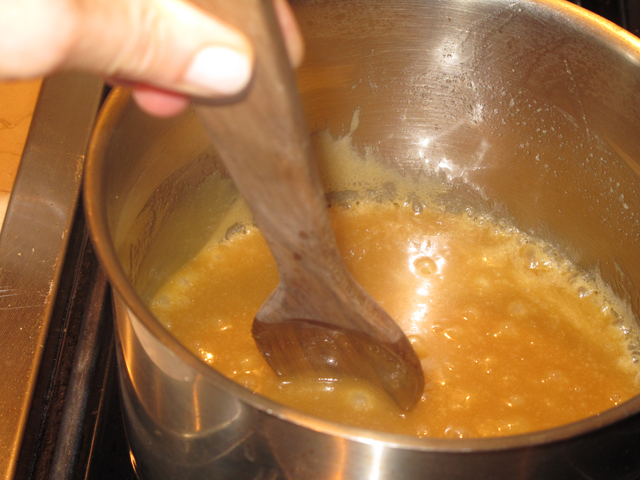
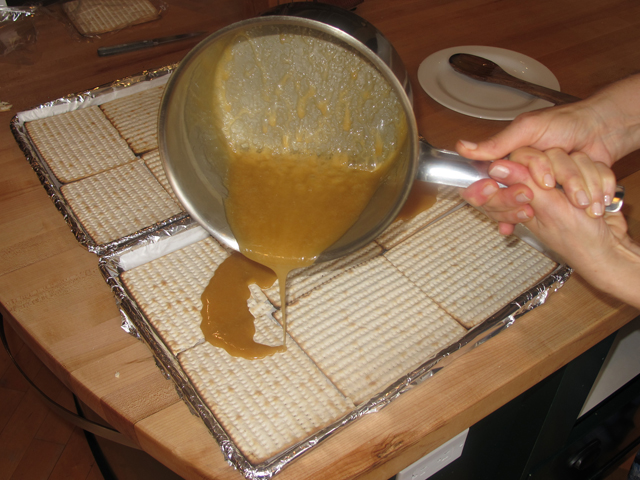
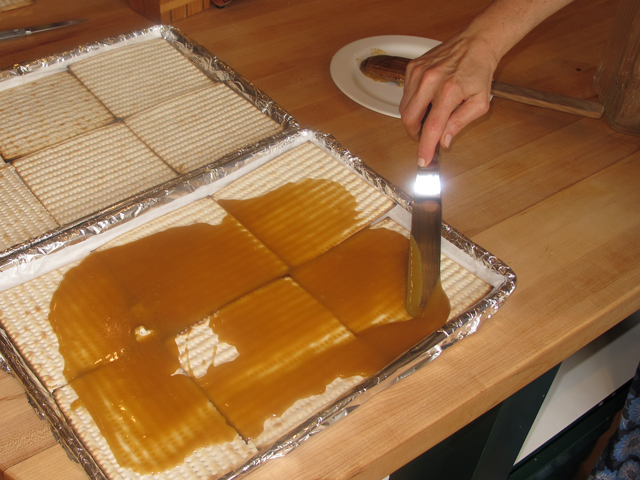
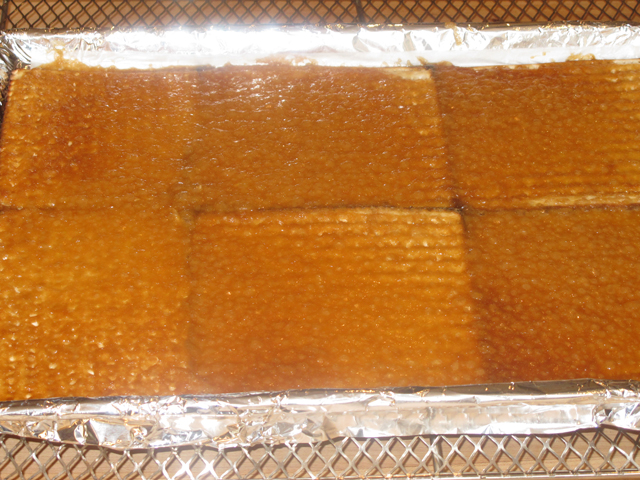
2.  In a large heavy bottomed saucepan, add brown sugar and butter or margarine.  Cook over medium heat, stirring constantly with a wooden spoon, until the mixture comes to a boil.  This will take about 2-4 minutes.  At one point it will look like the butter is separating from the sugar and it will appear to be an oily mess.  Just keep stirring, it will come together again.  Once mixture comes to a boil, keep stirring for about another 3 minutes.   Carefully pour caramel onto matzoh.  Using a metal spatula, spread it out into an even layer.
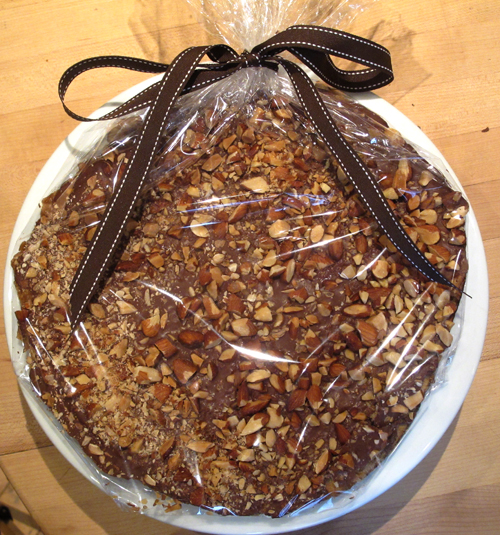
3.  Place baking sheet into oven and bake for about 12 minutes until the caramel topping is golden brown and bubbling.

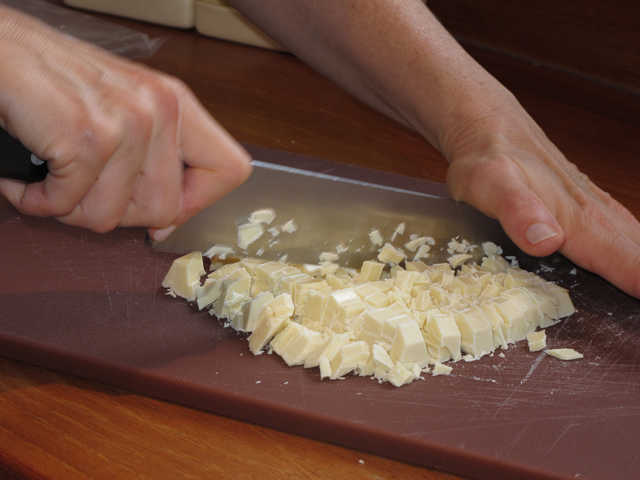
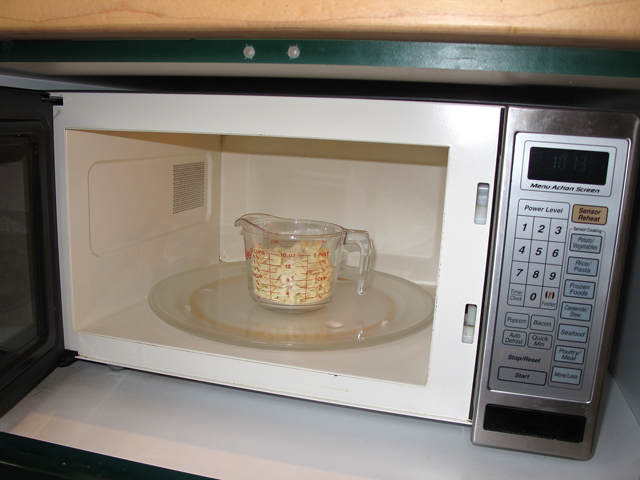
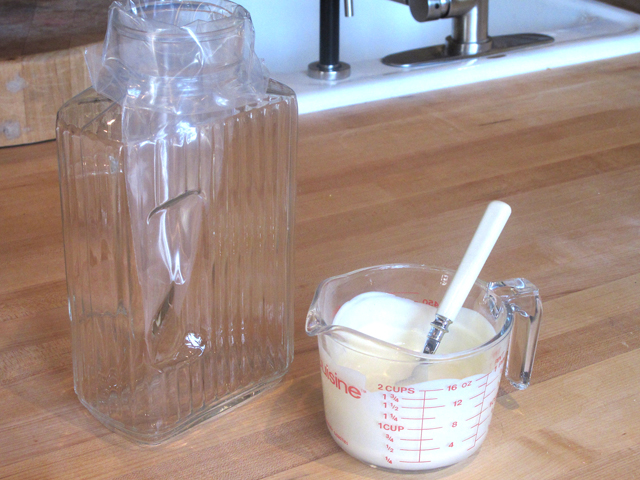
4.  While caramel is baking chop white chocolate into small pieces.  Place in glass measuring cup and microwave on medium power for 2 minutes.  When you remove chocolate from microwave, it will look like the chocolate is not finished melting.  Take a clean dry spoon and stir white chocolate.  It will continue to melt as you stir.  Pour melted white chocolate into a disposable plastic piping bag.  The easiest way to do this, if you are alone, is to place the piping bag in a large glass or pitcher and fold down the top.  Pour in white chocolate and let sit until you are ready to use it.


5.  Remove caramel covered matzoh from oven after about 12 minutes when it is golden brown and bubbly.  Place pan on a wire cooling rack on the counter.  Immediately sprinkle caramel matzoh with chopped bittersweet chocolate or chocolate chips. 


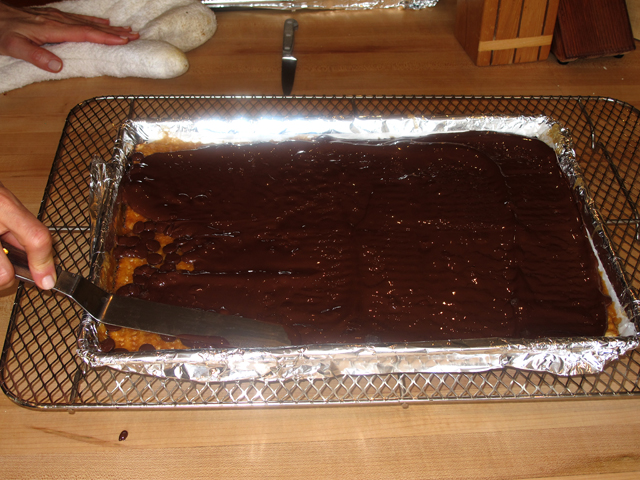
6.   Wait for a few minutes until chocolate has a chance to soften.  Then, using a metal spatula, spread chocolate into an even layer.

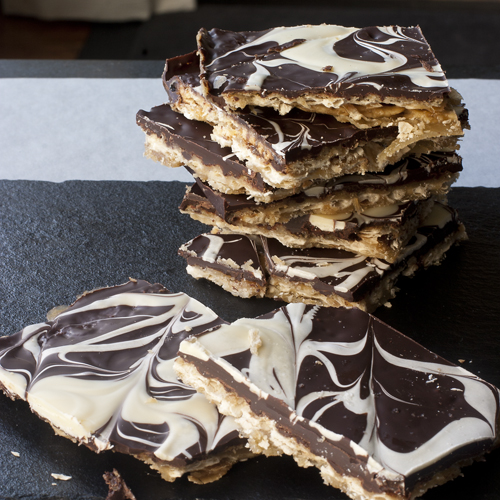
7.  Now comes the fun part!  Making a marble design with the white chocolate.  Twist the top of the piping bag closed and using a sharp scissors, cut a small tip off the end of the bag.  Starting in one corner of the pan, pipe white chocolate in a zig zag pattern.  Then starting in the opposite corner, pipe a zig zag pattern in the opposite direction.  Using the sharp tip of a wooden skewer, drag it through the wet white and dark chocolate making a nice design. You can either drag skewer in a circular pattern or go in straight lines.  Below is a video of me demonstrating the process:

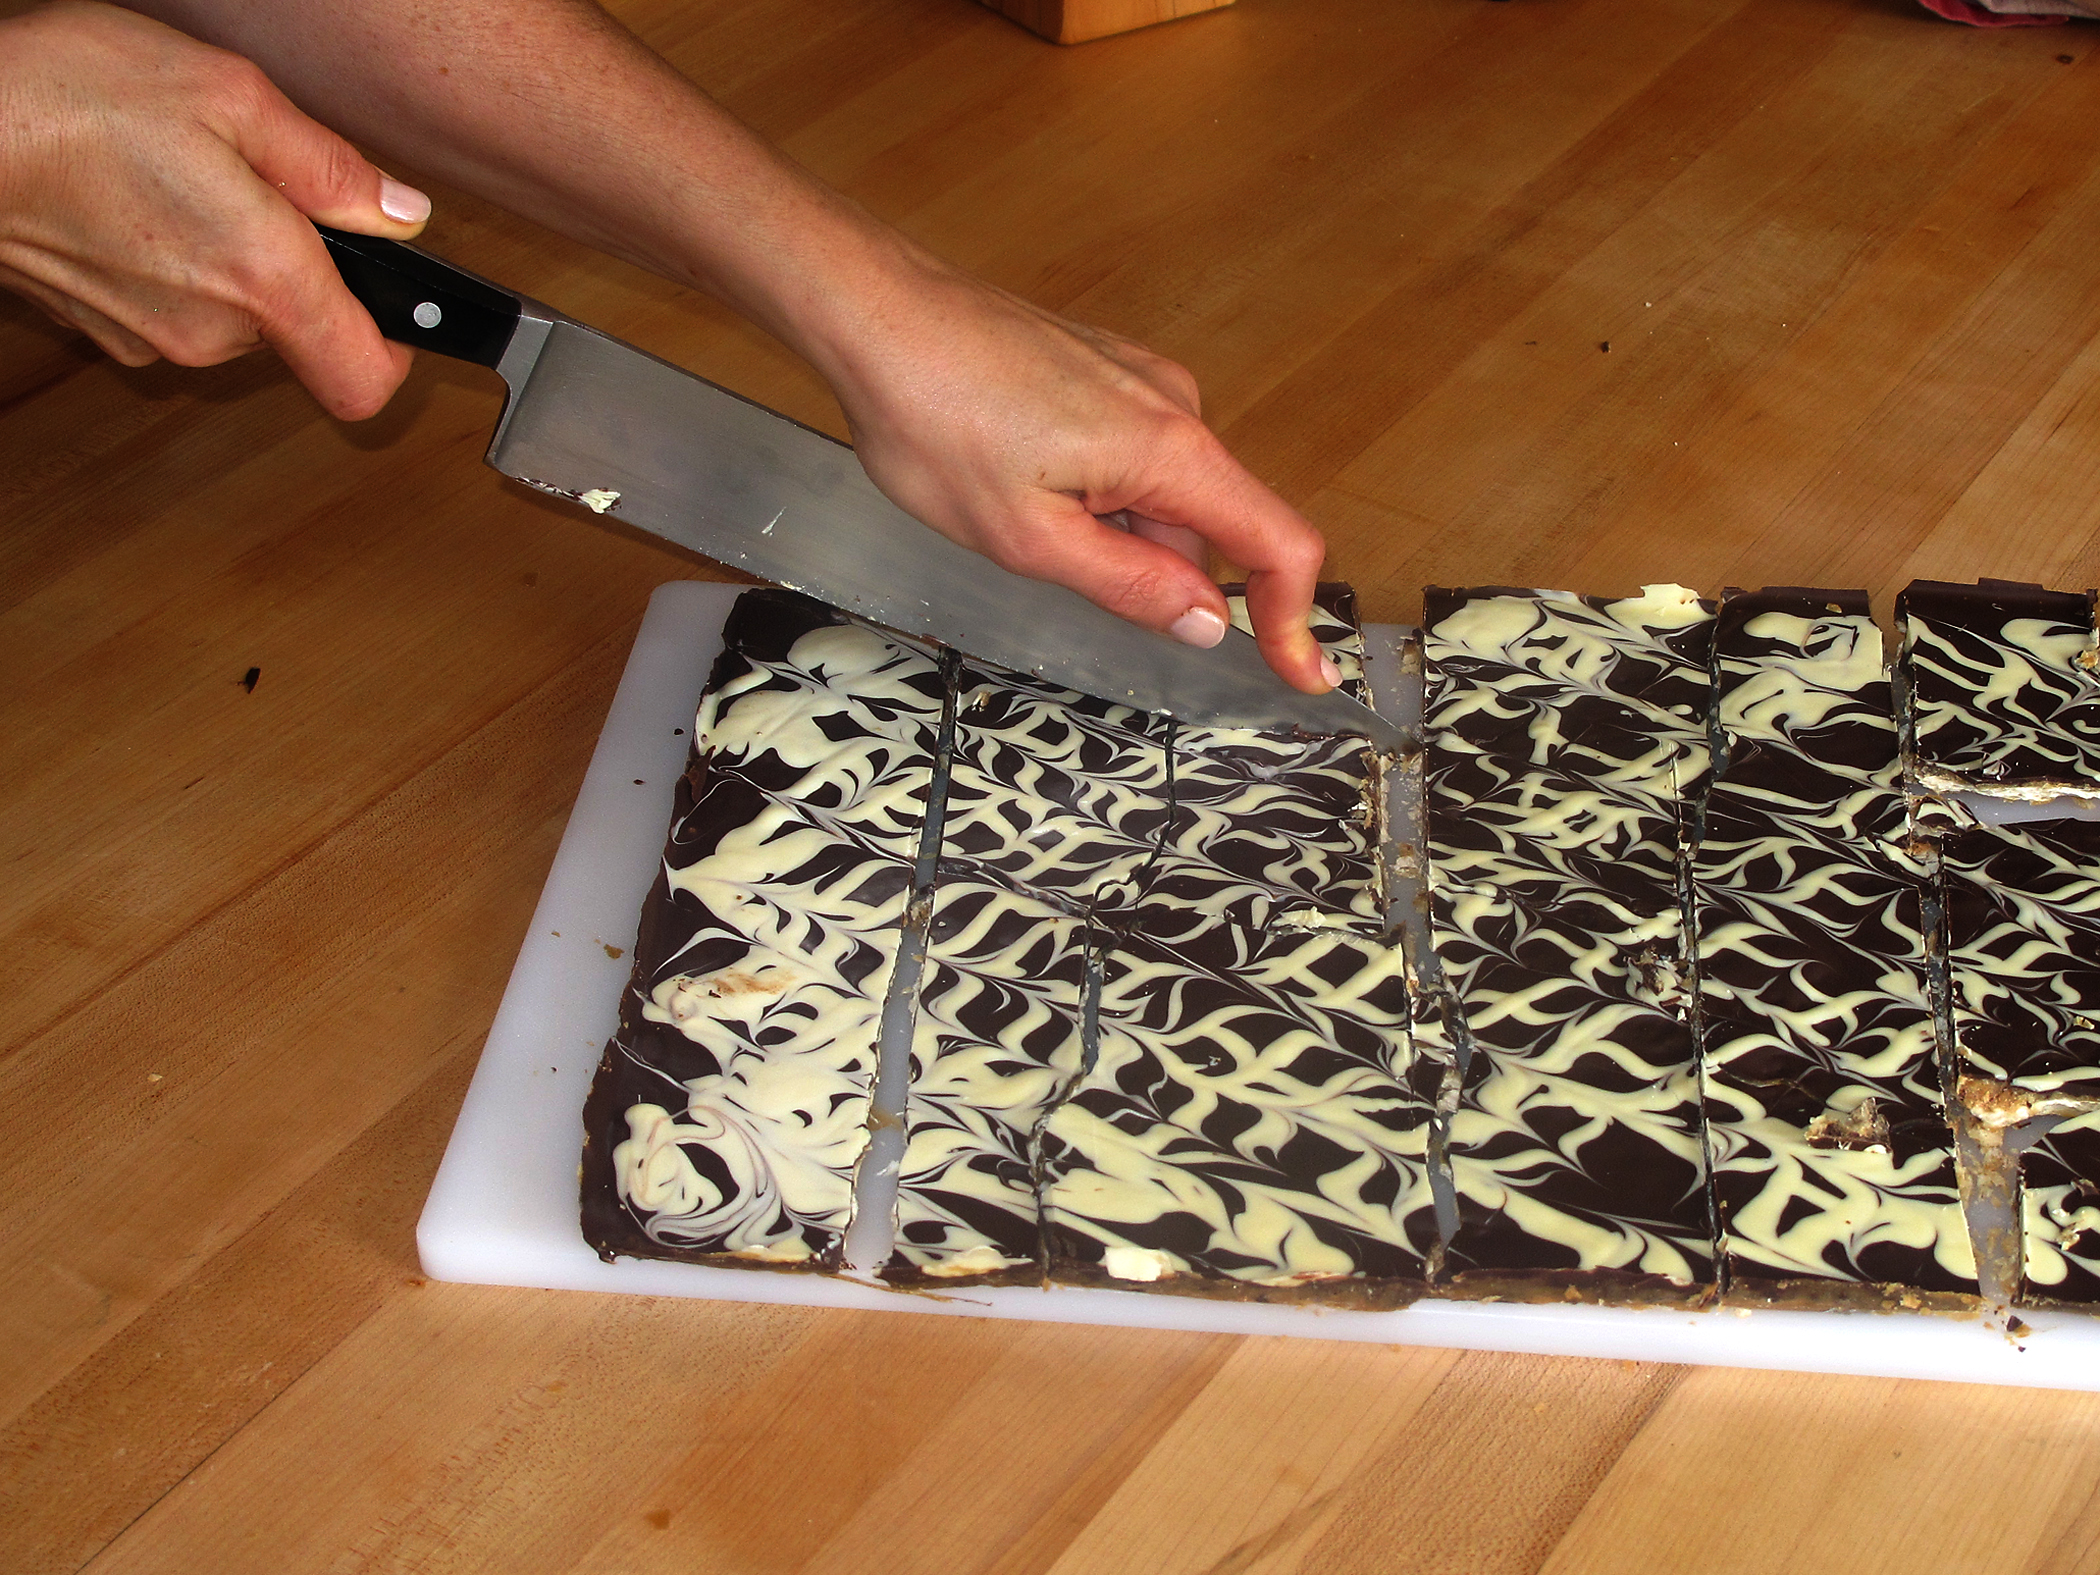
8.  While chocolate is still wet, sprinkle with sea salt.  Chill pan for several hours until chocolate is firm.  Peel off foil and parchment paper and place marble matzoh crunch on a large cutting board. Using a very large sharp knife, cut matzoh into large squares.  For an 18 x 13 inch pan, I usually get about 18 pieces.  Store matzoh crunch in an airtight container in the fridge.  It keeps well for about 5 days. (That is as long as no one else in the house knows it’s there!)

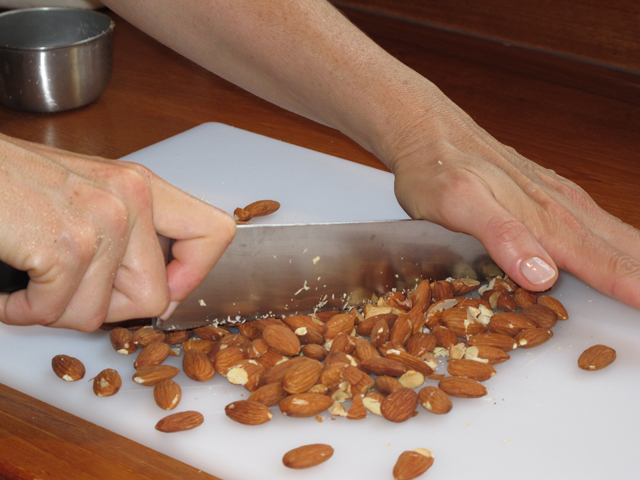
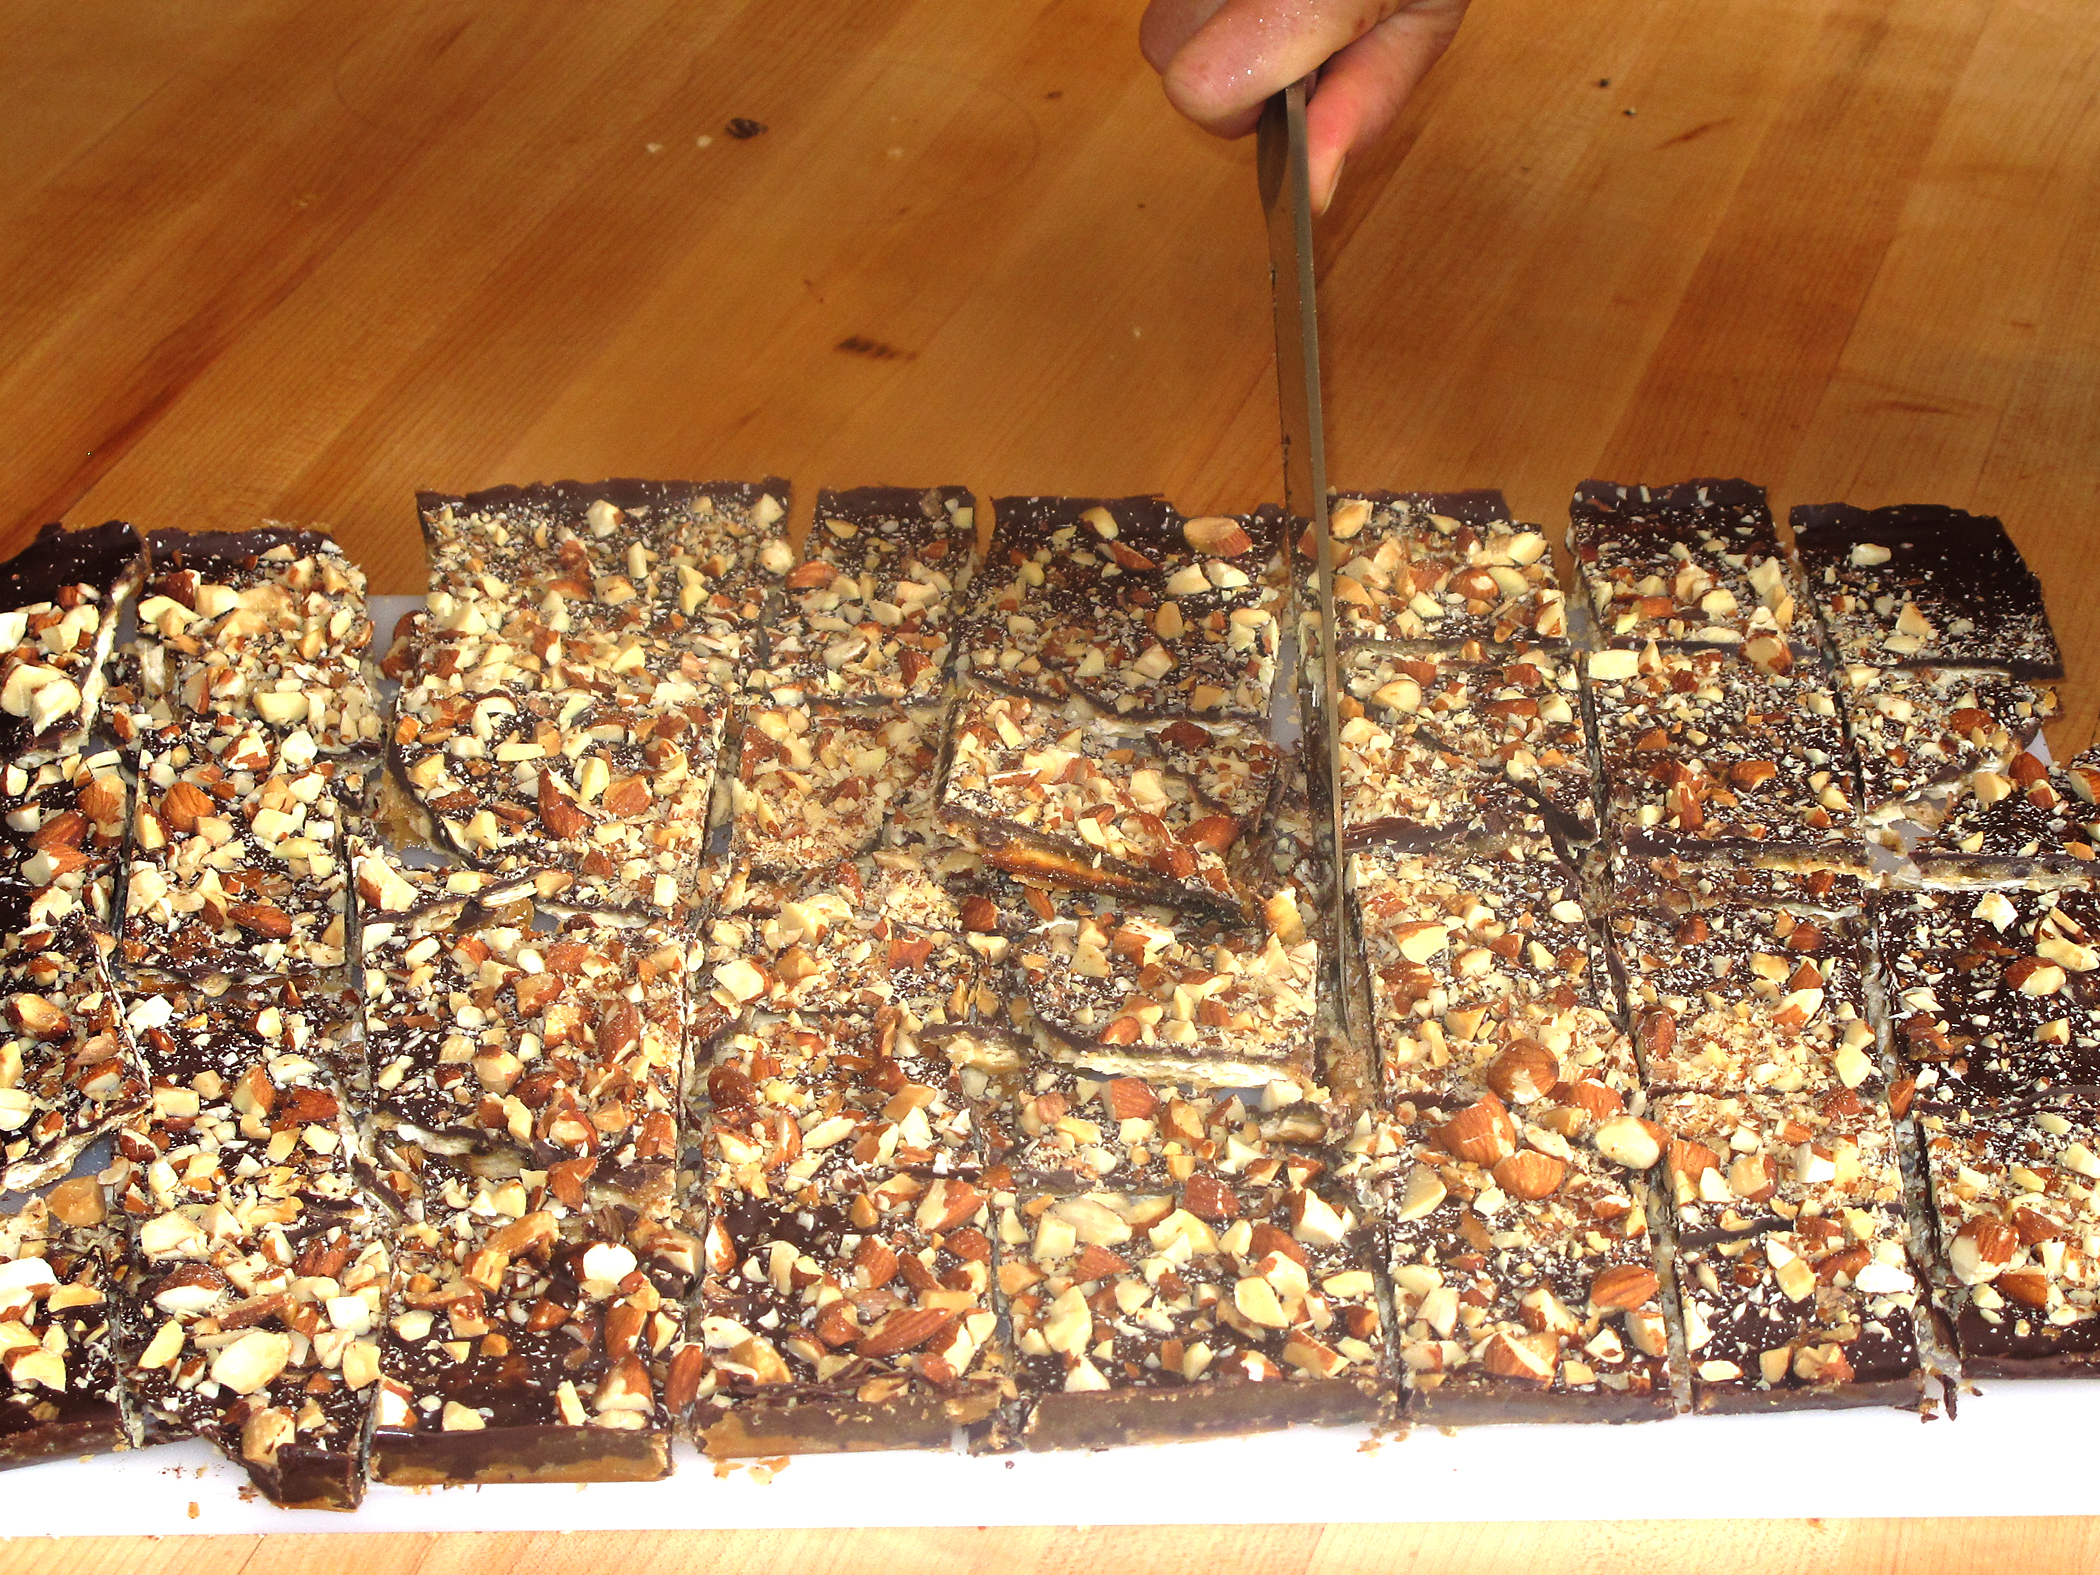
For an equally delicious variation, instead of marbling with white chocolate,  sprinkle dark chocolate with toasted chopped unblanched almonds (about 1 1/2 cups).  Or try milk chocolate and almonds, or dark chocolate and dried cherries, or white chocolate and chopped pistachios or macadamia nuts.  The possibilities are endless.  Have fun!