Tag Archives: Dried fruit

Chicken Marbella Reboot

Last week I had a craving for Chicken Marbella. If you are of a certain vintage, you will know exactly the dish I am talking about. Created, in 1982, by Julee Rosso and Sheila Lukins, of The Silver Palate fame, Chicken Marbella appeared at every dinner party I ever attended in the 80’s. Chockful of prunes, olives and capers, it was considered very “gourmet” and a bit exotic for the times.

I pulled out my well-worn cookbook, and read through the recipe, to make sure I had all the ingredients. I was shocked to disover that it called for adding a 1/2 cup of brown sugar to the marinade! Clearly my tastebuds (as well as my skin) have matured since the 80’s. I would never consider adding that much sugar to a chicken marinade today. This dish clearly needed a reboot.

I ditched the brown sugar for a modest amount of honey, just 2 Tablespoons. Instead of dried prunes, I opted for dried apricots for their vibrant colour and dried cherries, for their tart flavour. I kept the olives and capers, and, while I was searching for the capers, I saw a jar of sun-dried tomatoes, another blast from my past, lurking in the back of my fridge. Sun-dried tomatoes were ubiquitous in the 80’s and 90’s. We overused them and they became shunned by chefs everywhere. But, in defense of sun-dried tomatoes, when used sparingly, they can add a certain savory sweetness that is welcome in many braised dishes.

To boost the flavour profile further, I added anchovy paste (an umami bomb) and a generous pinch of Aleppo pepper for some heat.

This reboot did not disappoint. Packed with flavour and not too sweet, it satisfied my craving. Sometimes you can go back again!


Dried Cherry and Pecan Hamentashen

with a cup of teaHamentashen are the traditional treat baked for the Jewish holiday of Purim, which falls on Sunday March 12 this year. Essentially, the Festival of Purim commemorates a time when the Jewish people living in ancient (4th century BCE) Persia were saved from extermination. If you’re curious to learn more about Purim, check out a more thorough post I wrote in 2012.

I’ve been busy creating  and this year I have 3 delicious hamentashen recipes to share with you over the next few days. Dried Cherry and Pecan, Poppyseed and Salted Caramel Apple. All 3 stacked 72dpiMy childhood Purim memories consist of store bought hamentashen. My mom bought them from Open Window Bakery in Toronto. They made two varieties, prune and poppyseed. My sisters and I vastly preferred the poppyseed filing. Home-made hamentashen didn’t enter my life until I got married. My husband’s aunts, Carol and Jenny, made their own hamentashen. Tender little triangles brimming with a prune-raisin filling and covered in honey and walnuts. I felt like I’d entered an alternate universe. But a universe I was thrilled to be indoctrinated into . All hamentashen should be topped with toasted nuts. Because, crunch!dried fruit in jarThis hamentashen is my twist on their classic recipe. I halved the amount of prunes in the filling and replaced it with dried cherries. The original strawberry jam was swapped out for sour cherry preserves. And then I went really rogue with the dough! I used a butter dough. Carol and Jenny’s hamentashen dough is made with oil, so if you’re looking for a dairy free option, Aunt Carol’s Hamentashen Dough is a great option.before choppingafter choppingThis dough recipe comes from Uri Scheft’s new book, Breaking Breads. It is essentially an almond shortbread cookie dough which gets rolled quite thin.

I created this video to show you how to fill and shape the hamentashen.

Bite through the crisp buttery almond shortbread shell to reveal the sweet-tart dried cherry filling. The honey-pecan topping make these hamentashen very special.Dipped

Click here to print recipe for Dried Cherry and Pecan Hamentashen.

5 hamentashen

Meneinas (yummy little nuggets)


In my continuing quest to uncover dried fruit and nut desserts for my Tu B’Shvat cooking class, I uncovered this little gem.  These adorable little cookies are called “Meneinas” (pronounced Meh-NAY-nas) and they may be singly responsible for making me reverse my former position on not liking dried fruit desserts.  I feel like Sam in “Green Eggs and Ham.”  Say,…. I do like dried fruit and nut desserts.

I discovered this cookie recipe in my new book, “Chewy, Gooey, Crispy, Crunchy Melt in Your Mouth Cookies.” by Alice Medrich.  I am just a little obsessed with this book and am tempted to bake my way through this one too.  When I bought this book in late December, I promised myself that I would not bake from it in January.  I swore I would only use it for bedtime reading.   Come on now, who am I kidding?  I am so weak!  My New Year’s resolution broken in only 2 weeks.  But to be fair, I was giving a cooking class on dried fruit desserts and this little cookie was just perfect.

Alice says that this is a cherished family recipe from Alexandria, Egypt, given to her by artist Jeannette Nemon-Fischman.  The traditional filling is made with date and walnut, but in typical Alice Medrich fashion, always one to gild the lily, she offers us 4 alternate fillings: Spiced Fig, Apricot Vanilla with Cinnamon and Almonds, Pear Almond and Sour Cherry with Black Pepper.  Of course, being the keener I am, I had to make all 5 fillings.  Just for research purposes of course.  My favourites were the Pear Almond and the Sour Cherry with Black Pepper.  The cooking class students loved them all but their favourites were the date walnut and the spiced fig.

These cookies were so much fun to make.  Actually, I had the best time making the fillings.  Alice suggested that a potato masher would be the best tool for making the dried fruit fillings.  I somehow lost my potato masher so I had to get a new one.  Look what I found!  It is a pogo stick potato masher.  It is spring-loaded and so much fun to use.  No wonder I made 5 fillings.

Once the filling cooled, I added some chopped almonds.  The dough comes together quite easily in a mixer.  It’s enriched with butter, milk and orange blossom water.  I’m just warning you, when you open the orange blossom water be prepared.  It smells like a cheap hooker, but once incorporated into the dough, the flavour and aroma are very subtle.  You can find the orange flower water at middle eastern stores.  Just use some orange zest if you can’t find it.  The dough has the consistency of play-doh and the little cookies are so easy to form.  It’s best to set up an assembly line process.  First, scoop out the filling.  A heaping teaspoon is a good size.  Then scoop out tablespoon sized nuggets of dough.  Then form little cups and fill and seal.

Once the cookies have cooled, I rolled them in icing sugar.  Alice recommends coating them when they are warm and then coating them a second time once they have cooked.  I found they got a bit gummy, so I just coated them once, when cool. I think you could freeze them, uncoated and then thaw and coat them before serving.


To print recipe, click here.

To print filling recipes, click here.

Tu B’Shvat Cake

I  have been very busy the past few days testing dessert recipes with dried fruits and nuts.  This has been challenging on several fronts.  In the first place these are not exactly my type of desserts.   I typically answer to the calls of chocolate, mint, coconut or caramel.  Secondly, we are trying to eat a bit lighter this month in order to make up for our December cookie gluttony.  Why, you may be asking, is she doing this?  Well, it’s all for a good cause.

There is an organization here in Ottawa known as the Friendship Circle.  They pair volunteer teens and children with special needs for hours of fun and friendship.   This organization envisions a world in which children with special needs and their families experience acceptance, inclusion and friendship.  My youngest son, who has Cerebral Palsy and Autism, has been a benefactor of this program for almost 4 years now.  Every Sunday, his friend comes over for a visit.  Sometimes they go bowling, sometimes to a movie, but mostly they just hang out at home playing Nintendo Wii or watching a DVD. This has been a life enriching experience for both my son and his friend.

A secondary goal of the organization is to provide some respite for the moms of these special needs children.  They started a “Mom’s Night Out” program last year.  When they asked me to give a cooking class for the moms last year, I happily accepted.  I was in the middle of my Bread Baker’s Apprentice Challenge, so I wowed them with challah, bagels and cinnamon buns.  In the fall, they asked me if I would do it again this January.  Of course I accepted.  When the organizer called me last week to discuss the evening I suggested we do a class on how to incorporate more whole grains into your life.  I thought this would be  perfect for January.  She said that the moms really wanted a class on Tu B’Shvat desserts.  There was a momentary pause and then I said, “Sure, no problem.”  After I hung up the phone I ran to my computer and Googled  “Tu B’Shvat.”

Although I am Jewish, and have heard of Tu B’Shvat, it is not one of the major Jewish holidays.  (The big 4 being Rosh Hashanah, Yom Kippur, Chanukah and Passover).  A little research was in order here.  Tu b’Shvat, which begins sundown on January 19 this year,  celebrates the New Year for Trees.  In essence, it is a celebration of nature and the fruits of the land of Israel.  Jewish tradition marks this date as the day when the sap in the trees begins to rise, signaling the earth’s awakening from its winter slumber and heralding the beginning of spring.  Say what??  Beginning of Spring?  Anyone looked out the window today?

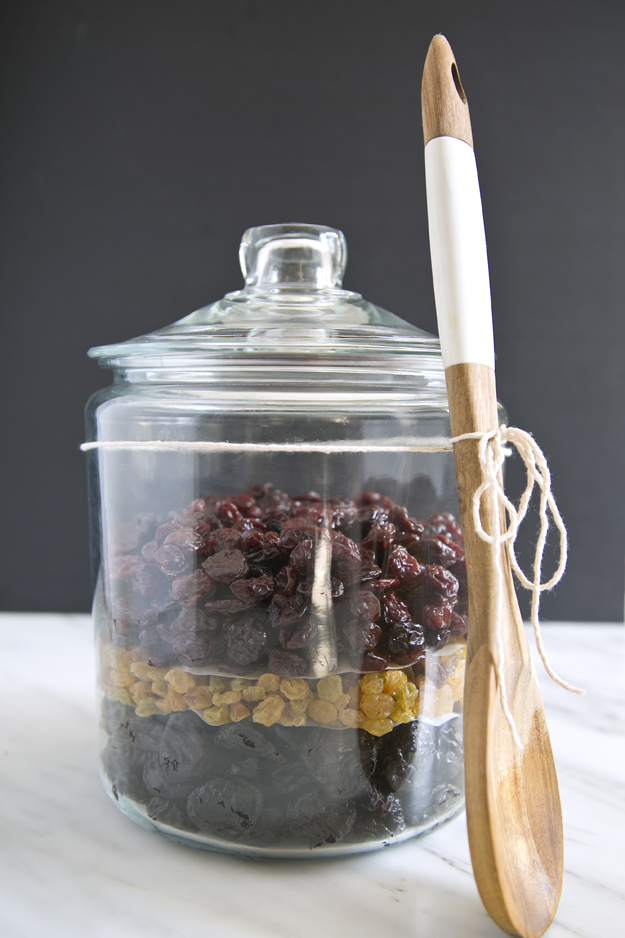
Yes. I realize most of us are still digging out from the last snowstorm and bracing for the next onslaught of white stuff.  But trust me, in Israel, last time I checked, it was 15º C (59º F) in Tel Aviv.  Next week, on Tu B’Shvat, Jews in Israel, and all over the world will mark this day by planting trees and eating dried fruit and nuts.  Of course it’s not all about planting trees and gorging on dried fruit.  Rabbi Naphatli Hoff, at torah.org, makes an interesting observation on how the seasons often parallel our own lives.

Of all of the yearly seasons, there is perhaps no greater disparity than the one that exists between the seasons of winter and spring. Winter represents stagnation and unrealized potential, when all signs of growth lie hidden inside of the trees. There are no external signs of development, no expressions of vitality. All we see is an empty tree trunk; the fruit and leaves of last season have long since fallen away.

Spring, on the other hand, symbolizes burgeoning vitality. Everything is new and exciting. Trees that have remained dormant for the past few months start to show new signs of life. Buds begin to sprout, flowers start to open. Nature once again reveals its true beauty.

 This contrast is true in human life as well. Circumstances sometimes force us into our own personal “winter,” when struggles and challenges strip us of our innate vitality. There are other times in which we seemingly experience only joy and excitement in our lives. Everything points towards growth and accomplishment.

We must realize, however, that there are two distinct ways for a person to approach the winter-like situations in his own life. The aforementioned contrast between winter and spring is only true if one views winter as the death-knell of summer. The beauty of the seasonal cycle, however, is that one can alternatively view winter as ushering in the upcoming spring. No matter what challenges a person faces, there are always better days awaiting him. Such a person knows no limitations, no dormancy. Life is a continuous cycle pointed in the direction of growth.

This is the message of Tu B’Shvat. In the middle of the winter, when everything around us seems so cold and bleak, think of spring. Eat fruit. Sing joyous tunes. Plant new trees. Always look for the good.Tu BShvat provides us with many essential, real-life lessons. We celebrate Tu B’Shvat knowing that we will continue to weather the storm of life, no matter what that particular “season” has in store. “

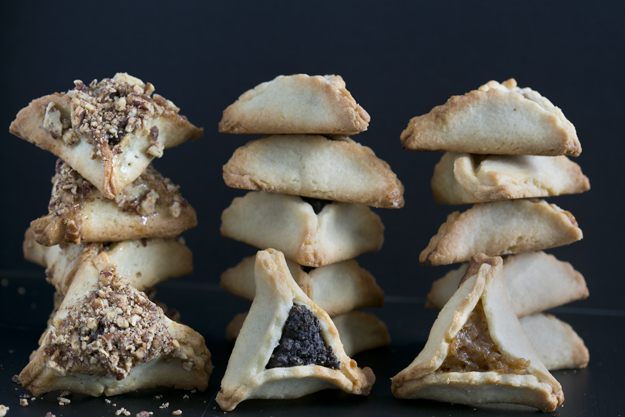
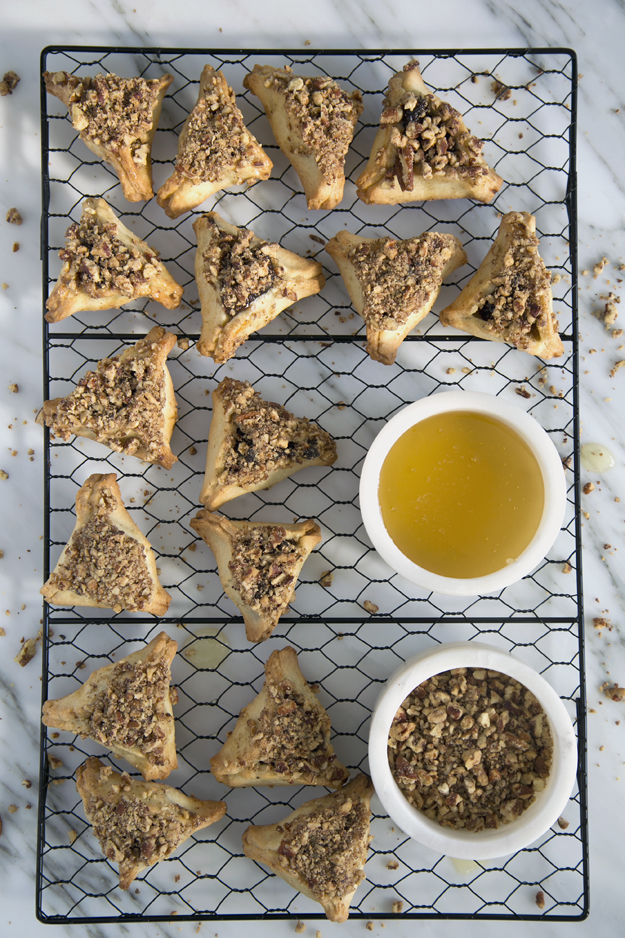
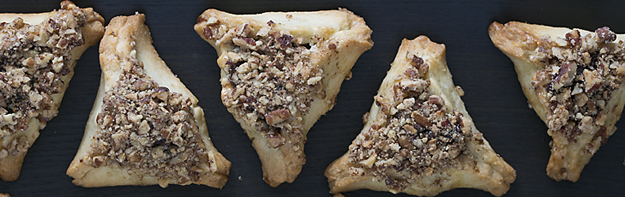
So, back to my original mission, dried fruit and nut desserts. I have come up with 3 wonderful recipes that fruit and nut lovers will be thrilled with.  I have to admit, even I thought they were delicious.

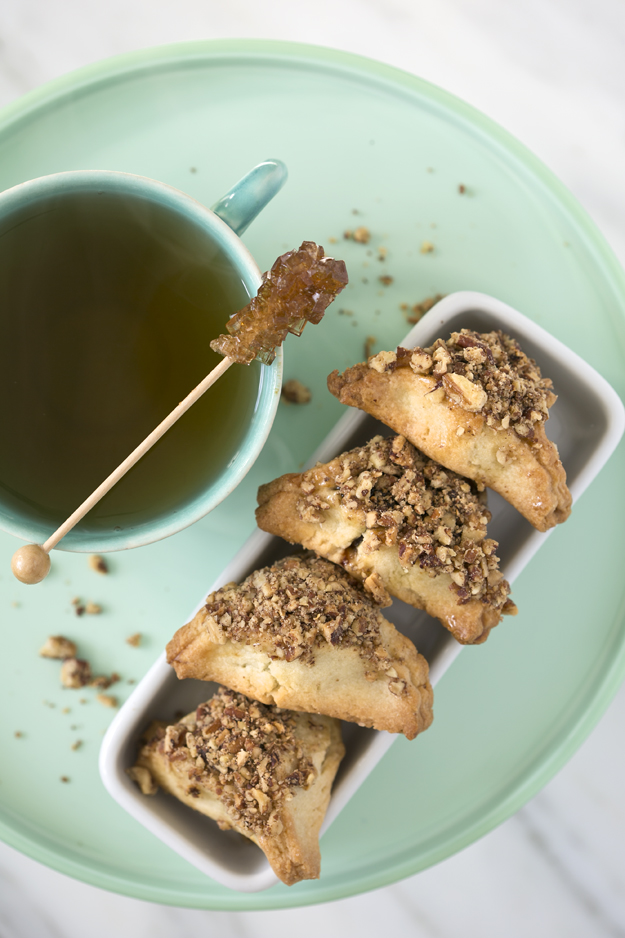
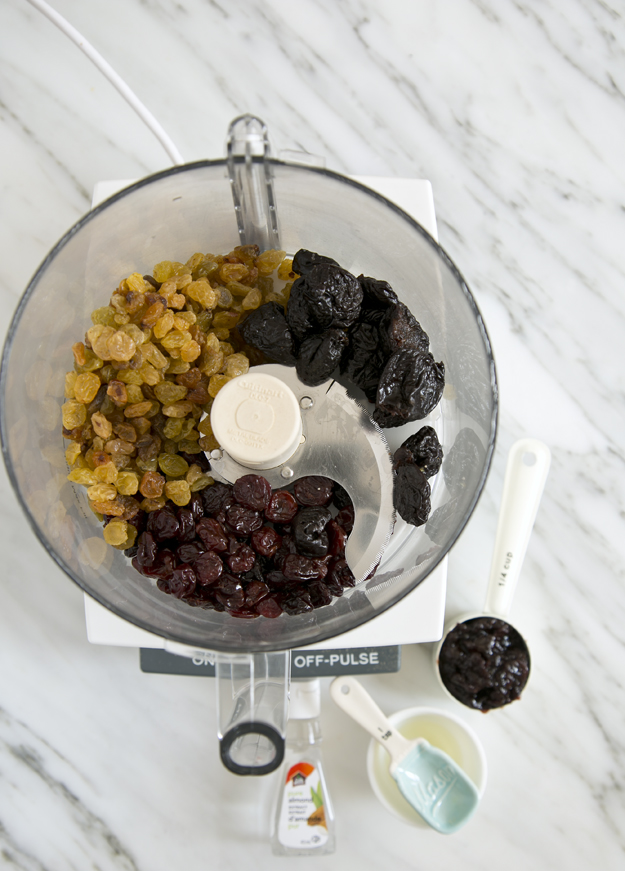
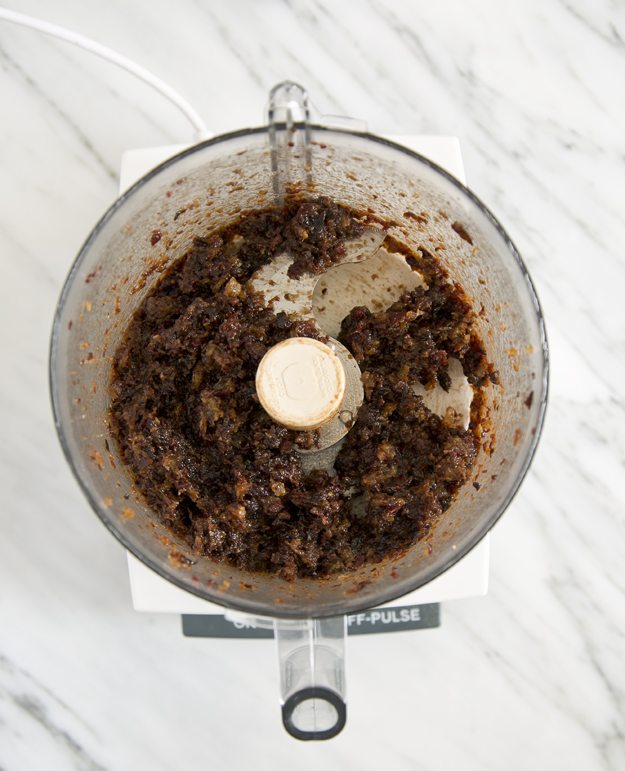
I started my research with Janna Gur’s book, “The Book of New Israeli Food.”  Janna didn’t disappoint.  In the index I found a recipe for Tu B’Shvat cake.  Perfect.  As I read through the recipe I started to think, “It’s beginning to look a lot like Christmas.”  This was a fruitcake recipe.  Almost a pound of assorted dried fruit and nuts, held together with miniscule amounts of flour, sugar and eggs.  Well, I am all for Culinary Co-existence.  No reasons Jews can’t bake fruitcake.

At this point I looked at the cake and wondered how this dense gooey mixture would transform itself into a cake.  It does not rise very much and resembles a fruit and nut brick when you turn it out of the pan.  But once I waited for it too cool and sliced it, I was in for a surprise.  Crunchy around the edges and chewy in the middle, this cake is chock full of goodness.  It is even better the next day.  In my effort to abstain from sugar this month, I had just half a slice and sent the rest off to my husband’s office.  Come back tomorrow and Friday for more dried fruit and goodness!

Click here to print recipe for Tu bi’Shvat Cake.


SaveSave

SaveSave

SaveSave

White Chocolate Cranberry Coconut Biscotti

Yesterday morning at 5:45 am I received an e-mail request to bake for a charity auction/fundraiser being held this Saturday night.  You may be wondering why I was awake so early. It wasn’t on purpose.  It’s just that I keep forgetting to put my blackberry on “silent” mode before I go to sleep, so the beep of an incoming message woke me.  The request was from the Lanark County Therapeutic Riding Program.  I immediately hit reply and said YES!!  My speedy, enthusiastic (well, as enthusiastic as I can be at 5:45 am) reply was due to two reasons.

The main reason I replied yes is that my son, who has cerebral palsy, has been riding with them for over 6 years.   When he began he could not even sit up on the horse.  Now he is trotting.  He has developed increased balance, flexibility and coordination over the years.  But more importantly, he has gained a feeling of great independence and freedom as well as tremendous pride in his accomplishments.  I never could have imagined a day when I would see him trotting down a country road on a horse.  It is a joy to behold.

The second reason for my speedy acquiescence is that I love any excuse to bake, especially when I know the baking will be leaving my home and moving out of harm’s way (Harm in this case, being my mouth!)

I knew right away what I wanted to bake.  I was planning to bake on Thursday and the event was not being held until Saturday, so it had to be something that didn’t get stale quickly.  Biscotti would be the perfect thing to make.  They keep well for several weeks, although they never seem to last that long around here.  The inspiration for this biscotti recipe came from the now defunct Gourmet Magazine (a moment of silence here please!!).  The original recipe was for cranberry biscotti dipped in white chocolate.  I decided to add white chocolate chunks to the dough instead of dipping them.  I also added coconut to the dough because coconut makes everything taste better!   Unbeknownst to me, my sister Bonnie made the exact same changes to the recipe.  We laughed when we discovered what the other had done.

Oh, and I had a third reason to be excited to bake today!  I would get to try out my new Beater Blade for my Kitchenaid mixer.  The company claims that this blade, ” … virtually eliminates hand-scraping the bowl and batter build-up on the blades. Ingredients are thoroughly incorporated ensuring foolproof mixing and baking preparation.” After softening the butter, I set to work creaming the butter and sugar.  I was very impressed with the new blade.  No scraping down was needed.  I love it when a product delivers like it promises.

Then time to add the rest of the ingredients.

Biscotti is Italian for “twice baked”.  First the dough is formed into logs and baked.  Then the logs are sliced and put back into the oven for a second baking.  This is a wonderful dough to work with, so pliable and malleable.  Forming the logs is simple.

The logs are brushed with beaten eggwhite and baked for about 25 minutes.  Then they cool for about an hour.  I discovered that using a cleaver works really well for slicing the logs.  I got an inexpensive one from Ikea.  I like to slice them on the diagonal for really long biscotti.  They go back into the oven for a second baking.  They will be a bit soft when you remove them from the second baking but will firm up as they cool.

Click here to print recipe for White Chocolate Coconut Cranberry Biscotti.


#36. Stollen and the visual learner.


Who knew that a German fruit filled bread could demonstrate my learning deficiencies so clearly?  As I read through the recipe for Stollen,  this week’s bread in Peter Reinhart’s The Bread Baker’s Apprentice, I knew that I had a real challenge on my hands.  I could not, for the life of me, figure out how to shape this loaf.  I read through the directions at least 4 times and it just didn’t make any sense to me.  There were even some pictures to demonstrate the method but I still could not figure it out. 

Full disclosure here, I am not really great with written instructions.  (I can see my husband laughing his head off right about now as he reads this).  I never the read instruction manuals that come with anything new I buy.  I believe that things should be designed so that they are intuitive.  Usually I end up breaking something before I give in and pull out the manual.  I have never assembled anything from Ikea where I did not have at least 3 or more extra bolts or screws left over, leaving me wondering about the stability of whatever I just put together. 

Sorry, got a little off track there.  I proceeded to make the dough for the Stollen, without a clear plan on how I was going to shape it.  I figured that I’d just wing it when I got to that part.  The recipe begins with mixing some warm milk with flour and instant yeast to make a sponge.

This mixture is set aside for about an hour, to get all bubbly.  The recipe called for golden raisins and candied fruit mix to be soaked in brandy or rum and orange or lemon extract.  I remembered  my experience with the Panettone bread I made back in November.  I hated that bread with the dried fruits soaked in alcohol so I decided to forgo this step.  As well, I decided to leave out the citrus extract.  I figured I’d get enough citrus flavour from orange and lemon zest.  I decided to skip the candied fruits as well and went with a combo of golden raisins, sultana raisins, dried cherries and dried apricots. 


Once the sponge was all bubbly, it is added to all-purpose flour, sugar, salt, orange and lemon zest and cinnamon.  Butter, an egg and a bit of water are added until a sticky dough is formed.  Then about 3/4 of the dried fruit is added. The remainder gets added during shaping. I was feeling a bit lazy and decided to knead the fruit in by machine but it soon became apparent that hand kneading was in order.  I dumped the mixture onto the counter and kneaded for about 5 minutes until I had a silky dough and all the fruit was evenly incorporated.

Then the dough was set aside to rest, covered for about 45 minutes.  At that point I figured I’d better do some research to figure out what I was going to do about shaping this bread.  I googled Stollen and came up with several variations and shaping suggestions. 

There was a wreath shaped stollen from Martha Stewart’s mother. David Lebovitz formed his stollen into simple batards (oval-shaped loaves).   My favourite, however, was the stollen shaped like Mick Jagger’s lips from Philadelphia Chef John Gallagher.  Once baked, his version is dipped in melted butter and then rolled in a sugar-cinnamon mixture. 

I was just about to make the Mick Jagger version when I decided to read the shaping instructions in the Bread Baker’s Apprentice book one last time.  Eureka!  After my 5th read through I thought I finally understood how to do this.  It seemed that the shaping instructions were describing a simple letter fold.  Because I am a visual learner, I videoed myself shaping the bread for all you other visual learners out there.

I was quite proud of myself for figuring out how to shape this bread, and I only had to read the instructions 5 times.  I was just about to slide the stollen into the oven when a phrase in the instructions caught my eye, “Turn the dough seam side up….”  Huh?? I read it one more time and it was on my 6th read through that I finally understood that Peter Reinhart was describing an accordion style fold.  So I opened up my stollen and reshaped it.

Although the recipe called for brushing the baked bread with vegetable oil, I opted for melted butter.   Then 2 coats of icing sugar and it’s done.

 As I baked this bread on Friday, I used it as our Sabbath challah stand-in.  I believe that the finished loaf is supposed to symbolize the blanket of baby Jesus.  Oh well, the world needs a little more culinary coexistence.  It was delicious and a nice change from our usual challah.  It was even better toasted with butter for breakfast the next day.

P.S.  I just discovered that fellow BBA challenger Kelly of Something Shiny figured out the accordian fold about a month ago and posted about it on her blog.  She also originally thought it was a letter fold and only after making it a second time worked out the proper shaping technique.

#30. Basic Sourdough Bread – My Bread Bat Mitzvah

There is a right of passage in the Jewish religion known as a Bar or Bat Mitzvah.  When a young boy turns 13 he has a Bar Mitzvah and we say “Today you are a man.” For girls the age is 12 and it is called a Bat Mitzvah (we mature faster!).  I feel that making sourdough bread for the first time is a right of passage for a baker.  This was my virgin sourdough.  Although I have created 29 other breads in this challenge, not until I reached the Basic Sourdough did I feel that I had the right to declare myself a bread baker.  However, with my first sourdough under my belt, I am proud to shout, “Today I am a bread baker!”

If your bread knowledge is limited you may be wondering what all the fuss is about?    What exactly is sourdough bread is and what makes it so special?   As Peter Reinhart says, “What we call sourdough bread should more correctly be called wild-yeast breads as it is natural wild yeast that leavens the loaf and not all wild yeast breads taste sour.  By wild yeast we are referring not to commercial yeast that you buy in the supermarket, but a homemade starter, which begins with flour and water.  As this mixture sits at room temperature it picks up natural yeast spores from the air and the mixture begins to ferment and a wild yeast starter is formed.  A portion of this starter is used in the making of sourdough bread and this starter dough acts as the leavener in the dough so you do not have to use any commercial yeast. 

This is a very rudimentary explanation of what sourdough is.  If you are the type that needs a deeper scientific explanation (and you know who you are) check out this web page on the Bread Baker’s Forum.  This wild yeast starter takes about 6 days to make and then you can tuck it in the fridge and basically ignore it, except for a weekly feeding where you add more flour and water to it to refresh it.  When you’re ready to make sourdough bread, just scoop out some starter and go.  Starters can live and thrive for years.  In fact they get better with age (just like women!).  Many people even name their starters. 

 I have named mine Phyl, in honour of a fellow BBA baker.   With his guidance and detailed instructions, I made my own starter.  He has idiot proof instructions on his web site.  I followed the steps, day by day.  When I arrived at day 4, Phyl said to wait until the starter doubles in volume before proceeding.  He said it may take quite a while.  By the next day mine still had not doubled.  I was convinced it was no good and e-mailed Phyl for advice, asking him if I should chuck it out and start again.  He advised me to goose it with a tablespoon of rye flour and see what happens.  Sure enough it doubled within two hours.  Here is a picture of “Phyl”.  He is 4 months old now.

Be sure to use a large enough container to allow the starter to grow and thrive.  If you don’t you will end up with starter all over the inside walls of your fridge when it outgrows it’s home.

 To make the sourdough bread 2/3 of a cup of the starter are mixed with bread flour and water.  This is then left on the counter for several hours until it doubles.


Once it has doubled it, into the fridge it goes overnight to allow further good flavours to develop.  The next day,  this stage 2 starter is mixed with more flour (I used 1/3 whole wheat flour and 2/3 high gluten bread flour), salt and water.  You will notice that commercial yeast has not been added at any point.  Phyl (my wild yeast starter) is going to do all the heavy leavening.  This is a very sticky dough.

Since today is the day I have declared myself a bread baker, I decided to be even more authentic and knead by hand.  I figured out how to add video to my blog, so here is a short video of me kneading by hand.  Please ignore the  music in the background.  It is my son’s “Jazz and Jam” toy and it is the most annoying toy in the world.

Inspired by a sourdough bread I recently ate on my trip to Jerusalem, I added dried blueberries and toasted pecans to my bread.  Additions are best kneaded in during the last 2 minutes of kneading so that they do not get too crushed.


The dough is set aside to rise for about 2 hours until doubled.  Then it is divided in half and shaped into boules (balls) or batards (ovals).  The boules are placed into bannetons (special baskets) or a stainless steel bowl. lined with an oiled and well floured cloth, for their final proofing.  The batards are placed on a stiff cotton or canvas cloth with the sides built up around the dough so that the oval shape holds and does not flatten.  I made one boule and one batard.  After about 3 more hours the loaves had finished their final rise and were ready for the oven.

The loaves are baked on a baking stone in a hot (500 degree F) oven for about 20 minutes.

I had to slice into the bread before the recommended 45 minute cooling waiting period was up because someone was impatient.

The sliced bread was quite beautiful studded with pecans and blueberries.


The bread was even better the next day with butter for breakfast .