Tag Archives: Spring desserts

Rhubarb Raspberry Pavlova

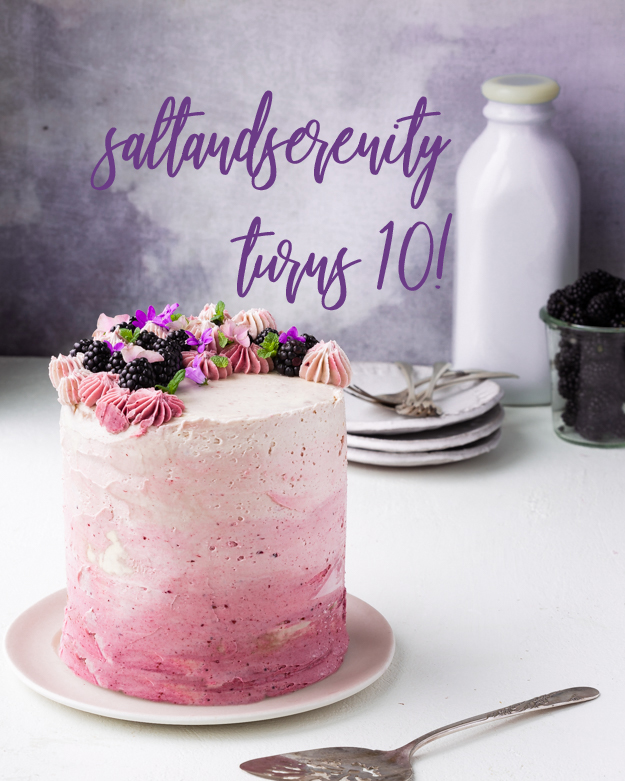
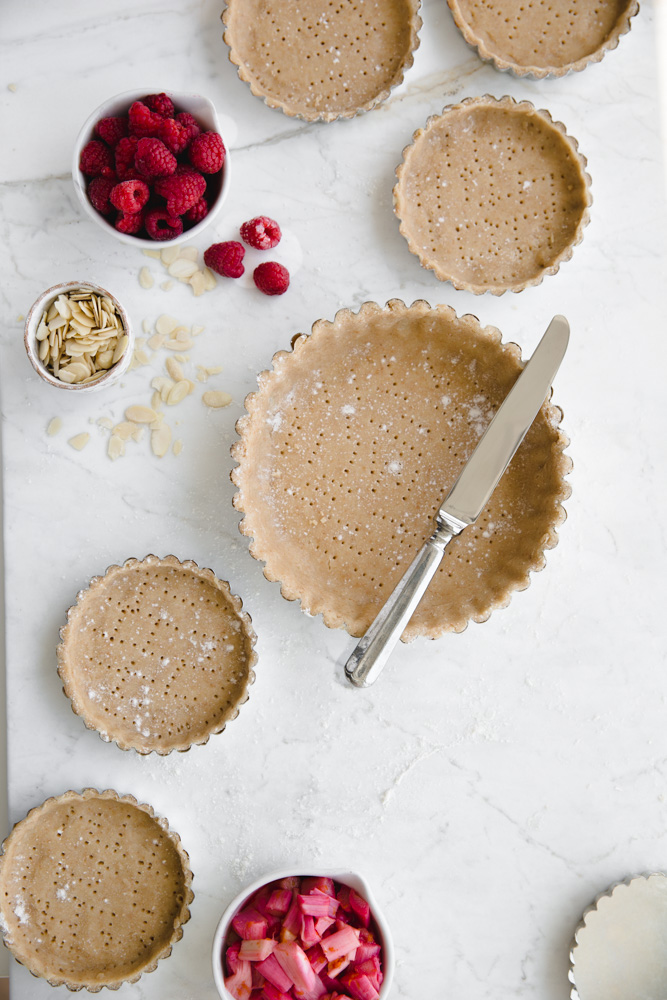
Fairly close to the top of my “To Do” list was an item I have been putting off for quite a while (aside from rescheduling my dental cleaning). I have been wanting to master the skills necessary for baking a beautiful pavlova.

I turned to Zoë François for some advice. Her pavlovas, along with the ones created by Rachel Korinek of @twolovesstudio are ones I I have long emulated.

A pavlova is a meringue based dessert named after famed Russian ballerina Anna Pavlova. She toured Australia and New Zealand in 1926. The creation of this dessert sparked the famous “Pav War.” New Zealand claims that the chef of a Wellington hotel at the time created the dessert in her honour, apparently inspired by her bell shaped tutu. Australians, on the other hand, claim that the pavlova was invented at a hotel in Perth, and named after the ballerina because the meringue was “as light as Pavlova.”

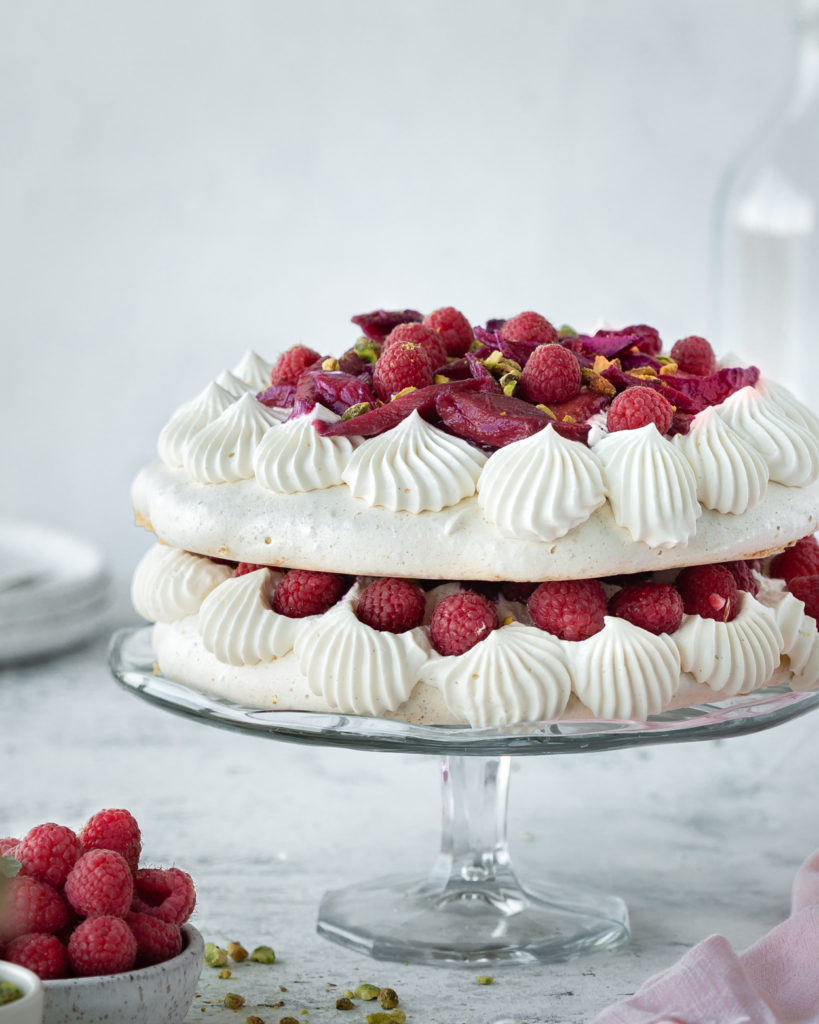
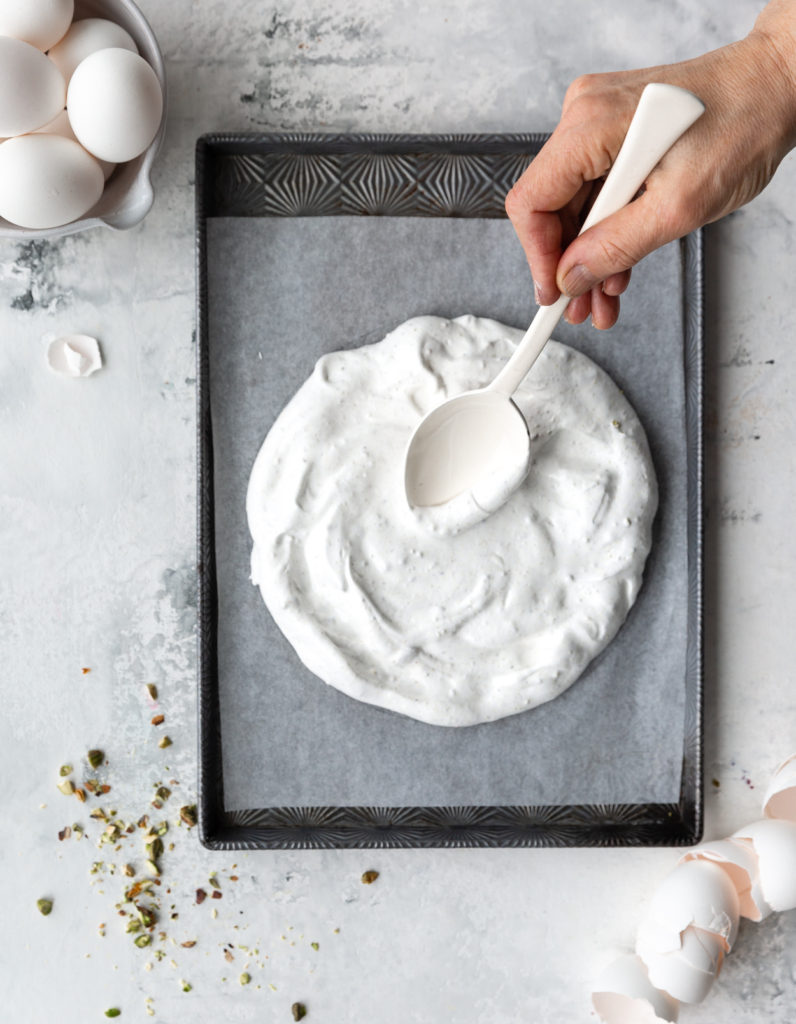
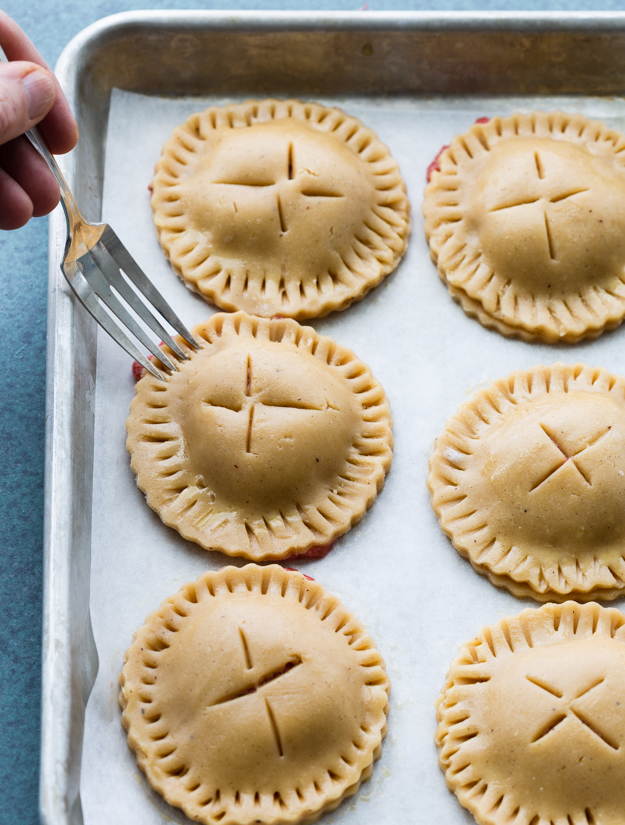
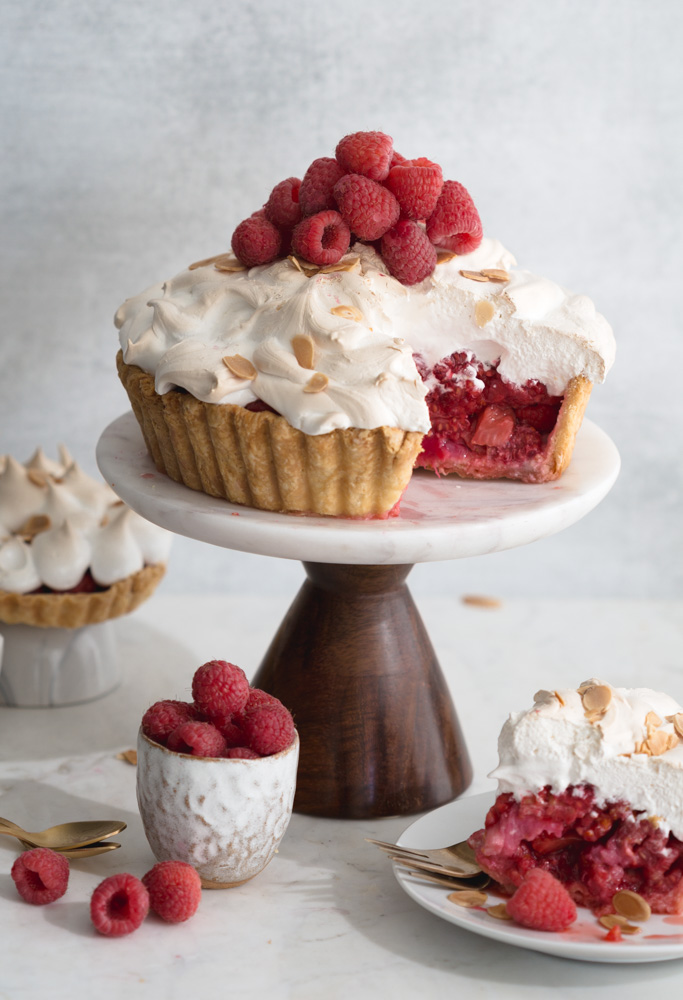
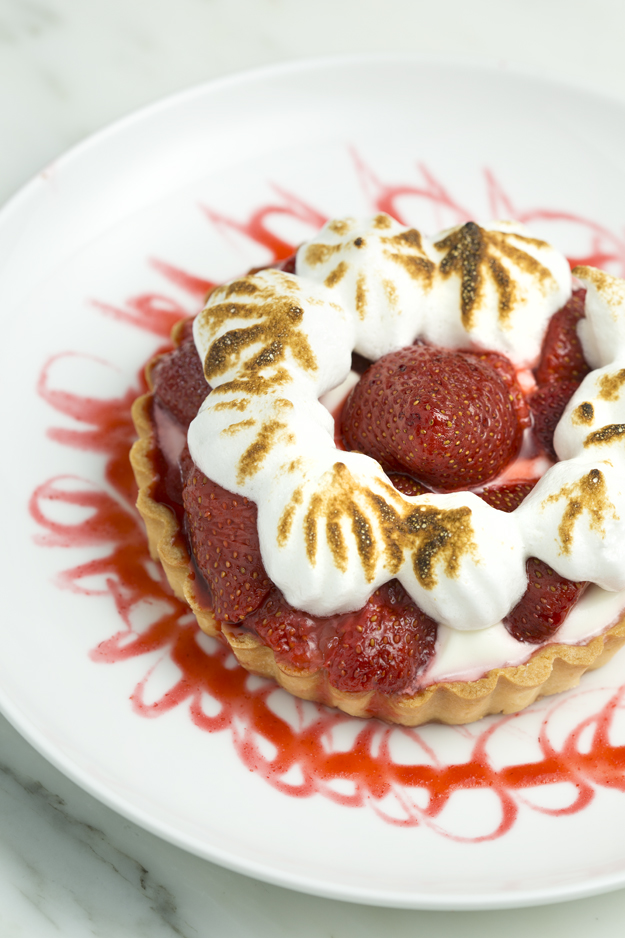
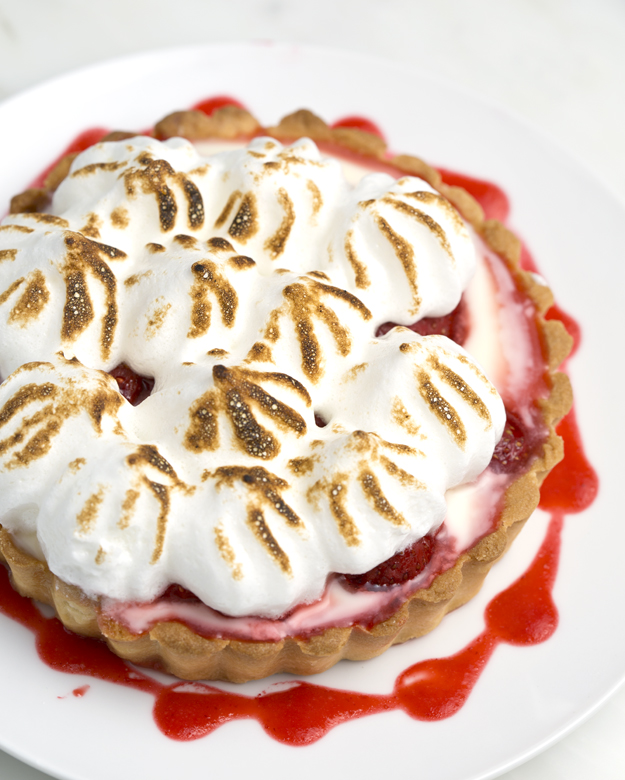
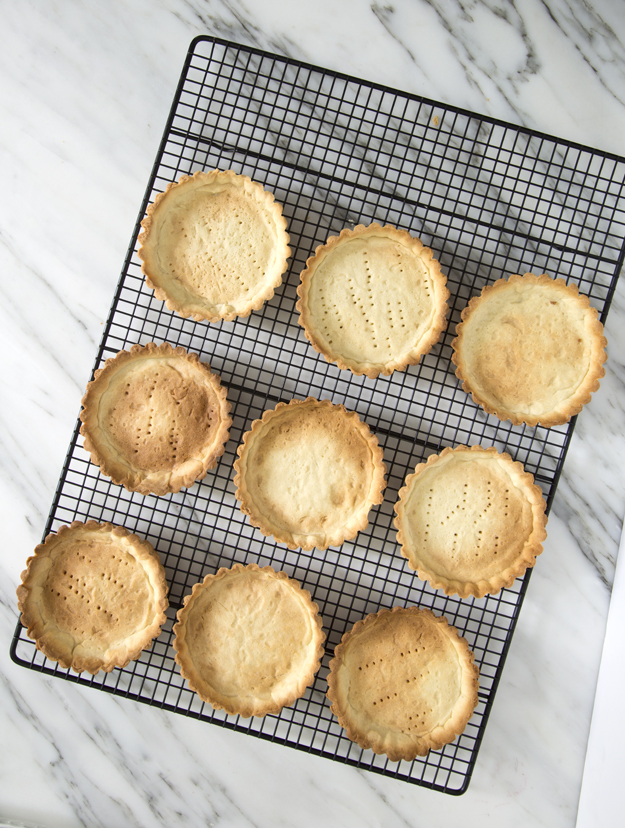
The meringue base is typically topped with whipped cream and then some type of fruit. Baking the meringue is a bit tricky and requires paying attention to the small details. I baked quite a few last month and here is what I learned.

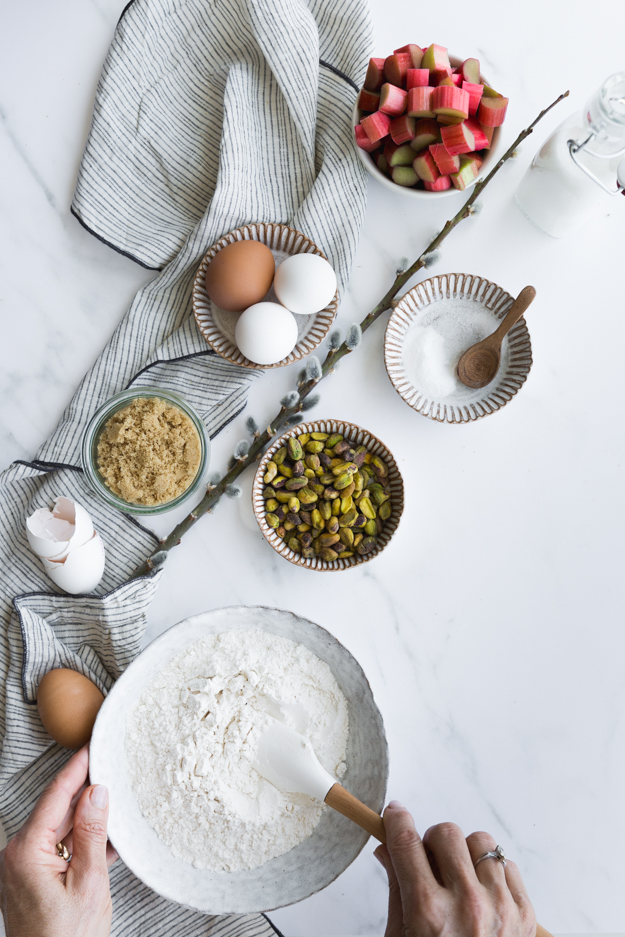
  • Make sure the bowl of your stand mixer is absolutely clean and free of any grease. Fat is the enemy of meringue.
  • Cold eggs are easier to separate than room temperature eggs as the yolks are firmer when cold and less likely to break. Let cold egg whites sit for at least 30 minutes before beating. Room temperature egg whites will produce greater volume.
  • Use superfine sugar to make the meringue. It dissolves much faster than regular sugar and will give you a smoother meringue. Any undissolved sugar leads to a gritty and/or weeping meringue. I learned that the hard way! If you can’t find any at the supermarket, just place regular granulated sugar in the food processor and process it for about 45 seconds. 
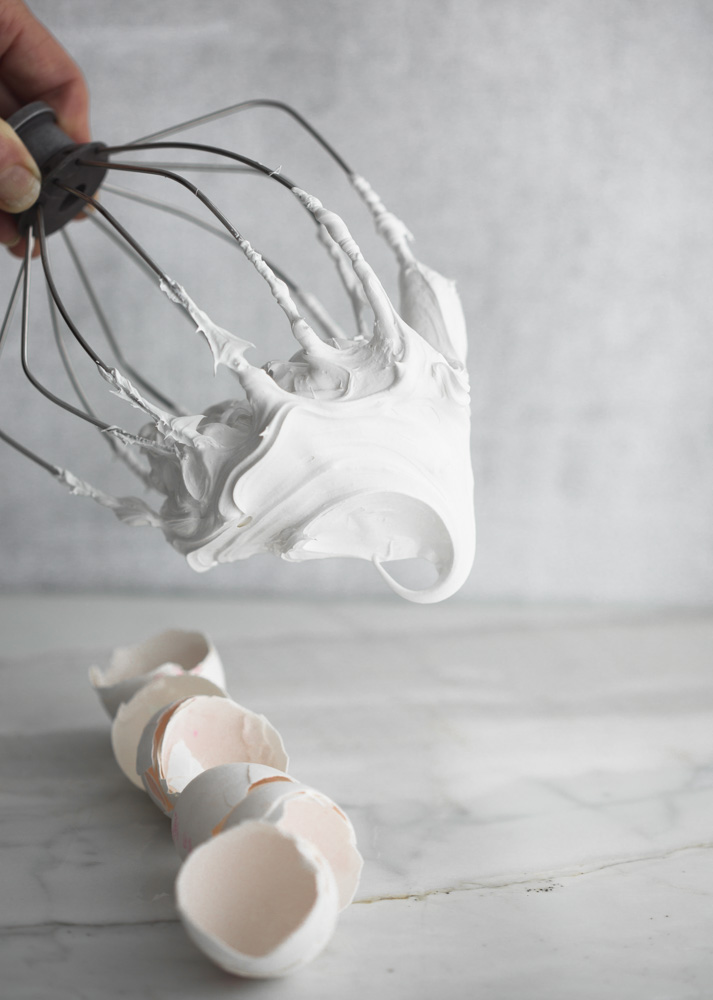
  • Know your peaks. When it comes to gauging doneness of beaten egg whites, you need to understand the stages of doneness. Soft peaks will flop over. Medium peaks will stand up but not completely straight. Stiff peaks stand straight upright.
  • Beat the meringue on low and steady speed. (speed 2 or 4 on my KitchenAid mixer) A slower speed results in a more stable meringue. Once all the sugar is added you can increase the speed to high.
  • Be patient when adding the sugar to the egg whites. Slowly spoon in the sugar while whisking the egg whites. It should take about 5 minutes to add the sugar. Adding the sugar slowly allows it to dissolve. Adding it too quickly will deflate all the air bubbles you are working so hard to achieve.

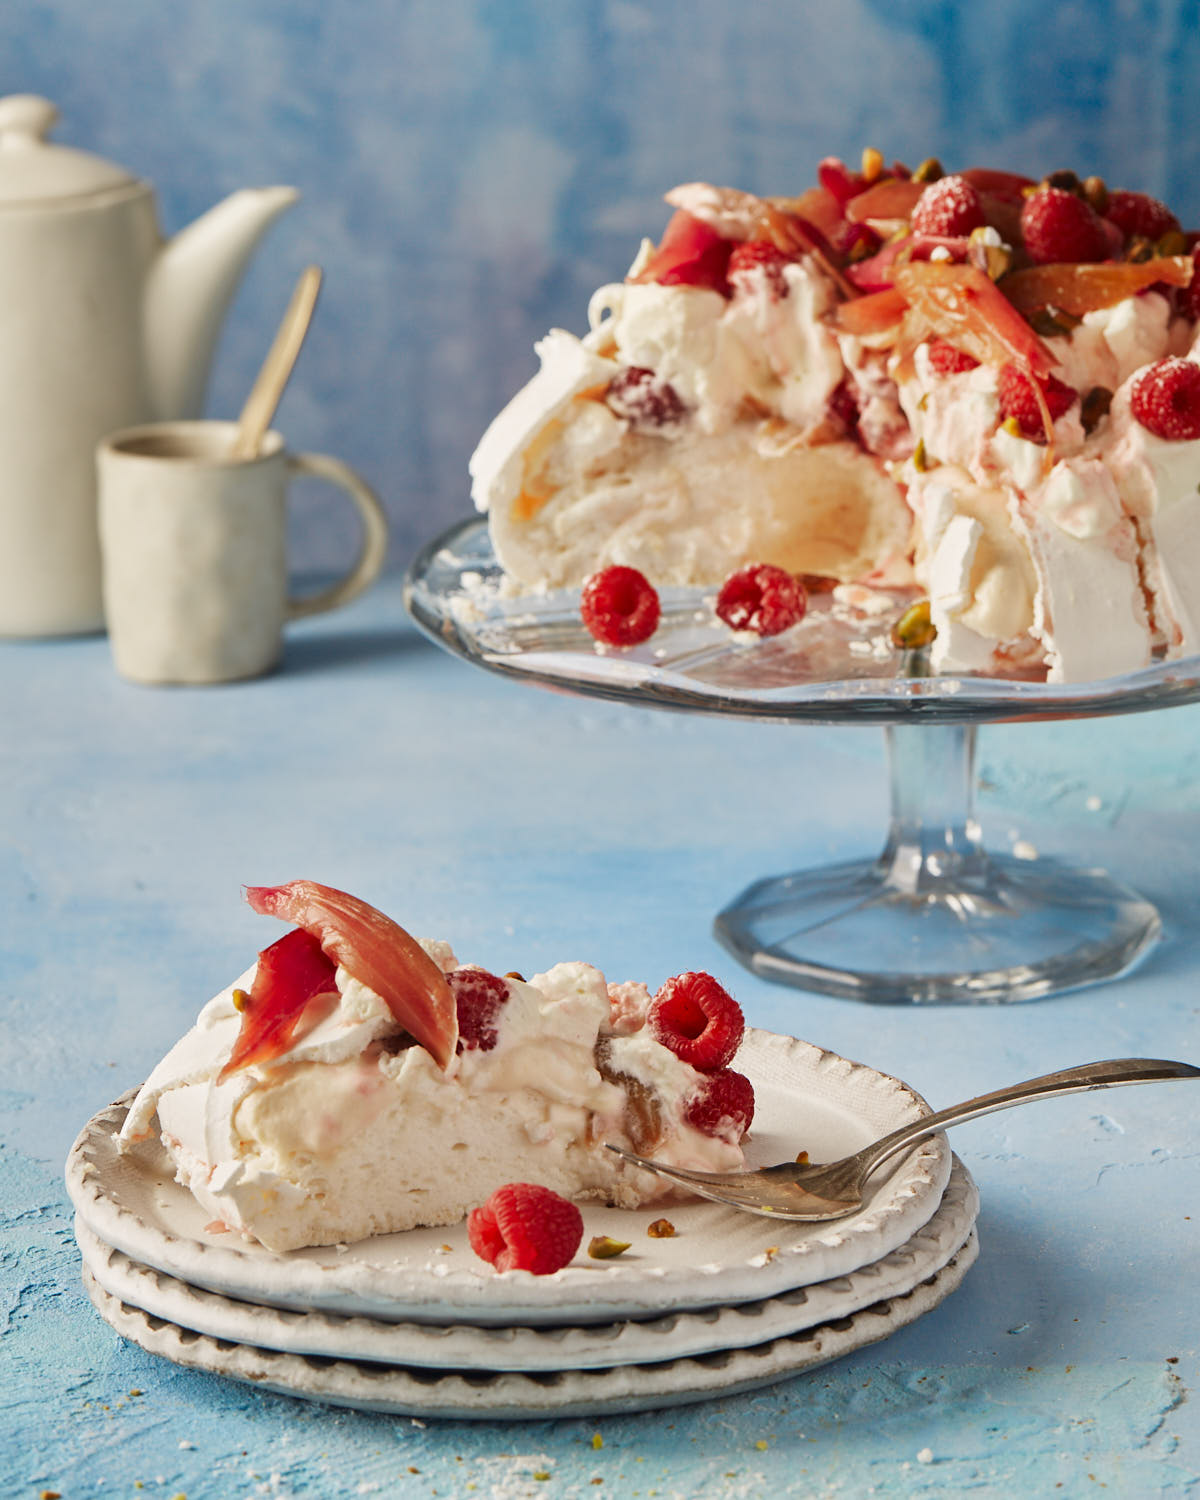
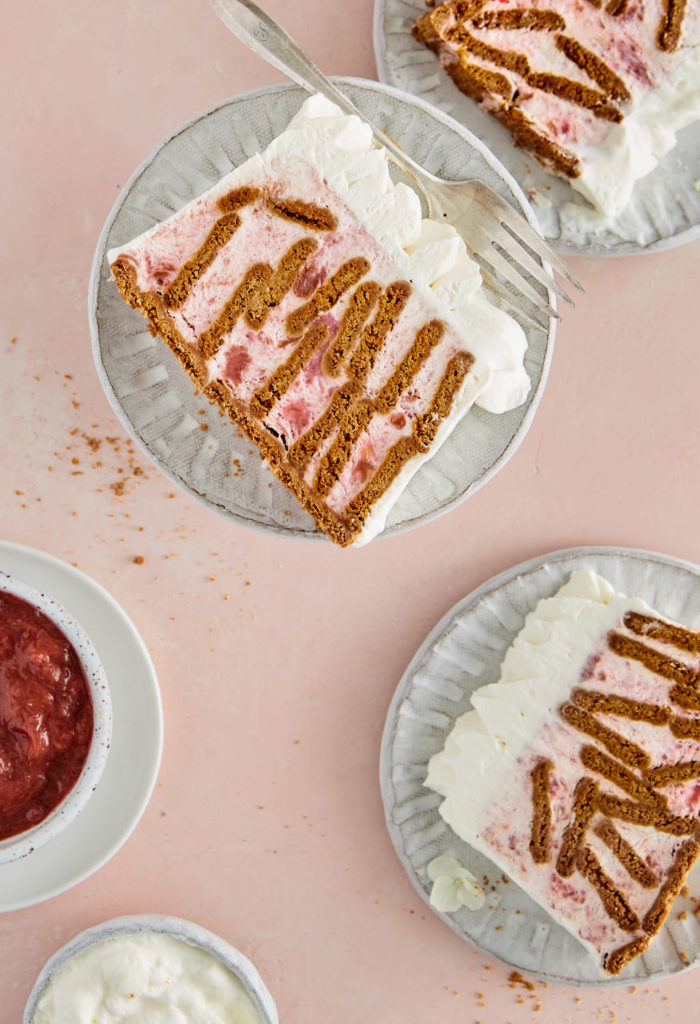
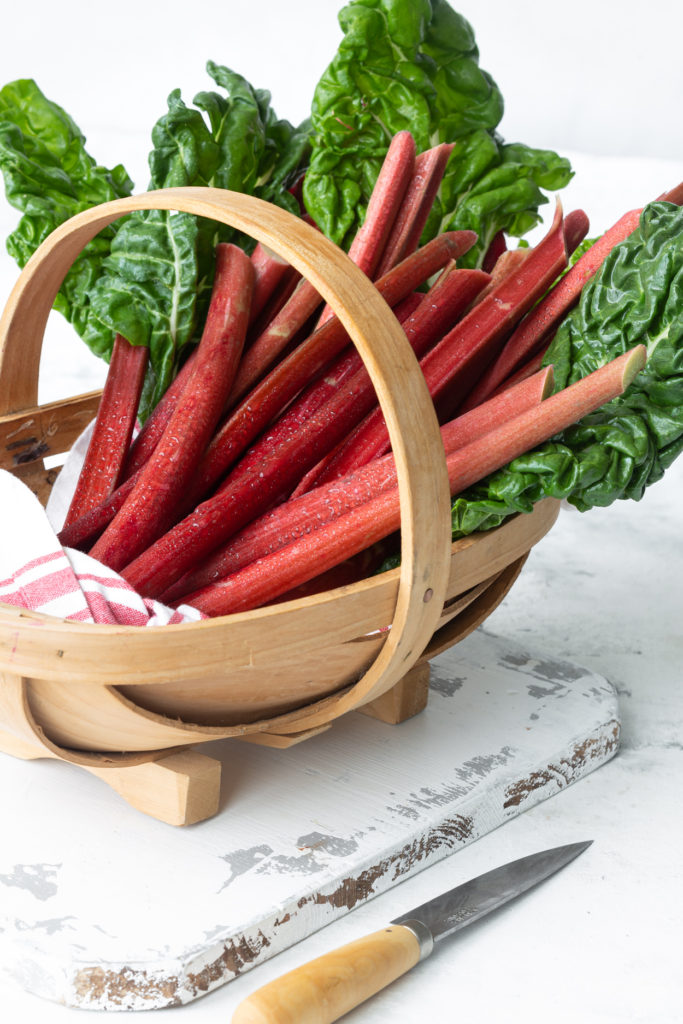
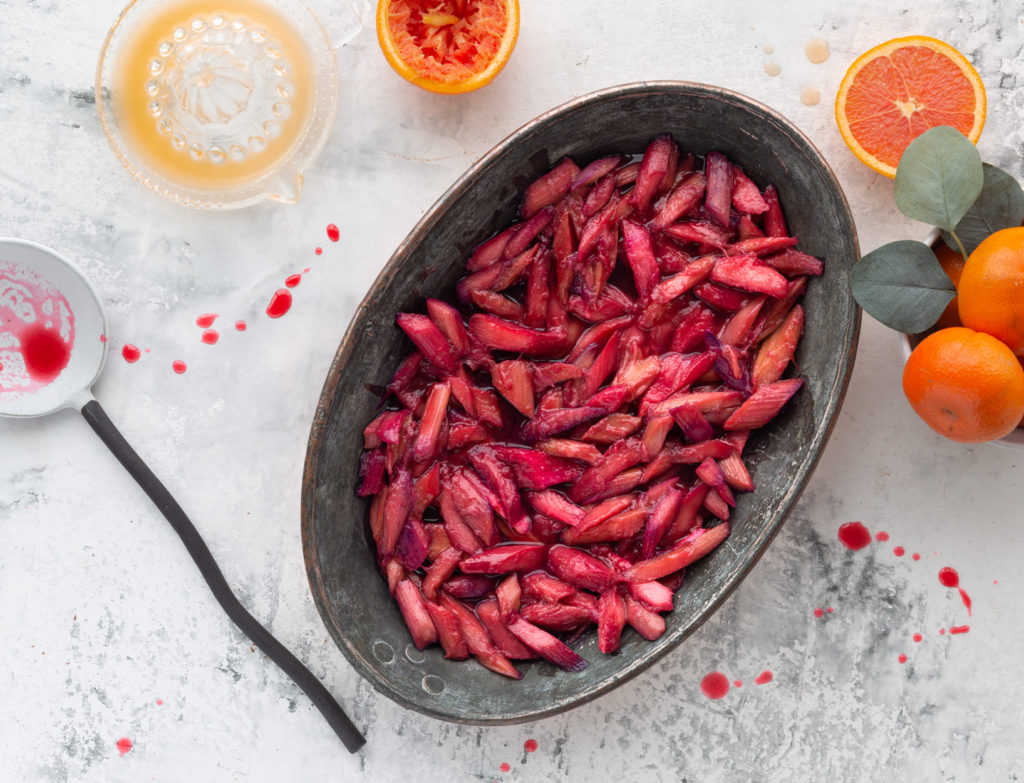
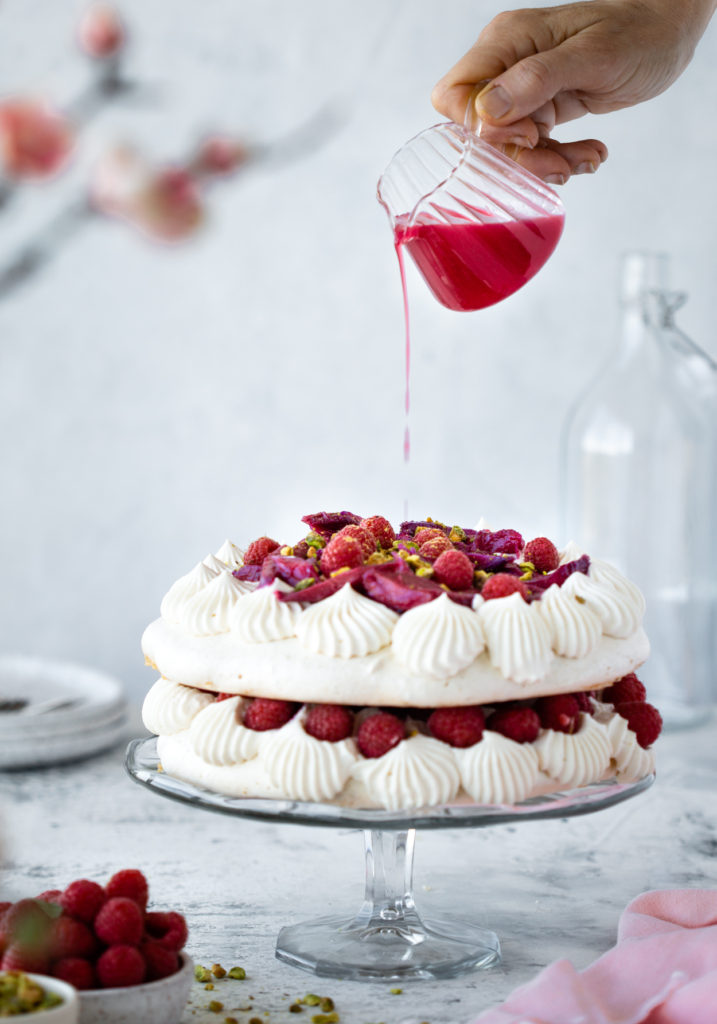
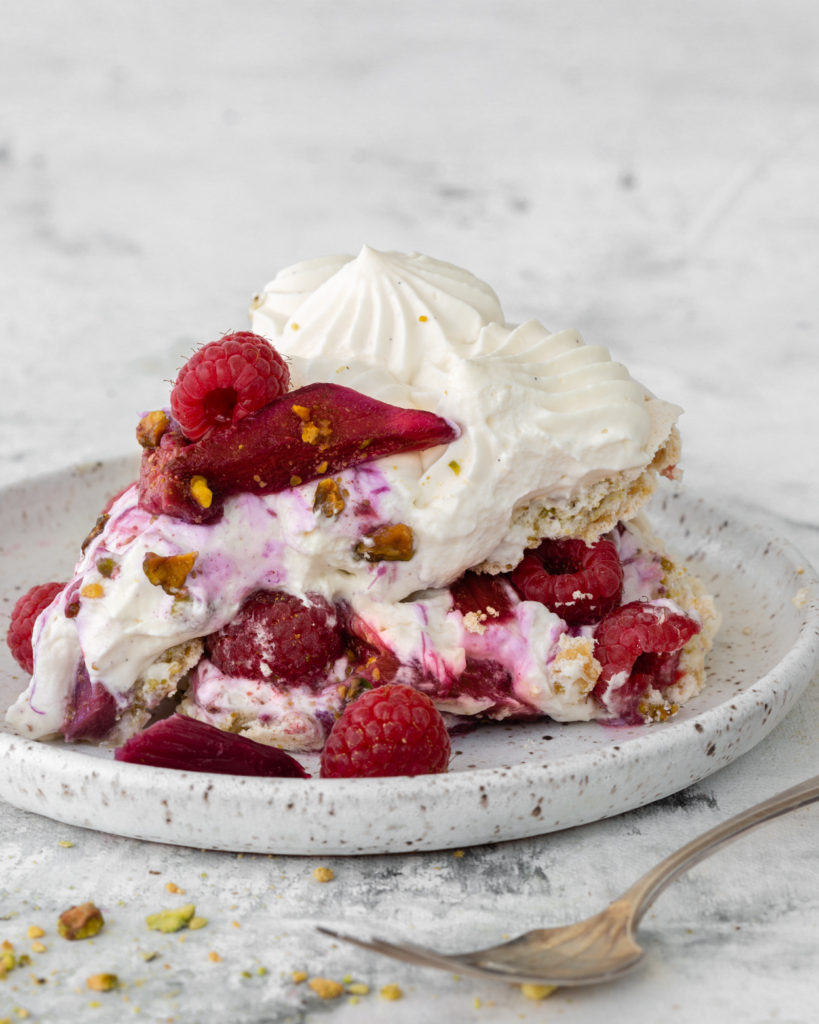
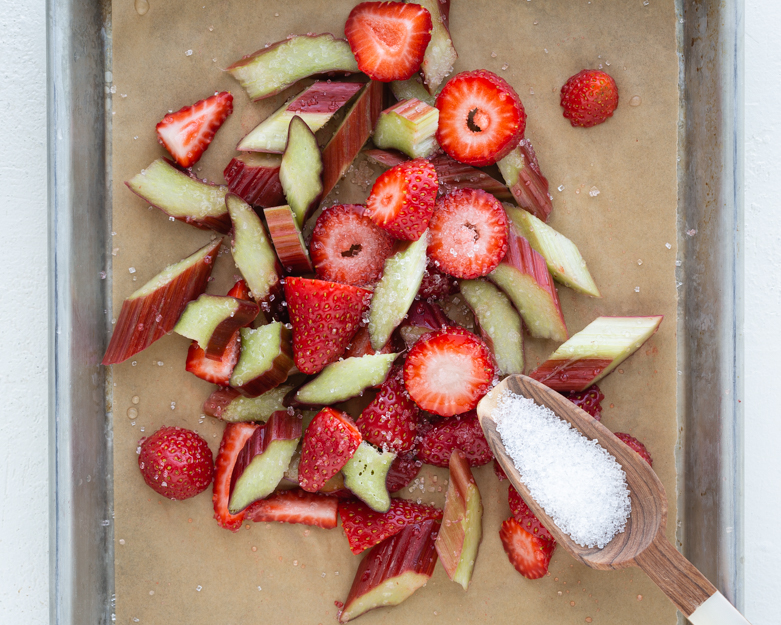
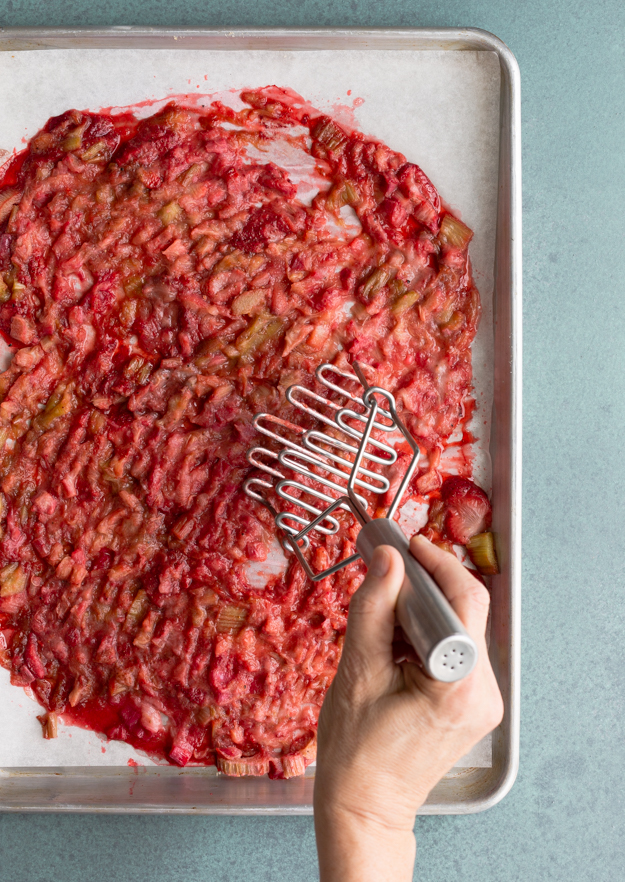
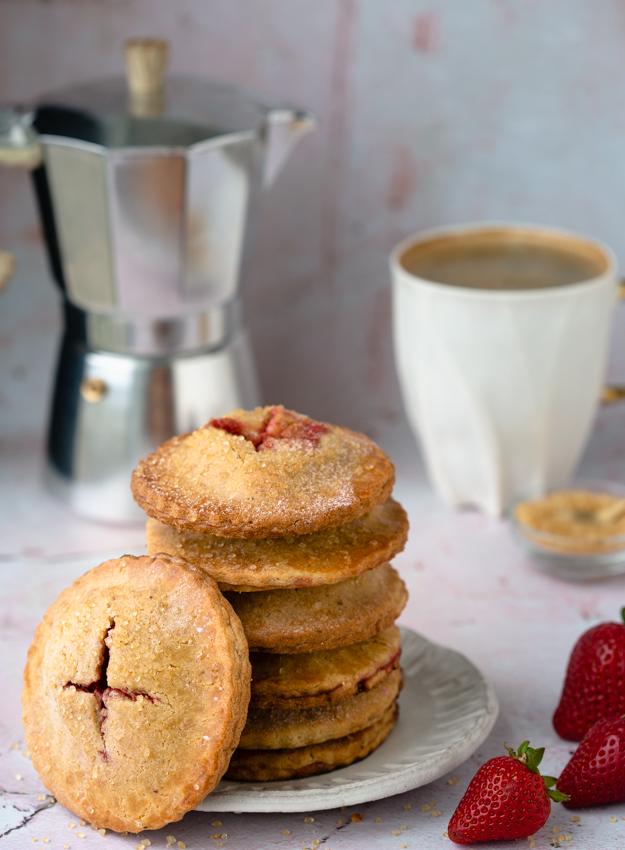
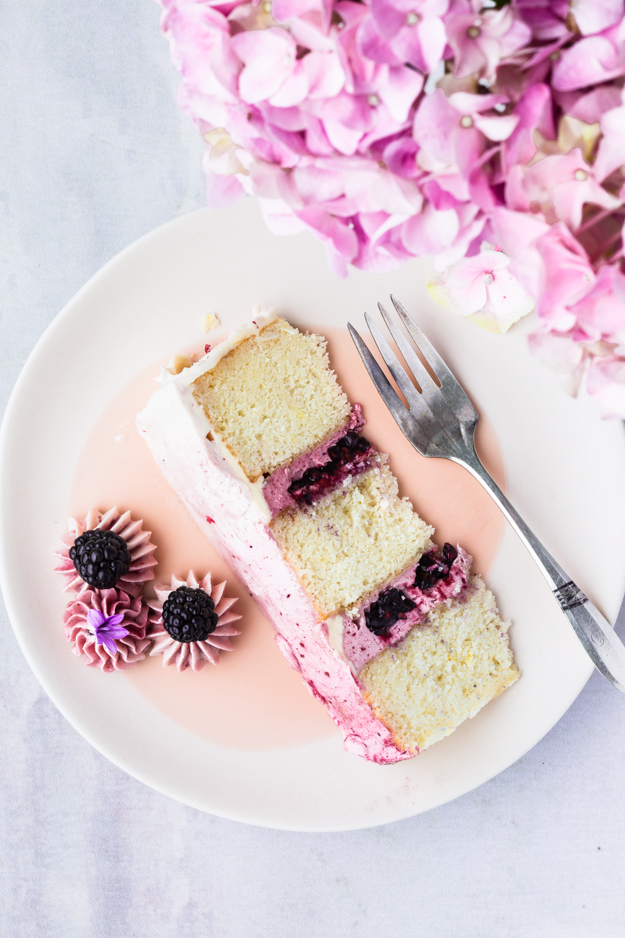
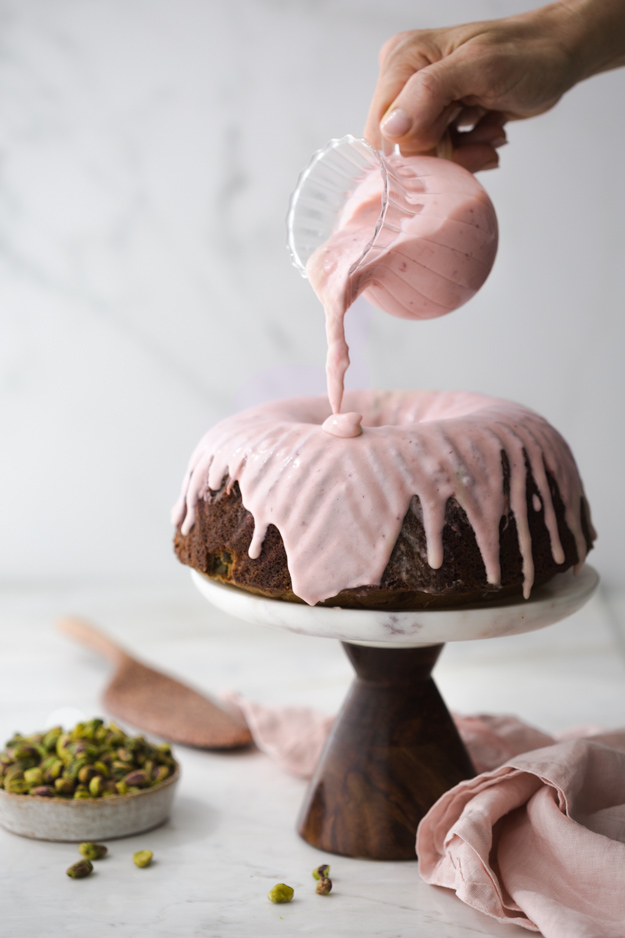
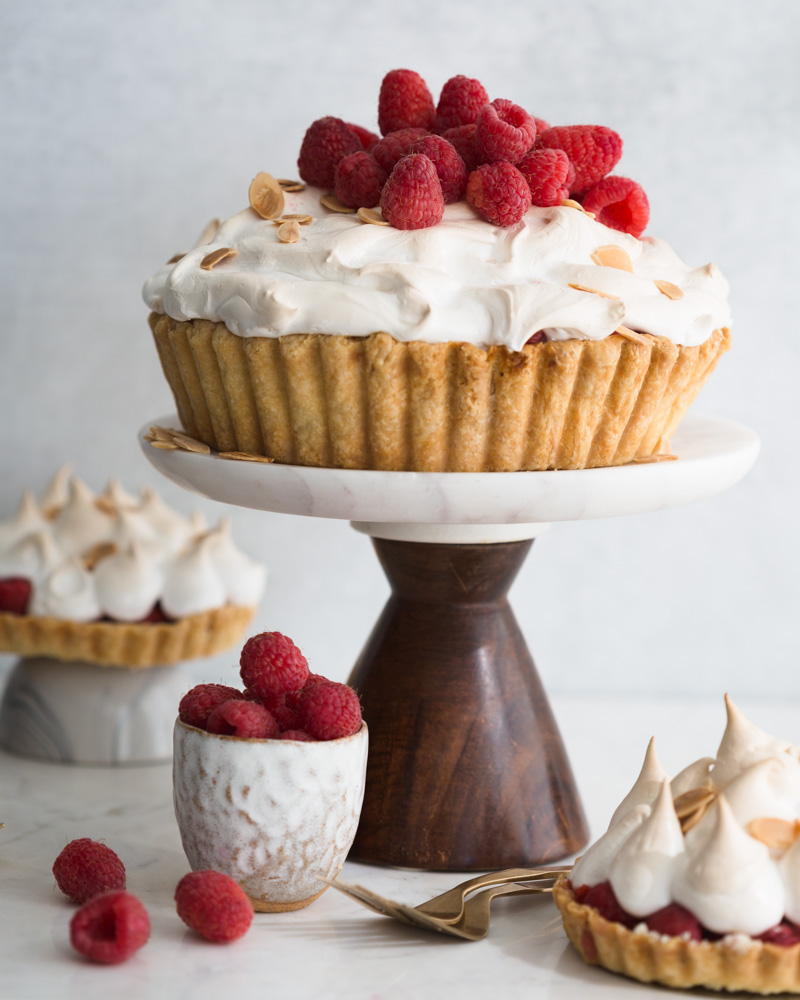
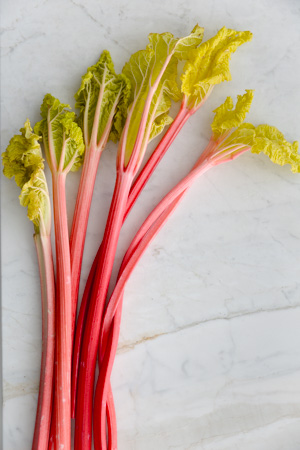
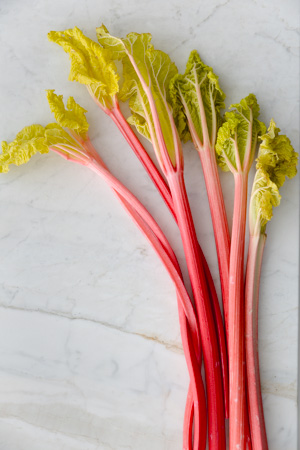
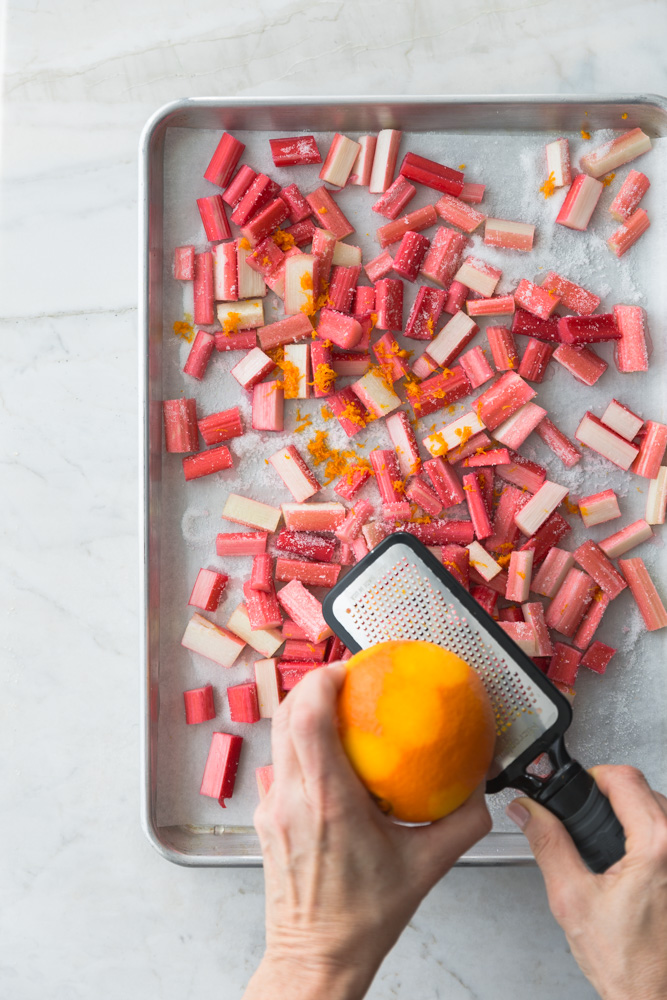
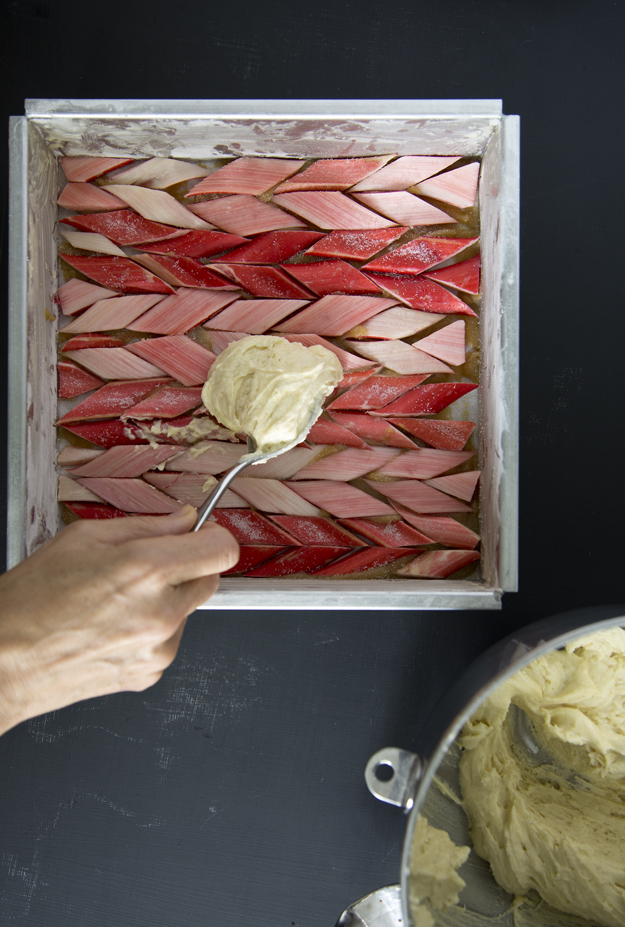
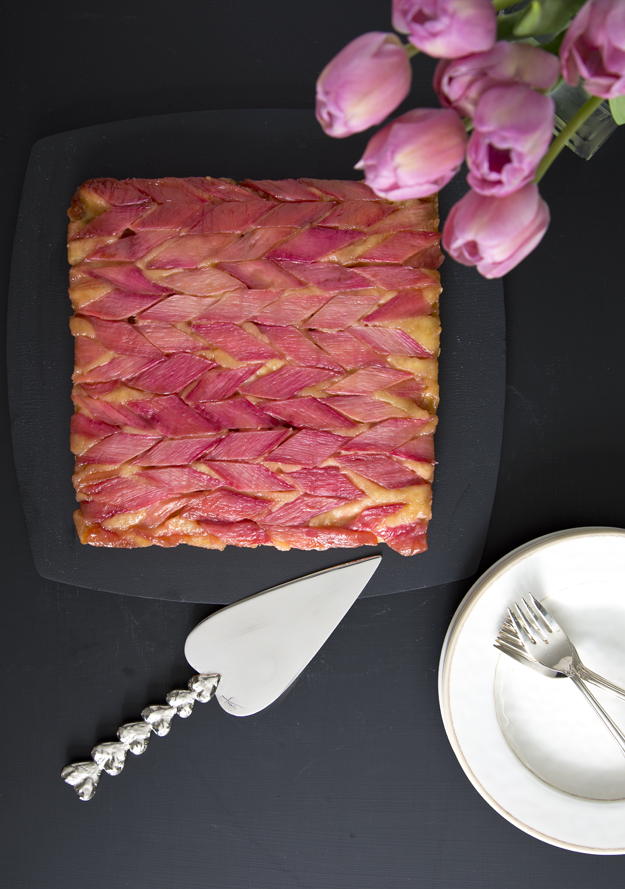
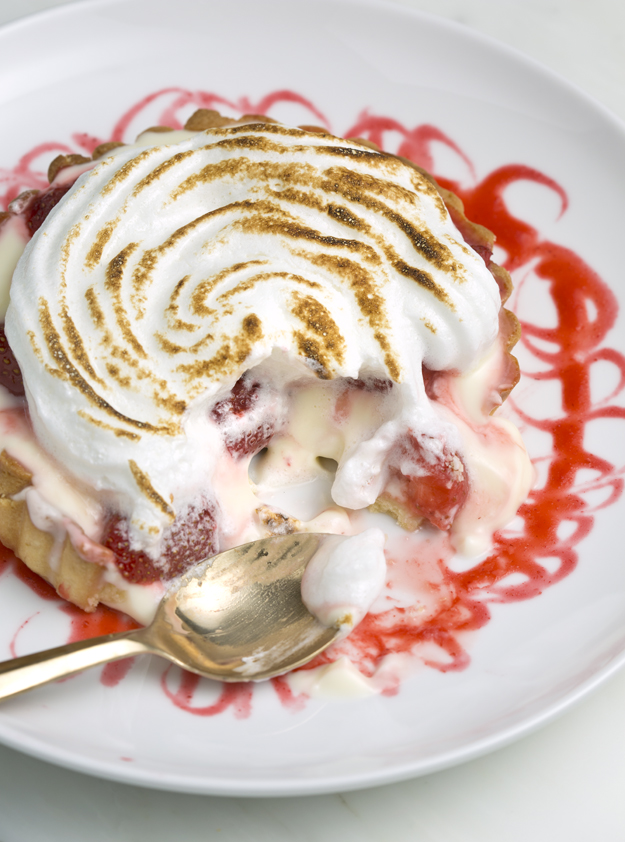
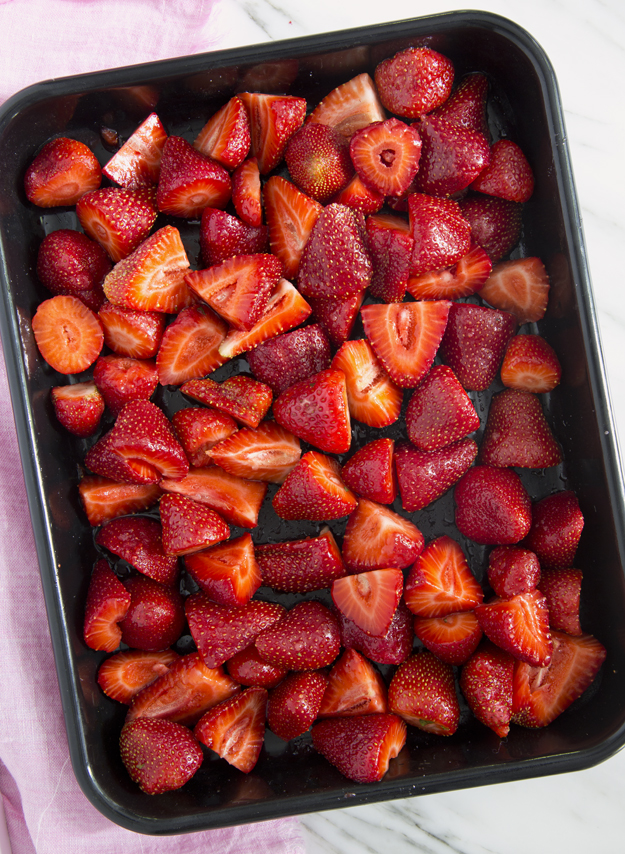
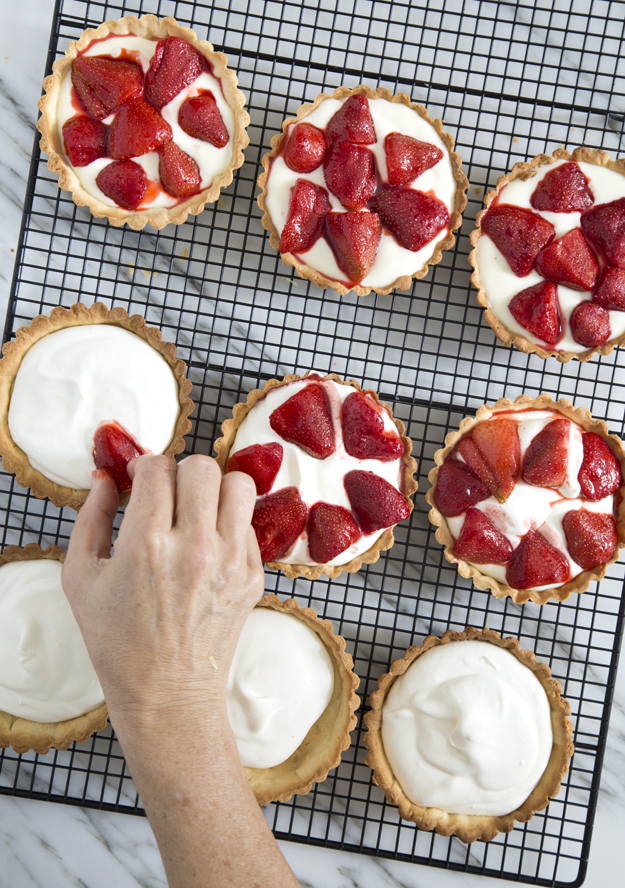
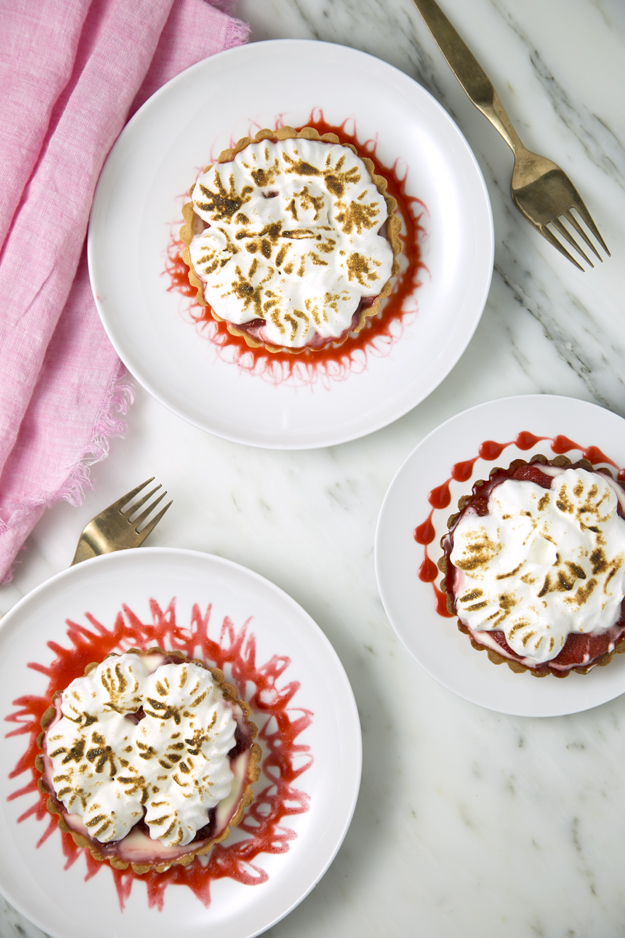
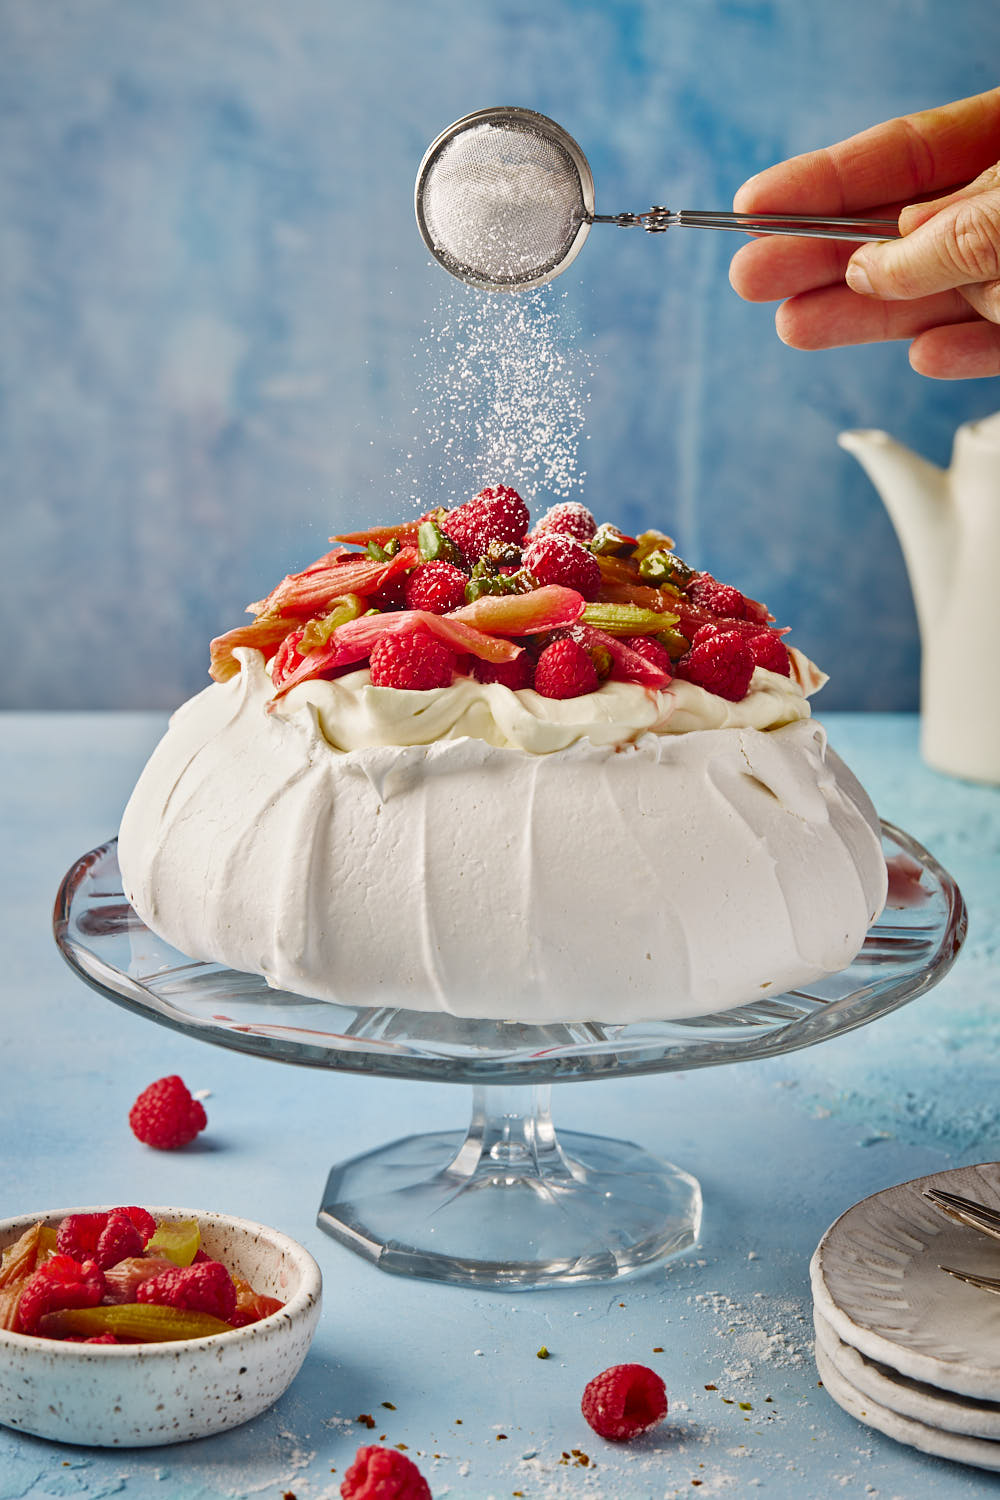
I find meringue to be very sweet, so I decided to add a tart rhubarb curd to the filling to counterbalance all the sugar. I also paired tart rhubarb with fresh raspberries for an added hit of tartness. The rhubarb is roasted in the oven. The curd and the roasted rhubarb can be made a day in advance. Assemble pavlova the day you plan to serve it.

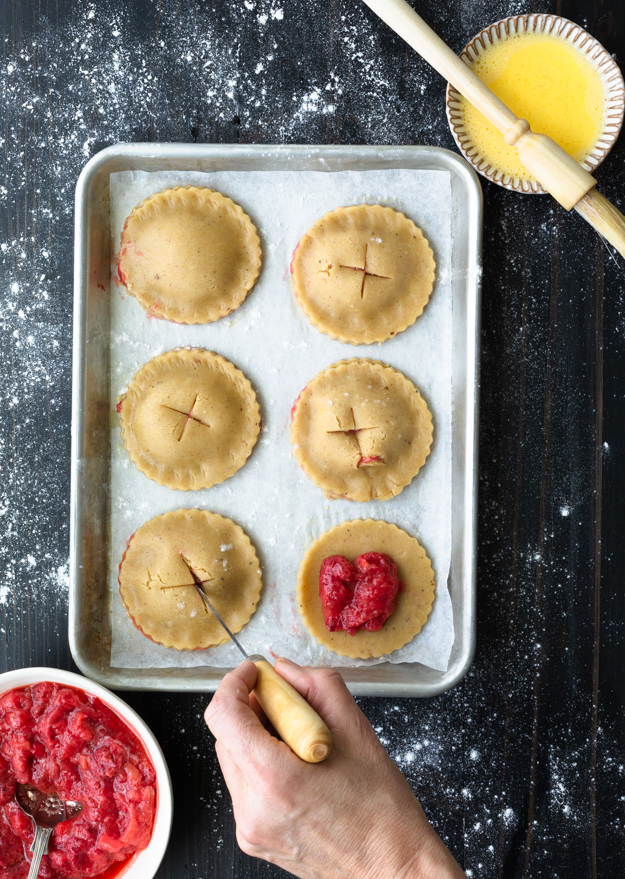
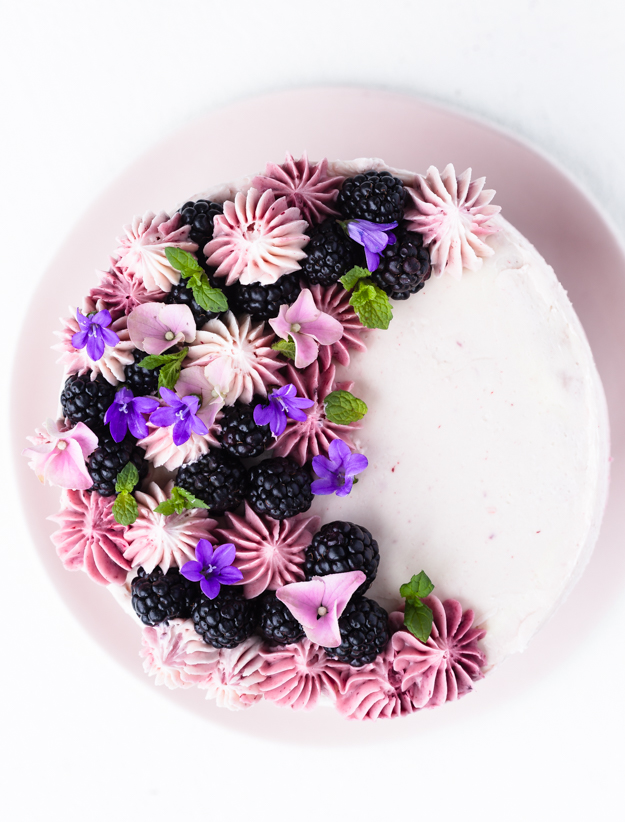
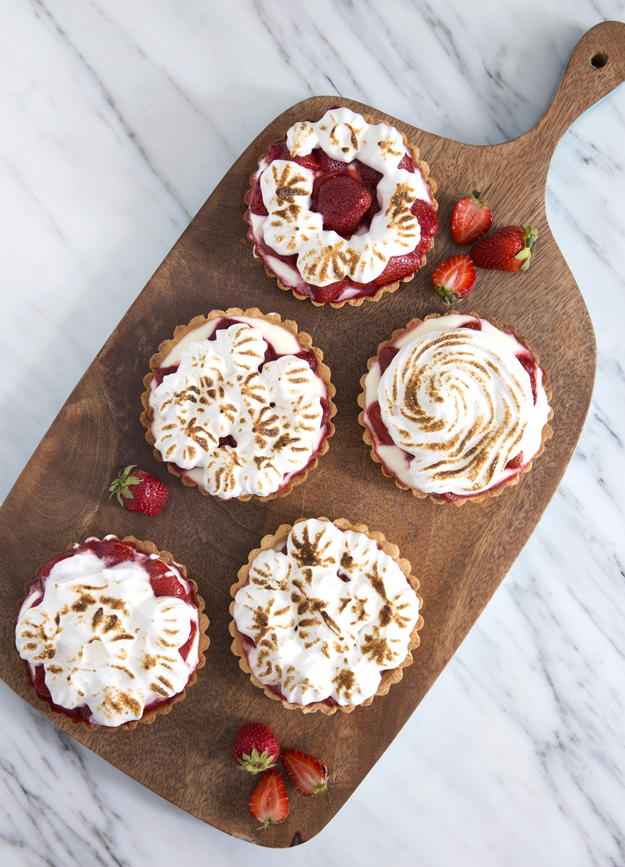
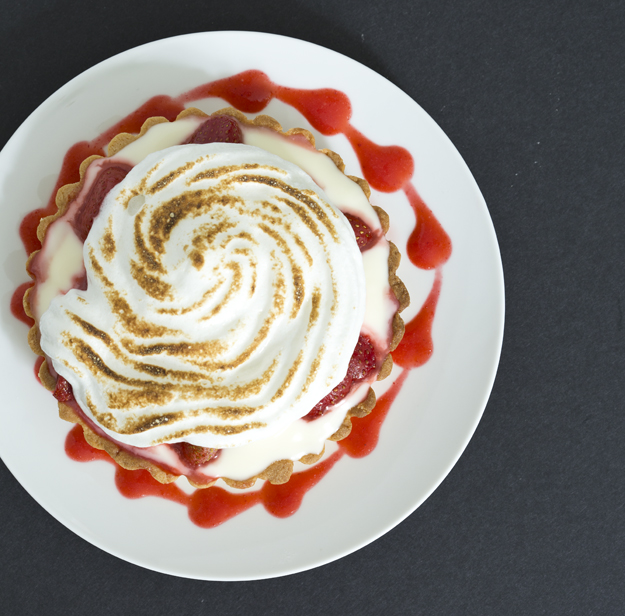
Here’s a video showing how the assembly comes together. Your meringue will likely crack in the oven. As Zoe says, “that’s the nature of the beast.” Cracks notwithstanding, it will still taste delicious. You will need to carefully remove the top layer of baked meringue to allow you to fill the pavlova with curd, fruit and whipped cream. The outer shell is firm, but inside you will discover a softer marshmallowy layer.

Strawberry-Rhubarb Biscoff Icebox Cake

If you grew up in the 1970’s you might recall the iconic Nabisco Icebox Cake. Two simple ingredients and no baking required. Chocolate wafer cookies are layered with whipped cream and then set into the fridge for some culinary alchemy. The cookies absorb the moisture from the cream and become soft and cake-like. The texture always reminded me of the Good Humour Ice cream Sandwich -squidgy, in a good way.

My mom was fancy, so she always sprinkled the top with some chocolate shavings.

This version is Julie van Rosendaal’s clever take on the original icebox cake. As soon as I saw her recipe in the Globe and Mail last month, I became obsessed with trying it. I have tweaked her version very slightly by adding some strawberries to the rhubarb compote. Watch how it all comes together.

Biscoff cookies originated in Belgium in 1932 and have become Europe’s favourite cookie. They are similar to gingersnaps but have a much crunchier texture, which I discovered comes from Belgian brown sugar , which is quite different from North American brown sugar. If you’re curious about the difference, you can read all about it here.

The first time I had a Biscoff cookie was in 1991. I had just moved to Ottawa and my Belgian neighbour, Brigitte, invited me over for coffee and a playdate with our kids. She served Speculoos cookies with the coffee. I thought she said “speculum” and was slightly perplexed. I discovered that the brand name was Biscoff (a hybrid of biscuit-coffee) , but the generic name of the cookie is Speculoos. A visit to the gynaecologist never fails to make me think of these cookies. Whatever you call them, they are delicious.

I bought my Biscoff cookies on Amazon. If you live near a Trader Joe’s, they make a version of these cookies as well.

This cake is a great make ahead dessert. Prepare it just to the stage before you slather the top with whipped cream. Cover well and pop it in the freezer for up to a month. Just before serving, unmold from the loaf pan and cover with freshly whipped cream. A great trick I learned from Anna Olson, is to add skim milk powder to your cream before whipping (1 tablespoon per cup of cream). The skim milk powder stabilizes the cream and your beautifully piped or swirled design will hold its shape for hours.

For the design I piped, I used a Wilton #127 piping tip. You could just spread the cream on and use a spoon to swirl it decoratively.

When sliced, the cake is such a pretty surprise. The tartness of the rhubarb provides a lovely fresh contrast to the sweet cookies and cream.

Pistachio and Rhubarb Meringue Cake

If you have been my friend here in this space for a while now, it’s no surprise that I get very excited when rhubarb season arrives. At last count, I had 15 rhubarb recipes on my blog. My youngest son planted a rhubarb garden in his backyard for me on Mother’s Day because I live in a condo. If you have ever planted rhubarb, you know it is the gift that keeps on giving!

The “layers” in this cake are meringue, with ground pistachios folded in for crunch. The meringue layers bake in a low oven (250°F) for about an hour. Then you turn the oven off and leave them there overnight, to dry out completely.

I got the idea for this cake from Sainsbury’s Magazine. Sainsburys is a UK based supermarket. Their website has so many inspiring ideas and recipes. I adapted the recipe very slightly.

The rhubarb is poached in a heavenly combo of orange juice, sugar and vanilla. This is the perfect make-ahead dessert. Bake the meringue layers and prepare the rhubarb filling a day ahead and then an hour before serving, whip heavy cream with some sour cream to make a tangy whipped cream and assemble.

A drizzle of rhubarb syrup and chopped pistachios finish off the cake.

My husband dislikes both rhubarb and meringue, so you can imagine his dismay when I told him what I was planning. He gamely tried a piece when I was finished shooting and discovered that, he did indeed like rhubarb and meringue. He reasoned that the two negatives somehow cancelled each other out. Who said that two wrongs don’t make a right?

This cake is a study in contrast. Meringue can be cloyingly sweet, but the tart rhubarb and tangy whipped cream really balance out all that sweetness. The meringue layers are a crunchy foil to all that soft whipped cream and silky rhubarb. While strawberries are a classic pairing with rhubarb, I love to combine it with raspberries. It is an unexpected combo that looks pretty and tastes yummy.

A slice of this cake is a bit messy but oh so addictive.

Strawberry Rhubarb Rugelach

There are no shortage of Rugelach recipes recipes on this blog. Rugelach dough, rich with butter and cream cheese, is a great blank canvas. Then it’s time to have fun and create different flavour combos.

In 2016 I went wild with Cookie Butter Rugelach. The following year I baked Mindy Segal’s Cinnamon Brickle Rugelach. And last year fruit and nuts were featured in my Rhubarb-Raspberry Pistachio Rugelach.

This one starts with making your own strawberry rhubarb jam. Store-bought is fine, but if you have an extra 20 minutes, this jam is stellar. I discovered this recipe from Jake Cohen over at thefeedfeed. Sweet and tart with a little pop of acidity from rice wine vinegar, you will find yourself putting this s##t on everything.

This dough rolls out like a dream. No cracking or splitting. It’s like velvet.

Each little wedge gets rolled, starting at the fat end and ending at the point.

Brush with egg and bake.

While they are baking, crush some freeze dried strawberries into a fine powder and mix with granulated sugar. As soon as the rugelach are baked, spoon some strawberry sugar over the rugelach. Once they are cool, give them a second dusting. If you have never tried freeze dried berries, you must seek them out. Many natural/health food stores carry them, as do Trader Joes and Whole Foods. They are a concentrated punch of colour and flavour that will elevate any baked good.

Brown Butter Strawberry Rhubarb Ginger Hand Pies

My love of rhubarb is no secret around here. There are almost 10 rhubarb recipes on this site. I eat rhubarb all year long. I must resort to frozen for 11 months, but then, in late May, fresh local rhubarb arrives in Ottawa and I can be found squealing with joy at the market. When rhubarb is this pretty, it deserves to be tied up with a bow.


Rhubarb is one of those polarizing ingredients. Most people either love it ot hate it. I think the haters object to the sourness and stringy texture. The key is to add just enough sugar so that edge is taken off, and you avoid that mouth puckering astringency. I find that baking the rhubarb in the oven helps to melt the rhubarb down into a silky smooth texture.

Pairing the rhubarb with other ingredients and flavours can also help to convert those haters. Strawberries and rhubarb are a classic pairing. I added some ginger for a bit of zing. It’s a surprisingly delicious flavour combo.

The pastry for these hand pies is most unusual. Created by cookbook author Abby Dodge, it uses browned butter and eggs. The browned butter adds a gorgeous nutty flavour. The eggs make the texture of the dough more like a cookie than a pie crust.

A sprinkling of coarse turbinado sugar adds sweetness and crunch.

Ombré Blackberry Cake

This month my blog turns 10 years old!I fell into blogging purely by accident. Check out my very first post,  if you’re curious about how it all got started.

Blogging consistently, once a week, for 10 years, takes a certain level of committment and discipline. I have always been a fairly disciplined person, so consistency came fairly easily to me. But I think that the reason I have stayed with this for so long, is that this creative process continued to excite and challenge me. I found myself curious to learn and become more skilled in all the disciplines that food blogging involves. Plus, I love having an excuse to buy lots of beautiful dishes and other props.

One of the nicest, but unexpected, things that happened was the loyal following that I developed. I am so grateful for you guys! I love hearing from you, telling me what worked and what didn’t. You keep me honest and let me know when I screw up or make typos in the recipe. It’s like having an editor for free! I get so excited when you tell me that you had guests for dinner and everything you made was from saltandserenity! It’s like virtually attending your dinner parties. (And if you know me, I always prefer to be a virtual guest!)

If you think about it, food bloggers are essentially doing the job of 4 different professionals – cook/baker, food stylist, photographer, and recipe writer. I have always been a very slow and methodical learner and have made many blunders along the way. But, as my sister Jody is fond of saying, “mistakes are how we learn.” It was almost a year before I figured out that taking photos in my kitchen, with the overhead lights on, was causing a horrible yellow cast on all my images. Some of us learn more quickly than others!

To celebrate 10 years of blogging, I wanted to bake a beautiful statuesque cake. I started with the classic white layer cake from “The Perfect Cake” cookbook by America’s Test Kitchen. This book is a wonderful resource, whether you’re a novice or have been baking for years. This cake is the perfect backdrop for so many different flavours. It has a soft fine crumb and bakes up tall and light. I was envisioning an ombre cake, with shades of pink and purple. My first attempt looked like a bad bridesmaid’s dress. I used gel food colouring and the shades looked so artificial.

I decided to go the natural route and use blackberries to tint my buttercream. I mashed up some blackberries and cooked them with a bit of sugar and lemon juice. Then I strained the seeds and used the purée to colour my buttercream. But you need to be careful adding liquid to buttercream. Too much and the buttercream becomes too soft. I wasn’t able to get that vibrant blackberry colour or flavour I had in mind.

And then I remembered the freeze dried strawberries I used to glaze my Citrus and Brown Butter Shortbread Cookies. I sourced some freeze dried blackberries online,  and ground them up into a powder to add more blackberry flavour and colour. Perfection!

Rhubarb and Pistachio Bundt Cake

Pretty soon, we will be winging our way from rhubarb season straight into strawberry season. I am a little sad about it, my husband, less so! This pretty bundt cake was inspired by a brown butter strawberry-rhubarb glazed donut over at the charming blog, Adventures in Cooking. If you don’t know about Eva’s blog, you should check it out. It’s stunning.

Eva baked buttermilk donuts and dipped them into a pretty pink glaze, concocted from brown butter and pureed strawberries and rhubarb. I adapted her glaze and put it on this amazing rhubarb-pistachio bundt cake. Truthfully, the cake was almost faster to put together than the glaze, but taking the time to brown butter and roast the berries and rhubarb is worth it.

The first time I made the glaze, (yes, I ended up making it twice!) and poured it onto the cake, it was too thick and a bit fibrous from the strawberry seeds and stringy rhubarb pulp. So on the second go-round I strained the glaze through a fine mesh strainer and got the perfect consistency.

Oh, I forgot to tell you, the glaze is enriched with a bit of melted white chocolate to give it that extra oomph! You could, of course, make the cake plain, without the glaze, but why would you want to?

Studded with tangy rhubarb and crunchy pistachios, this cake is not too sweet. A little slice is the perfect afternoon pick-me-up.

Click here to print recipe for Rhubarb and Pistachio Bundt Cake.

Rhubarb Raspberry Meringue Tart

If you were at the McCrae Avenue Farm Boy store in Ottawa last Saturday afternoon, and heard a high pitched squeal, that was me. For the past month I have been watching my instagram feed blow up with images of rhubarb creations. I wanted in on the fun, but there no rhubarb anywhere in my neck of the woods.

To be clear, this was not local rhubarb. It’s still too early for that here. It was that pretty pink “forced” rhubarb, which I love way more, because of that gorgeous hue. If you follow me on instagram you may have caught my teaser video.

Cooked rhubarb can be a bit mushy in texture, so I like to combine it with another fruit. Strawberries are the classic pairing, but I went rogue and opted for raspberries.

The rhubarb needs to be cooked before it can go into the tart. Roasting helps retain that pretty shade of pink. It needs sugar to tame the its astringency and some orange zest to enhance the flavour and aroma.
I drained the roasted rhubarb to get rid of any excess liquid, so that my tart bottom would not get soggy. Mary Berry does not like soggy bottoms. The raspberries get mixed in after the rhubarb is roasted.

I used a deep dish 8 inch tart pan, with a removable bottom, for a dramatic presentation. You could also use a springform pan. For fun, because that’s what my life has come to, I doubled the recipe and also made 6 mini tarts.As has been the case lately, this recipe took more than one attempt to get it just right. But I am happy to report that I nailed it on the second try!

In my first attempt I pre-baked the crust for 20 minutes, added the filling, topped it with a simple French meringue and baked it for a further 30 minutes. The delicate raspberries turned to mush, the bottom crust was soggy and the meringue turned brown and was really tough and chewy. 

On the second attempt I pre-baked the crust for almost 35 minutes, so that it was totally golden brown and gorgeously flaky and crispy. To solve the meringue dilemma, I turned to pastry wizard “Bravetart ” (aka Stella Parks) and she pointed me in the direction of a Swiss meringue.  The main difference between the two types of meringue is that in a Swiss meringue, you heat the egg whites and sugar first, before whipping them. In a French meringue, there is no pre-heating before whipping. A Swiss meringue whips up fluffier and more stable than its French cousin and it is safe to eat without additional cooking time. If you are curious and want to learn more, Stella wrote a great piece on Serious Eats about it.
I topped the pre-baked tart shells with the rhubarb-raspberry filling, topped them with the Swiss meringue, and baked them for a brief 10 minutes just to give the meringue a golden kiss. The raspberries maintained their integrity and the meringue was pillowy soft, fluffy and SOOOOO delicious, like the very best homemade marshmallows.
Perfect with a cup of tea!

Click here to print recipe for Rhubarb-Raspberry Meringue Tart.


Rhubarb Upside-down Cake

3 slicesHappy Mother’s Day! I fully intended to post about this cake last week so you would have ample time to plan ahead and make this cake for your mom. But unfortunately, the ultimate mother (Mother Nature), did not cooperate. Local rhubarb only showed up at my market yesterdayfresh rhubarbThe hardest part about making this cake is arranging the rhubarb in this gorgeous chevron pattern. I have been going through a chevron phase for a few years now and I’m still not tired of it. I alternated the rows, cut side up and cut side down, for an ombre effect. Rhubarb Cable Knitbaked 1It really links like a chunky cable knit sweater! Sadly, with my poor fine motor skills, this is as close to knitting that I am ever likely to get. Arranging the rhubarb is really not that difficult to do. It just takes some planning, patience and precision. If that’s not for you, feel free to slice the rhubarb into 1/2 inch thick pieces and just scatter them on the bottom of the pan.

I created this video to walk you through the process.

If you were one of those kids that excelled at Leggo and puzzles, this will be a piece of cake for you. Once you get the main chevron pieces in place, you need to go back and fill in the top and bottom gaps with little wedges of rhubarb. For the record, I am spatially challenged, so if I can do it, anyone can. spooning batter Raw rhubarb is quite astringent, not to mention tough and fibrous. But blanket it with butter and brown sugar and it just it melts into silkiness in the oven.  The sour cream in the batter makes for a super moist cake.

Click here to print recipe for Rhubarb Upside-down Cake.

ready to serve 1

one slice


Roasted Strawberry Lemon Meringue Tartlets

Tart 2I recently attended a food photography workshop at The Urban Element. The class was taught by two very gifted Montreal food photographers, Ariel Tarr and Valeria Bismar. Together they run The Illuminated Table.

I have been experiencing blogging fatigue, struggling with what to write about and feeling like I’m stuck in a rut with my photography and food styling. The opportunity to attend this workshop came at the perfect time. It was great to connect with other like-minded food obsessed women.

I came away feeling inspired to step away from my comfort zone and change my camera angle. (I rely too heavily on the top down shot) Watching Ariel and Valeria maximize the available natural light galvanized me to abandon my artificial lights and set up next to the window.Tart 1jpgPartially eatenI also left with some great new food blogs and Instagram accounts to follow. Food blogger Katie was there at the suggestion of her mom. Wish my kids listened to my suggestions!! Denine, a photographer and teacher of photography at Algonquin College was there to pick up a few tips about food photography. Food blogger and cooking show host Eva,  and cooking teacher and blogger Maria were both looking to hone their photography and food styling skills.

The workshop was mostly hands on, with lots of opportunity to practice the new skills we were taught. In the afternoon session we had the chance to style and shoot a gorgeous lemon meringue tart. With local strawberries just coming into season, I was inspired to create a  strawberry lemon meringue tart. The genius idea of roasting the strawberries, to intensify their natural sweetness and juiciness comes from this Bon Appetit recipe.Roasting StrawberriesYou could of course make one large tart, but I have mini tart pans and I love to use them any opportunity I get.dough fot tartsTart ShellsTime to build the tartlets. A tart lemon filling is topped with sweet and juicy roasted strawberries. I filled my tarts with a lemon cream, but I strongly suggest you fill yours with a lemon curd. The recipe that follows has detailed instructions on how to make a lemon curd. A curd is much more stable than a cream and as a result, the tarts will not get soggy within a few hours. putting strawberries on tartsI put the meringue in a piping bag fitted with a star tip and greatly amused myself making different designs. You could also just spoon it on, but then you won’t have as much fun. To brown the meringue I used a kitchen torch, because it’s so satisfying and just a bit dangerous to play with fire. (I know, I live on the edge!) If you don’t have one, a minute or two under the broiler will achieve the same result.tarts on wooden board 1Tart with black background 1

Click here to print recipe for Roasted Strawberry and Lemon Meringue Tarts.

3 tarts