
The last time I wrote about this no knead bread was in 2011. I decided the video and photos in that post needed a bit of an update. The recipe remains almost exactly the same though. This is a recipe that has stood the test of time. Mark Bittman wrote about Jim Layhey’s revolutionary no-knead bread in 2006!
It’s possible to make bread dough without kneading. There are 2 major factors at play here that help create this wonderful bread. The first is mixing up a very wet dough and letting it sit, at room temperature for 18 hours. Food scientist, Harold McGee, explained it like this, to Bittman,
“It makes sense. The long, slow rise does over hours what intensive kneading does in minutes: it brings the gluten molecules into side-by-side alignment to maximize their opportunity to bind to each other and produce a strong, elastic network. The wetness of the dough is an important piece of this because the gluten molecules are more mobile in a high proportion of water, and so can move into alignment easier and faster than if the dough were stiff.”
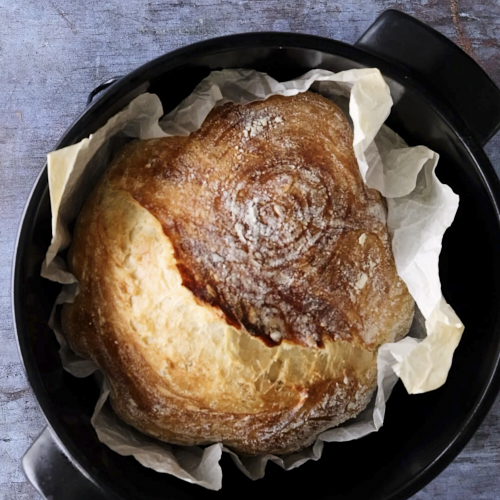
The second major factor involved in making this bread is where Jim Lahey’s real genius comes into play. He discovered that by baking the bread in a covered preheated cast iron or enamel pot (like a Le Creuset), you mimic the steam ovens that professional bakers use to develop that crisp crackling crust so desirable on artisan breads.
During my 18 month journey through the Bread Baker’s Apprentice Challenge, I tried all sorts of methods to produce steam in my home oven. I put a pan of hot water at the bottom of the oven, I sprayed the sides of my oven wall with a plant mister during baking, I added ice cubes to the oven during the baking process and I even tried adding lava rocks to the pan of hot water, to mimic a sauna. I never did achieve that holy grail of crackling crust.
Here are a few tips for success:
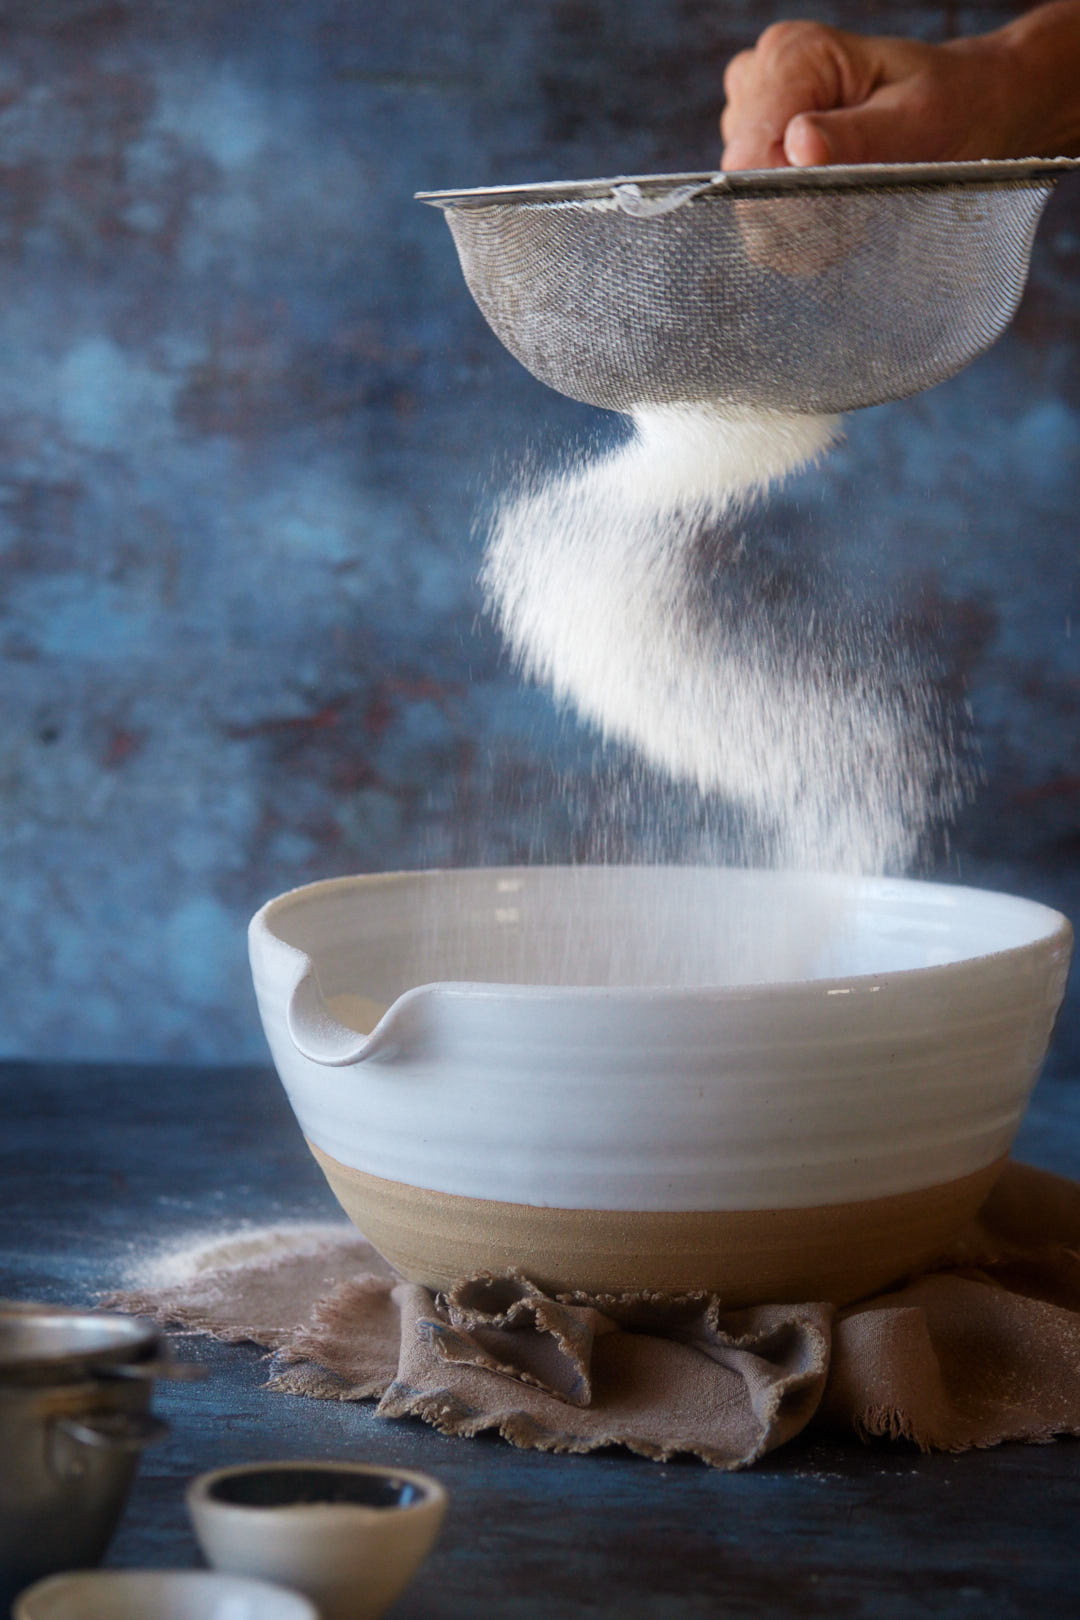
- This is a very wet dough. It’s important to mix it well and make sure there are no dry bits of flour anywhere in the bowl before you cover it up for the 18 hour rest period.
- When you are ready to form the loaf, liberally flour the work surface and wet your hands to prevent the dough from sticking. A flexible dough scraper will be a helpful tool to use.
- In the original recipe, Jim says to just form the dough into a ball and place it on a cotton towel, cover it and let rise. I found that placing it in a special bread rising basket (a banneton) helped this very wet dough hold it’s shape much better. A banneton is woven bread mold, usually made of made of cane and is used to form and shape artisan loaves during the proofing/raising stage. The basket imprints its shape and ribbed design on the finished loaf. You can also just line a colander with a clean cotton towel, although you won’t get the cool design on your bread.
- You need to heavily flour the banneton or towel you line your bowl with so it does not stick. I used rice flour. Rice flour is like teflon for sourdough, ensuring that it doesn’t stick to the banneton during proofing.
- Use a lame or sharp knife to cut a shallow slit into the top of the bread before baking. This will allow the steam to escape from the bread in a controlled fashion when baking
- A few words about the pot to cook the dough in. Just about any covered 6-8 quart covered pot will work here. Cast iron or enameled cast iron (like Le Creuset) work very well for this job. The pot and lid need to be preheated in a 450°F oven for at least 30 minutes before transferring bread into the pot. I have revised the original recipe to allow you to use parchment paper to help you get the dough into the hot pot more safely. (watch the video at the beginning of this post to see)
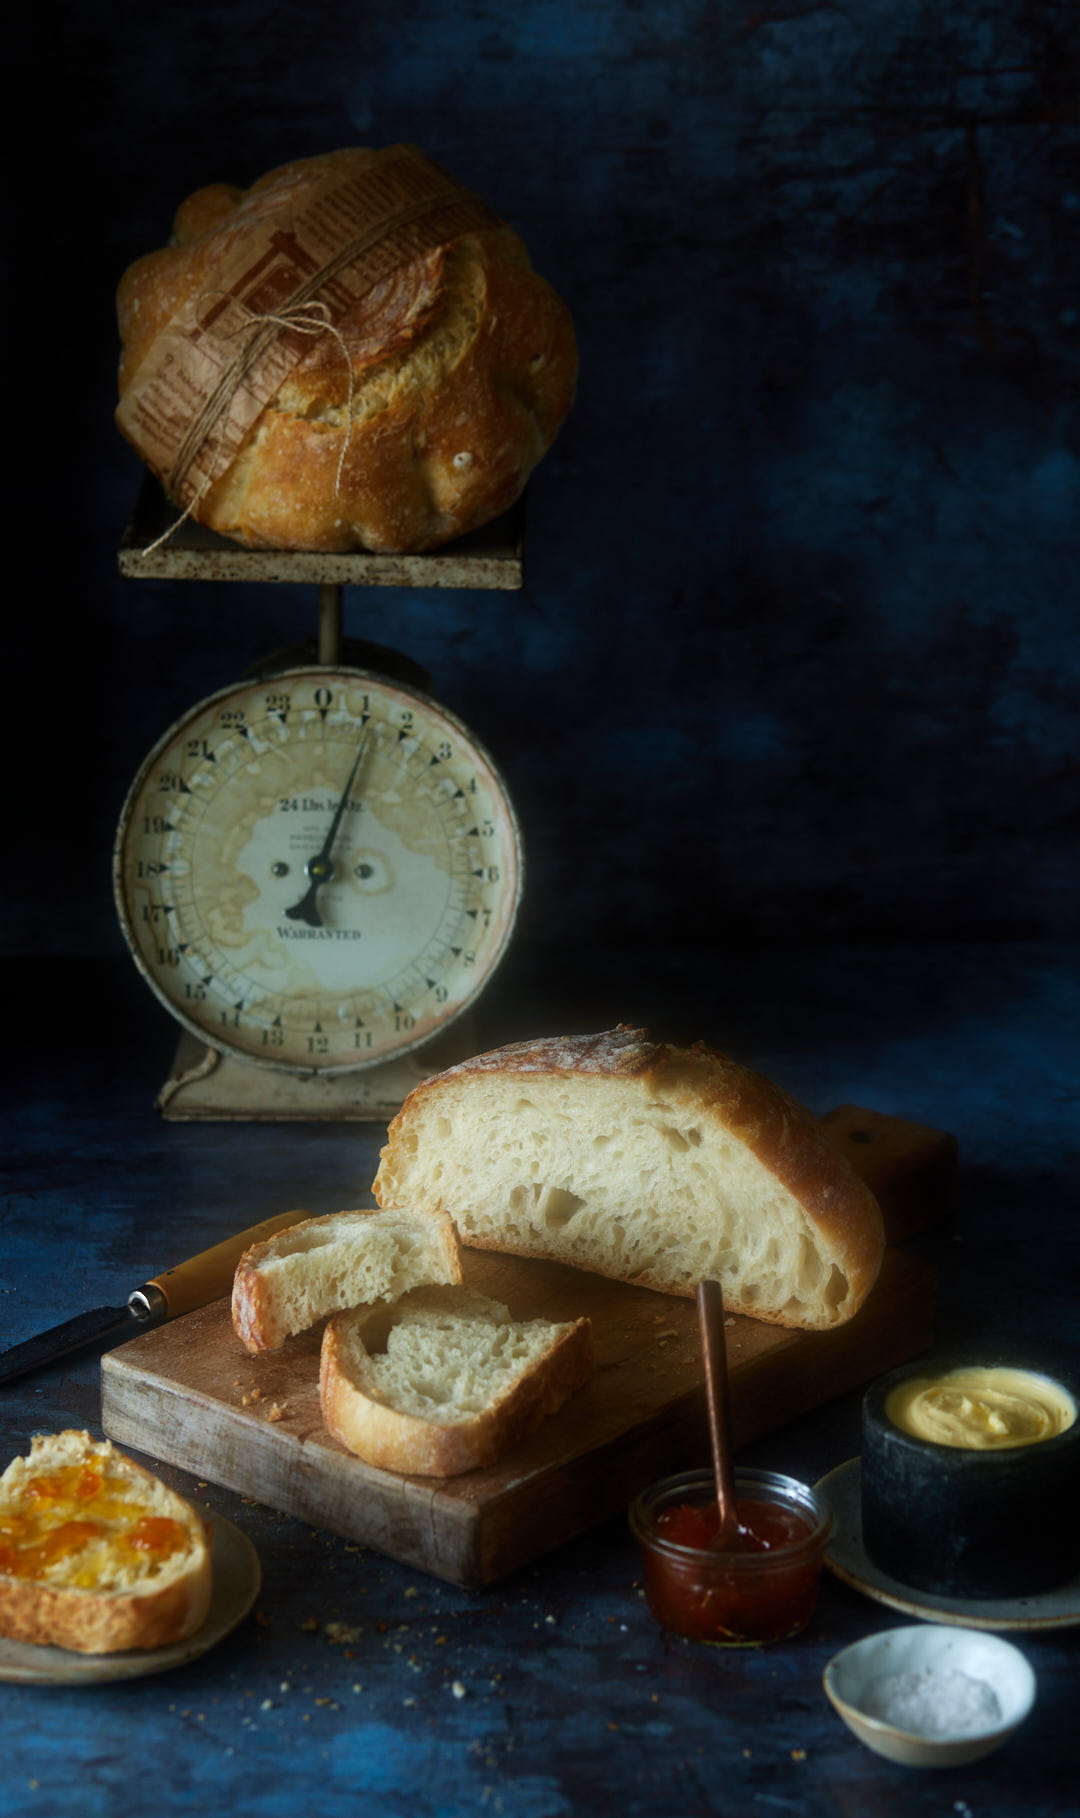
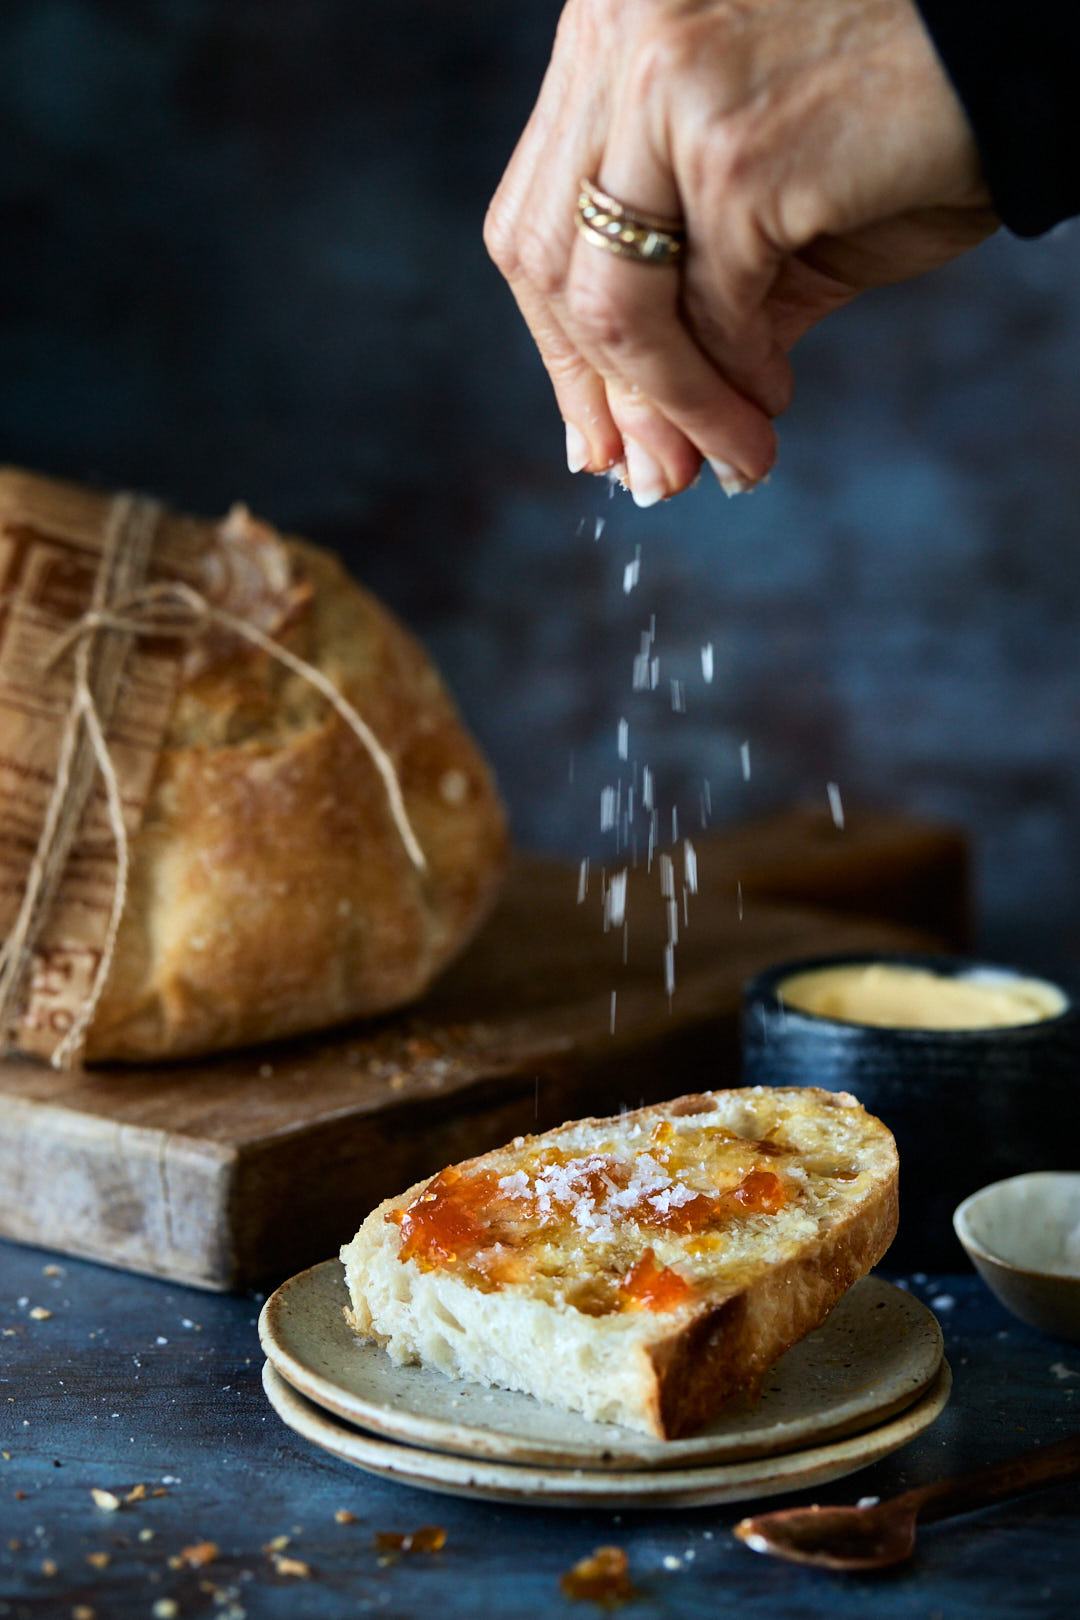
- The bread is done when an instant read thermometer, inserted into the center, registers 200°F-205°F. For optimum texture, be patient and allow bread cool on a wire rack for at least 2 hours before slicing.

Jim Lahey’s No Knead Bread
Equipment
- 6-to 8-quart heavy covered pot, cast iron, enamel, Pyrex or ceramic
Ingredients
- 430 grams bread flour
- 1 gram instant yeast a generous 1/4 teaspoon
- 10 grams Diamond Crystal Kosher salt or 5 grams Morton's Kosher salt
- 345 grams water room temperature
- Additional bread flour for dusting surface of counter
- Rice flour for dusting banneton or towel for proofing dough
Instructions
- In a large bowl combine flour, yeast, and salt. Add water, and stir until blended; dough will be shaggy and sticky. Just make sure there are no bits of dry flour. Cover bowl with plastic wrap or tea towel. Let dough rest at least 12hours, preferably about 18, at warm room temperature, about 70 degrees.
- Dough is ready when its surface is dotted with bubbles. Lightly flour a work surface. Wet your hands and scrape the dough out of the bowl onto the floured counter. Sprinkle it with a little more flour and fold it over on itself once or twice, sort of like folding a letter into thirds. Cover loosely with plastic wrap or towel and let rest about 15 minutes.
- Using just enough flour to keep dough from sticking to work surface or to your fingers, gently and quickly shape dough into a ball, pinching to keep the seam closed. If you have a banneton, (bread proofing basket) dust it well with rice flour and shake out excess. If you do not have a banneton, line a small colander with a cotton towel (not terrycloth) and dust well with rice flour. Put dough seam side up into banneton or towel lined colander and dust with more flour. Cover with another cotton towel and let rise for about 2 hours. When it is ready, dough will be more than double in size and will not readily spring back when poked with a finger.
- At least a half-hour before dough is ready, heat oven to 450°F. Put a 6-8-quart heavy covered pot (cast iron, enamel, Pyrex or ceramic) in oven as it heats. Take a sheet of parchment paper, about 12 inches square and crinkle it up. Use your hands to smooth it out. Get a baking sheet or small cutting board ready.
- When dough is ready, put on oven mitts and carefully remove pot from oven. Uncover bread. Place sheet of parchment paper over the colander or baneton. Cover with cutting board or upside-down baking sheet and flip the entire thing over. Lift off banneton or colander. Use a lame or sharp knife to cut a shallow slit into the top of the bread. This will allow the steam to escape from the bread in a controlled fashion when baking. Remove pot lid. Lift edges of parchment and carefully transfer bread into pot.
- Cover with lid and bake 30 minutes, then remove lid and bake another 15 minutes, until loaf is beautifully browned, and internal temperature of bread reaches 200°F. Cool on a rack for several hours before slicing.
Beautiful art direction and lighting!
How well would this recipe work with sourdough starter?
That is an excellent question Siobhan. Unfortunately I have never tried it with a sourdough starter, so I’m not really sure. My bread knowledge is not that great to answer that question. I would reach out to the folks at King Arthur Baking to ask.
If you modify the recipe it will not turn out the same. There is additional flour and water in starter. Plus the yeast this recipe requires.
Thanks for your knowledge Janice.
Why do they put the ingredients in grams?Put it into tablespoons, cups.Teaspoons i’m just saying make it so much easier
Thanks for your comment Ramona. I like to bake with weight rather than volume for more consistent results. When you scoop one cup of flour into a measuring cup, the amount you get will be different than the amount I get, depending on how you scoop and pack the cup. That amount could vary by as much as 25%. When you weigh ingredients, you get the exact same result every time. It is how professional bakers and most of the world does it. I take the time to carefully develop a recipe and i want my readers to have success when they try my recipes. For baking, precision matters.
I would love to incorporate some whole wheat flour into this bread. Have you tried it with success? And if so, how much did you use? I always measure by weight also, so thank you for using it in this recipe. It truly makes a difference!
I have not tried this with whole wheat flour, but i can’t see why it would not work. I would use a ratio of 25% whole wheat flour (107 grams) and 75% bread flour (323 grams). Let me know how it goes.
Someone said it will ruin a Staub enamel cast iron Dutch Oven? Oy. If yes, other options. If no, can I use a 5 qt. Dutch?
Hi Lori,
According to my research Staub Dutch ovens are safe up to 500°F, so I’m not really sure what could get ruined. I think it would work perfectly well, but if you are convinced that the source you heard it from is very knowledgeable about Staub, then try another 5 quart dutch oven.
I have been using my Staub 5-quart Dutch oven for years without any problem. (I place the vessel in the oven as soon as I turn on the latter.) Staub cast iron vessels are not coated with enamel so they not crack or change colour.
Thanks Francine. Great to know it works in a Staub dutch oven. They are great,. I have one as well!
Pingback: Top 10 Best Baking Blogs 2024 - Recipes & Tips
Can I do the second proof in the fridge overnight?
Yes, the second proof can absolutely be done in the fridge overnight. This “cold retard” method improves flavor, makes the dough easier to handle and score, and helps manage timing. After the first rise and shaping, put the loaf in a proofing basket, cover it, and refrigerate for 8–16 hours. I would let dough come to room temperature before baking.