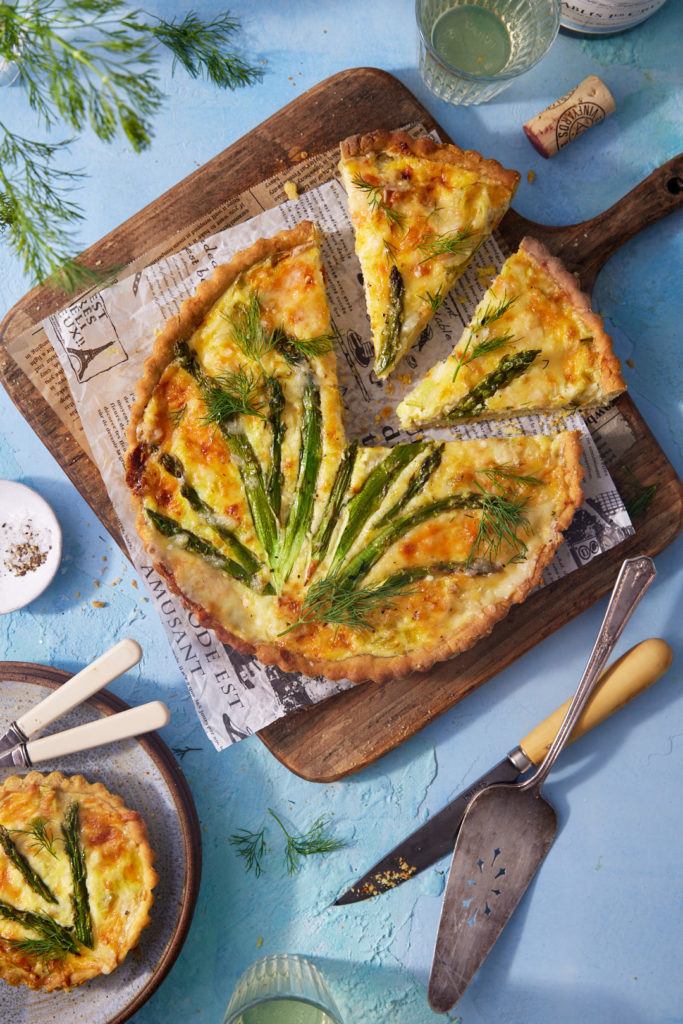
Springtime Green Quiche

At this point in my life, I should know better than to fall for lines from cute guys with a twinkle in their eye. I’m talking about you Jamie Oliver. Through my TV screen, you smized at me, with those baby blues and told me that it was possible to use mashed avocado instead of butter in pastry dough.

I was fascinated. Could it really be true? Avocado, like butter, has a high fat and moisture content, so it seemed plausible. Jamie made a green pea and cheddar quiche using his avocado dough. I settled on leeks, asparagus and gruyere cheese for my version.
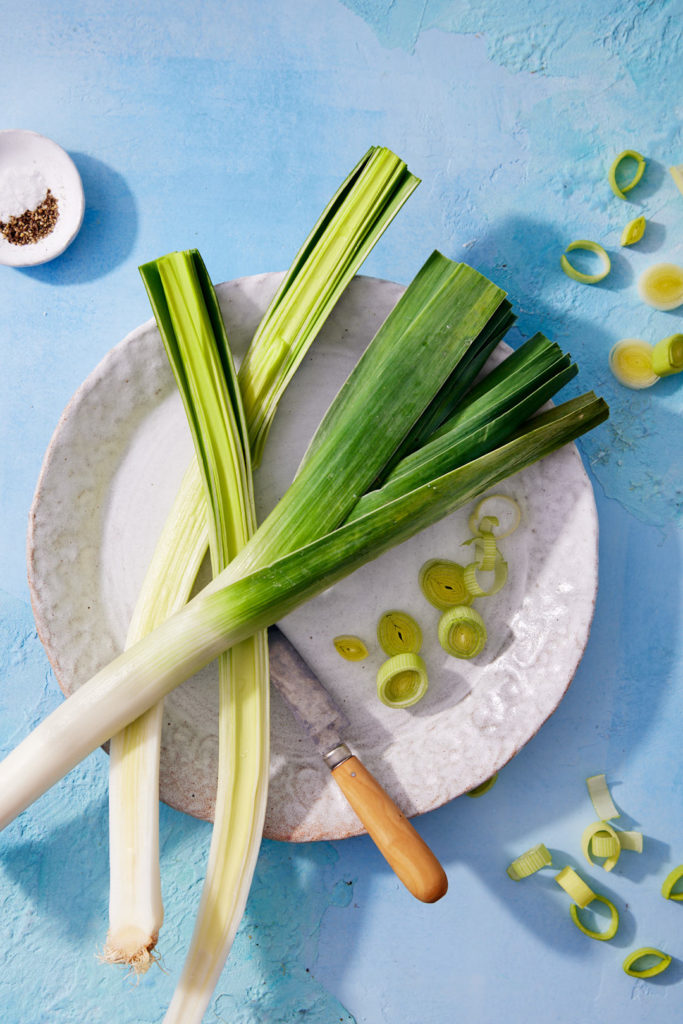
I love the flavour of leeks. Part of the onion family, leeks have a mildly sweet flavour but much less intense than onions. They add a depth of flavour to so many savoury recipes.

How to clean and slice leeks: Leeks can be quite sandy, so the best way to clean them is to cut them in half lengthwise. Trim off the roots and dark green leaves. The dark green leaves are too tough to use for sautéing, but they are perfect for adding to homemade chicken or vegetable stock, I put them in a zip-loc bag in the freezer and save them for the next time I make stock. Arrange the light-green/white part of the leeks cut-side down on the cutting board and slice them into thin half moons. Fill a large bowl with cold water and place the sliced leeks in the water. Swish them around and let sit for a few minutes. Scoop the leeks out of the water, leaving the sandy water behind.

Here’s how this Springtime Green Quiche comes together. Watch!

Yes, the pastry is really a vibrant green before it hits the heat of the oven, but it does get quite muted with baking.
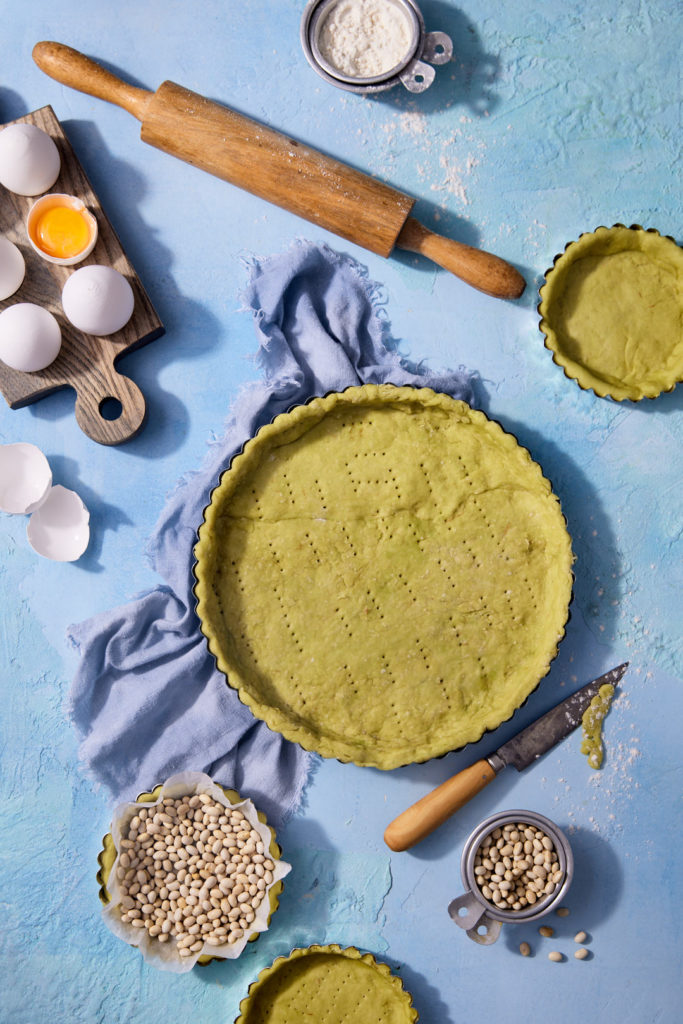
The pastry rolled out beautifully, but to be honest, it tasted bland. Avocado, without any salt, lime juice or jalapeño, doesn’t have much flavour. I think that if you’re going to indulge in something decadent, like quiche, with eggs, cheese and cream, you should just go all out and use butter in the dough.

But the Libra in me feels compelled to make a counter argument. Changes to healthier eating are best taken in small steps. Announcing that you plan to cut all animal fats from your diet is unlikely to be sustainable for most of us. But looking for these micro moments, where we can make small changes gradually, eventually add up. If you’re looking to incorporate more plant based fats into your diet, this avocado pastry would be just fine. I’m going to give you two dough options in the recipe. Choose your own adventure. If you try the avocado dough, please let me know, in the comments, what you think!

I love the flavour of gruyere cheese in quiche, but feel free to substitute fontina or Monterey Jack or another good melting cheese. The asparagus on top makes for a beautiful presentation.
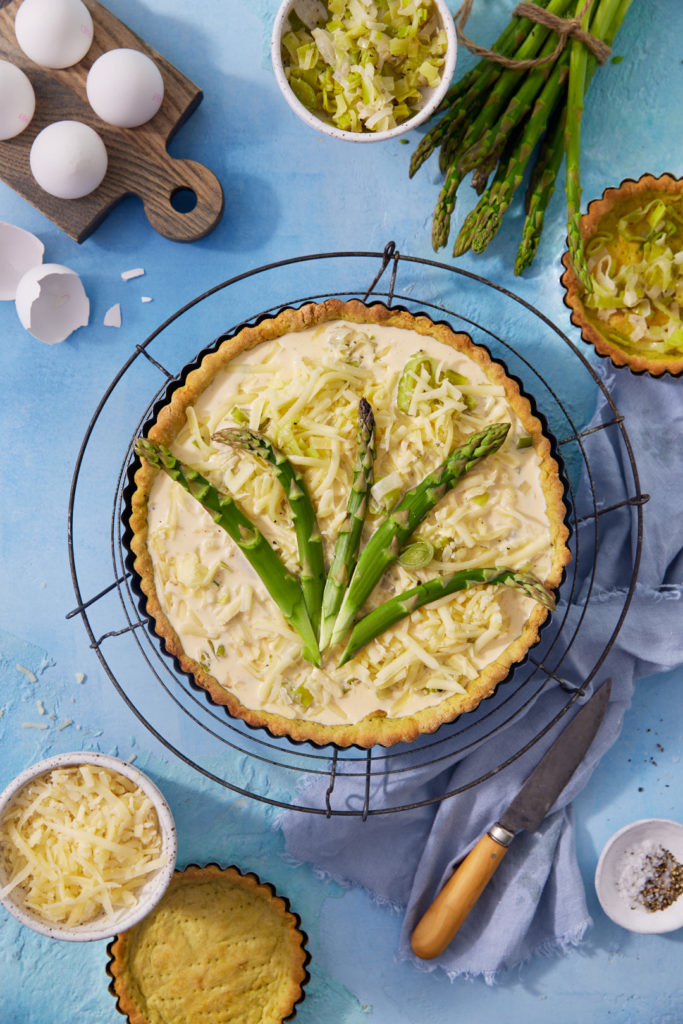
Click here to print recipe for Springtime Green Quiche.
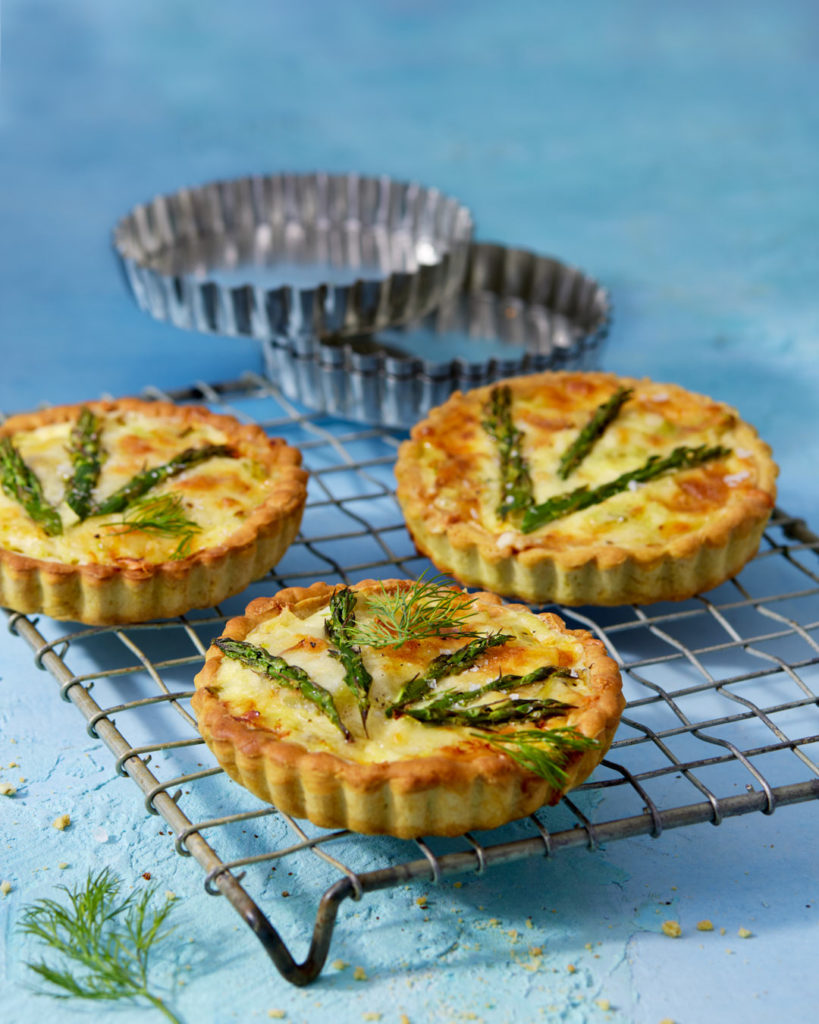
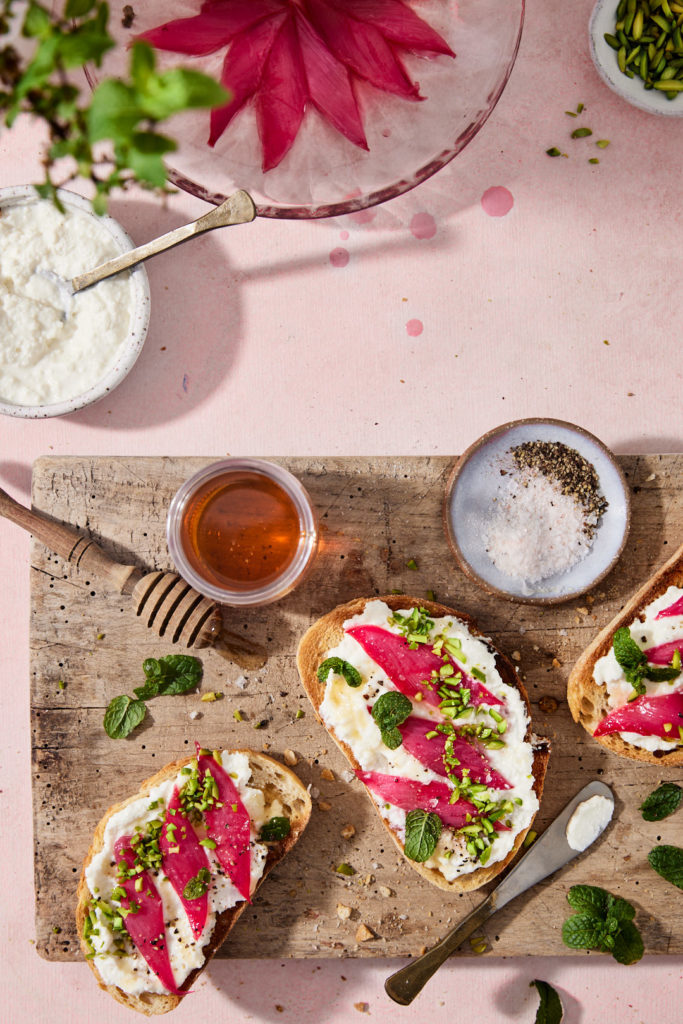
Rhubarb and Ricotta Tartine

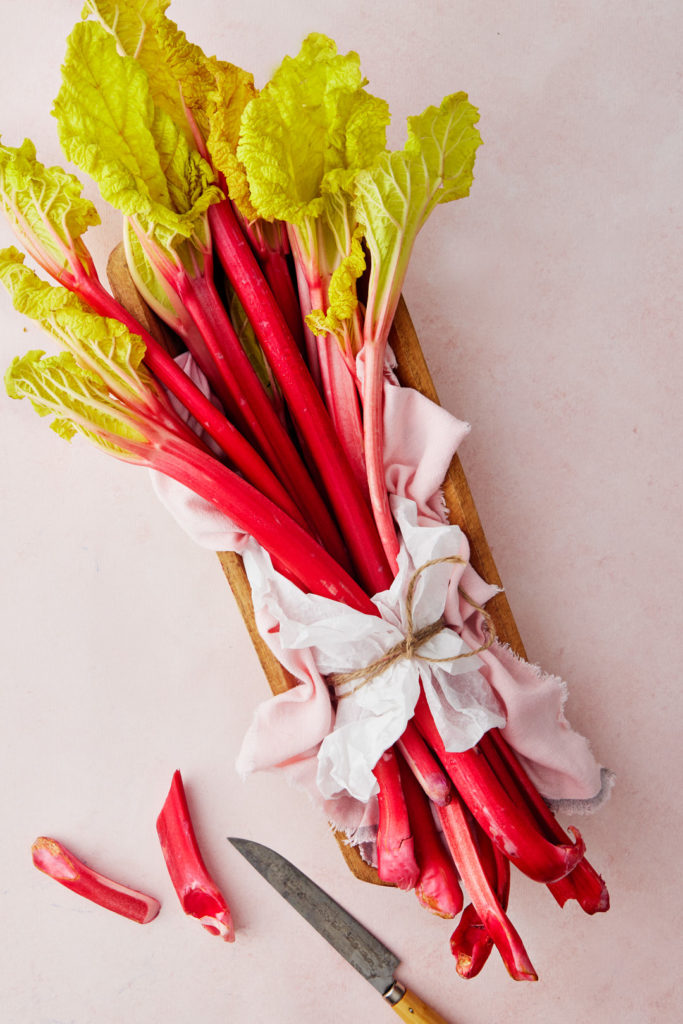
It’s the most wonderful time of the year…rhubarb season! I know it’s a polarizing ingredient, but I can’t seem to get enough of it. I must confess, I’m a rhubarb hoarder. I buy way more than I can possibly consume, and I freeze it so that I will have rhubarb all winter long. 

How to freeze rhubarb: Wash the stalks and cut into 1-2 inch lengths. Line a baking sheet with parchment and arrange the cut rhubarb in a single layer. Place baking sheet in freezer until rhubarb is solidly frozen, a few hours. Transfer rhubarb to a freezer zip-loc bag.

How to use frozen rhubarb: Preheat oven to 350°F. Take equal parts of frozen rhubarb and frozen strawberries and place them on a parchment lined baking sheet. Sprinkle with 2-3 Tablespoons of sugar and roast for 20 minutes, until all soft and jammy. Mash with a fork of potato masher and transfer to a jar for storage. I like to mix it into my morning yogurt or use it as a filling for pastries, like strawberry-rhubarb hand pies. It keeps in the fridge for about 10 days. 

Difference between field-grown and hot-house rhubarb: The first rhubarb to hit the market in spring is hot-house rhubarb. Hot-house rhubarb is pink in colour while field- grown is red, streaked with green. The hot house rhubarb retains that gorgeous pink colour after cooking while the field-grown turns a dull brownish colour after cooking. The final difference is the texture. Hot-house is silkier, and less stringy than the field-grown.

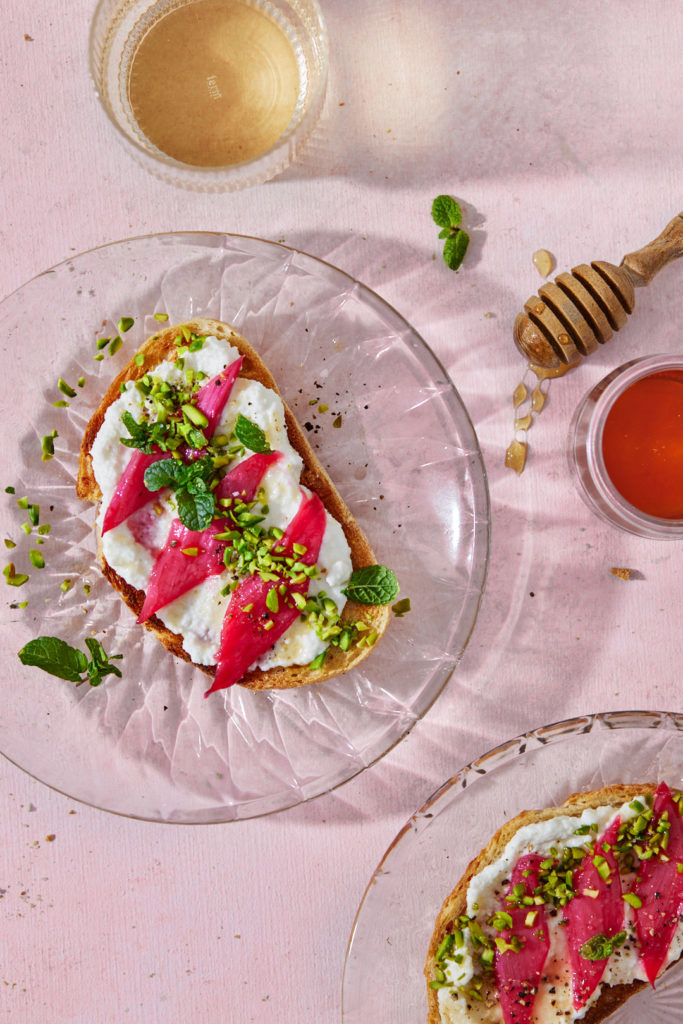
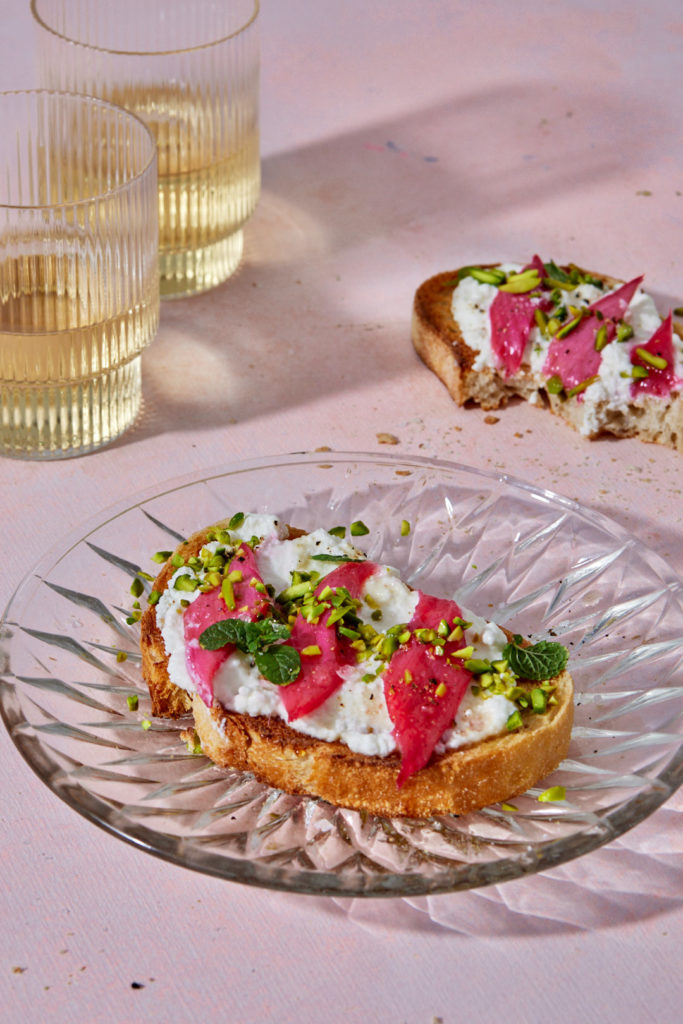
Tartine is defined as an open faced sandwich, usually on toasted bread. It has come to mean “fancy toast”, as made popular by the charming Carrie Baird, one of my favourite cheftestants on Top Chef. And if you’ve been following me for a while, you know that fancy is how we roll around here.

Today’s tartine is homemade ricotta spread onto toasted crusty bread, topped with gently roasted rhubarb. If you have never made your own ricotta, I urge you to give it a whirl. Watching milk, salt and lemon, transform into ricotta cheese is pure culinary alchemy. If you are a food nerd like me, you will find the process quite thrilling. Of course store-bought ricotta can be used. I suggest whisking it with a few tablespoons of heavy cream to get a silkier texture.

Watch this video to see how this tartine comes together:

This tartine would be delicious to serve with cocktails or with a salad for a light lunch. If I were going to have it for breakfast, I’d leave out the pickled onions and arugula and add some fresh mint. It’s eminently customizable.

Click here to print recipe for Rhubarb and Ricotta Tartine.

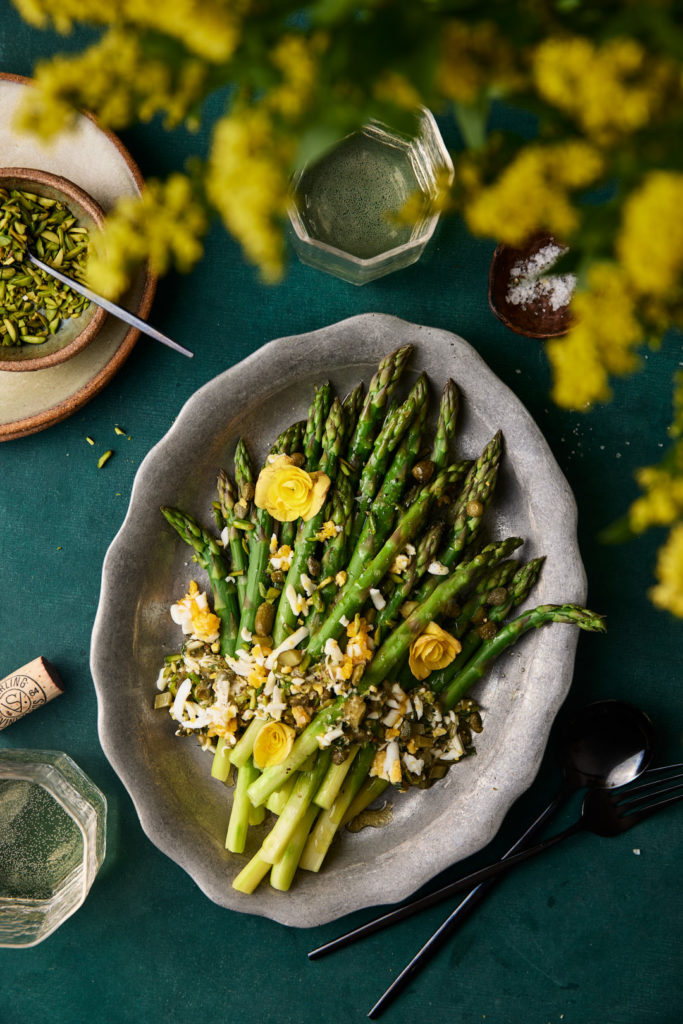
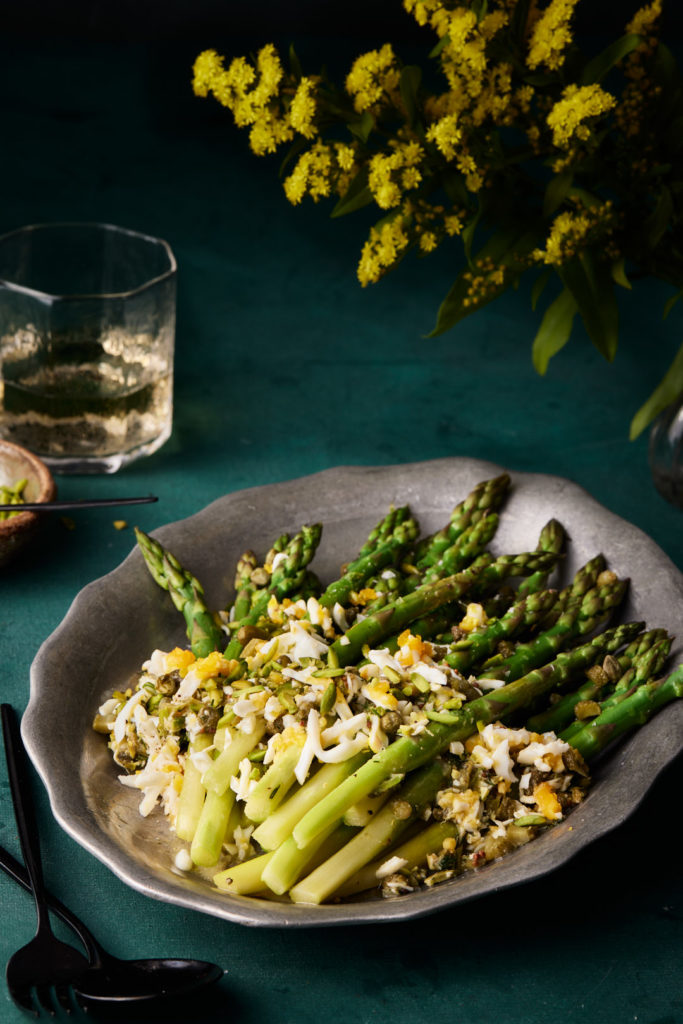
Asparagus with Pistachio and Egg Vinaigrette

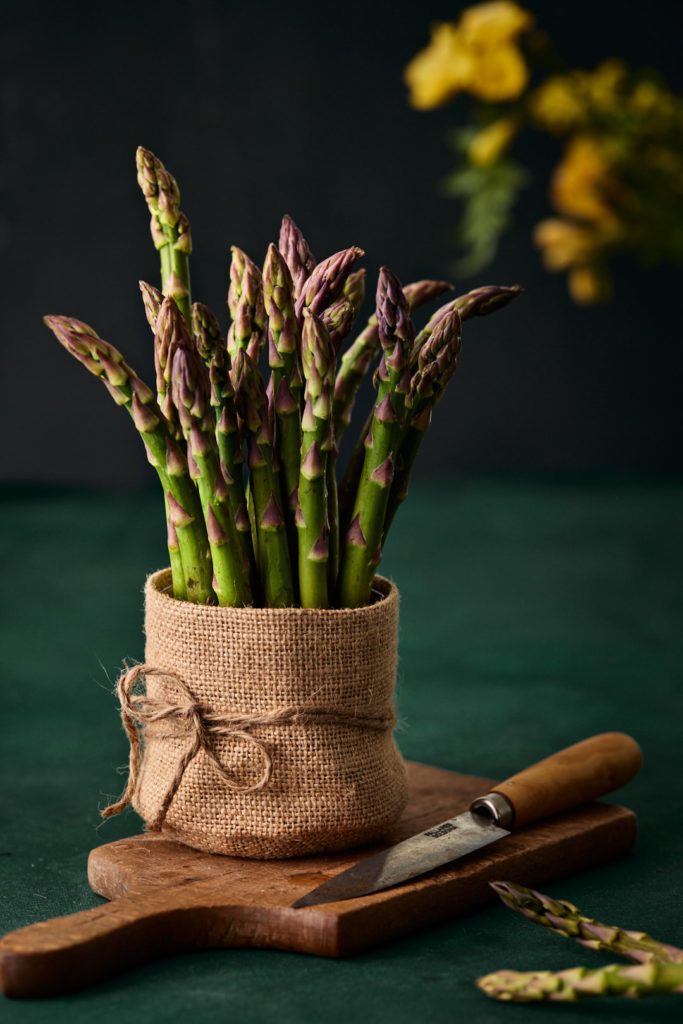
I have some very strong opinions when it comes to asparagus. I never rush to buy the early skinny asparagus. It is very weak in flavour. I’m patient and wait until the thicker stalks start appearing at the stores. These spears are sweeter and I find that the flesh is more tender.

If I’m not using the asparagus on the day I buy it, I place the bunch in a jar filled with about an inch or two of cold water, so that the ends do not dry out in the fridge. I cover the bunch loosely with a plastic bag.

There are some sources out there that will tell you that the best way to trim asparagus is the “bend and snap” technique, where you hold a piece horizontally and bend it, and it will just break off where it needs to. The problem with this method is that it depends on where and how much force you put into the bending. The results are wildly inconsistent and you end up wasting a lot of good asparagus.

I like to line up the asparagus on a cutting board and just cut off the bottom inch or so, where the green colour begins to fade to white, and the texture is a bit tougher. Then, I like to take my favourite vegetable peeler and gently peel the skin from the bottom half of each spear, to expose the lighter green and white flesh under the peel. It makes for a more aesthetically pleasing presentation (all about pretty food here) and, it is more tender to eat.

For an asparagus salad, I like to simply boil or steam the asparagus for about 2-3 minutes. Then I plunge them into ice water to set the green colour and stop the cooking.

Eggs and asparagus are a beautiful flavour pairing. Watch as the salad comes together. in this video.

This dressing would also be very delicious on broccoli, green beans or on my newest obsession, little gem lettuce. I love the texture of the grated hard boiled eggs, mixed right into the dressing. Cornichon pickles and capers really punch up the flavour and chopped pistachios add salt and crunch. It’s a perfect lunch salad.

Click here to print recipe for Asparagus with Pistachio and Egg Vinaigrette.

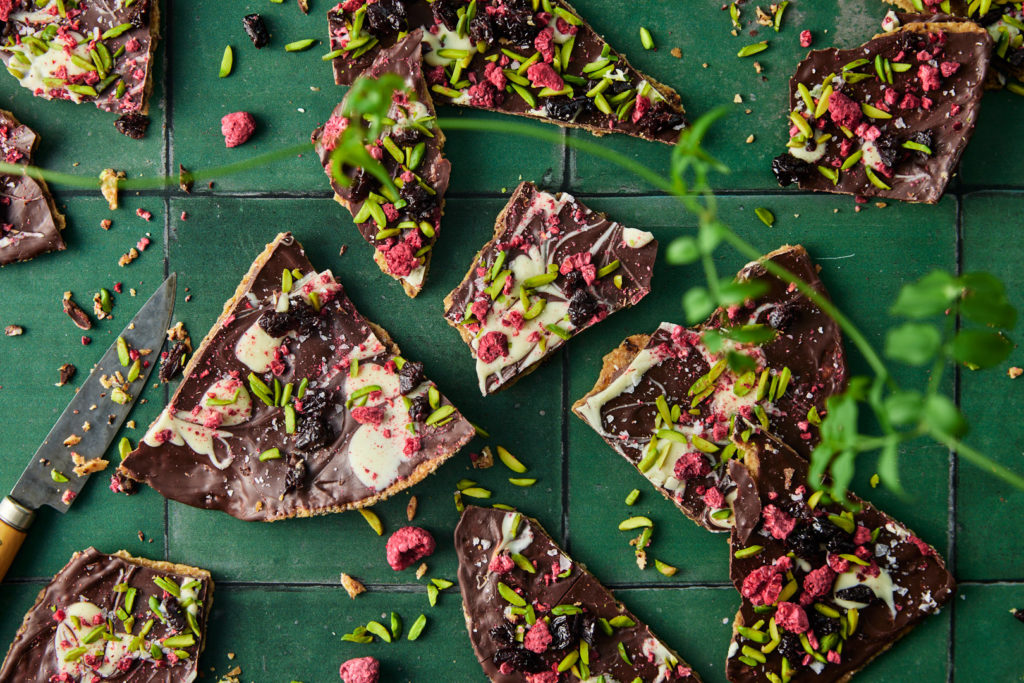
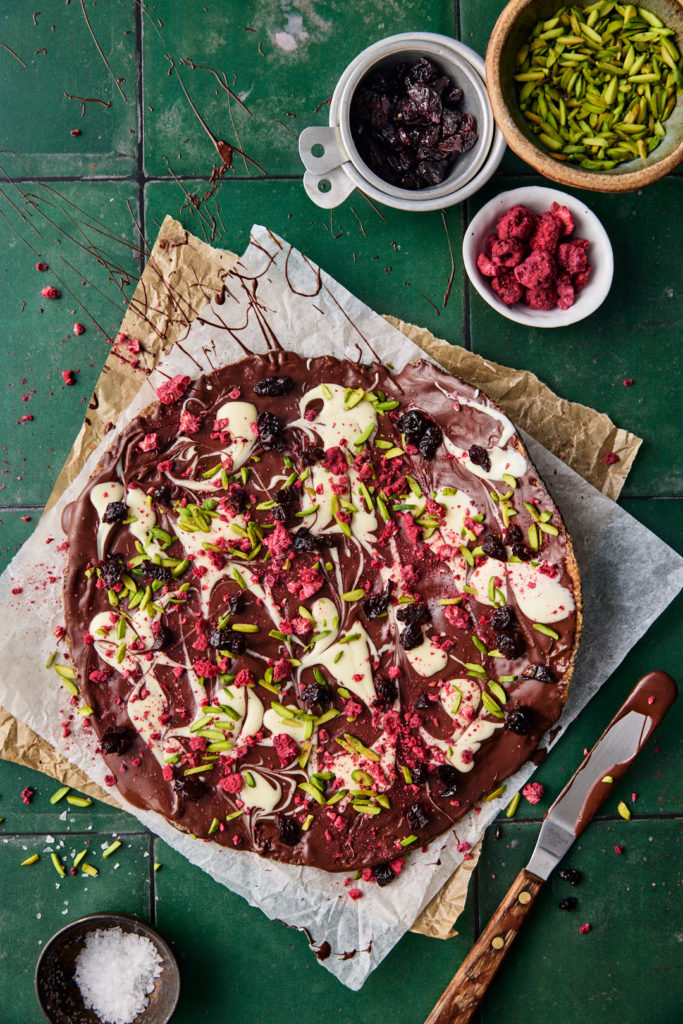
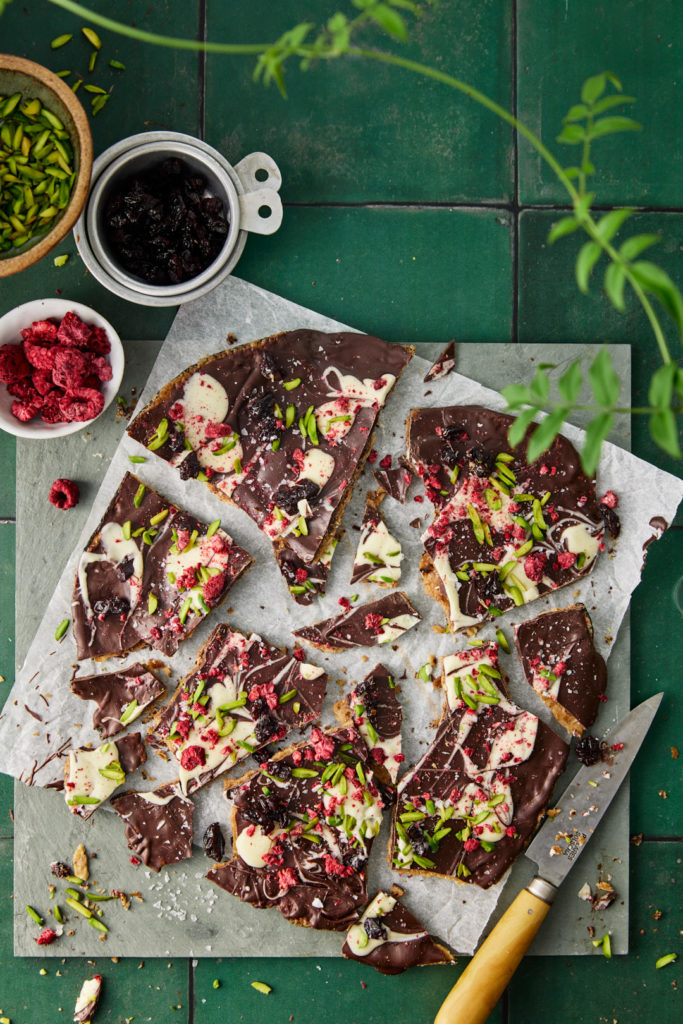
Pistachio, Freeze Dried Raspberry and Dried Cherry Matzoh Crunch

Another flavour of matzoh crunch coming at you today. We were gifted a box of round matzoh, and I wanted to create something special with them.

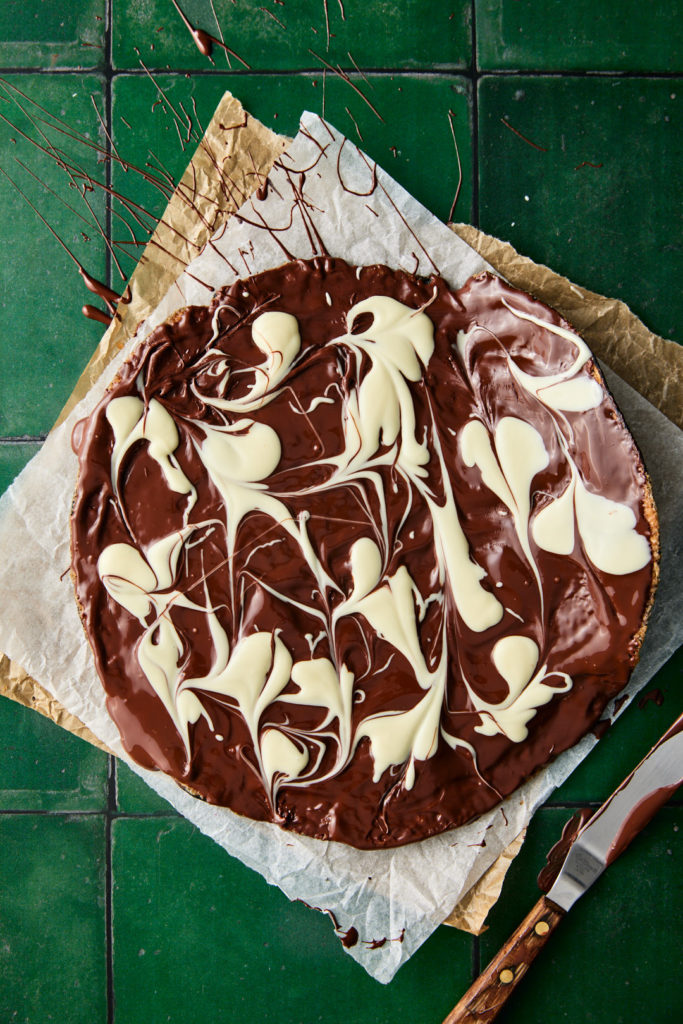
After the caramel coating, I topped these with a layer of bittersweet chocolate and a swirl of white chocolate.

I topped that with these gorgeous slivered green pistachios, crumbled freeze dried raspberries and tart dried cherries. A sprinkling of flaky sea salt balanced out all the flavours. This is a beautiful and sophisticated flavour profile sure to please.

Click here to print recipe for Pistachio, Freeze Dried Raspberry, Dried Cherry Matzoh Crunch.

Sweet & Salty Matzoh Crunch

This sweet & salty matzoh crunch is delicious and utterly addictive, as my husband and chief recipe taster discovered this week.

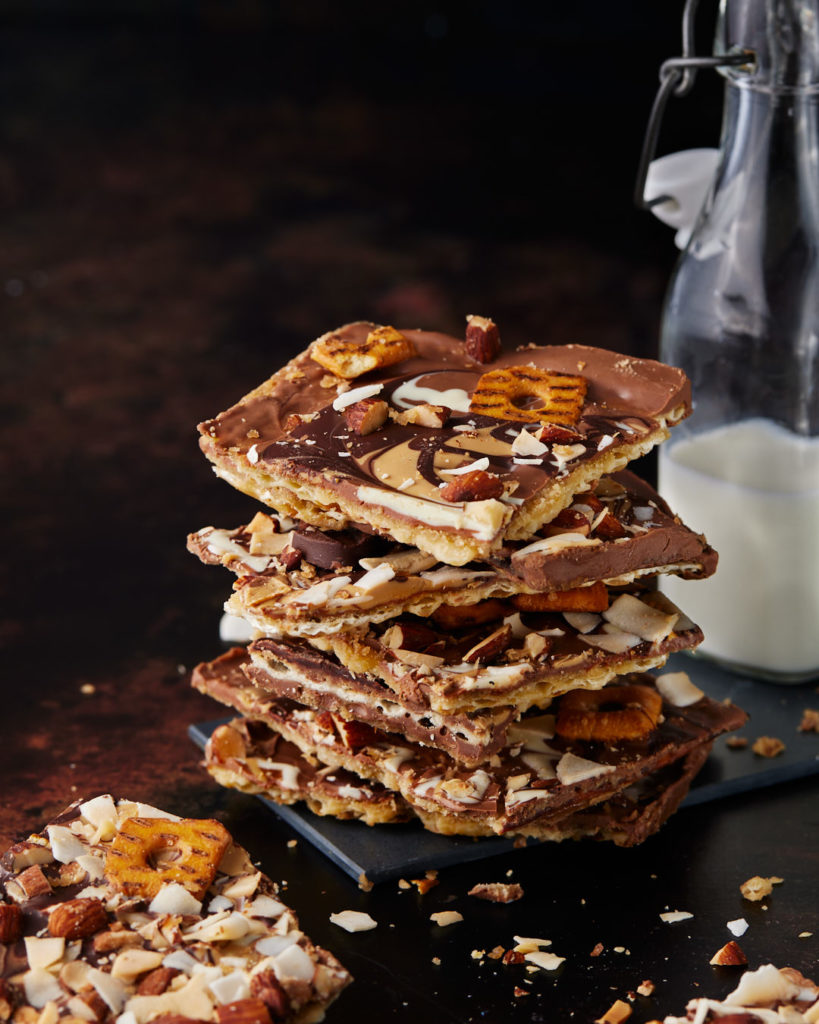
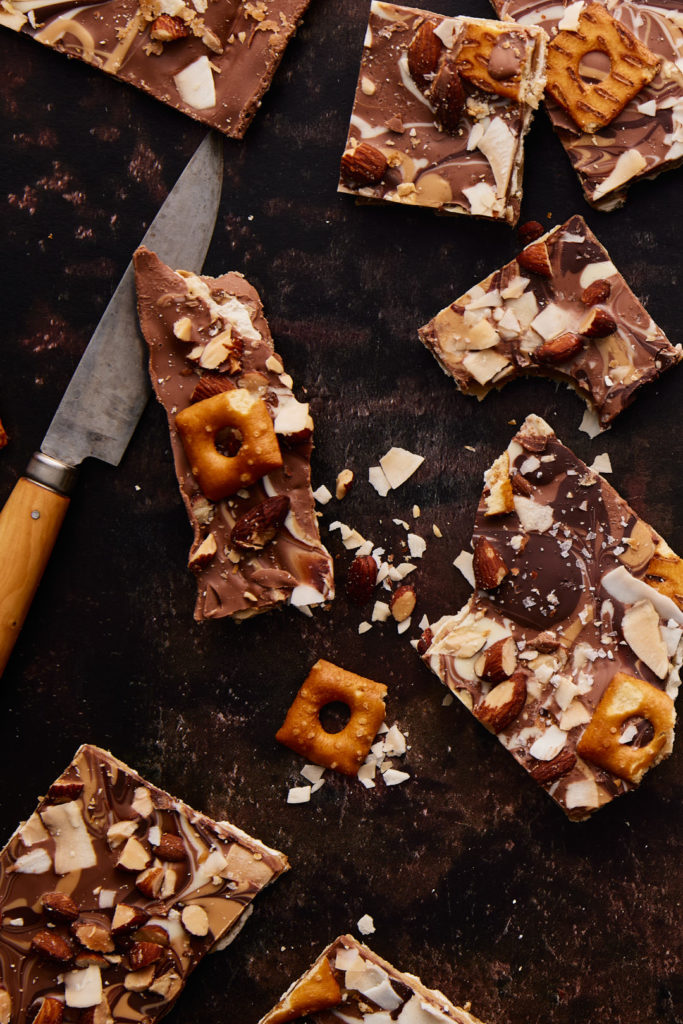
Montreal baker and cookbook author Marcy Goldman is the originator of Matzoh Crunch. The recipe is published in her first cookbook, “A Treasury of Jewish Holiday Baking”. Matzoh crunch is essentially a layer of matzoh covered in brown sugar-butter caramel and topped with a blanket of melted dark chocolate.

This is my adaptation of her recipe. I have elevated matzoh crunch to the next level, by sprinkling on salted toasted almonds, Passover pretzel thins and toasted coconut flakes. I used a total of 4 different kinds of chocolate for this over the top confection. A base of milk chocolate, and then decorative swirls of white, blonde and bittersweet chocolate. It’s fancy AF.

Watch the video to see how it all comes together.

As with anything you bake, if you start with top quality ingredients, you will yield a better outcome. Most recipes I have seen for matzoh crunch call for melted chocolate chips as the top layer. The problem is that chocolate chips are not formulated to melt smoothly. They contain less cocoa butter so that they hold their shape. This is great for chocolate chip cookies, but not so great when you want a velvety smooth coating. So start with a good quality chocolate that is meant for melting. I love Valrhona. I order it online from Vanilla Food Company.

Blonde chocolate, is a more recent addition to the chocolate family. It is essentially caramelized white chocolate. You could make your own, or buy Valrhona’s which is marketed under “Dulcey“. This is not a Valrhona sponsored post, I just really love their chocolate!

Click here to print recipe for Sweet & Salty Matzoh Crunch.

Black & White Chocolate Marble Pound Cake

I have amassed quite a collection of Bundt pans. My cake decorating skills are rudimentary at best, but with a Bundt pan, the pretty work is all done for you. Just finish with a dusting of icing sugar or drizzle of glaze and you have a gorgeous cake.

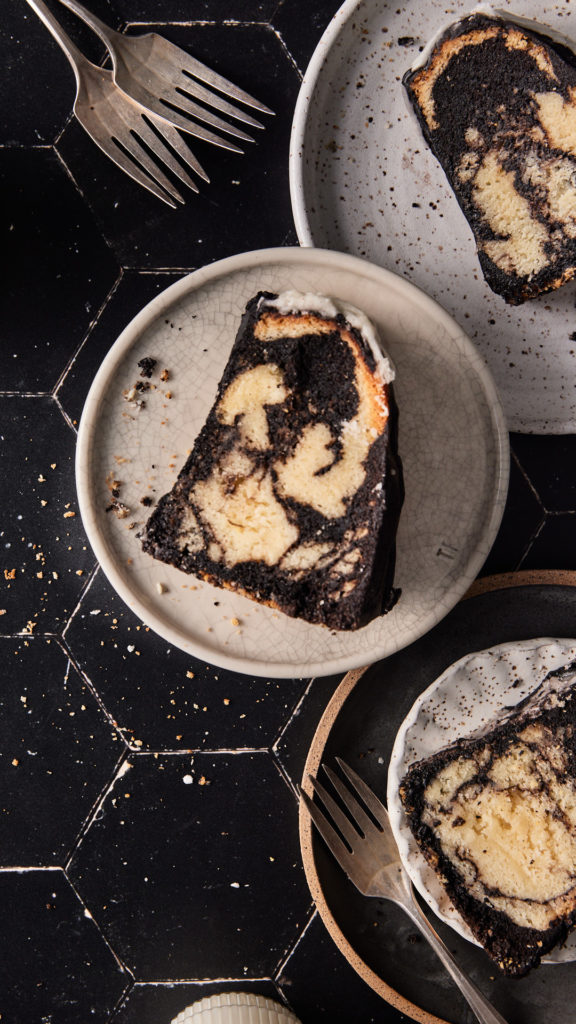
This recipe is from The Bundt Collection by Brian Hart Hoffman, creator of The Bake From Scratch Empire. Black cocoa gives this cake a dark richness while white chocolate in the vanilla batter offsets the bitter cocoa with sweetness. Black cocoa powder is becoming more readily available. I bought mine at Bulk Barn. You could use substitute regular cocoa powder, but the colour contrast won’t be quite as dramatic.

This cake employs the cold-oven method. Placing the cake into a cold oven gives the batter extra time to rise, producing an extra smooth tender crumb. The texture off this cake is plush! It’s a great technique for cakes like this that do not contain any baking soda or powder.

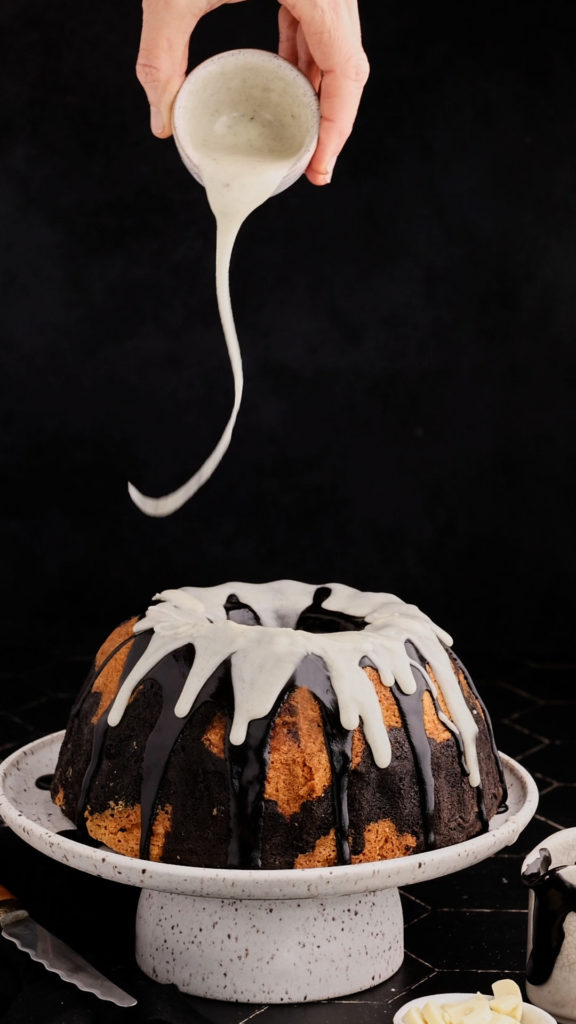
This cake gets treated with a double glaze. Start with the black cocoa glaze, give it about 15 minutes to set and then channel your inner Jason Pollock and follow up with the vanilla bean glaze. You could skip the glaze and just dust this cake with some powdered sugar, but why would you?

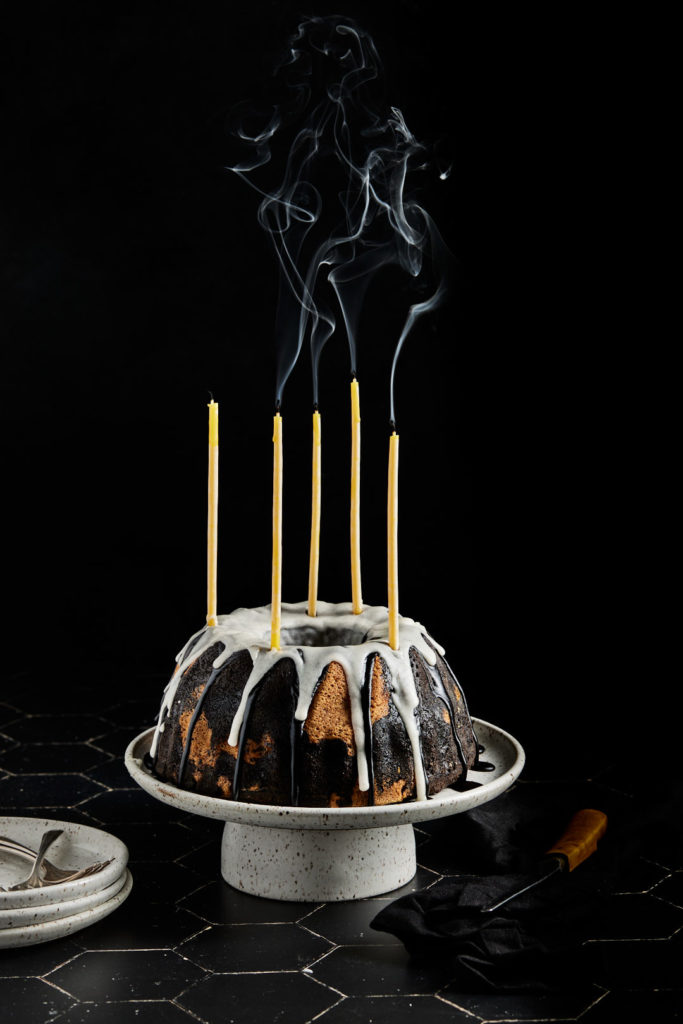
This cake is special enough to stand in for a birthday celebration. I found these elegant candles on Etsy. They really elevate the occasion.

Click here to print recipe for Black & White Chocolate Marble Pound Cake.

Rebel Within Savoury Breakfast Muffins

Check out how these surprising muffins come together.

I dislike the whole idea of a gender reveal celebration. There are lots of surprises thrown at us, many are kind of scary and not a lot of fun. Finding out the sex of your baby at the moment of birth is one of the few good surprises we have left to experience. I know it’s a polarizing topic, and I’m sure a few of you are nodding in agreement with me, and the rest of you are rolling your eyes at me. It’s ok, I can take it!

With advances in technology, it’s almost impossible not to find out in advance these days. Parents say they want to know so they can get ready. Truthfully, you don’t need much to get ready to bring a baby home from the hospital. Those first few months are just a blur of eating, not sleeping and changing diapers. The best thing you can do to get ready is to fill your freezer with food that can be prepared and eaten with one hand!

When I was born, back in the dark ages, my parents were living at my grandfather’s house with my mom’s sister and brother. I had an older sister (18 months) who was sleeping in a crib in my parent’s bedroom. My mom emptied out a dresser drawer and lined it with pillows for me to sleep in. in her defence, she did remove the drawer from the dresser. It’s not like she put me in there and shut the drawer. These days, she would be reported to Children’s Aid for putting me in unsafe sleeping conditions. Newborns should never sleep with pillows, as it can put them at risk for SIDS.

There was no room in their bedroom for my makeshift crib, so I was put out in the hall to sleep every night. My uncle was a taxi driver, working the late shift, and every night he would come home at 2:00 am, trip on my drawer in the hall as he came up the stairs, cursing my parents. Eventually, my parents took the hint and bought a house of their own before my next sister was born.

While I dislike a gender reveal, the reveal of a jammy egg yolk in the centre of this Savoury Breakfast Muffin, is one I can get behind! They were dubbed “Rebel Within Breakfast Muffins” by their creator, Chef William Werner of San Francisco’s Craftsman & Wolves.

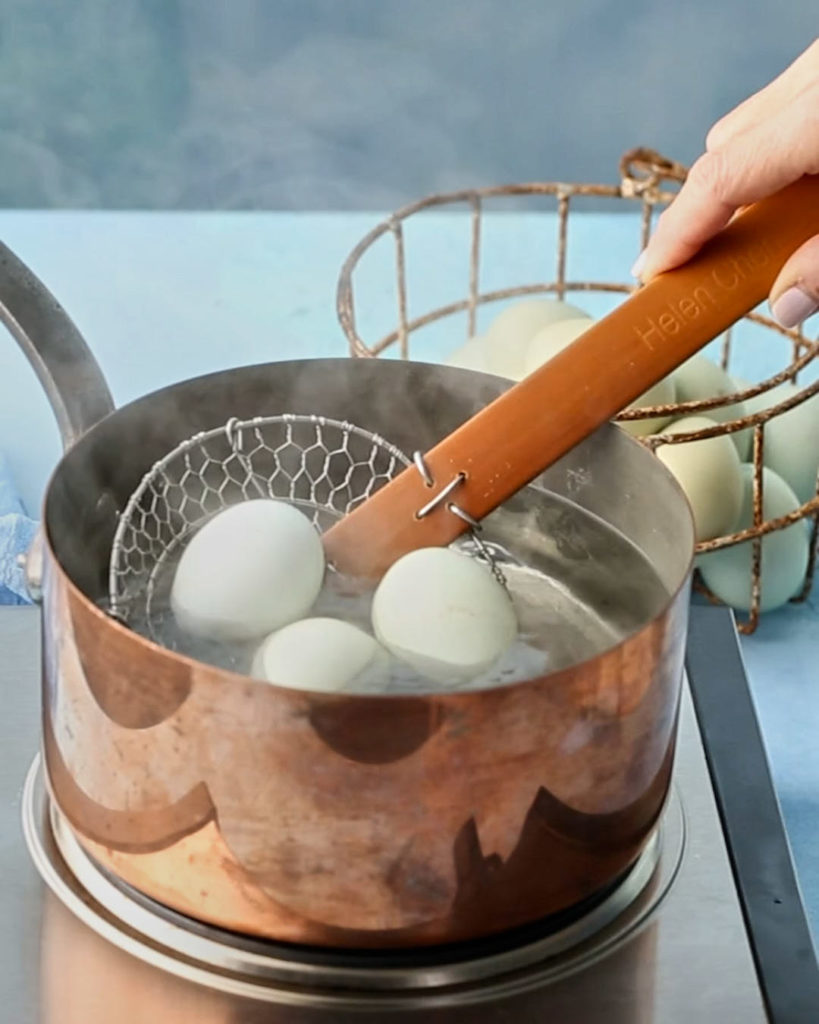
How the heck does that yolk stay runny in the middle of a perfectly cooked fluffy muffin? It’s culinary alchemy and just plain delicious. You start with a 6 minute egg, which must be plunged into ice water to rapidly chill it.

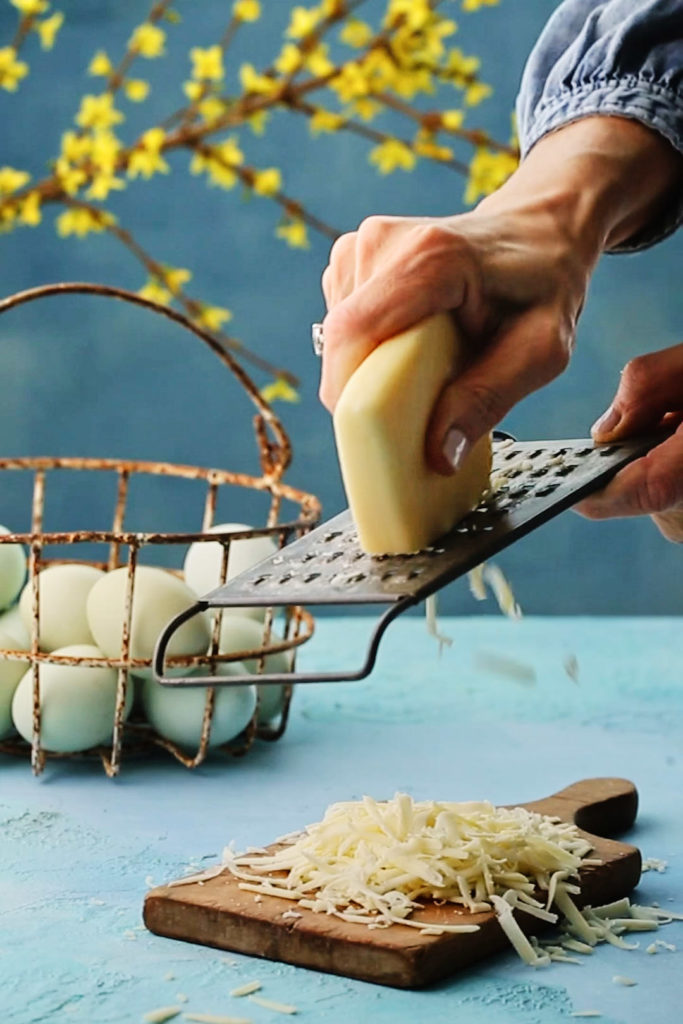
The muffin batter is enhanced with a generous amount of cheese (Asiago and Parmesan), green onions and spicy Italian sausage (I used plant based Beyond Sausage).

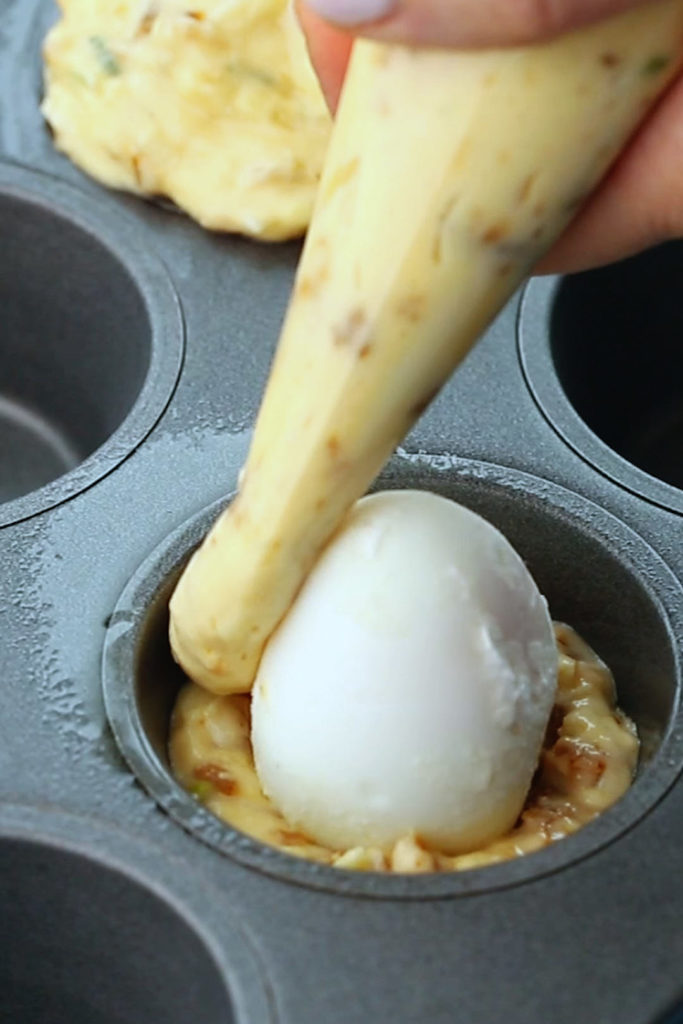
Once the chilled egg is peeled, it gets rolled in some flour to coat the surface. The flour coating helps to insulate the egg and allow the batter to stick to it when baking. Piping the batter is the easiest way to cover it.

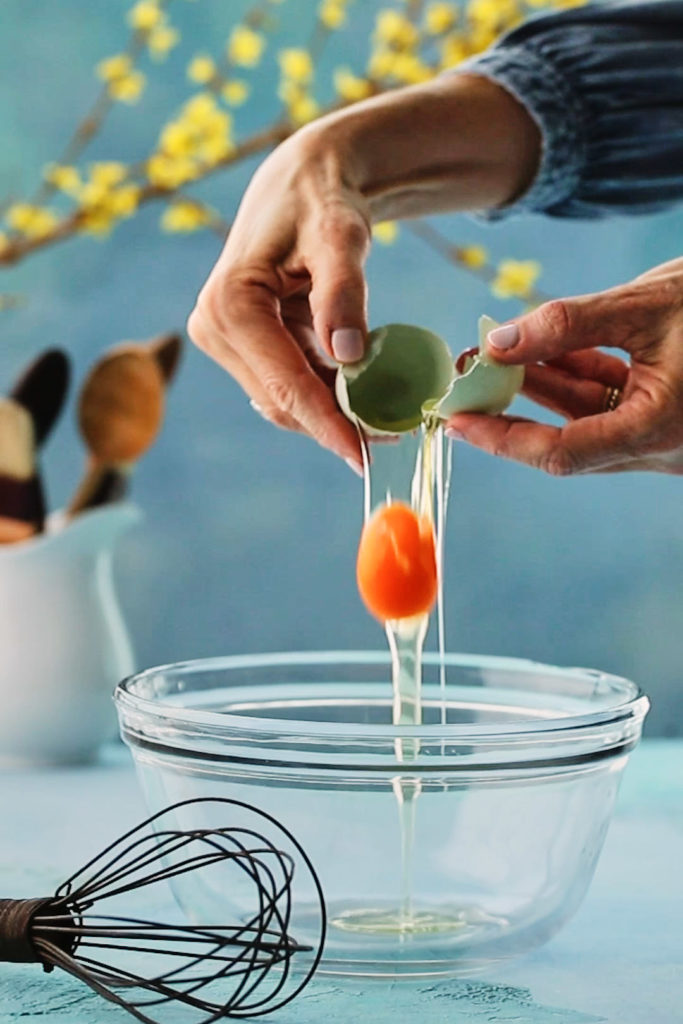
The amber colour of these yolks of these eggs is not photoshopped! They really are this gorgeous hue. My family and friends are sick of hearing me wax poetic about these amazing eggs, but it’s the small things that make me so happy.

Click here to print recipe for Rebel Within Breakfast Muffins.

Malted Milk Chocolate Hamentashen

The Jewish holiday of Purim begins next week at sundown on Monday March 6. The traditional Purim treat are triangular shaped filled cookies known as Hamentashen. For those not familiar with this Jewish holiday, I present to you a basic primer, my version of Purim 101. Essentially, the Festival of Purim commemorates a time when the Jewish people living in ancient Persia were saved from extermination. As in every good story, you have your heroes and your villans.

The heroes of the story are Esther, a beautiful young Jewish woman living in Persia, and her cousin Mordecai, who raised her as if she were his daughter. Esther was taken to the house of Achashveirosh, King of Persia, to become part of his harem. King Achashveirosh loved Esther more than his other concubines, and made Esther his queen. Like all intelligent wives, she kept a thing or two about herself hidden from her husband. Upon advice from her cousin Mordecai, she kept her Jewish identity a secret from the King.

Our story’s villan is Haman, a rather arrogant, egotistical advisor to the King. The King appointed Haman as his Prime Minister. Haman despised Mordecai because Mordecai refused to bow down before Haman every time he passed by.  Rather than seeking to destroy Mordecai alone for this slight, Haman decided to take revenge on the entire Jewish population living in the Persian empire. The King gave Haman permission to do as he pleased. Haman’s plan was to exterminate all of the Jews. 

Nothing got past Queen Esther. She had her finger on the pulse on the kingdom. Somehow she overheard this plot to annihilate all the Jews. She consulted her cousin Mordecai and he persuaded Esther to speak to the king on behalf of the Jewish people. She told her husband, the king, of Haman’s plot against her people and somehow convinced him to save the Jewish people. We’re never told exactly how she convinced him, but there are rumours! The Jewish people were saved, and Haman and his ten sons were hung.

The holiday of Purim focuses on the pleasures of food and drink, more than any other Jewish holiday. It is a time for celebrating and letting go. The shape of hamentashen symbolically represent Haman’s three-cornered hat. Typically, hamentashen are filled with jam or a poppyseed filling.

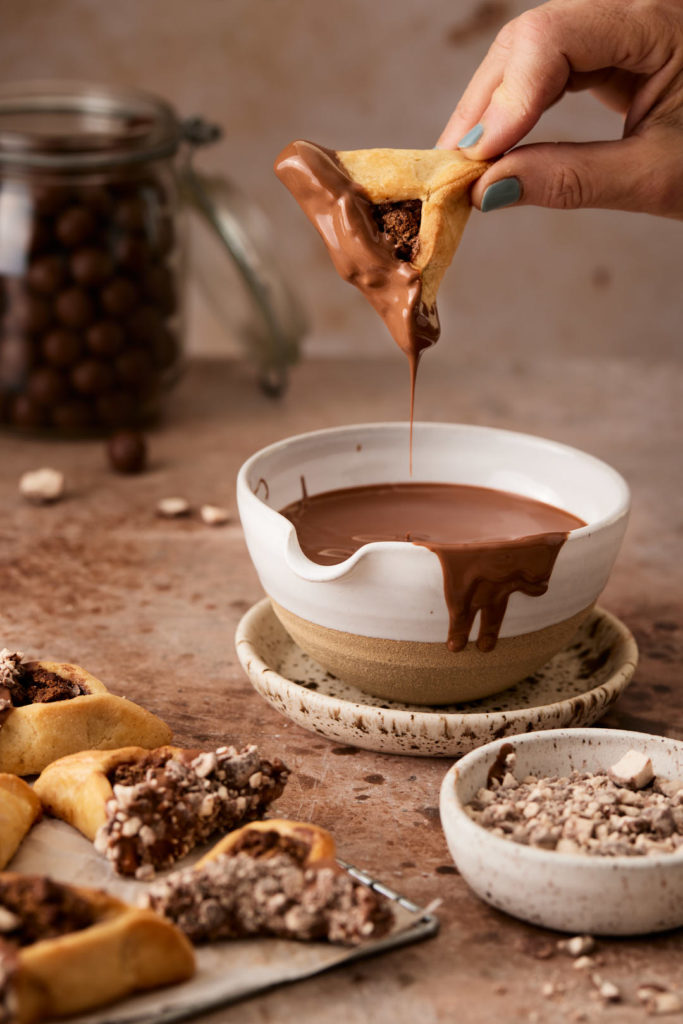
I’m bucking tradition here and flavouring my hamentashen with Malted Milk Chocolate. Check out the video to see how they come together.

If you are not baking with malted milk powder, you’re missing out on a ton of flavour. Stella Parks called malted milk powder the umami bomb of the baking world. It adds a toasted creamy richness to your baked goods. Ovaltine is one brand readily available at the supermarket. It contains the addition of chocolate. For a more concentrated hit of malted flavour, without the chocolate, I love Hoosier Hills Farms malted milk powder.

These Malted Milk Chocolate hamentashen have a triple hit of malted milk. There is malted milk powder in both the dough and the filling and then I chopped up some malted milk balls to coat the dipped hamentashen in.

Milk chocolate really allows the malted flavour to shine through. Jesse Szewczyk inspired the filling for these hamentashen with her Malted Milk Chocolate Rugelach.

If you’re a Hamentashen novice, here are a few tips for success:

  • Roll dough between 2 sheets of parchment paper and chill before cutting into circles
  • Don’t overfill. You will regret it when they burst open in the oven.
  • Brush edges of dough with beaten egg white. it acts as an effective glue to hold them together.
  • Pinch edges and corners really well when shaping.
  • Freeze formed hamentashen for about 10 minutes before baking. They will hold their shape better.
  • Brush unbaked hamentashen with beaten egg white for some shine.

Click here to print recipe for Malted Milk Chocolate Hamentashen.

Mile High Lime Meringue Pie

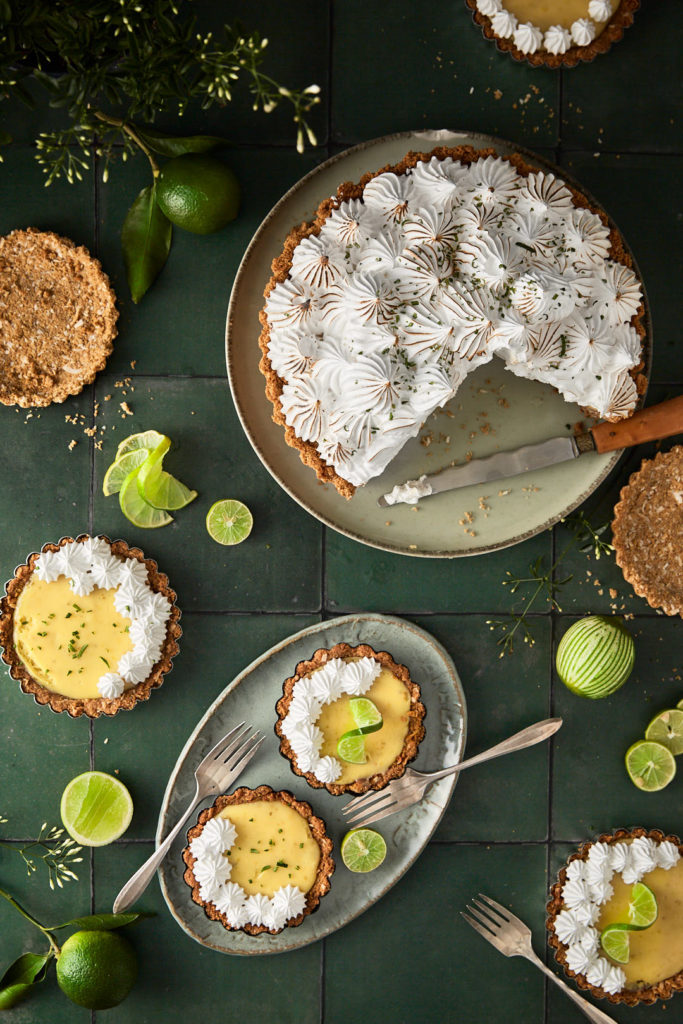
I had so many limes in my fridge from a citrus photo shoot I did a few weeks ago and needed to use them up before they dried out. I decided to make a lime meringue pie. My inspiration was a key lime pie, but instead of whipped cream on top, I made a meringue topping. I adapted Anna Olson’s recipe on food network.ca to create this mile high version.

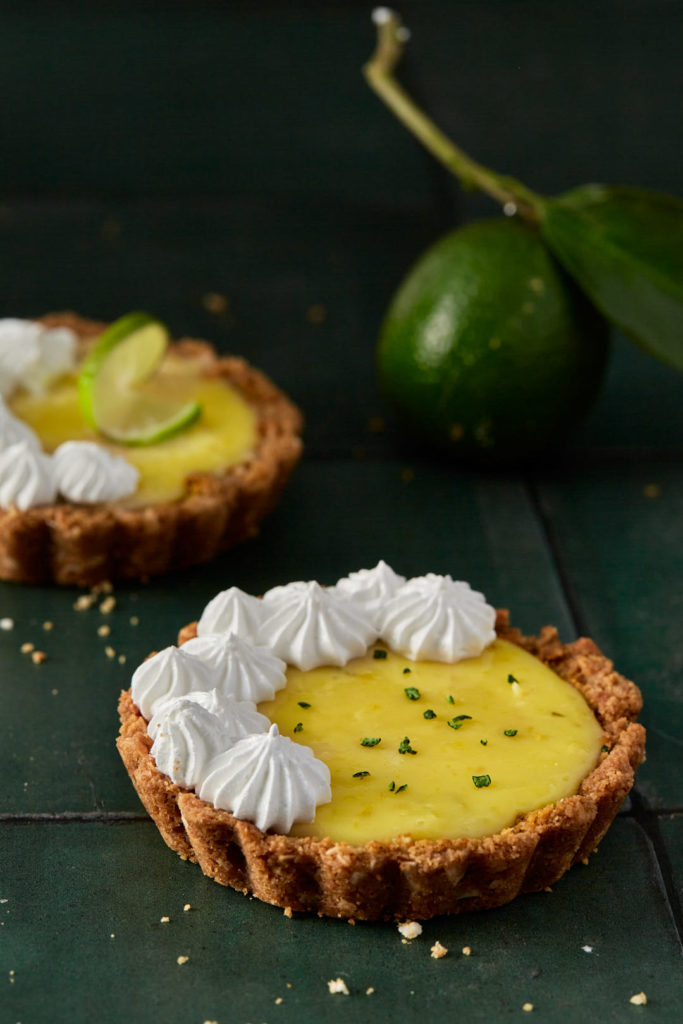
Sweetened shredded coconut was added to the graham wafer crust for a tropical vibe. I baked my pie in a 9.5 inch deep dish tart pan with a removable bottom. I really love the drama of a tart pan. You could certainly use a 9 inch spring form pan.

Key limes were not available so I just used regular limes and added a 1/2 teaspoon of cream of tartar to the filling to create a more tart flavour.

Watch the video to see how the pie comes together.

I used an Italian meringue to top the pie as it is very stable and is not prone to weeping. Essentially there are three types of meringue, French, Swiss and Italian.

  • French meringue is the simplest of the three. It’s made by beating egg whites until frothy and then gradually adding sugar until it dissolves. Once all the sugar has been added, it is whipped to stiff peaks. It is the least stable meringue and it will start to weep after sitting on the pie for a few hours.
  • A Swiss meringue is a gently cooked meringue. The egg whites and sugar are placed in a bowl over simmering water and whisked until they reach a temperature of 145°F on a candy thermometer. Once it reaches temperature it is taken off the heat and whipped in a stand mixer until stiff glossy peaks are achieved. This is my favourite meringue for turning into buttercream. Swiss meringue is more stable than French meringue, but can’t hold a candle to Italian meringue, in terms of stability.
  • In an Italian meringue the egg whites are whipped in a stand mixer until foamy. Next, sugar and water are cooked to the soft-ball stage (238°F) and then slowly, with the mixer running, the sugar syrup is poured into the whipped egg whites until stiff, glossy peaks form and the meringue reaches room temperature. Italian meringue is the most stable. It is perfect for putting in a piping bag as the piped designs really hold their shape. We nibbled away at the pie for several days and the meringue on top of the pie held its shape and was still firm after 4 days in the fridge.

The combination of flavours and textures in this pie is perfection. Sweet crunchy crust, lip puckering creamy lime filling and marshmallowy soft and sweet meringue topping. I added a hefty pinch of salt to my meringue and it really balanced out the sweetness.

Click here to print recipe for Mile High Lime Meringue Pie.

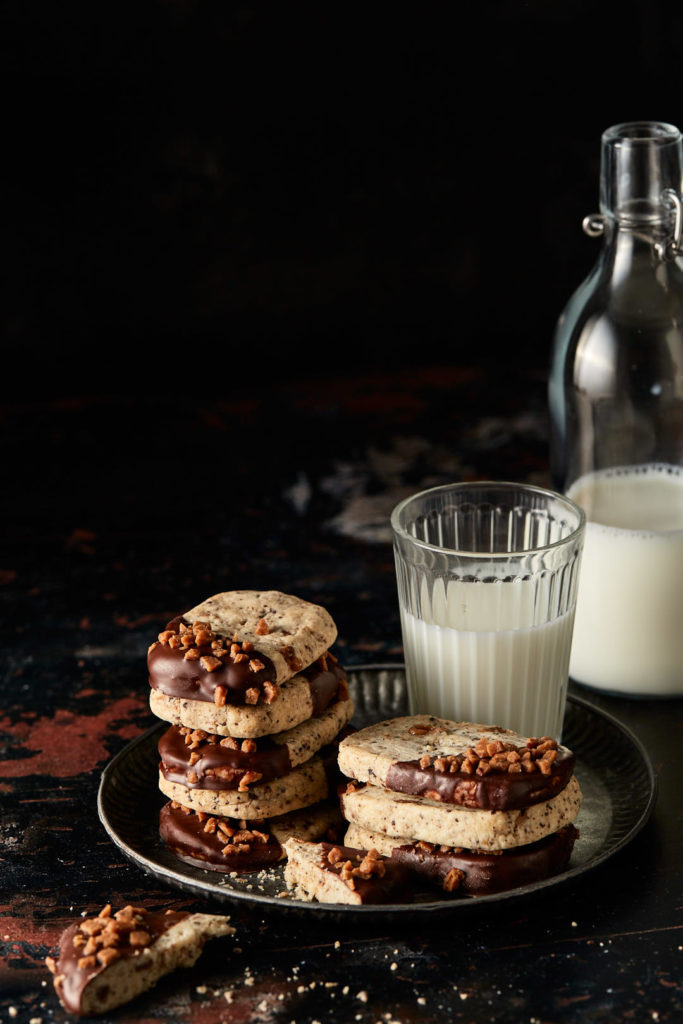
Coffee Toffee Shortbread Cookies

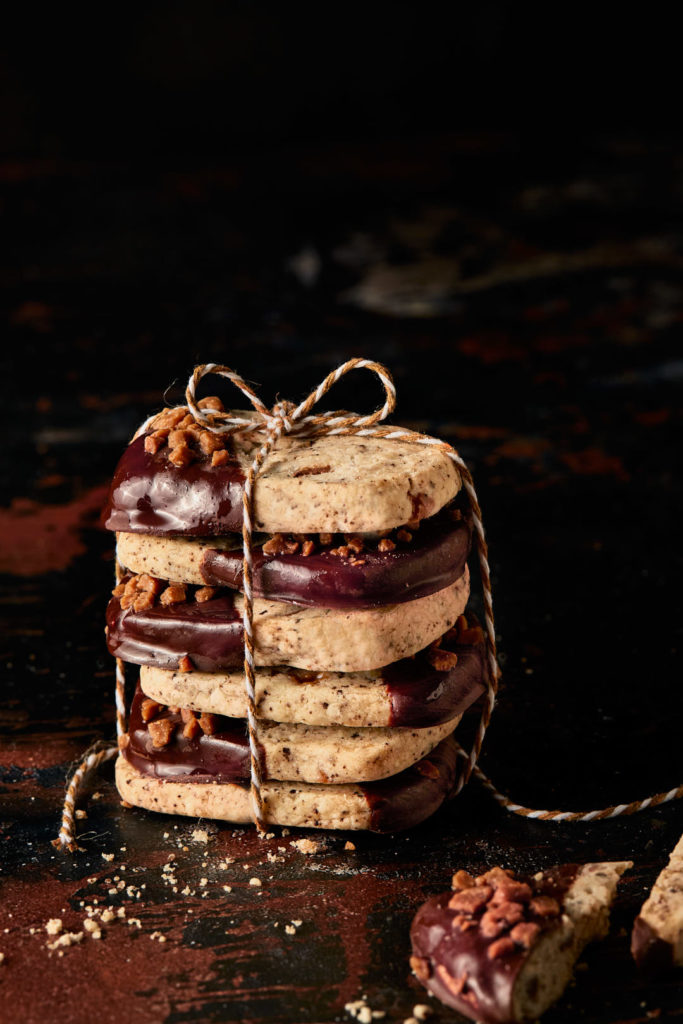
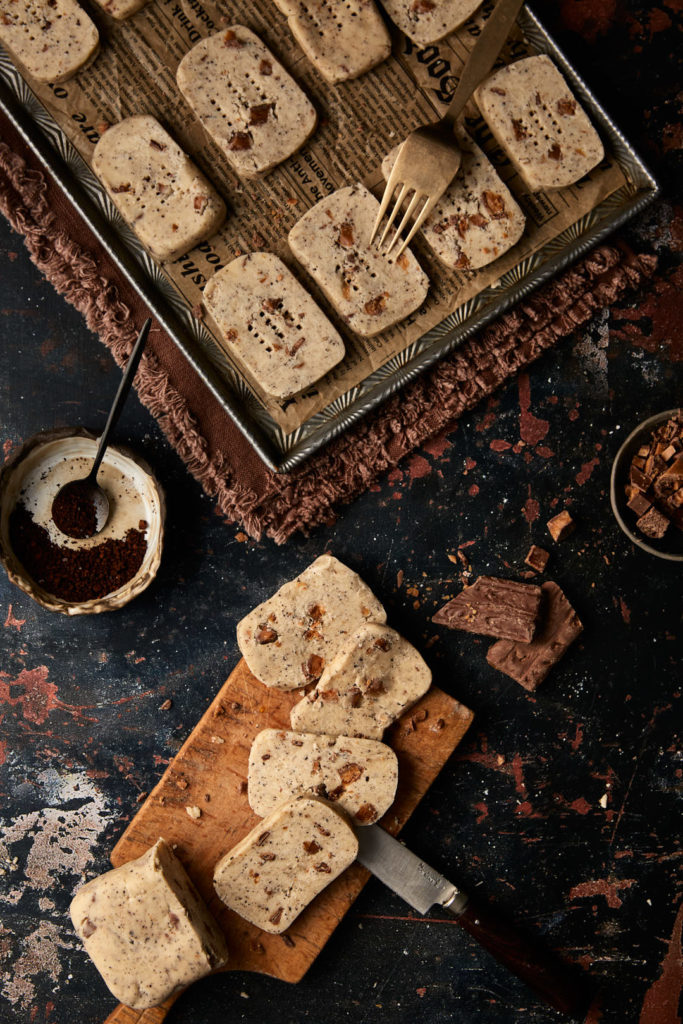
Cookies are my love language. It’s how I show my nearest and dearest that I care about them. I urge you to bake these for your loved ones. They are a decidedly adult cookie, with a very strong coffee flavour, thanks to the addition of instant coffee crystals to the dough. I used Folgers instant coffee because the coffee crystals do not dissolve in the dough and you get beautiful coffee flecks. I love to see flavour cues in my food.

I also added some chopped Skor bars to the dough. Chocolate and toffee provide a nice balance to the bitter taste of coffee. These are a simple slice and bake cookie with a very sophisticated flavour profile.

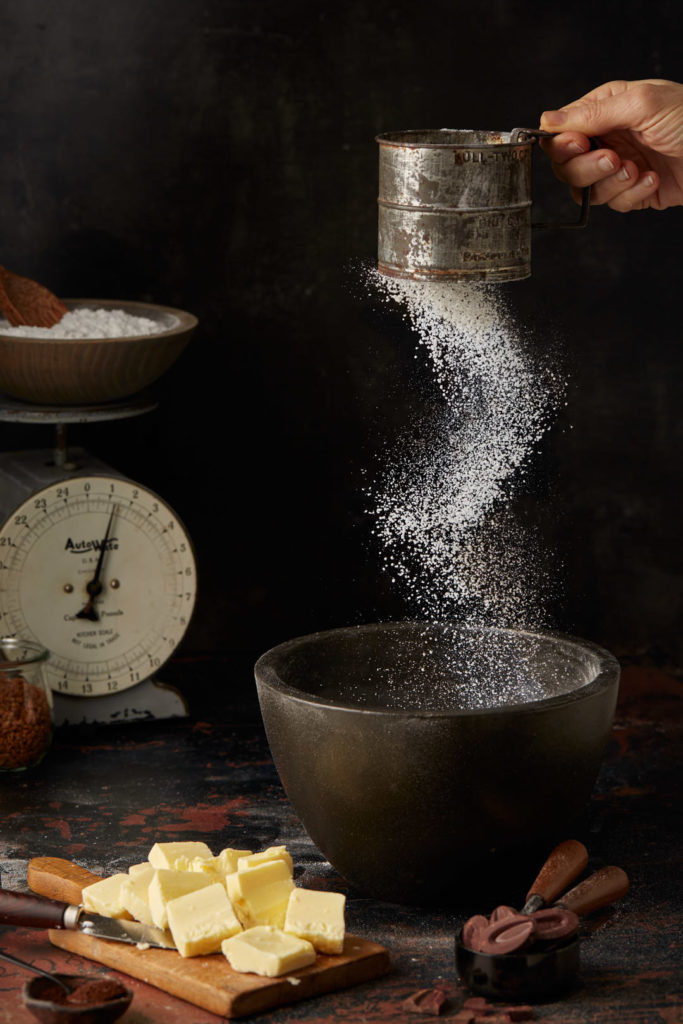
The base Shortbread recipe comes from Erin Clarkson over at Cloudy Kitchen. If you are a baker, you must follow her. Her recipes are delicious and always turn out perfectly. She is a huge proponent of baking by weight rather than volume. I would love it if this became the standard for home bakers. This is the only way to ensure consistent results. The coffee and toffee additions are my brainchild.

The addition of cornstarch to the dough contributes to these cookie’s melt in the mouth texture.

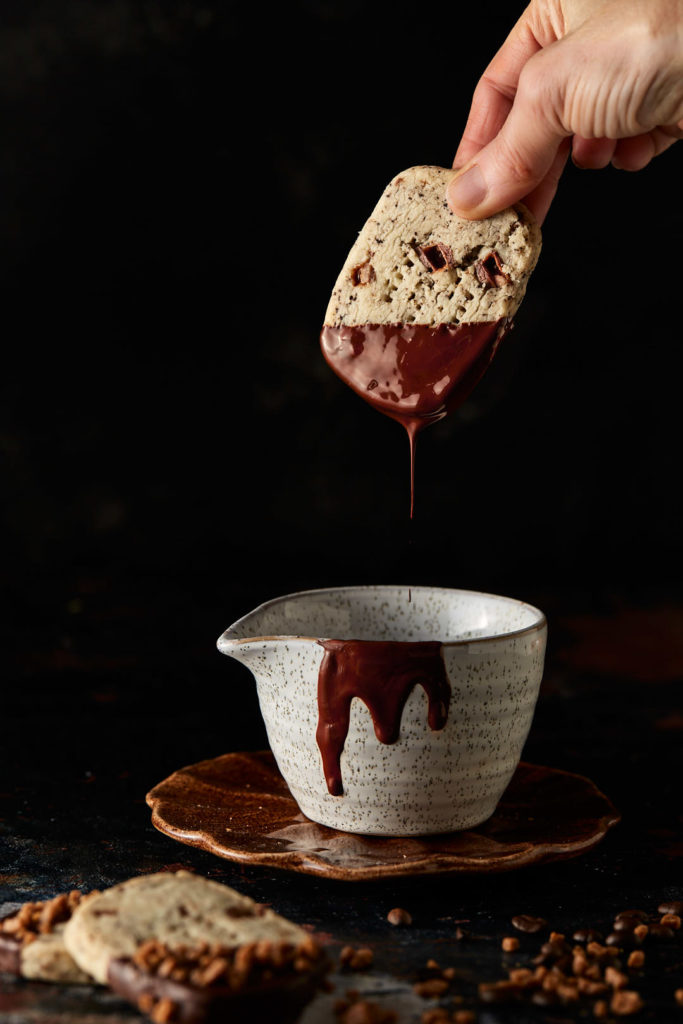
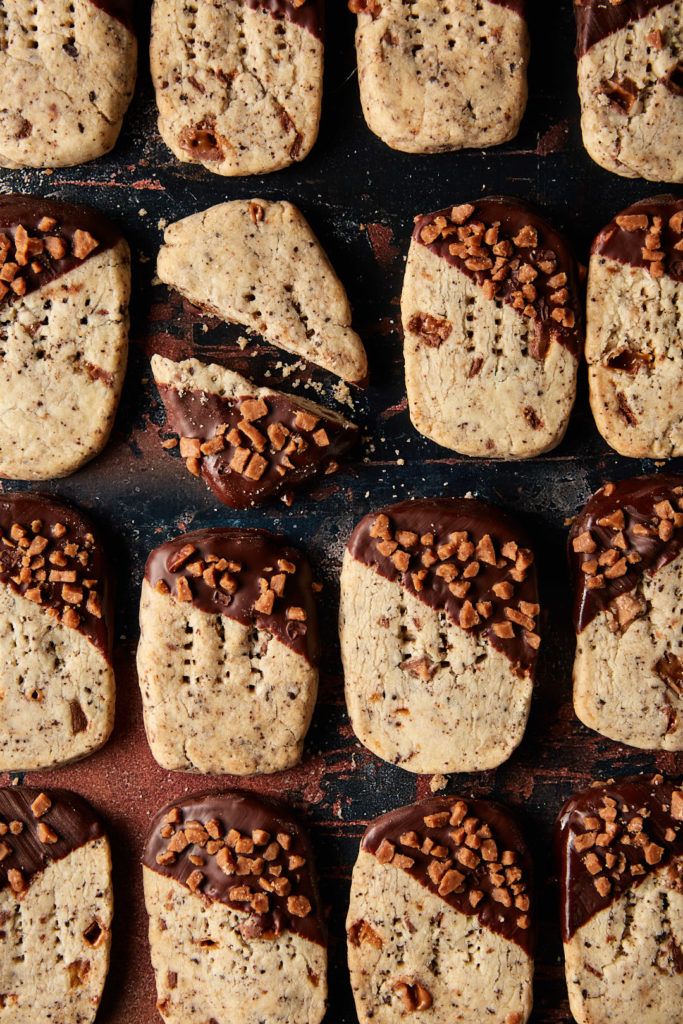
Because I’m not a minimalist, I dipped the baked cookies in bittersweet chocolate and then sprinkled the wet chocolate with some Skor bits. Fancy is how we roll around here at salt and serenity.

Click here to print recipe for Coffee Toffee Shortbread.