Holiday cookies are my love language, but packaging them can be just as fun as baking them. This post is full of Holiday Cookie packaging ideas. Gifting cookies has been one of my favourite holiday traditions for over 30 years. It all started when my kids were little—I’d bake treats for their teachers and even for the receptionist at the pediatrician’s office (because let’s be honest, she’s the gateway to getting an appointment when your kids are sick).
Over the years, I’ve built up lots of knowledge—and quite a collection of tools and materials—for packaging cookies. Whether it’s for friends, family, or faraway loved ones, thoughtful packaging can make your cookies look just as special as they taste. In this post, I’ll share my favourite tips to ensure your cookies arrive fresh, protected, and beautifully presented.
Why Packaging Matters
Packaging cookies isn’t just about making them look pretty (though that’s definitely a bonus). It’s all about keeping them fresh, intact, and as inviting as they were when you first baked them. Here’s why it’s worth taking a little extra time to package them up thoughtfully:
- Freshness First: Nobody wants to open a cookie tin and find stale treats! A little planning goes a long way in keeping those soft cookies chewy and those crisp cookies, well, crispy. Airtight bags or boxes are your best friends here.
- Protect the Pretty Stuff: Whether it’s a perfect drizzle of icing or a sprinkle-topped masterpiece, cookies can be fragile. Good packaging keeps them from getting crushed or cracked—especially if they’re traveling long distances.
- A Gift That Feels Special: Packaging is like wrapping a present—it’s the first thing people notice. A cute ribbon, a festive box, or a custom label makes your gift feel extra thoughtful. It’s all in the details!
- Making It Easy for the Recipient: Separating cookies into individual bags or layers keeps flavours from mingling (because let’s face it, no one wants their peppermint cookie tasting like gingerbread). It also makes it easy for people to share—or to stash a cookie for later without making a mess.
- It’s Just Fun (and Fulfilling): Honestly, packaging cookies has become one of my favourite holiday rituals. There’s something so satisfying about picking out just the right box, choosing the boxes, designing the labels and deliberating over fonts. It feeds my creative soul. And seeing the joy on someone’s face when they open a beautifully wrapped box? That’s the best part.
Essentials for Packaging
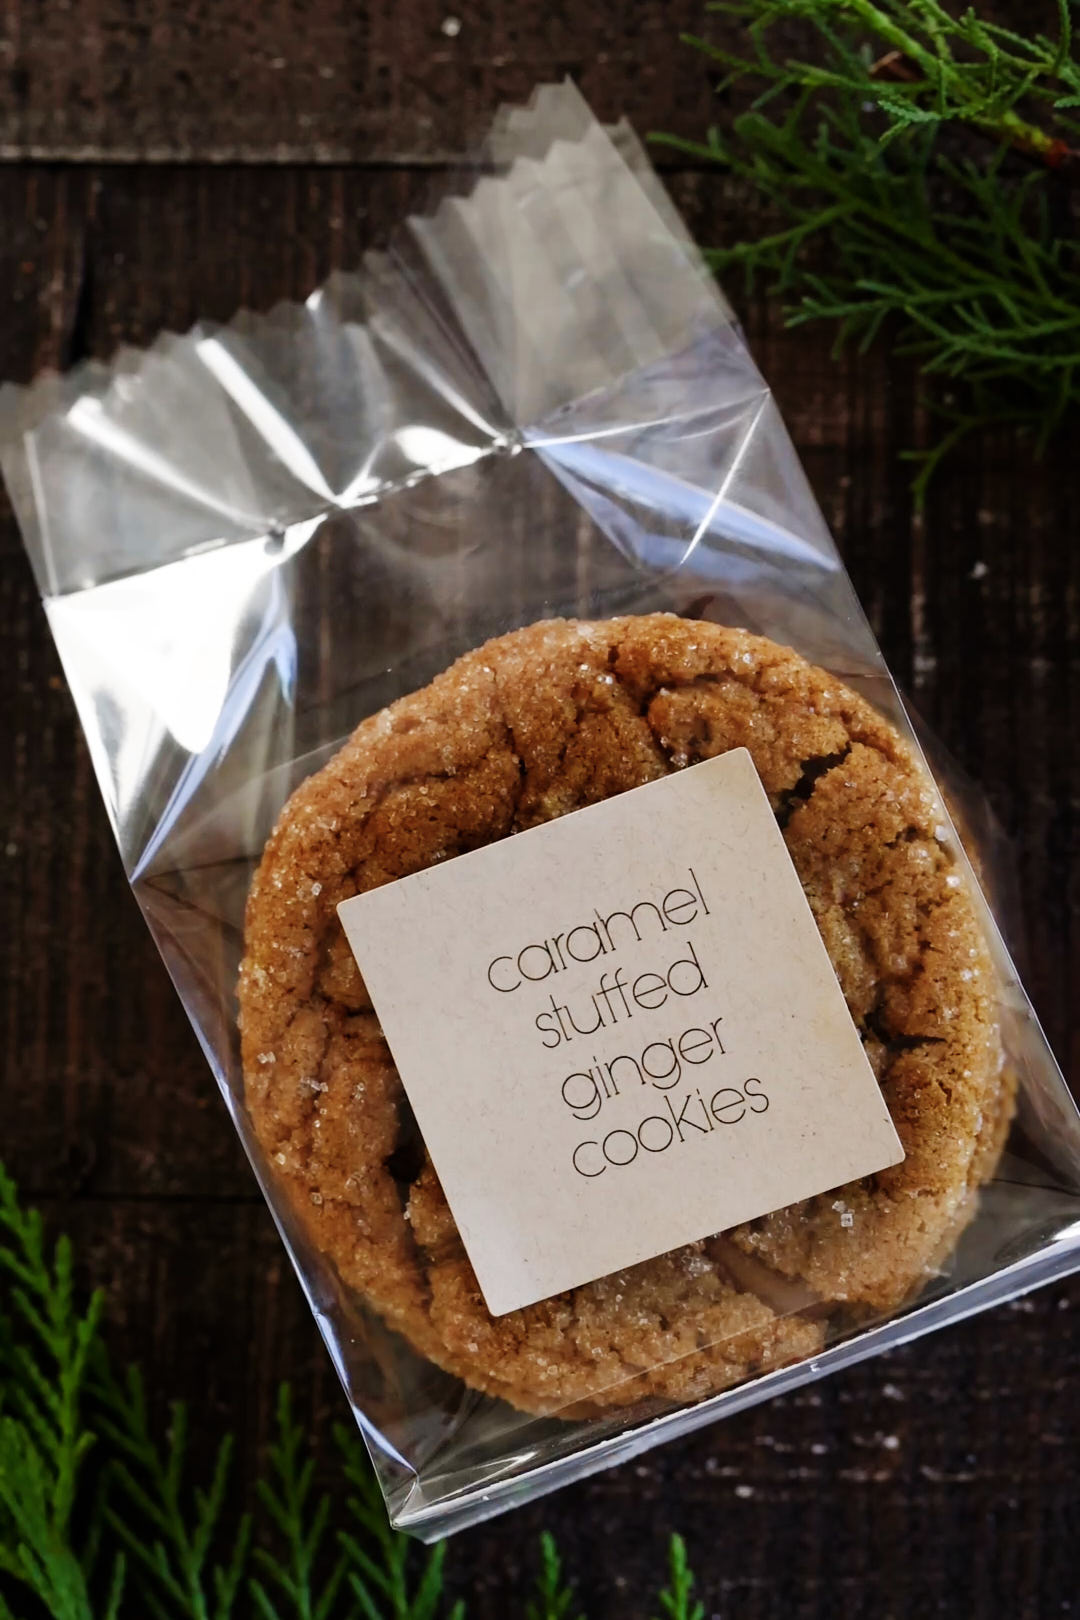
- Cello bags are sturdy and a great way to keep the flavours of different cookies separate. If you’re in the USA, I like ordering these from Clear Bags. If you’re in Canada, I like ordering from Pritchard Packaging in Ottawa (I ordered the Clear Stand Up Pro Bags in 2 sizes: 68-BG-1LB and 68-BG-2LBplus).
- Bag Sealer Nothing says professional like a bag sealer. It will keep the cookies fresher than tying with a ribbon.
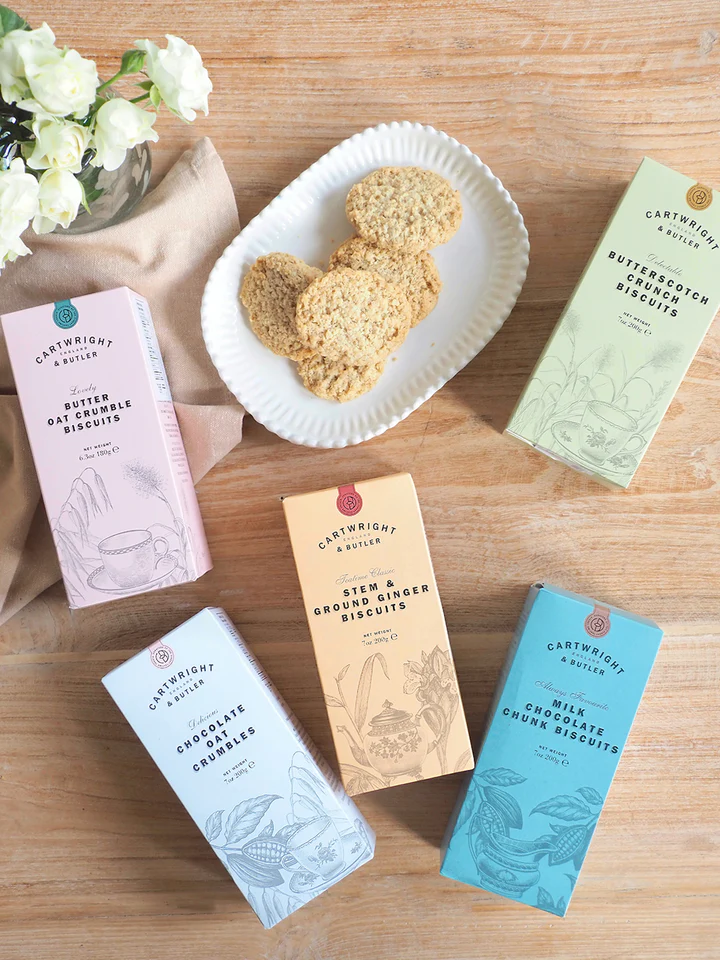
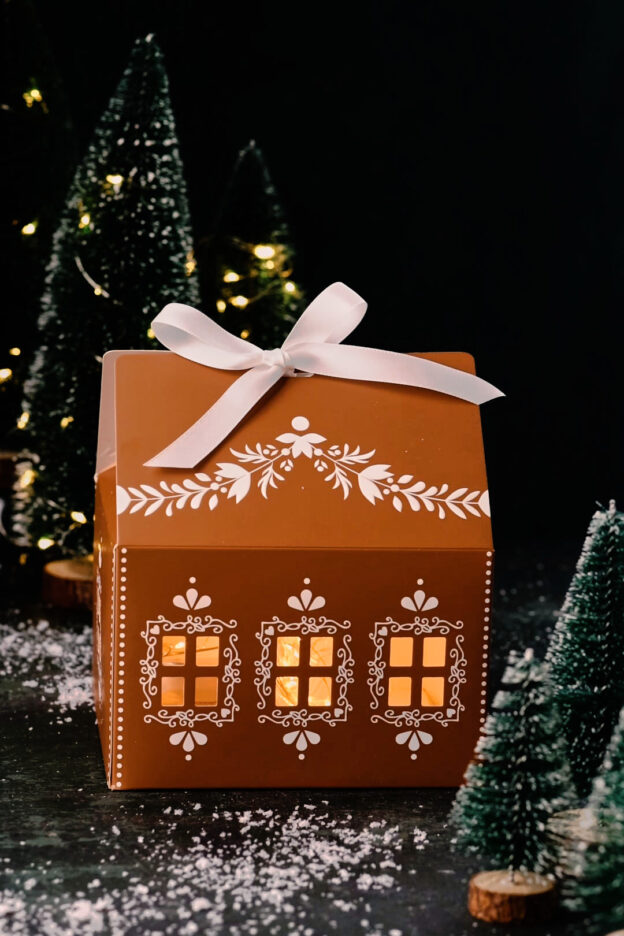
- Beautiful Boxes These adorable boxes are from karentology

- Custom Labels I designed these on Avery.com and printed them on these Avery labels. This font is called InLove.
- Shipping boxes. Choose something slightly larger than your container. For the gingerbread boxes I shipped my cookies in these boxes. Uline has a great selection of sizes. I wrapped each gingerbread box in a thin layer of bubble wrap and packed it in the corrugated box. Make sure to fill all empty space with cushioning material, such as more bubble wrap or styrofoam peanuts.
Cookie Choices
Choose a variety of flavours and shapes and nothing too delicate. Here is my 2024 lineup:
- Coffee Chocolate Hazelnut Sandwich Cookies
- Coffee Toffee Chocolate Chunk Cookies
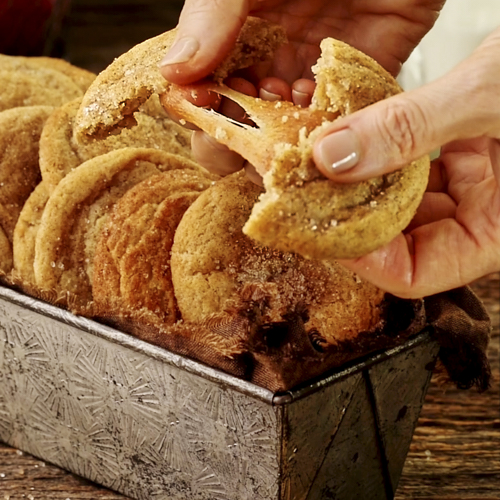
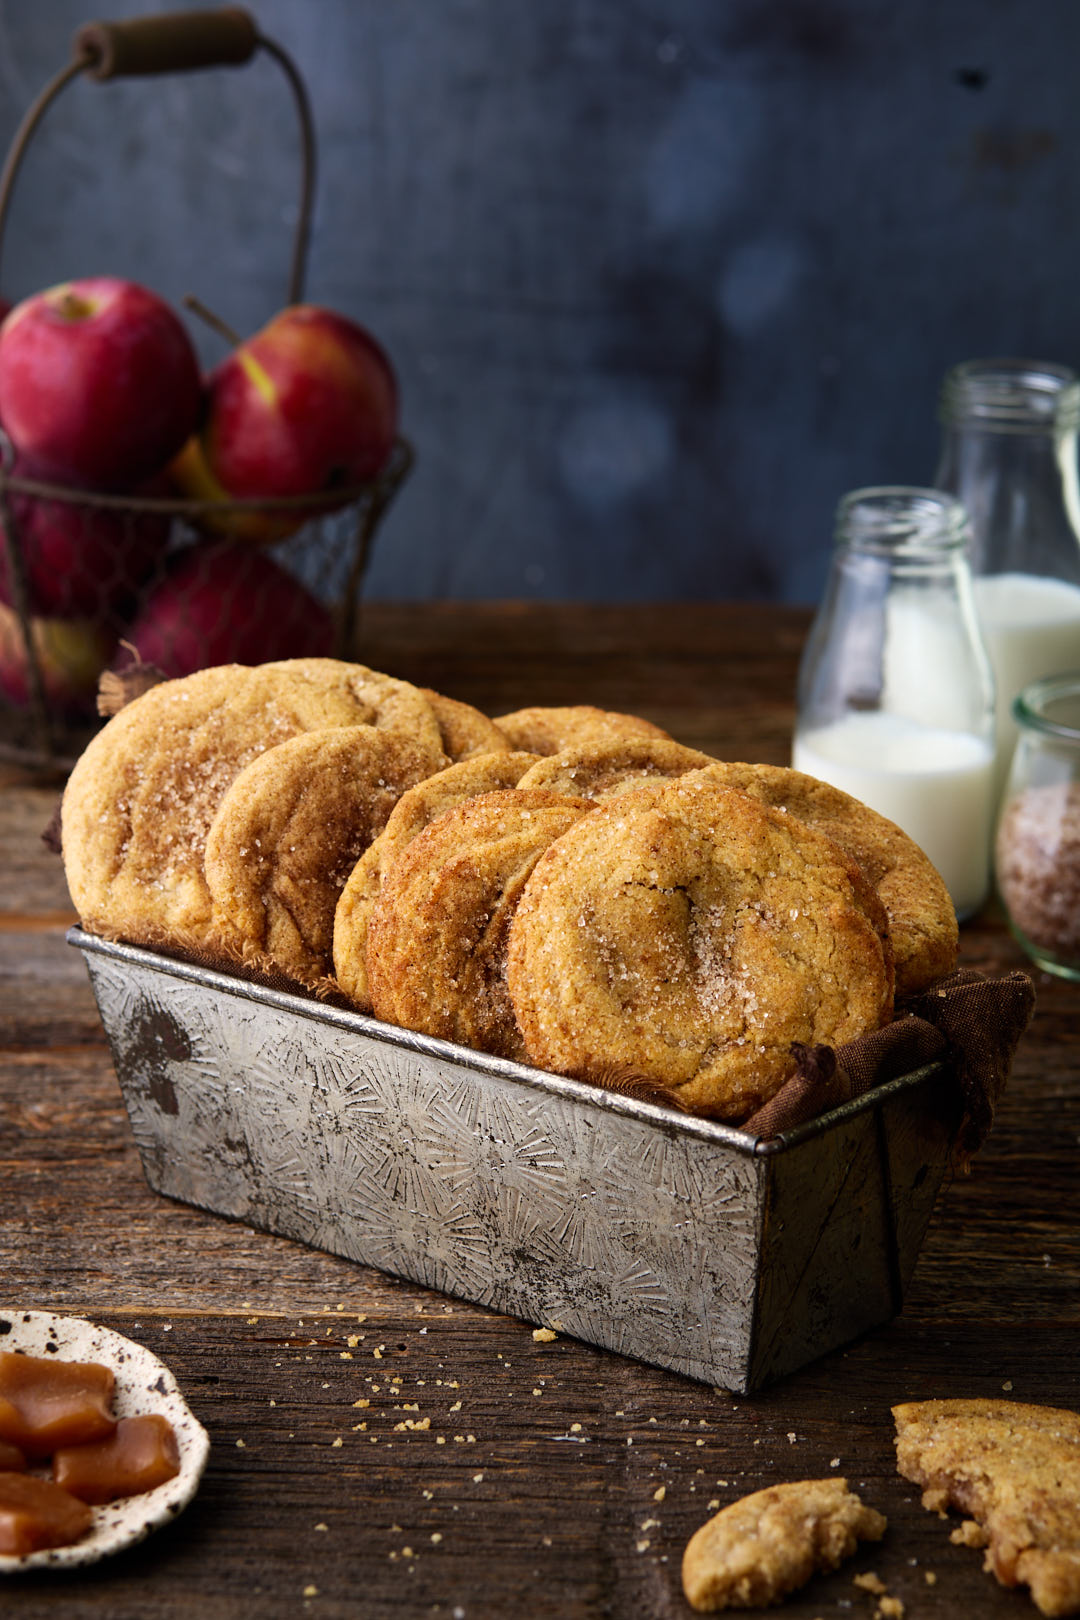
- Caramel Stuffed Ginger Crinkle Cookies
- Double Chocolate Peanut Butter Bark
- Peppermint Bark
- Raspberry Glazed Brown Sugar Cookies
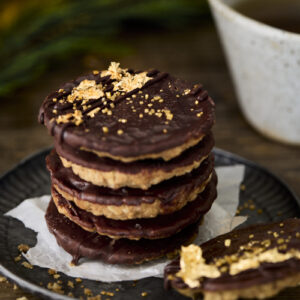
- Chocolate Dipped Oat Crumble Cookies
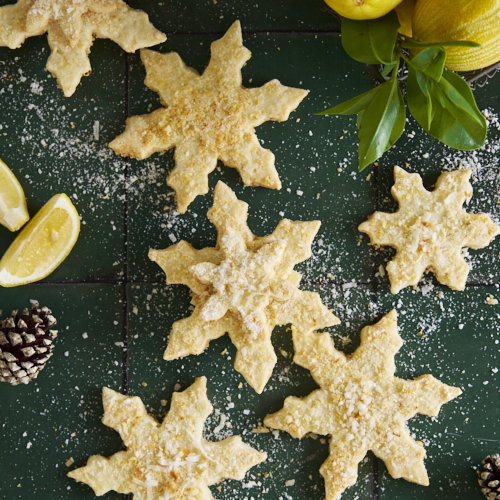
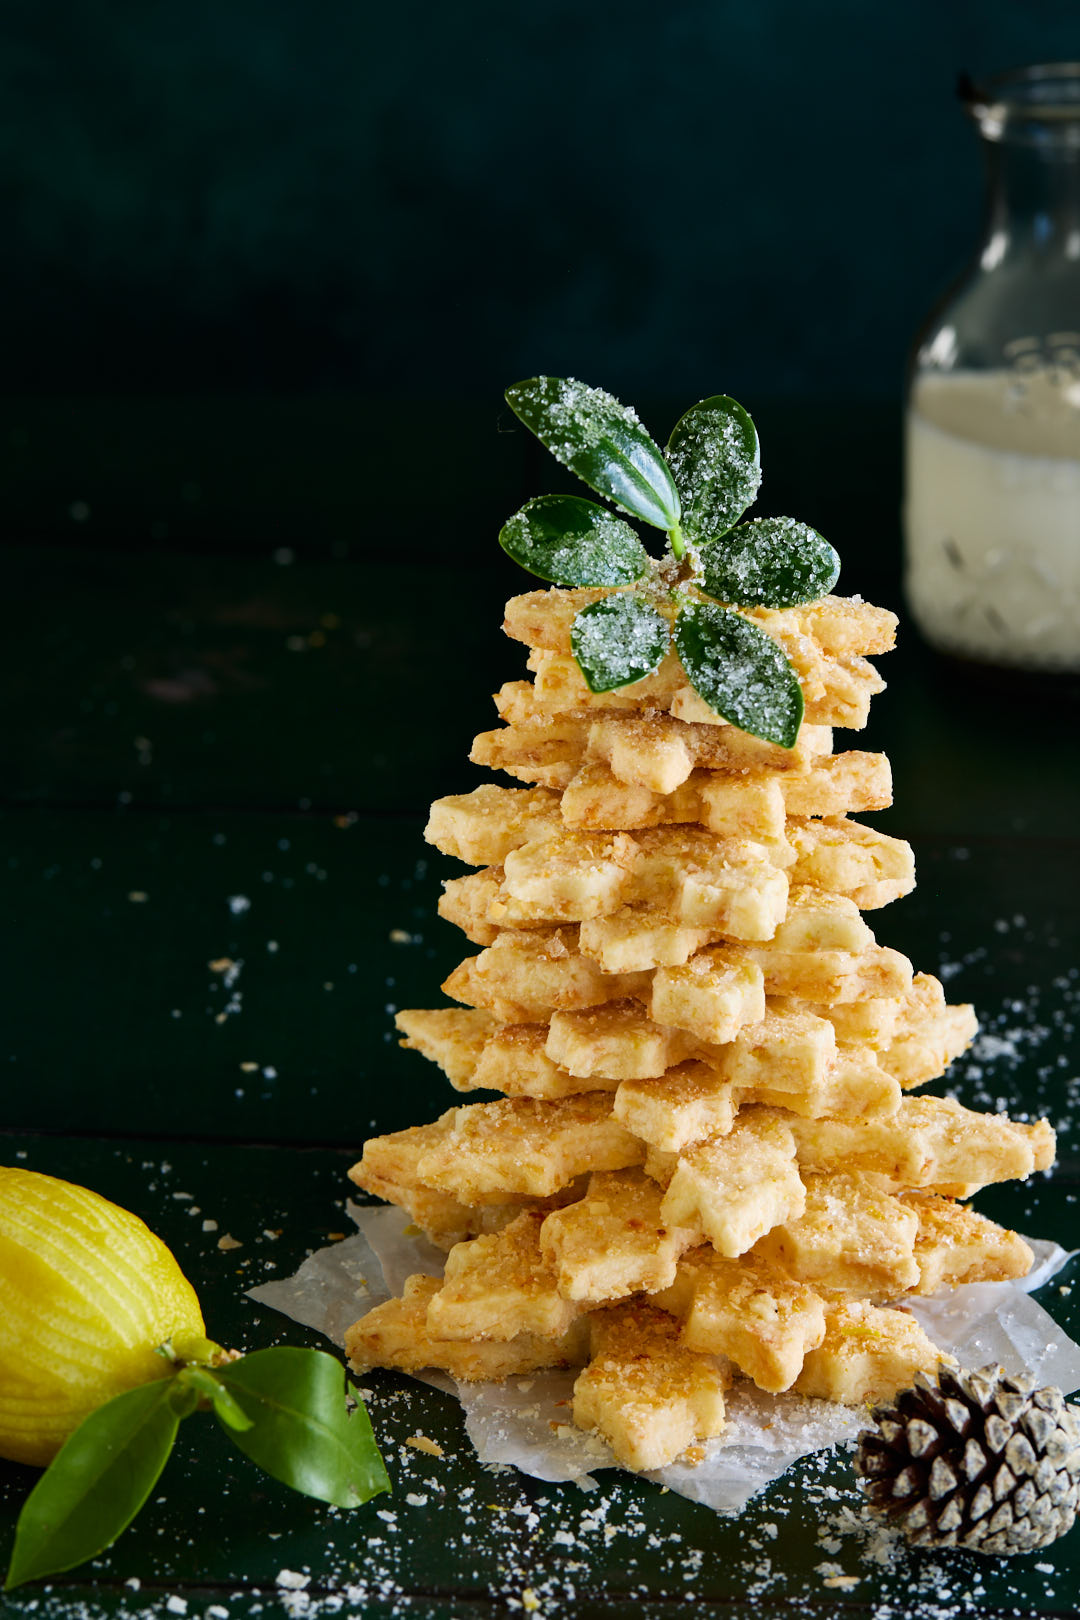
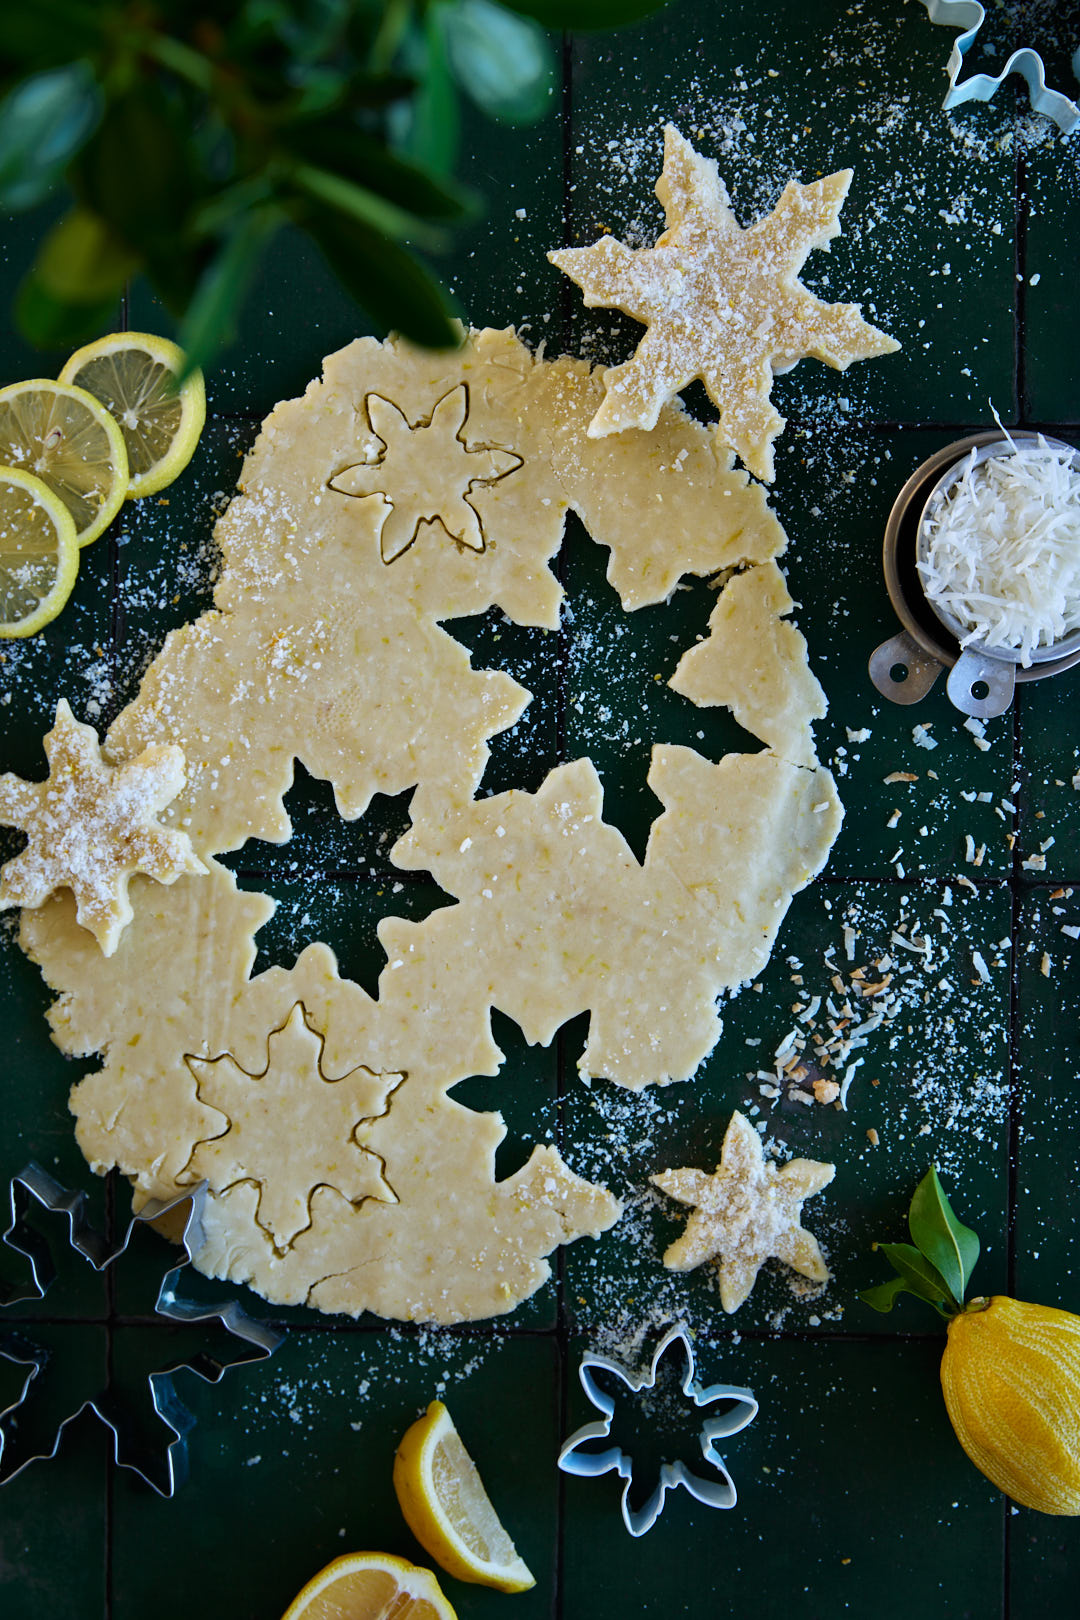
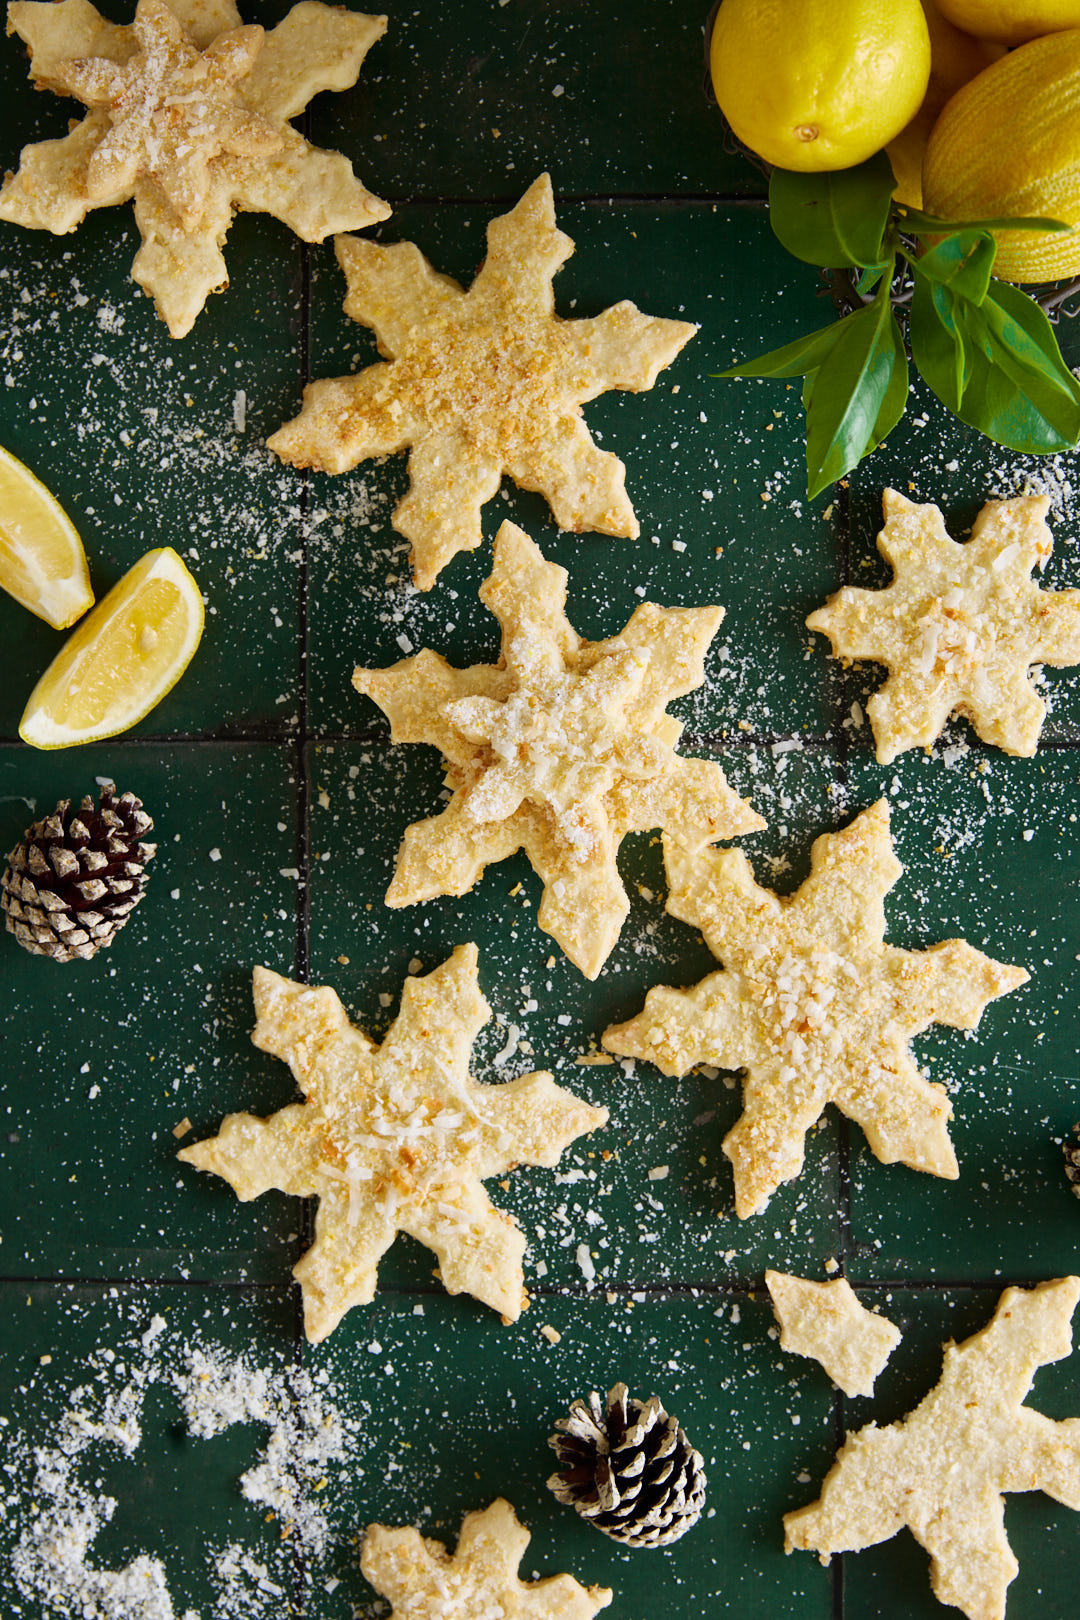
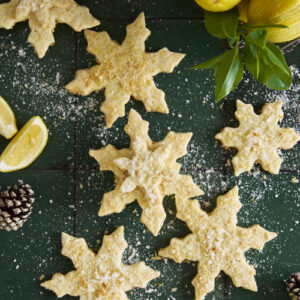
- Coconut Lemon Shortbread Snowflake Cookies
That’s a wrap
There’s something so special about giving cookies during the holidays. It’s more than just a treat—it’s a way to share a little sweetness and show someone you care. Whether you’re hand-delivering a beautifully wrapped box or mailing a package full of cookies across the miles, thoughtful packaging makes the gift even more meaningful.
Do you have any go-to tips for packaging or shipping cookies? I’d love to hear about them! Share your ideas in the comments—I’m always looking for new ways to make cookie gifting even better. Happy baking and happy holidays!