Tag Archives: Caramel

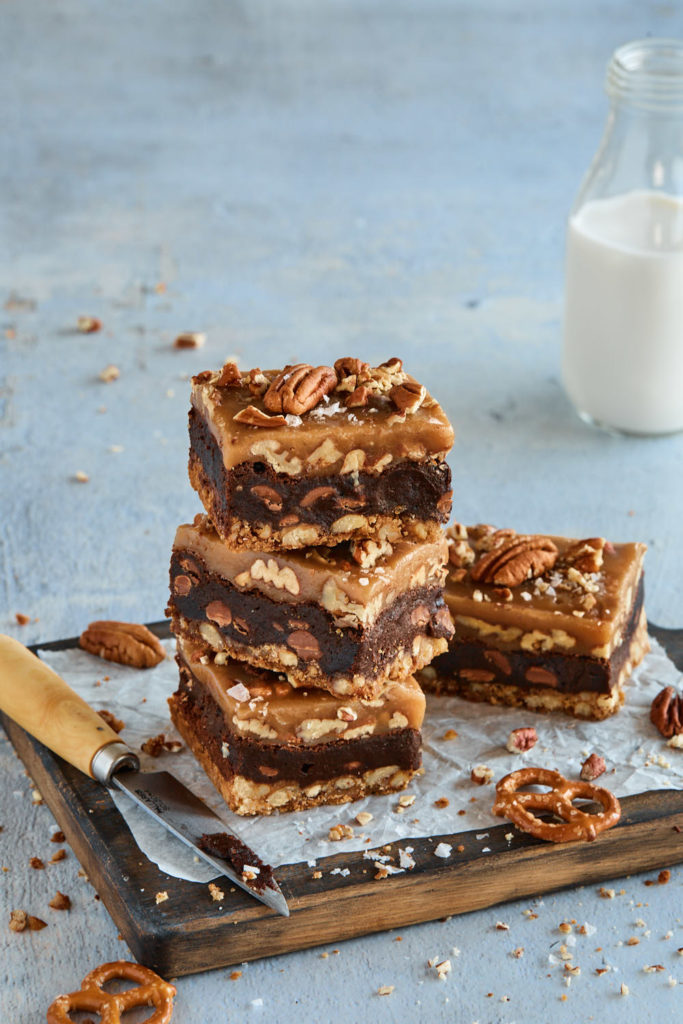
Pretzel Crusted Turtle Brownies

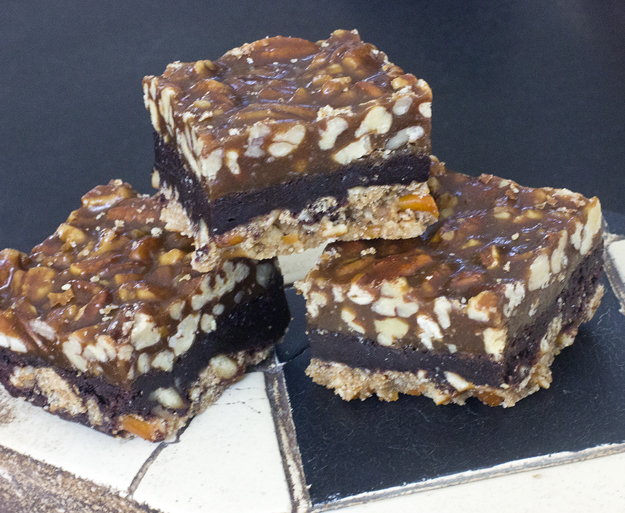
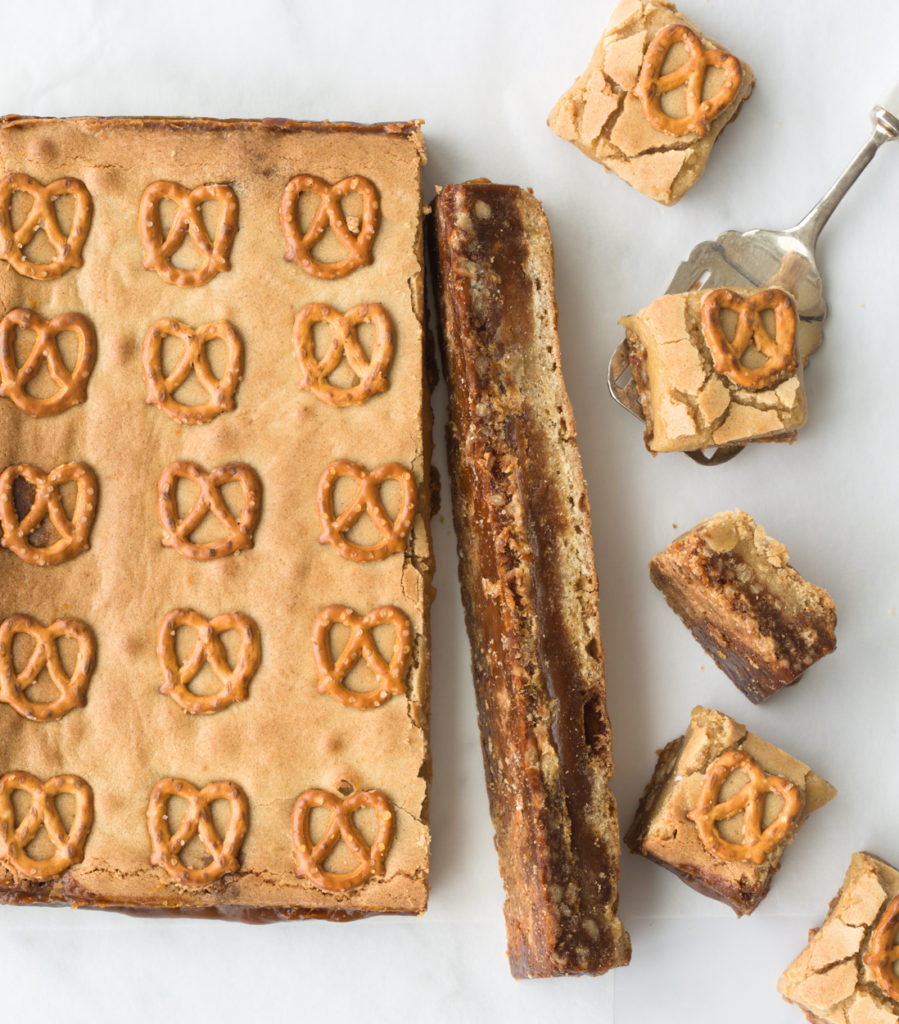
I posted these decadent bars 8 years ago and decided that it was time for a makeover. Here is my image from 2014. I have learned a few things about photography and styling since that time and it’s so rewarding to look back and appreciate my progress.

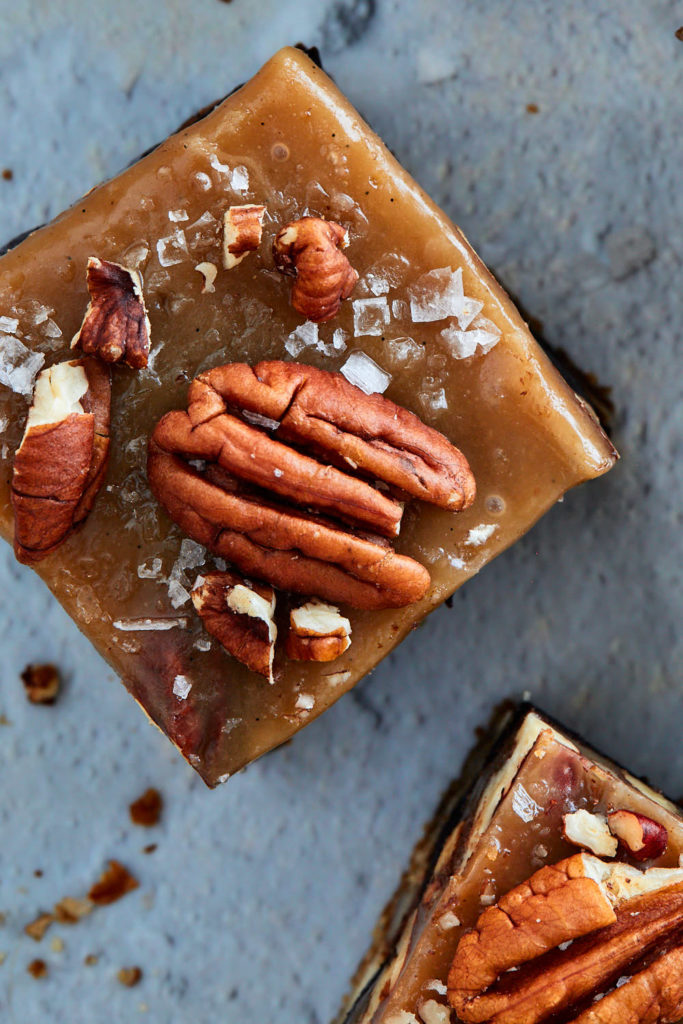
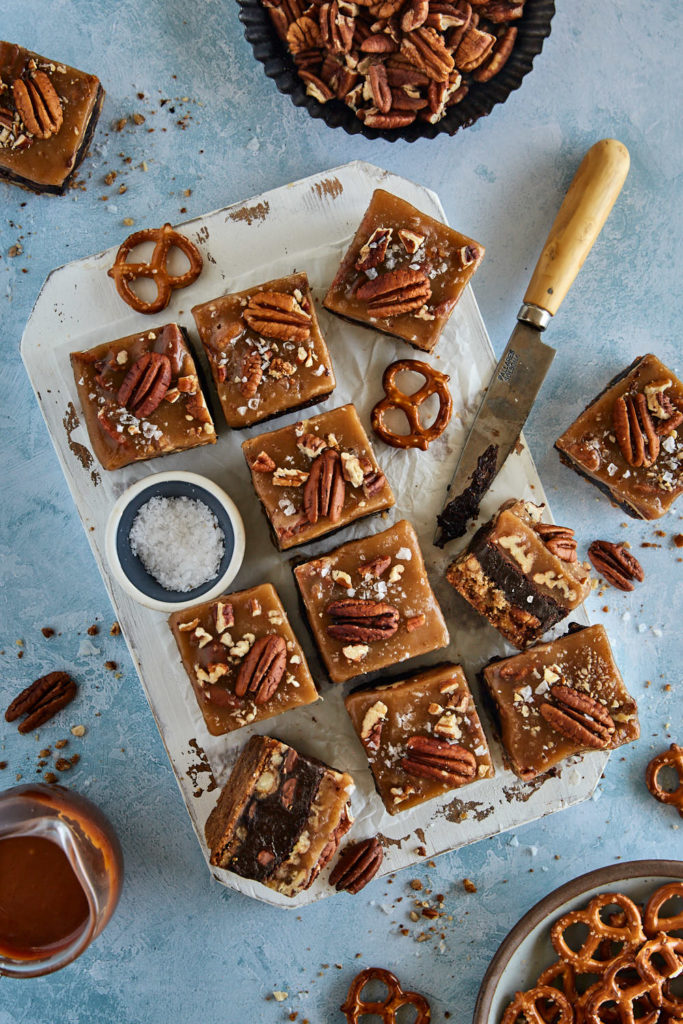
In addition to new photos, I have also updated the recipe slightly. I replaced the middle chocolate layer with Michael Smith’s brownie recipe, the best ever brownie recipe. And I changed the top caramel layer to a sturdier, chewier consistency, using Sally’s recipe for caramel candies.

I produced a little video so you can watch how they come together.

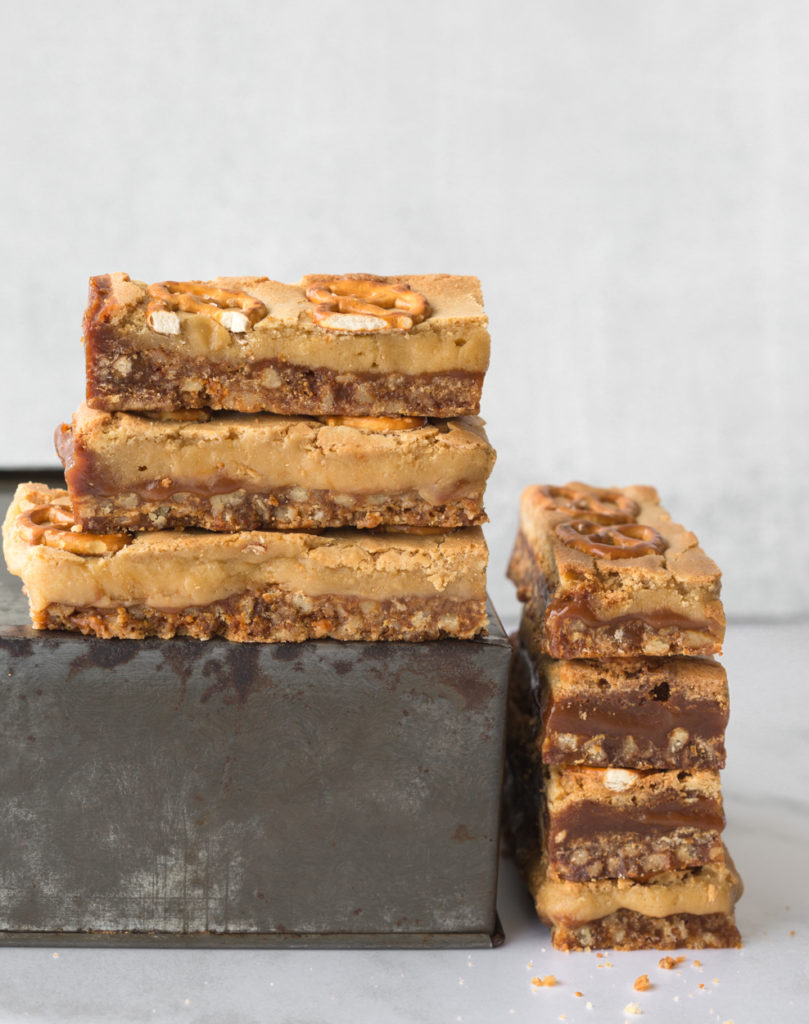
One bite of these bars transports you through an amazing texture and flavour journey. Crunchy pecans, chewy caramel, fudgy brownies and a salty crumbly pretzel crust. All in one little bar.

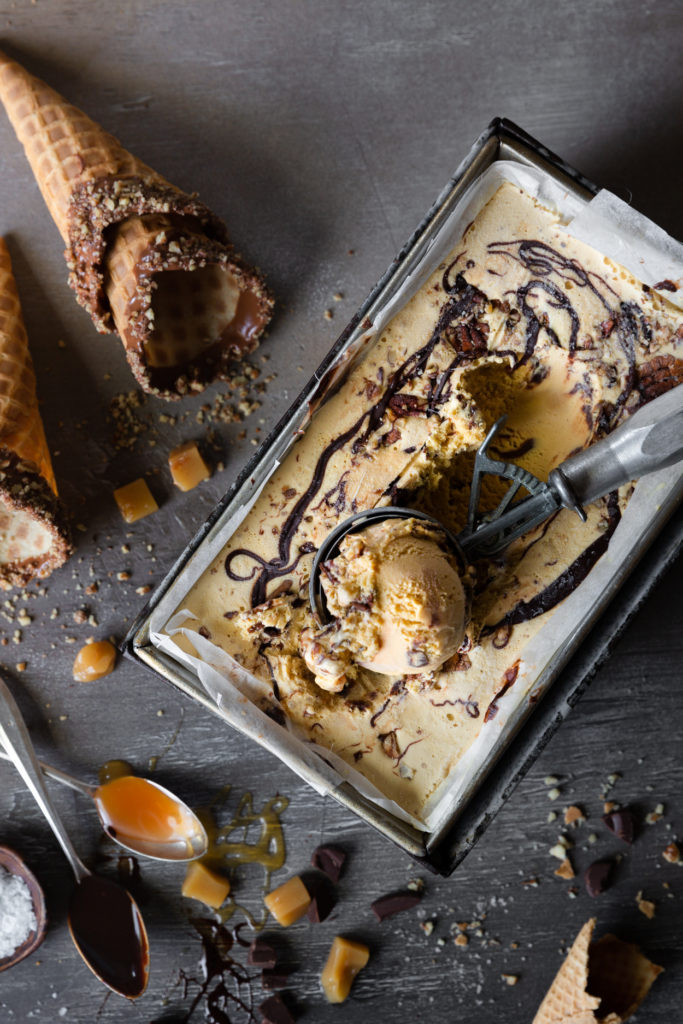
Turtle Ice cream

The inspiration for this ice cream came from Turtles Chocolates. Creamy caramel and crunchy pecans coated in rich chocolate. Mmmmmm, I love turtles. When I told my husband I was creating Turtle Ice cream, he had no idea what I was talking about. Clearly, his mother did not have a candy drawer in the living room where she “hid” the chocolates that were meant for company.

Of course that drawer was a magnet for my sisters and I. We’d try to quietly sneak chocolates, but the drawer had a brass knocker handle that would clunk every time we opened and closed the drawer. The variety box of chocolates would be filled with half-eaten cherry and cream filled chocolates. All the nut and caramel ones were gone. My mother would be so embarrassed and angry at us when she went to serve the chocolates to company. Ah, sweet childhood memories!

Turtles were the most coveted box in the drawer and it was always filled with empty candy cups. For my version of Turtle Ice Cream, I started with a base of salted caramel ice cream from Rose Levy Beranbaum’s book, “Rose’s Ice Cream Bliss.” You will need an ice cream machine to make this recipe.

The blogosphere is awash with quick, no-churn ice cream recipes. Essentially, no churn ice cream does not contain eggs, and relies on sweetened condensed milk to thicken the ice cream. The big draw to most of these recipes is that they do not require an ice cream machine. You just mix the ingredients and freeze. Sound perfect until you taste the ice cream. No matter what flavour you add, I find that the sweetened condensed milk overpowers everything. Plus, it has a strange texture. I don’t understand the appeal.

Rose’s recipe is extremely detailed and fool proof. She walks you through all the steps and explains why things work. I’m a big fan. Her first book “The Cake Bible” is the most dog eared book on my shelf. Published in 1988, it has stood the test of time.

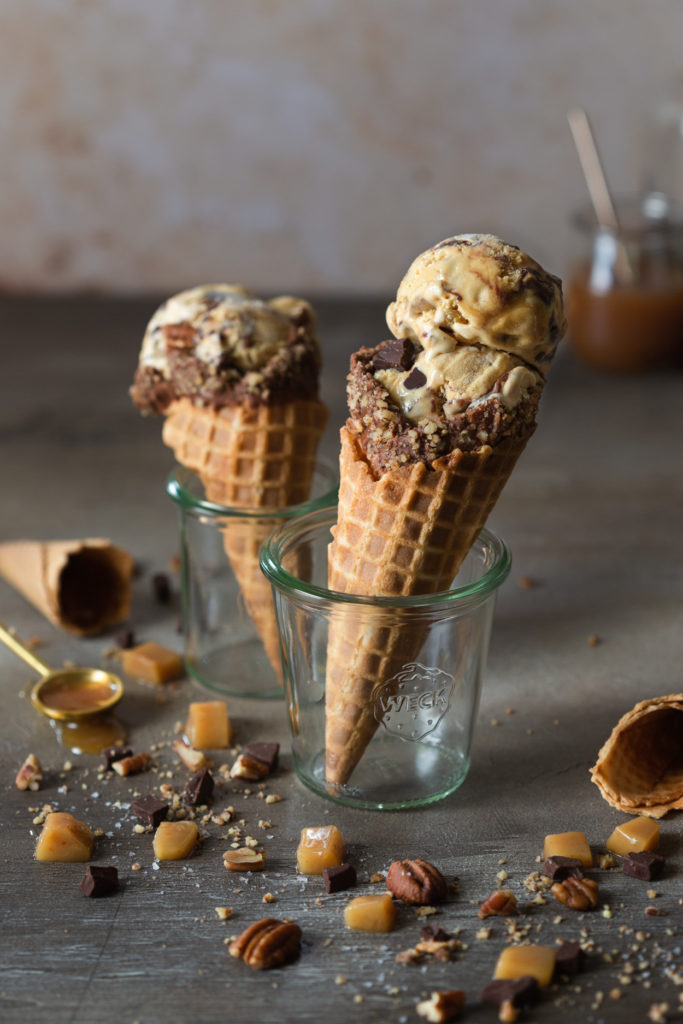
I dipped the top of the sugar cones with melted chocolate and rolled it in toasted pecans, because we’re fancy here at saltandserenity. Plus, it makes a pretty picture. It’s all in the details.

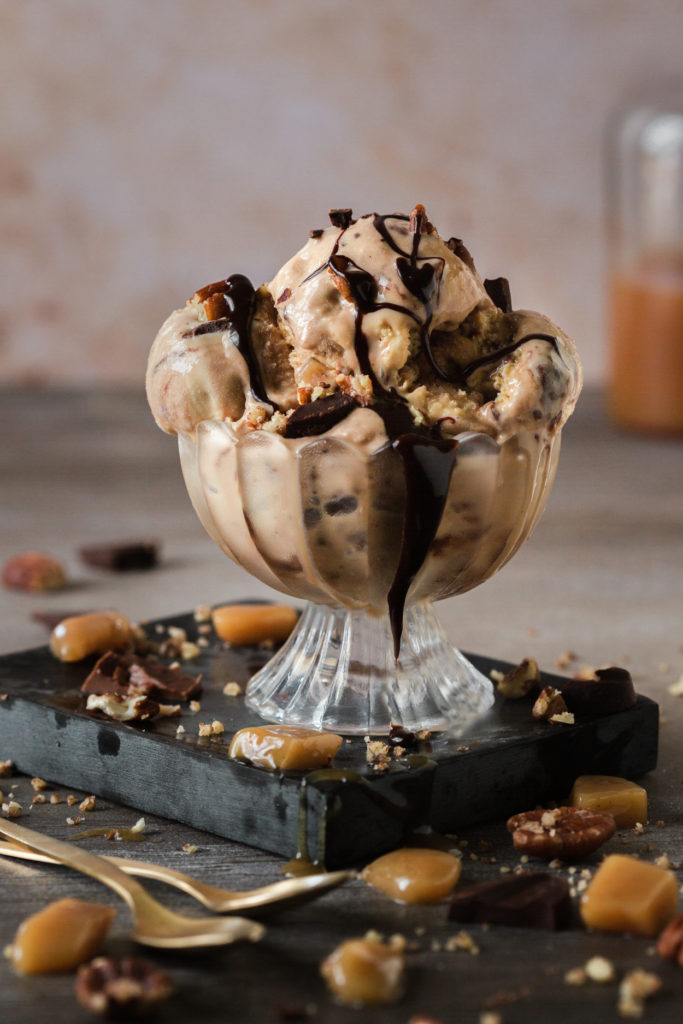
To the base of salted caramel ice cream, I added buttered toasted pecans and chunks of caramel candy. You can make your own caramel candy, or just buy the Kraft caramels and cut them into quarters. For the chocolate, I envisioned ribbons of hot fudge sauce rippling through the ice cream. I made a simple hot fudge sauce and layered it through the ice cream before freezing. Then I drizzled on some extra after scooping.

Triple Chocolate Chunk Caramel Cookies

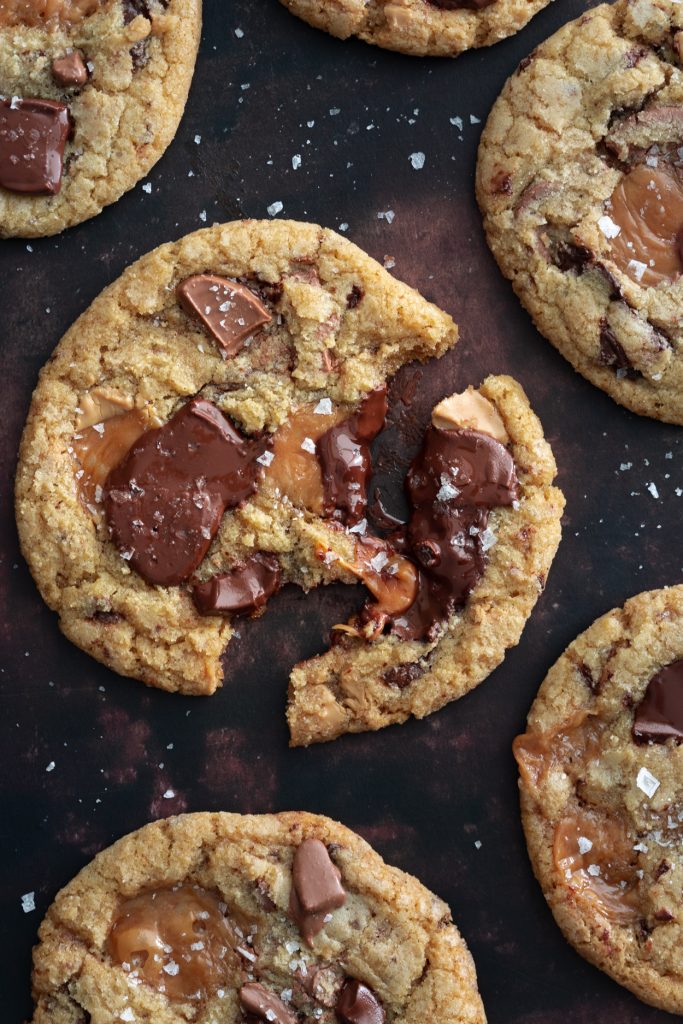
Sometimes you need a simple little cookie, like these or these. And then there are times that require something outrageous and over the top, like these Triple Chocolate Chunk and Caramel Cookies.

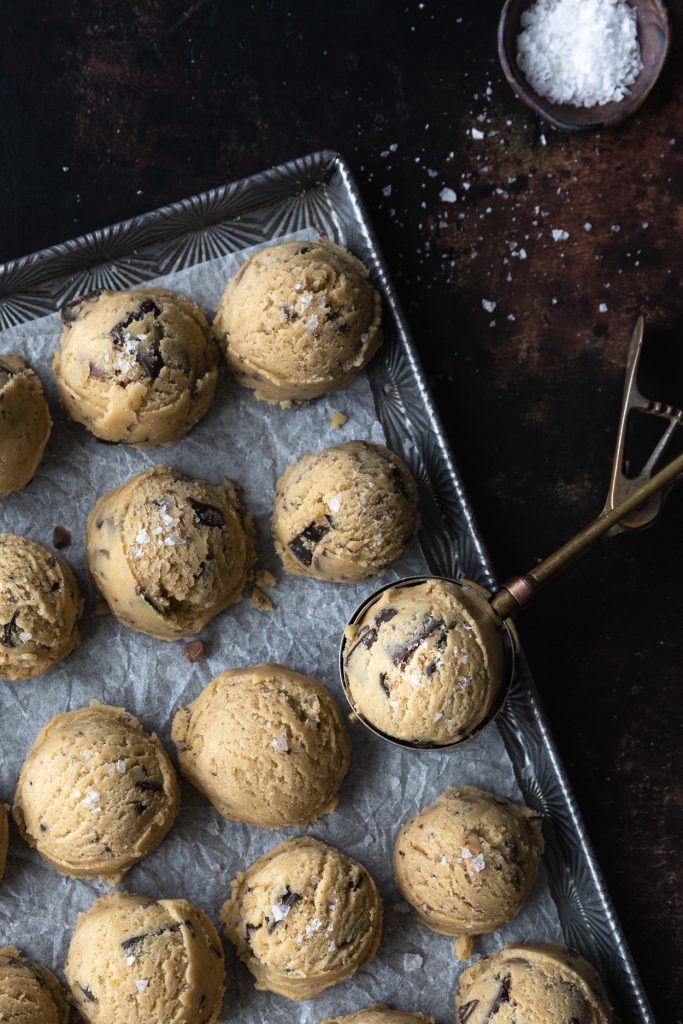
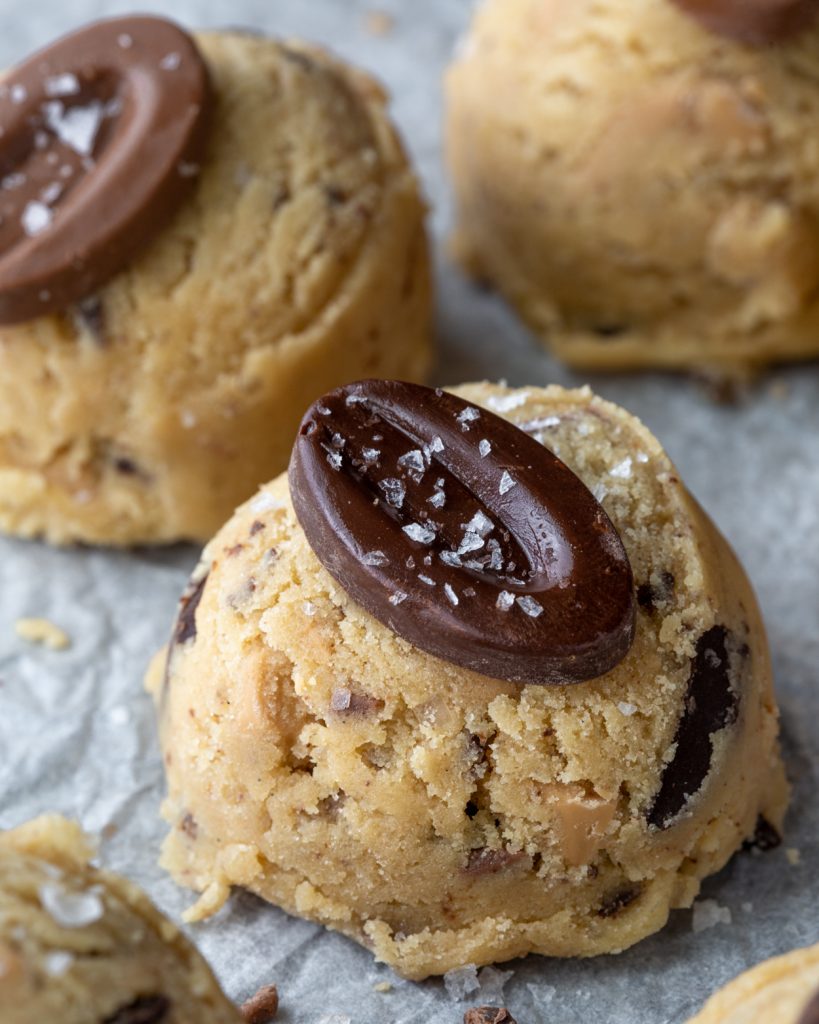
These cookies call for three kinds of chocolate, bittersweet, milk and blonde (caramelized white chocolate). This is not a sponsored post, but I highly recommend using Valrhona chocolate. I used Dark Bittersweet 70% Guanaja, Milk 40% Jivara and Blonde (White) 32% Dulcey. I order my chocolate online from The Vanilla Food Company. The quality is outstanding and it really does make a difference what kind of chocolate you use in these cookies. Supermarket chocolate chips just won’t give you the same results.

For the caramels, I just used vanilla caramels from Bulk Barn. Werther’s chewy caramels or Kraft caramels would also work well here. In the video I made, you see me mixing the caramels right into the dough. DO NOT DO THAT! The caramel oozes out of the cookies and makes a huge mess. Trust me. I made over 8 dozen of these cookies, figuring out the best way to do it.

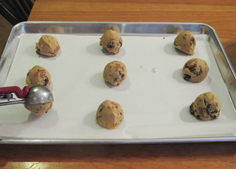
To prevent the ooze, set the caramels aside. Scoop your cookie dough, and while the dough is in the scoop, stuff one whole caramel into the centre of the scoop. The surrounding dough insulates it. I also found it best to freeze the scooped dough for at least 2 hours before baking. That also helped to prevent the caramel from escaping.

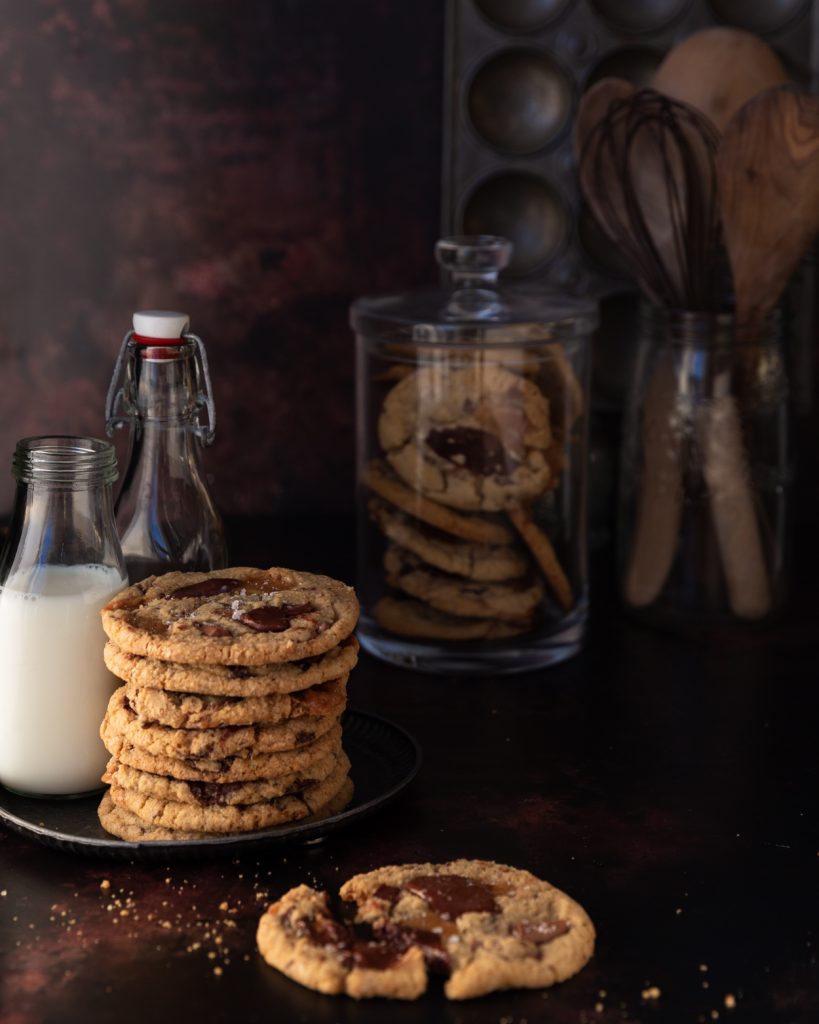
For picture-perfect cookies, hold back about 3 Tablespoons of each of the three kinds of chocolate, coarsely chop them and top the cookies with these bits of chocolate about halfway through the baking time. This will give you pretty pools of melted chocolate on top of your cookies. You can also cut a few extra caramels into quarters and top the half baked cookies with one or two additional pieces if you like.

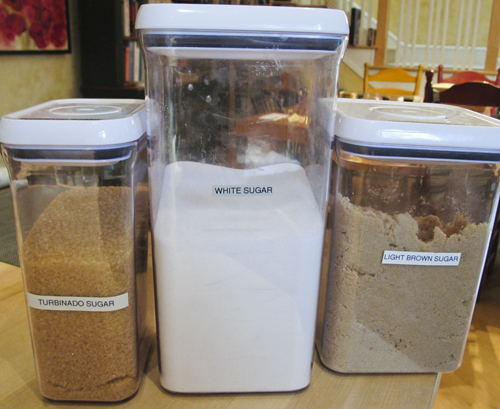
These cookies also use three types of sugar, white, brown and turbinado (raw sugar). The addition of the turbinado adds a bit of crunch to the cookies. I learned about this from Ashley, on her blog, Not Without Salt.

These cookies would make an excellent addition to a cookie box for holiday giving, or just stash them away in your freezer for those days that call for extravagance. I won’t judge.

Sweet and Salty Blondies

Blondies are often described as brownies without chocolate. I think that definition is insulting to Blondies. It’s like saying that women are men without penises. No, blondies have their own distinct charm and personality and it’s all about the brown sugar.Whereas brownies depend on chocolate for their flavour, for blondies it’s all about the brown sugar, giving the blondies their unique molasses flavour. Rich and chewy, with caramel undertones, they are a special dessert in their own right. If you are asking me to choose between a Brownie and a Blondie, I am team Blondie all the way. Although my sister Jody’s brownies are unparalleled!

A few weeks ago, I stumbled across a recipe on the Valrhona web site for blondies studded with chopped blonde chocolate. I have written about the glories of blonde chocolate here before.  The folks at Valhrona roast white chocolate to coax out its caramel/butterscotch notes. Typically, butterscotch chips are added to Blondies. I loved the idea of using chopped blonde chocolate instead.

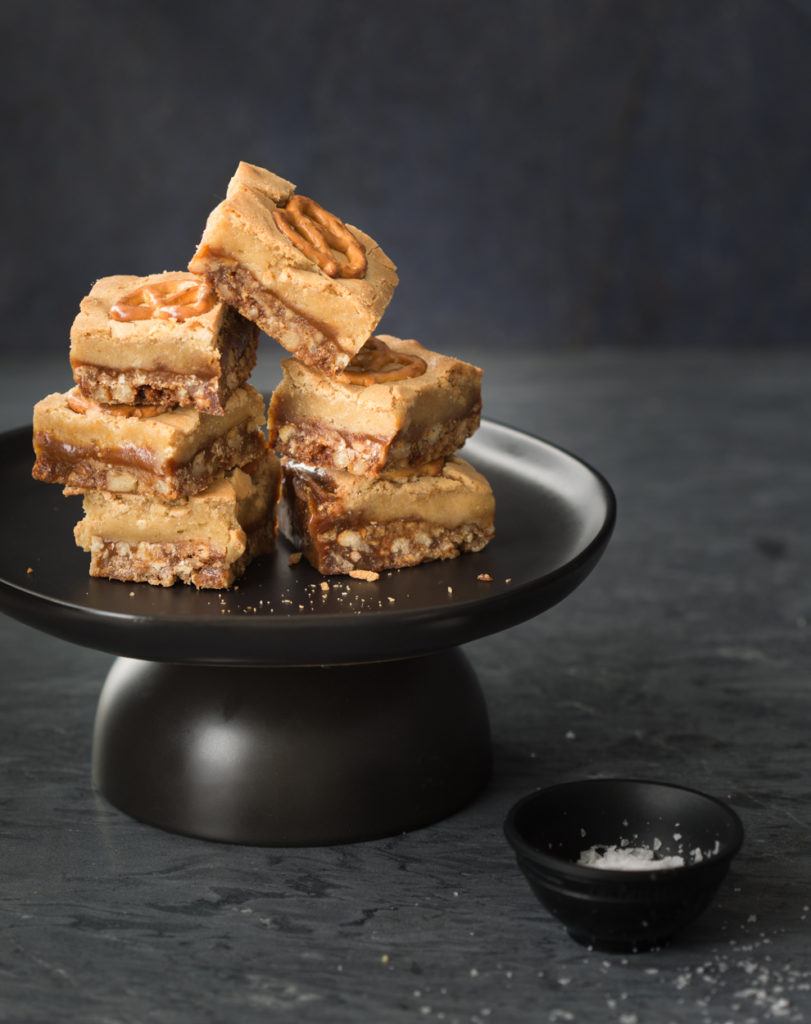
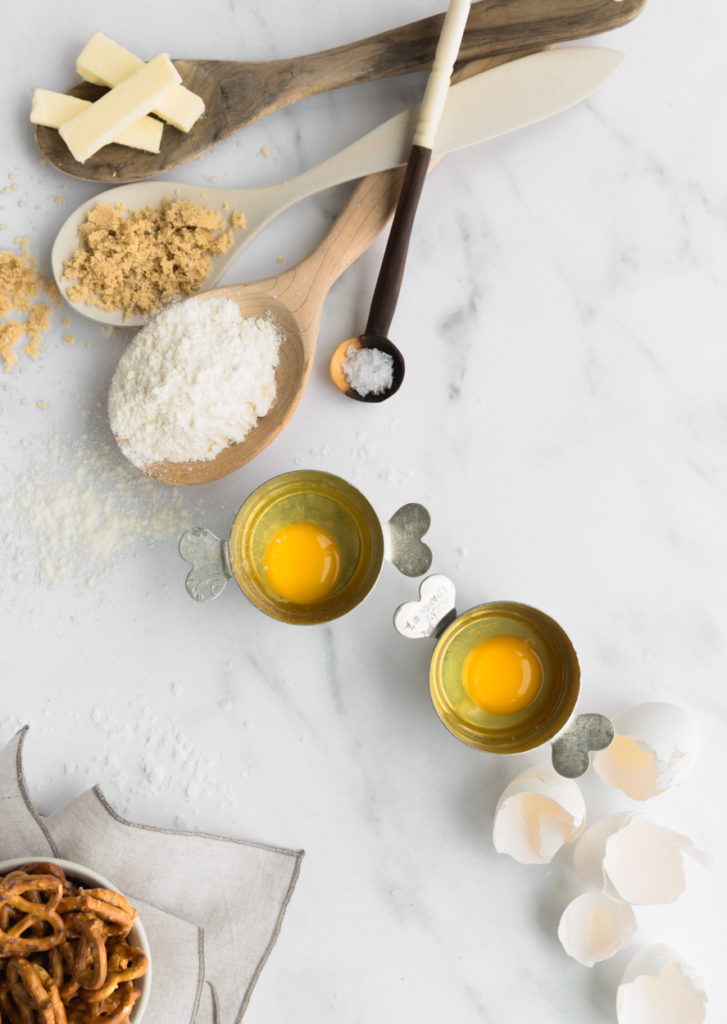
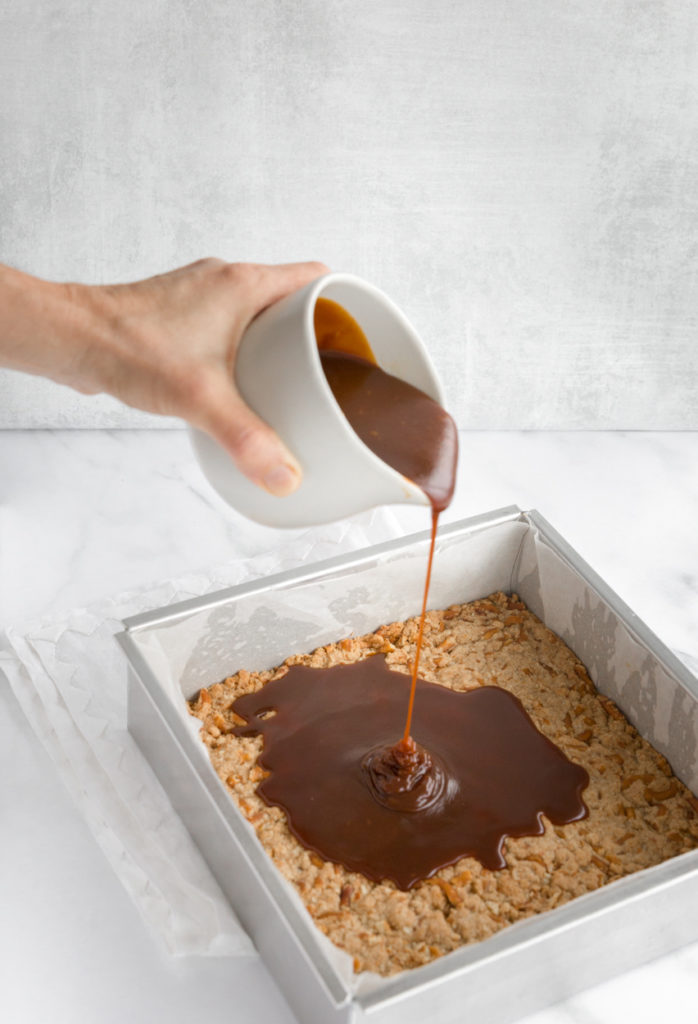
I wanted to put my twist on these Blondies. In my mind, I was envisioning a triple layered treat. A crunchy salty pretzel base and a chewy Blondie top layer sandwiched together with a blanket of salted caramel.It took me five tries to get this right. The first time, I baked the pretzel crust for about 10 minutes, added a layer of slightly cooled salted caramel and topped that with the Blondie batter. I baked the whole thing for 20 minutes, let it cool, and then sliced it into squares. As I cut it, I realized that the Blondie batter was under baked, and too gooey. They were still delicious but not what I had envisioned. Into the freezer the first batch went, for snacking.

The second time, I baked them for 30 minutes and a toothpick inserted into the top layer tested done. I let them cool, and proceeded to slice them into squares. The caramel oozed as I cut and I noticed that it had seeped under the pretzel crust. My vision of 3 distinct tidy layers had not been achieved. Again, still very delicious, but not what I had in mind. Batch 2 went into the freezer, making my husband very happy. In case you were wondering, they are absolutely fantastic straight from the freezer.

I realized I was compounding the problem, by baking the caramel sauce between the two layers. What if I baked the pretzel crust and Blondie batter layer separately and then sandwiched the two together with the caramel sauce. Yes, a bit more work, but it would be worth the effort if it worked. This trial was en epic fail. The layers did not hold together and it was just a big gooey mess. This batch went straight into the garbage.

These blondies were keeping me up at night, and not just from the sugar rush because I couldn’t stop snacking on them. I just couldn’t let go of my vision of three separate layers. It’s all about the photographs these days, and these just weren’t camera ready.

My husband came home that night to a very excited me, babbling on about a brilliant solution I had come up with to my big problem. I entered “Thick caramel layer that slices neatly” into the search box and Dr Google prescribed the Australian treat, “Caramel Slice.”

In this treat, sweetened condensed milk is cooked with brown sugar to make the caramel layer. It is meant to be baked in the oven. I replaced my traditional caramel sauce recipe with this version and tried again. Sure enough, these sliced up beautifully, and the three layers, (pretzel crust, caramel filling and blondie topping) were visible and distinct. We tasted them and while they were quite good, they didn’t have the deep caramel/toffee flavour that you can only get from cooking sugar to 380°F and making real caramel.

And then I remembered an article I had read in Cook’s Illustrated for a Chocolate Caramel layer cake. They described the problem of the caramel oozing when the cake was cut. They solved it by adding additional butter to the caramel sauce so that it would set up more firm at room temperature. I decided to try one last time. I made my favourite caramel sauce recipe from Rose Levy Beranbaum, and I doubled the butter. This batch was a home run. It was perfectly balanced. it sliced up into three distinct layers. The almost bitter caramel layer in the center is the perfect bridge for the crunchy, salty bottom layer and the sweet, chewy top layer.
Just a word on cutting these into squares. A very sharp knife, run under hot water and then dried, before each cut will give you those pristine clean edges. You know who you are and you will either follow my advice because pristine neat tidy edges are important to you (Hello Jody), or you don’t care about such things and will hack them into bite sized pieces, willy nilly, because they are still delicious no matter how you cut them (hello Bo). No judgment here, Just make them and enjoy them.

P.S. This morning, I heard my  husband cursing these Blondies, as he stepped on the scale.  I promised to stop making them.

Click here to print recipe for Sweet and Salty Blondies.


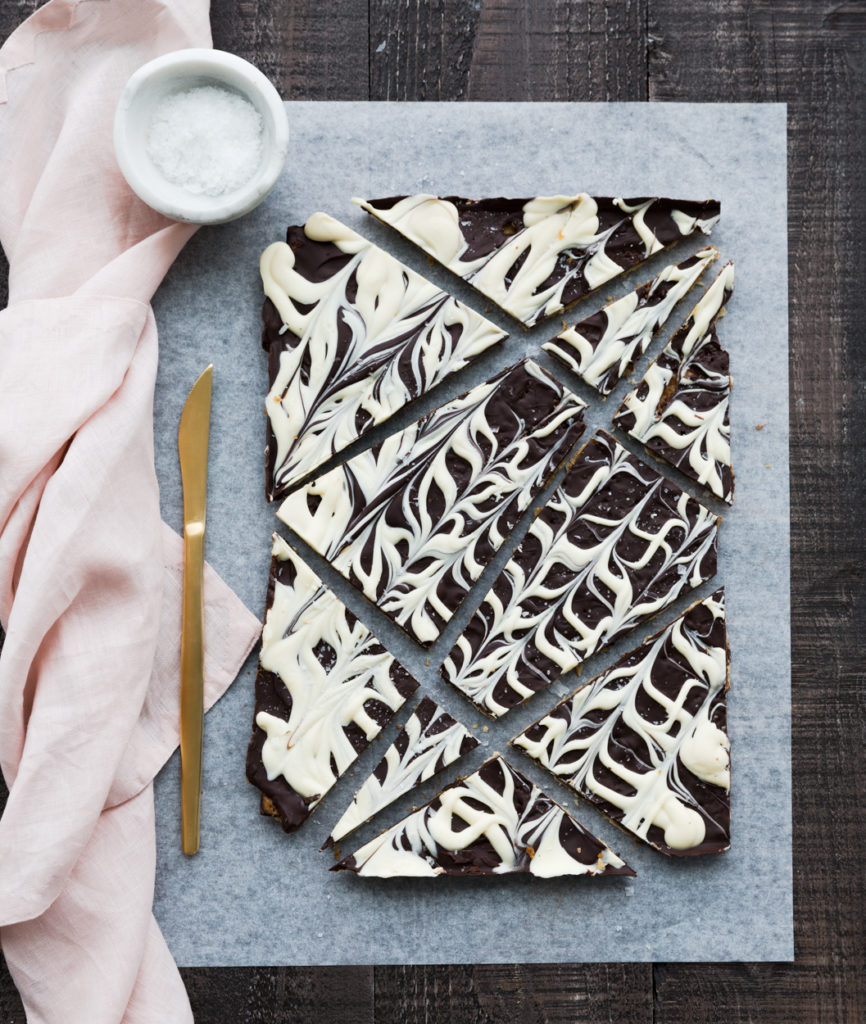
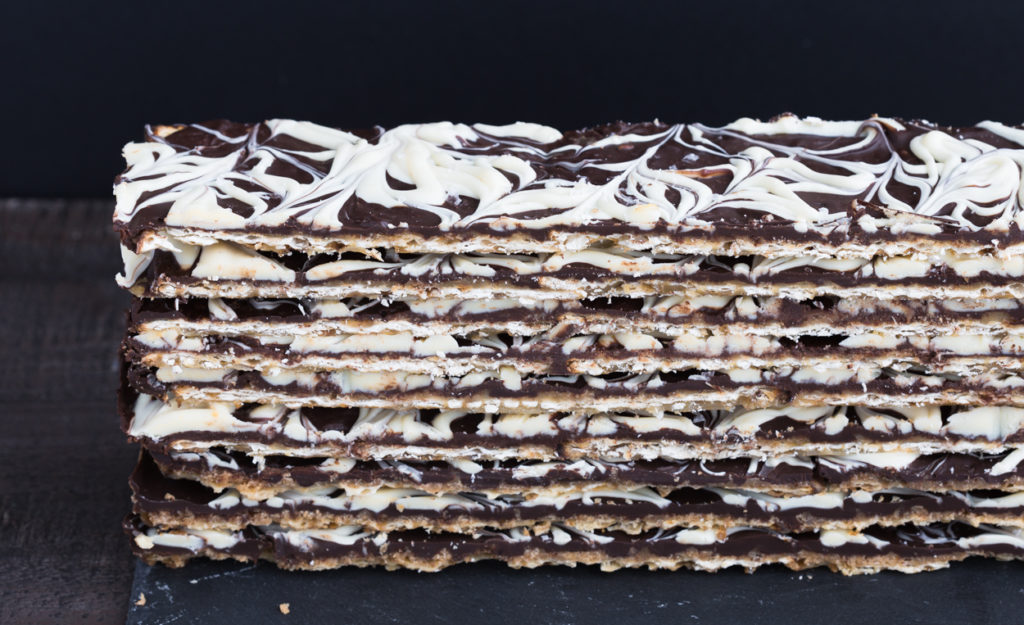
Marbled Matzoh Crunch

Marbled Matzoh Crunch is my spin on Marcy Goldman’s “Caramel Matzoh Buttercrunch”, from her classic book, A Treasury of Jewish Holiday Baking.

Making Matzoh Crunch, on the surface, looks like a fairly simple process.

But, there are a few details you need to pay careful attention to, so that it comes out perfectly.

  1. Make sure you line the baking sheet with foil and then lay a sheet of parchment on top of that. If you use only parchment paper, you will be scrubbing baked on caramel off the pan. If you use only foil, you will have a very hard time peeling the hardened matzoh crunch off of the foil.
  2. Do not use chocolate chips. Buy good quality bittersweet or semi sweet chocolate and chop it up, or buy couverture chocolate callets. Chocolate chips have less cocoa butter in them so they keep their shape during baking, making them more difficult to melt and they have less flavor than bars or callets.
  3. Use real white chocolate. Many products out there that look like white chocolate, especially chips, contain very little, if any, cocoa butter.They will not melt into a smooth liquid, like real white chocolate.
  4. When cutting your matzoh to fit into the baking sheet, cut along the dotted lines the matzoh has, not across them. It will cut into straight pieces.
  5. When cooking the butter and brown sugar, you will get to a point where the butter will separate from the brown sugar and look like an oily mess. Keep stirring and it will come together and thicken and bubble. That’s when it’s ready to pour onto the matzoh.
  6. Do not omit the step where you sprinkle the wet chocolate with the sea salt. Chocolate and caramel are sweet. You need the salt.
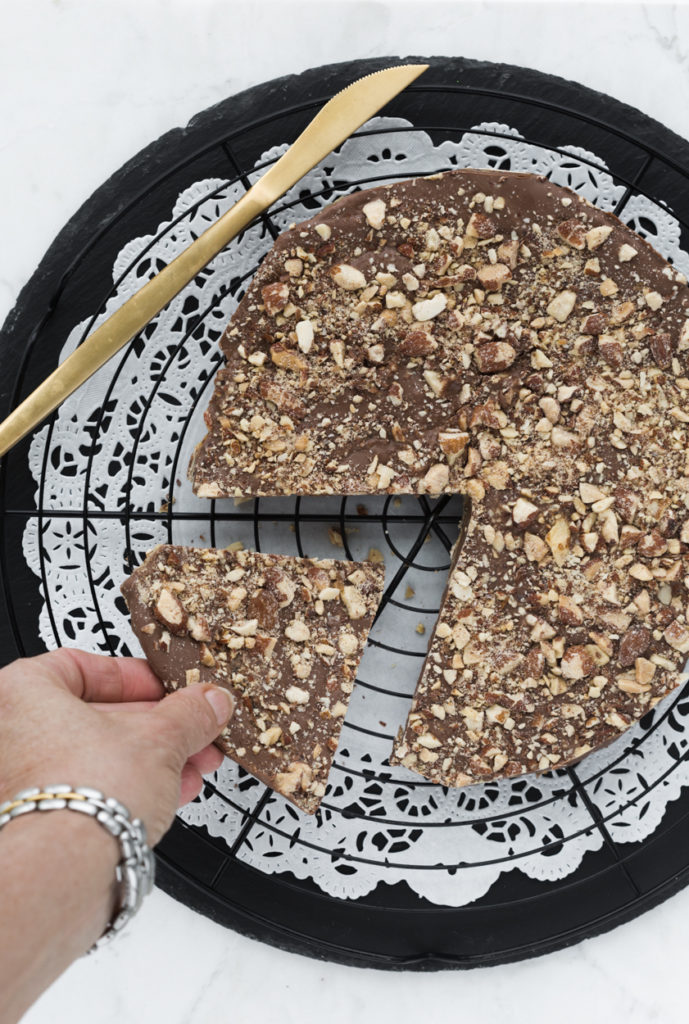
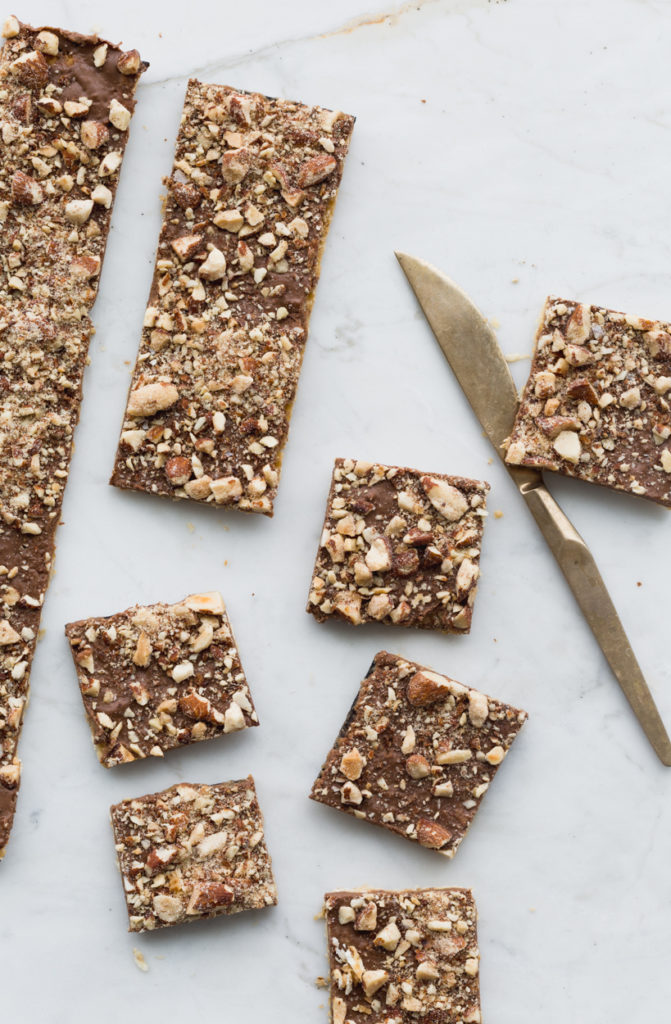
  7. Once the chocolate is set, remove it from the fridge and let it sit for about 30 minutes before cutting it into pieces. If you cut it cold, right from the fridge, the chocolate layer will separate from the caramel covered matzoh. If you wait until the chocolate softens a bit, it will stay sogether with the caramel. A very sharp knife is essential. For an alternate version, use milk chocolate and chopped toasted almonds. Also very delicious. 

Click here to print recipe for Marbled Matzoh Crunch.

Click here to print recipe for Milk Chocolate Almond Matzoh Crunch.


Caramel Cake and Wishes for a Very Sweet New Year

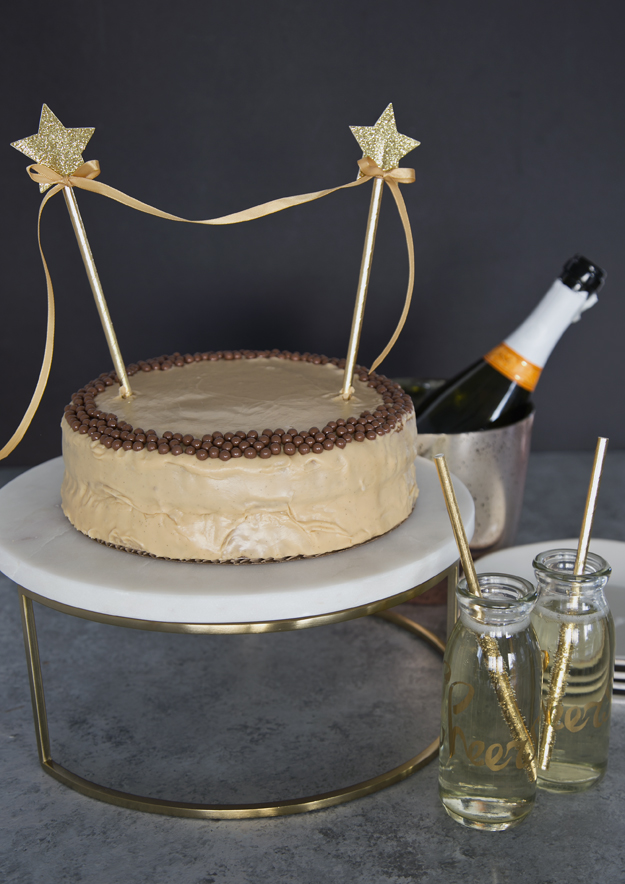
with-champagne-1 Restraint can wait. Let’s usher out 2016 with decadence. This is a time-honoured Southern Caramel Cake. If anyone knows how to bake a Southern classic it is the Lee Brothers, Matt and Ted, from Charleston. This recipe hails from their book The Lee Brothers Charleston Kitchen.

Admittedly, this cake is a labour of love. But, if you can read and follow instructions, the Lee Brothers will take you by the hand and guide you, step by step, through this challenging but fun to make cake. The tricky part is the caramel icing. A candy thermometer and an instant read thermometer are critical to success.

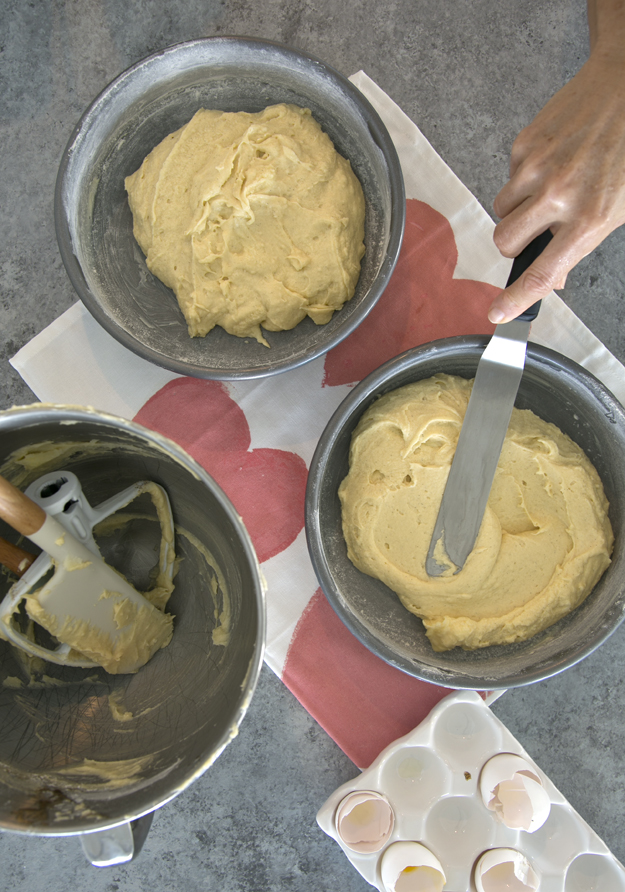
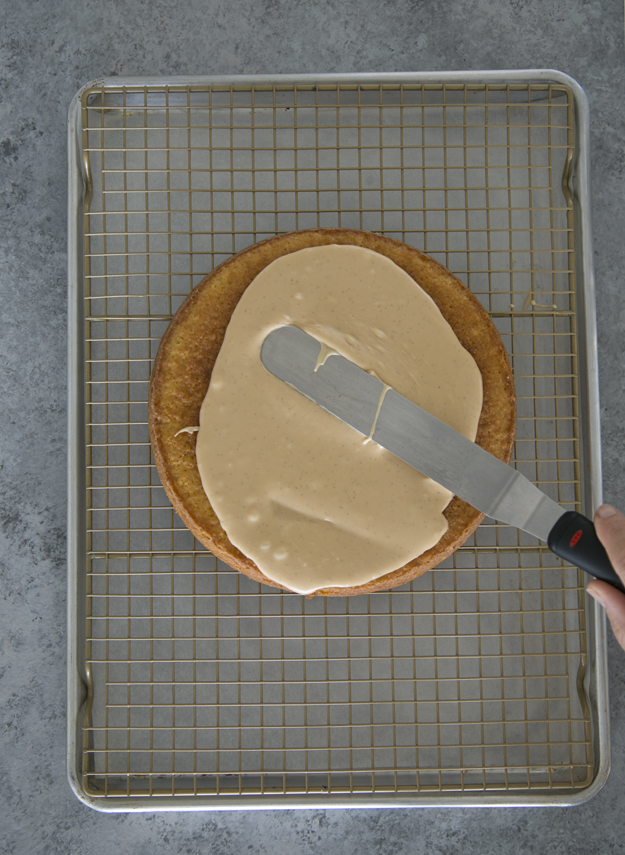
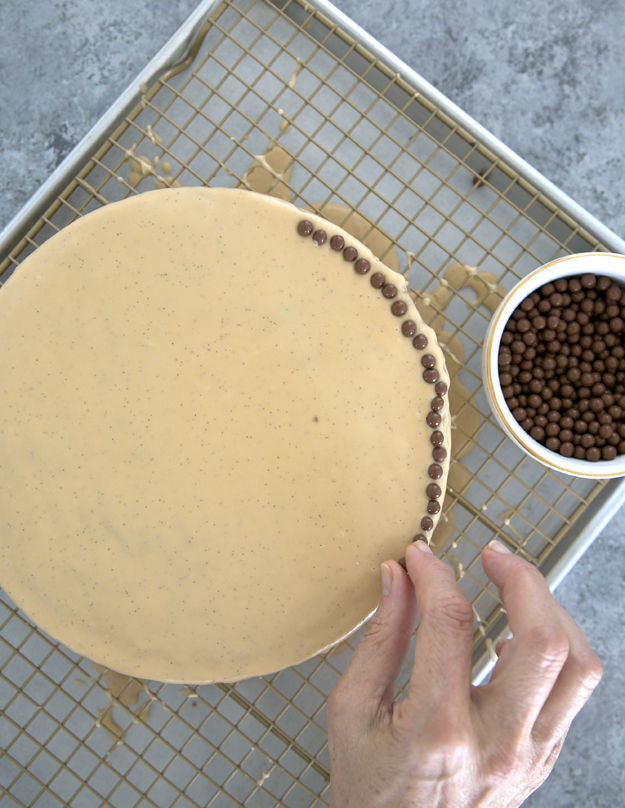
The cake layers are rich and buttery, and come together quickly.cake-into-pansIt never ceases to amaze me how simple ingredients like milk, sugar and butter are transformed into a fluffy caramel frosting. spreading-caramelThe gossamer light caramel icing, dissolves almost instantly on your tongue. It has a perfect salty-sweet balance that keeps you coming back for bite after bite.adding-pearlsI found some leftover Callebaut Dark Chocolate Pearls in the cupboard and decided to decorate to top of the cake with them.

Wishing you all a sweet, happy and healthy new year.

Click here for recipe for Caramel-Cake.

closeup

Ultimate S’mores

We are living in a time of some amazing culinary experimentation. While culinary mashups are nothing new, witness the Turducken, which has it’s roots in ancient Roman times, some creations have gone a bit too far.

While I love nothing better than a bowl of Cheetos and a glass of wine for dinner, I am not keen to give Cheetos Macarons a try anytime soon. Nor will Goat Cheese and Peanut Buttercup Fries be passing these lips… not ever!

However, I firmly stand behind Donut Ice Cream Sandwiches, and will even stand in line for the Cronut (and anything else that genius Dominique Ansel dreams up!).

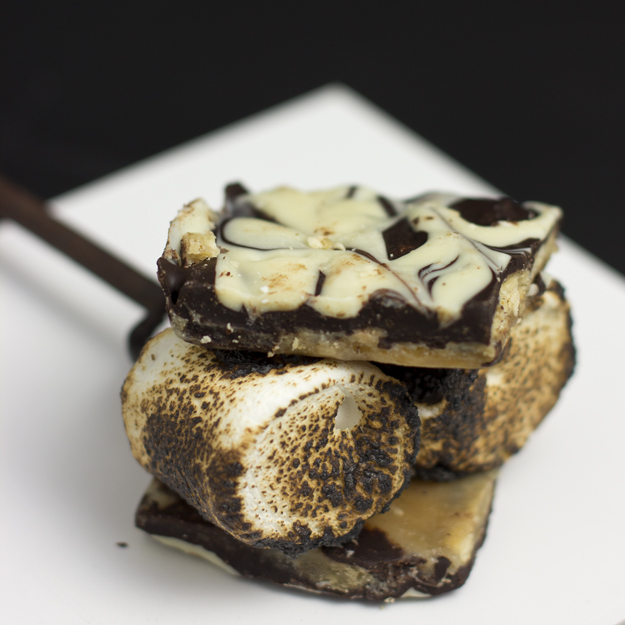
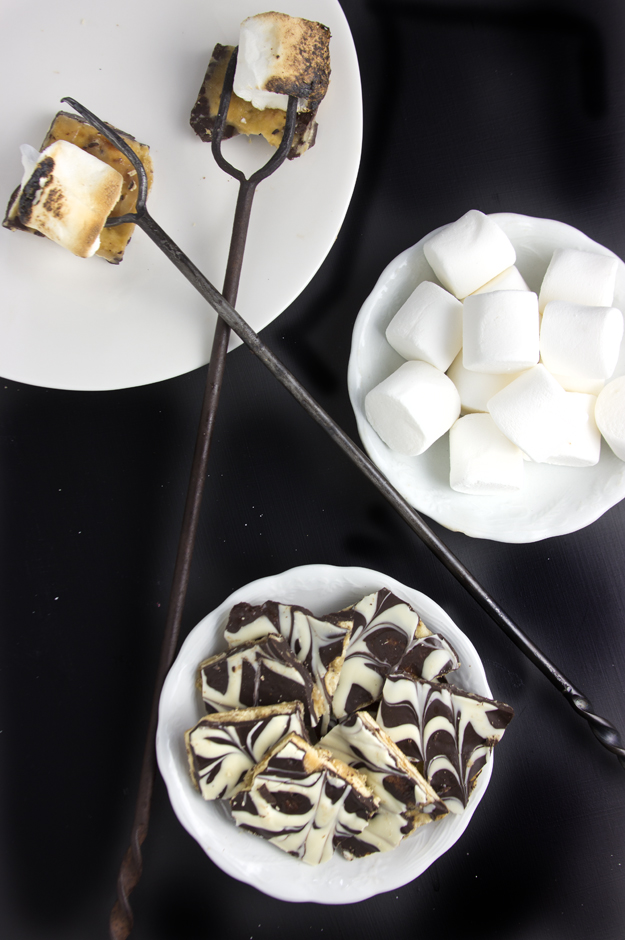
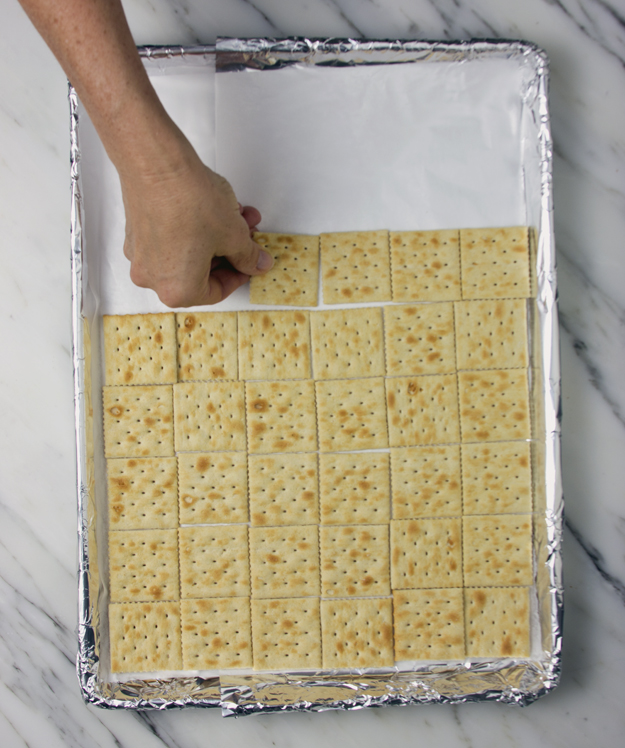
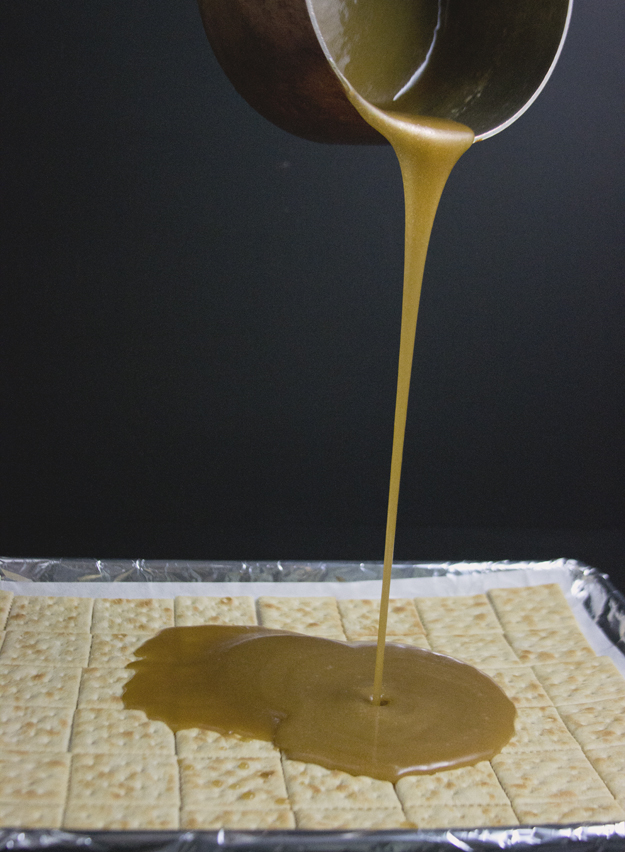
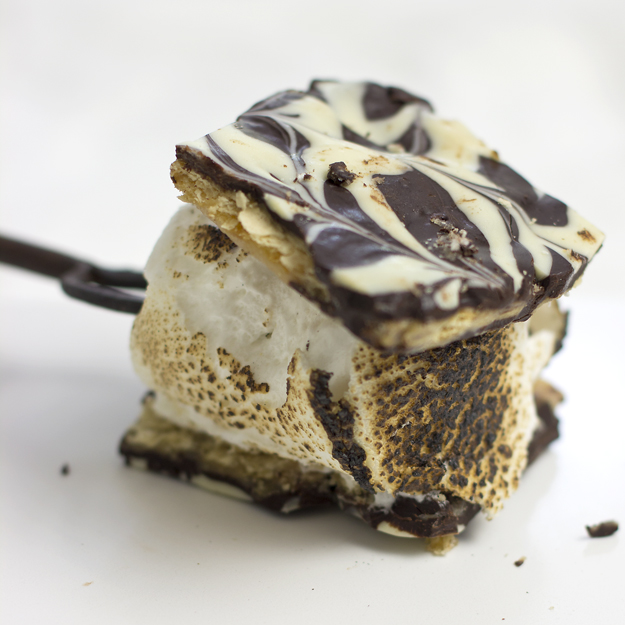
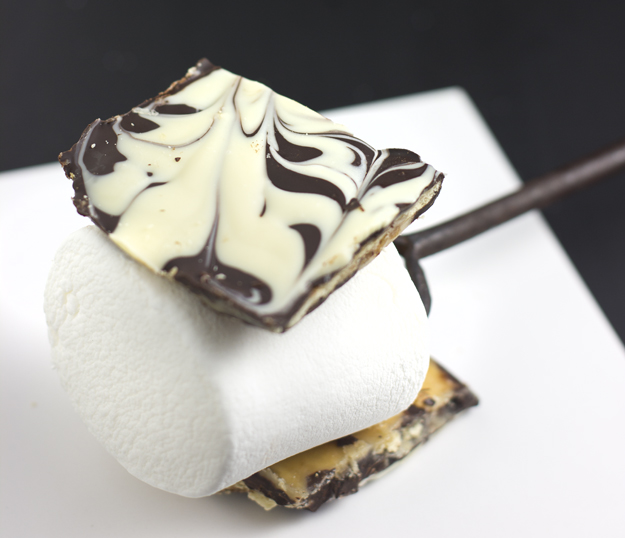
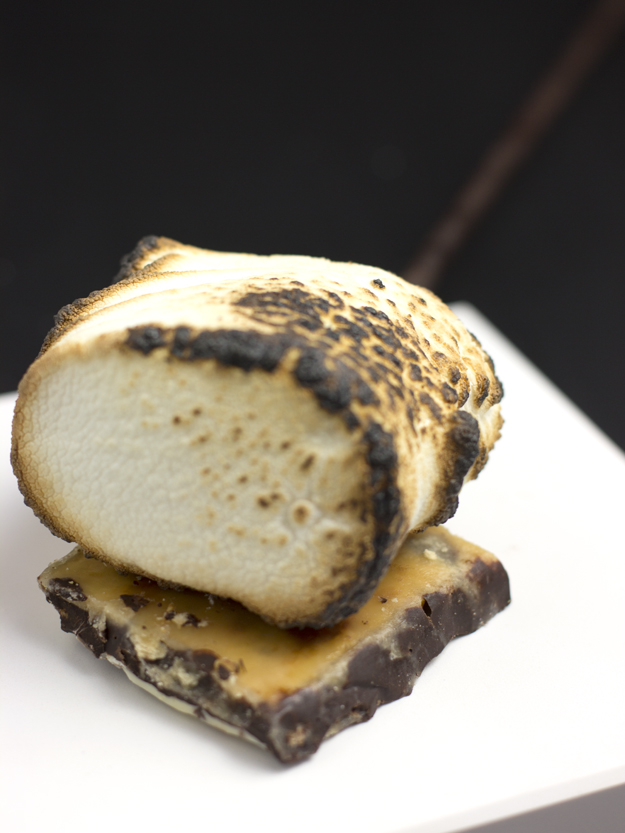
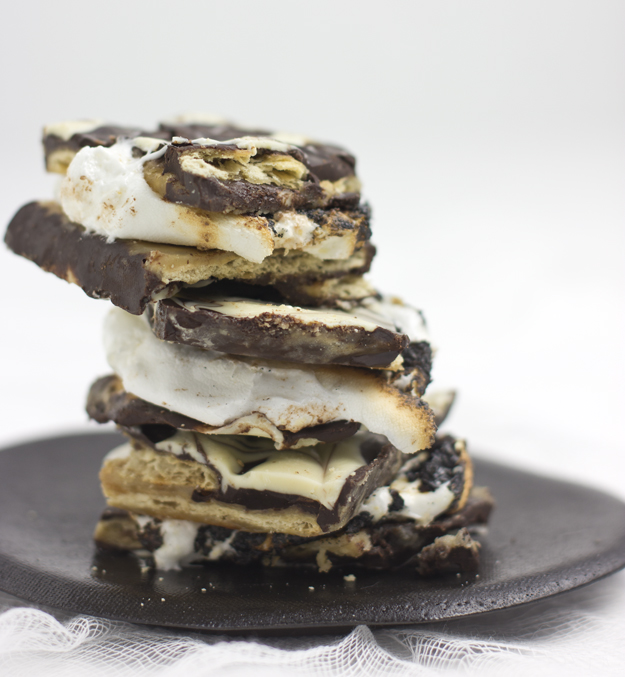
So, in the spirit of culinary creativity, I bring you The Ultimate S’moretoasted 2 625 sqready for smores 1Because it’s summer! Because it’s crazy delicious! Do I really need an excuse for taking my favourite Passover snack, Matzoh Crunch and turning it into that summertime staple, the s’more? Instead of using matzoh, I substituted Saltine crackers.saltinesI cooked butter and brown sugar until it resembled molten hot lava and poured it over a layer of saltines.molten gold spreading caramelI baked it until it was bubbling and then I covered it in bittersweet chocolate and marbled in some white chocolate, just because it’s so freaking beautiful.chocolate

Then I toasted some marshmallows and sandwiched them between the caramel chocolate coated crackers.  toasted 625 sqIf you are a purist, like my youngest son, you may prefer them raw!raw 3If you are watching your carbs, perhaps an open faced sandwich is the way to go.open facedHowever you enjoy summer, including the Ultimate S’mores in your celebrations is bound to make it a lot sweeter.

Click here to print recipe for Ultimate S,mores.

stacked smores 1

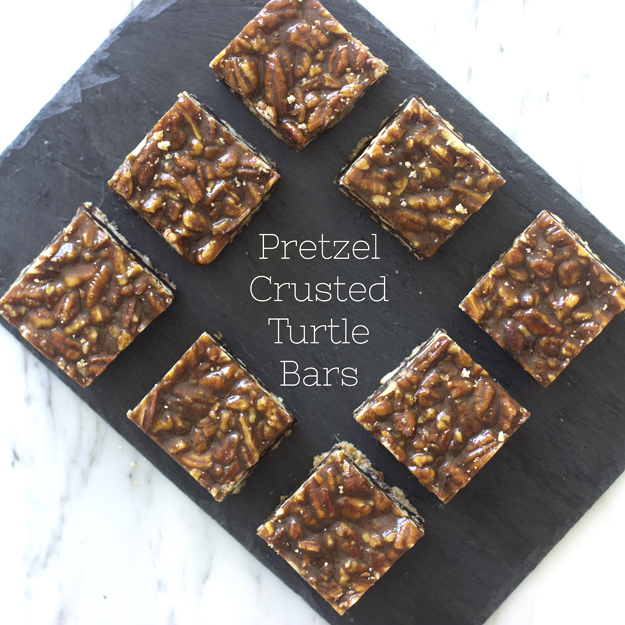
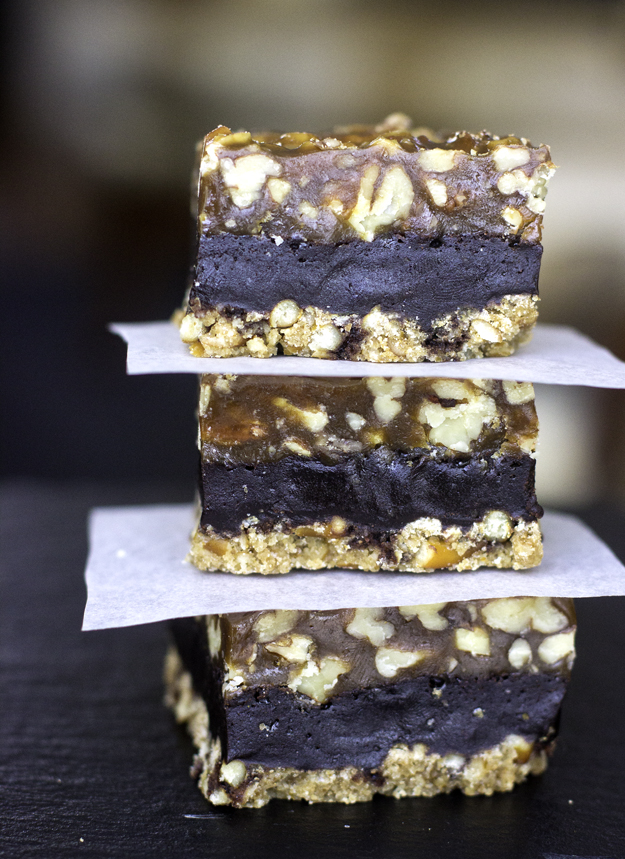
Pretzel Crusted Turtle Bars

Hot on the heels of posting about Challah Monkey Bread and Brown Sugar Valentines Heart Cookies, I had every intention of sharing with you the recipe for a delicious Baby Kale and Brussels Sprouts salad this week. But somehow, here we are with Pretzel Crusted Turtle Bars.with text 2F 625 sqTo be honest, it’s not entirely my fault. I have been noticing quite a few pretzel crusted treats floating around cyberspace recently. Naomi of Baker’s Royale made these to satisfy her pregnancy cravings.  Averie of Averiecooks did a top crust of pretzels on her treats.

I started thinking about what I would love to combine with pretzels and the answer came to me instantly…Turtle Bars. If you have never heard of Turtle Bars, let me enlighten you.  Imagine a chocolate base topped with a pecan caramel layer, reminiscent of Turtles Candies. Adding a crushed pretzel layer is a really inspired idea.
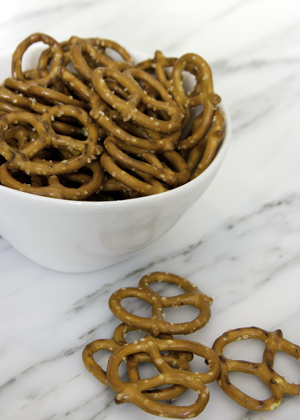
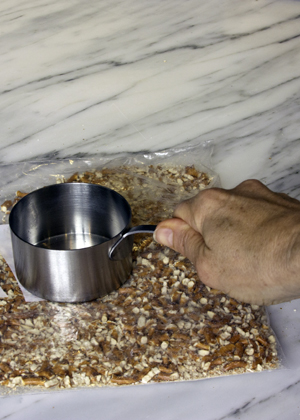
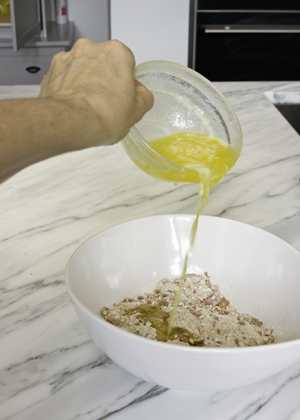
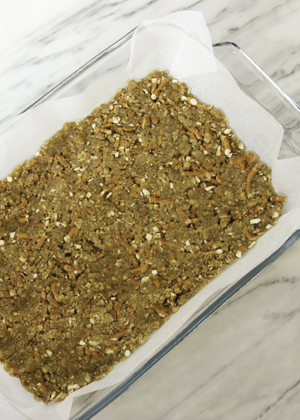
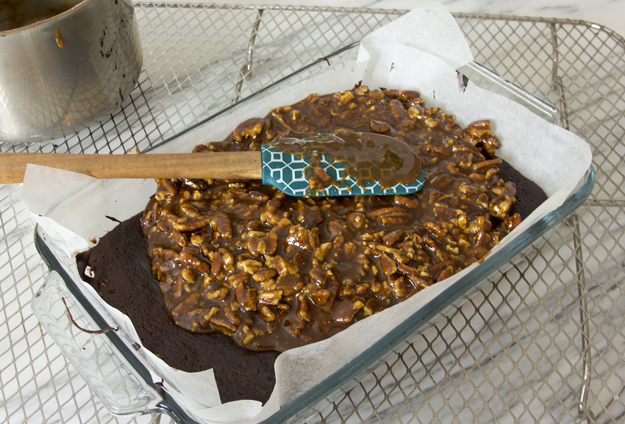
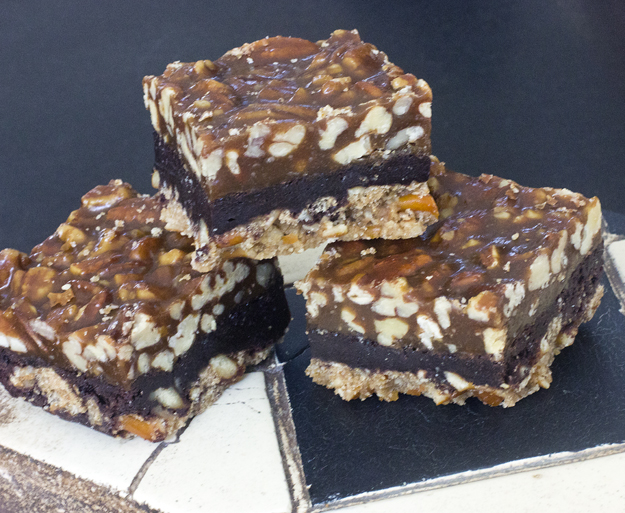
whole pretzelscrushing pretzelsadding melted butter to crustcrust ready for ovenThe thing is, you would imagine that Pretzel Crusted Turtle bars would be pretty damn good. But something kind of astonishing happens when you combine these three layers. Alone, each layer sounds yummy. But the synergy that occurs when these three layers combine is something akin to a culinary explosion. The whole somehow becomes so much more than the sum of its parts.stacked 1
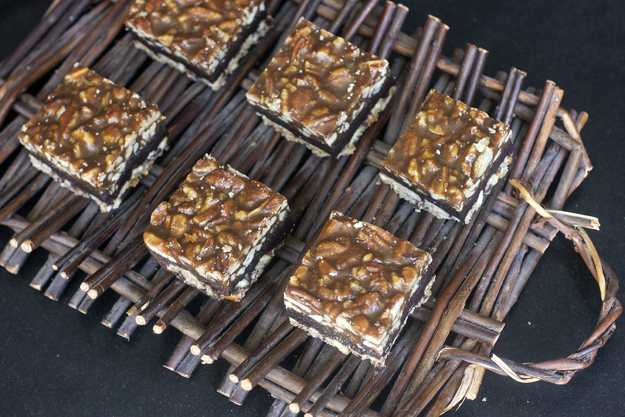
Essentially what we have here is a crunch sandwich, with the bottom layer providing salty crunch from the pretzels, and the top layer providing sweet crunch, from the pecans and caramel. Sandwiched in between these two awesome layers of crunch is a chewy fudgy chocolate layer. it doesn’t get better than this.
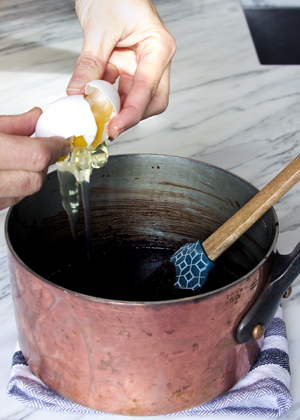
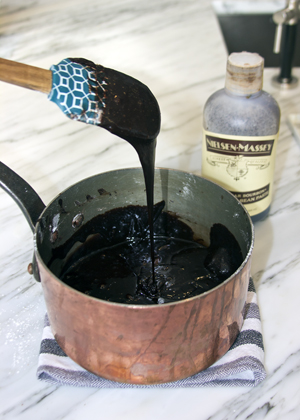
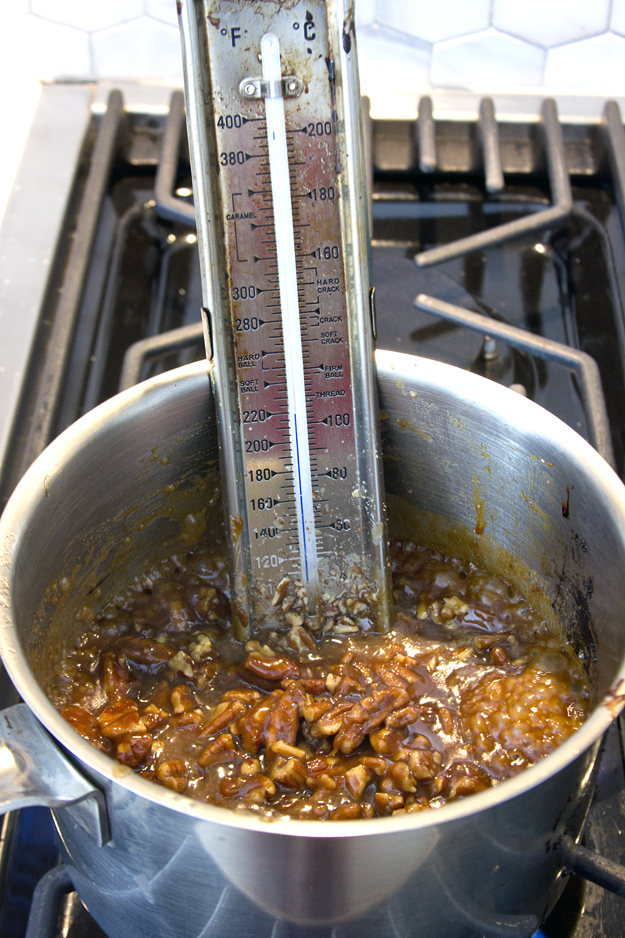
cracking eggchocolate layer 1candy thermometer in caramelspreading on pecan caramel layerAfter photographing these, I realized that these bars needed to find a good home, other than mine. I took half to my Yoga class and I do believe I heard a few “oohs” and “aahs” mixed in with the “ommmmm” chanting! The other half disappeared quite quickly at my hairdresser’s.3 bars on tile

Click here to print recipe for Pretzel Crusted Turtle Bars.

on twig tray


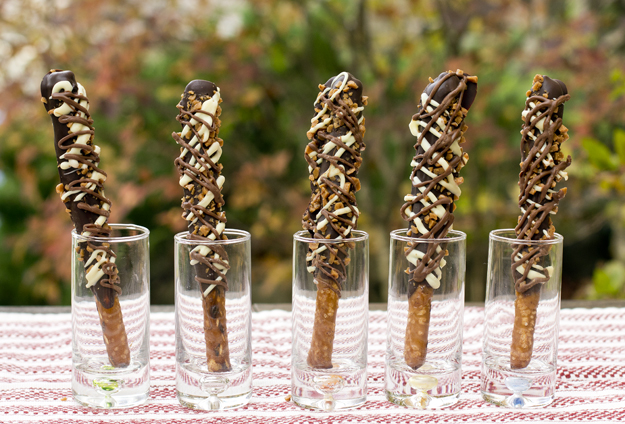
Caramel Chocolate Dipped Pretzels and a Labour of Love!

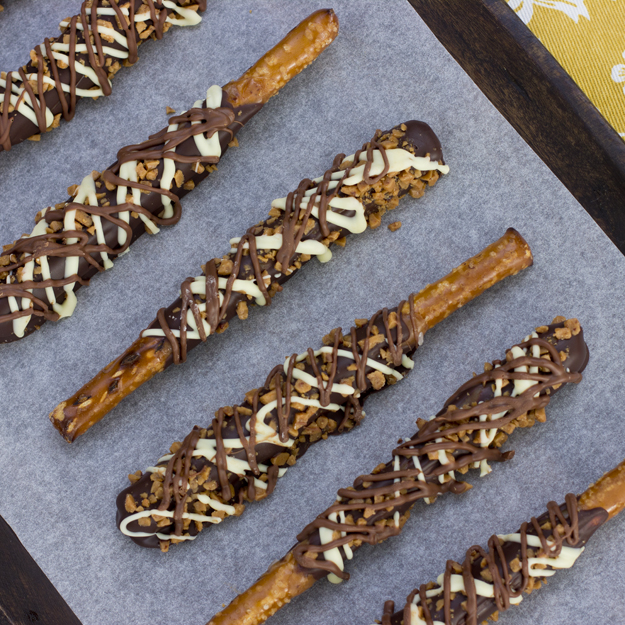
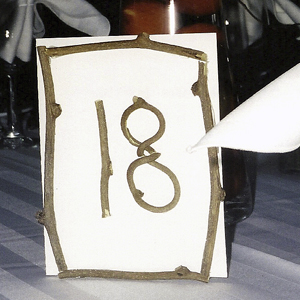
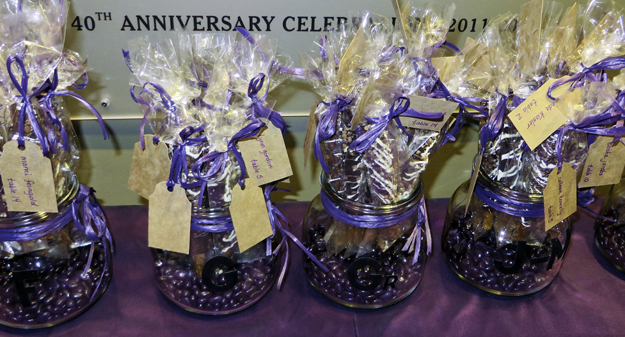
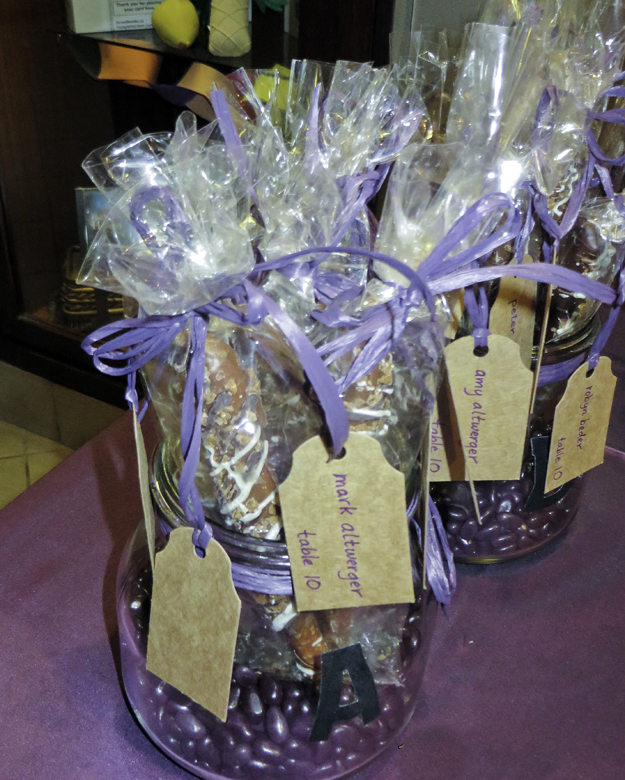
on tray 625a sqAbout 6 months ago, my sister Jody asked me to make caramel dipped pretzels for her daughter’s Bat Mitzvah. She wanted to use them as place cards for lunch. Of course I quickly agreed. I love my niece and my sister very much. Besides, when it was my oldest son’s Bar Mitzvah, 10 years ago, she laboriously snipped twigs from her garden and fashioned them, with a hot glue gun and incredible manual dexterity, into numbers for the table cards for our dinner.

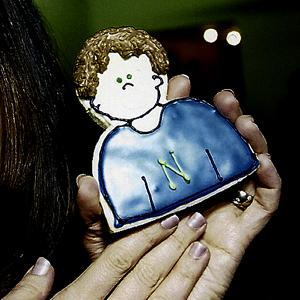
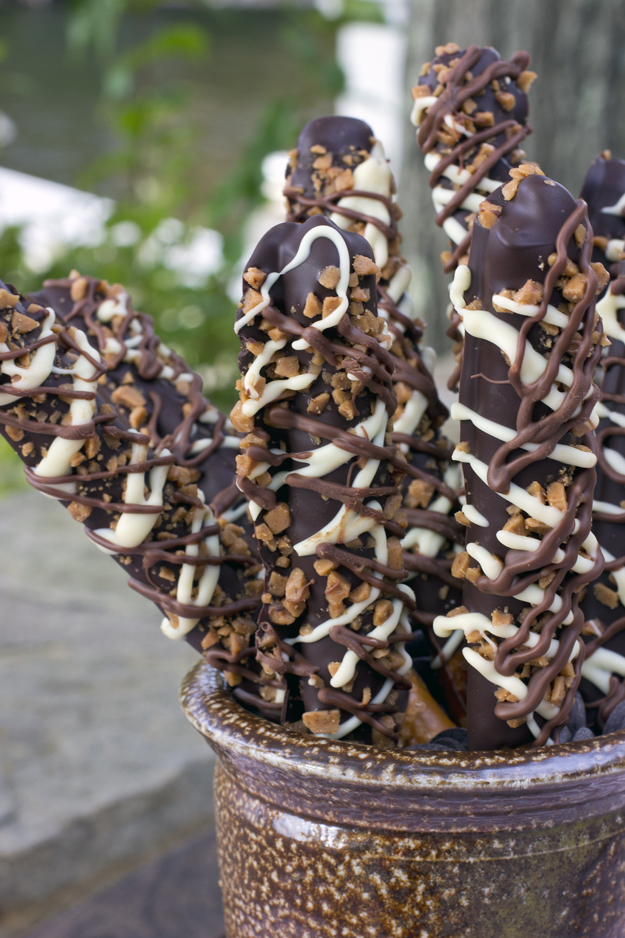
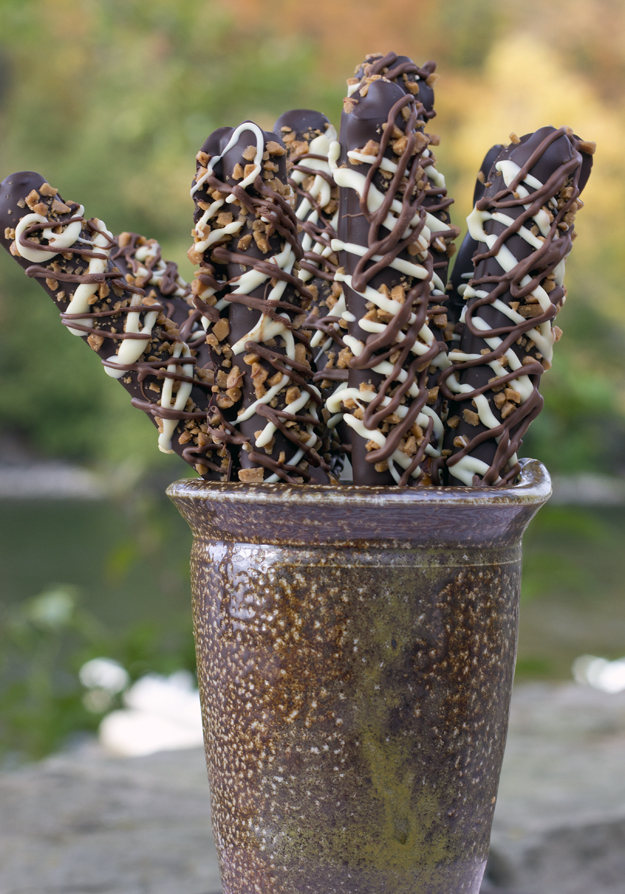
Another sister (I have four of them plus one brother!), Bo, baked and iced 225 of these adorable sugar cookies to give out to guests. They were created to look like the Bar Mitzvah boy! My siblings and I hail from a genetic pool of hard working and deeply creative folks! table numbersNicky cookies 2With the long lead time she had given me, I had ample time to research and test recipes so that we would have the perfect pretzel. My sister has a finely developed sense of aesthetics and we spent many hours discussing the appropriate colour shape and size of the tag to tie onto the pretzel bag and the colour of the ribbon. We debated fonts as well as font weights and sizes. We looked at the pros and cons of dipping all in dark chocolate or half in milk and half in dark. We contemplated coloured sprinkles vs. Skor bits. No option was left unconsidered.in brown vase 3Fast forward to a week before the Bat Mitzvah and I had yet to produce a single dipped pretzel. Somehow I just hadn’t gotten around to it. There was no shortage of caramel chocolate dipped pretzel rods on the Internet for inspiration.  I found these and  these and these. However, most of them used ready-made caramels and just melted them for dipping. I needed to make 140 pretzels! By the time I finished unwrapping enough tiny caramels for melting, the Bat Mitzvah would be over. Besides, my niece deserved better than store bought caramel.

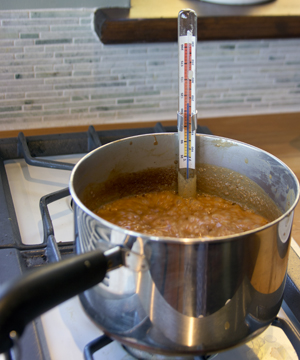
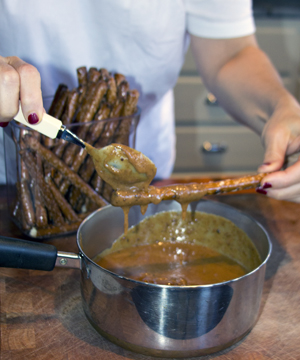
During my research I discovered that most recipes for homemade caramel followed a fairly similar ingredient list and methodology. I settled on a caramel recipe from Mrs. Fields’ blog (of the cookie fame).  Following the methodology of most of the recipes I found, I dumped butter, brown sugar, corn syrup and sweetened condensed milk into the pot, brought it to a boil and started stirring. I ended up burning the bottom of the pot.  Dumped that mess out and started over again. Here is an excellent tip to remove burnt debris from the bottom of your pot: fill pot halfway with water, add a few tablespoons of powdered dishwasher detergent and bring to a boil. Rinse and scrub and most of it should come off.

Attempt # 2: I melted the butter, and then stirred in brown sugar until it dissolved. Then I added the corn syrup and condensed milk and boiled until my candy thermometer read 245°F. Once I started working with the caramel and it began to cool, it hardened too much for dipping.

At this point I suspected that my candy thermometer was off. I decided to test it by bringing a pot of cold water to a boil. Once the water was at a rolling boil, I checked my thermometer. It read 202°F.  If you recall from science class, water boils at 212°F. My thermometer was off by 10°F!

For my third attempt, I made the mental math adjustments and took the caramel off the heat at 235°F. Perfect!

making caramelspooning on caramel

I prepared a little video to show the coating and decorating process.

My sister and niece were thrilled with the finished pretzels. My sister ended up labelling them with beautiful kraft brown tags and purple raffia ribbon. She displayed them in glass ginger jars, All the guests gobbled them up very quickly.

pretzels for Em 3 pretzels for Em 2 in shot glasses 1

Click here to print recipe for Caramel Chocolate Dipped Pretzel Rods.

in brown vase 1

Salted Caramel Chocolate Tarts and a very sweet Mother’s Day.

Today I am grateful for several small and large blessings! I am grateful to be relatively pain free. If you read my last post,  you, may recall that I was in bed for over 8 days with terrible back and leg pain. The MRI revealed a bulging disc which was pressing on a nerve and causing me back pain. It seems to have eased greatly and I am back on my feet again. I feel grateful for a wonderful husband who brought me an extra hot skim milk latte in bed this morning.

Although I couldn’t be in Toronto today to celebrate Mother’s Day with my mom, I am grateful to have 5 siblings all living there to celebrate with her. They gathered at my baby sister’s house and had a “friendly” game of softball. Some family members tend to get a bit competitive about these things so hopefully no one sprained a hamstring sliding into first base or got bonked on the head from being tagged out at home plate. I’m sure to get a play by play analysis very soon.

Finally, I am grateful for my sweet children. My oldest was unable to spend today with me, but he drove for over 5 hours to come home for a short visit yesterday. My middle child bought me a beautiful blue hydrangea plant and gave me a very fitting (and funny) card .

And my youngest, with the help of his sister, made me a video on YouTube, serenading me with Elvis’ “Love me Tender.” So sweet!

I made these tarts a few days ago and thought we would have them today for dessert. Unfortunately they were all gone the day I made them. Luckily I have other sweet things to satisfy me!

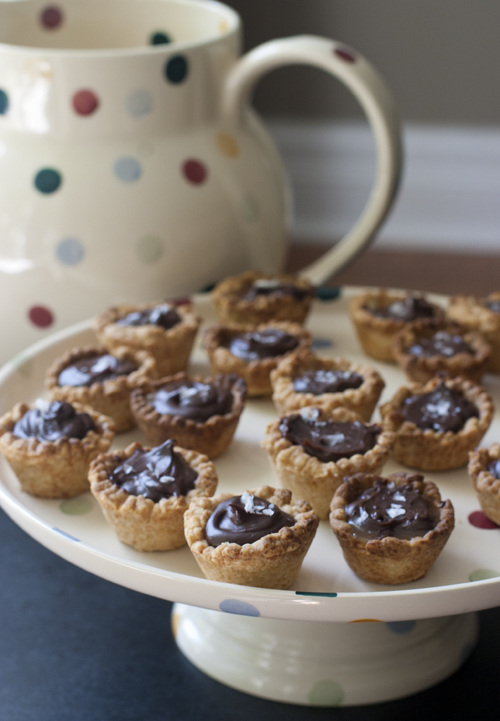
These tarts are the creation of Lucy Waverman, food columnist for the Globe and Mail. I have adapted the recipe somewhat.  The original recipe produced tarts that had a thin layer of caramel and then a thick layer of ganache. I doubled the caramel recipe so that the finished tarts would have a thick layer of both caramel and chocolate.I also added some salt to the caramel filling as well as a few decorative flakes on top of the ganache filling.

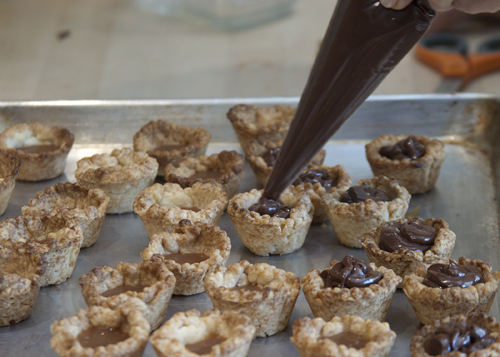
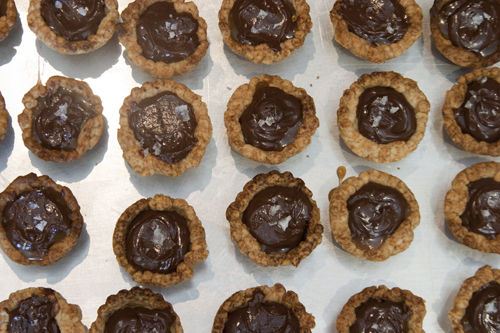
I made them in mini muffin tins. Not only do they look adorable, but there is no guilt at all involved in popping one (or three) of these into your mouth. The contrast in textures of this mini bite are what make it so special. Biting into the crisp flaky pastry you discover a silky smooth layer of bittersweet slightly salty caramel covered in a thick layer of chilled chocolate ganache. The ping on your tongue from a melting crystal of fleur de sel helps these tarts from being too cloyingly sweet.

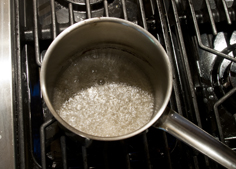
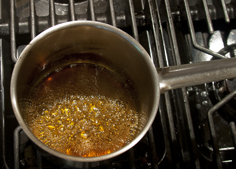
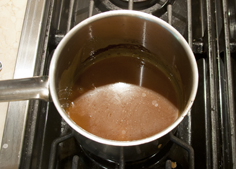
Begin with making the caramel, as it needs time to cool and firm up. Sugar, water and corn syrup are boiled until a rich amber colour is reached. Finish with whipping cream and a pinch of kosher salt.

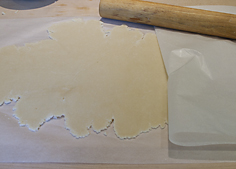
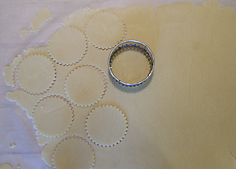
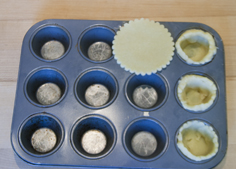
I like to roll out the pastry dough between 2 sheets of parchment paper, right after making the dough. Then I chill the rolled out dough. Be sure to roll the dough very thin (1/8 of an inch thick) for these mini tarts.

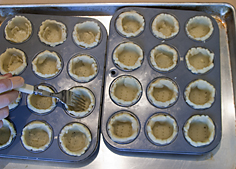
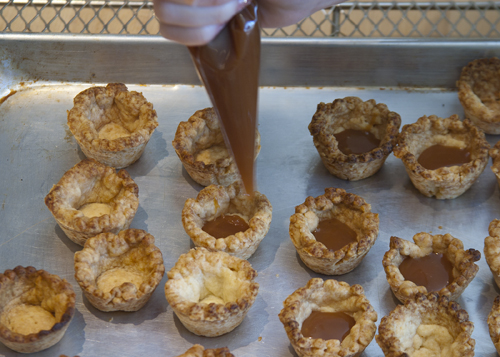
Let the tart shells cool completely before filling. I find it easiest to put the caramel filling into a disposable piping bag.

Finish off with chocolate ganache and a few flakes of fleur de sel.

Click here to print recipe for Salted Caramel Chocolate Tarts.

Caramel Apple Cake

I learned how to make this cake many years ago, at one of my very first professional cooking jobs. I was working in an upscale take-out food shop in Toronto’s Yorkville area called Dinah’s Cupboard. I learned so much from Dinah Koo, the shop’s owner. She demanded perfection and precision and a certain discipline that is lacking in many kitchens. She cooked with big flavours and was a master at presentation. I am forever grateful to her for teaching me so much. It was my job to make 4 of these cakes every day. We baked them in 9 x 13 inch rectangular cake pans and cut the cakes into large squares to sell in the shop.

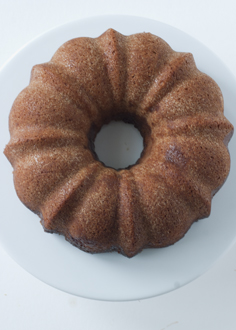
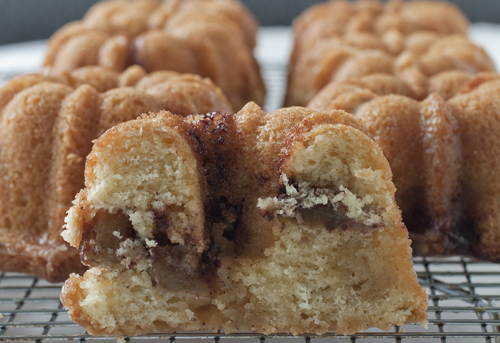
After I left Dinah’s Cupboard, I didn’t make that cake again, for a very long time. I guess I was sick of it or had just forgotten about it. But then a few years ago I was working on a column for Rosh Hashanah (the Jewish New Year). It is traditional to have honey cake on Rosh Hashanah, to symbolize a sweet new year, however, I hate honey cake. Luckily, it is also traditional to have apples on Rosh Hashanah, so I decided to feature an apple dessert of some sort. And then, I remembered this apple cake. I decided to bake it in a Bundt pan, to make it look a little fancier. We had several other desserts at our dinner, but this was the first to disappear.

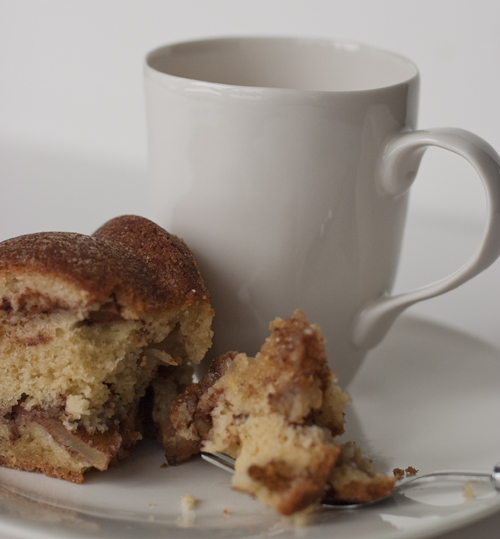
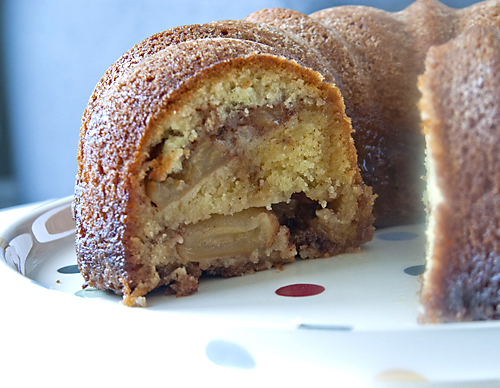
I had forgotten what a great cake it is. It is perfect for entertaining as it can be made a day ahead of time. it is also wonderful for breakfast with a big glass of milk, or at bedtime with a cup of tea. It is a moist, dense, intensely flavourful cake. The outside of the cake gets a bit crispy from the caramel glaze that is poured on top of the cake. The inside is tart from the apples, but also sweet, in that slightly bittersweet way that only dark caramel can be.   This is cake perfection. I am warning you that it is very hard to have just a little bit. Your guests will ask for just a sliver and then they will be back at the cake, hacking away at it for more slivers, until there are only crumbs left. Not that my friends and family are like that, of course!

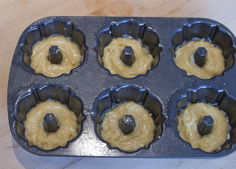
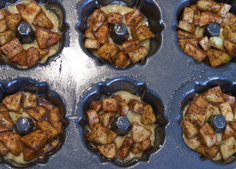
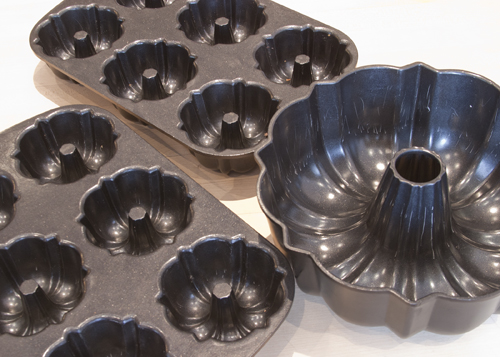
I decided to make it again this weekend, so I could take pictures and tell you all about it. I went to the basement to find my Bundt pan, and sitting next to it on the shelf were my mini Bundt pans. I decided to make a double recipe and make a big cake as well as some minis. An applepalooza around here! My husband was so happy.
I decided to use a mix of Granny Smith and Honey Crisp apples. You want some tart apples in this dish that will hold their shape when baked.
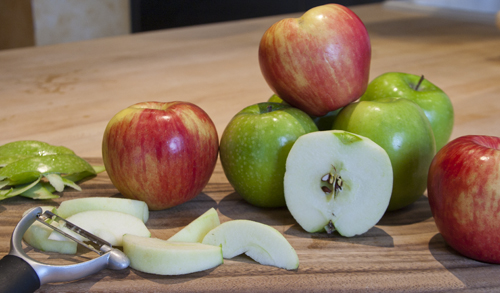
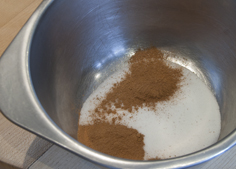
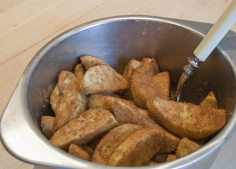
The apples get peeled and sliced into wedges for a big cake or diced for the mini cakes. Then the apples are then bathed in a sugar cinnamon mixture.
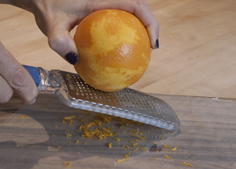
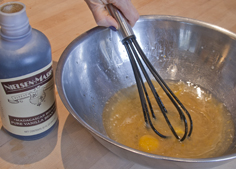
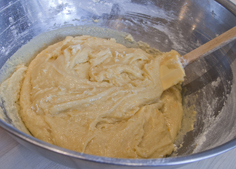
No need to take out your mixer for this cake. Everything gets mixed together in a big bowl. Whisk eggs, vegetable (or coconut) oil, orange zest, orange juice and vanilla extract together. Lately I have been using vanilla bean paste, instead of vanilla extract. You get those pretty vanilla flecks in the cake.
Then the dry ingredients are added to the wet and the whole batter gets mixed. You will think that there is no way all the dry ingredients will get incorporated, as this is such a heavy dense batter. But persist, use some elbow grease and it will all come together. Just think of all the calories you will be burning in advance of eating this cake!
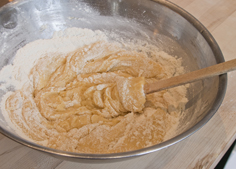
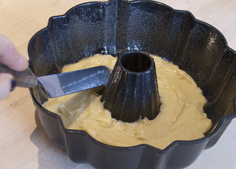
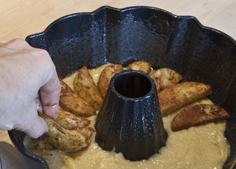
Then the cake gets assembled. It’s a little like making lasagna. Layer 1/3 of the batter into the pan. Arrange one half of the apples on top, then more batter, a second layer of apples and finally the last third of the batter.
The minis are just so adorable!
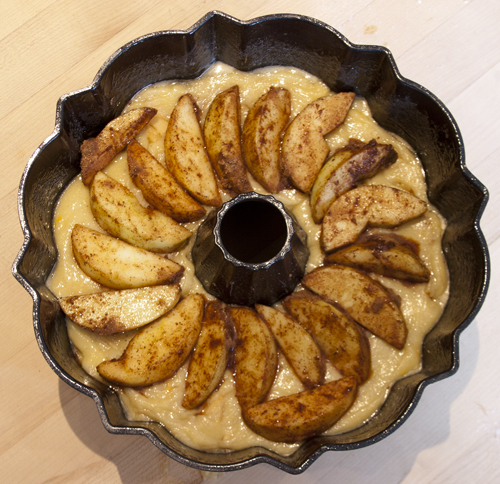
Once the second layer of apples are covered with batter, into the oven it goes. While it is baking, you can prepare the caramel glaze. Butter, brown sugar and heavy cream are cooked until hot and bubbly.
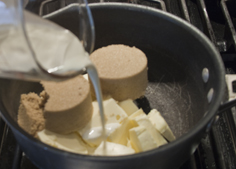
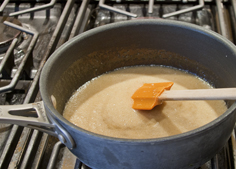
Once the cake comes out of the oven, it’s time to add the caramel. Now I’ll share with you the secret to what makes this cake so incredible.

Then you must exercise extreme patience and let the cake cool COMPLETELY, before trying to unmold it. Looking at the sad bottom of this cake, all riddled with holes may have you a little concerned. Then you unmold it and it just looks like a boring Plain Jane Bundt cake. But wait, yee of little faith.  Slice into it and taste. You will be a believer!
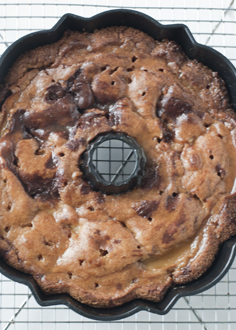
Click here to print recipe for Caramel Apple cake.

Holiday Baking Day 2: Chocolate Chunk Caramel Cookies

When it comes to chocolate chip cookies, people are very particular. Some like them thin and crispy; others love them thick and chewy. There are those who love them all warm and gooey from the oven.   Then there are those who prefer them once they have totally cooled, and the chocolate has a snap when you bite into them.  Finally, there are those who love them best straight from the freezer once they have cured for a few days.  Granted, that camp is quite small (by the way, I am firmly in this camp) but they have their followers. Here is a tale about one chocolate chip cookie that is far superior to any other I have ever tried.

A few months ago, while surfing various food blogs I came across the following sentence, “I have found the last chocolate chip cookie recipe I will ever need.” Wow, I thought, that is a very bold statement and one not to be uttered lightly. However, being a food blogger myself, I know how we, as a group, are prone to exaggeration. These cookies were originally created buy Ashley at notwithoutsalt.com.

As I read through her recipe I became intrigued. All of the chocolate chip cookie recipes I have made over the years use both white and brown sugar. The white sugar makes the cookies crisp and the brown sugar, because of its hygroscopic (i.e.: it absorbs moisture from the air) properties, makes the cookies chewy. This is the first recipe I have ever seen that uses a third sugar – Turbinado sugar. Turbinado sugar is a golden coloured natural brown sugar is produced by extracting the juice from sugar cane, heating it to evaporate water and crystallize the sugar, then spinning in a centrifuge to remove some impurities and further dry the sugar. It can commonly be found at bulk food stores.

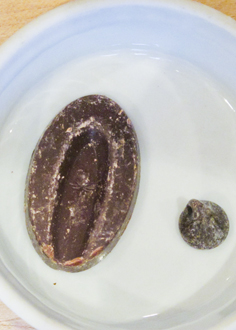
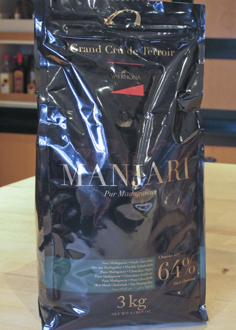
I must say a few words about the chocolate you choose for these cookies. Ashley says you must use the best quality chocolate you can afford. I made them with Valrhona Manjari 64% Chocolate from Madagascar. I know, I sound like such a chocolate snob, but I really believe that this chocolate took my cookies from good to outstanding. The Manjari chocolate is often sold in what they call “Les Feves” or “pistoles”. Essentially these are discs of chocolate that are reminiscent of chocolate chips on steroids. But they have none of the chalky, waxy quality of chocolate chips. I cannot emphasize too strongly, do not use chocolate chips for these cookies. Chocolate chips contain an emulsifier in them to help them hold their shape during baking. You want the chocolate to completely melt in baking and then harden once again after cooling. There is some kind of physical change that takes place during the melting and cooling, that gives chocolate chunk cookies a special snap or bite to them that you just do not get with chocolate chips. Buy a few bars of good quality chocolate (at least 60-70% cocoa content). If you can’t find Valrhona Manjari 64% Chocolate, try some chopped Callebaut or even Lindt dark chocolate.

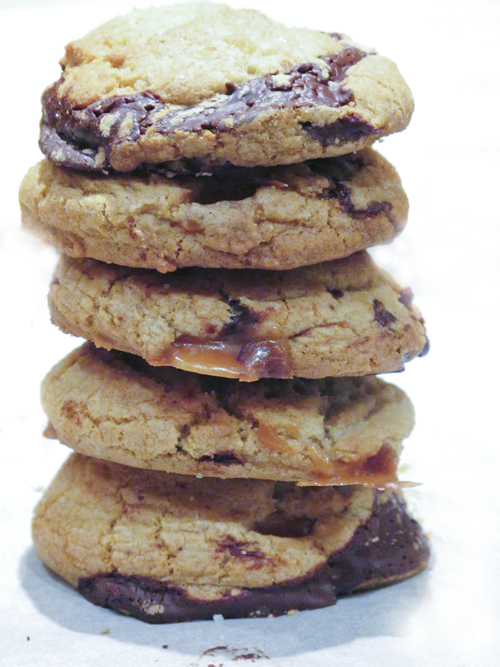
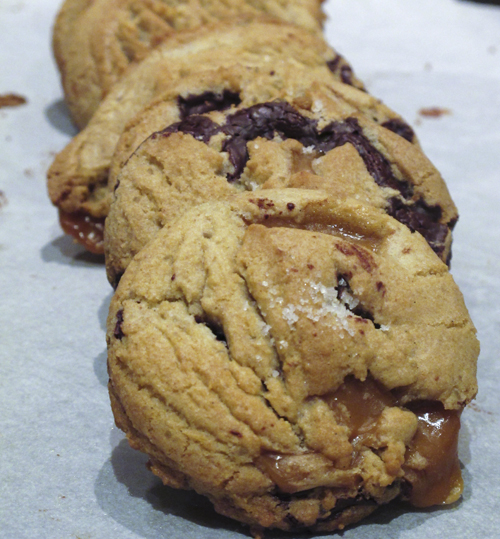
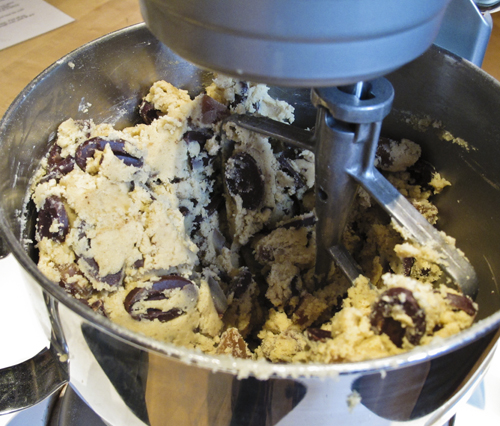
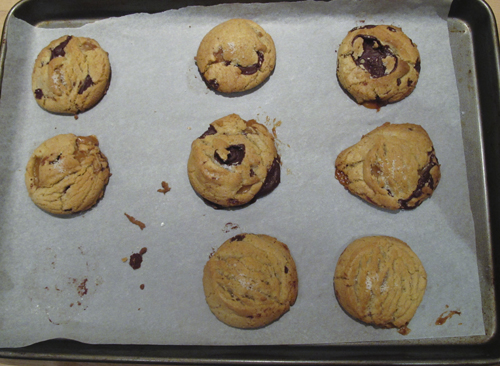
With a small sprinkling of fleur de sel, just before baking, these cookies are pretty close to perfection. But, not one to leave well enough alone, I added chopped caramel candies to mine. These are a hefty cookie, crammed full of large shards of chocolate and little tunnels of caramel.

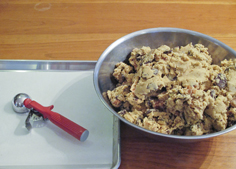
This recipe makes about 32 cookies, or less if you are they type to nibble on raw cookie dough. You know who you are, so adjust your yield expectations accordingly!
I used a 2 inch ice cream scoop and put 9 cookies on a 18 x 31 inch cookie sheet.

Warm from the oven or cold from the freezer, these cookies are pretty fantastic.

Click here to print the recipe for The Perfect Chocolate Chunk and Caramel Cookie.