Tag Archives: Caramel

Molten Caramel Cake

There is a cerulean blue file folder, sitting on my desk, to the left of my printer. It contains recipes and cooking ideas that I hope to try out one day. Some of these recipes I have printed off the internet from food blogs, Food Network shows and other food related sites. Others are torn from the pages of various newspapers and magazines. It is an unweildly bulging mess. Every so often, I go through the folder, and toss out things that no longer appeal to me in my current state of mind. For example, last week I tossed out a recipe for Poached Tongue with Tangy Tomato, Olive and Caper Sauce. The week before, I threw out a recipe for Malabi (a Middle Eastern milk pudding). What was I thinking?

And then there are the recipes that never get a chance to make it into the “to try one day” folder. You read about something or see a chef prepare it on TV and you are immediately mobilized into action. You must make it NOW! It’s all you can think about. That happened to me last week. I had several other pressing matters (like making dinner) to take care of, but I just ignored them and began rummaging in my kitchen cupboards to make sure I had everything I needed to make Molten Caramel Cake.

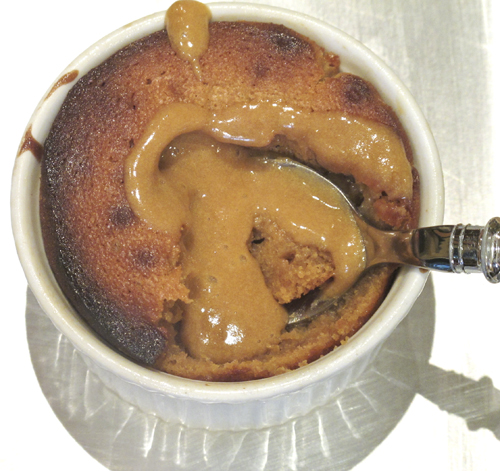
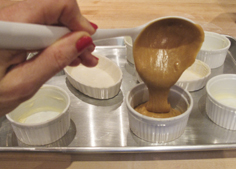
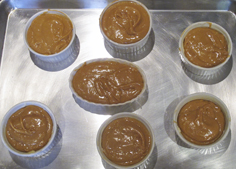
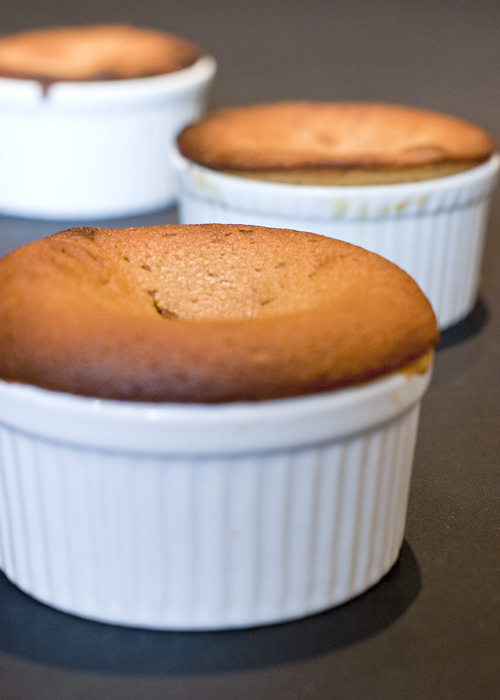
When I watched Chuck Hughes prepare these little cakes on his Food Network show last week, I was transfixed. First of all, molten caramel! Who even know you could do molten caramel cakes? Of course I had heard of molten chocolate cakes, but caramel…I just never imagined such a glorious thing. I am not a huge fan of the chocolate variety. Warm gooey chocolate just doesn’t do it for me. I like my chocolate like I like my men… solid! Caramel is a completely different story. Caramel is meant to be warm and runny and sticky. These little cakes are amazing. They take about 10 minutes to put together and 15 minutes to bake. Almost an instant dessert. You will not be sorry you ignored everything on your TO DO list to make these. Trust me, they’re worth it.

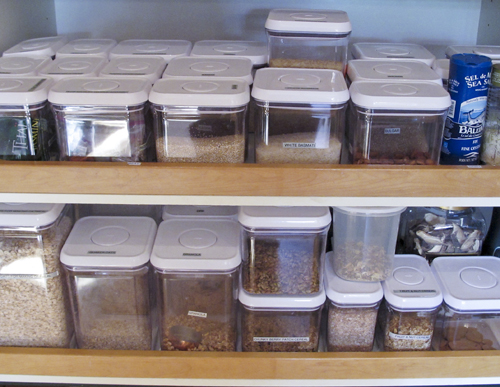
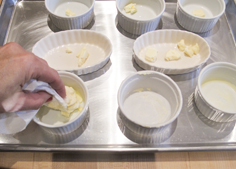
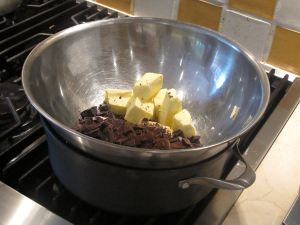
White chocolate and butter are melted, then whisked together. While I was waiting for the white chocolate to melt, I took a picture of my newly organized pantry shelves.

I just have to share with you these new storage containers I am currently obsessing over. They are made by OXO Good Grips. They’re amazing for a few reasons. First, the seal is extremely airtight. Second, they are square so you can fit more containers in your space than round containers. Third, the tops are flat, so they stack very well, also maximizing space. And finally, they are so much fun to open. Watch my demo video!

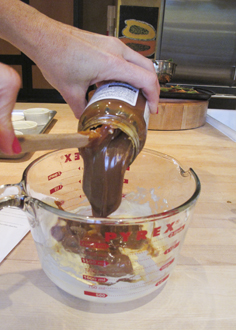
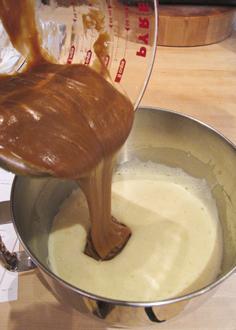
Once the white chocolate and butter are melted, whisk in some ready-made dulce de leche. The Presidents Choice brand is quite good. And Williams Sonoma makes a delicious one as well, according to my sister-in-law.

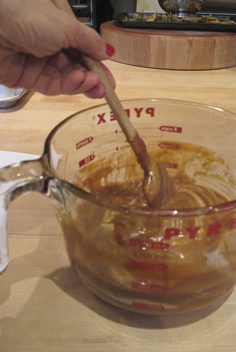
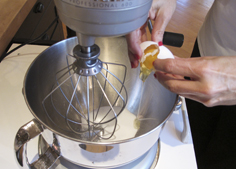
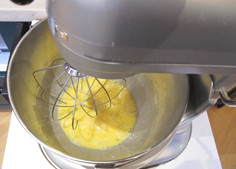
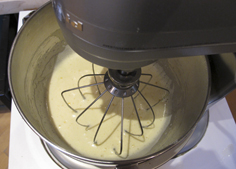
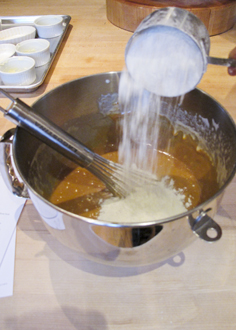
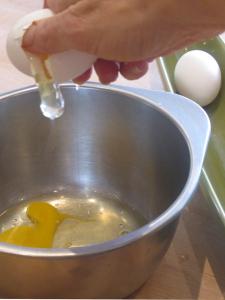
It is important to take the time to whisk the eggs and sugar together properly. It takes about 5 minutes to get the mixture to double in volume.

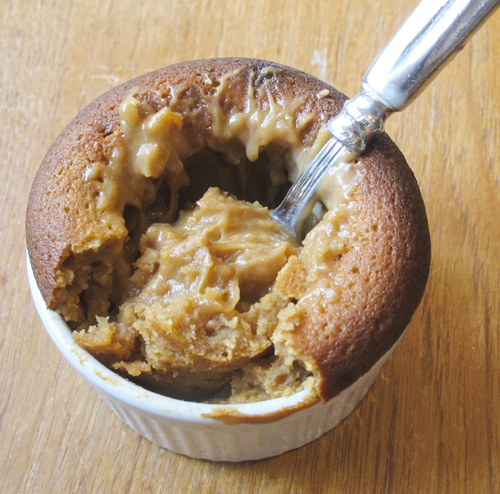
After 15 minutes they were done. We waited about 45 minutes before we ate them, but they would be wonderful hot from the oven too. The magic happens when you stick the spoon into the middle of the cake and warm caramel comes oozing out. What could be better?  They were still delicious the next morning for breakfast with a latte.

Click here to print the recipe for Molten Caramel Cake.

A Very Sweet New Year with Caramel Chocolate Dipped Apples

]

Follow Me on Pinterest

I know that in my last post, I promised a daily update on “The Best Thing I Ate Today”, while travelling through Umbria, Italy. Unfortunately, the internet service at our villa was knocked out by a tremendous thunderstorm and so I was unable to blog daily. I promise to post about the trip very soon. But in the meantime, a very sweet post!

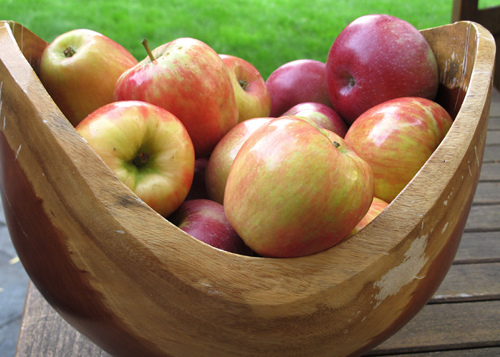
Tonight at sundown the Jewish New Year  (Rosh Hashanah) begins. On Rosh Hashanah, we traditionally dip apples in honey in order to symbolize our wishes for a sweet year for family, friends and all the Jewish people. While this explanation makes sense, I wondered why specifically apples and honey?  Why not bananas dipped into maple syrup?  (Hmmm, I see a new recipe developing).

In researching this question, I came upon an interesting explanation on the website torah.org.  The insight they offered, regarding the apple part of the equation, goes like this:  “On most fruit trees the leaves appear before the fruit, thus providing a protective cover for the young fruit.  The apple, however, makes a preemptive move by appearing before the leaves.  The Jewish people are compared to an apple because we are willing to live out our Jewish lives even if this seems to leave us unprotected.  We have confidence that God and the instructions in the Torah could never mislead us.”

They explained the choice of honey with this insight:  “A bee can inflict pain by its sting, yet it also produces delicious honey.  Life has this same duality of potential.  We pray that our choices will result in a sweet year.”

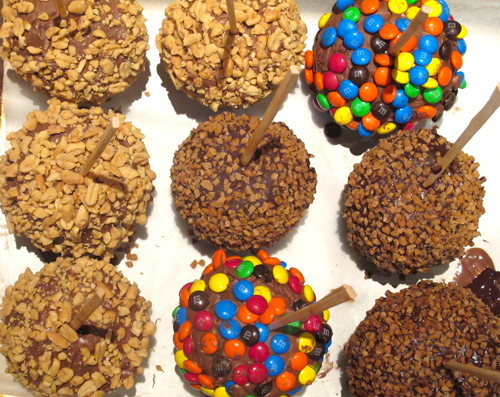
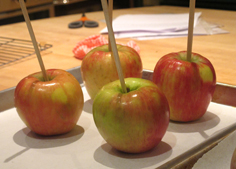
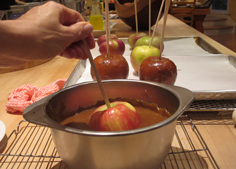
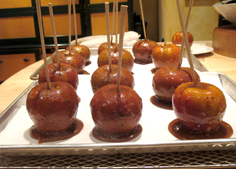
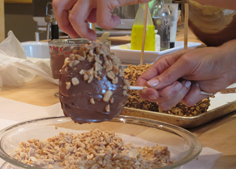
While I love apples, honey has never been a favourite of mine. Honey cake can be found on many Rosh Hashanah dessert tables. But not mine. This year I decided to do a twist on the apples dipped in honey. I dipped my apples in caramel sauce and then melted chocolate. Then I covered some of them in mini m&m’s, some in salted chopped peanuts and the rest in skor bits. A sweet new year indeed!
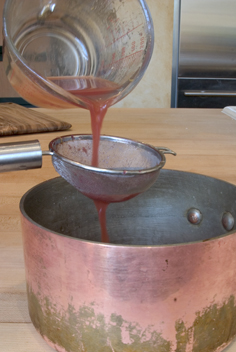
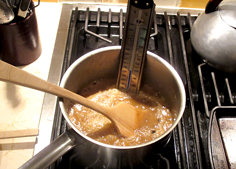
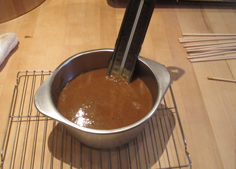
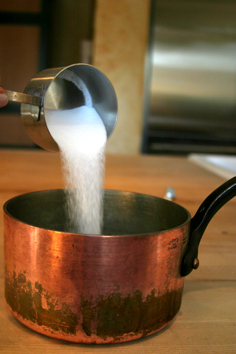
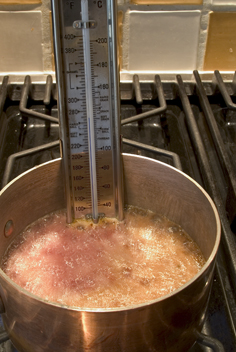
This caramel sauce contains the usual ingredients of butter, brown sugar and corn syrup. However, where it gets interesting is the addition of small amounts of maple syrup and molasses. These 2 ingredients, while small in quantity add a wonderful dimension and depth of flavour to the caramel. A candy thermometer is needed to make these.
Wishing you all a sweet and healthy new year!

To print the recipe for Caramel Apples Dipped in Chocolate, click here.
My Passover Faux Pas (Shmura Matzoh Crunch)

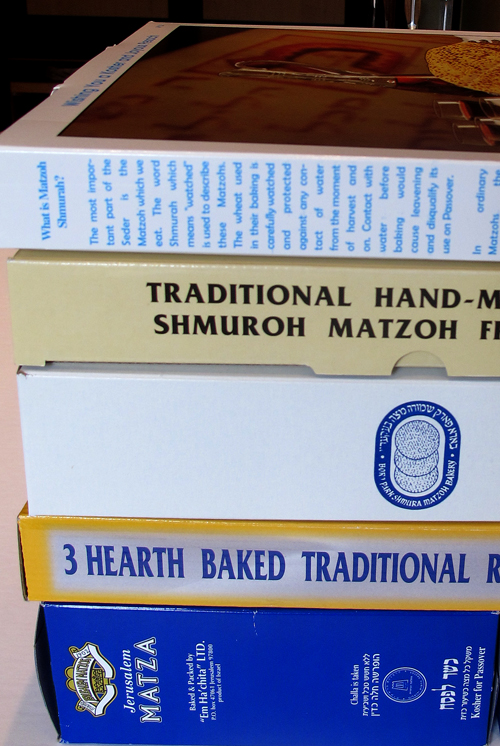
Everyday at 5 pm, in the week leading up to Passover this year, the doorbell would ring. When I opened the door, there would be a flat square box of matzoh left on the front porch. By the end of the week, I had a stack of about 6 boxes. Various Jewish organizations around our city were dropping them off at our house with wishes for a happy and healthy Passover.

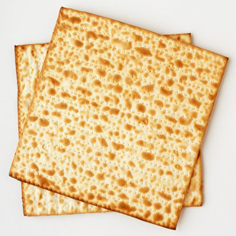
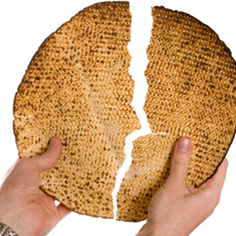
These were not like the ordinary boxes of matzoh I bought at the supermarket.  Regular matzoh are about 8 inches square and come 10 to a box. They are machine-made. Shmura matzoh are round in shape, about 12 inches in diameter. They are hand-made. We traditionally ate this matzoh on the first night of Passover, at the Seder.  That was about all I knew about Shmura matzoh.

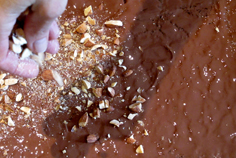
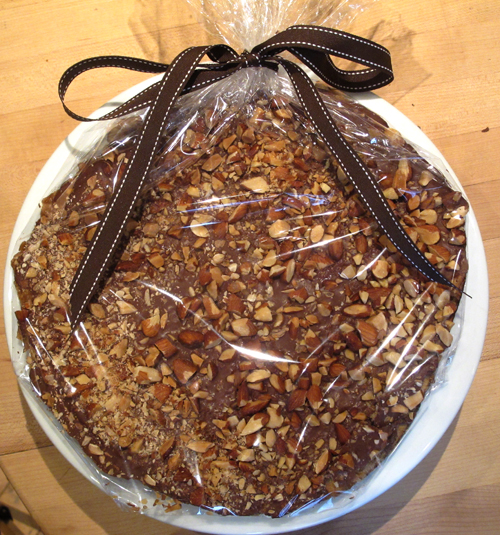
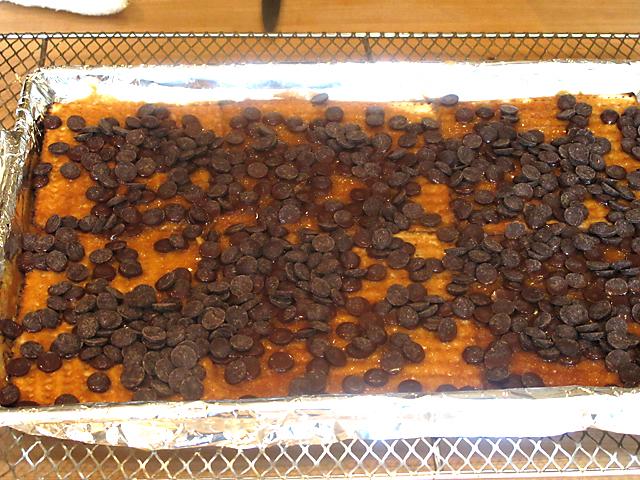
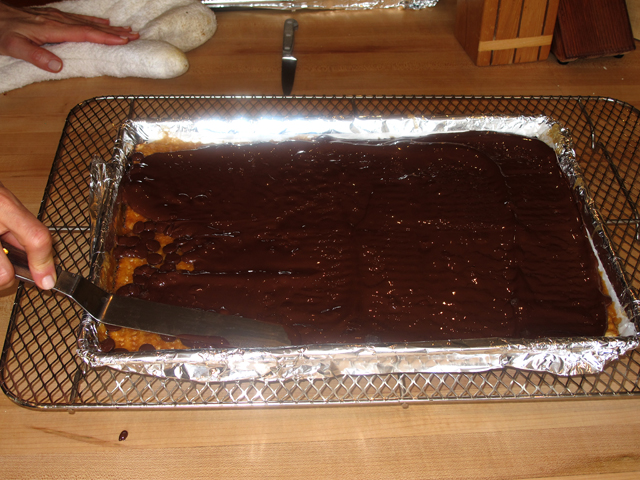
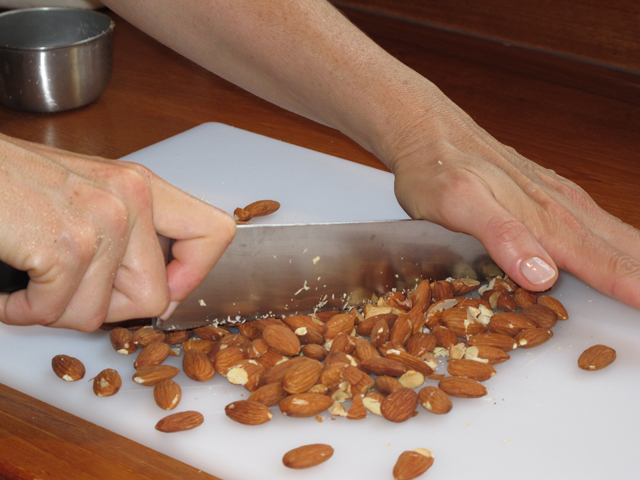
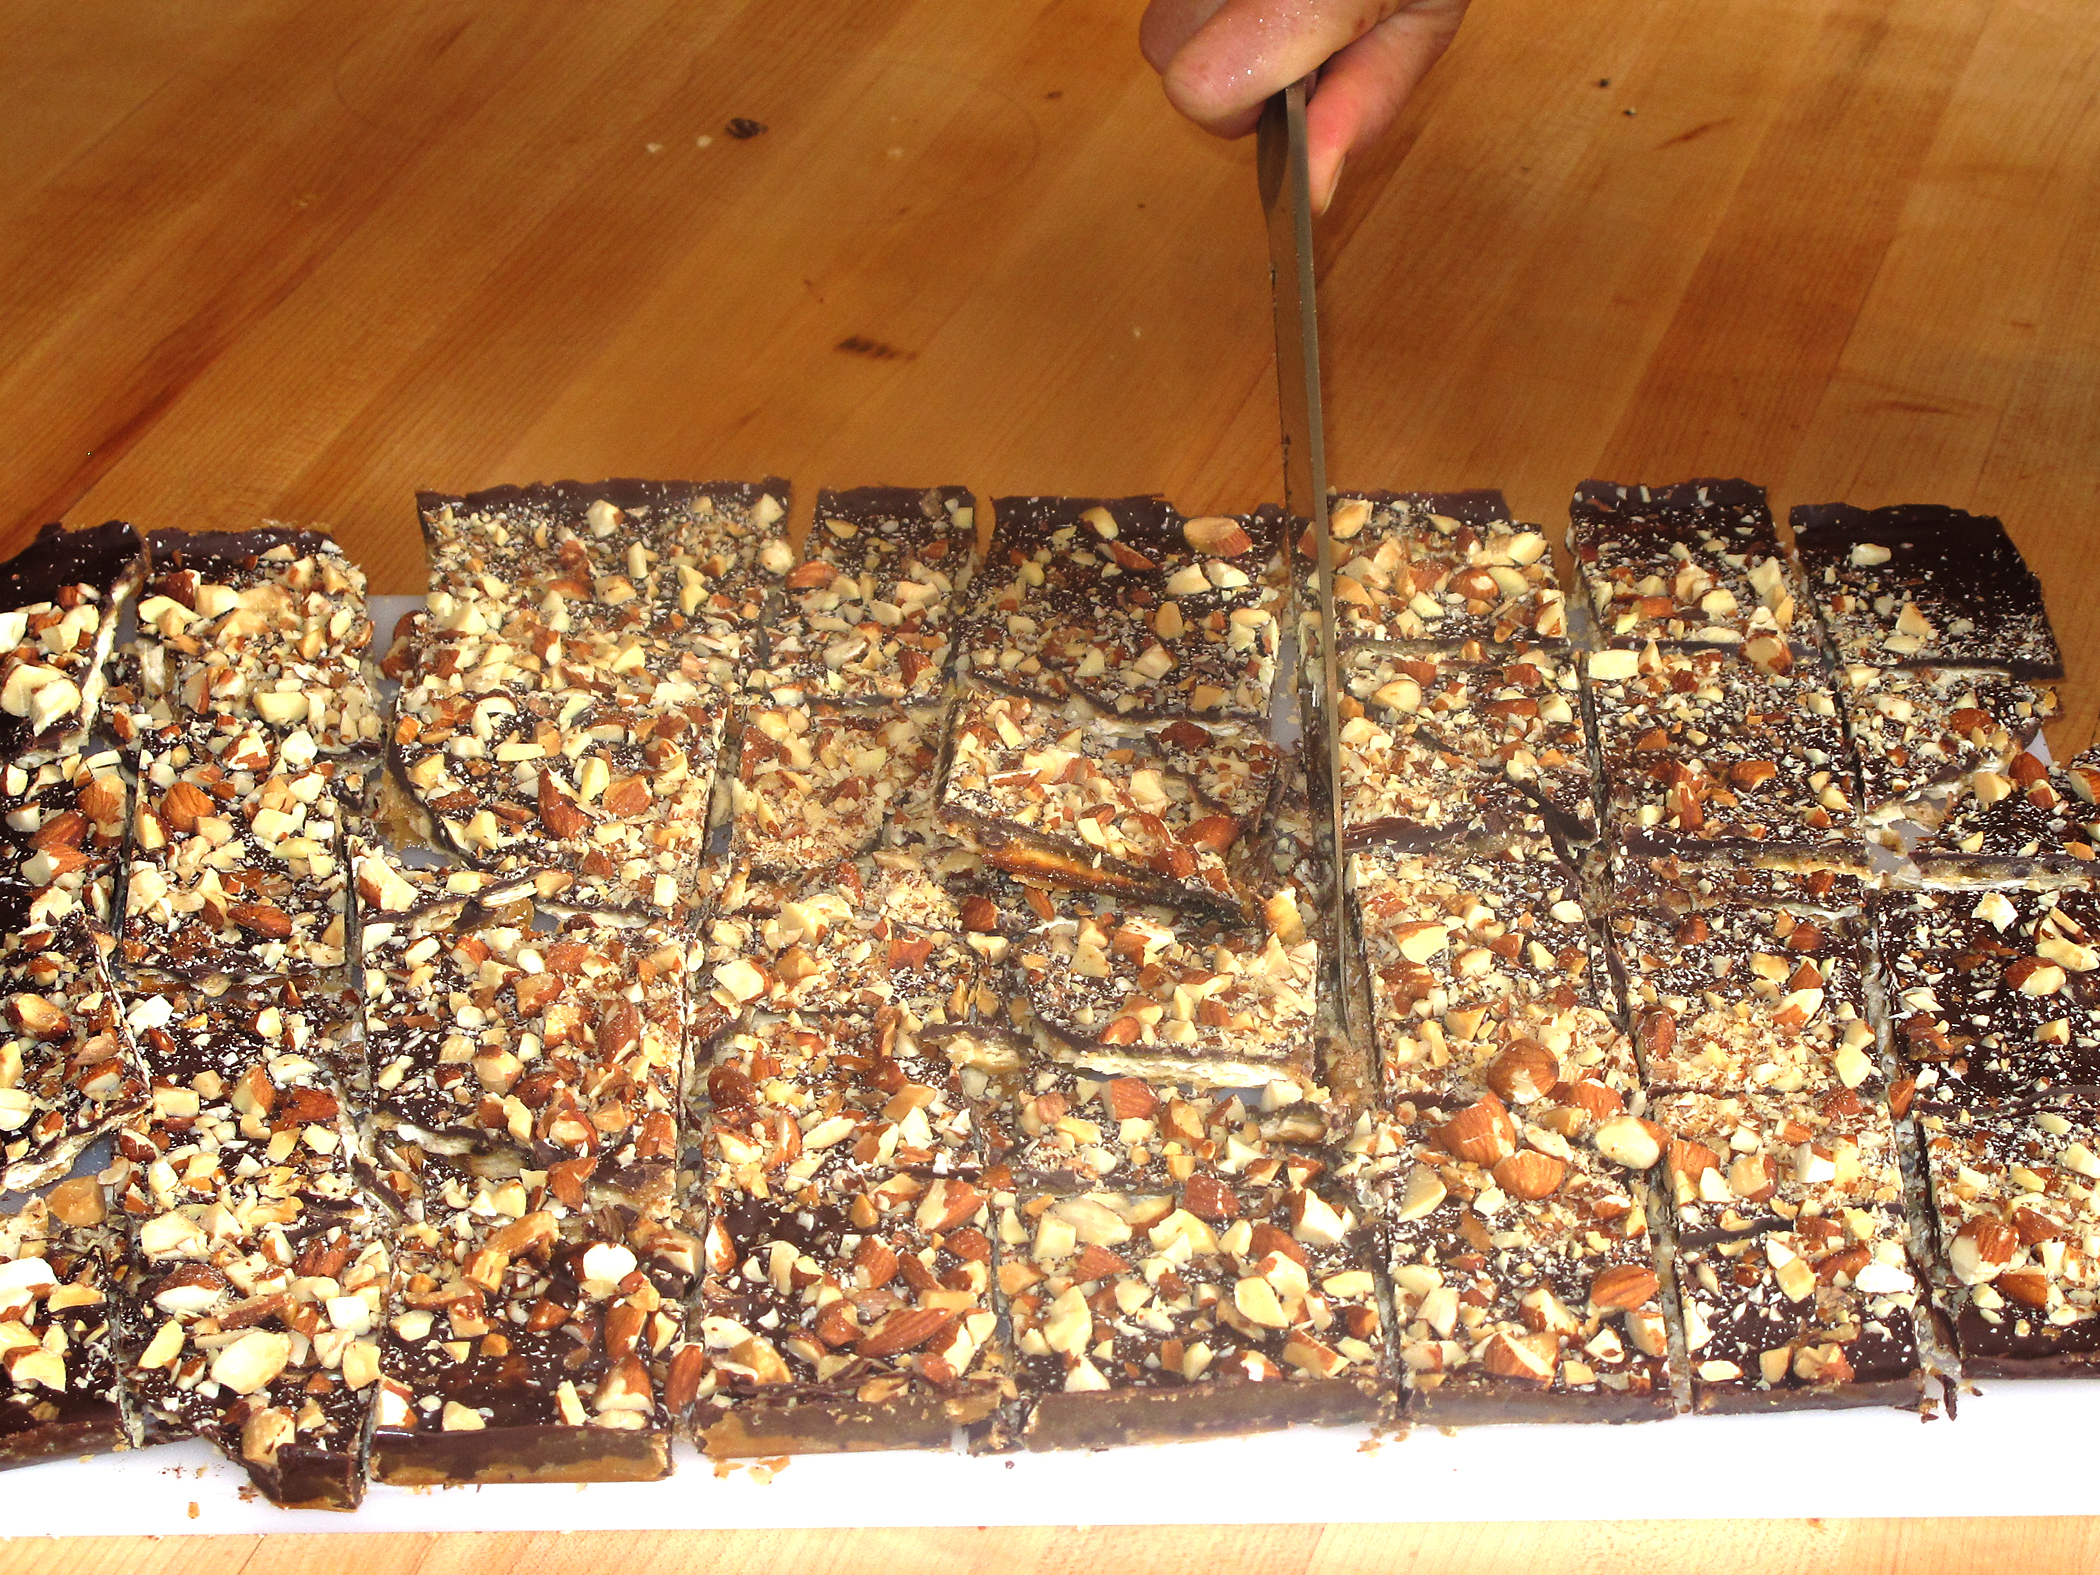
As I stared at this stack of matzoh boxes, I wondered what we were going to do with all of them. After all, I still had 8 boxes of the regular stuff in the storage room. Suddenly, divine inspiration struck. I didn’t want to let this special matzoh go to waste. I was going to give it the royal treatment. First, I would coat it in a warm butter and brown sugar caramel and then I would slather it in milk chocolate and finally, top the whole thing off with toasted chopped almonds. Who wouldn’t feel special and loved with this treatment. I think there may actually be a spa treatment similar to this somewhere in the world. If not, there definitely should be!
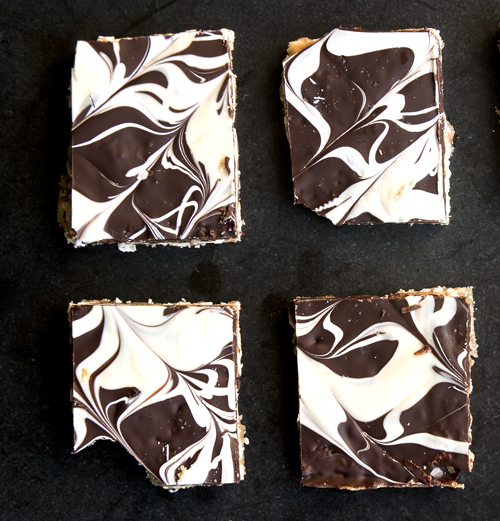
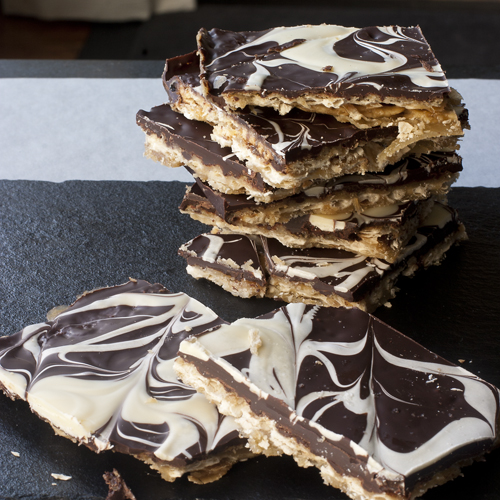
Last year I made Marble Matzoh Crunch with Bittersweet and White Chocolate. This is my adaptation of  Montreal baker Marcy Goldman’s creation. Everyone I feed it to rolls their eyes in ecstasy. When I made it with the square matzoh, I broke it into small rectangular pieces. How beautiful it would be, I thought, to wrap up an entire 12 inch circle of this coated beauty!

I had 6 of these all wrapped and chilling in the fridge, ready to go to Toronto for our family Seders. My husband was packing up the car for our drive and he asked me where all the boxes of Shmura Matzoh were. I proudly showed him what I had created. He was horrified! Apparently my creations were sacrilegious. I managed to calm him down by telling him that several boxes survived unscathed and we could take those boxes to his sister’s house. I fed him small bites of the chocolate almond shmura matzoh crunch during out 4 hour drive and he had forgiven me by the time we arrived.

When we returned home I did some research and discovered that Shmura means “watched” in Hebrew, as in, to watch over something carefully. This matzoh is called shmura because it is made under strict rabbinical supervision, meaning that the rabbi is keeping an eye on the process, which must be completed according to a strict set of Jewish religious rules, and in 18 minutes.

thecitycook.com provided this explanation: “The Seder is the centerpiece of Passover. For some who observe and celebrate this holiday, it is particularly meaningful to replace factory-made matzoh, the unleavened bread so essential for the Seder meal, with shmura — or shmurah — matzoh. Shmura means watched from the harvest, which signifies that every step of the process of making this matzoh, from harvesting the grain to the final baking, has been supervised by a rabbi. It also means that when the bread is being made in its small batches, the flour and water are kept in separated cubicles as extra insurance that there is no premature contact between them until the last possible moment, thus preventing any leavening.”

I also discovered that a box of 3 Shmura matzoh, will set you back about $15.00 -$20.00. Shmura matzoh is expensive, because producing it is very labor intensive. Every piece is made by hand, not machine. The production of shmura matzoh is a labour of religious love. Think of it as Artisnal Matzoh.

Whether you decide to give regular or Shmura matzoh the royal treatment, you will not regret it!

To print the recipe for Shmura Matzoh Crunch, click here.

Vanilla Bean Ice Cream with Blood Orange Caramel Sauce


The inspiration for this dessert came about while I was cleaning my fridge. Underneath some slimy pears and moldy strawberries I unearthed six slightly wrinkled, but still perfectly serviceable, blood oranges. They were left over from my recent obsession two weeks ago.

Now before you go feeling sorry for me because I had to deal with mold and slime, I should reveal the view from where I am sitting right now, as I type this post:

So cleaning out the fridge before I left for Paradise was motivated primarily by the desire to avoid having my post holiday bliss balloon burst any sooner than necessary. Nothing like slime and mold to greet you upon return.

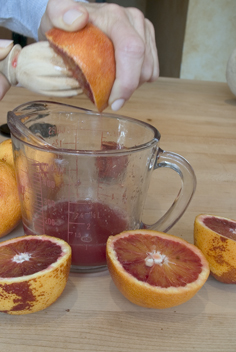
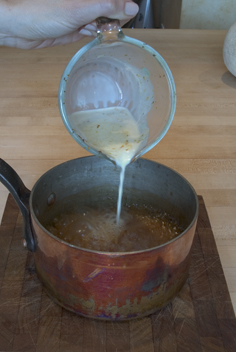
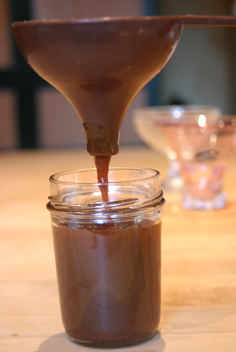
I was inspired by Bobby Flay (not for the first time, and I’m certain the last either!) to create a caramel sauce with the blood oranges. I watched him make a tangerine caramel sauce on the Cannoli episode of Throwdown.  Bobby put his twist on cannolis by tarting up the ricotta filling in the cannolis with some tangerine caramel. Instead of using water, he added tangerine juice to the sugar, caramelized it and added some cream. Such a brilliant idea, I decided to steal it! Of course, I would add my own twist and use blood oranges instead of tangerines.

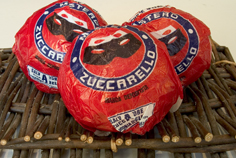
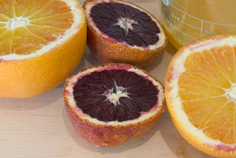
I love how the Italians package things. They have such a wonderful sense of humour and don’t take anything too seriously. Last time I bought blood oranges they came all wrapped up in Ninja Turtle paper. This time the wrapping paper was decorated with Mardi Gras Masks. The colour variation inside the blood oranges was once again surprising! Some were pale orange and others deep blood-red.

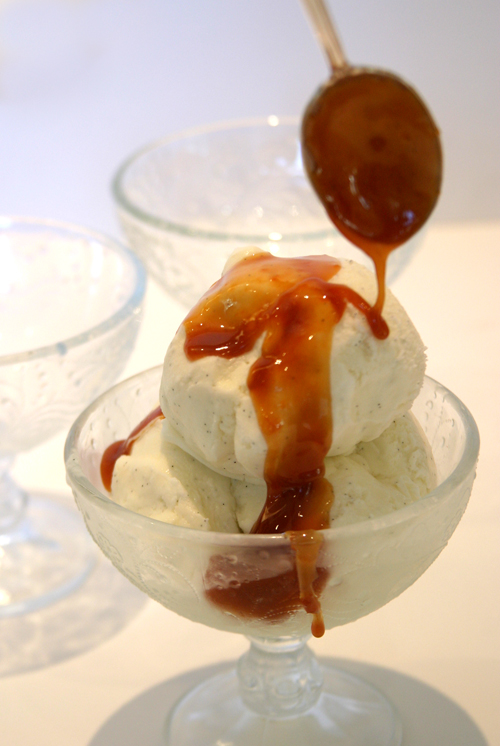
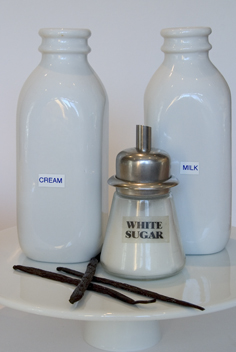
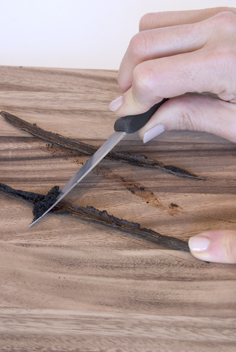
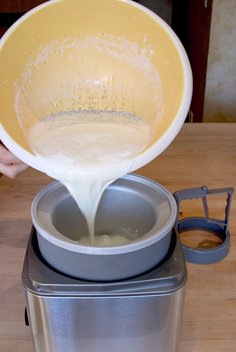
As soon as I tasted the cooled Blood Orange Caramel Sauce, I instantly knew it was destined to be paired with vanilla ice cream.  I decided to kick it up a notch and use fresh vanilla beans in the ice cream.

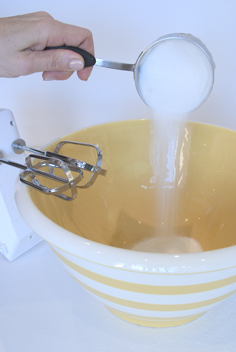
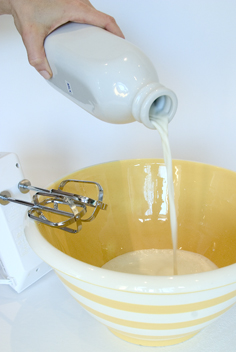
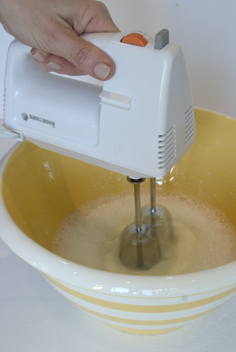
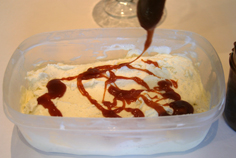
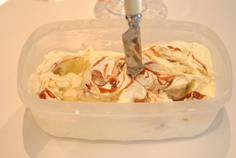
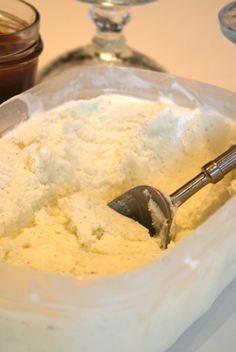
After about 25 minutes the ice cream had a soft consistency, much like a Dairy Queen Blizzard. At this point, you have two options. You can transfer the soft ice cream into a wide rectangular plastic container and drizzle the caramel sauce right onto the ice cream, and then use a knife to swirl the caramel sauce into a beautiful marble pattern. Then cover the swirled ice cream and chill several hours until firm.

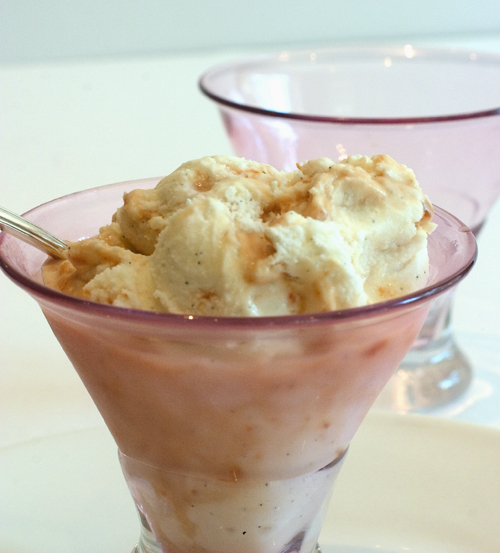
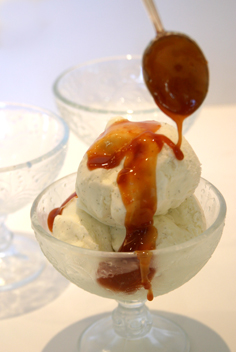
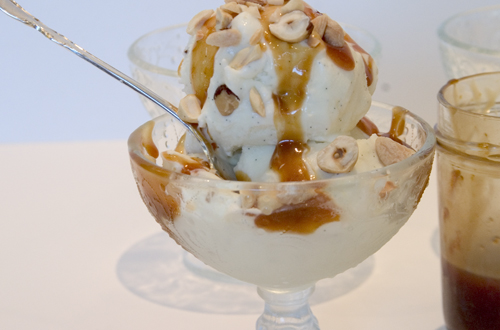
The second option would be to leave the ice cream plain, freeze and then scoop and drizzle sauce on top for a sundae.  Either way you make it, this ice cream will transport you right back to childhood. Remember Creamsicles from the Ice Cream Truck? That’s exactly what this sundae reminded me of. Topped with toasted chopped hazelnuts, this is a very grown-up dessert!

To print recipe for Blood Orange Caramel Sauce, click here

To print recipe for Vanilla Bean Ice Cream, click here.

Day One: Almond-Pecan Caramel Corn


Last Monday I finally treated myself to a cortisone shot in my elbow.  You may be thinking, “What kind of treat is that?”  Well here is the sad story of my baking injuries. Last December I piped over 160 gingerbread snowflake cookies and gave myself an awful case of carpal tunnel syndrome.  Just a simple matter of overuse of some very small, not often used muscles.  It finally healed by late February but then this summer, after finishing the Bread Baker’s Apprentice Challenge, I noticed pain in my elbow.  Of course I ignored it and by September it was so bad I could not lift a coffee mug or squeeze toothpaste without terrible pain.  I went for to the Baking Sports Medicine Clinic and began physiotherapy for tendonitis (also known as tennis elbow, or in my case, bakers elbow).

It was getting a little bit better but not much.  After 10 weeks I asked my therapist what else I could try as I was starting to get desperate.  I had over 40 gift baskets to bake for the holidays.  I blogged about this briefly last year.  Rather than shop for gifts for all the people in my life for whom I am grateful, I decided many years ago to bake.  And I had to get going.  Thus the cortisone shot.  I have heard from many people that a cortisone shot does not hurt.  They are liars!  My arm felt like it was going to fall off for the first 2 days but then magically,  by the 4th day, the pain was gone.  It is my own personal holiday miracle.

So here, for the next 7 days you can follow along with me on my baking frenzy.

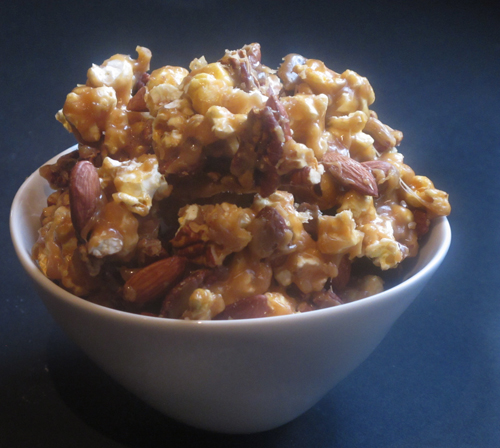
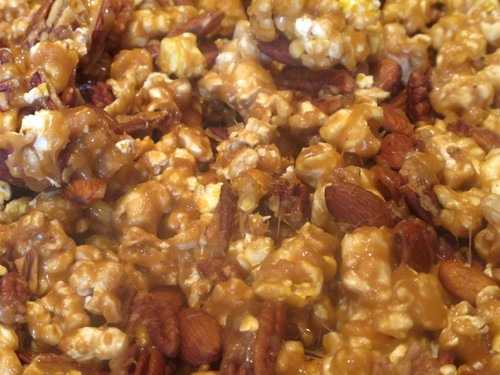
On day one I tackle Almond Pecan Caramel Corn.  I found the recipe for this addictive treat many years ago, in a sweet little book called, “Gifts of Food” by Susan Costner.  I only make this recipe when I have somewhere to take it as I have absolutely no willpower at all when it comes to this popcorn.  Each recipe uses a pound of butter.  Do not tell people this when you give it to them as they will hate you for life.  I have altered the recipe slightly and add about 2 teaspoons of kosher salt to each batch when I am making the caramel.  A tall heavy non-stick soup pot is ideal for making this.  A candy thermometer is helpful as well.  I like this one as it has a ledge at the bottom so the bulb can not touch the bottom of the pot and give you a false reading.

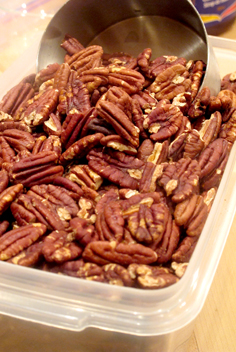
I popped some microwave popcorn.  I toasted the almonds and pecans and mixed everything together in a big bowl.  If your counter is not heatproof, place the bowl on a cooling rack.

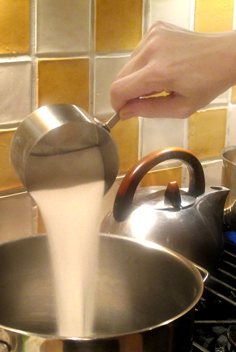
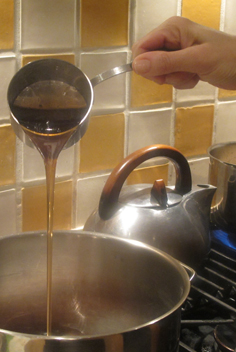
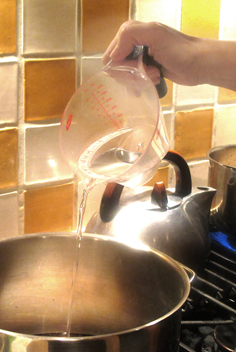
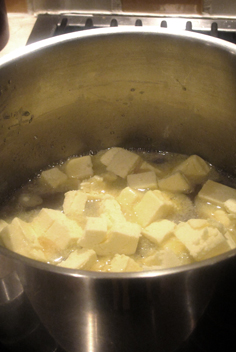
The caramel contains sugar, corn syrup, water, salt and butter.

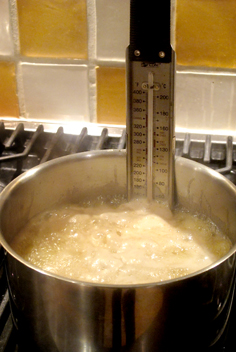
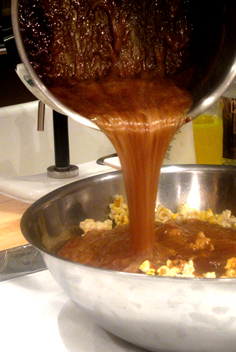
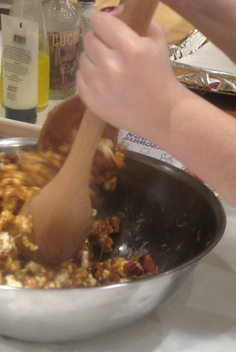
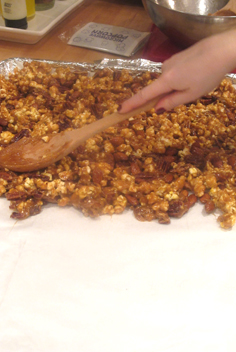
When the caramel reaches 280 – 300º F, it’s  time to pour it onto the popcorn and mix well.  Then it gets spread out on a parchment lined cookie sheet and you wait (or not) for it to cool.  If you are impatient and try to eat it before it cools and totally hardens, it is still quite sticky and can pull out a filling!  Don’t say I didn’t warn you.

Click here to print recipe for Almond Pecan Corn.

Sweet and salty and crunchy and habit forming!


Bobby Flay’s Peanut Butter Caramel Swirl Brownies


Okay, I have become a little bit obsessed with Bobby Flay’s show “Throwdown” on the Food Network.   It might be the catchy theme song that I just can’t stop singing, or maybe it’s just Bobby’s curls that I am obsessed about.  I used to have curls just like that before I discovered the CHI flat iron.  For those not familiar with the show,  here’s  The Food Network’s summary of the main plot :

“Flay is on a secret mission: to challenge the absolute masters in different kinds of cooking – award-winning BBQers, bakers, pizza makers and more. In each episode, one of these cooks thinks Food Network is shooting their profile for a show. What they don’t know is that Bobby is going to drop in for a surprise visit and challenge them to an unexpected cook-off.”

In 91 episodes so far Bobby has won 28 challenges, tied one and lost 63.  In baseball parlance he’s batting 307 which for a major league ball player is pretty respectable.  The latest episode I watched was a brownie throwdown.  Shawna Lidsky and Katherine Hayward of The Vermont Brownie Company prepared their famous goat cheese (chevre) brownies.  Bobby challenged with his Peanut Butter Caramel Swirl Brownie. 

 I was actually shocked that the judges chose the chevre brownie as the winner.  I am not a chevre lover.  I find the taste a bit cloying but perhaps the chocolate helps to temper that tang.  I was mighty pleased, however,  to see that Shawna and Katherine top their brownies with a pinch of sea salt.  Ever since watching that episode last week I have been unable to think about anything other than Bobby’s brownies.  I had to make them.

The original recipe instructs you to line  a 9 x 13 inch pan with foil.  My sister Bonnie has brainwashed me into believing that foil should never come into contact with food as studies have shown that Alzheimer’s sufferers have a high concentration of aluminum in their systems.  Although cooking in aluminum pots or using aluminum foil has not yet been scientifiacally proven to cause Alzheimers, my sister is adamant in her belief.  

Besides, the foil does not usually peel right off the baked goods and someone always ends up biting into a brownie with foil stuck to one corner.  In my family, that someone is my Uncle Stephen.  He always gets the bone in the boneless chicken, the olive pit in the pitted olive salad and the foil on the brownie.  So now I line my baking sheets and cake pans with parchment.  Here is an easy way to line a square or rectangular baking dish that I learned many years ago when I worked at Dinah’s Cupboard in Toronto.

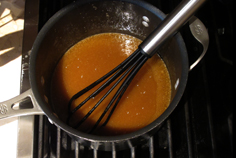
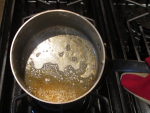
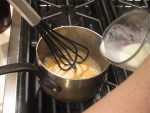
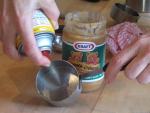
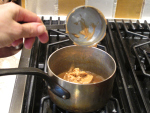
You begin by making a caramel sauce.  Water and sugar are combined in a small pot and cooked without stirring for several minutes until it caramelizes and becomes amber in colour.  Then whipping cream is whisked in.  Next a half cup of peanut butter is mixed in. Here’s a great tip: spray the measuring cup with Pam and the peanut butter will slide right out, without sticking.  Transfer to a bowl and let mixture cool for about 30 minutes.

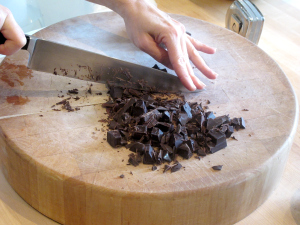
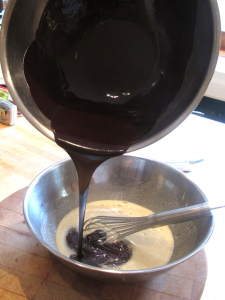
 Chop the chocolate. Then melt with butter over a double boiler.  While the chocolate mixture cools, break some eggs, whisk them with brown and white sugar and combine with the melted chocolate.  add some salt, flour and chocolate chunks.


 Then comes the fun part, making the peanut butter caramel swirl.

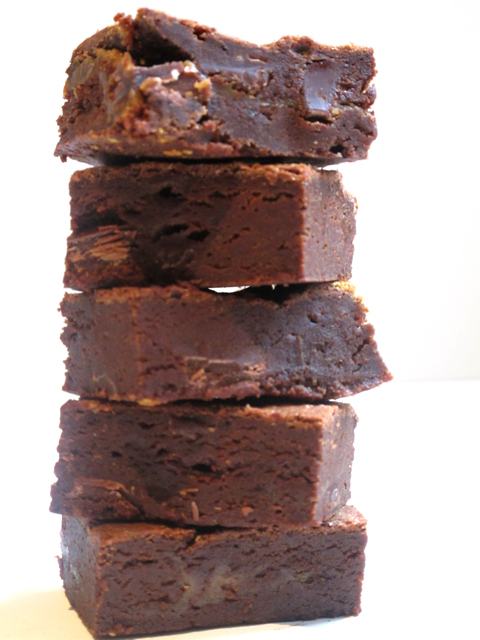
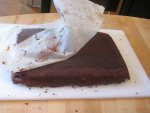
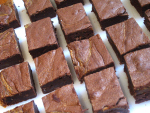
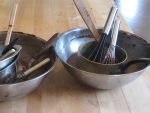
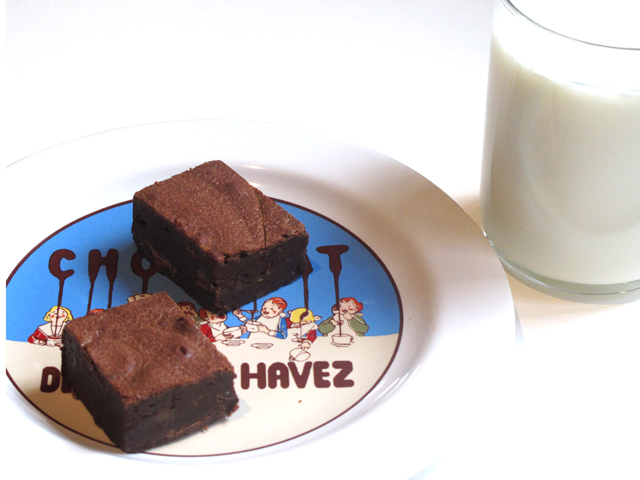
As promised, the parchment peels right off once the brownies have cooled.  Because of the high percentage of unsweetened chocolate in these brownies, they are not too sweet.  The taste of peanut butter is pronounced and the hit of caramel is a perfect background note.  Only one small complaint:  Making these dirties a lot of bowls and pots!


With a glass of milk, they are the perfect snack for watching an episode of Throwdown.

Peanut Butter Caramel Swirl Brownies

Ingredients

1/2 cup heavy cream
1/4 cup sugar
1/4 cup water
1/2 cup smooth peanut butter
1 tablespoon corn syrup
Pinch sea salt
1/8 teaspoon vanilla extract
1 cup (2 sticks) unsalted butter, cut into chunks
6 ounces high-quality unsweetened chocolate, coarsely chopped
2 ounces bittersweet chocolate, coarsely chopped

1 teaspoon espresso powder
4 large eggs
1 1/2 cups granulated sugar
1/2 cup packed light brown muscavado sugar
2 teaspoons pure vanilla extract
1/4 teaspoon fine salt
1 cup unbleached all-purpose flour
4 ounces bittersweet chocolate, coarsely chopped

Directions

  1. Bring the cream to a simmer over low heat in a small saucepan. Combine the sugar and water in a small saucepan over high heat and cook, without stirring until amber brown. Slowly whisk in the warm cream until smooth and let cook for 1 minute. Remove from the heat and whisk in the peanut butter, corn syrup, sea salt and 1/8 teaspoon of vanilla extract until smooth. Transfer to a bowl and let cool until thickened at room temperature, about 30 minutes.
  2. Put a rack in the middle of the oven and preheat the oven to 325 degrees F. Line a 9 by 13-inch baking pan with parchment paper..
  3. Combine the butter, unsweetened chocolate, 2 ounces bittersweet chocolate and espresso powder in a medium bowl set over a pot of simmering water. Let the chocolate melt over low heat, stirring frequently until smooth. Remove from the heat and let cool slightly, about 5 minutes.
  4. In a large bowl, whisk the eggs, both sugars, vanilla and salt until smooth. Whisk in the melted chocolate mixture until combined. Scrape down the sides of the bowl. Beat in the flour in 2 additions (the batter will be thick). Stir in the remaining 4 ounces of chopped bittersweet chocolate.
  5. Scrape half of the batter into the prepared pan and smooth the top. Using a tablespoon, drop dollops of half of the peanut butter caramel every 2 inches over the top of the batter. Carefully add the remaining batter and smooth over the caramel. Smooth the top and dollop the remaining caramel over the top. Use a butter knife to swirl through the batter to get a marbleized effect.
  6. Bake until the top is set but still soft and the edges are puffed and just beginning to pull away from the sides of the pan, about 23 to 25 minutes. A toothpick inserted in the center will come out still gooey (be brave!–underbaking the brownies is one of the secrets to their fudgy texture). Transfer the pan to a wire rack to cool completely.
  7. For the neatest cuts, refrigerate the pan for about 20 minutes before cutting the brownies. Using the foil, lift the brownie slab out of the pan. Carefully peel off the foil and put the brownie on a large cutting board. With a large sharp knife, cut the brownies into 48 squares. (The brownies can be stored in an airtight container, at room temperature, for up to 3 days; they can also be frozen, well wrapped, for up to 2 weeks.)

Marble Matzoh Crunch

This week in the Bread Baker’s Apprentice Challenge I am scheduled to bake Stollen.  However, it’s Passover this week and I’m not eating bread.  So in honour of this holiday I offer my favourite Passover treat, “Marble Matzoh Crunch.”  The original recipe comes from Montreal baker extraordinaire Marcy Goldman.  Her cookbook Better Baking.com is one of my go to standards.

For those unfamiliar with matzoh, it is a cracker-like unleavened bread made of white plain flour and water. The dough is pricked in several places and not allowed to rise before or during baking, thereby producing a hard, flat bread.  Matzoh is the substitute for bread during Passover, when bread and other leavened products are not permitted. There are two major explanations for eating matzoh. One is historic and the other is symbolic.

Historically, Passover is a commemoration of the exodus of the Jewish people from a life of slavery in Egypt. The Israelites left Egypt in such a hurry, they could not wait for their bread dough to rise. The resulting product was matzoh.  The other reason for eating matoh is symbolic.  On the one hand, matzoh symbolizes redemption and freedom, but it is also known as poor man’s bread.  So it serves as a reminder to be humble, and to not forget what life was like as slaves of the Egyptians. Also, leavening of the bread symbolizes corruption and pride as leaven “puffs up”. Eating the “bread of affliction” is both a lesson in humility and an act that enhances one’s appreciation of freedom.

All that history and symbolism for a little cracker!  There are those that compare eating matzoh to cardboard.  I wholeheartedly disagree.  I love Matzoh.  Perhaps it’s because the rest of the year, for health reasons, I spread butter and jam so thinly on my toast  I can barely taste it.  However at Passover I spread both butter and jam on with reckless abandon.  Passover is my excuse to consume butter and jam and matzoh is the perfect vehicle for allowing me to do it.

Marcy Goldman’s Matzoh Crunch is guaranteed to convert any matzoh hater into a matzoh worshipper.  You don’t even need to be Jewish to love this treat.

Ingredients:

6 slices matzoh
1 cup (2 sticks) unsalted butter or kosher for Passover margarine
1 cup firmly packed brown sugar
2 generous cups finely chopped bittersweet chocolate or semi-sweet chocolate chips (about 12 ounces)
1 1/2 cups white chocolate, finely chopped (about 8 ounces)
1 teaspoon sea salt or kosher salt

Directions:

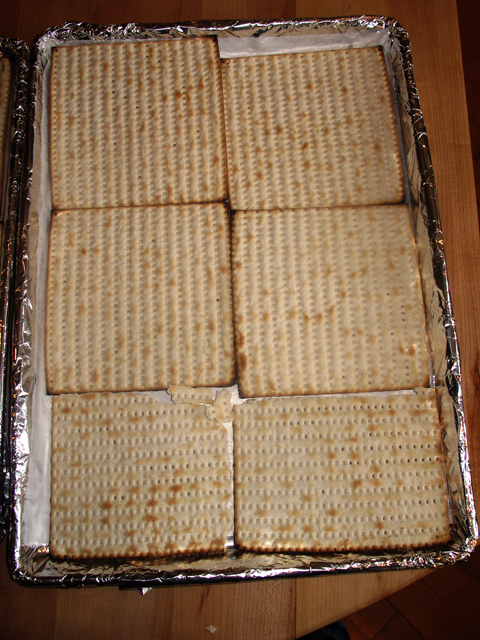
1.  Preheat oven to 350º F.  Cover an 18 x 13 inch rimmed cookie sheet with foil and then cover the foil with a sheet of parchment paper. Do not leave this step out or you will be cursing me when it comes time to cleanup!  Cover the parchment paper evenly with the matzoh.  You will have to trim some of the matzoh with a sharp knife to make it fit into a flat even layer.  You will have some matzoh scraps left over.  Slather with butter and jam and eat.

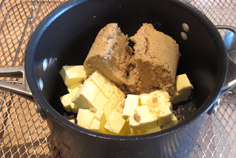
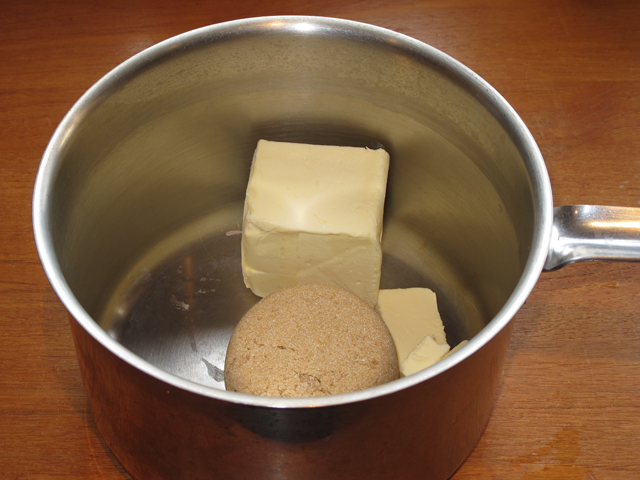
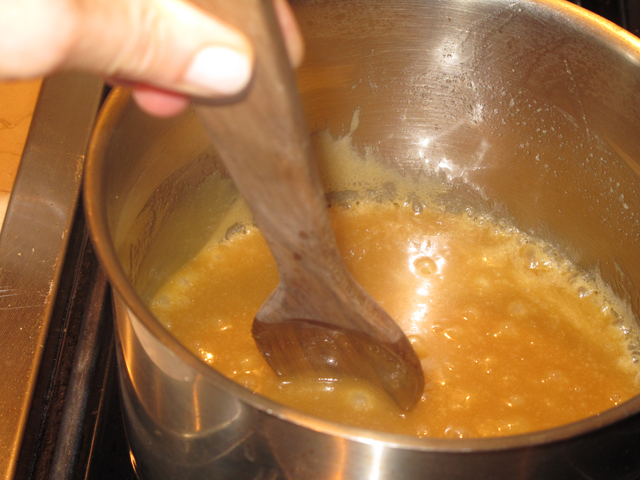
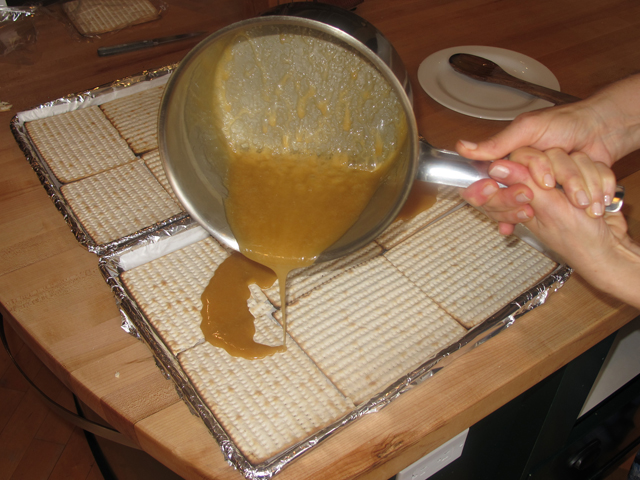
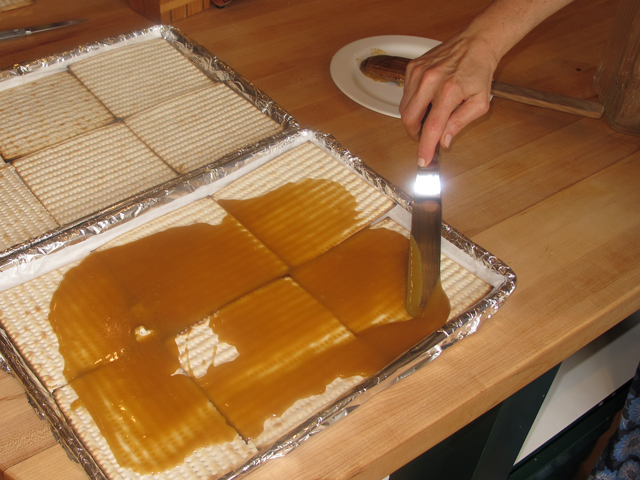
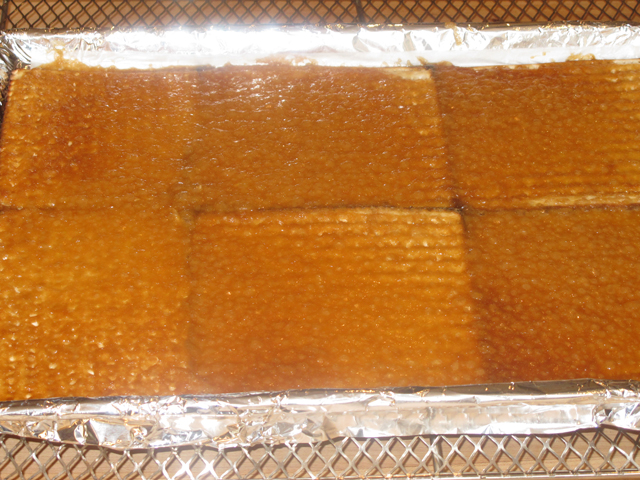
2.  In a large heavy bottomed saucepan, add brown sugar and butter or margarine.  Cook over medium heat, stirring constantly with a wooden spoon, until the mixture comes to a boil.  This will take about 2-4 minutes.  At one point it will look like the butter is separating from the sugar and it will appear to be an oily mess.  Just keep stirring, it will come together again.  Once mixture comes to a boil, keep stirring for about another 3 minutes.   Carefully pour caramel onto matzoh.  Using a metal spatula, spread it out into an even layer.

3.  Place baking sheet into oven and bake for about 12 minutes until the caramel topping is golden brown and bubbling.

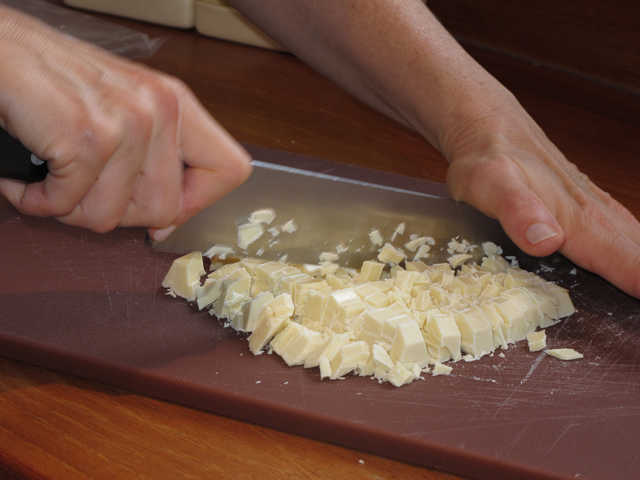
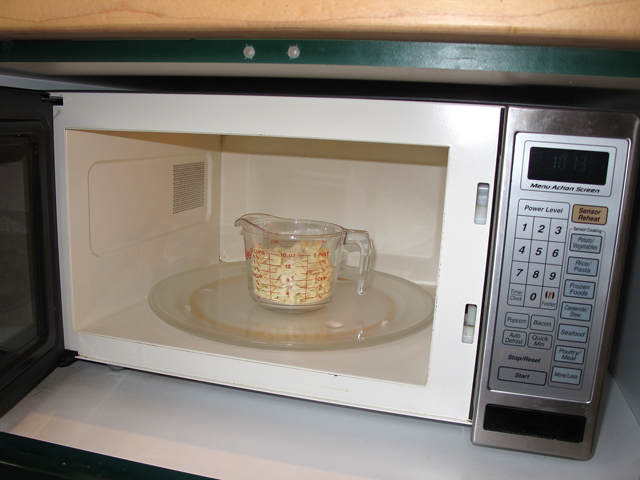
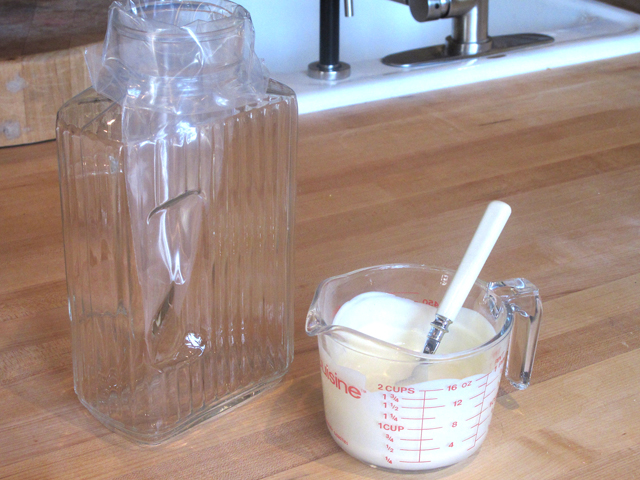
4.  While caramel is baking chop white chocolate into small pieces.  Place in glass measuring cup and microwave on medium power for 2 minutes.  When you remove chocolate from microwave, it will look like the chocolate is not finished melting.  Take a clean dry spoon and stir white chocolate.  It will continue to melt as you stir.  Pour melted white chocolate into a disposable plastic piping bag.  The easiest way to do this, if you are alone, is to place the piping bag in a large glass or pitcher and fold down the top.  Pour in white chocolate and let sit until you are ready to use it.


5.  Remove caramel covered matzoh from oven after about 12 minutes when it is golden brown and bubbly.  Place pan on a wire cooling rack on the counter.  Immediately sprinkle caramel matzoh with chopped bittersweet chocolate or chocolate chips. 


6.   Wait for a few minutes until chocolate has a chance to soften.  Then, using a metal spatula, spread chocolate into an even layer.

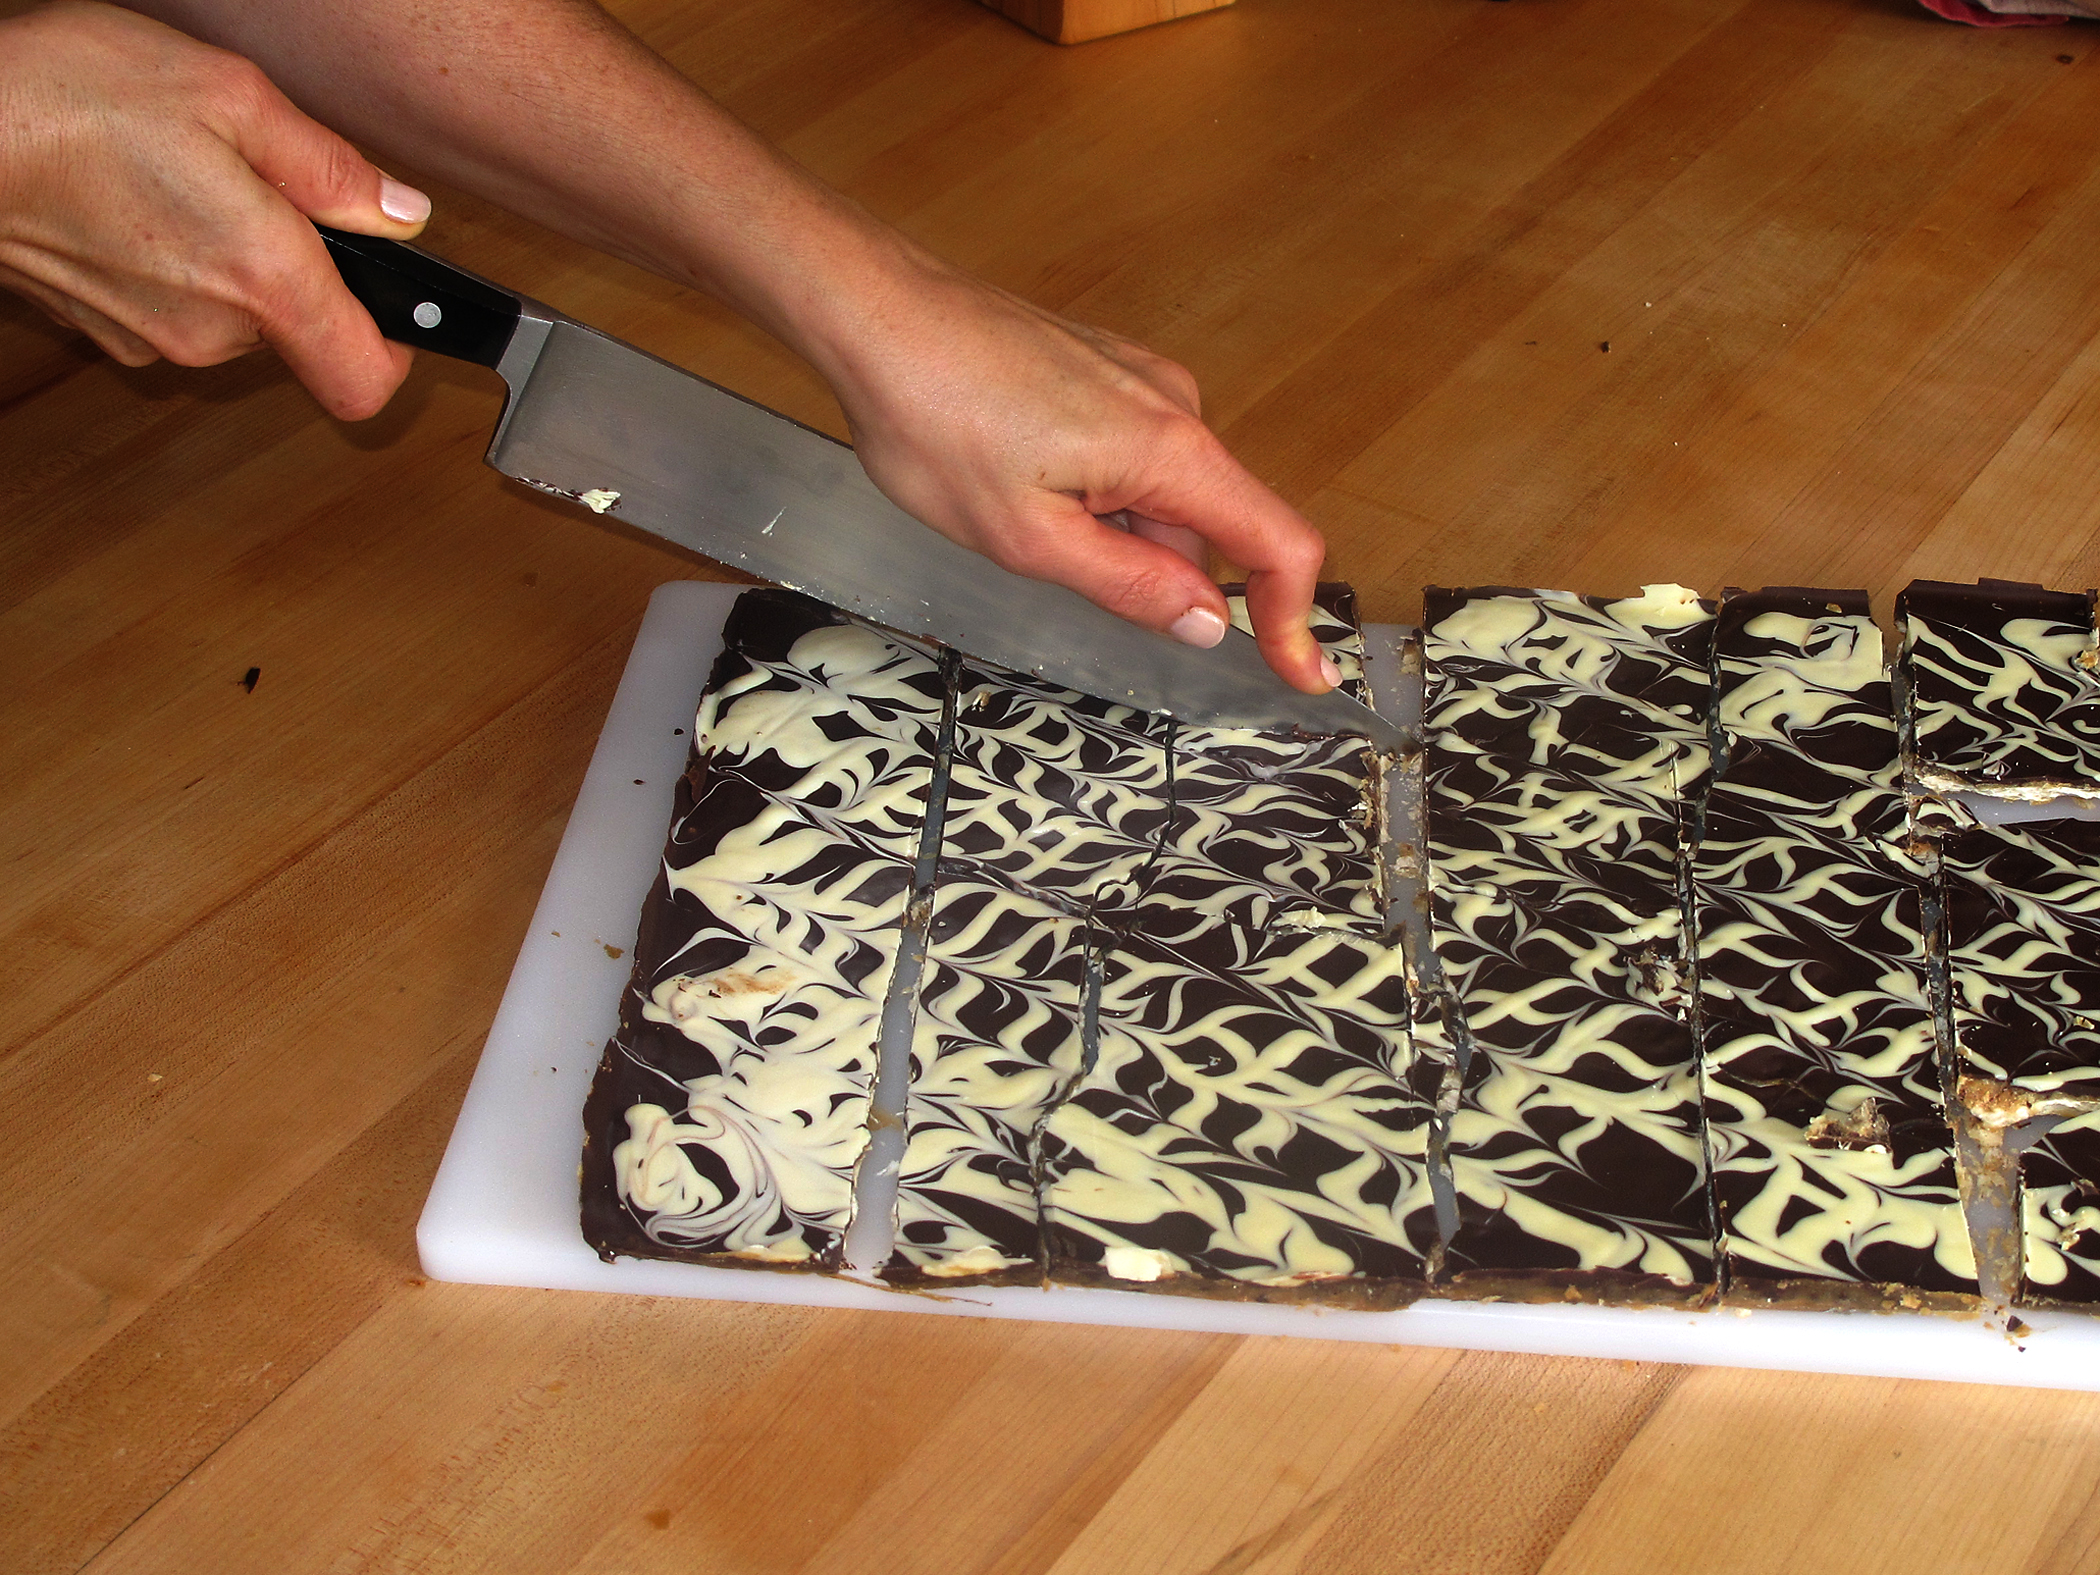
7.  Now comes the fun part!  Making a marble design with the white chocolate.  Twist the top of the piping bag closed and using a sharp scissors, cut a small tip off the end of the bag.  Starting in one corner of the pan, pipe white chocolate in a zig zag pattern.  Then starting in the opposite corner, pipe a zig zag pattern in the opposite direction.  Using the sharp tip of a wooden skewer, drag it through the wet white and dark chocolate making a nice design. You can either drag skewer in a circular pattern or go in straight lines.  Below is a video of me demonstrating the process:

8.  While chocolate is still wet, sprinkle with sea salt.  Chill pan for several hours until chocolate is firm.  Peel off foil and parchment paper and place marble matzoh crunch on a large cutting board. Using a very large sharp knife, cut matzoh into large squares.  For an 18 x 13 inch pan, I usually get about 18 pieces.  Store matzoh crunch in an airtight container in the fridge.  It keeps well for about 5 days. (That is as long as no one else in the house knows it’s there!)

For an equally delicious variation, instead of marbling with white chocolate,  sprinkle dark chocolate with toasted chopped unblanched almonds (about 1 1/2 cups).  Or try milk chocolate and almonds, or dark chocolate and dried cherries, or white chocolate and chopped pistachios or macadamia nuts.  The possibilities are endless.  Have fun!