Tag Archives: Chocolate

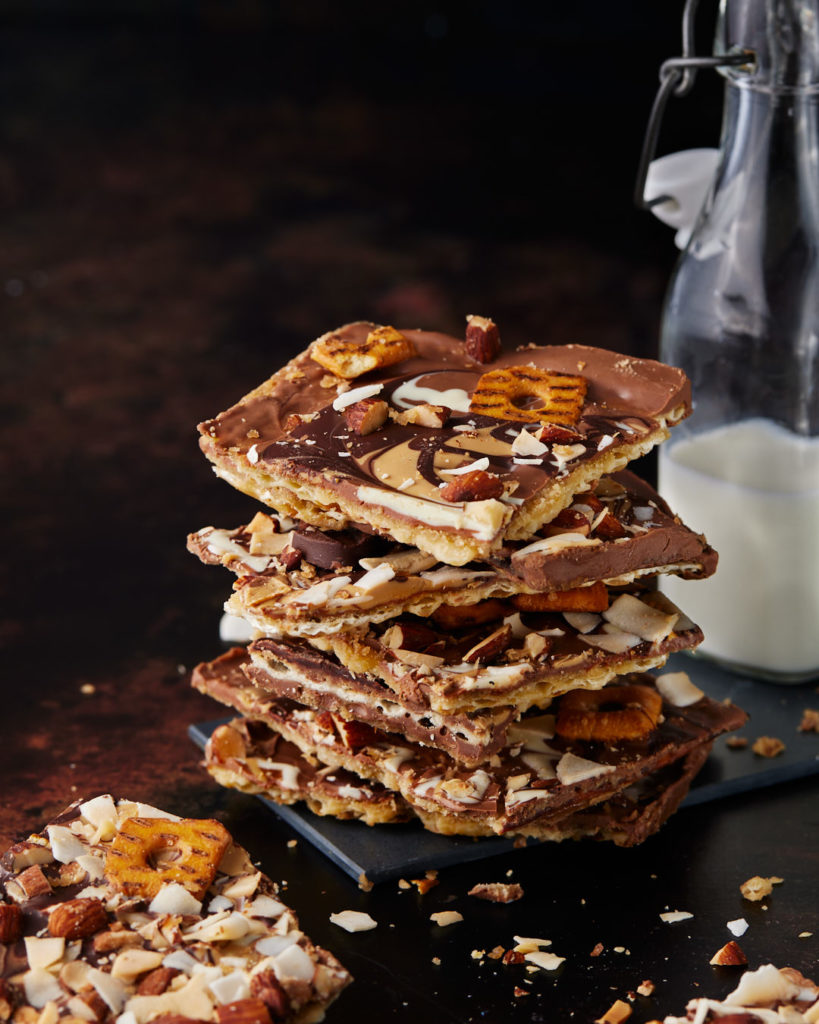
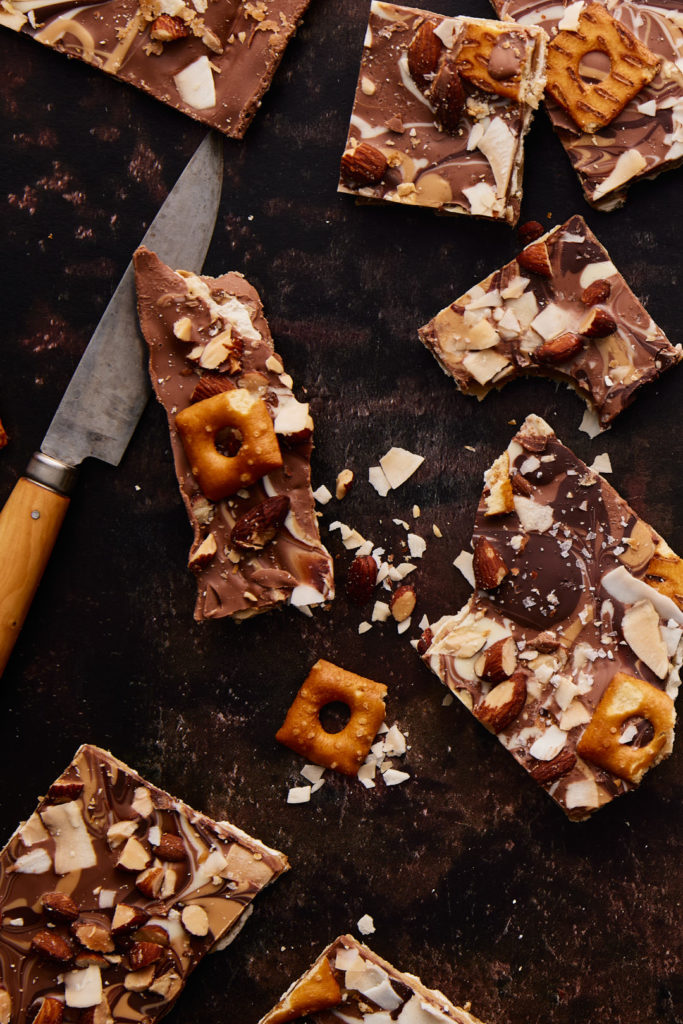
Sweet & Salty Matzoh Crunch

This sweet & salty matzoh crunch is delicious and utterly addictive, as my husband and chief recipe taster discovered this week.

Montreal baker and cookbook author Marcy Goldman is the originator of Matzoh Crunch. The recipe is published in her first cookbook, “A Treasury of Jewish Holiday Baking”. Matzoh crunch is essentially a layer of matzoh covered in brown sugar-butter caramel and topped with a blanket of melted dark chocolate.

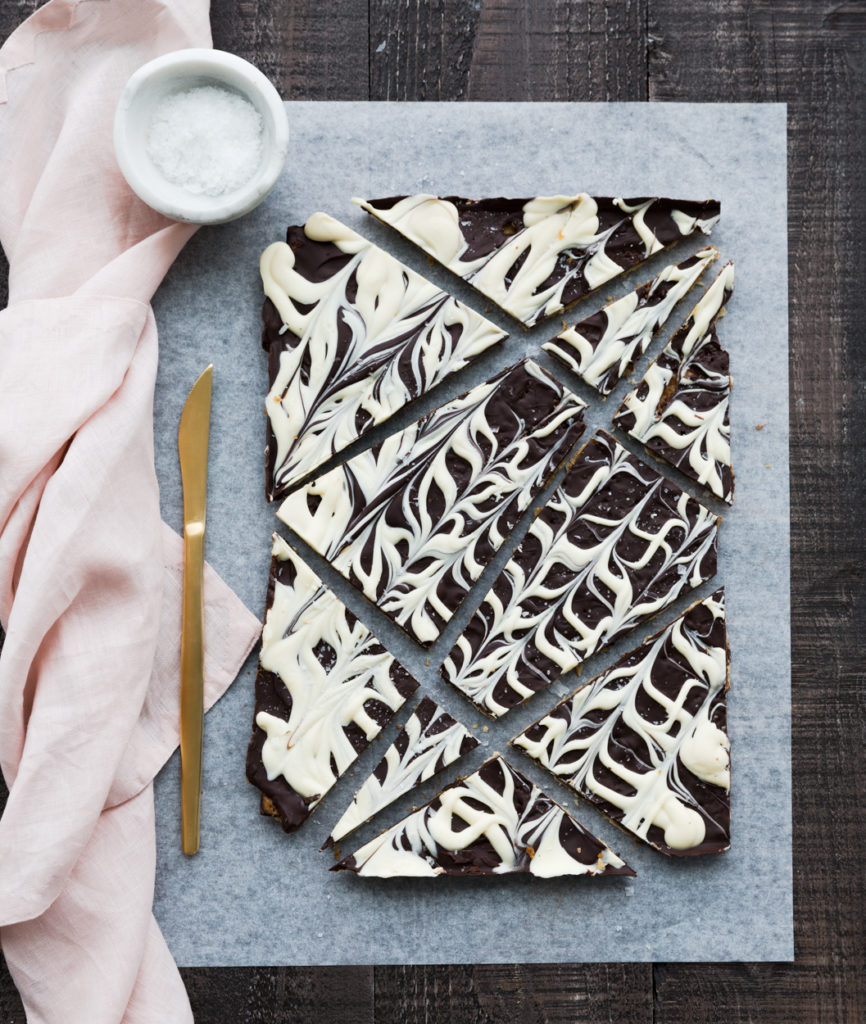
This is my adaptation of her recipe. I have elevated matzoh crunch to the next level, by sprinkling on salted toasted almonds, Passover pretzel thins and toasted coconut flakes. I used a total of 4 different kinds of chocolate for this over the top confection. A base of milk chocolate, and then decorative swirls of white, blonde and bittersweet chocolate. It’s fancy AF.

Watch the video to see how it all comes together.

As with anything you bake, if you start with top quality ingredients, you will yield a better outcome. Most recipes I have seen for matzoh crunch call for melted chocolate chips as the top layer. The problem is that chocolate chips are not formulated to melt smoothly. They contain less cocoa butter so that they hold their shape. This is great for chocolate chip cookies, but not so great when you want a velvety smooth coating. So start with a good quality chocolate that is meant for melting. I love Valrhona. I order it online from Vanilla Food Company.

Blonde chocolate, is a more recent addition to the chocolate family. It is essentially caramelized white chocolate. You could make your own, or buy Valrhona’s which is marketed under “Dulcey“. This is not a Valrhona sponsored post, I just really love their chocolate!

Click here to print recipe for Sweet & Salty Matzoh Crunch.

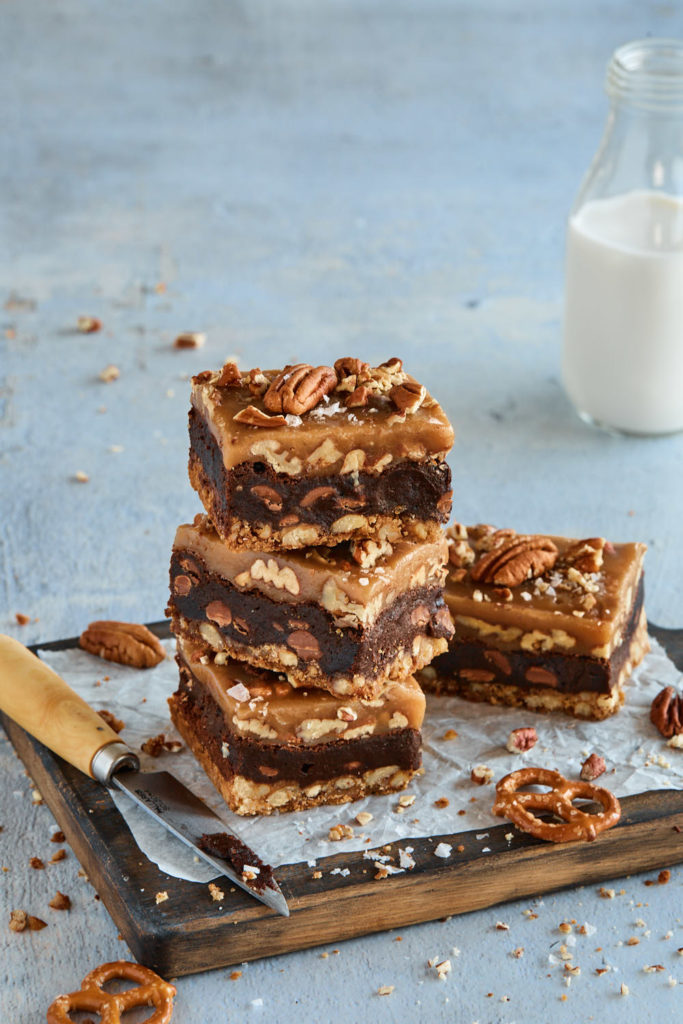
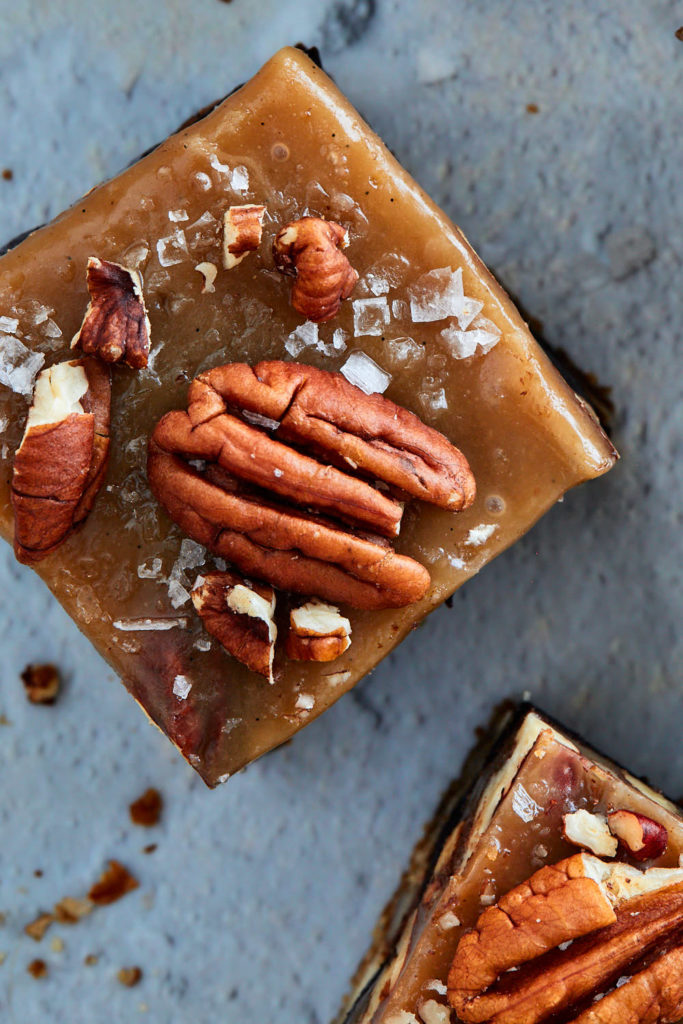
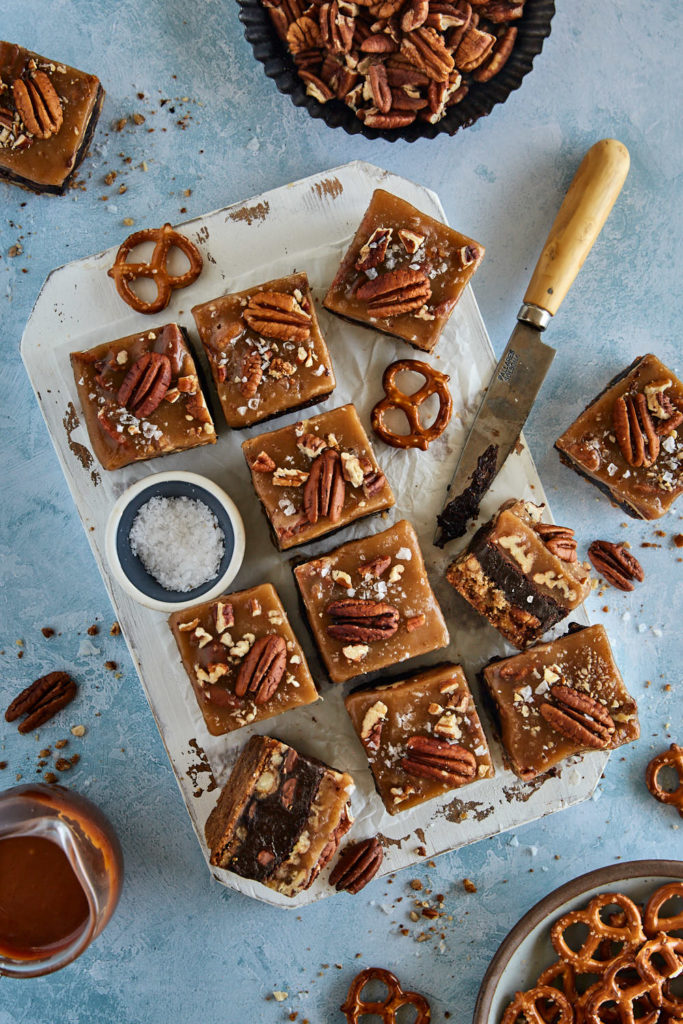
Pretzel Crusted Turtle Brownies

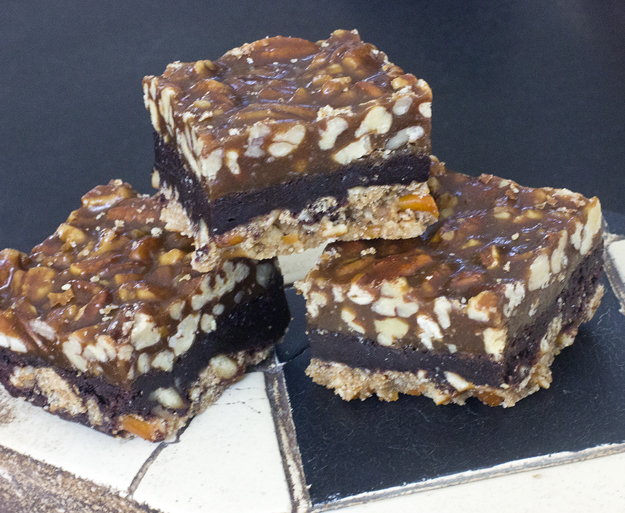
I posted these decadent bars 8 years ago and decided that it was time for a makeover. Here is my image from 2014. I have learned a few things about photography and styling since that time and it’s so rewarding to look back and appreciate my progress.

In addition to new photos, I have also updated the recipe slightly. I replaced the middle chocolate layer with Michael Smith’s brownie recipe, the best ever brownie recipe. And I changed the top caramel layer to a sturdier, chewier consistency, using Sally’s recipe for caramel candies.

I produced a little video so you can watch how they come together.

One bite of these bars transports you through an amazing texture and flavour journey. Crunchy pecans, chewy caramel, fudgy brownies and a salty crumbly pretzel crust. All in one little bar.

Deluxe Matzoh Crunch

Montreal baker and cookbook author Marcy Goldman is the originator of Matzoh Crunch. The recipe is published in her first cookbook, “A Treasury of Jewish Holiday Baking”. Matzoh crunch is essentially a layer of matzoh covered in brown sugar-butter caramel and topped with a blanket of melted dark chocolate.

This is my adaptation of her recipe. I have elevated matzoh crunch to the next level, by piping a decorative topping of white, milk and blonde chocolate. It looks fancy but it’s quite simple to do. 

As with anything you bake, if you start with top quality ingredients, you will yield a better outcome. Most recipes I have seen for matzoh crunch call for melted chocolate chips as the top layer. The problem is that chocolate chips are not formulated to melt smoothly. They contain less cocoa butter so that they hold their shape. This is great for chocolate chip cookies, but not so great when you want a velvety smooth coating. So start with a good quality chocolate that is meant for melting. I love Valrhona. I order it online from Vanilla Food Company.

Blonde chocolate, is a more recent addition to the chocolate family. It is essentially caramelized white chocolate. You could make your own, or buy Valrhona’s which is marketed under “Dulcey“. This is not a Valrhona sponsored post, I just really love their chocolate!

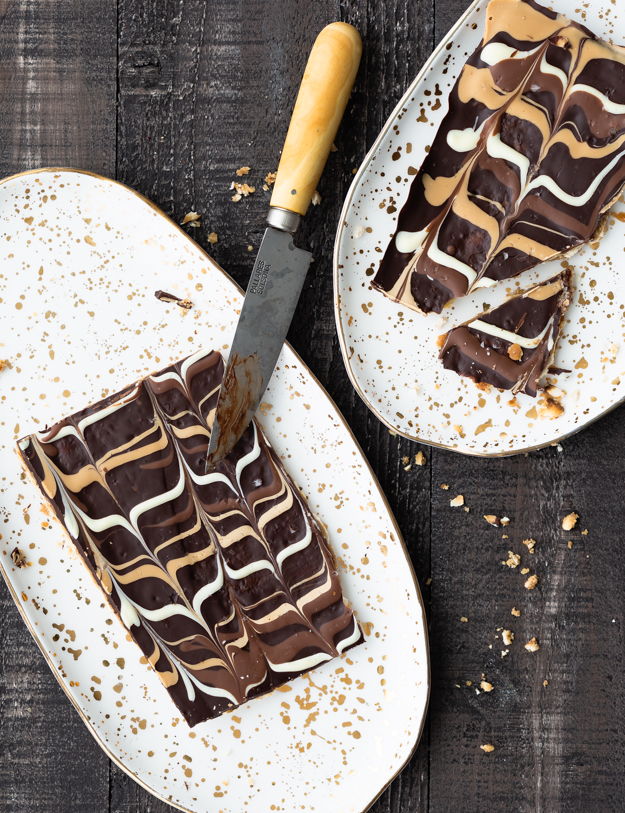
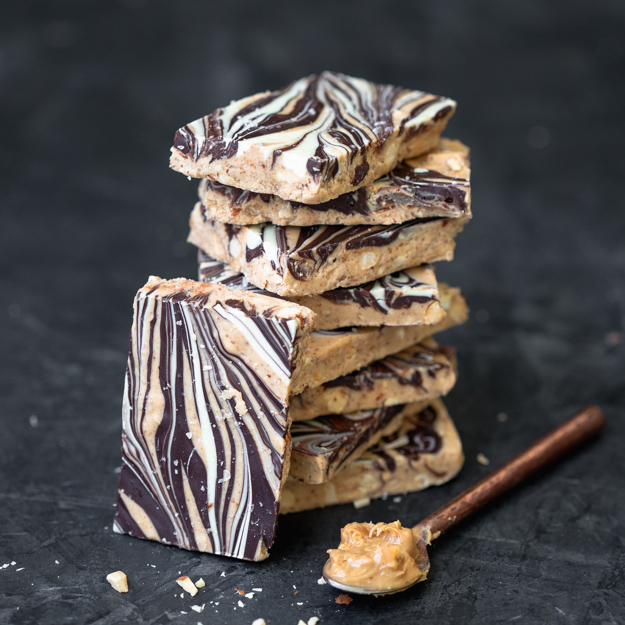
Double Chocolate Almond Butter Bark

Today, an old favourite gets a makeover. I have been making this treat for many years to give away as part of a holiday cookie box. It is always met with awe at how pretty it is and, more importantly, how addictively delicious it is. The original was made with peanut butter but this year, I went rogue and used almond butter.

There is no baking involved and that gorgeous marbling effect on top takes about 40 seconds to create. No skill involved. It’s the perfect last minute holiday present or hostess gift. Everyone loves it and people will be impressed by your mad pastry chef skills.


A few tips to make sure yours comes out perfectly.

  • Line the baking pan with foil and then lay a piece of parchment paper on top of that.
  • Use real white chocolate, not white compound coating chocolate. Real white chocolate is ivory coloured. Compound coating chocolate is white and tasted like wax.
  • Melt the white chocolate in a bowl over gently simmering water, or on very low power in the microwave. White chocolate does not like high heat. You will scorch it.
  • I suggest adding chopped almonds to the mixture for extra crunch. Please use toasted almonds. Untoasted almonds take like sawdust when you chew them. Salted roasted almonds are an excellent choice.
  • Use good quality bittersweet chocolate for drizzling.
  • Don’t forget to finish it with flaky sea salt while the chocolate is still wet.
  • Give the bark at least 2 hours to chill before cutting it.
  • A large sharp chef’s knife or serrated knife is easiest for cutting into nice squares, although no one will complain if they get irregular shards.

Go forth and create. This confection is one of my favourites to make. I feel so artistic when I swirl the wet chocolate and create beauty.

Click here to print recipe for Double Chocolate Almond Butter Bark.


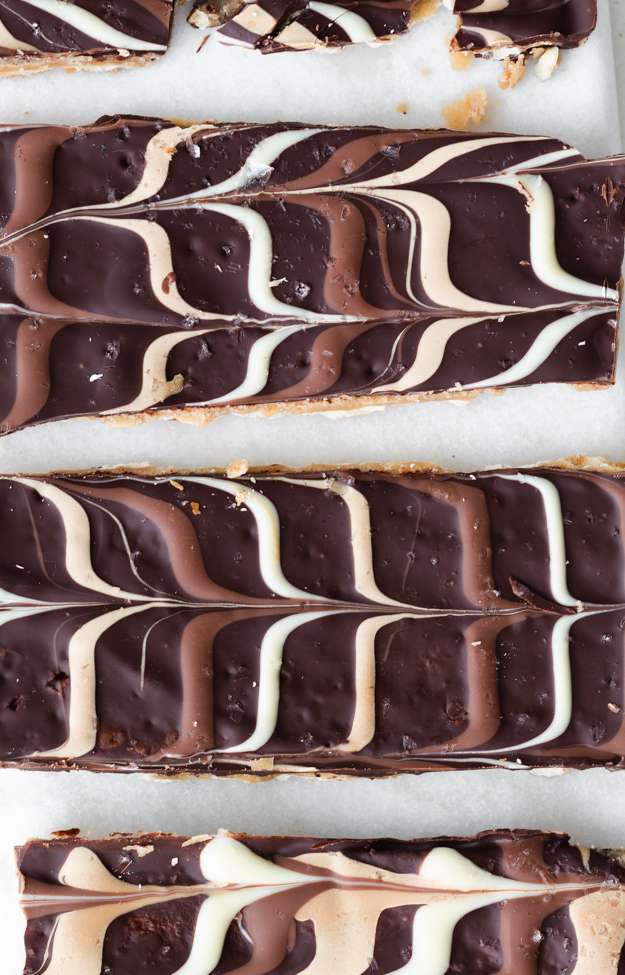
Marbled Matzoh Crunch

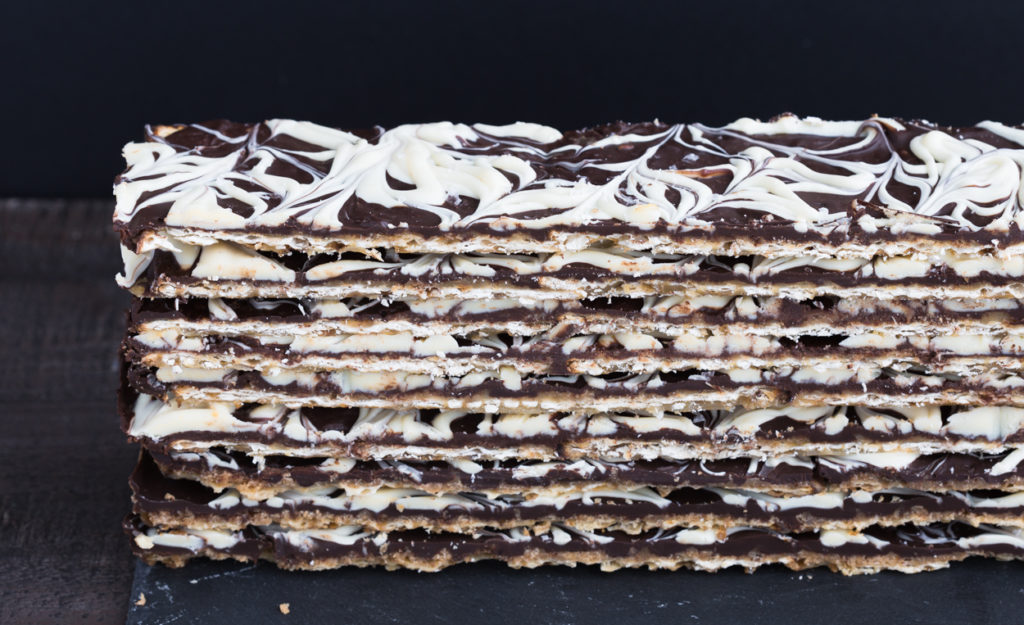
Marbled Matzoh Crunch is my spin on Marcy Goldman’s “Caramel Matzoh Buttercrunch”, from her classic book, A Treasury of Jewish Holiday Baking.

Making Matzoh Crunch, on the surface, looks like a fairly simple process.

But, there are a few details you need to pay careful attention to, so that it comes out perfectly.

  1. Make sure you line the baking sheet with foil and then lay a sheet of parchment on top of that. If you use only parchment paper, you will be scrubbing baked on caramel off the pan. If you use only foil, you will have a very hard time peeling the hardened matzoh crunch off of the foil.
  2. Do not use chocolate chips. Buy good quality bittersweet or semi sweet chocolate and chop it up, or buy couverture chocolate callets. Chocolate chips have less cocoa butter in them so they keep their shape during baking, making them more difficult to melt and they have less flavor than bars or callets.
  3. Use real white chocolate. Many products out there that look like white chocolate, especially chips, contain very little, if any, cocoa butter.They will not melt into a smooth liquid, like real white chocolate.
  4. When cutting your matzoh to fit into the baking sheet, cut along the dotted lines the matzoh has, not across them. It will cut into straight pieces.
  5. When cooking the butter and brown sugar, you will get to a point where the butter will separate from the brown sugar and look like an oily mess. Keep stirring and it will come together and thicken and bubble. That’s when it’s ready to pour onto the matzoh.
  6. Do not omit the step where you sprinkle the wet chocolate with the sea salt. Chocolate and caramel are sweet. You need the salt.
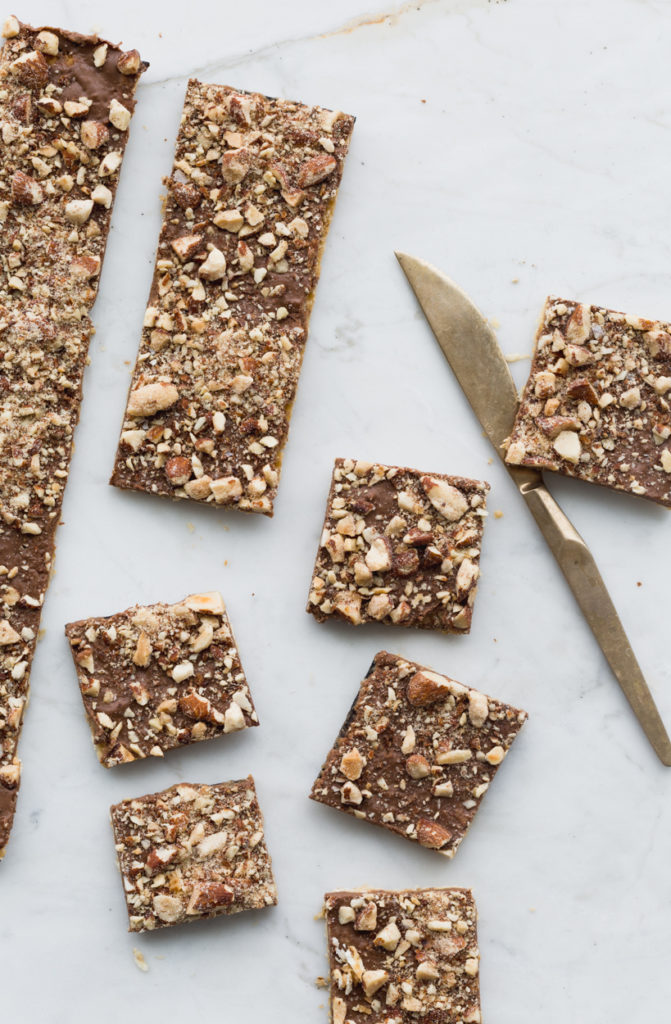
  7. Once the chocolate is set, remove it from the fridge and let it sit for about 30 minutes before cutting it into pieces. If you cut it cold, right from the fridge, the chocolate layer will separate from the caramel covered matzoh. If you wait until the chocolate softens a bit, it will stay sogether with the caramel. A very sharp knife is essential. For an alternate version, use milk chocolate and chopped toasted almonds. Also very delicious. 

Click here to print recipe for Marbled Matzoh Crunch.

Click here to print recipe for Milk Chocolate Almond Matzoh Crunch.


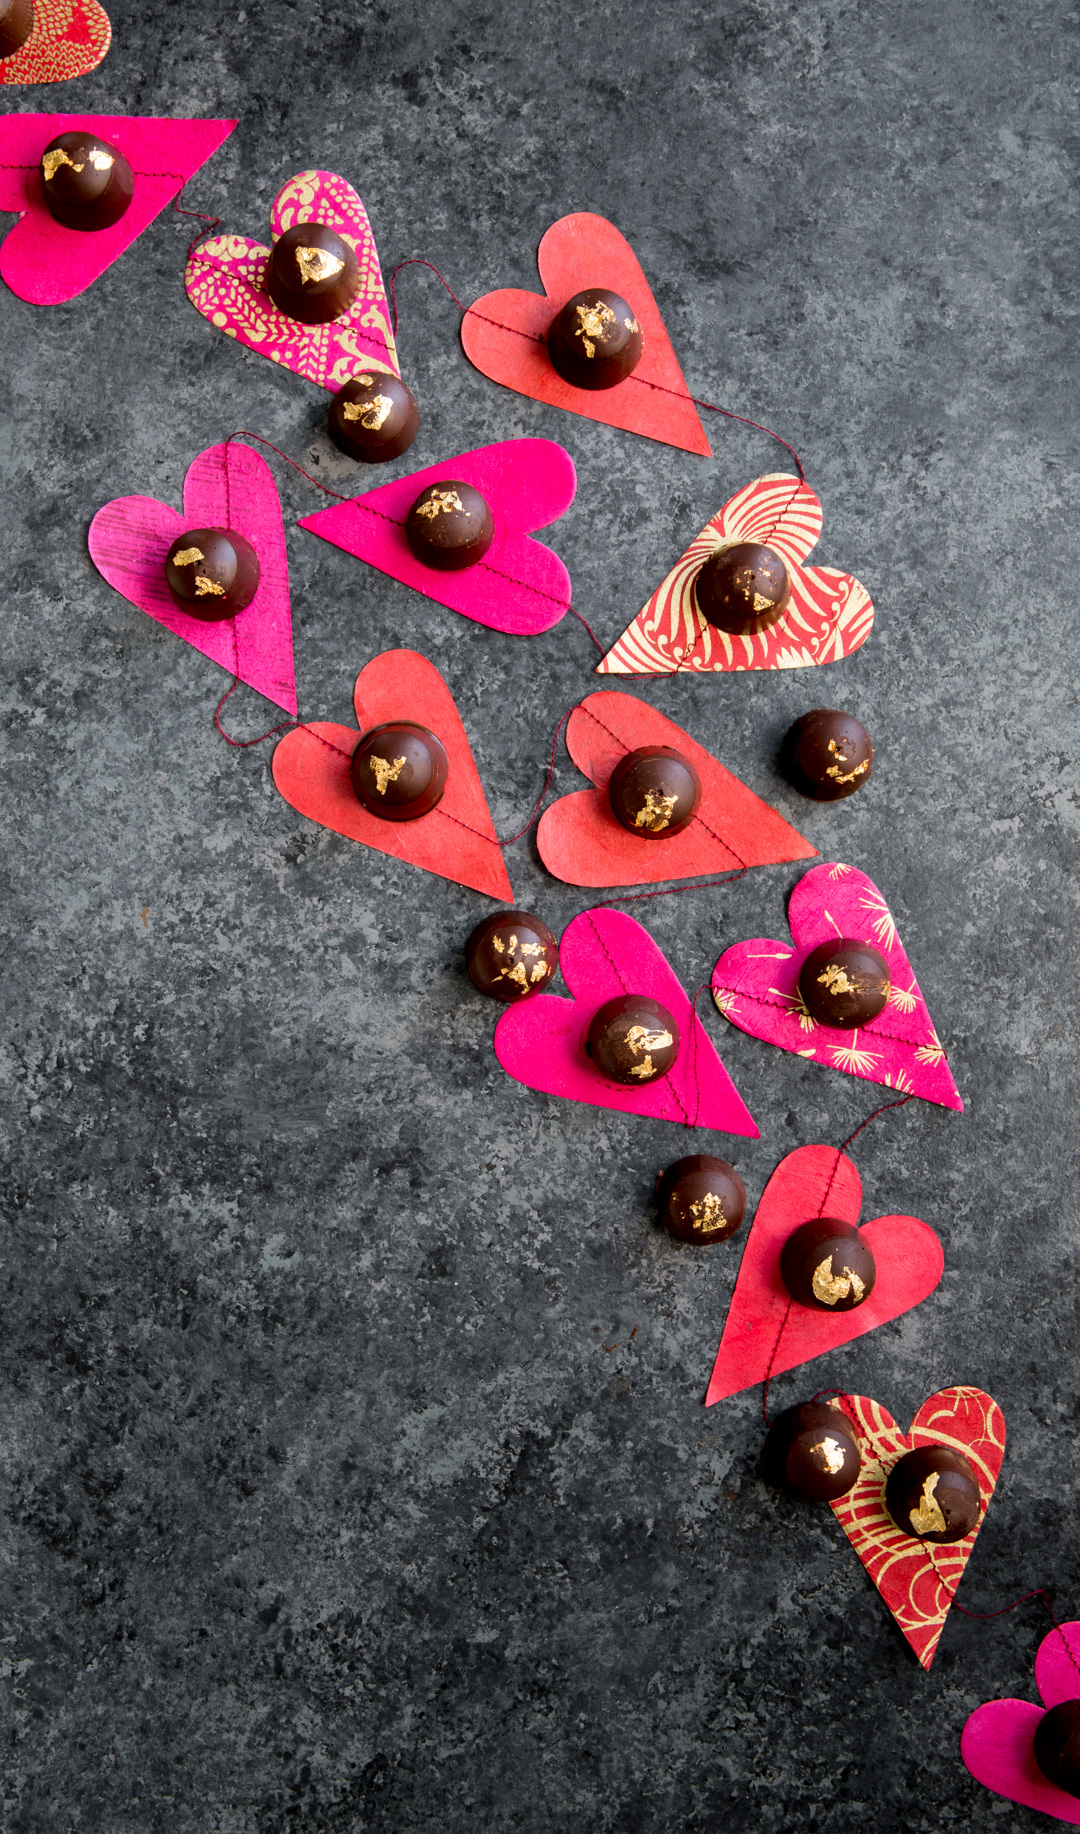
Hazelnut Praline Truffles

Happy Valentines Day to all of you who celebrate this Hallmark holiday. Guess I just revealed my bias. My husband and I are not even going to be in the same city together tomorrow. And if I were to make him treats, it would not be chocolate. Anything apple is the way to his heart.

Truthfully, I  just made these truffles to have something beautiful to shoot and put on my Instagram feed and blog. I have been delving deep into learning food photography and editing on Lightroom with Rachel Korinek. I have learned so much from her and feel very grateful she has decided to devote time to teaching. She is a natural educator and her passion is evident.

I am not what you would call a romantic person. But I do love beautiful things and these chocolates are stunning. I was inspired by Carla Hall on The Chew when I saw her make these truffles.

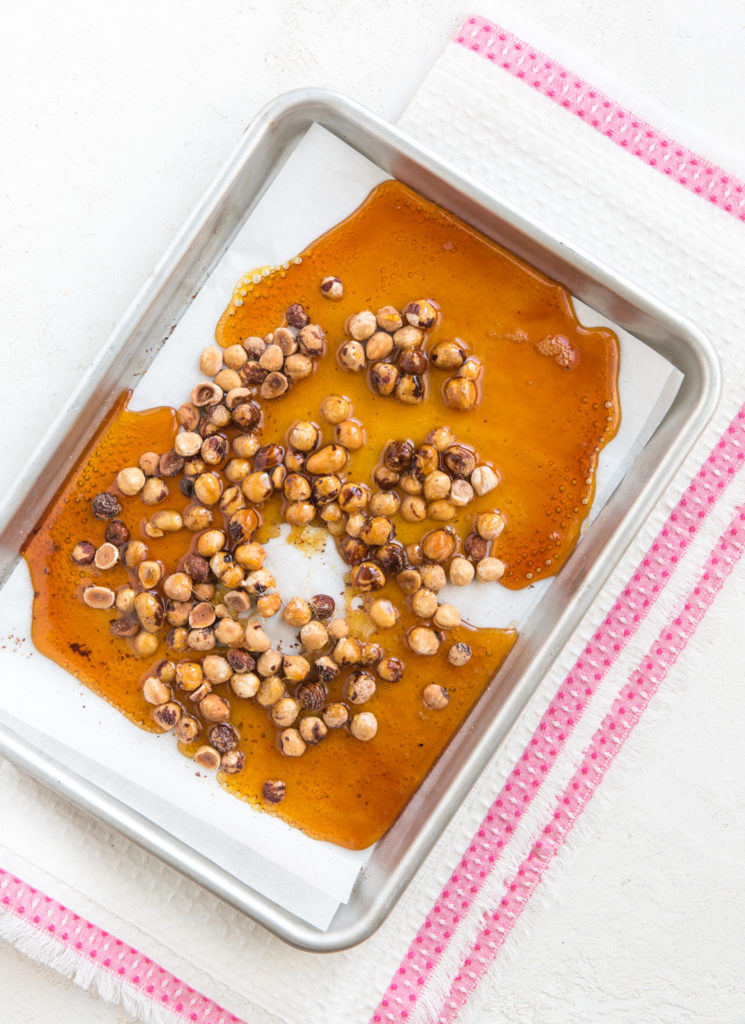
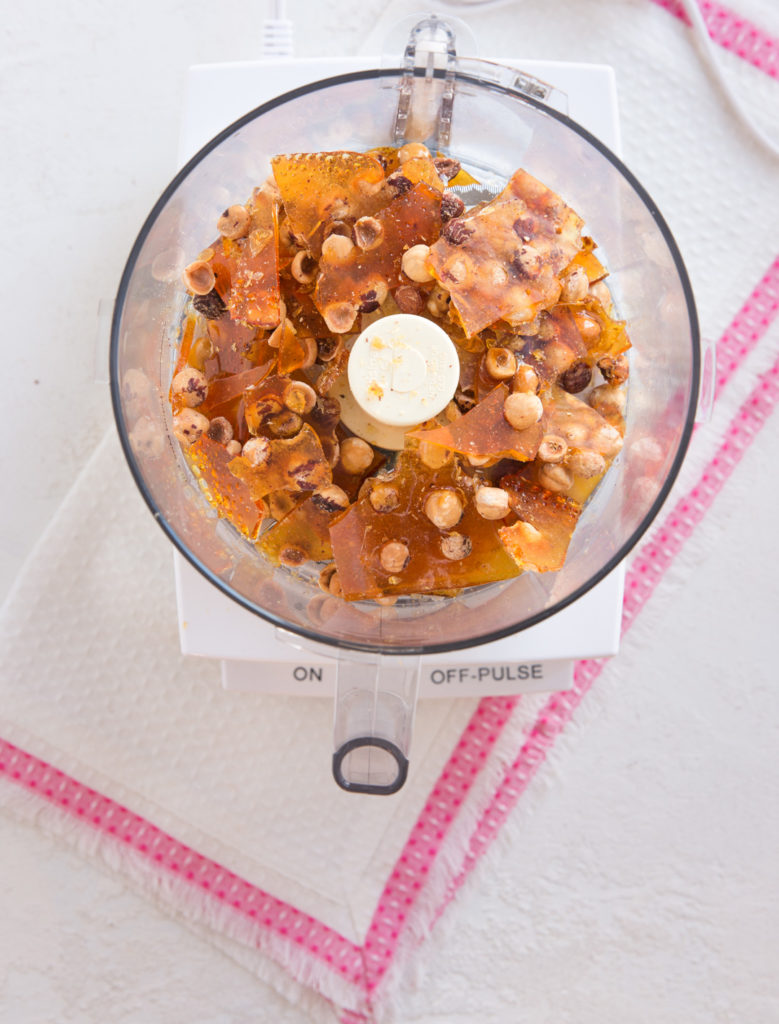
I decided to flavour mine with hazelnut praline. Toast some hazelnuts and set them on a parchment lined baking sheet. Cook some sugar with a few tablespoons of water to a deep amber colour (360°F) and pour it over the hazelnuts. Let harden and then blitz it it to a powder.
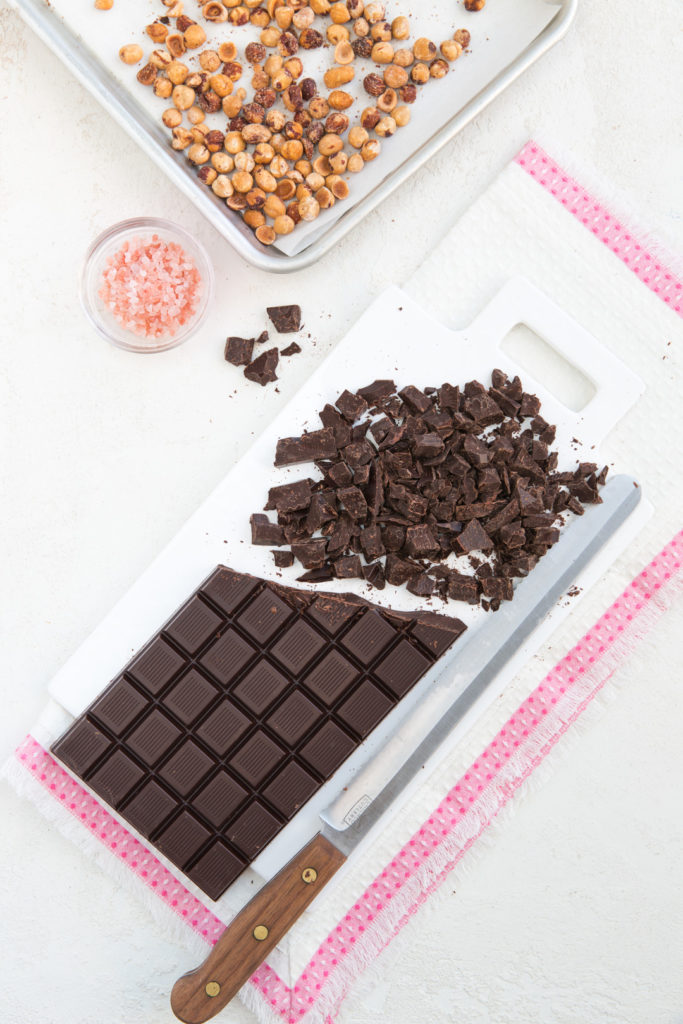
Use good quality chocolate, for the best results. I bought a big bar of Trader Joe’s Belgian 72% Chocolate. 
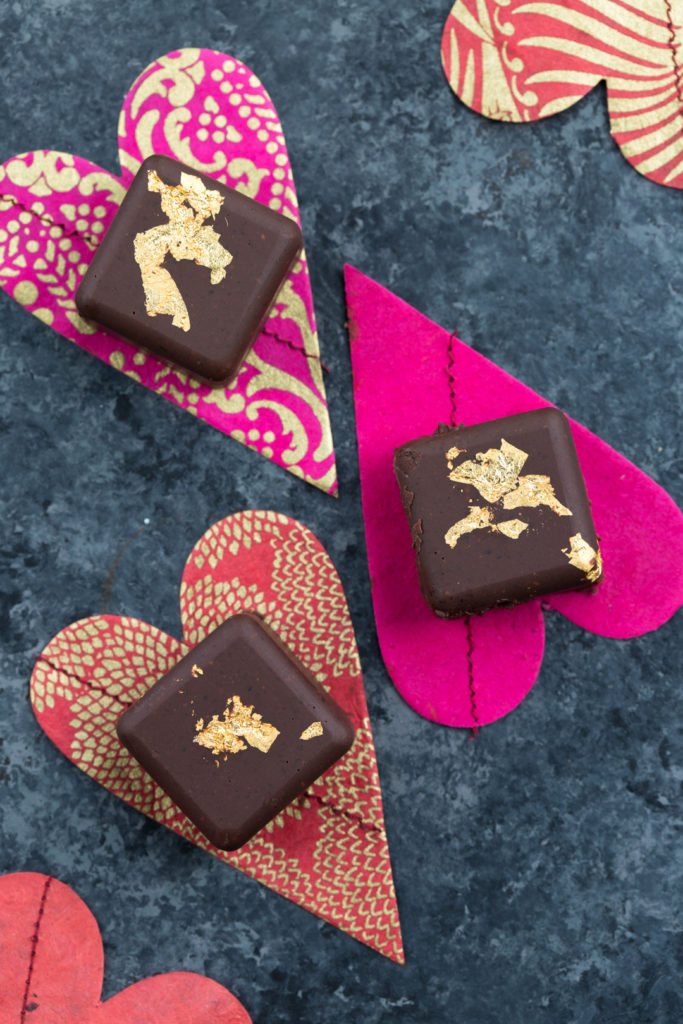
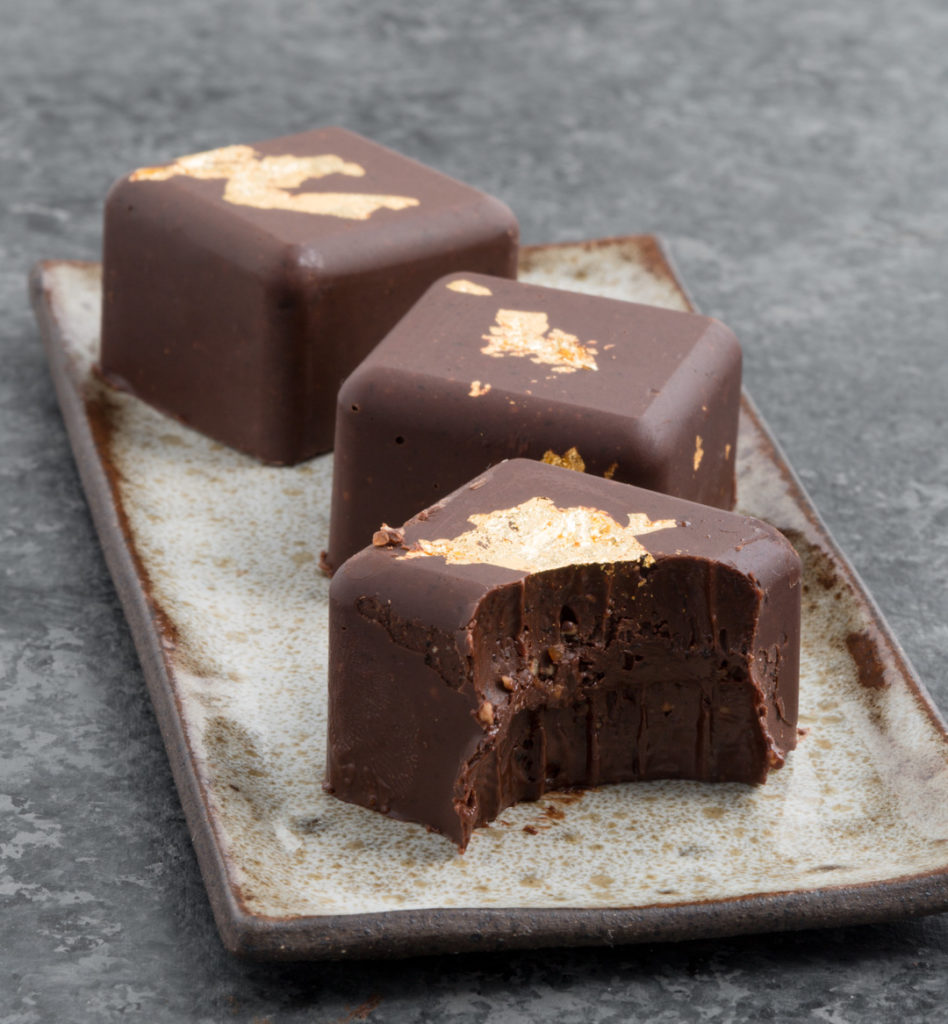
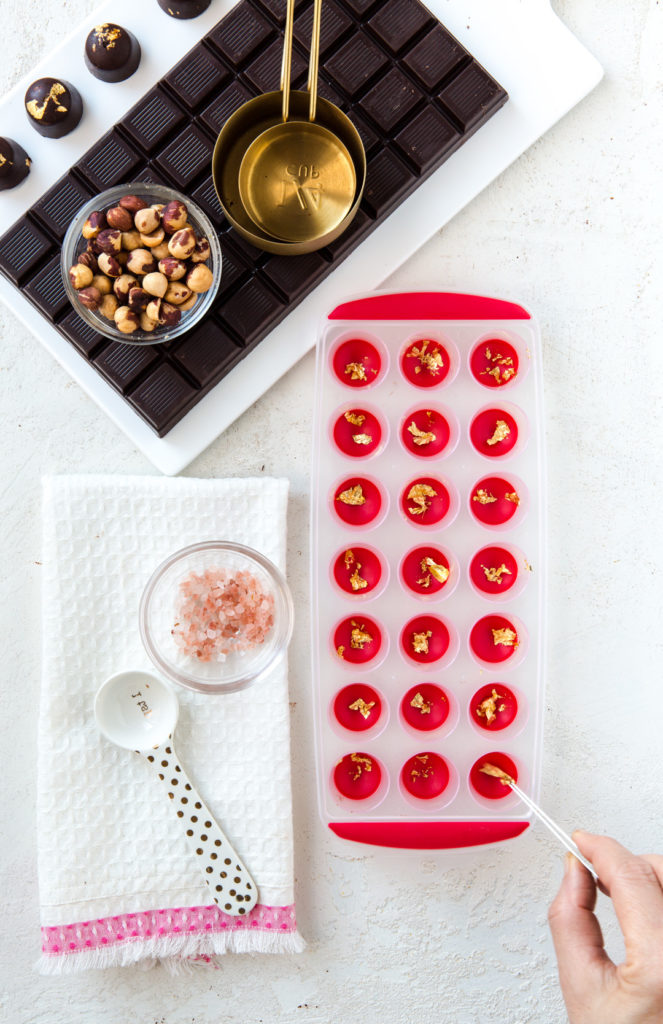
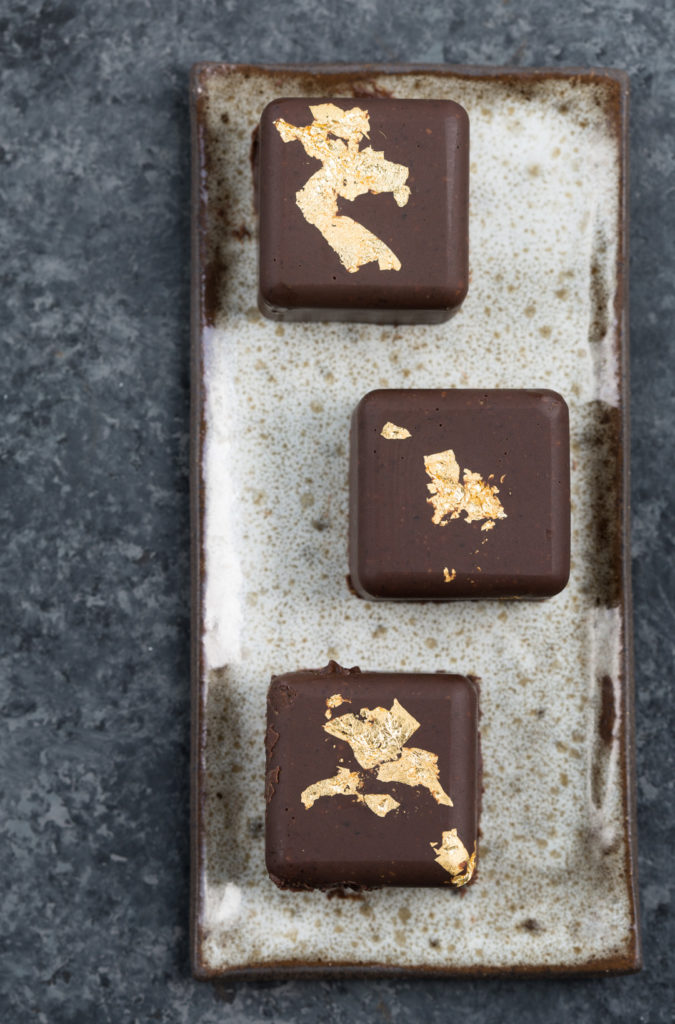
Melt the chocolate over a double boiler. While it is melting, get your candy molds ready. I used square and round silicone mini ice cube trays. I decided to make my truffles extra fancy by using a bit of edible gold leaf on top. I had a jar left over from another project. You need just a tiny bit to really make a statement. You will need to use tweezers to put the gold into the bottom of the molds, as the gold will just stick to your fingers.
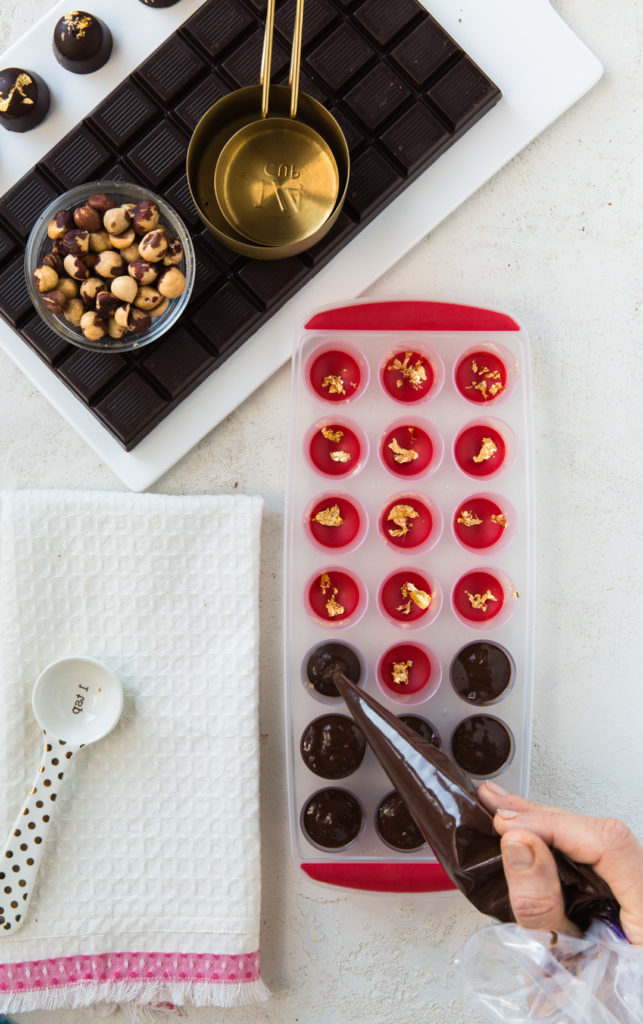
Once the chocolate is melted, add some coconut oil, to make the truffle mixture extra creamy, the hazelnut praline and some salt. To make your life easy, transfer the truffle mixture into a disposable piping bag. Trying to pour or spoon it into the tiny molds will only end in a mess and cursing.
Chill for about an hour and then pop them out of the molds. Because the chocolate was not tempered, they need to be stored in the fridge. They will keep for several weeks.

Click here to print recipe for Hazelnut Praline Truffles


Malted Chocolate Brownies

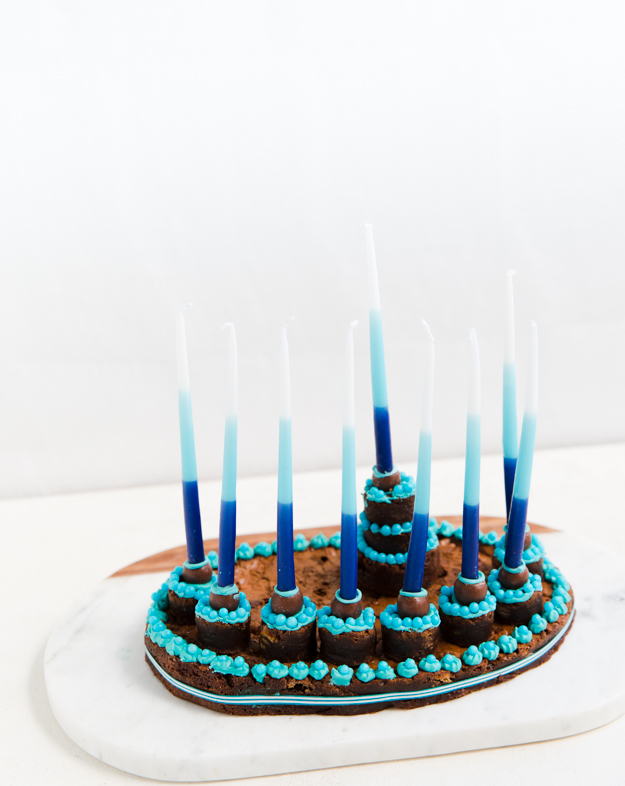
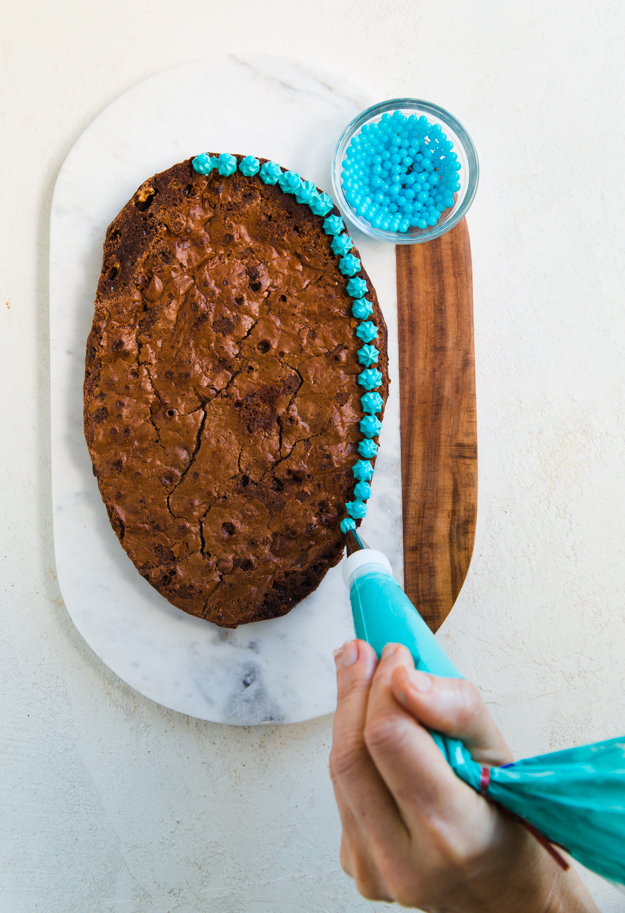
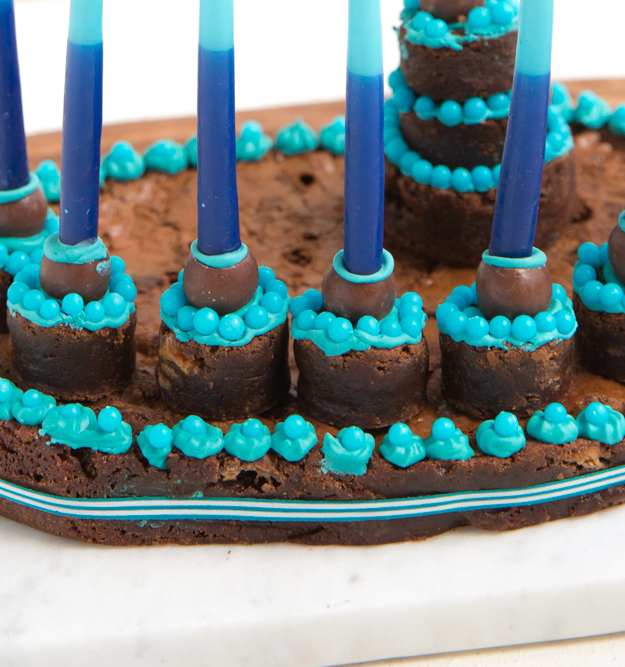
stacked upmenorah 4 The first night of Chanukah is this week, on Tuesday night.  Flushed with the success of my Beehive challahs at Rosh Hashanah, I. wanted to create something special for Chanukah. A crazy thought floated into my head. What about building a menorah out of brownies? I couldn’t stop thinking about it. I wasn’t really sure how to go about creating it. I wasn’t one of those kids that played with building blocks, Leggo or puzzles. Barbie was more my thing.

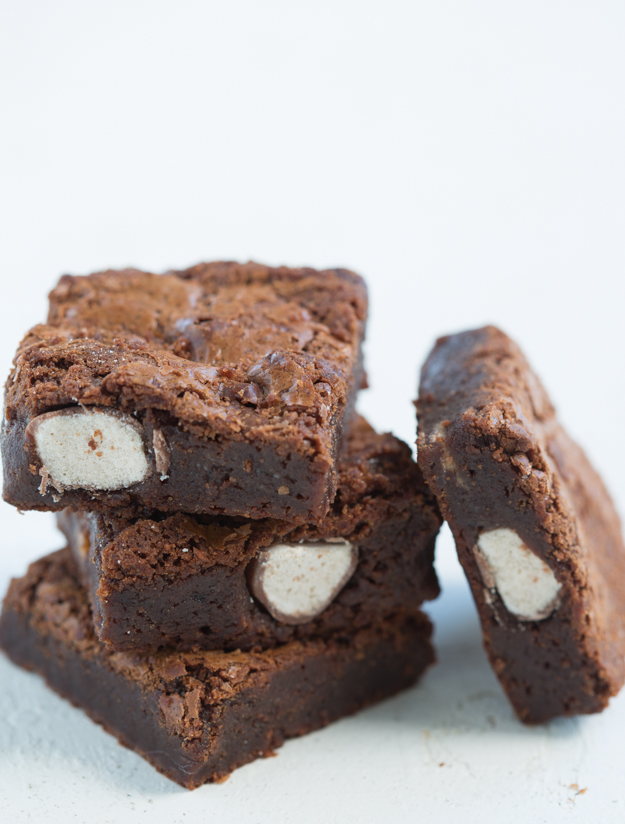
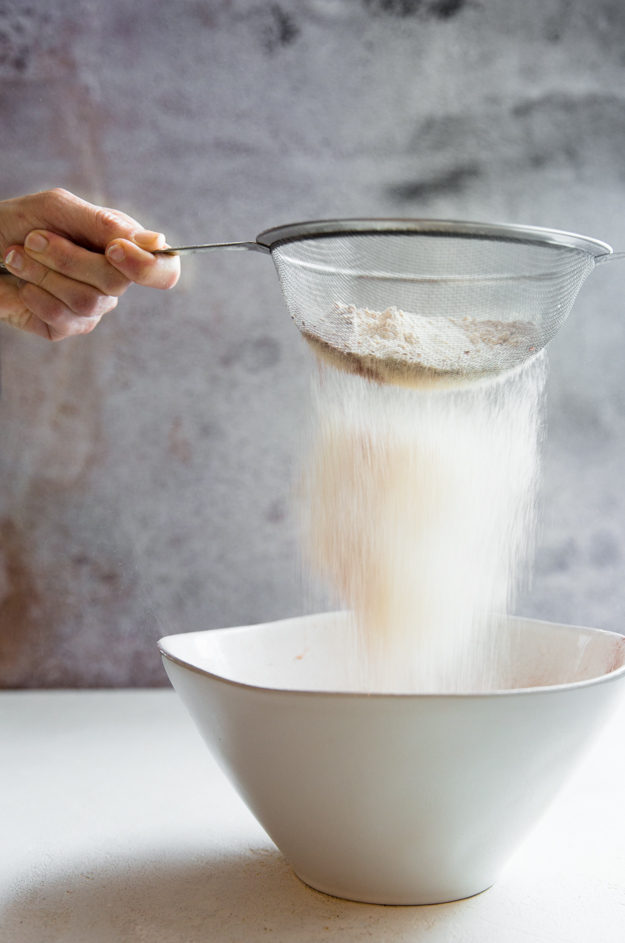
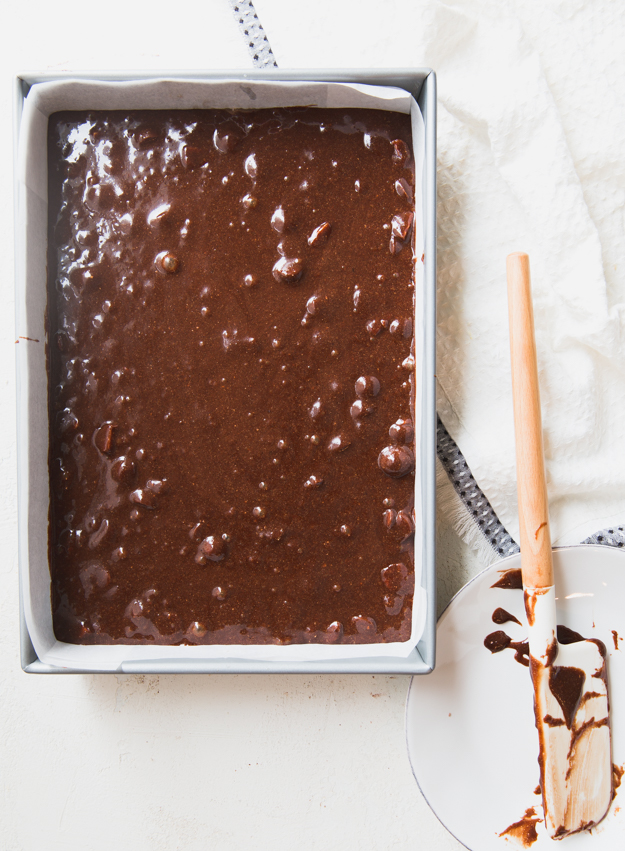
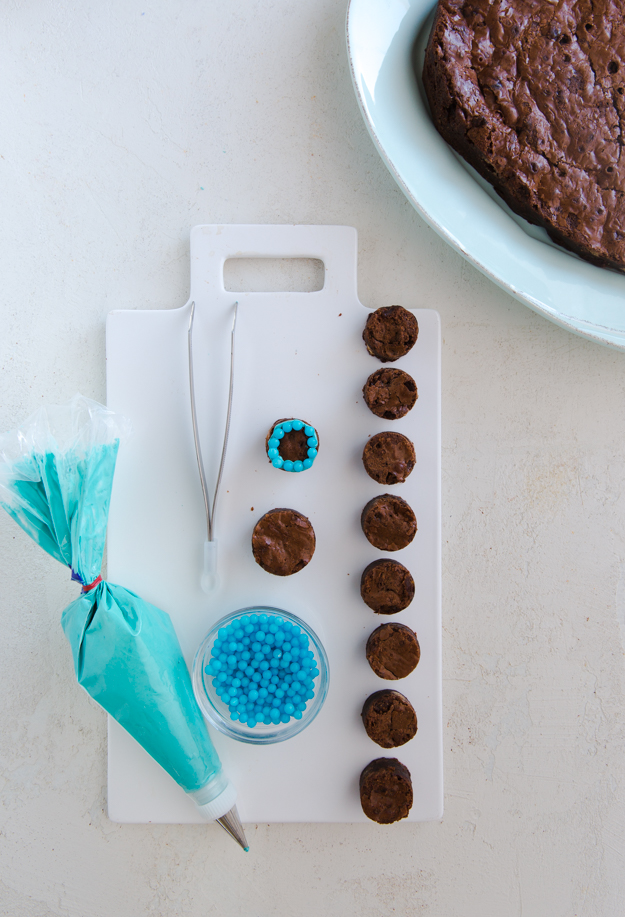
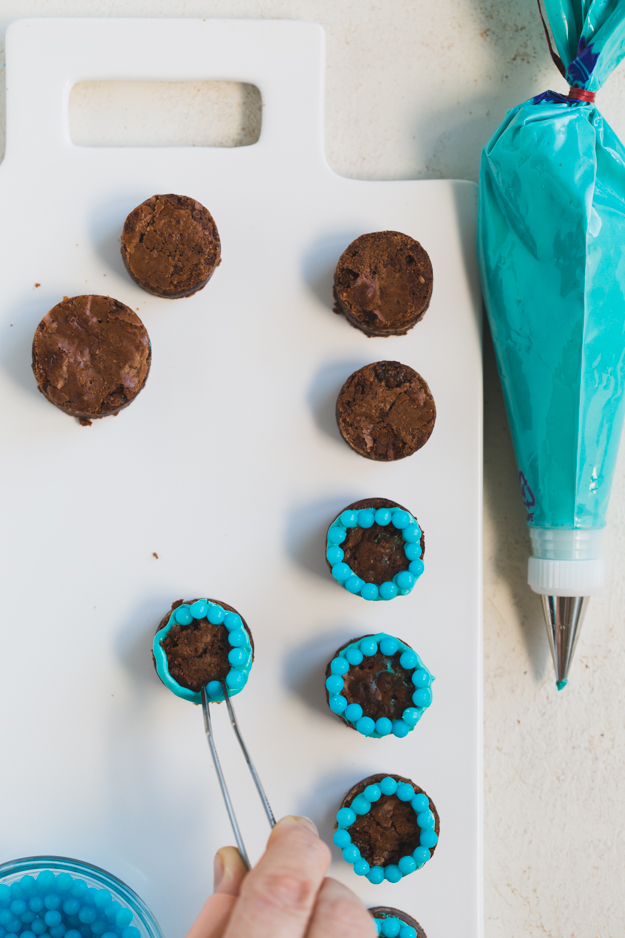
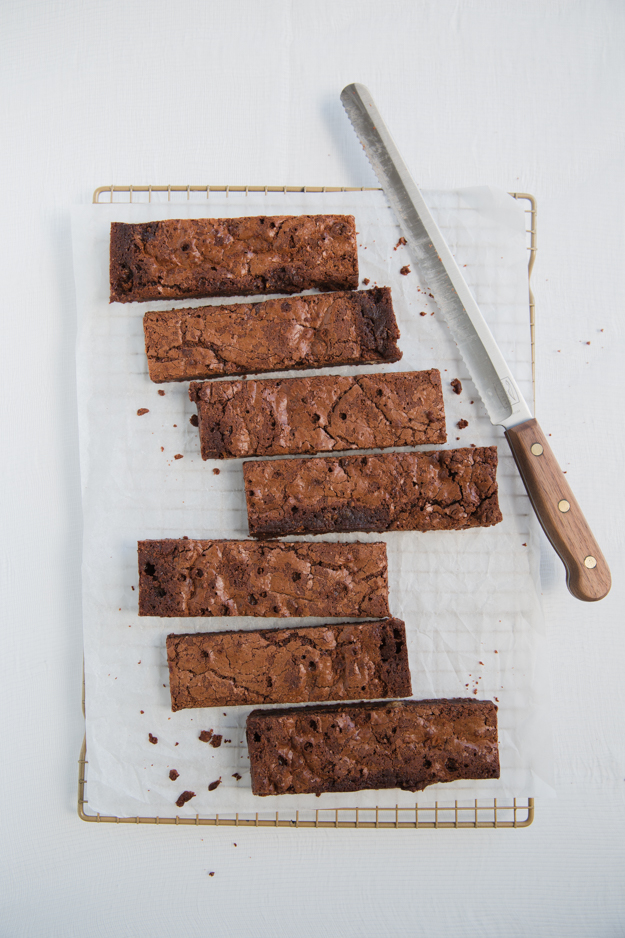
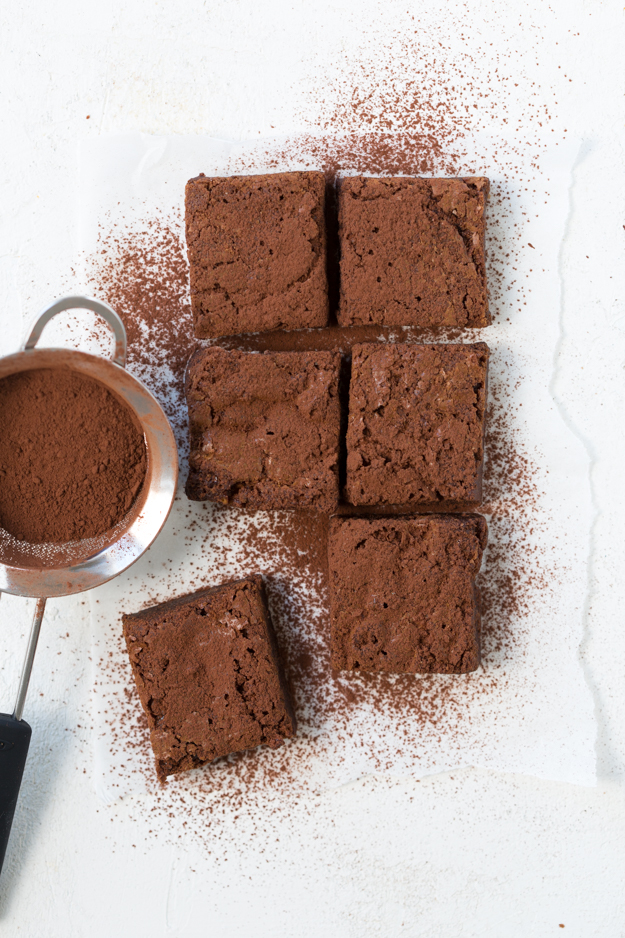
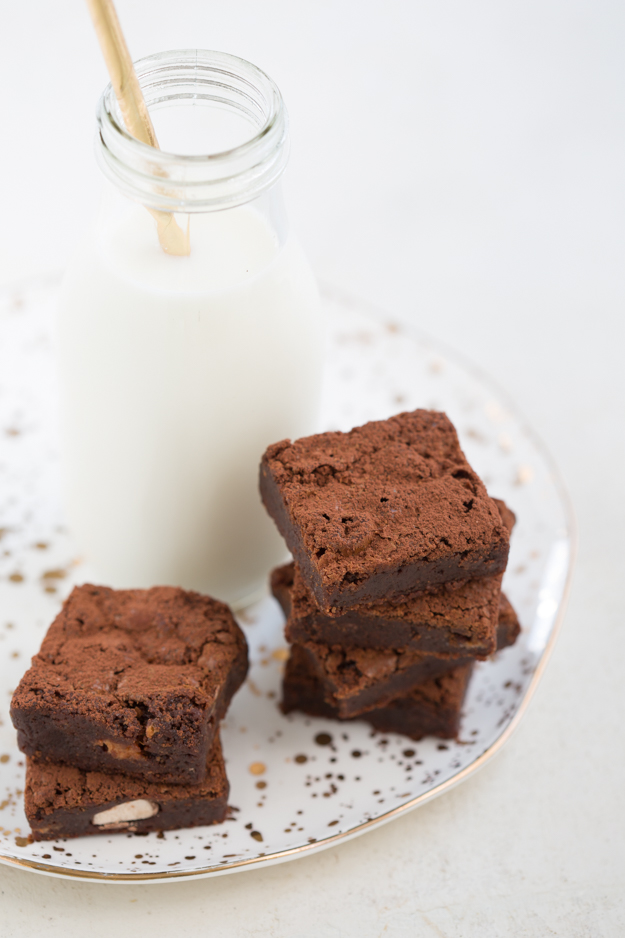
I started with my favourite brownie recipe from Chef Michael Smith. I decided to switch out the cocoa powder with malted milk powder and added in some chopped malted milk balls for extra crunch. ingredientssiftingready to bakeI chilled the brownies until firm and then I cut out an oval for the base. Using a small round cookie cutter I cut out little circles for the candle holders. I did a slightly larger circle for the shamash (helper) candle. ready to assembleI finally got a chance to use my food stylist tweezers! I mixed up some blue royal icing and glued on some edible blue pearls.  using tweezers like a real food stylistmenorah baseTo hold the candles I glued each one to a malted milk ball. I figured out that I needed to trim the bottom and top of the balls flat before gluing with royal icing.candles-2Even if you decide not to make a menorah, these malted chocolate brownies would make a delicious addition to your Chanukah party.cutting browniesdusting with cocoa powder


Click here to print recipe for Malted Chocolate Brownies.


with milk


Healthy-ish Salted Almond Joy Bars

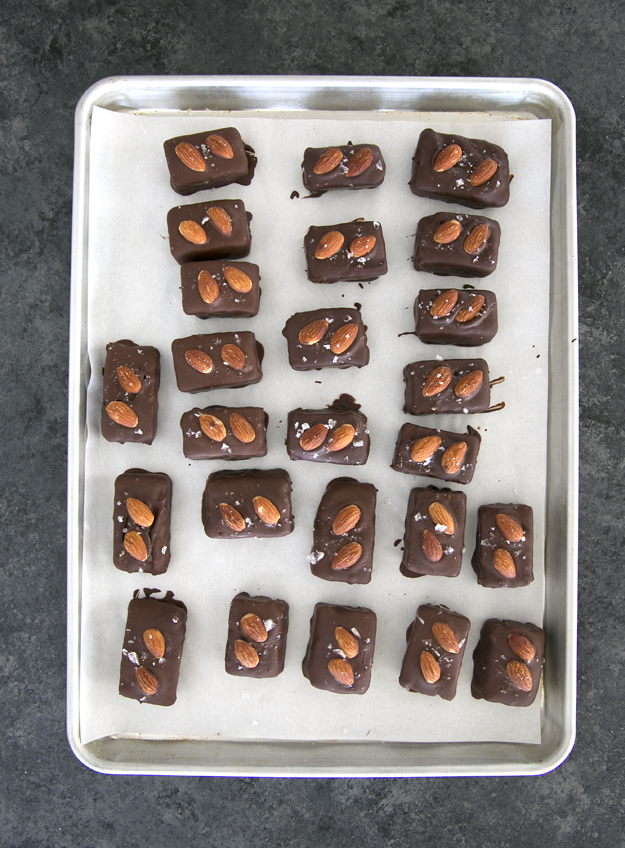
all dipped 2While these home-made almond joy bars aren’t exactly healthy, they are healthy-ish. It’s all a matter of degree. Consider the ingredients in a store bought Almond Joy:

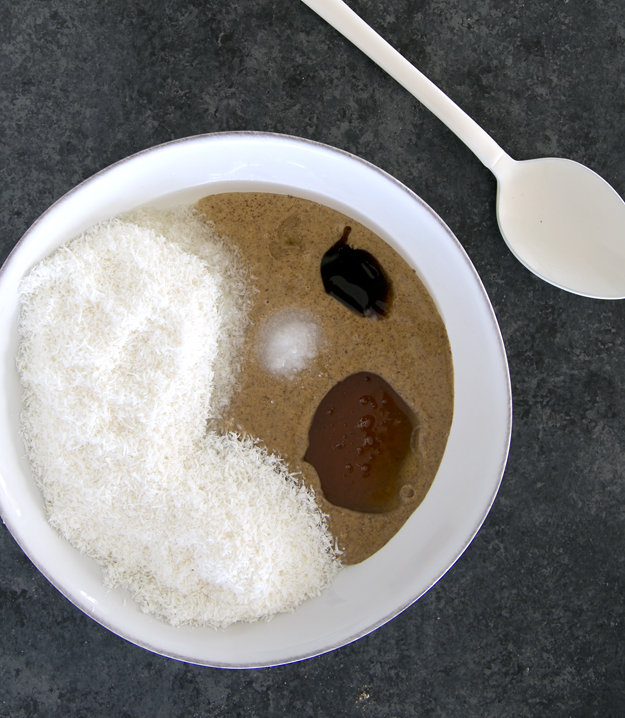
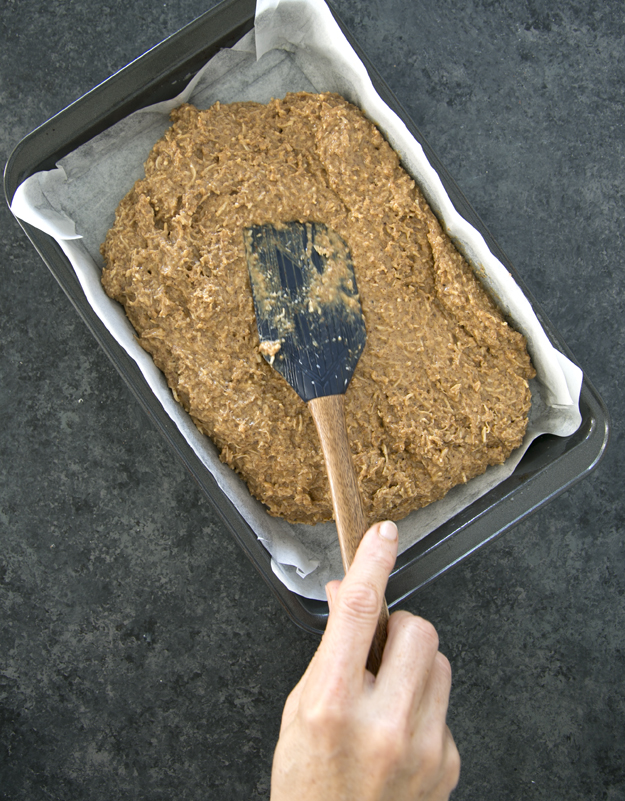
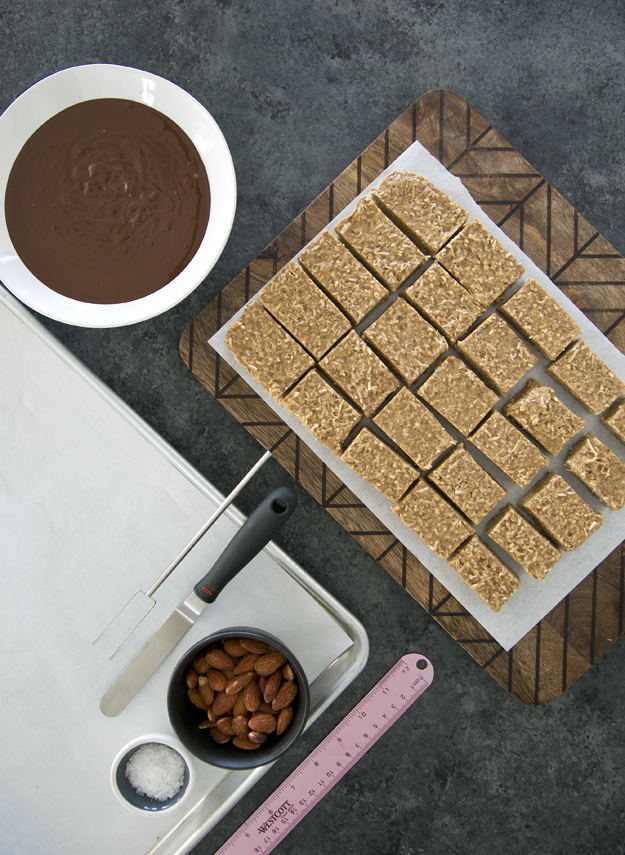
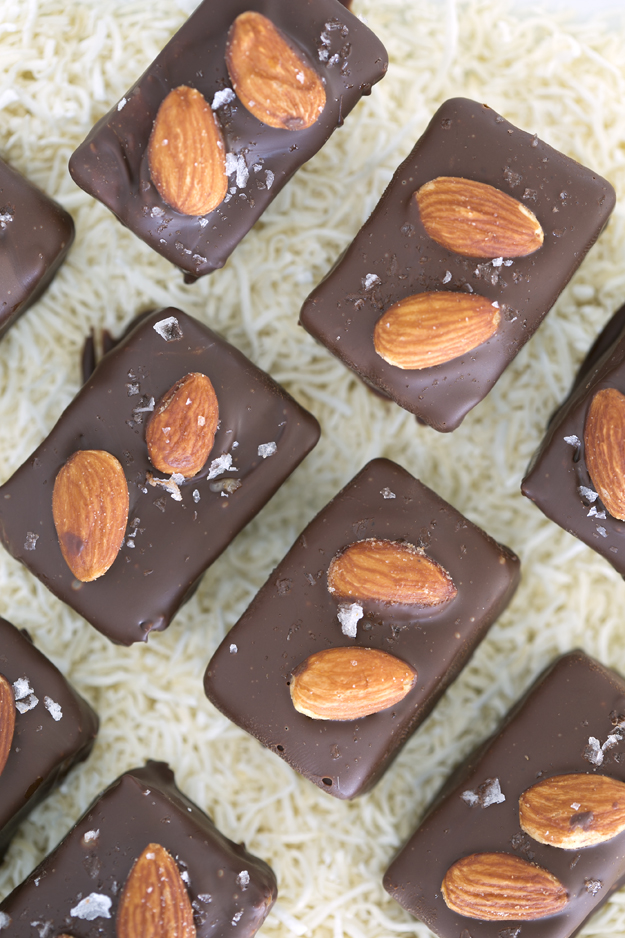
Corn Syrup, Milk Chocolate (Milk Chocolate, Contains Sugar, Coca Butter, Chocolate, Milk, Lactose, Milk Fat, Nonfat Milk, Soy Lecithin, An Emulsifier), Coconut, Sugar, Almonds, Partially Hydrogenated Soybean and Cottonseed Oils, Whey, Cocoa, Salt, Vanilla, Chocolate, Egg Whites, Soya Lecithin, and Sodium Metabisulfite, to Preserve Color.ingredientsThese simply contain unsweetened almond butter, unsweetened coconut, honey, coconut oil, vanilla bean paste and salt. They are finished with a thick coating of bittersweet chocolate and topped with whole toasted almonds and sea salt. This recipe is from the genius mind of Anna Jones. I am loving her new book, A Modern Way to Cookmix in a bowlspreading in panChill the mixture for about 45 minutes in the freezer before cutting into bars. Get your dipping station all set up. I was excited to use my chocolate dipping fork. I bought it over 30 years ago and it still thrills me every chance I get to use it. it makes me feel like a professional chocolatier. A regular fork works just as well for dipping. ready for dipping


all dippedThese satisfy your sugar craving without being cloyingly sweet. The hard shell of bittersweet chocolate yields to a chewy almond coconut filling.

Click here to print recipe for Healthy-ish Salted Almond Joy Bars.

on a bed of coconut

English Toffee

stack-of-toffee Sadly, I never met my father-in-law as he died before I met my husband, and my mother-in-law died shortly before we became engaged. But I lucked out with four brother-in-laws and and  one sister-in-law. My husband’s siblings welcomed me into the family with open arms and have always treated me as one of their own.

When I moved to Ottawa 25 years ago, I felt quite isolated after leaving all my family and friends behind in Toronto. My sister-in-law (who I am blessed to also call my friend), sent me regular care packages to ease my loneliness. The parcels almost always contained a box of Phipps Krunch, a delicious confection of crunchy caramel, roasted almonds and milk chocolate. Nothing like a heap of butter and sugar to fill the emotional void of sadness.

I was so excited to find a recipe for English Toffee in Bobbette and Belle’s new cookbook. It looked exactly like Phipps Krunch. I had to try my hand at making it.

Making toffee is not difficult. It just requires a candy thermometer and some patience. I love the chemistry of candy making. I feel like a magician when I turn simple ingredients like butter and sugar into something so glorious.


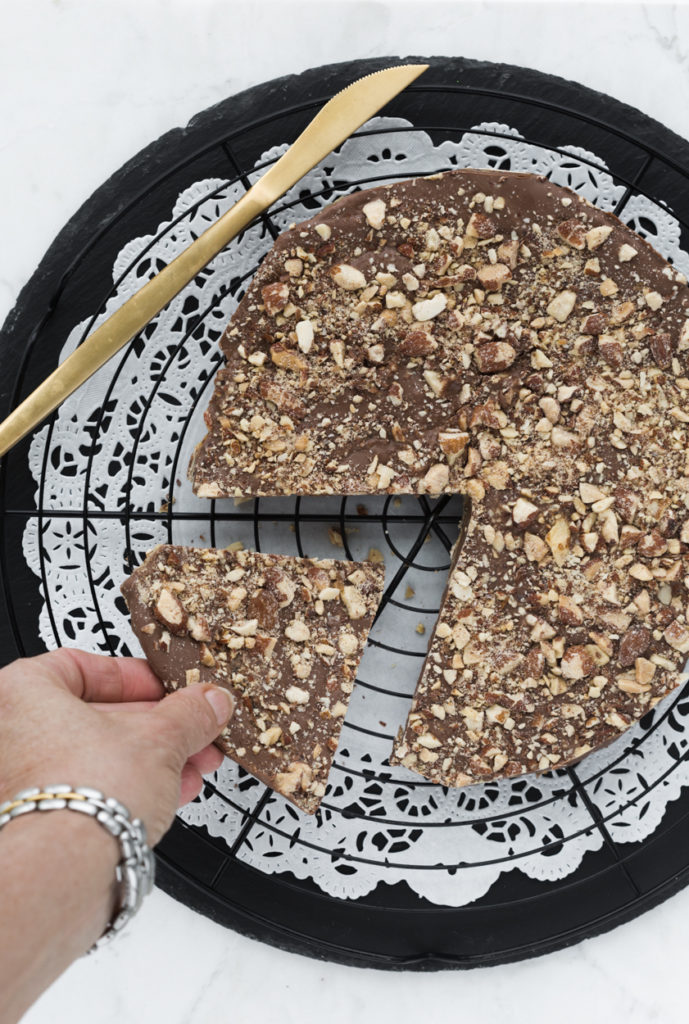
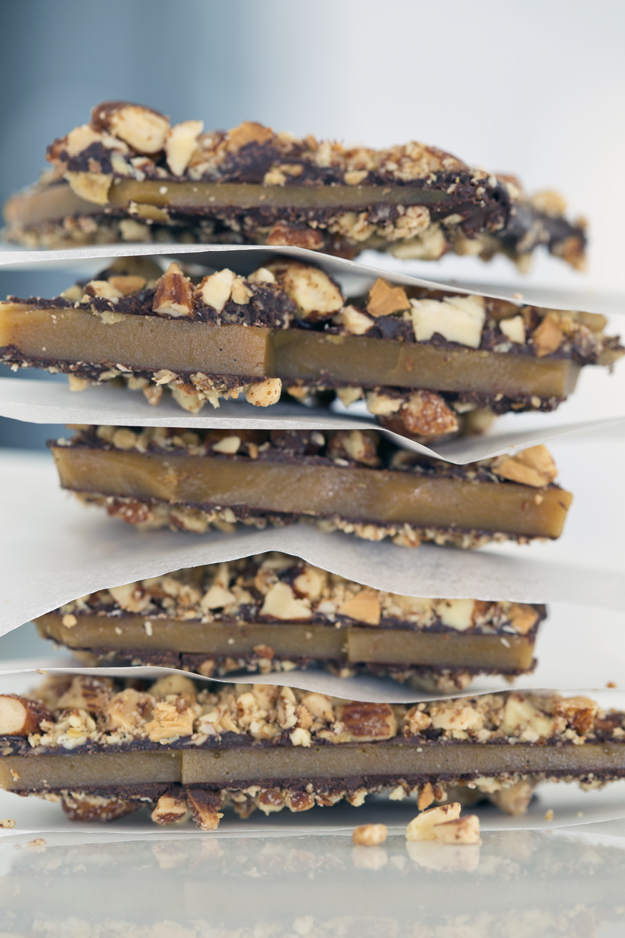
I was thrilled with the results. The buttery crunchy toffee is just on the edge of bitter, making it the perfect companion for  that blanket of dark chocolate. Nutty toasted almonds take this candy to the next level. Please do not forget to toast the nuts. Untoasted nuts are one of my biggest culinary pet peeves. They taste like sawdust. Toasting nuts is one of the simplest ways to improve the flavour profile of anything.

Just preheat oven to 350°F and place nuts on a baking sheet. Roast for 10-12 minutes until they become toasty brown and fragrant. Let them cool completely before using or storing. If you are not going to use them right away, store them in the freezer, as they can go rancid quickly.

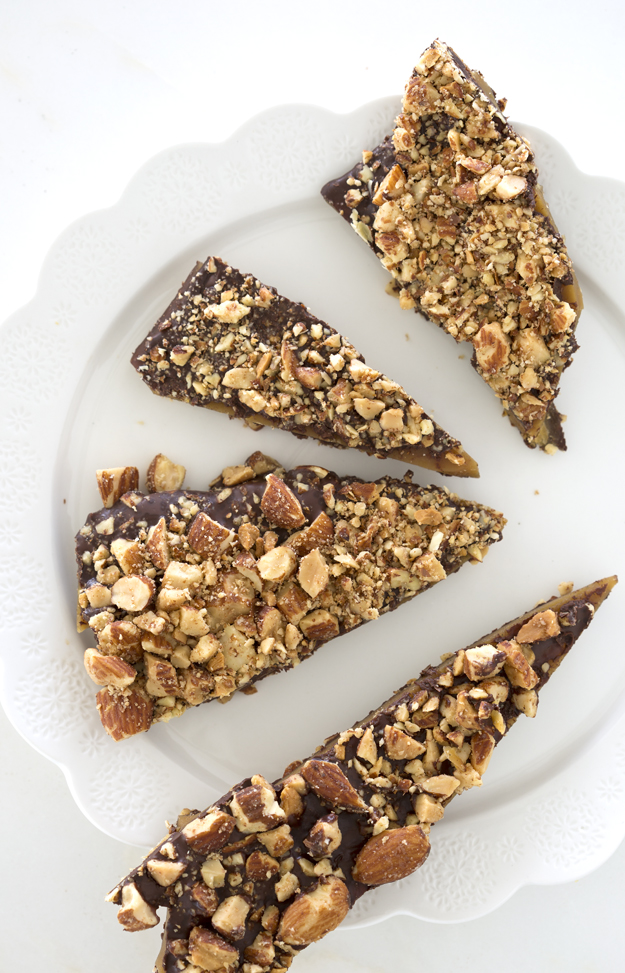
wedges-on-a-plateThis makes a ton of toffee, so keep some for yourself and give the rest away as gifts. You will be quite beloved.

Click here to print recipe for English-Toffee.

Cookie Butter Rugelach

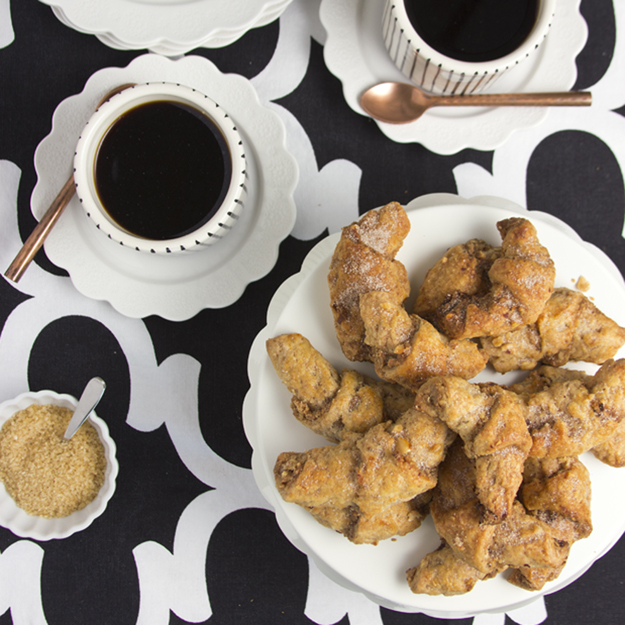
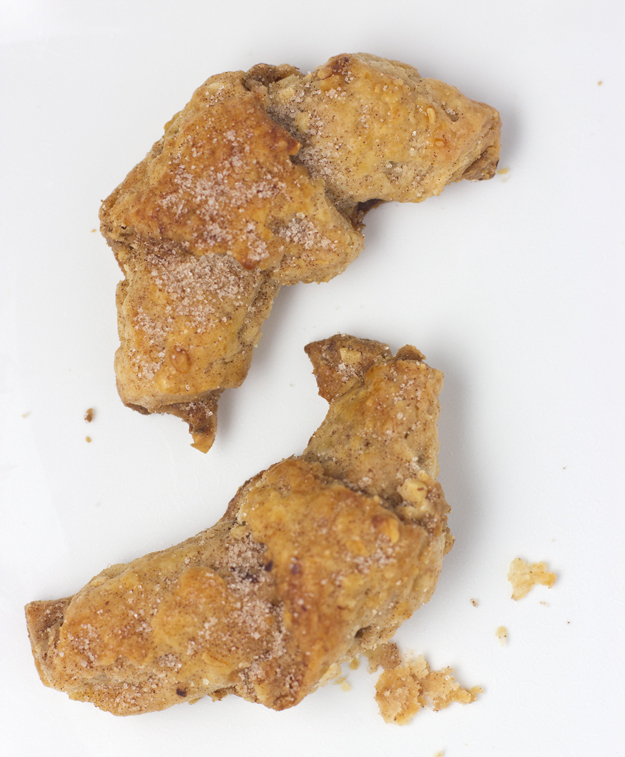
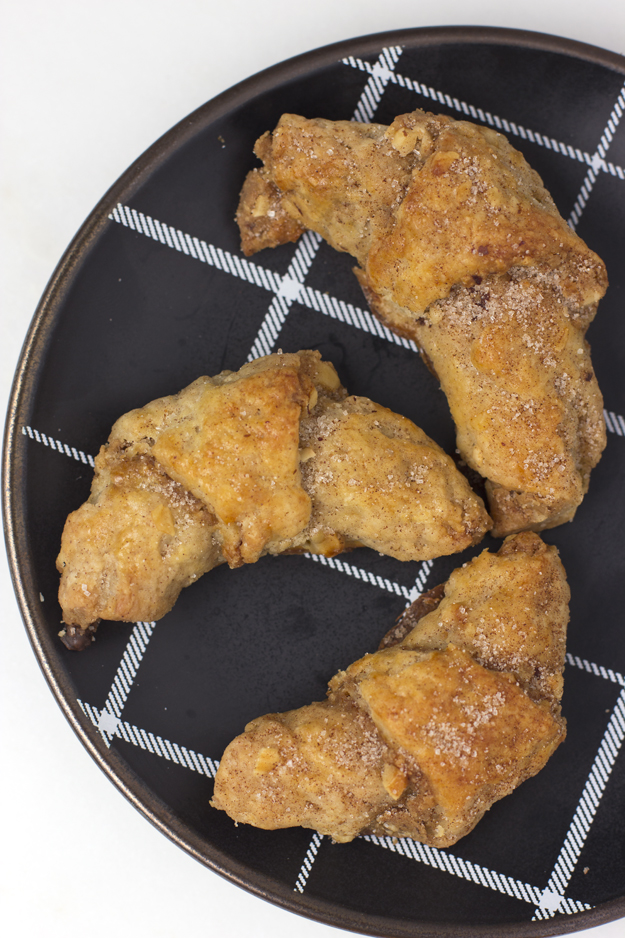
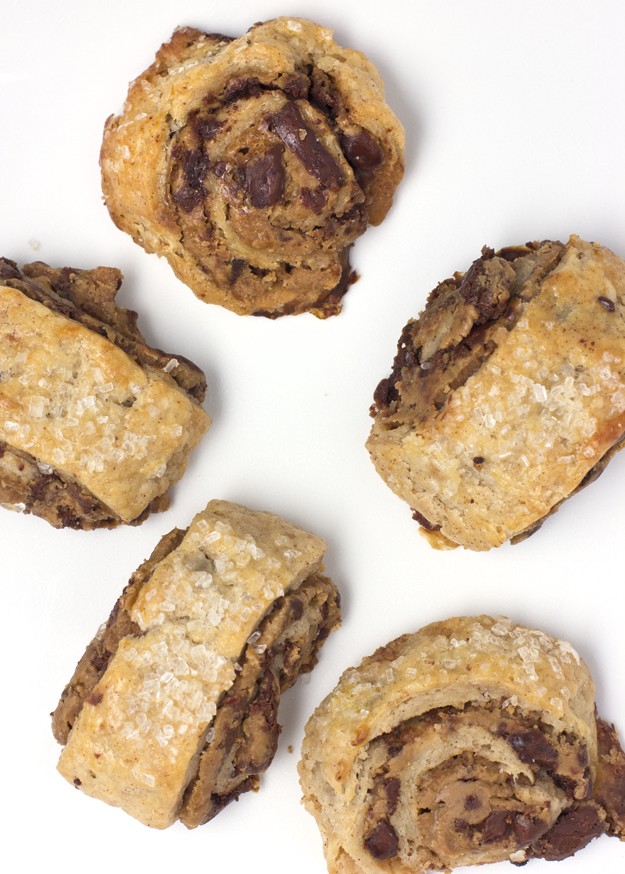
If the title of this post has left you shaking your head, wondering what the heck I am writing about, let me enlighten you.coffee and rugelach 625 sqI wrote about cookie butter last year. It is also known as Speculoos or Biscoff spread. Basically, we are talking about ground up spicy gingerbread cookies, mixed with additional sugar and oil, to create, a somewhat addictive spread, in the vein of peanut butter and Nutella.

Rugelach is a small Jewish pastry, of Eastern European origin. Traditionally they are made in the form of a crescent by rolling a triangle of dough around a filling. The origin of the name comes from the Polish word “Rog” which is the prefix for horn, (croissant shaped pastries kind of look like horns). “El” is used as a diminutive and the “Ach” ending indicates plural. So put together we have horn shaped little pastries –Rugelach.hazelnutsHow this little cookie came to be made in a crescent shape is an interesting story. I have read several versions, but this is my favourite. In the 16th Century, the Jews were living under the rule of the brutal Ottoman Empire. Life was not easy for them. A baker with a warped sense of humour, decided to create little pastries, shaped like the crescent that decorated the Ottoman war flags. With every bite of these delicious little noshes, the Jews imagined that they were “chewing out” their merciless oppressors.

Back in Europe, the dough for rugelach is light, airy and yeast raised. Somehow, when it arrived in North America, it transformed into a dense cream cheese based dough. This is the rugelach I grew up with and love. Rich and flaky, but not too sweet, the best rugelach let the dough be the star and the fillings play a supporting role.

Most often they are filled with jam, cinnamon-sugar, raisins and nuts. Often chocolate is thrown into the mix. Screwing with a 500 year old cookie could be a dangerous thing, but I like to live on the edge, so I played around with the traditional recipe and spread mine with Cookie Butter instead of jam.

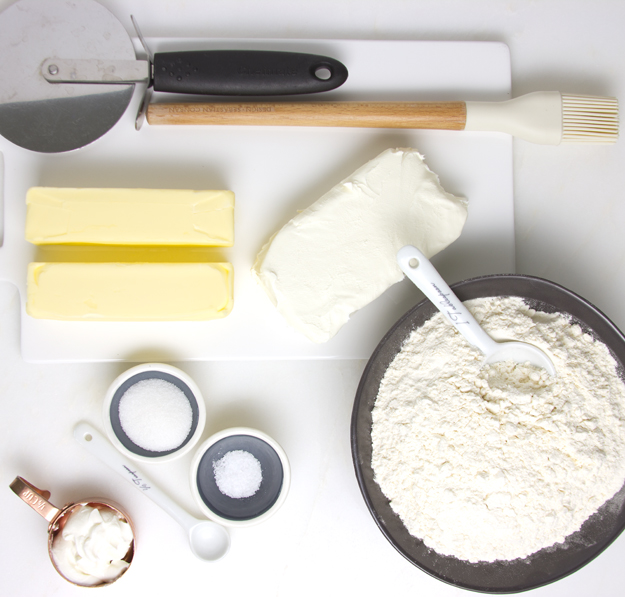
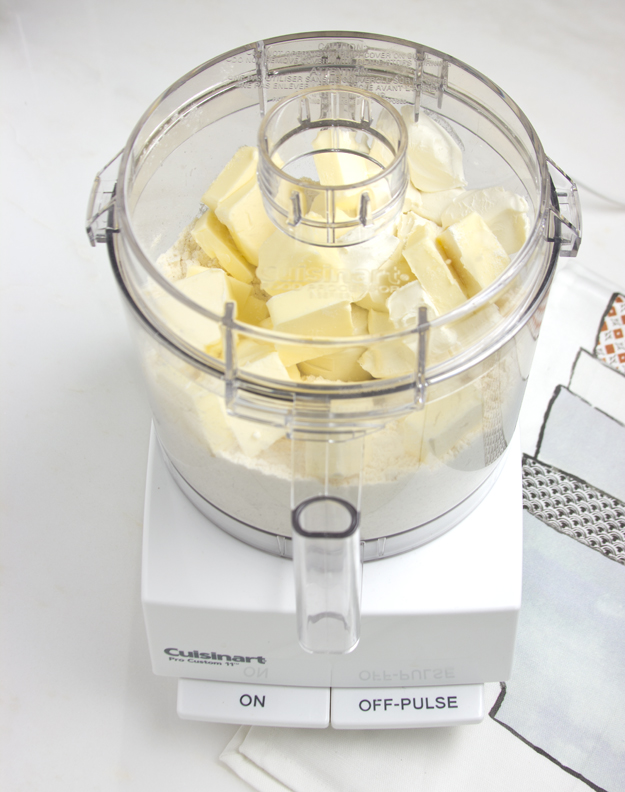
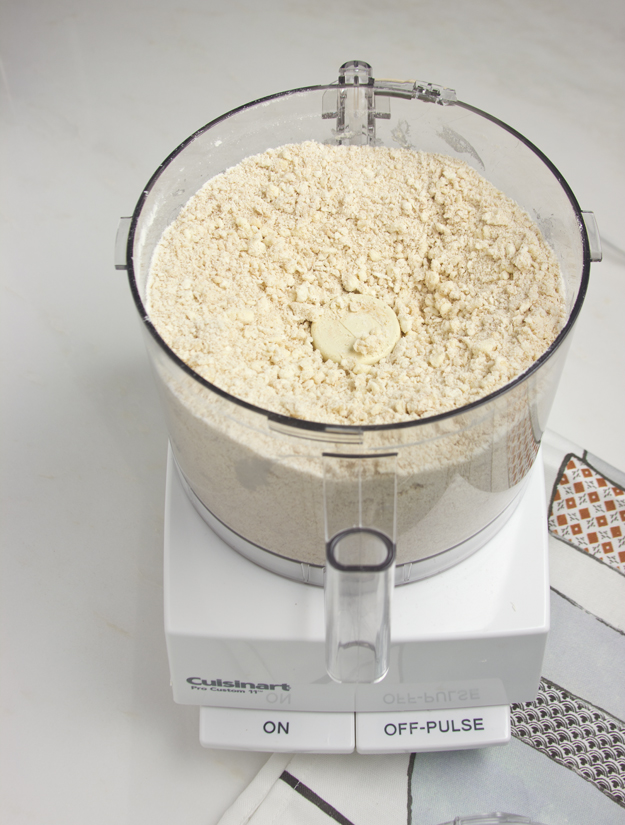
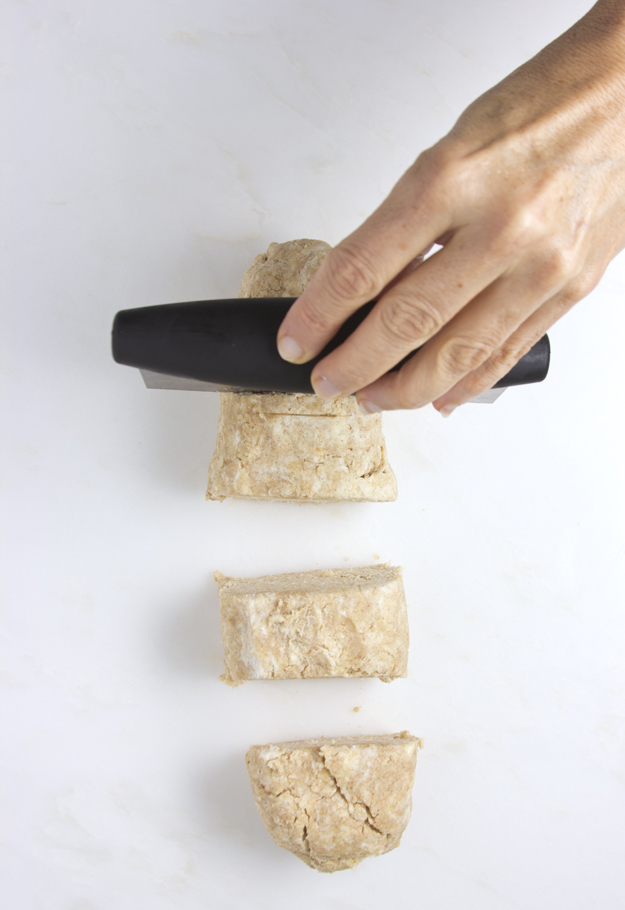
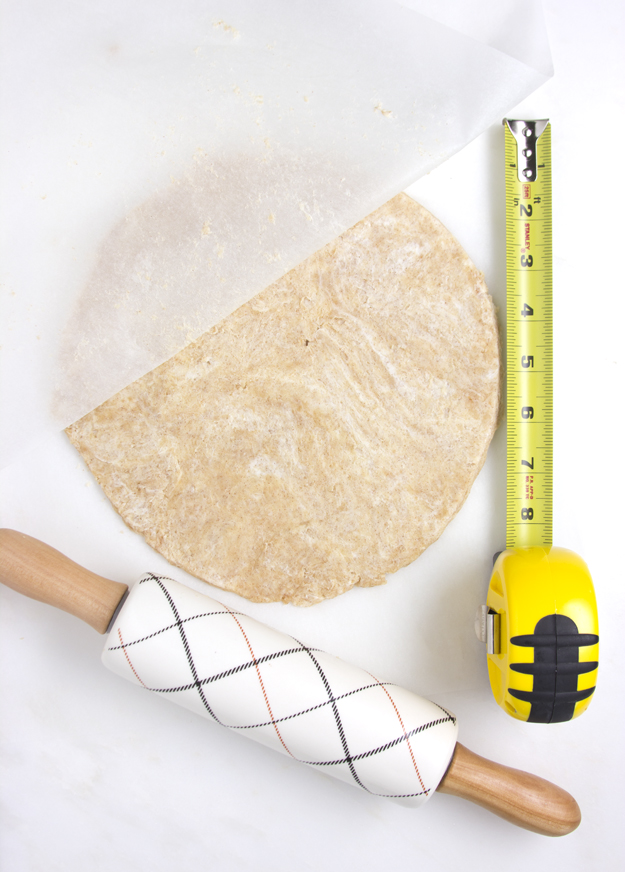
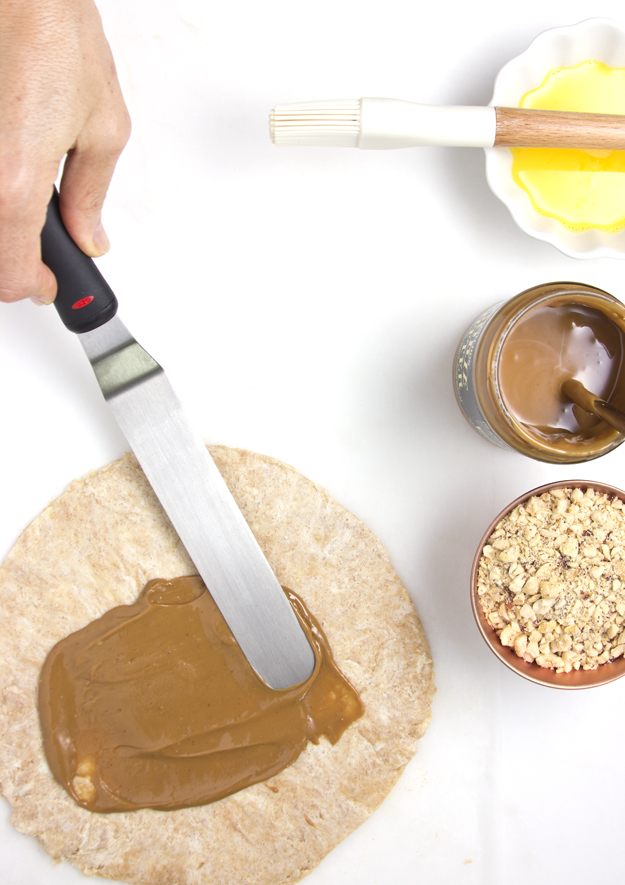
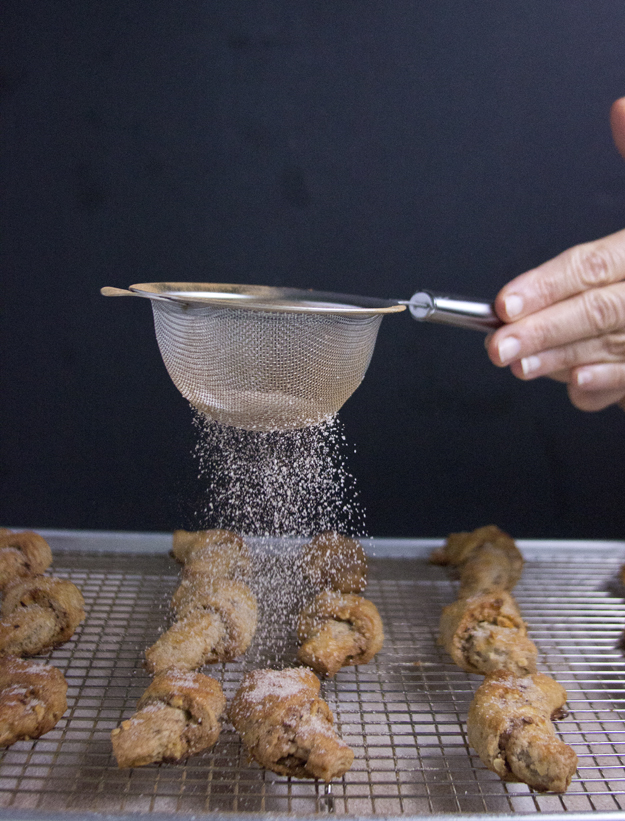
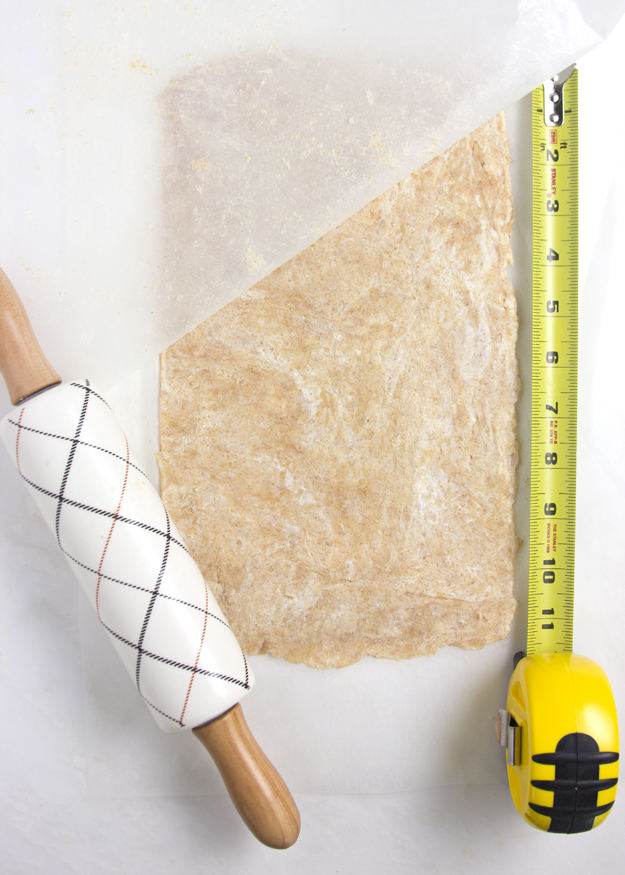
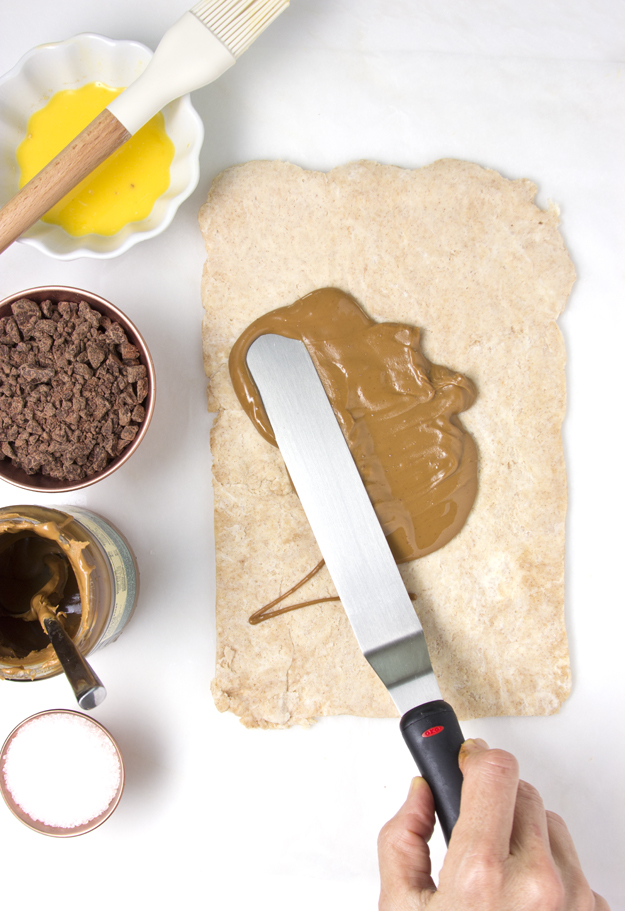
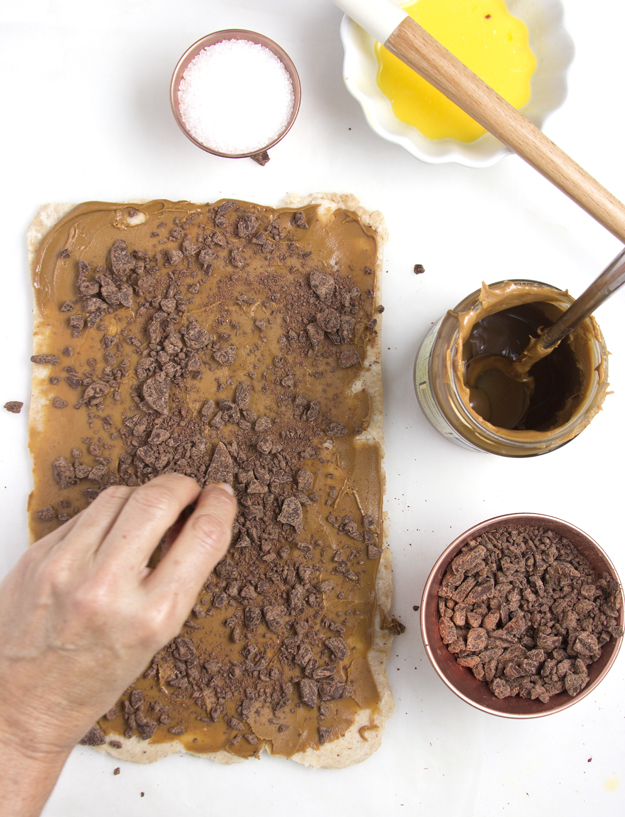
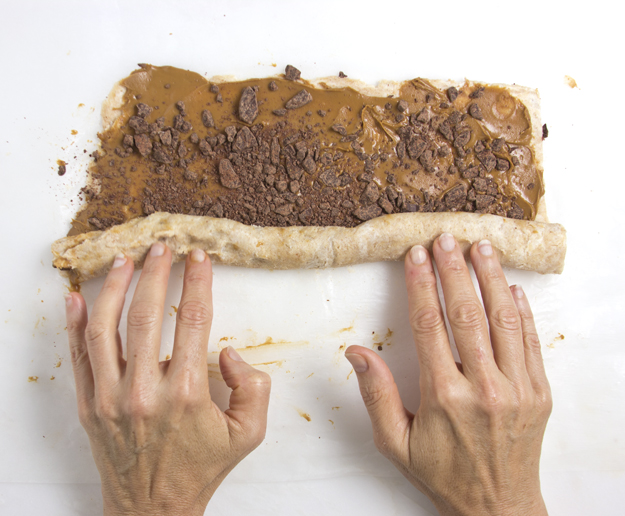
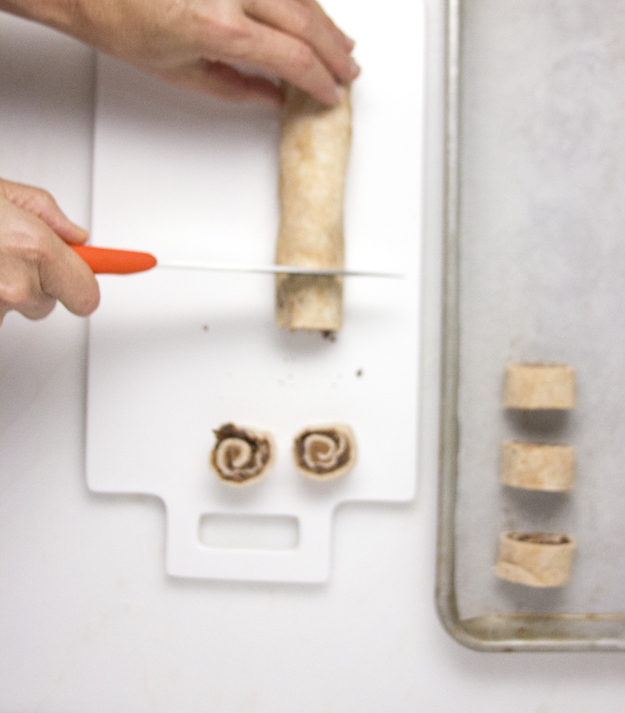
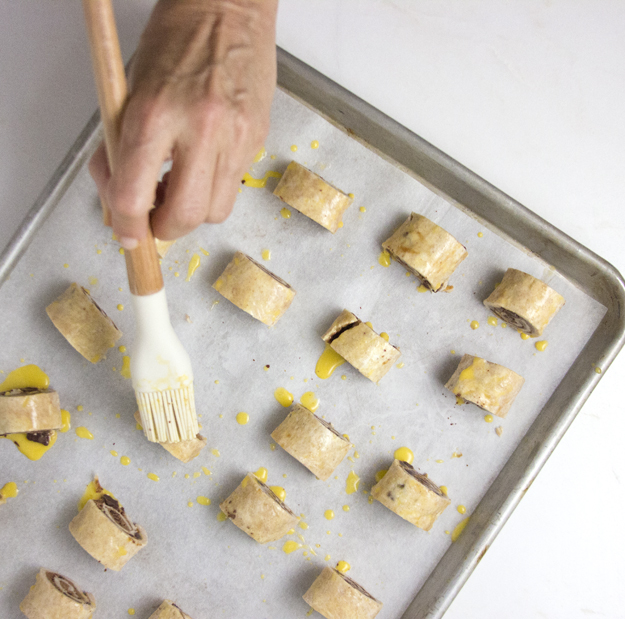
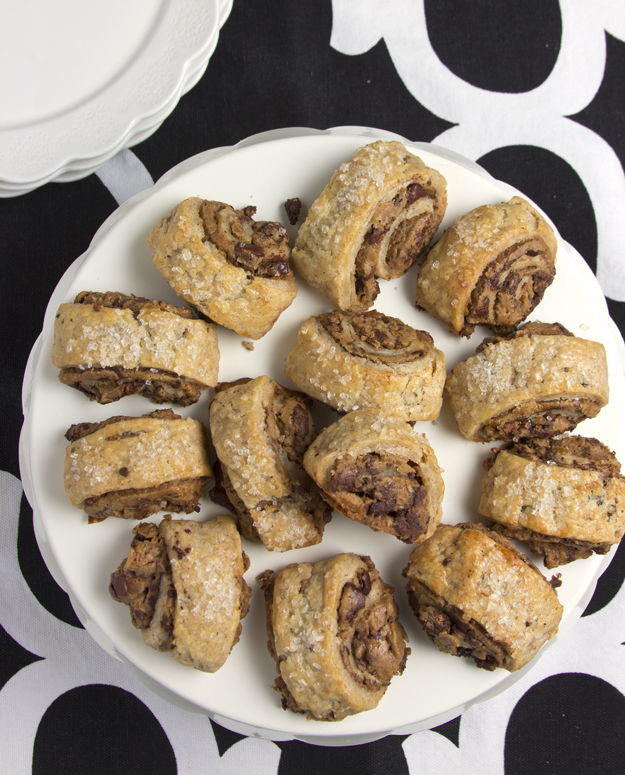
The dough is simple to put together. I used the recipe from Cook’s Illustrated for the dough, with the addition of some cinnamon and ground ginger to mimic the gingerbread flavour of the cookie butter. The butter and cream cheese must be very cold.dough ingredientsmaking dough 1Only process the dough until it resembles small curd cottage cheese. Don’t let the processor form the dough into a ball, or you will have tough rugelach. pulsed doughdivide dough into 48.5 inch circleI decided to make two varieties. The first, shaped in the traditional crescent, featured Cookie Butter and toasted chopped hazelnuts.spreading cookie butter on circlesprinkling hazelnutscutting into wedgesrolling crescentsbrushing with eggThese got treated to a shower of cinnamon sugar as soon as they came out of the oven. dust with cinnamon sugarFor the second variation I created little roulades. The dough was rolled into a rectangle, filled with cookie butter and chopped chocolate, and rolled and sliced, before baking. 11 x 7 inch rectanglespreading cookie butter on rectanglesprinkling chocolaterolling rouladeslicing roulades

brushing roulades with eggCB and chocolate roulades

Click here to print recipe for Cookie Butter and Hazelnut Rugelach.

3 rugelach

Click here to print recipe for Cookie Butter and Chocolate Rugelach Roulades.

Roulades

Triple Coconut Macaroons

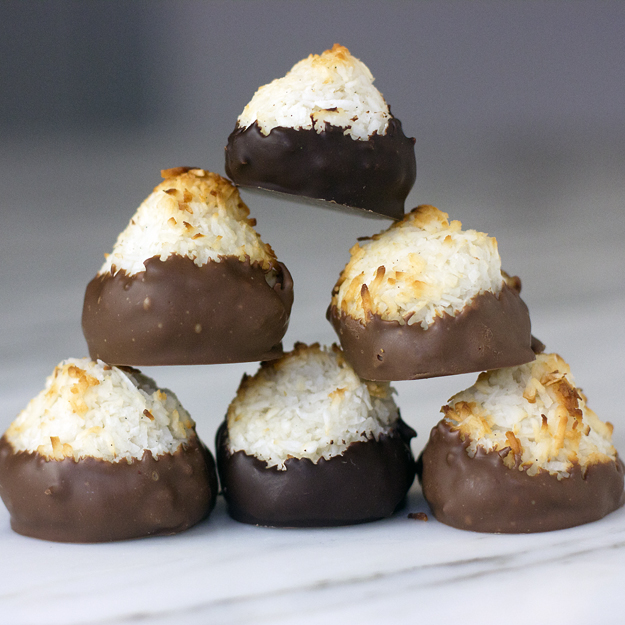
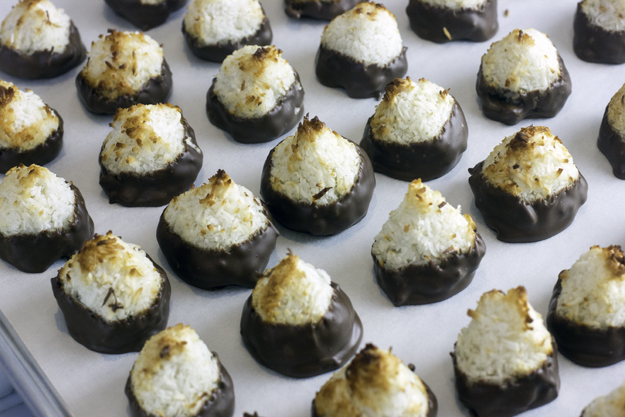
pyramid 2 625 sqThese are my absolute favourite macaroons. That’s macaroon, with 2 o’s – the coconut variety, not the pain-in-the-ass Diva, ground almond and meringue variety, which are macarons, with one o. This recipe for Triple Coconut Macaroons, comes from Cook’s Illustrated Magazine. I have been making these since the recipe first came out in 2000. Why I have waited so long to share with you is a mystery to me. I promise you, I’m reallly not a petty person.

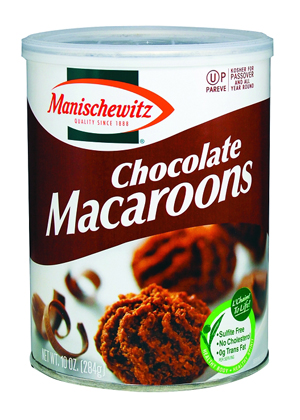
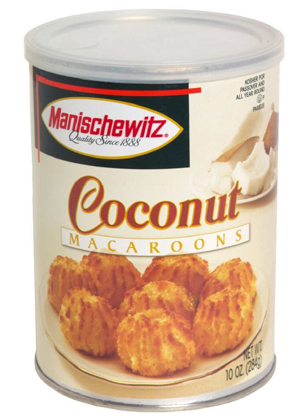
Although I could make them any time of year, I always associate coconut macaroons with Passover. As a child we bought our macaroons from Open Window Bakery in Toronto. They made both vanilla and chocolate coconut macaroons. I preferred the simplicity of the vanilla ones. I found the chocolate ones too chocolatey for me. The cocoa powder masked the flavour of the coconut, which is exactly the point of coconut macaroons. I always felt sorry for those families that had to get their macaroon fix from the can. They were gummy and chewy, in short, just awful.
00091_chocolatemacaroons_10coconut macaroons in can
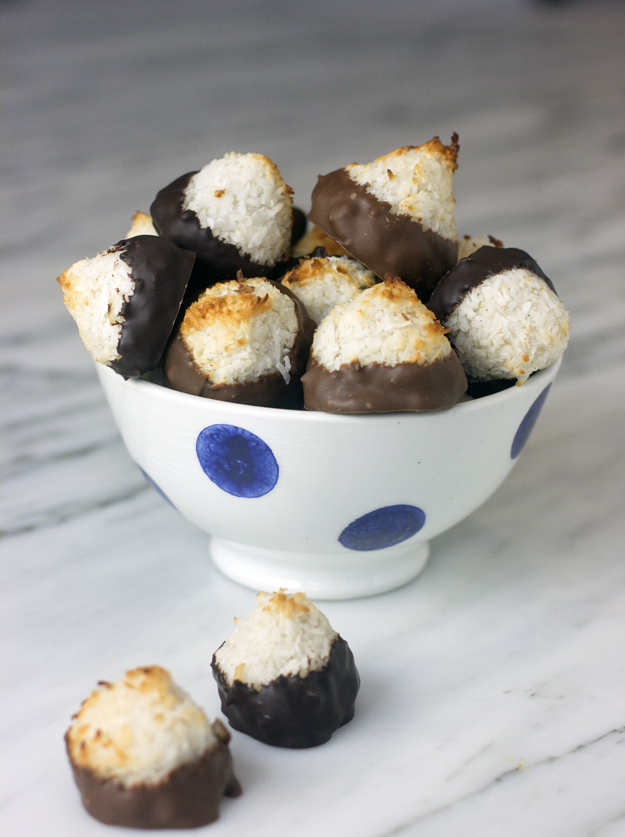
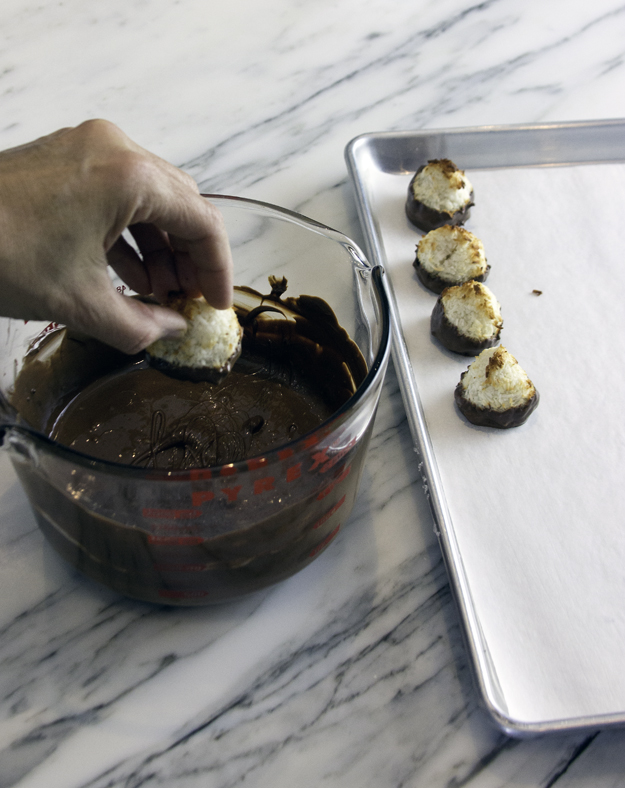
The quintessential coconut macaroon is slightly crunchy on the outside and chewy in the middle, without being gluey. They should be sweet, but not cloyingly so, and they should be bursting with shreds of sweetened coconut. A final dip in a melted chocolate bath, to cover the lower third of the macaroon would not be a bad thing.
in polka dot bowl
Cook’s Illustrated’s test kitchen discovered that the choice of coconut in the macaroon makes a big difference in both taste and texture. Unsweetened shredded coconut, which is drier than sweetened, solved the gluey texture issue.  Sweetened shredded coconut packed more flavor than unsweetened, and together they worked very well. To add one more layer of coconut flavor, they tried cream of coconut and cracked the coconut macaroon code.

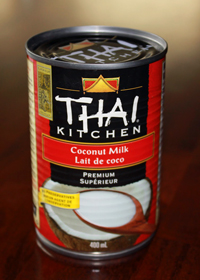
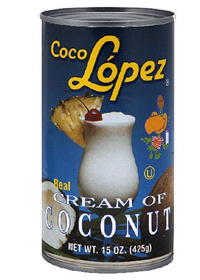
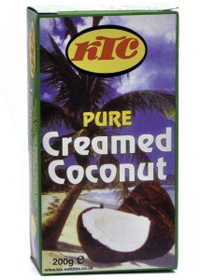
Cream of coconut, is not to be confused with coconut cream or coconut milk. Here is a little coconut product primer:
coconut milkcream of coconutKTC-Creamed-Coconut-Big
Coconut cream is very similar to coconut milk but contains less water. Coconut cream is made by simmering equal parts of shredded coconut and water until frothy,  then straining the mixture through a cheesecloth, squeezing out as much liquid as possible; this is coconut milk. The coconut milk is refrigerated and allowed to set. Coconut cream is the thick non-liquid part that separates and rises to the top of the coconut milk.

Cream of coconut is coconut cream that has been sweetened. It is used most commonly in piña coladas. This is the one you want for this recipe. I usually find it in Asian supermarkets, although some larger stores carry it in the drinks aisle.

Creamed coconut is a compressed block of coconut flesh which has been slightly dehydrated and sold in a waxy lump.

This recipe does contain corn syrup, so if you keep strictly Kosher for Passover, here is a recipe for a corn syrup alternative.

Lately, there has been much written about the evils of high fructose corn syrup. This is not the same as the regular corn syrup you buy for baking. If you are at all concerned and want to know more about the science behind it, this article clears up the confusion.

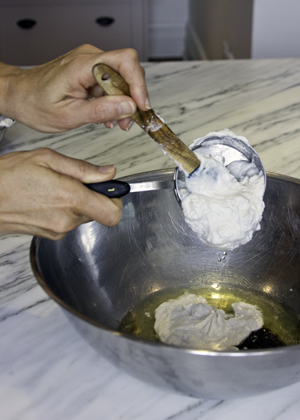
The canned cream of coconut has liquid at the bottom, so it is best to empty it out into a bowl and mix it up with a spoon before measuring and adding to the batter.
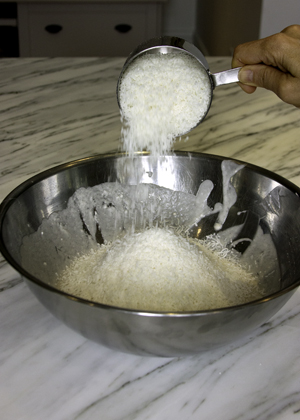
Adding cream of coconutadding coconut
The batter should be chilled for about 15 minutes before shaping macaroons. here is a video demonstrating how to shape them.


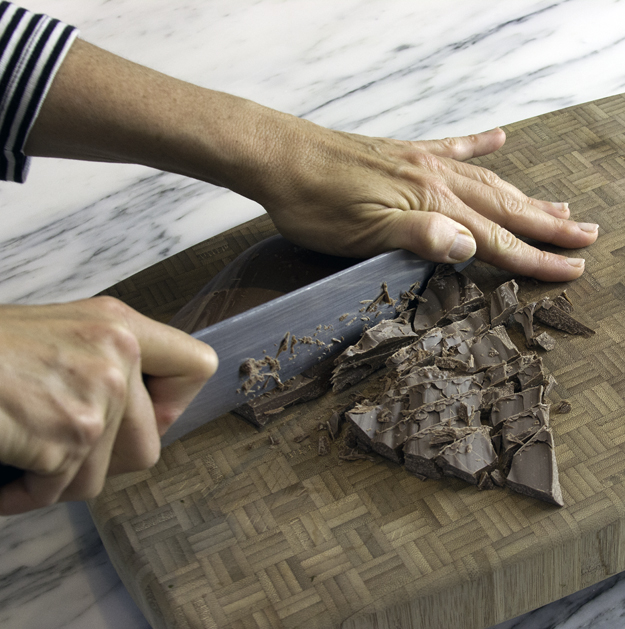
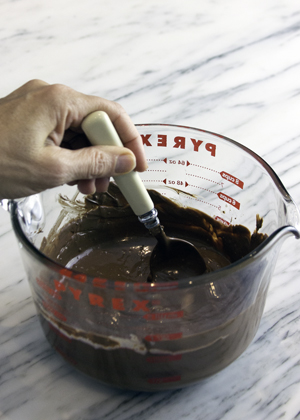
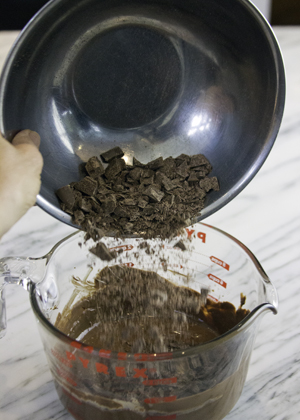
The chocolate should be chopped fairly fine. I melt about 3/4 of it in the microwave on medium power. When it is totally melted, stir in the remaining 1/4 of chocolate. This is a quick and dirty tempering method but it works quite well.chopping milk chocolatemelting milk chocolateadding second amount of chocolate
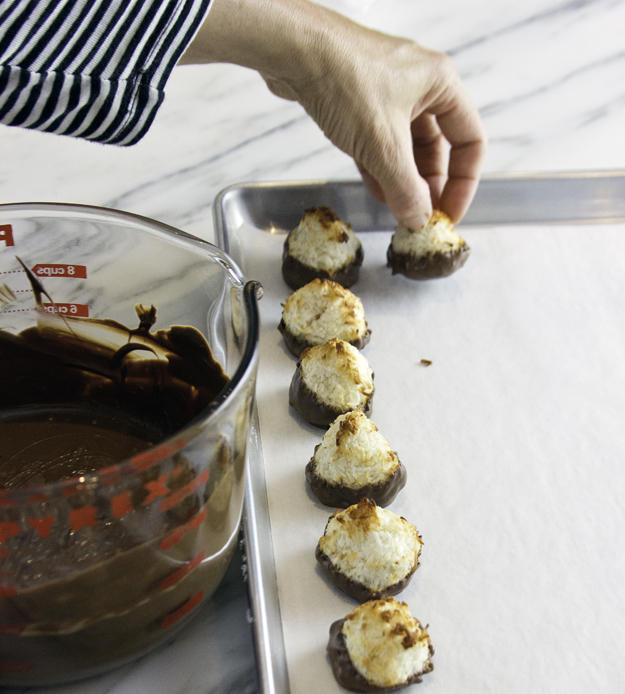
I like to dip the bottom third of the cookies in chocolate.
dippingput on parchment

dipped

Click here to print recipe for Triple-Coconut-Macaroons.

in polka dot bowl


Blondes have more fun and Blonde Chocolate Ganache Macarons.

macarons in bowl 1


in egg holder square for blog

Seems that blondes really are taking over the world. First we had the introduction of Blonde Ale, then Starbucks released its Blonde Roast, and now Valrhona has introduced the world’s first blonde chocolate. Say what?? Blonde chocolate?? You thought there were just dark, milk and white?
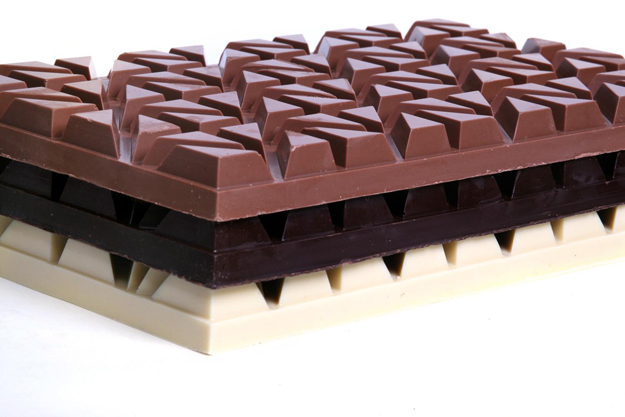
milk dark and white

Before we delve into the world of Blonde chocolate, I offer you a quick Chocolate 101 Primer:
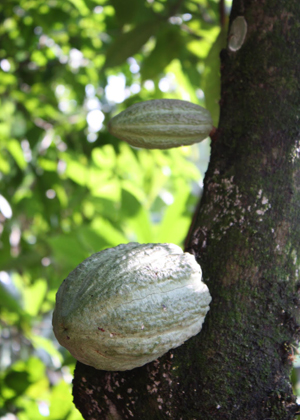
cocao bean on treeroasted nibs

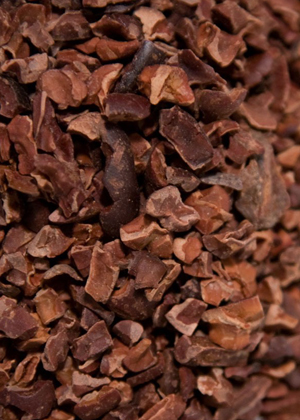
The process of making chocolate starts with the cocoa bean. The beans are fermented, dried, roasted and then shelled. These shelled beans, known as cocoa nibs, are ground and the resulting product is a thick liquid known as chocolate liquor. (It’s not actually alcohol.) Then, this chocolate liquor is pressed and from this pressing we get two products:

1. Cocoa butter, which is actually the fat from the chocolate liquor

2. Chocolate solids, which when ground results in cocoa powder.

Unsweetened chocolate is basically cocoa butter reblended with cocoa powder. Sugar is added to make semi-sweet and bittersweet dark chocolate, and milk is added to produce milk chocolate. White chocolate contains none of the chocolate liquor. It contains cocoa butter, milk, sugar and sometimes vanilla.

Yes, you chocolate purists out there, I know that technically white chocolate is not really considered chocolate since it does not contain any pulp from the cocoa solids extracted from the cocoa bean.

To be labeled white chocolate, there must be a minimum of 20% cocoa butter, 15% milk powder and a maximum of 55% sugar. Note that real white chocolate is not pure white in colour, it is actually an ivory colour. If you see snow white chocolate, it is likely that it contains vegetable oil, rather than cocoa butter and trust me, the taste difference is significant!

OK, now onto the discovery that rocked my world, Blonde Chocolate! (Just a little aside here, when I announced this startling discovery to my husband and two sons they all started snoring! Ungrateful sods, no blonde chocolate treats for them!)

As with several other culinary innovations, this one was also an act of pure serendipity! About 8 years ago, Frédéric Bau, Executive Chef and director of Valrhona’s Ecole du Chocolat, was doing a demonstration for pastry chefs from around the globe. He had some white chocolate melting in a bain-marie. He used a small amount of that white chocolate for his demonstration and the remainder was left sitting there, continuing to slowly heat, completely forgotten about.

Around 10 hours later, he returned to discover that the white chocolate had caramelized into a stunning buckwheat honey blonde colour.  It had the aroma of toasted shortbread, and when he stuck his finger in there for a taste, he was shocked to discover an intense biscuity, caramel flavour.  It was smooth, buttery and there was a hint of salt on the finish.  Frédéric was convinced that he was clearly onto something big here. It took almost 8 years to be able to reproduce this happy accident on a large scale and sell it commercially.

But in October of 2012 Dulcey 32%, the world’s first blonde chocolate was born. Clearly I must have been living under a rock, as I had no idea about this launch. I only became aware of it last week when I got an email from The Vanilla Food Company, featuring some new products to their lineup. My mind was spinning with the possibilities and I immediately ordered a 2 kilogram bag.
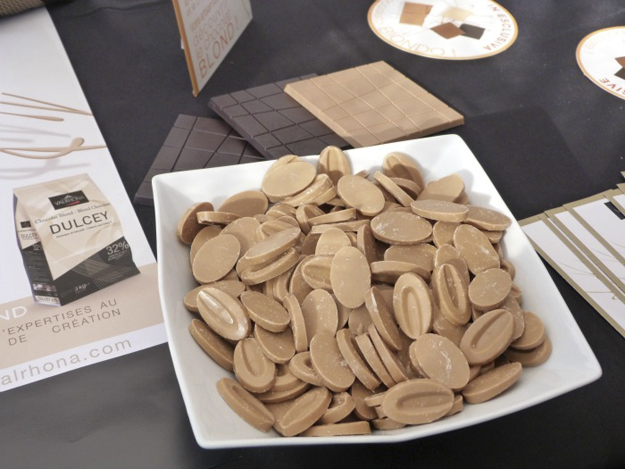
dulcey 32-1

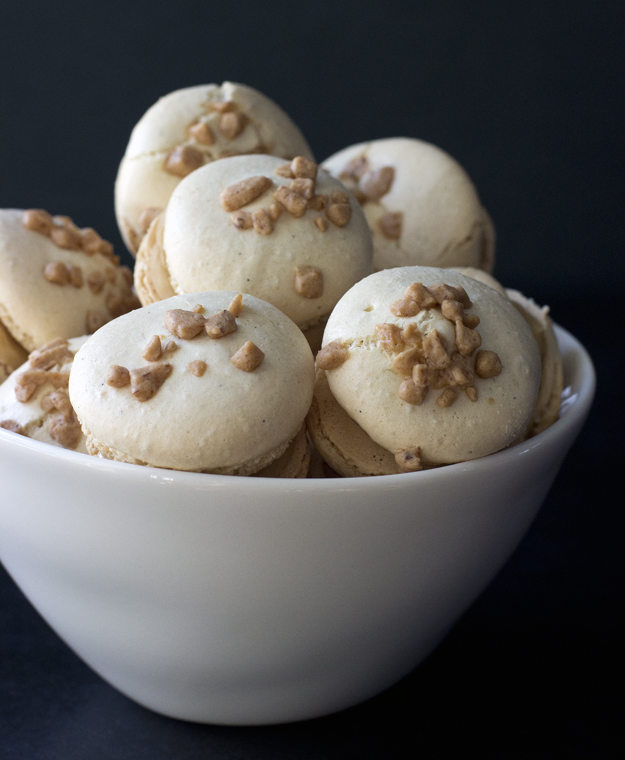
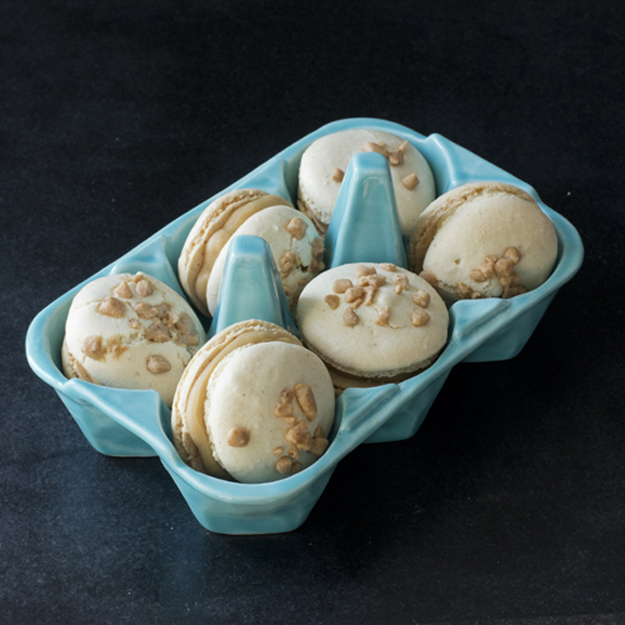
Since Passover is coming up soon (March 25), I decided to make some macarons and fill them with a Blonde Chocolate ganache. I think Frédéric would approve. These are classic French macarons, with only one “o”, not to be confused with American macaroons, (with two “oo”‘s), which are made with coconut.
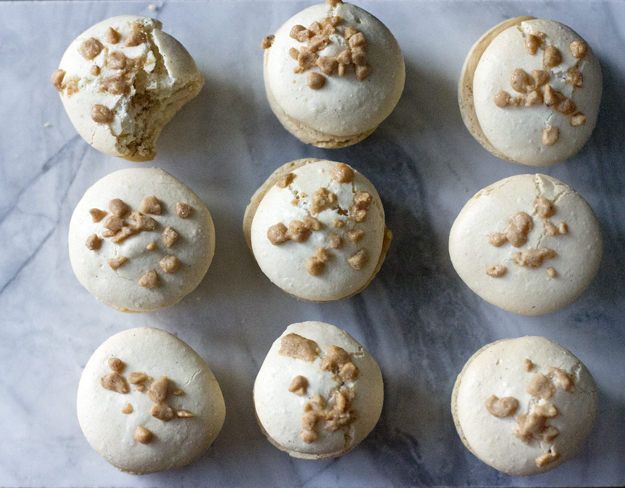
on marble slab 2

Macaons are the perfect Passover dessert, since they contain no flour. There is a plethora of information and recipes out there in the Blogosphere. I have tried numerous recipes and techniques. Last year I discovered Stella Parks’ (aka Bravetart) macaron primer. I had always thought that macarons were the prima donnas of the pastry world, very temperamental and required a delicate touch. Not so says Stella. If you are a macaron geek like me, then these posts by Stella are required reading:

1. The 10 Commandments of Macaron Baking

2. Macaron Mythbusters

To make your life easy, print out this template for piping your macarons. Depending on the size of your baking sheets, you could print two and tape them together. Place template on baking sheet, cover with parchment and set aside.

template

A kitchen scale and stand mixer are recommended for success with macarons. Classic macarons begin with almond flour, sometimes called almond meal. You can buy ground almonds at most grocery store or bulk food stores. The ground almonds are combined with powdered sugar and then pressed through a sieve.

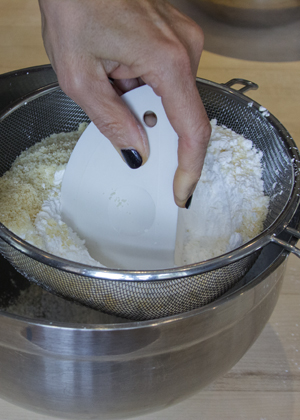
scalesieve

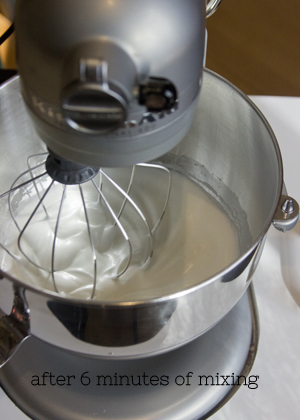
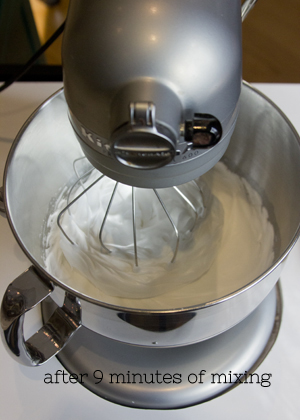
Egg whites, sugar and salt are whipped to stiff peaks. Stella gives quite explicit instructions, including number of minutes and speeds, which I have detailed in my attached recipe.after 3 minutesafter 6 minutes
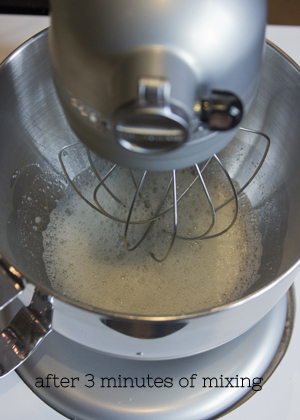
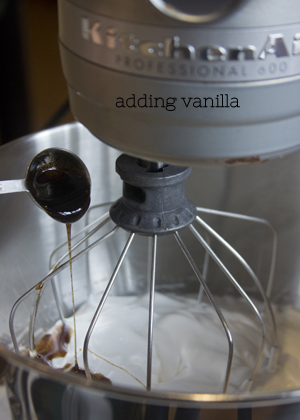
after 9 minutesadding vanilla

The meringue is whipped enough when there is a big clump of meringue in the center of your whisk, like this:
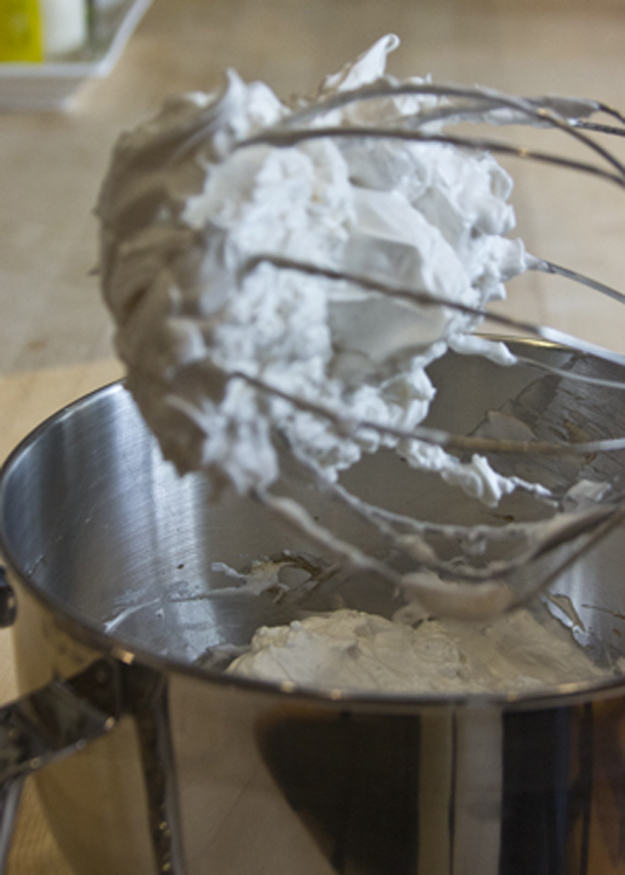
meringue clumped 2

Next the ground almond/powdered sugar mixture is dumped on top of the meringue and a rubber spatula is used to combine everything. A combination of a folding stroke and a pressing motion, against the sides of the bowl to help deflate the meringue, are used. Remember, we are making macarons here, not meringues. You want to knock the air out of the egg whites.

The batter, also known as the macaronage, is sufficiently mixed and perfect for piping when you spoon some batter on top of the bowl and it mounds up on itself, but after about 20 seconds, it melts back down on itself. Your macaronage is under-mixed and too stiff if you spoon some out and drop it back into the mix and it just sits there, never incorporating. Your macaronage is over-mixed if it has the consistency of pancake batter. Do not let it get to this stage!

Filling the piping bag is easy if you place it inside a tall glass or pitcher, and cuff the top down. Only fill the bag half full. Otherwise, it will ooze out from the top and you will have a sticky mess, and probably curse me!
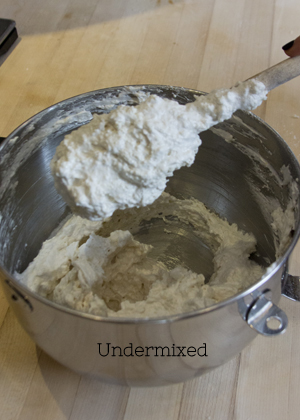
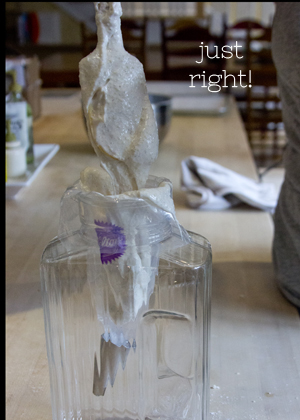
too thick 2spooning into piping bag 2

Pipe just inside the circles, as the mixture will spread.
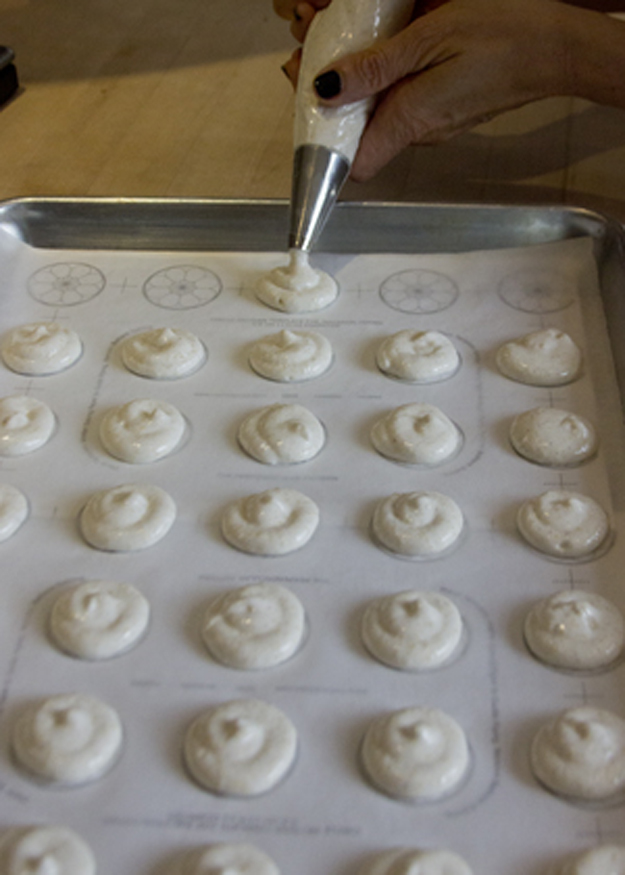
piping 2

Remember to remove template before baking. Top half the macarons with a few Skor bits. These will be the top half of your macaron sandwich cookies.
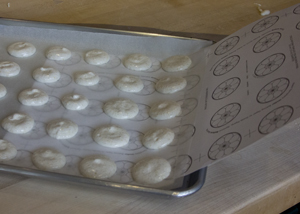
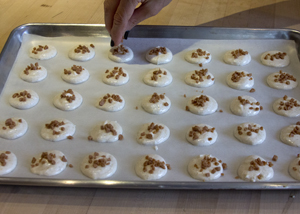
remove templatetopping with Skor bits

While macarons are baking and cooling, prepare ganache filling. Bring cream and butter to a boil. Pour over chopped blonde chocolate. (You could also use white, milk or dark chocolate) Let sit for 3 minutes then whisk until smooth.
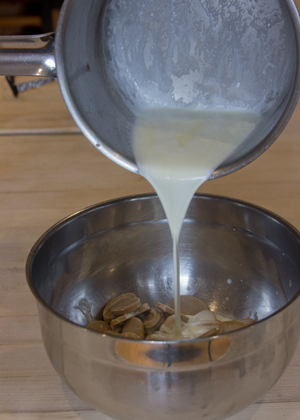
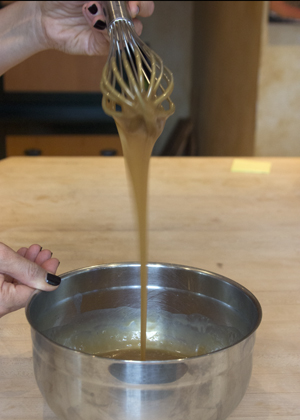
pouring creamwhisking

Let cool to room temperature, until quite thick and then pipe onto half the macarons. Top with Skor lids.
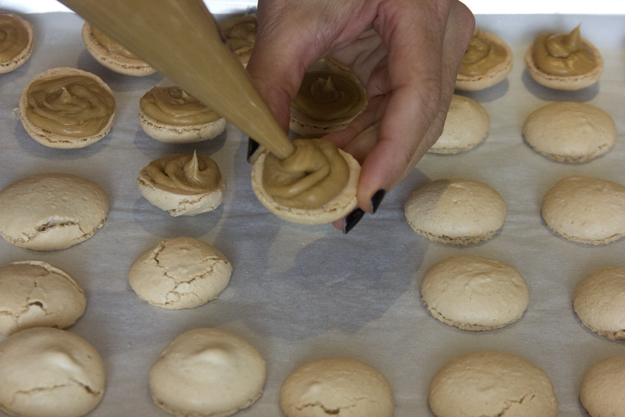
piping blond ganache

Macarons will keep in the fridge for a week or in the freezer for up to a month. Let come to room temperature before serving.
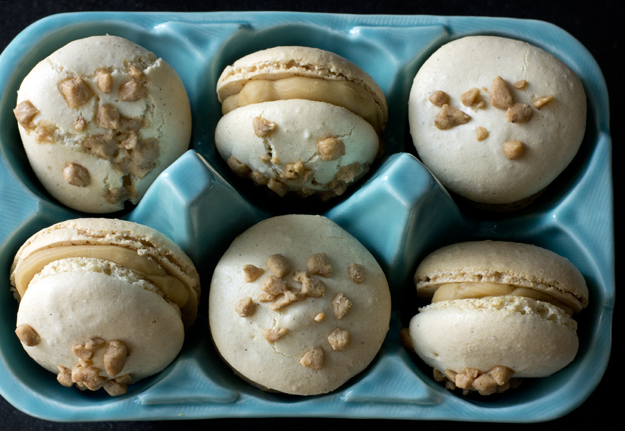
in egg holder

Click here to print recipe for Almond Macarons with Blonde Chocolate Ganache Filling.


.


.