
The problem with most homemade ice cream sandwiches is that the cookie part of the sandwich becomes rock hard upon freezing. It becomes impossible to take a bite and the ice cream just squishes out and makes a huge mess. You need a cookie with a soft texture.
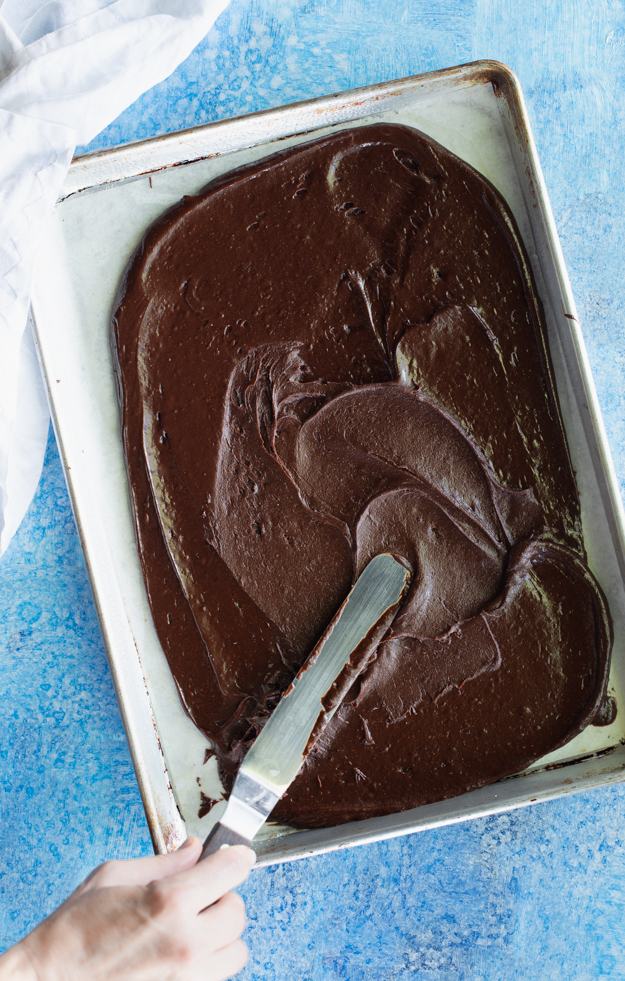
The talented folks at America’s Test Kitchen have figured out how to make a squidgy chocolate wafer, just like the classic ice cream sandwich of my youth. A chocolate wafer, so moist, it stuck to the paper wrapper. I had to lick the chocolate crumbs off my fingers when I was all done. The secret ingredient to keeping that cookie layer super fudgy is chocolate syrup. All the ingredients are mixed in a bowl and spread into a thin layer on a baking sheet.
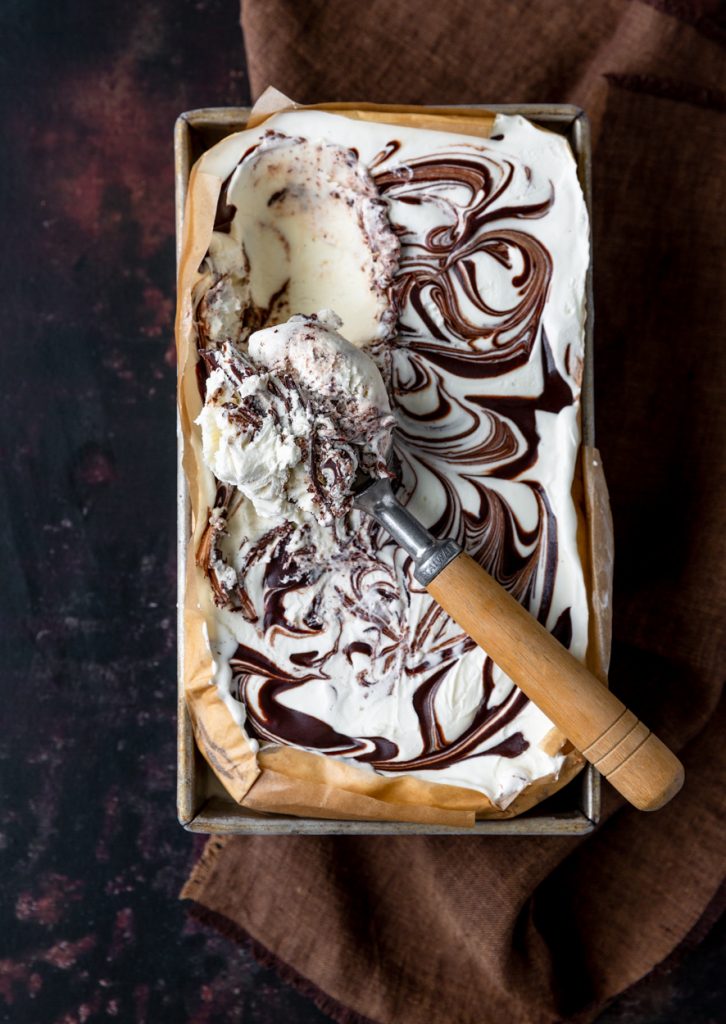
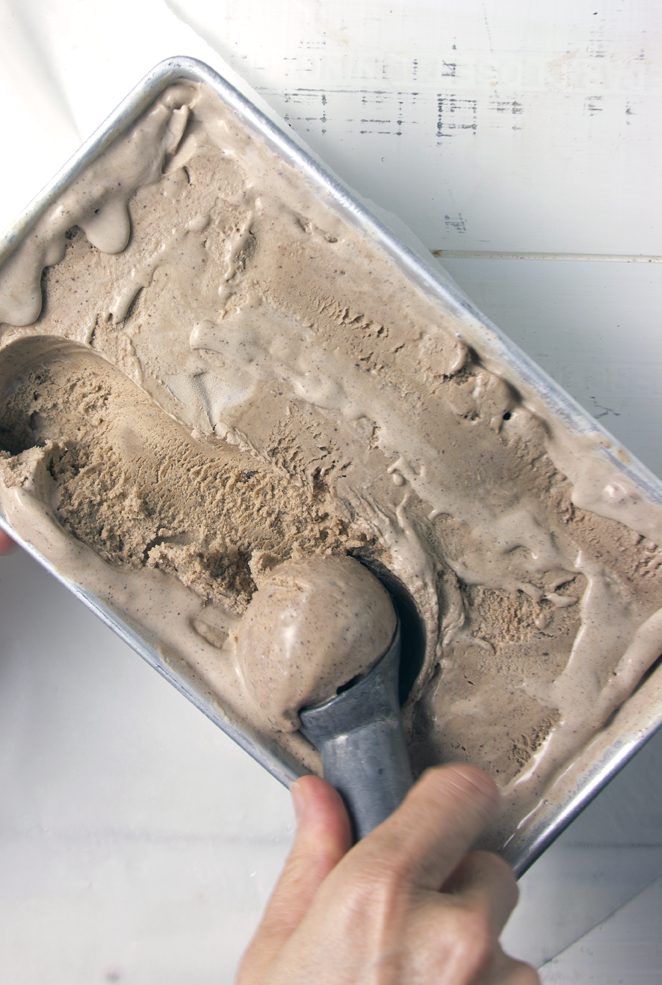
For the ice cream filling, I had no interest in recreating the bland, insipid vanilla ice cream center of my youth. My goal was the ultimate ice cream sandwich. I decided to fill mine with Mocha Almond Fudge Ice Cream, my spin on Baskin & Robbins Jamoca Almond Fudge.
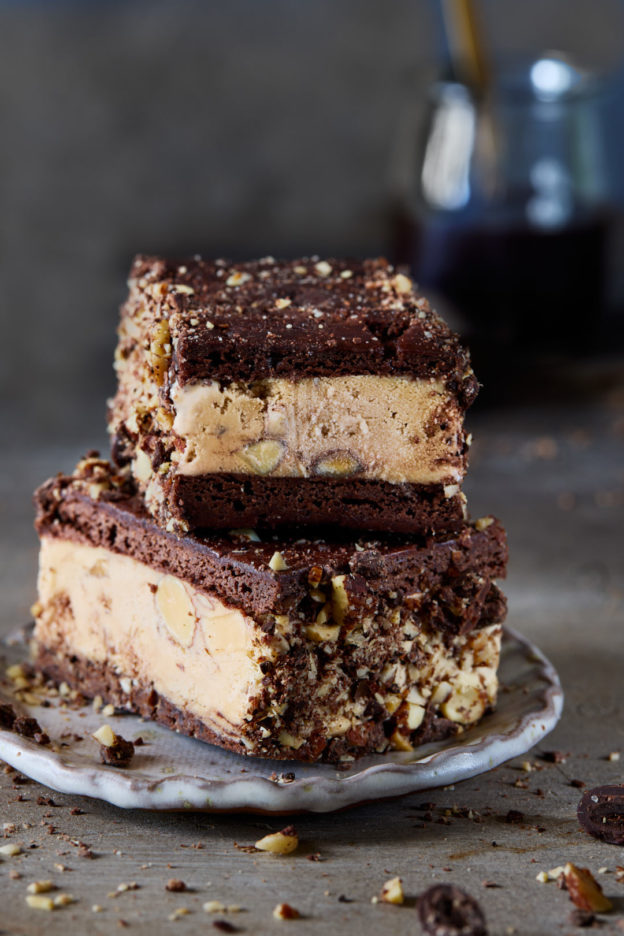
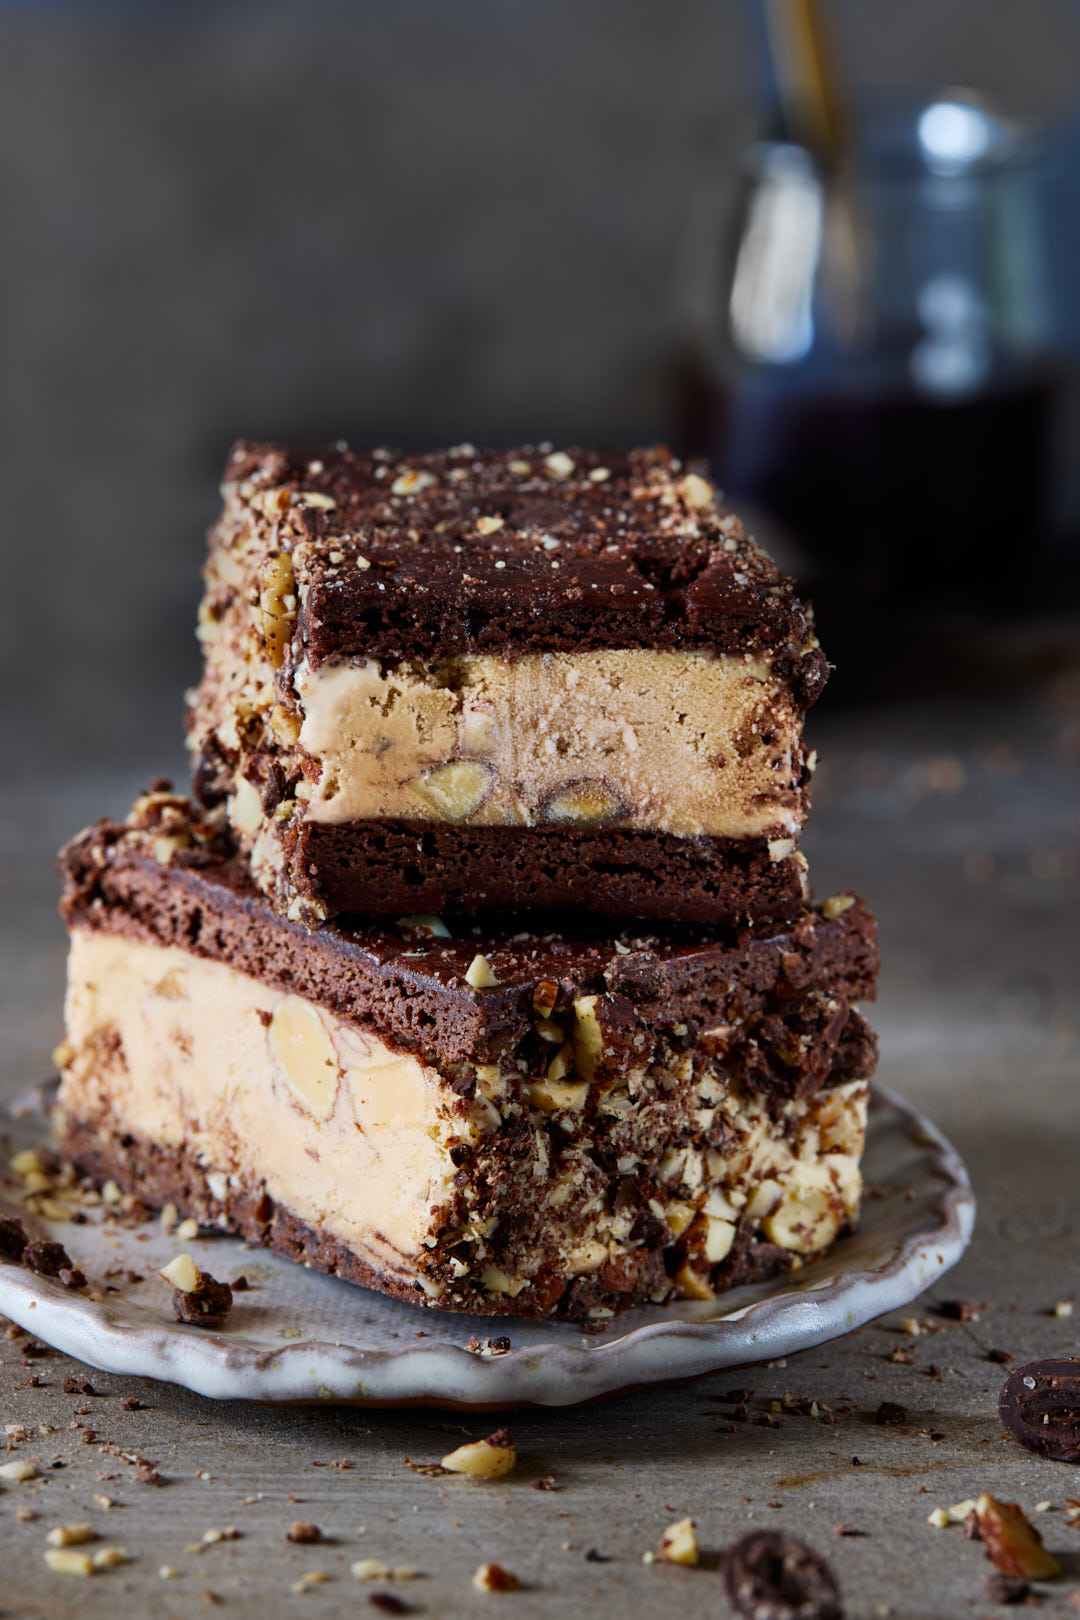
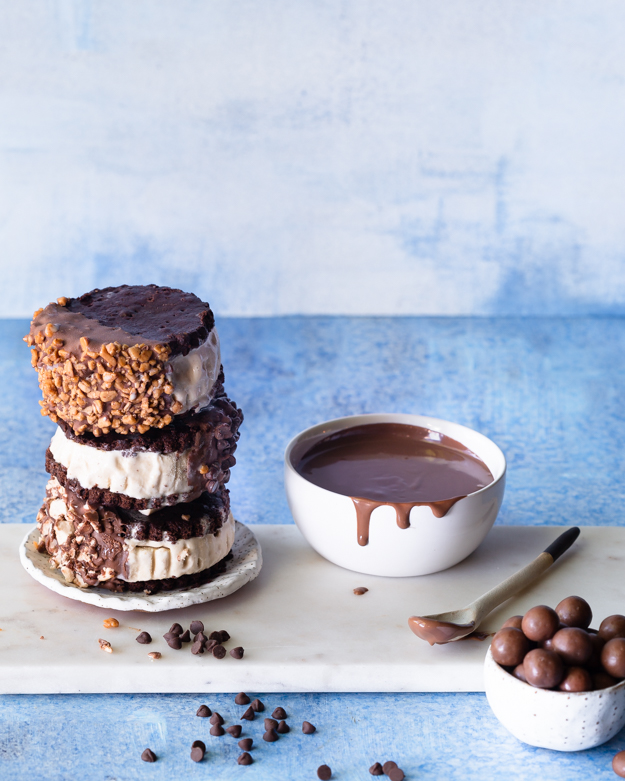
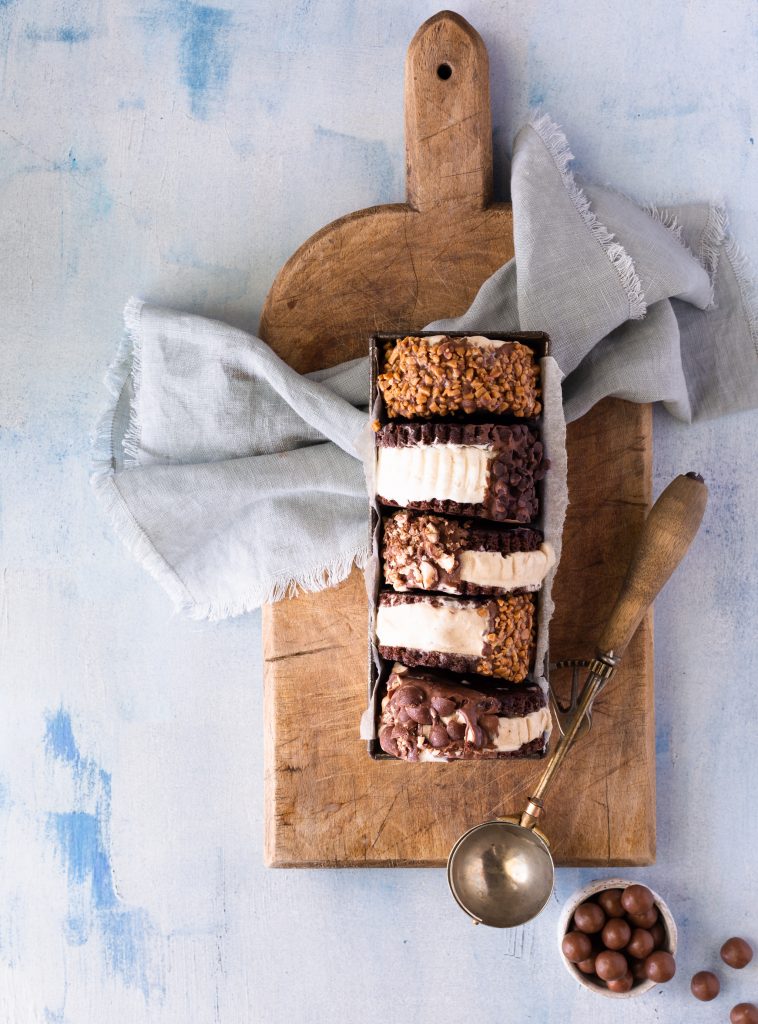
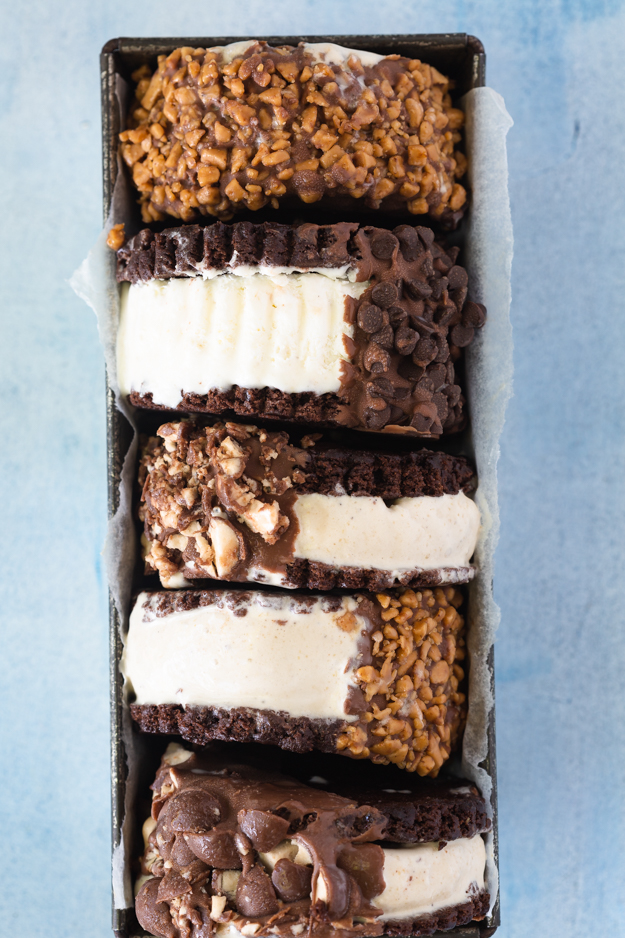
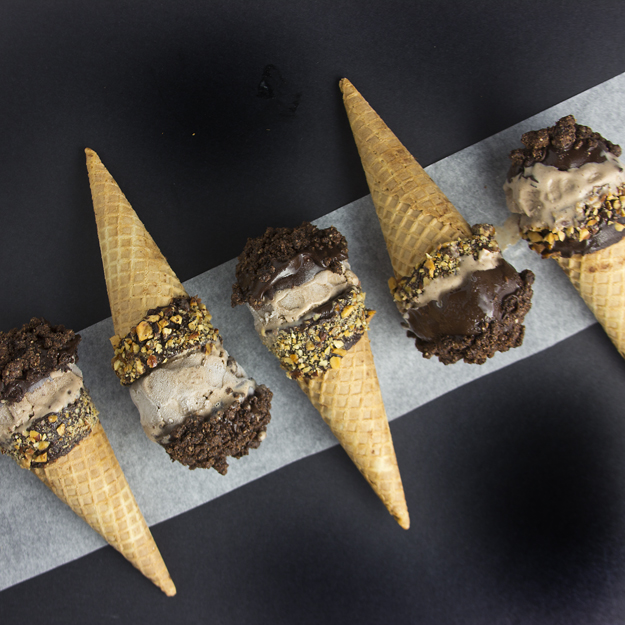
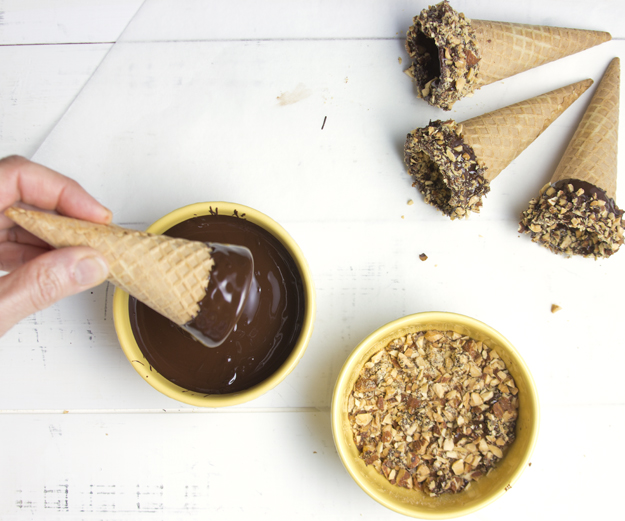
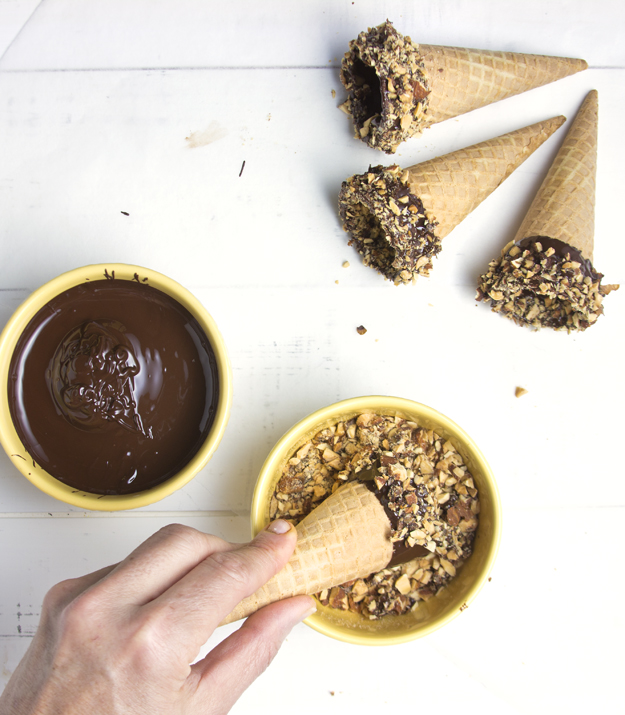
The last time I made this ice cream I just scooped it into cones. I think the ice cream sandwiches take it to another level. I dipped the short sides of the sandwiches in a mixture of crushed chocolate covered espresso beans and chopped toasted almonds. The textural crunch they provide balance the soft ice cream and squishy cookie layer. Perfection.

Mocha Almond Fudge Ice Cream Sandwiches
Equipment
- ice cream maker
- 2 quarter sheet pans (9×13 inches each)
- 1 offset spatula
Ingredients
Mocha Almond Fudge Ice cream
- 340 grams whole milk (1 1/2 cups)
- 680 grams 35% cream (3 cups)
- 98 grams granulated sugar (1/2 cup)
- 20 grams corn syrup (1 Tablespoon)
- 8 grams Instant espresso powder (2 Tablespoons)
- 10 grams vanilla bean paste or vanilla extract (2 teaspoons)
- 1/4 teaspoon Diamond Crystal Kosher Salt
- 94 grams roasted almonds, coarsely chopped (2/3 cup)
- 234 grams hot fudge sauce (3/4 cup)
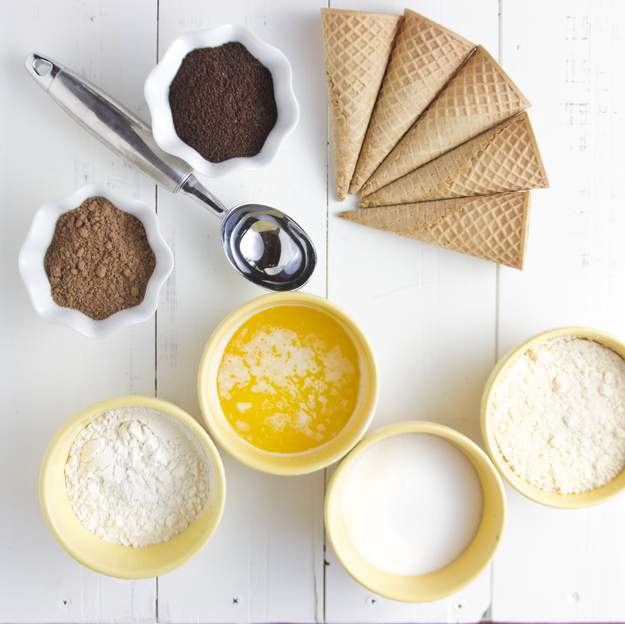
Chocolate Wafers
- 210 grams all purpose flour (1 1/2 cups)
- 63 grams Dutch process cocoa powder (3/4 cup)
- 1/2 teaspoon Diamond Crystal Kosher Salt
- 1/4 teaspoon baking soda
- 3 large eggs
- 198 grams granulated sugar (1 cup)
- 117 grams chocolate syrup (like Nesquick) (1/3 cup)
- 170 grams unsalted butter, melted (3/4 cup)
For Decorating
- 115 grams chocolate covered espresso beans, coarsely chopped (2/3 cup)
- 94 grams roasted almonds, coarsely chopped (2/3 cup)
Instructions
Mocha Almond Fudge Ice Cream
- Freeze the work bowl of an ice cream maker according to the manufacturer's instructions. Usually, it needs at least 24 hours in the freezer before you start, so plan accordingly.
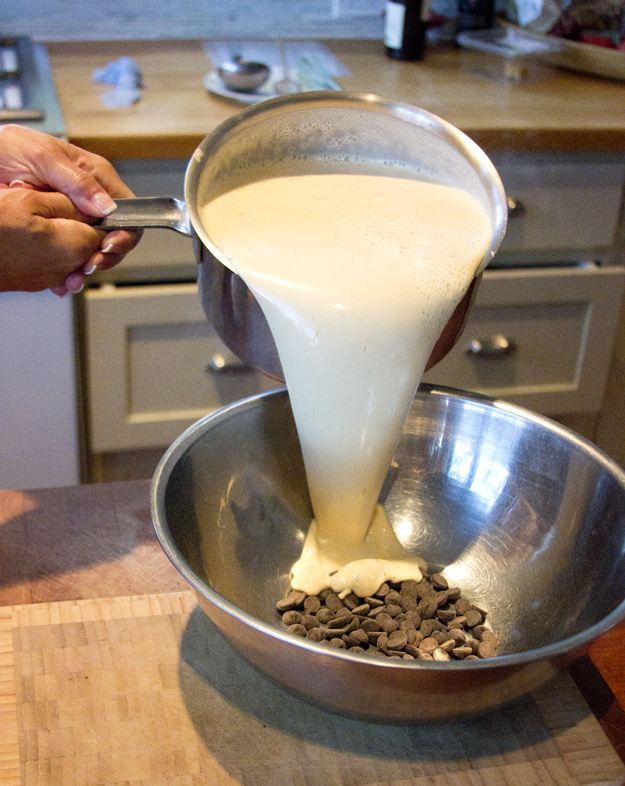
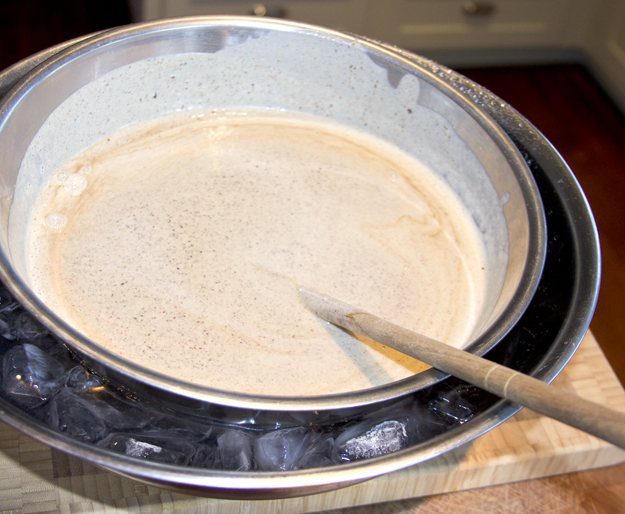
- In a large measuring cup or bowl with a spout, whisk together milk, cream, sugar, corn syrup, espresso powder, vanilla and salt.
- Turn on ice cream machine and pour mixture into canister. Freeze for about 20-25 minutes, until the ice cream has soft serve consistency. Add almonds during the last minute of mixing.
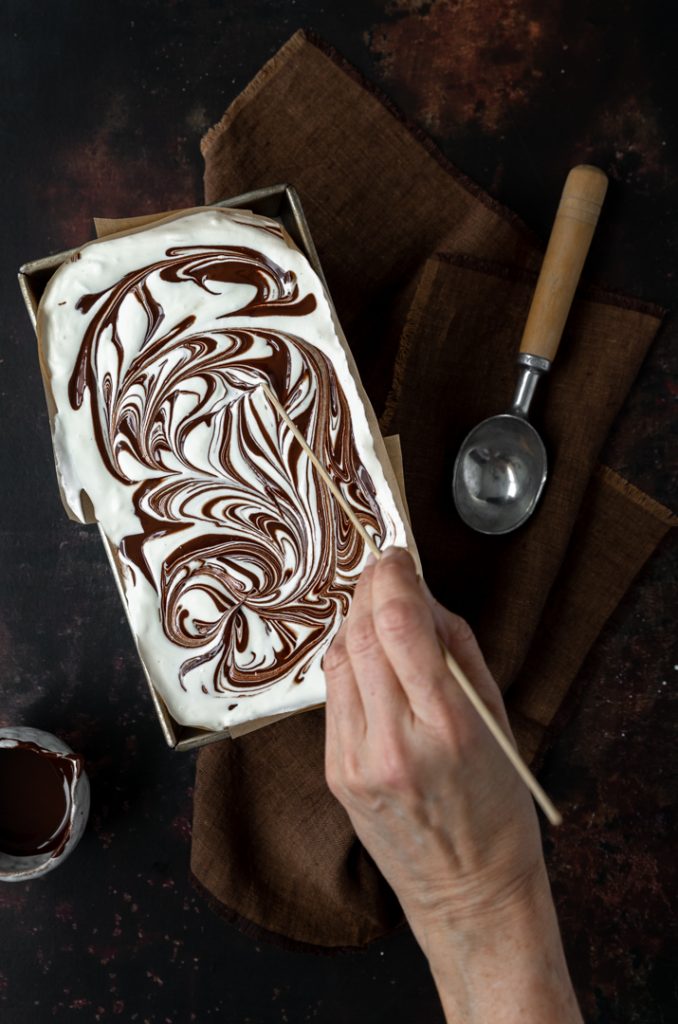
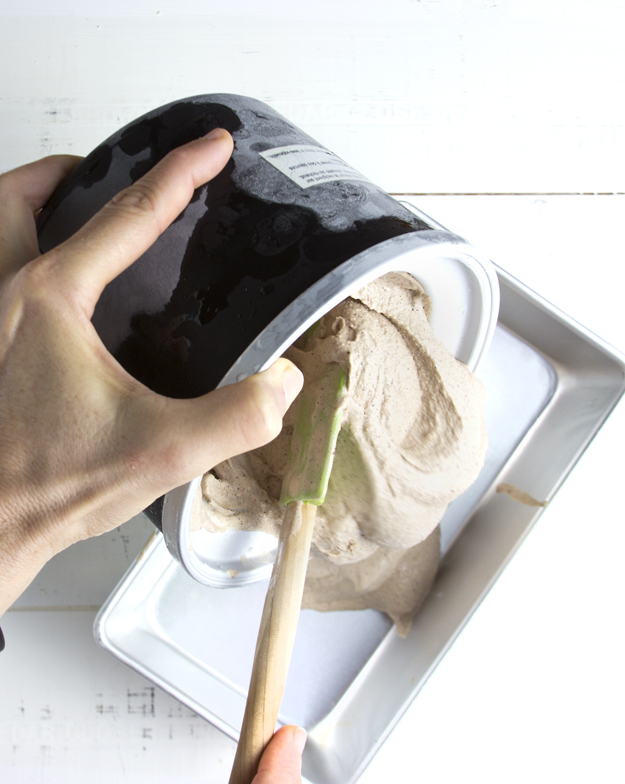
- Warm hot fudge sauce slightly, so that it has a drizzling consistency. Set out a 9×5 inch loaf pan to transfer the ice cream into.
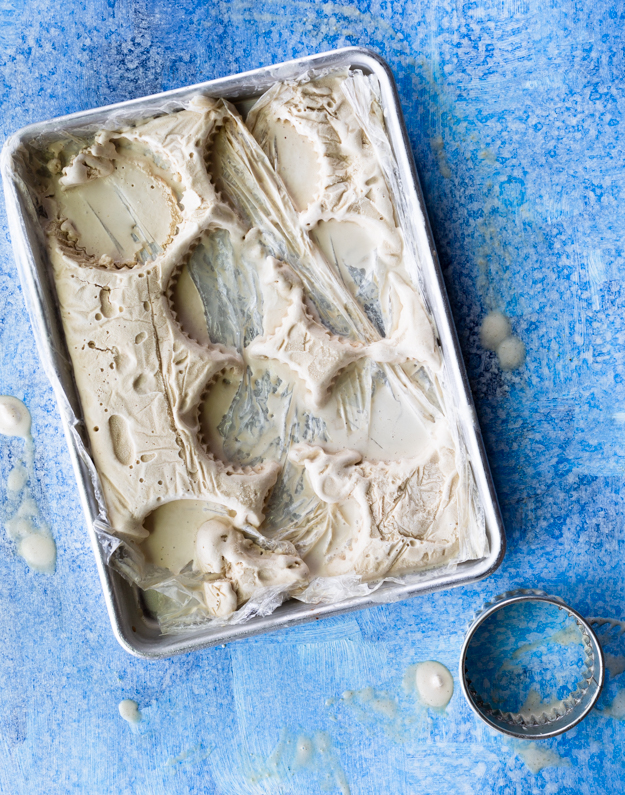
- Drizzle ¼ of the hot fudge sauce into the empty loaf pan. Scoop ⅓ of the ice cream over the fudge sauce and smooth out with a spatula. Continue drizzling and layering ice cream until you have 3 layers of ice cream and 4 layers of sauce. Freeze for at least 4 hours, until firm.
Chocolate Cookies
- Adjust oven rack to middle position and heat to 350°F. Lightly spray two 9×13 inch quarter-sheet pans with non-stick cooking spray and line with parchment paper (do not grease parchment).
- Sift flour, cocoa, salt, and baking soda into medium bowl.
- Beat eggs, sugar, and chocolate syrup in large bowl until light brown. Add melted butter and whisk until fully incorporated.
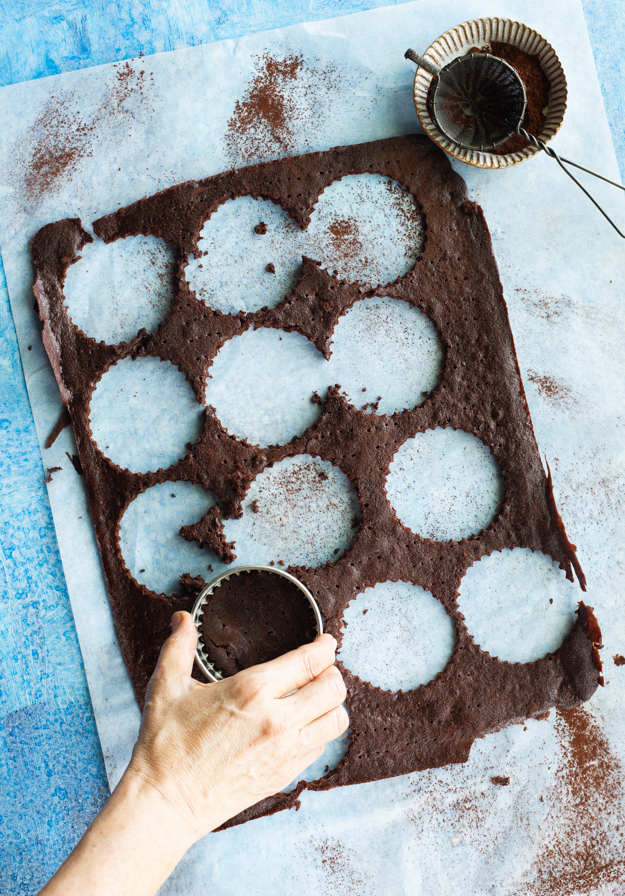
- Add dry ingredients to egg mixture. With rubber spatula, gradually incorporate dry ingredients into wet; stir until evenly moistened and no dry streaks remain. Pour half the batter into each prepared baking sheet. Use an offset metal spatula to spread batter evenly in pan. Bake until cookie springs back when touched with finger, 10 to 12 minutes. Cool in pan on wire rack 5 minutes, then run paring knife around perimeter of baking sheets to loosen.If you want the classic look of a store bought ice cream sandwich, dock the surface with a fork. Invert cookie onto work surface or large cutting board; carefully peel off parchment. Cool to room temperature, about 30 minutes.
Assemble Sandwiches
- Line one 9×13 inch quarter sheet pan with plastic wrap, leaving a 4 inch overhang on each of the four sides. Place one cooled chocolate cookie, upside down, onto plastic wrap.
- Remove ice cream from freezer and let sit at room temperature for a few minutes to soften. Scoop the ice cream onto the cookie in the pan, and using an offset spatula, spread it out evenly. Top with second chocolate cookie. Cover with overhanging plastic wrap and freeze for at least 8 hours.
- Unwrap ice cream sandwich and place on cutting board. Cut into 12 rectangles. Place ice cream sandwiches back onto baking sheet to keep frozen while you get the decorating ingredients ready to use.
- Mix chopped chocolate covered coffee beans and chopped almonds together and place in a shallow bowl. Remove ice cream sandwiches from freezer and press the long sides of each sandwich into the crumble mixture. Wrap each sandwich in plastic wrap and store in freezer bag until ready to serve.


