Tag Archives: Meringue

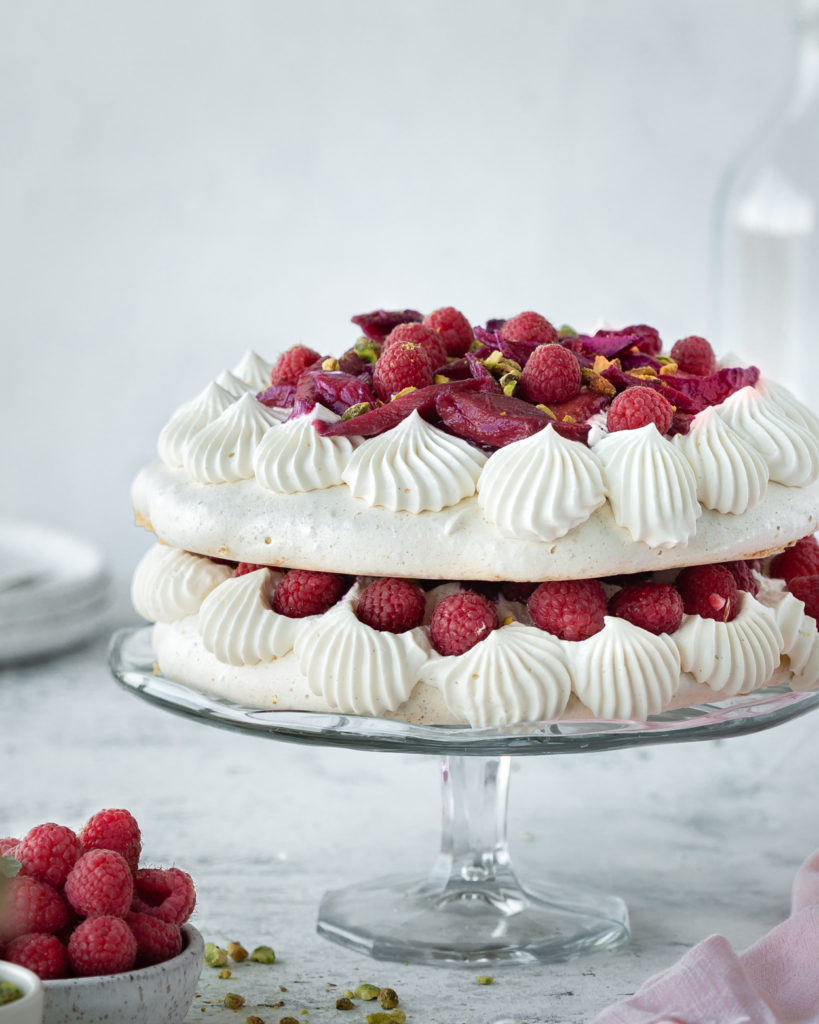
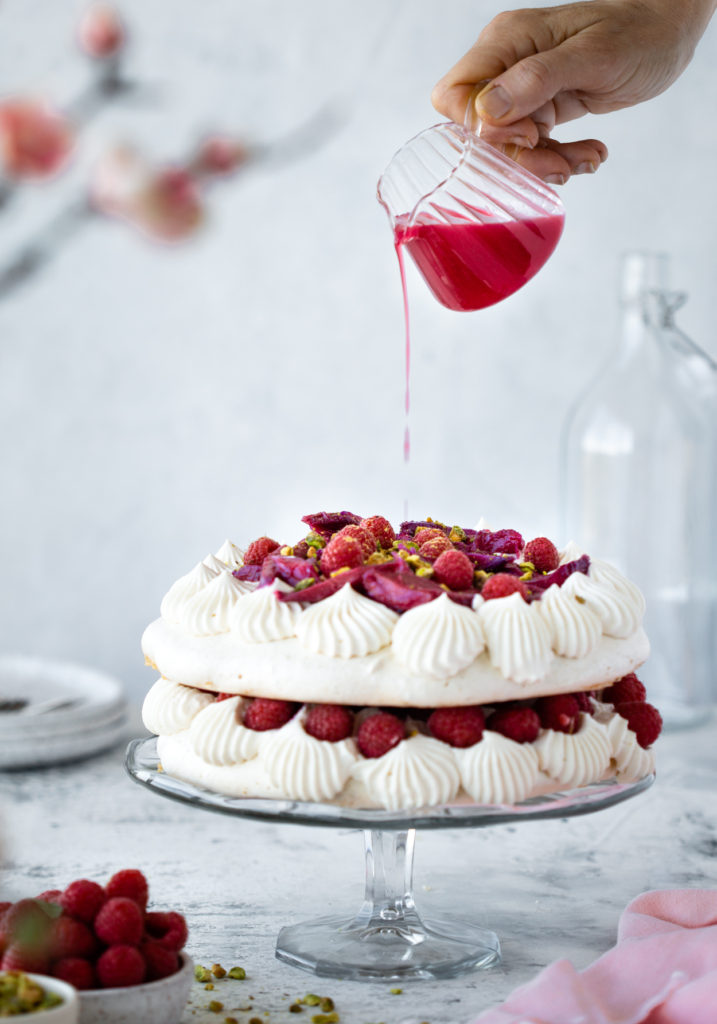
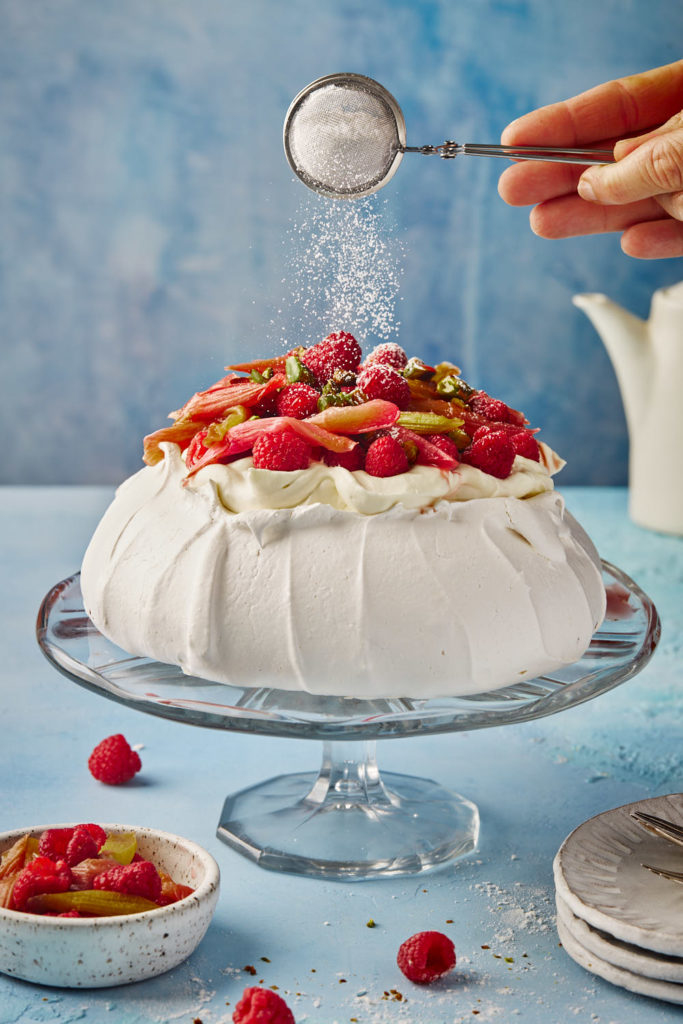
Rhubarb Raspberry Pavlova

Fairly close to the top of my “To Do” list was an item I have been putting off for quite a while (aside from rescheduling my dental cleaning). I have been wanting to master the skills necessary for baking a beautiful pavlova.

I turned to Zoë François for some advice. Her pavlovas, along with the ones created by Rachel Korinek of @twolovesstudio are ones I I have long emulated.

A pavlova is a meringue based dessert named after famed Russian ballerina Anna Pavlova. She toured Australia and New Zealand in 1926. The creation of this dessert sparked the famous “Pav War.” New Zealand claims that the chef of a Wellington hotel at the time created the dessert in her honour, apparently inspired by her bell shaped tutu. Australians, on the other hand, claim that the pavlova was invented at a hotel in Perth, and named after the ballerina because the meringue was “as light as Pavlova.”

The meringue base is typically topped with whipped cream and then some type of fruit. Baking the meringue is a bit tricky and requires paying attention to the small details. I baked quite a few last month and here is what I learned.

  • Make sure the bowl of your stand mixer is absolutely clean and free of any grease. Fat is the enemy of meringue.
  • Cold eggs are easier to separate than room temperature eggs as the yolks are firmer when cold and less likely to break. Let cold egg whites sit for at least 30 minutes before beating. Room temperature egg whites will produce greater volume.
  • Use superfine sugar to make the meringue. It dissolves much faster than regular sugar and will give you a smoother meringue. Any undissolved sugar leads to a gritty and/or weeping meringue. I learned that the hard way! If you can’t find any at the supermarket, just place regular granulated sugar in the food processor and process it for about 45 seconds. 
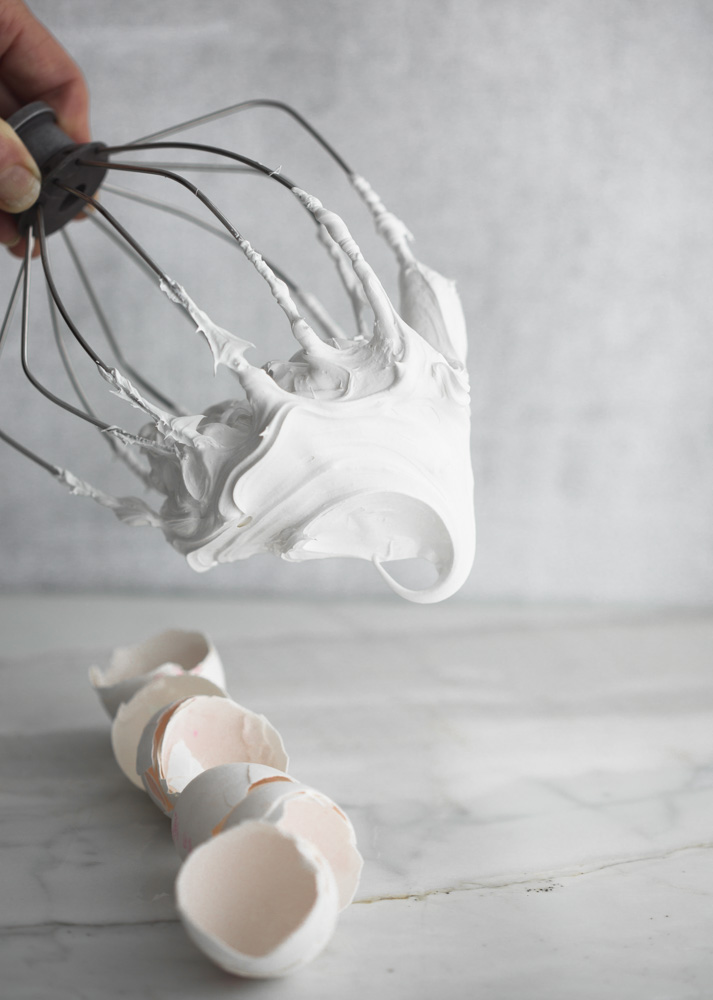
  • Know your peaks. When it comes to gauging doneness of beaten egg whites, you need to understand the stages of doneness. Soft peaks will flop over. Medium peaks will stand up but not completely straight. Stiff peaks stand straight upright.
  • Beat the meringue on low and steady speed. (speed 2 or 4 on my KitchenAid mixer) A slower speed results in a more stable meringue. Once all the sugar is added you can increase the speed to high.
  • Be patient when adding the sugar to the egg whites. Slowly spoon in the sugar while whisking the egg whites. It should take about 5 minutes to add the sugar. Adding the sugar slowly allows it to dissolve. Adding it too quickly will deflate all the air bubbles you are working so hard to achieve.

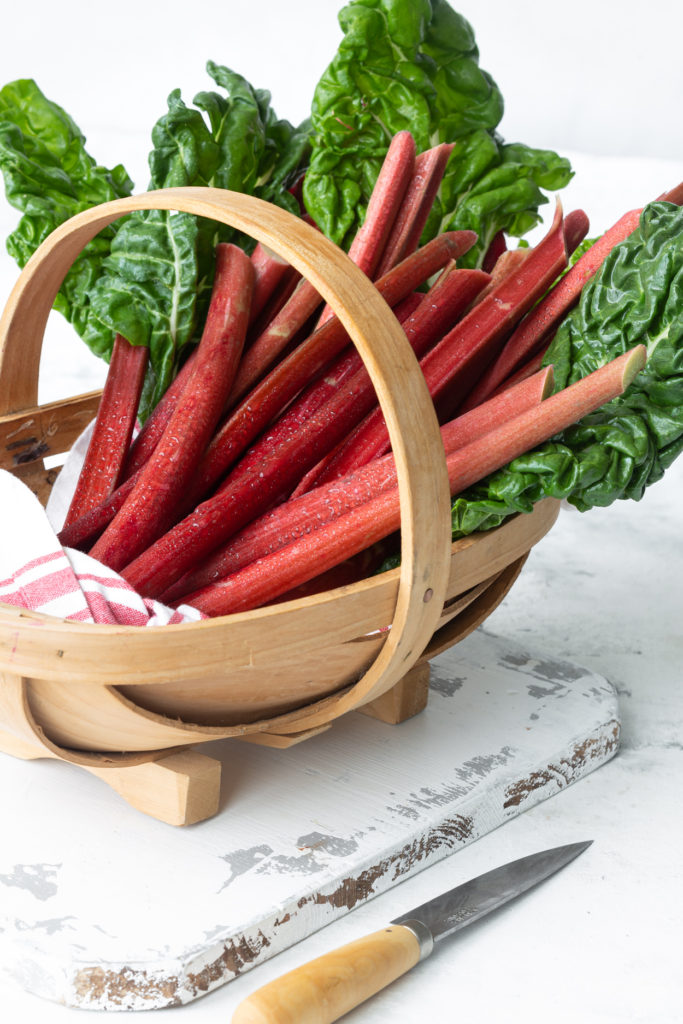
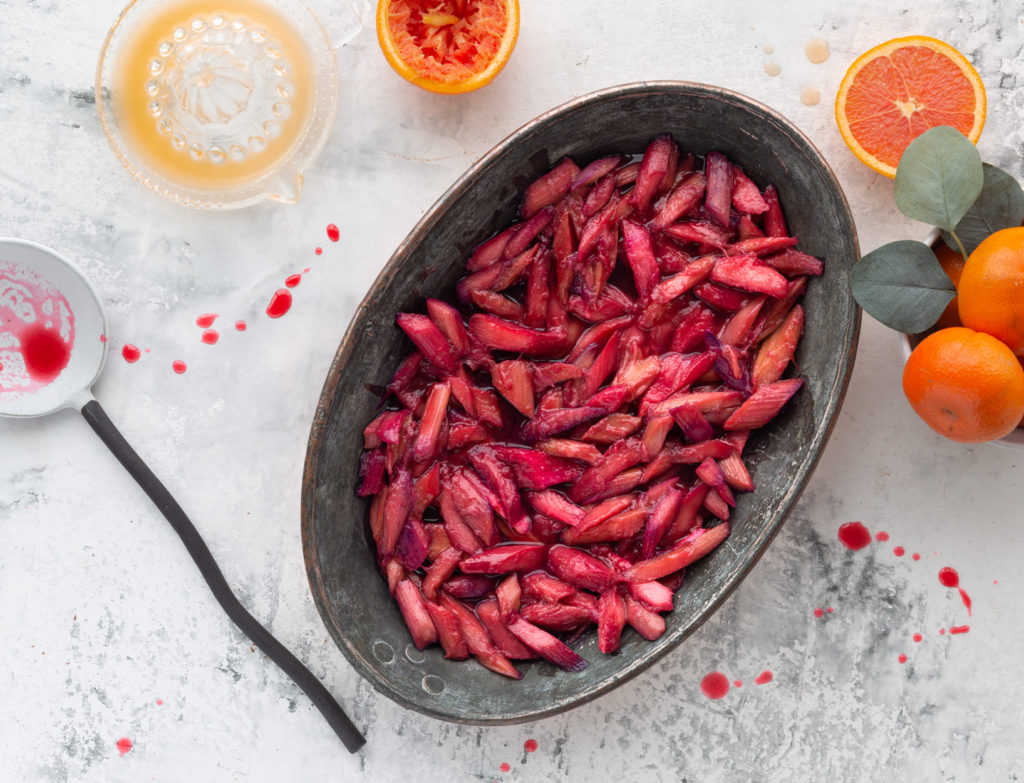
I find meringue to be very sweet, so I decided to add a tart rhubarb curd to the filling to counterbalance all the sugar. I also paired tart rhubarb with fresh raspberries for an added hit of tartness. The rhubarb is roasted in the oven. The curd and the roasted rhubarb can be made a day in advance. Assemble pavlova the day you plan to serve it.

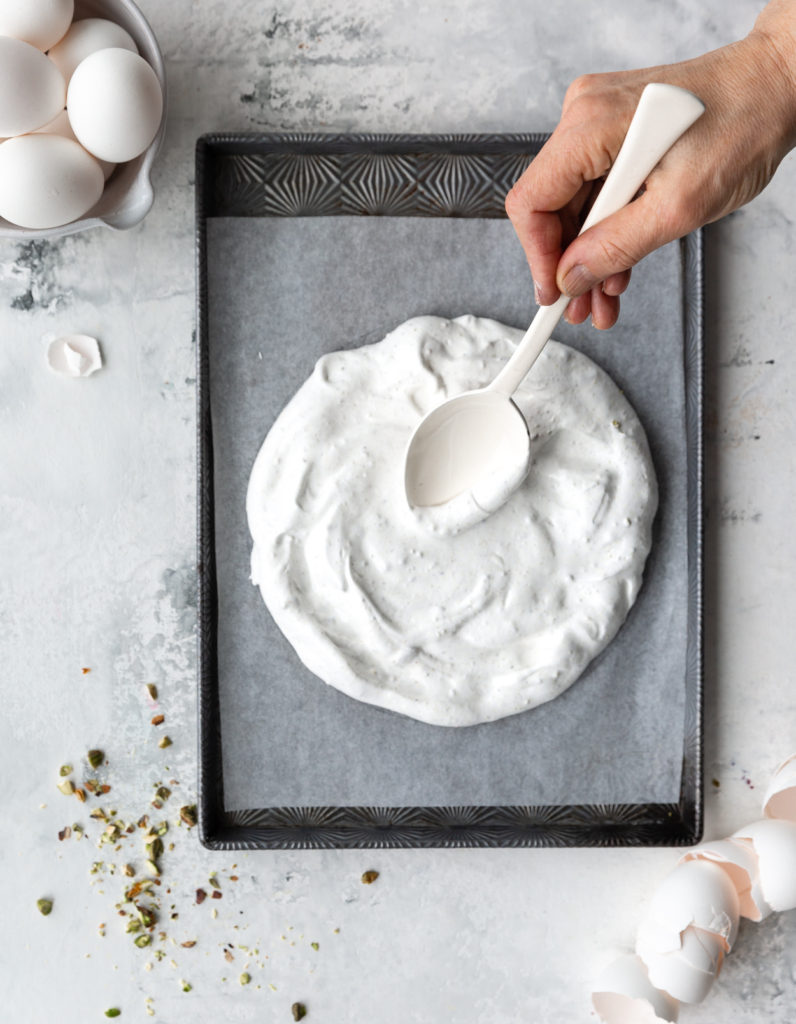
Here’s a video showing how the assembly comes together. Your meringue will likely crack in the oven. As Zoe says, “that’s the nature of the beast.” Cracks notwithstanding, it will still taste delicious. You will need to carefully remove the top layer of baked meringue to allow you to fill the pavlova with curd, fruit and whipped cream. The outer shell is firm, but inside you will discover a softer marshmallowy layer.
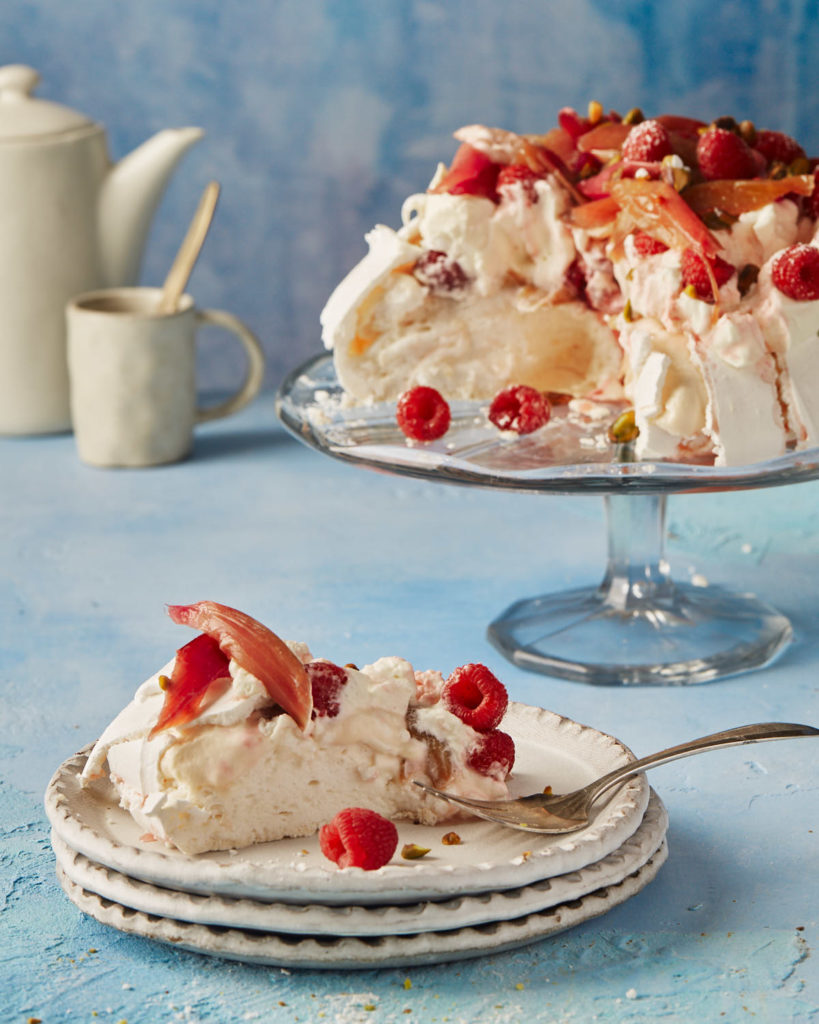
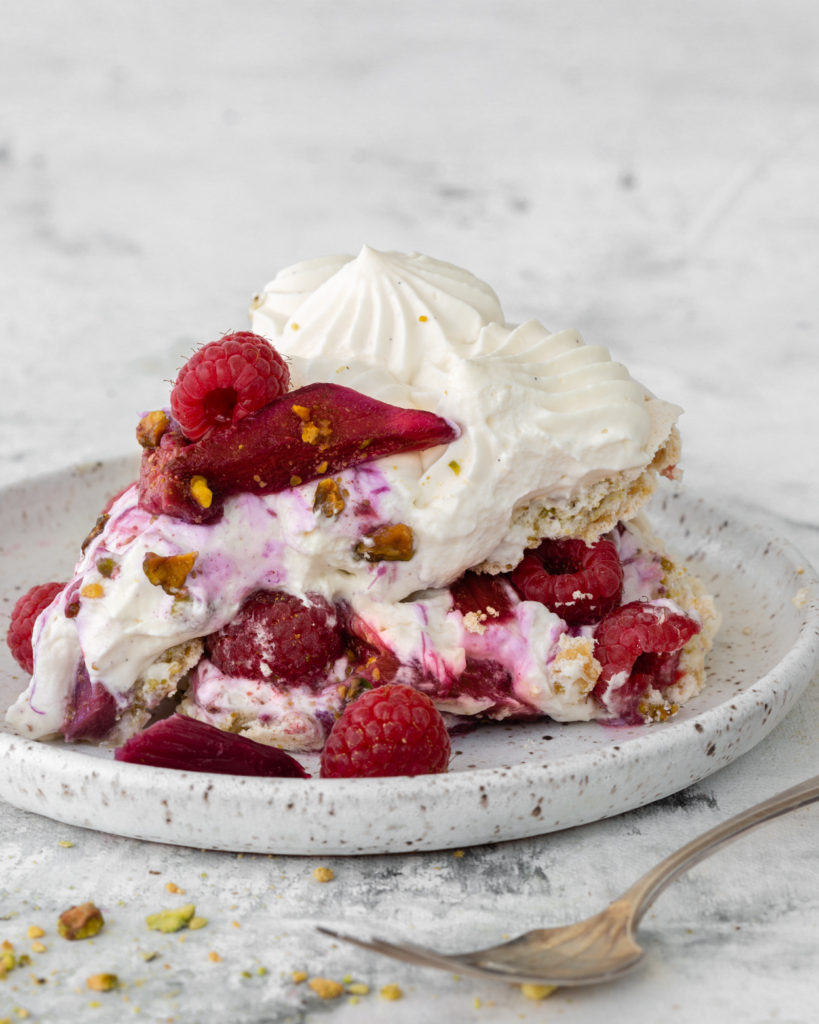
Pistachio and Rhubarb Meringue Cake

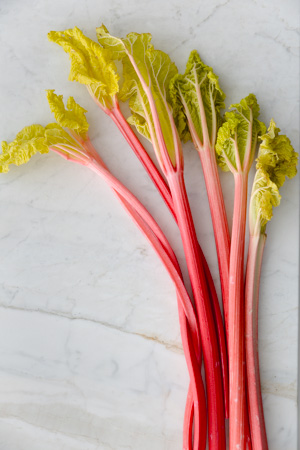
If you have been my friend here in this space for a while now, it’s no surprise that I get very excited when rhubarb season arrives. At last count, I had 15 rhubarb recipes on my blog. My youngest son planted a rhubarb garden in his backyard for me on Mother’s Day because I live in a condo. If you have ever planted rhubarb, you know it is the gift that keeps on giving!

The “layers” in this cake are meringue, with ground pistachios folded in for crunch. The meringue layers bake in a low oven (250°F) for about an hour. Then you turn the oven off and leave them there overnight, to dry out completely.

I got the idea for this cake from Sainsbury’s Magazine. Sainsburys is a UK based supermarket. Their website has so many inspiring ideas and recipes. I adapted the recipe very slightly.

The rhubarb is poached in a heavenly combo of orange juice, sugar and vanilla. This is the perfect make-ahead dessert. Bake the meringue layers and prepare the rhubarb filling a day ahead and then an hour before serving, whip heavy cream with some sour cream to make a tangy whipped cream and assemble.

A drizzle of rhubarb syrup and chopped pistachios finish off the cake.

My husband dislikes both rhubarb and meringue, so you can imagine his dismay when I told him what I was planning. He gamely tried a piece when I was finished shooting and discovered that, he did indeed like rhubarb and meringue. He reasoned that the two negatives somehow cancelled each other out. Who said that two wrongs don’t make a right?

This cake is a study in contrast. Meringue can be cloyingly sweet, but the tart rhubarb and tangy whipped cream really balance out all that sweetness. The meringue layers are a crunchy foil to all that soft whipped cream and silky rhubarb. While strawberries are a classic pairing with rhubarb, I love to combine it with raspberries. It is an unexpected combo that looks pretty and tastes yummy.

A slice of this cake is a bit messy but oh so addictive.

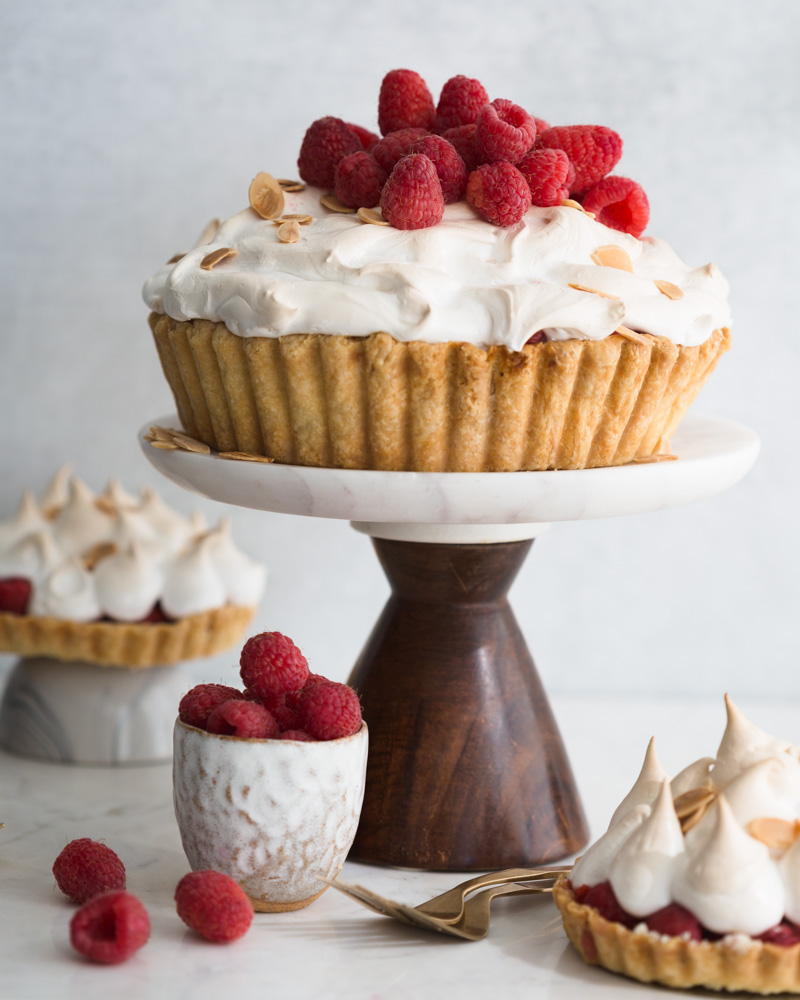
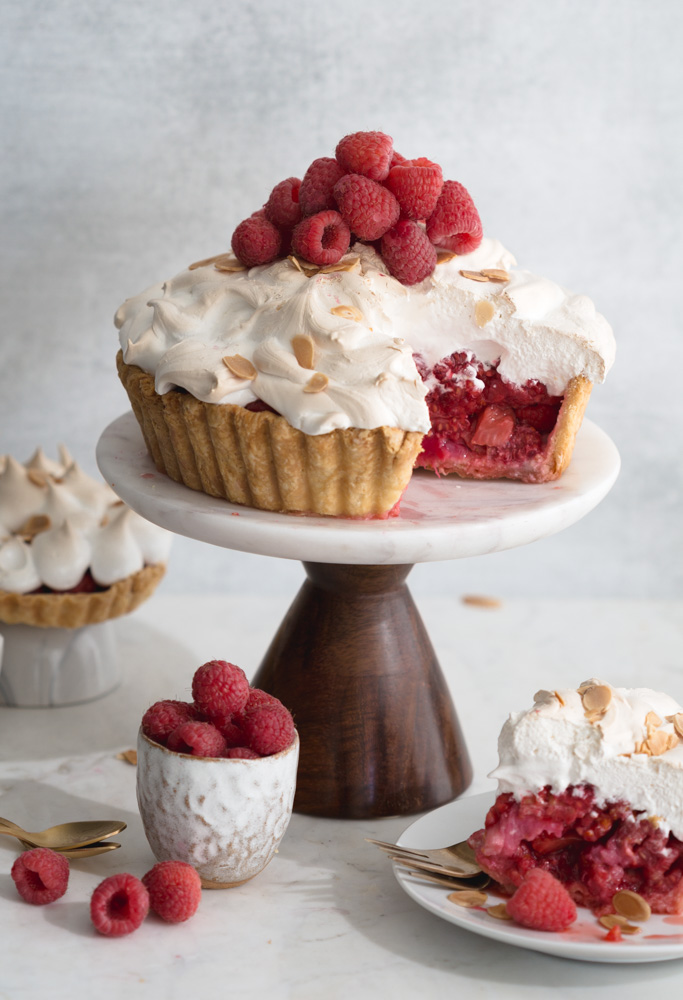
Rhubarb Raspberry Meringue Tart

If you were at the McCrae Avenue Farm Boy store in Ottawa last Saturday afternoon, and heard a high pitched squeal, that was me. For the past month I have been watching my instagram feed blow up with images of rhubarb creations. I wanted in on the fun, but there no rhubarb anywhere in my neck of the woods.

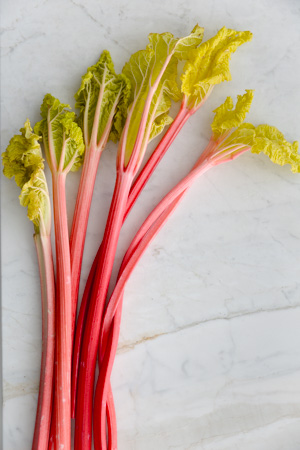
To be clear, this was not local rhubarb. It’s still too early for that here. It was that pretty pink “forced” rhubarb, which I love way more, because of that gorgeous hue. If you follow me on instagram you may have caught my teaser video.

Cooked rhubarb can be a bit mushy in texture, so I like to combine it with another fruit. Strawberries are the classic pairing, but I went rogue and opted for raspberries.

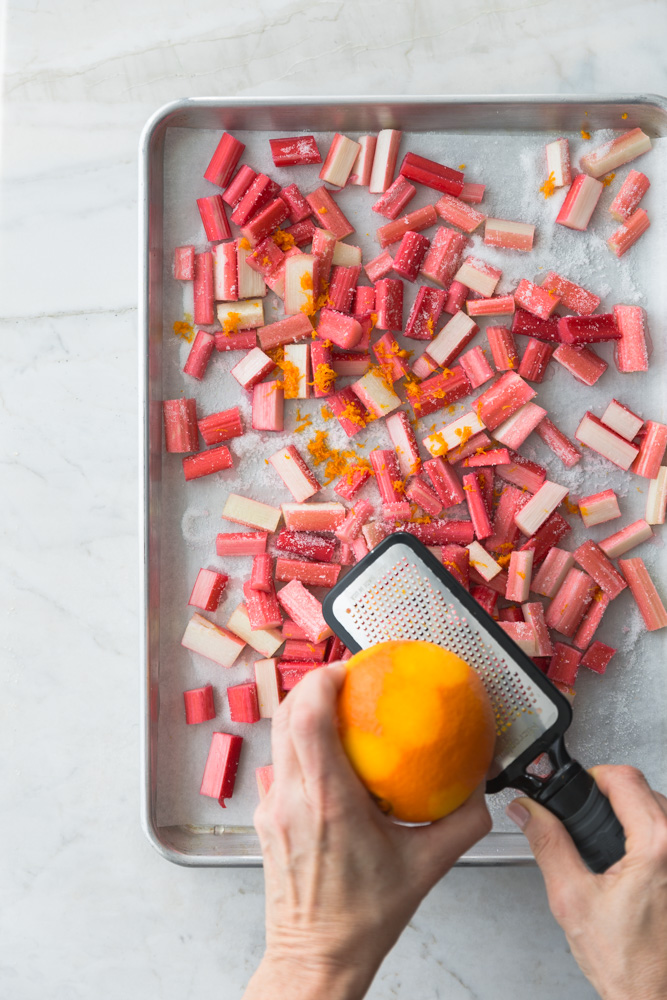
The rhubarb needs to be cooked before it can go into the tart. Roasting helps retain that pretty shade of pink. It needs sugar to tame the its astringency and some orange zest to enhance the flavour and aroma.
I drained the roasted rhubarb to get rid of any excess liquid, so that my tart bottom would not get soggy. Mary Berry does not like soggy bottoms. The raspberries get mixed in after the rhubarb is roasted.

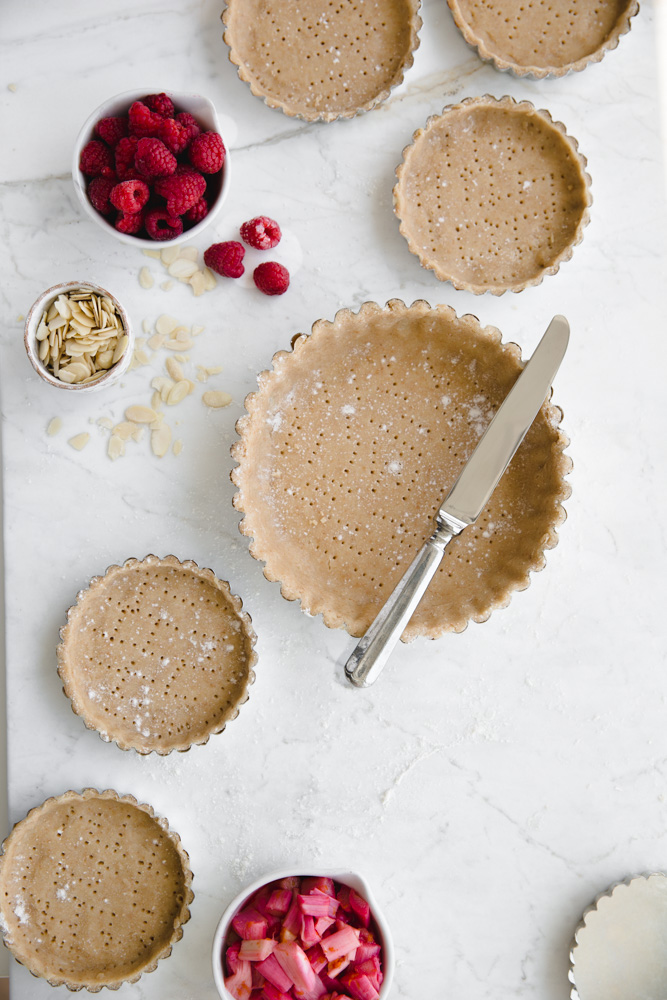
I used a deep dish 8 inch tart pan, with a removable bottom, for a dramatic presentation. You could also use a springform pan. For fun, because that’s what my life has come to, I doubled the recipe and also made 6 mini tarts.As has been the case lately, this recipe took more than one attempt to get it just right. But I am happy to report that I nailed it on the second try!

In my first attempt I pre-baked the crust for 20 minutes, added the filling, topped it with a simple French meringue and baked it for a further 30 minutes. The delicate raspberries turned to mush, the bottom crust was soggy and the meringue turned brown and was really tough and chewy. 

On the second attempt I pre-baked the crust for almost 35 minutes, so that it was totally golden brown and gorgeously flaky and crispy. To solve the meringue dilemma, I turned to pastry wizard “Bravetart ” (aka Stella Parks) and she pointed me in the direction of a Swiss meringue.  The main difference between the two types of meringue is that in a Swiss meringue, you heat the egg whites and sugar first, before whipping them. In a French meringue, there is no pre-heating before whipping. A Swiss meringue whips up fluffier and more stable than its French cousin and it is safe to eat without additional cooking time. If you are curious and want to learn more, Stella wrote a great piece on Serious Eats about it.
I topped the pre-baked tart shells with the rhubarb-raspberry filling, topped them with the Swiss meringue, and baked them for a brief 10 minutes just to give the meringue a golden kiss. The raspberries maintained their integrity and the meringue was pillowy soft, fluffy and SOOOOO delicious, like the very best homemade marshmallows.
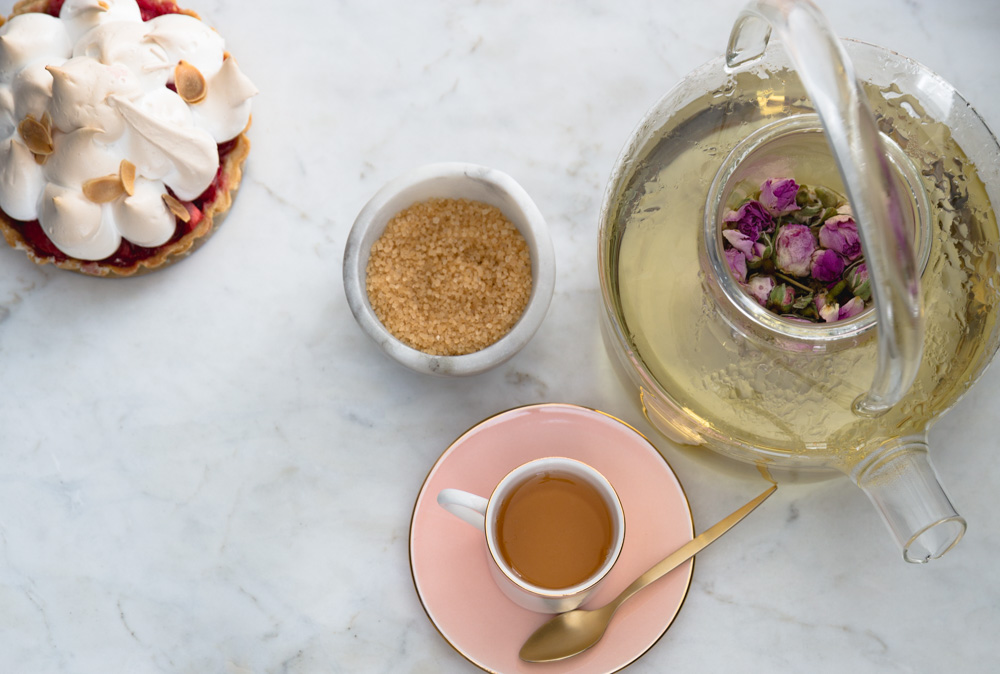
Perfect with a cup of tea!

Click here to print recipe for Rhubarb-Raspberry Meringue Tart.


Brown Butter Salted Caramel Crunch Cake

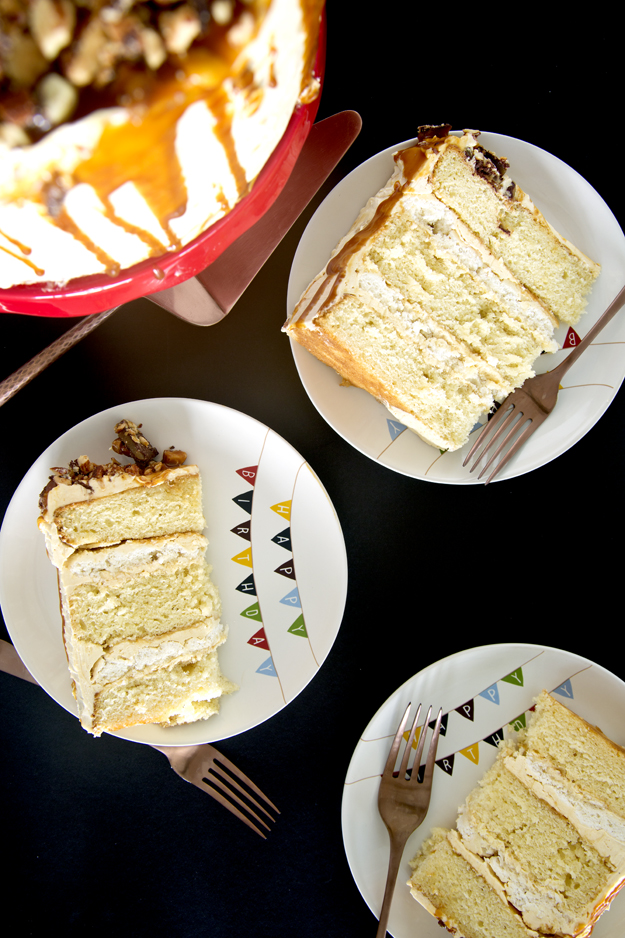
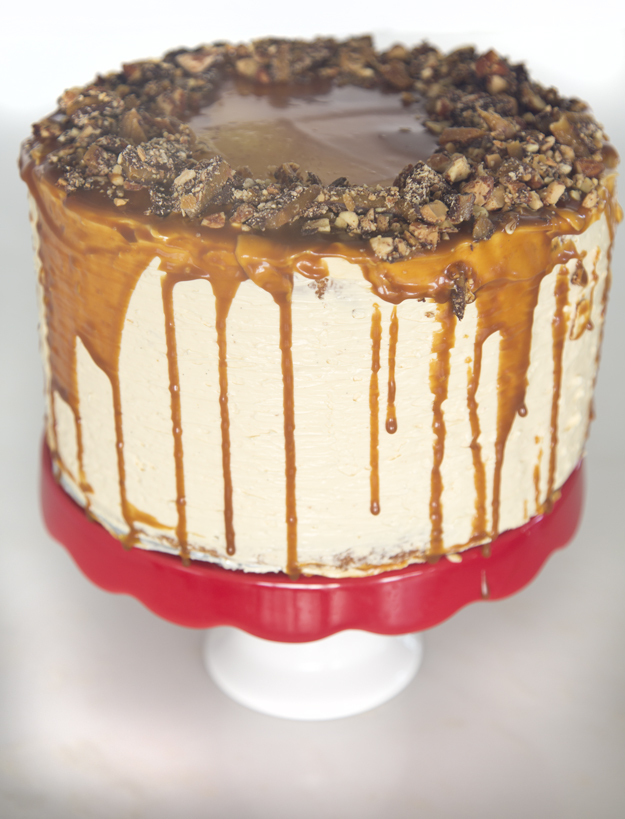
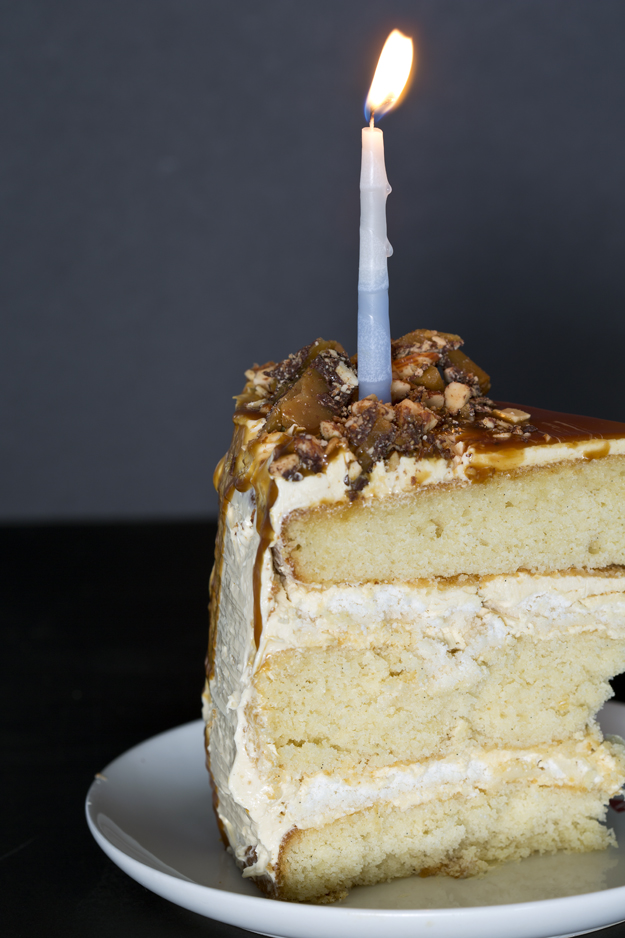
cake-sliceswhole-cake-2Last week was my birthday and I made my own cake. Some people think that having to bake your own birthday cake is quite sad, but I’m not one of them. When you bake your own cake, you get exactly what you want. I gave quite a bit of thought about what to bake. (Way more thought than is probably healthy, I’ll admit).

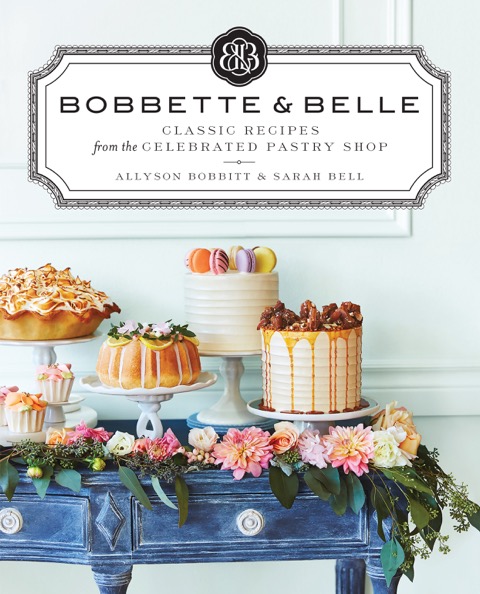
As an early birthday present to myself I ordered Bobbette and Belle’s new cookbook. I read through it and stuck post it notes on over half  half the pages. The photography is gorgeous and there are so many recipes that inspired me. It is a very well written book with lots of tips and techniques. While some of the recipes are not for rookie bakers, the instructions they give are very thorough.
bb_book_fullsizeAs soon as I saw their Salted Caramel Toffee Cake, I knew I found my intended. Three layers of  classic vanilla cake filled with homemade salted caramel buttercream, toffee pieces and a caramel drizzle. 

This was my starting point, but I made a few changes. here’s how my cake came together.


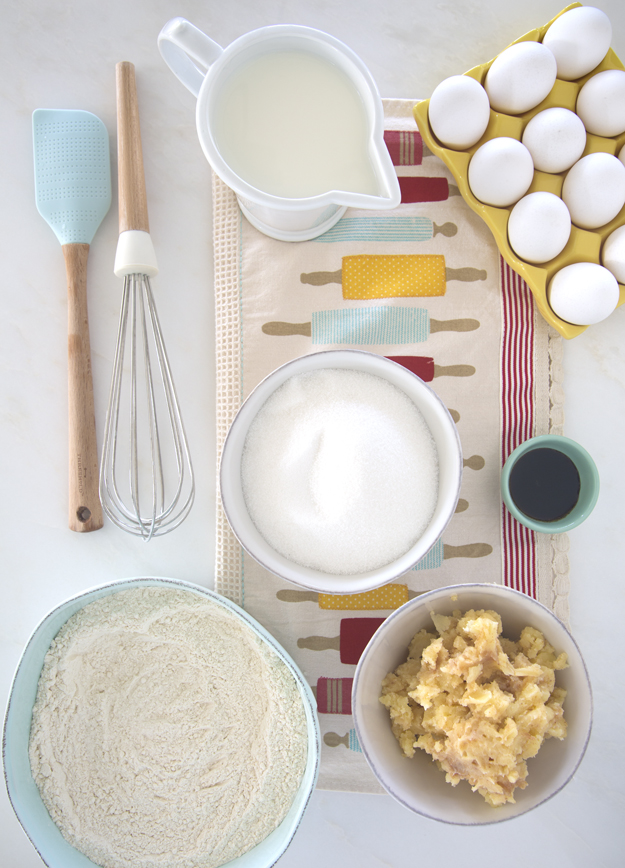
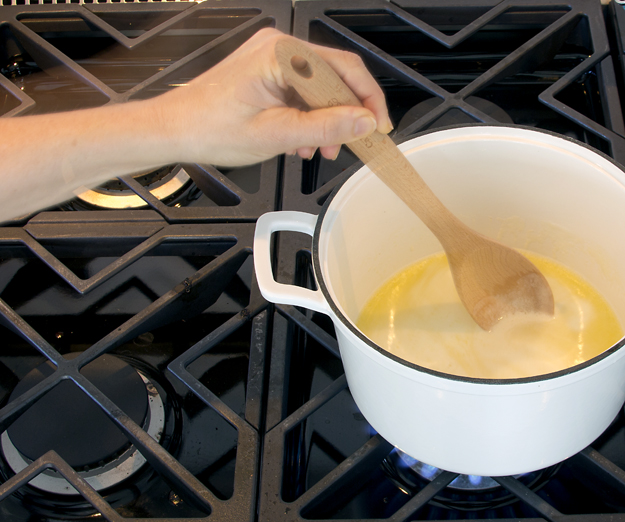
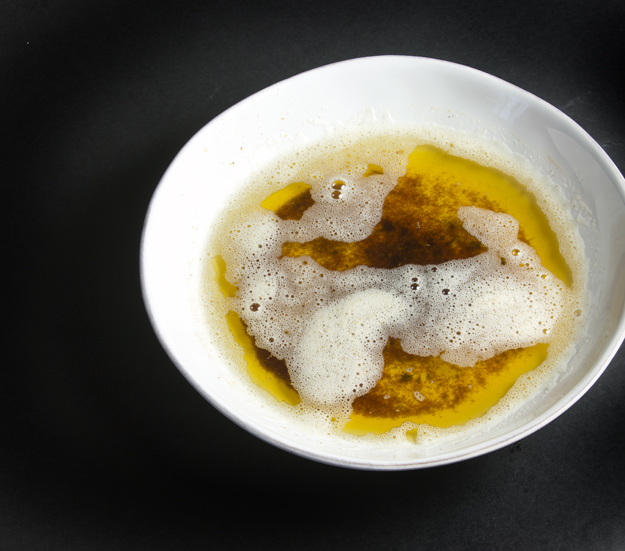
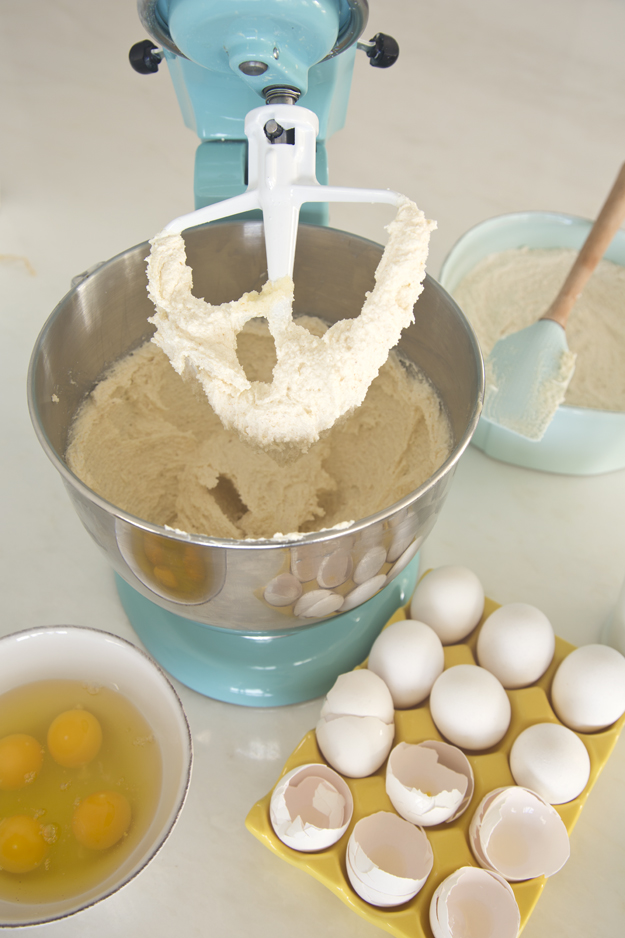
I started with their recipe for a classic vanilla cake but I browned the butter first. cake-ingredientsBrown butter adds a layer of toasty, nutty deliciousness. Making it couldn’t be simpler. Butter is composed of butterfat, milk protein and water. When you brown butter, you are essentially toasting the milk protein. As you heat the butter, and it begins to bubble and sputter away, the water evaporates and the hot butterfat begins to cook the milk solids, turning them from creamy yellow to a splendid speckled brown colour and your whole kitchen smells like toasted hazelnuts. It’s insanely gorgeous!

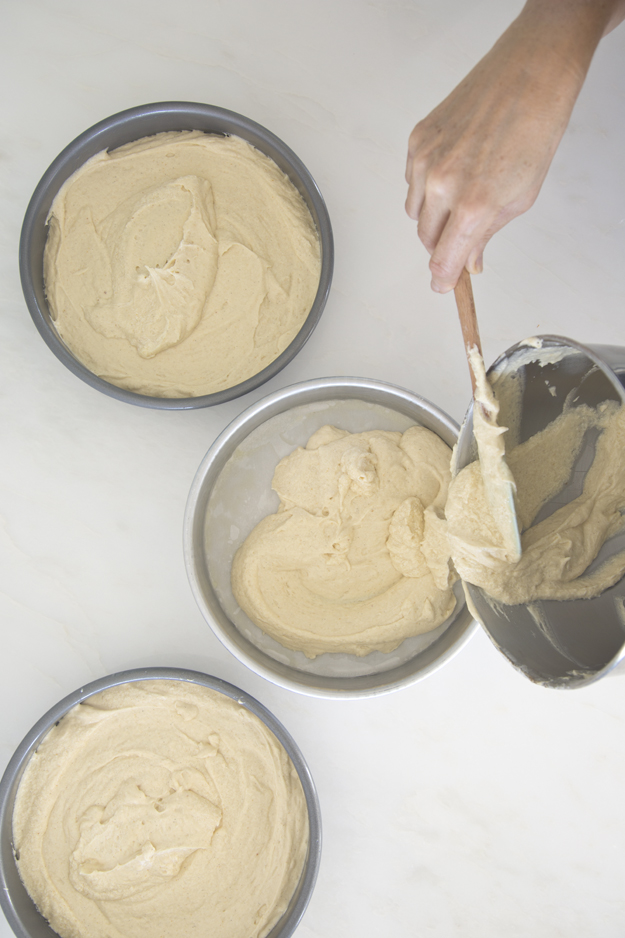
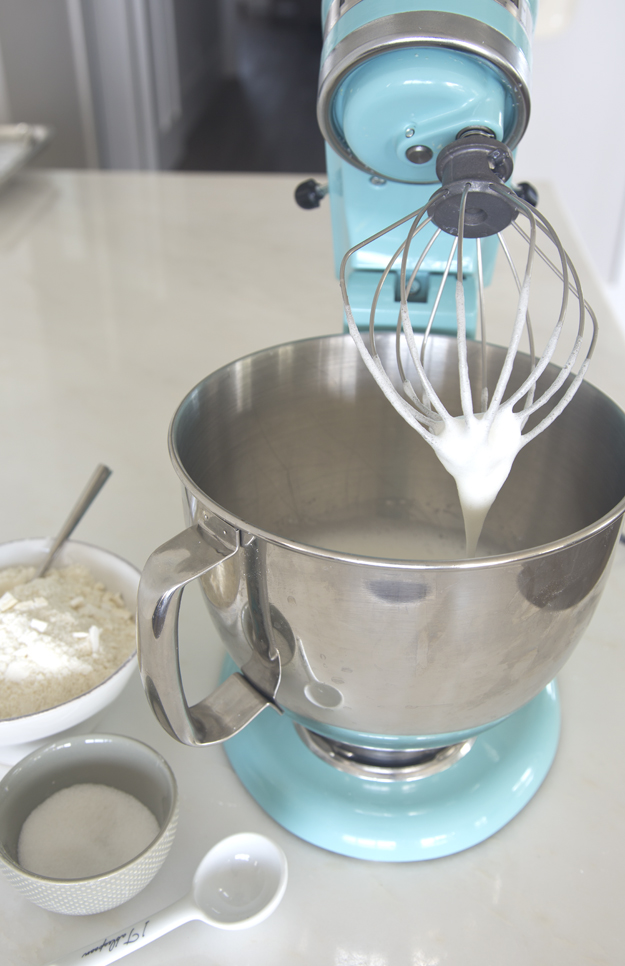
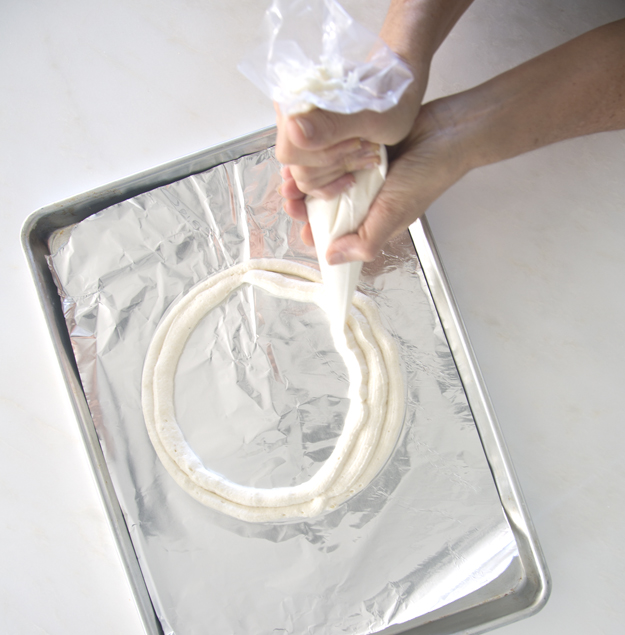
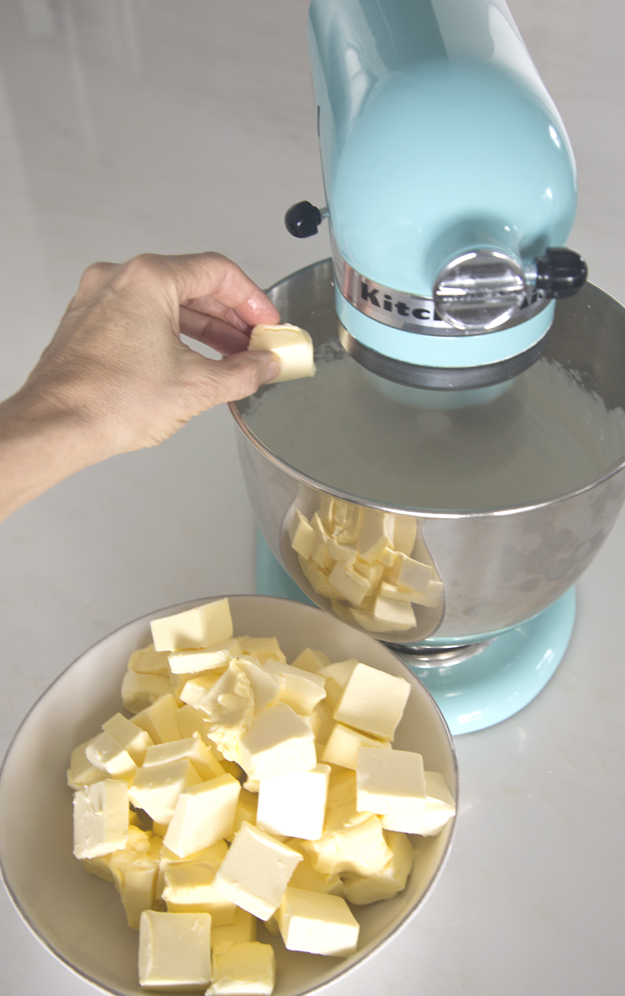
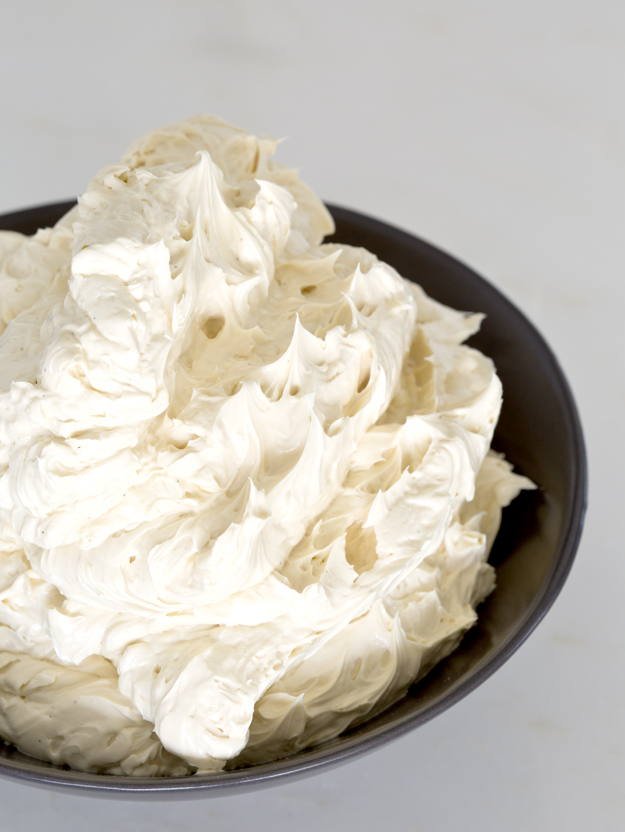
It is best to brown the butter in a light coloured pot, so that you can easily monitor the browning process. Note that only the milk solids will turn brown. the butterfat stays clear. As soon as you reach the perfect brown colour, pour the butter out of the hot pot to let it cool completely.white potbrowned butterYou will need to chill the brown butter and let it harden before you can cream it with the sugar.creaming-brown-butter-and-sugarDivide the batter evenly into 3 pans and bake.cake-batter-goes-into-pansNext I decided to alternate layers of brown butter vanilla cake with layers of almond meringue. I thought the textural difference of pillowy soft cake layers would be fantastic with chewy crunchy meringue. soft-peaks-for-almond-meringuepiping-meringueA salted caramel buttercream would be the perfect glue to hold all these layers together.buttercream-one-cube-at-a-timebuttercream-2Admittedly, there are a lot of components to prepare for this cake. Don’t try to do it all in one day. Make the components on day one and assemble on day 2. I have included detailed instructions on how to make all the parts, in the recipe below.

Click here to print recipe for Brown-Butter-Salted-Caramel-Crunch-Cake

Light the candles and make a wish!make-a-wish