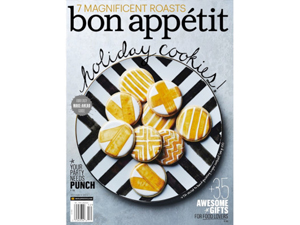
 I first learned about cookie painting when I saw the cover of the Bon Appetit December 2013 issue. When I looked inside and saw what was possible, my brain exploded with the possibilities. Who knew you could paint right onto the cookie, with an actual paintbrush? Kind of rocked my world.
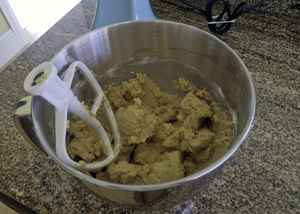
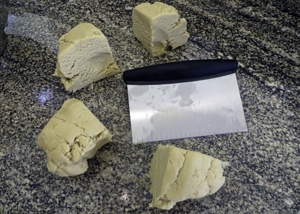
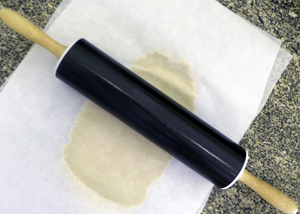
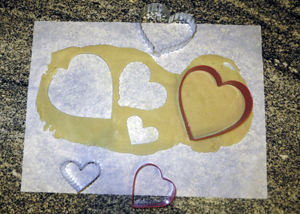
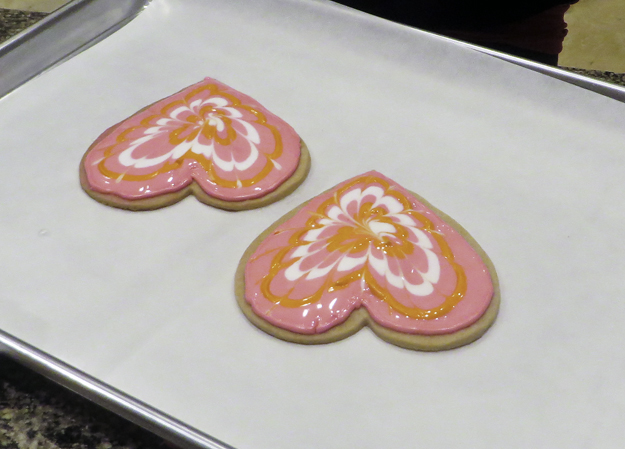
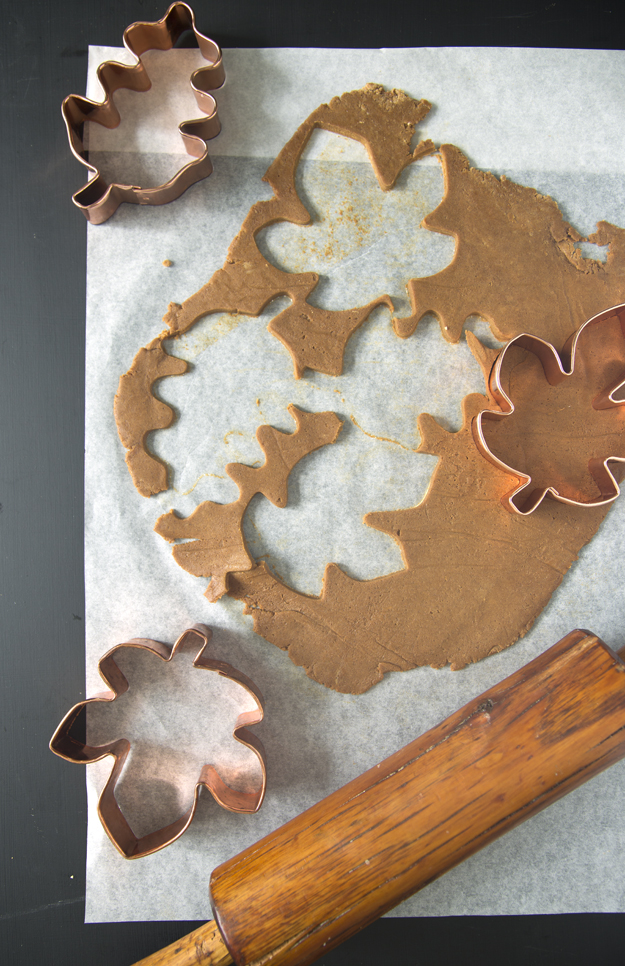
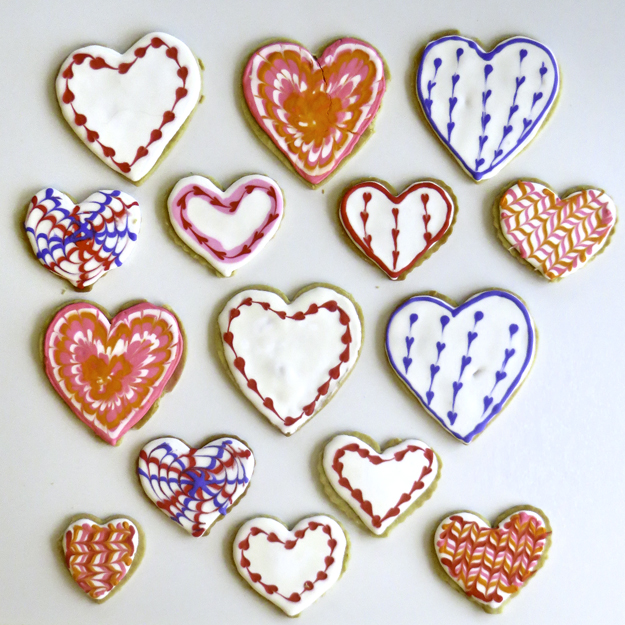
I have never been exactly skilled with a paintbrush, but I figured even I could manage stripes. I began with the most delicious sugar cookie recipe I know, which uses brown sugar instead of granulated white sugar. Bake cookies and let cool completely. Mix up a bach of royal icing. Pipe an outline onto the baked hearts. Mine was a bit too thick. I’m sure you can do better than me.
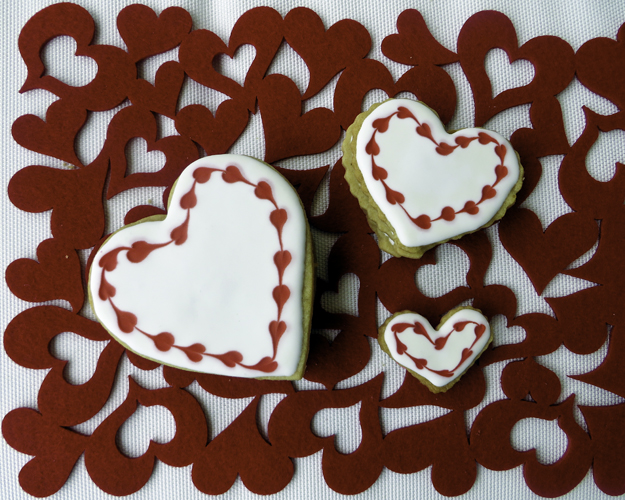
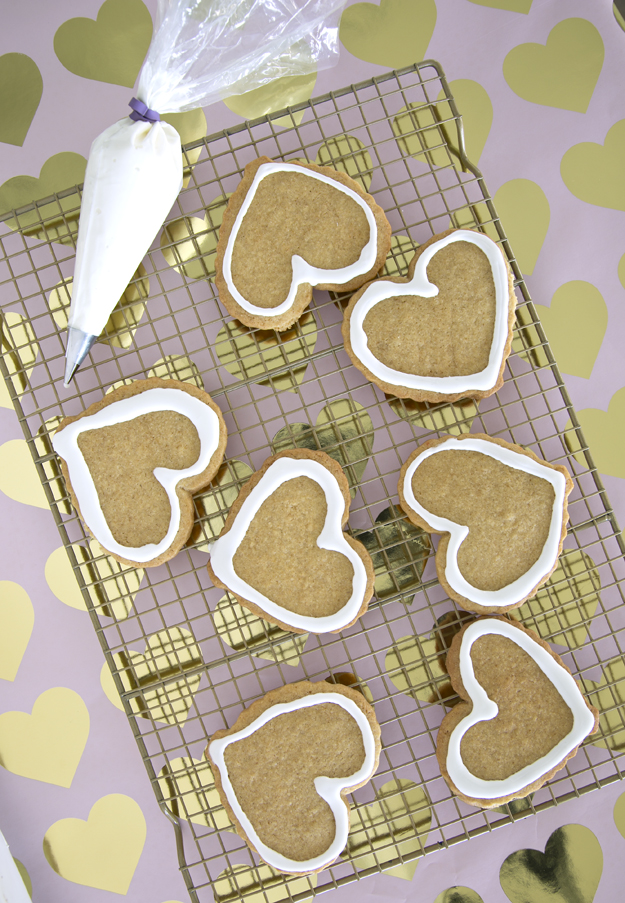 Thin some of the royal icing with a few drops of water to make a thinner consistency and fill in the hearts. Let them dry completely, preferably overnight. Consider this your blank canvas.
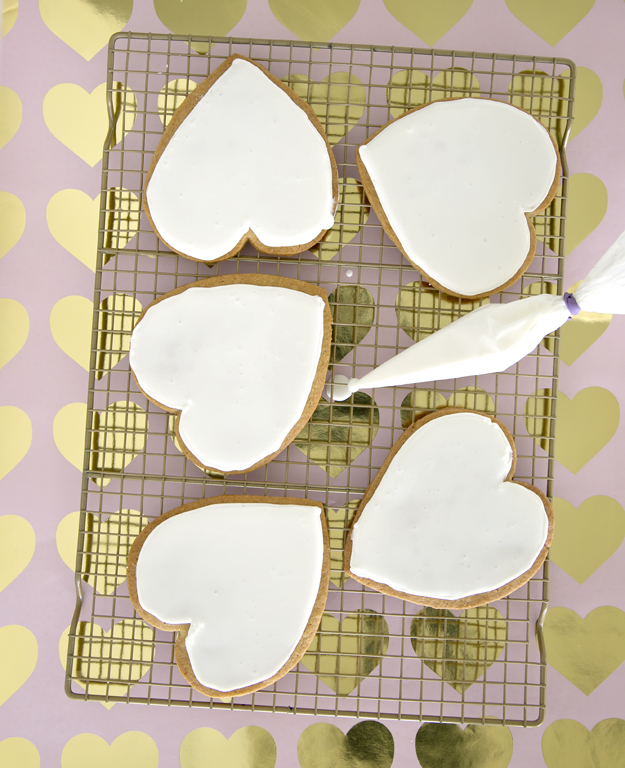 To paint the cookies, you will need some clean paintbrushes in assorted sizes, gel food colouring (I like the Americolour brand) and some vodka. (Not for drinking, just to wet your brush with and mix with the gel food colouring to thin it out). Any clear extract (lemon or a clear vanilla) would also work. The reason for using alcohol is that it evaporates very quickly, meaning that the paint will dry quicker.
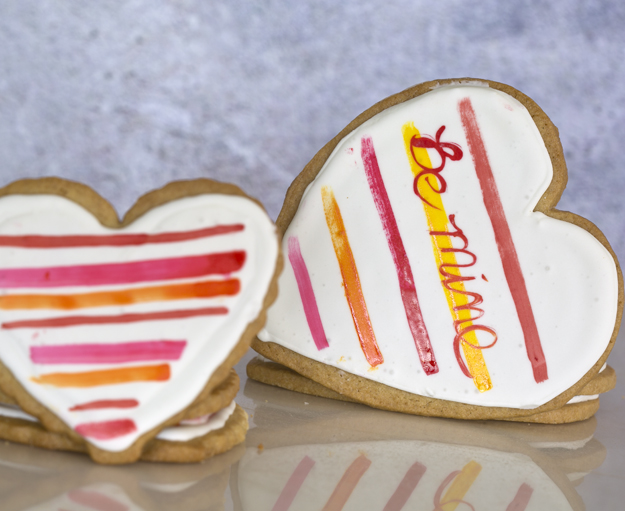
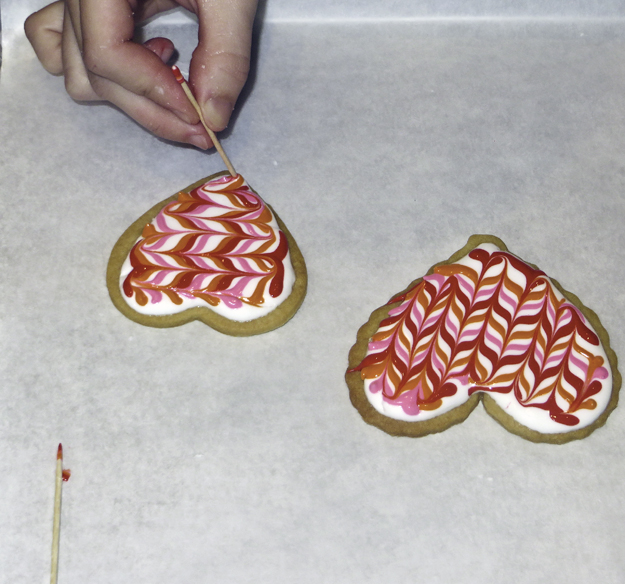
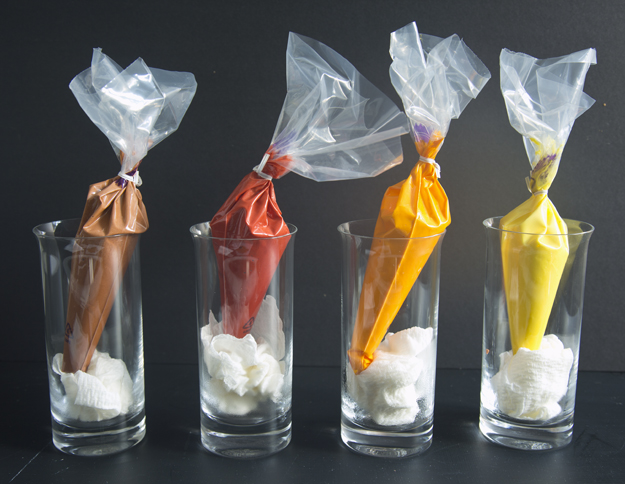
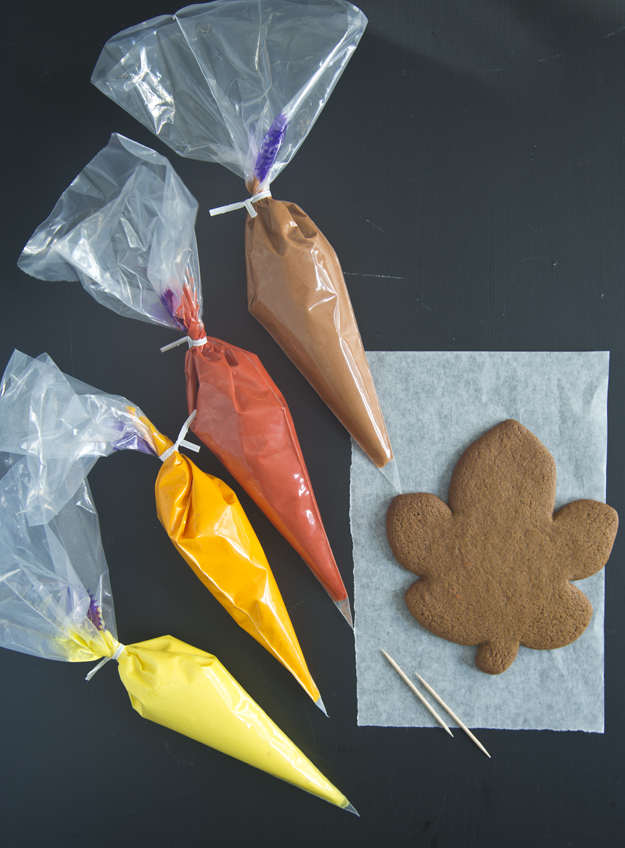
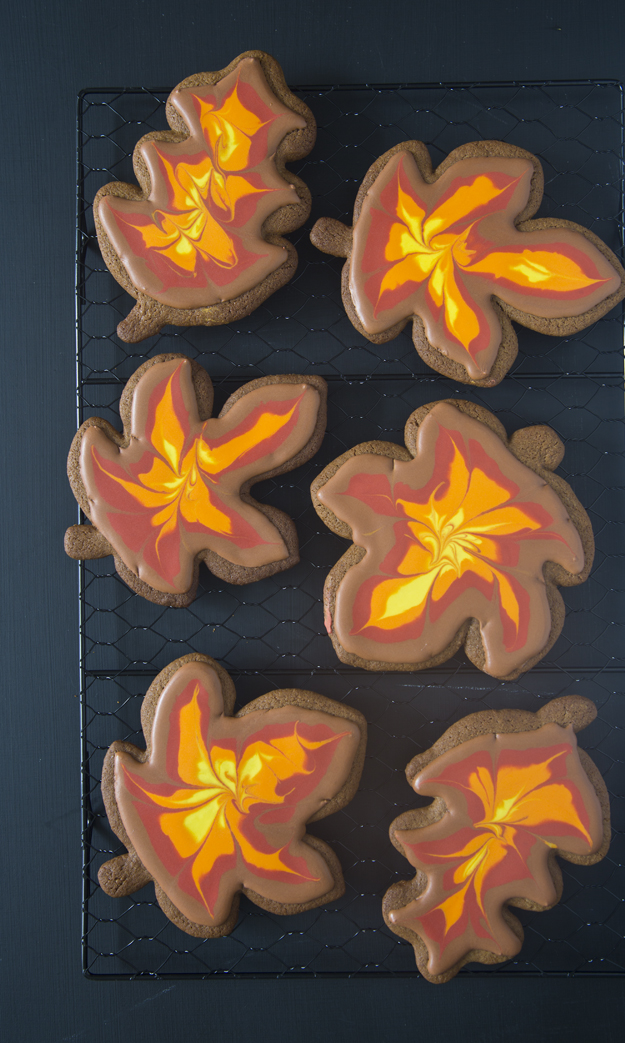
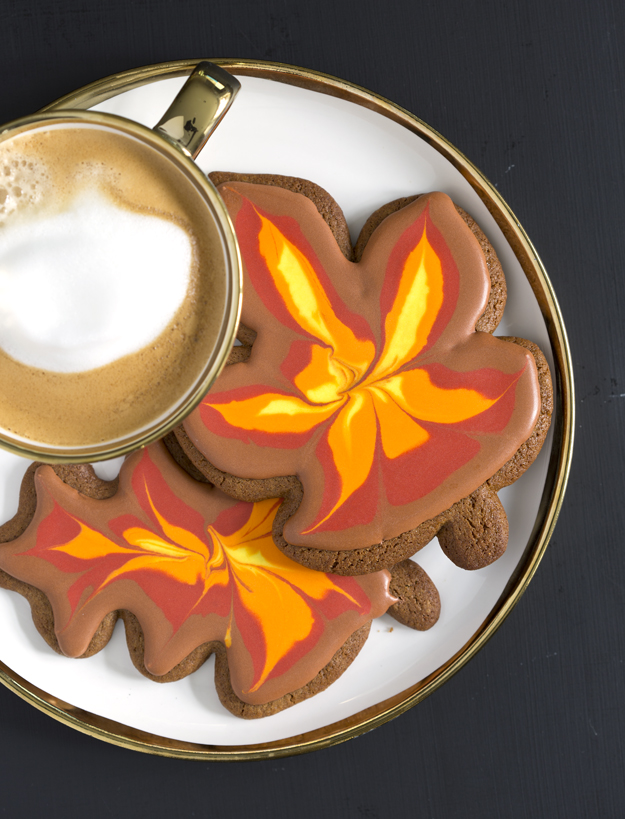
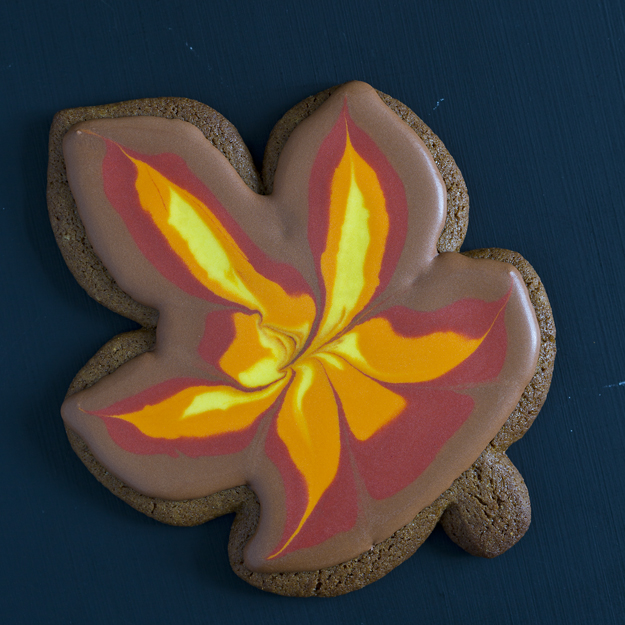
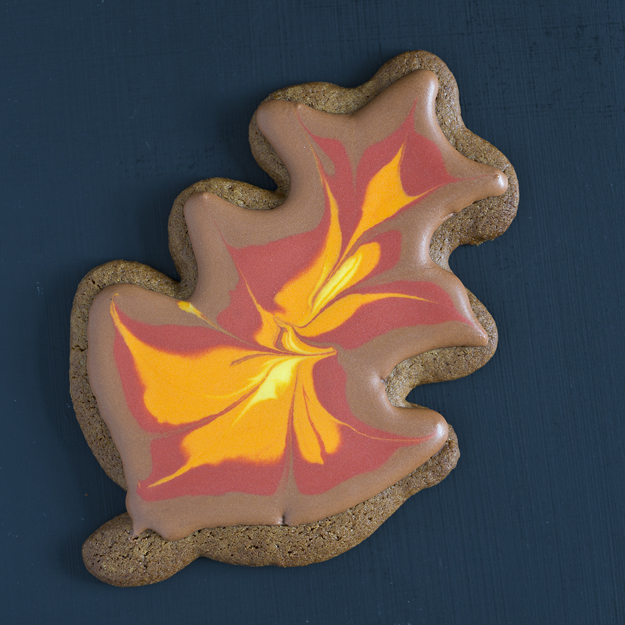
The Bon Appetit cookies were painted with luster dust, mixed with a bit of alcohol or extract. It comes in tons of colours. If you want to use luster dust to achieve that shimmery effect, here is a great tutorial on how to do it. I decided to do mine with just regular gel food colouring instead of the luster dust. 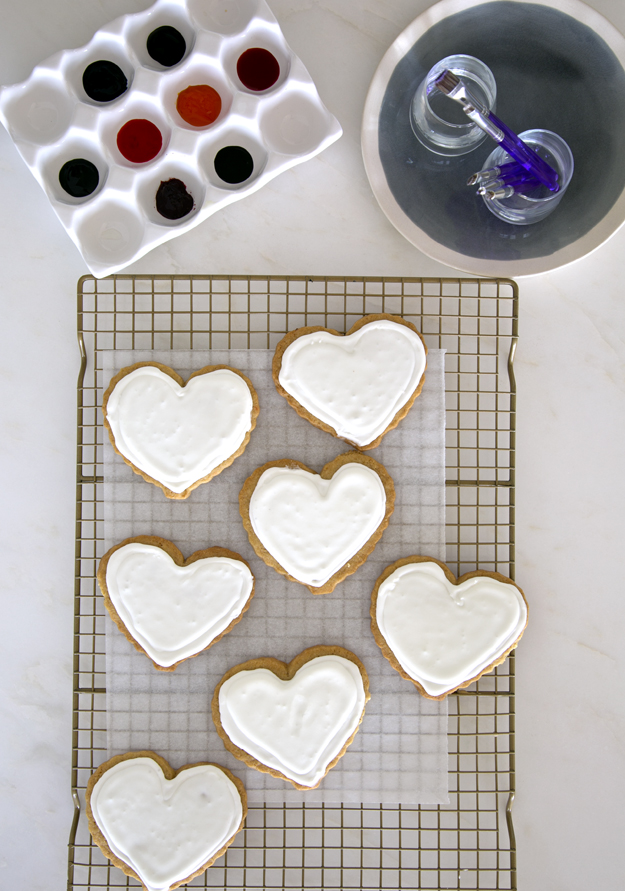 Squeeze a blob of each colour you want to use onto an artist’s paint palette or a dinner plate. (I used a ceramic egg holder) Have a small glass of vodka ready for dipping your brush into. Dip the brush into the vodka or extract and then into the food colour gel. Have some paper towels ready to test the colour and adjust the amount of paint you have on your brush. Make sure you wash and dry the brush really well, before you change colours.
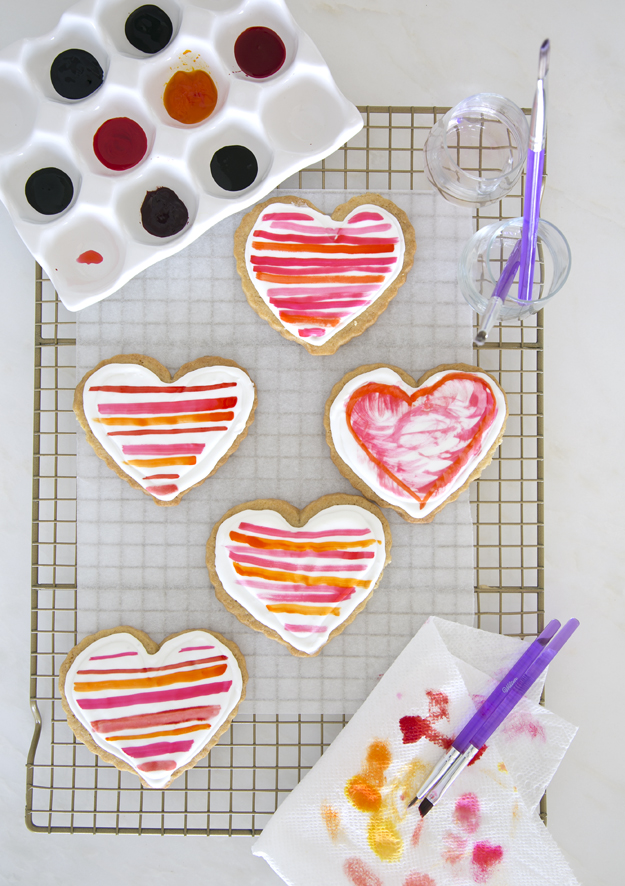 I decided to up the adorable factor and write a message on my cookies. I used a thin tip paintbrush.
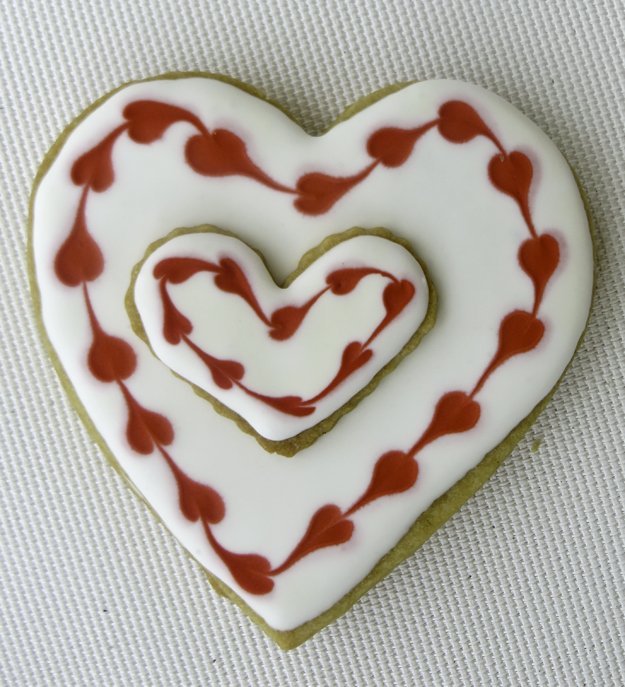
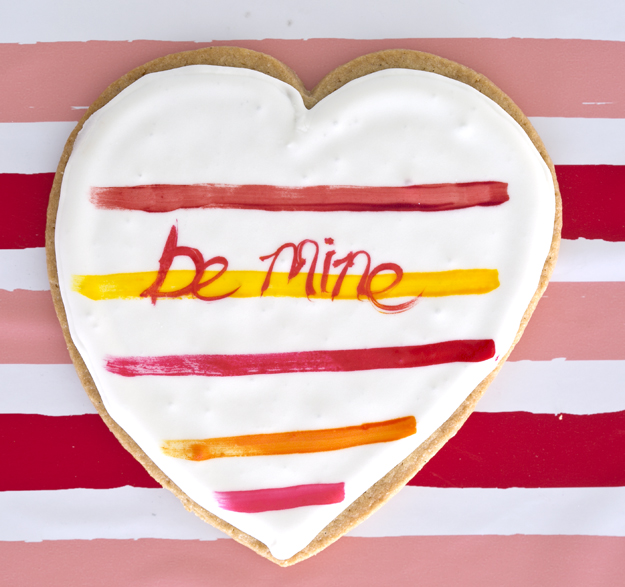
 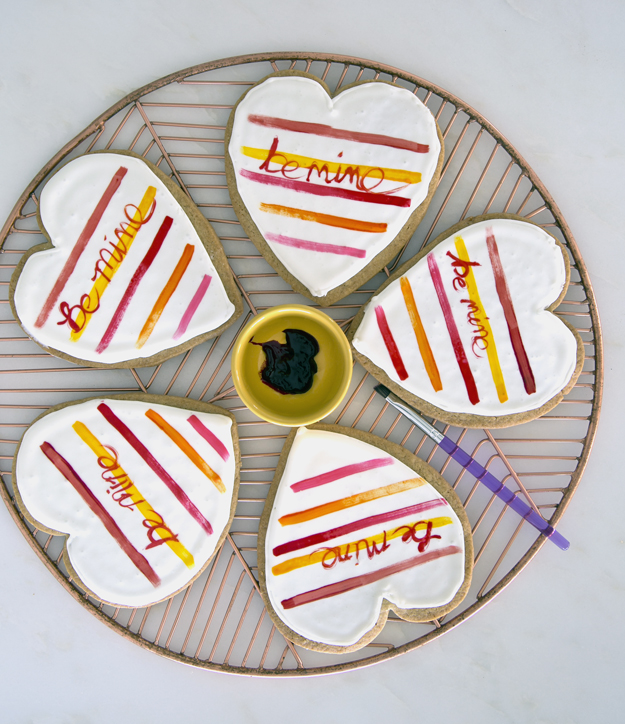 Such a sweet way to declare your love this year.
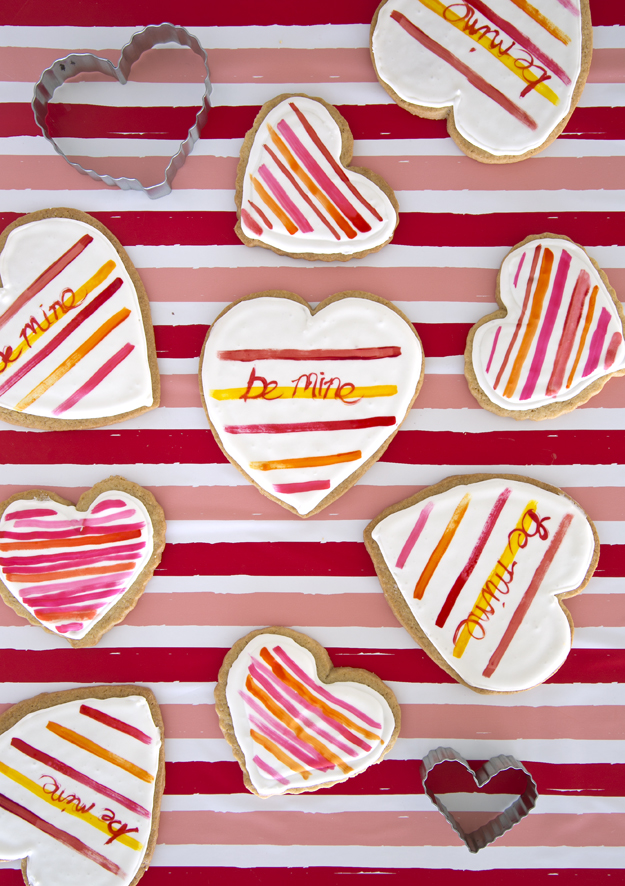
Click here to print recipe for Sugar Cookies with Brown Sugar
Click here to print recipe for Royal Icing Recipe.

 I would not describe myself as an overly affectionate person. (OK, all those who know me can stop choking with laughter now) Neither my husband or I are big on