Fun fact about me: I’ve always loved coffee-flavoured foods (hello, Coffee Crisp—one of the many perks of being Canadian!). But I didn’t actually start drinking coffee until I was almost 40.
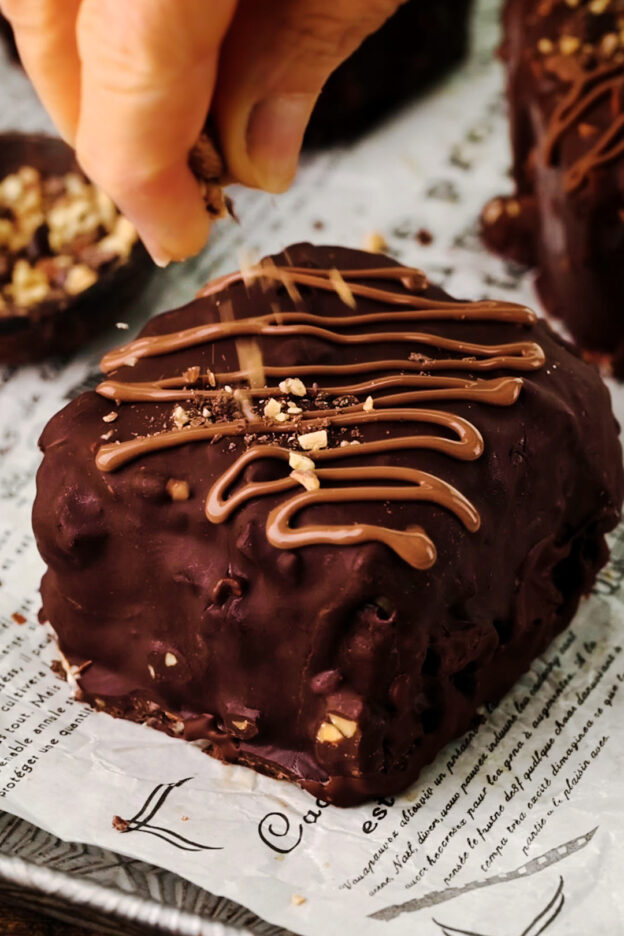
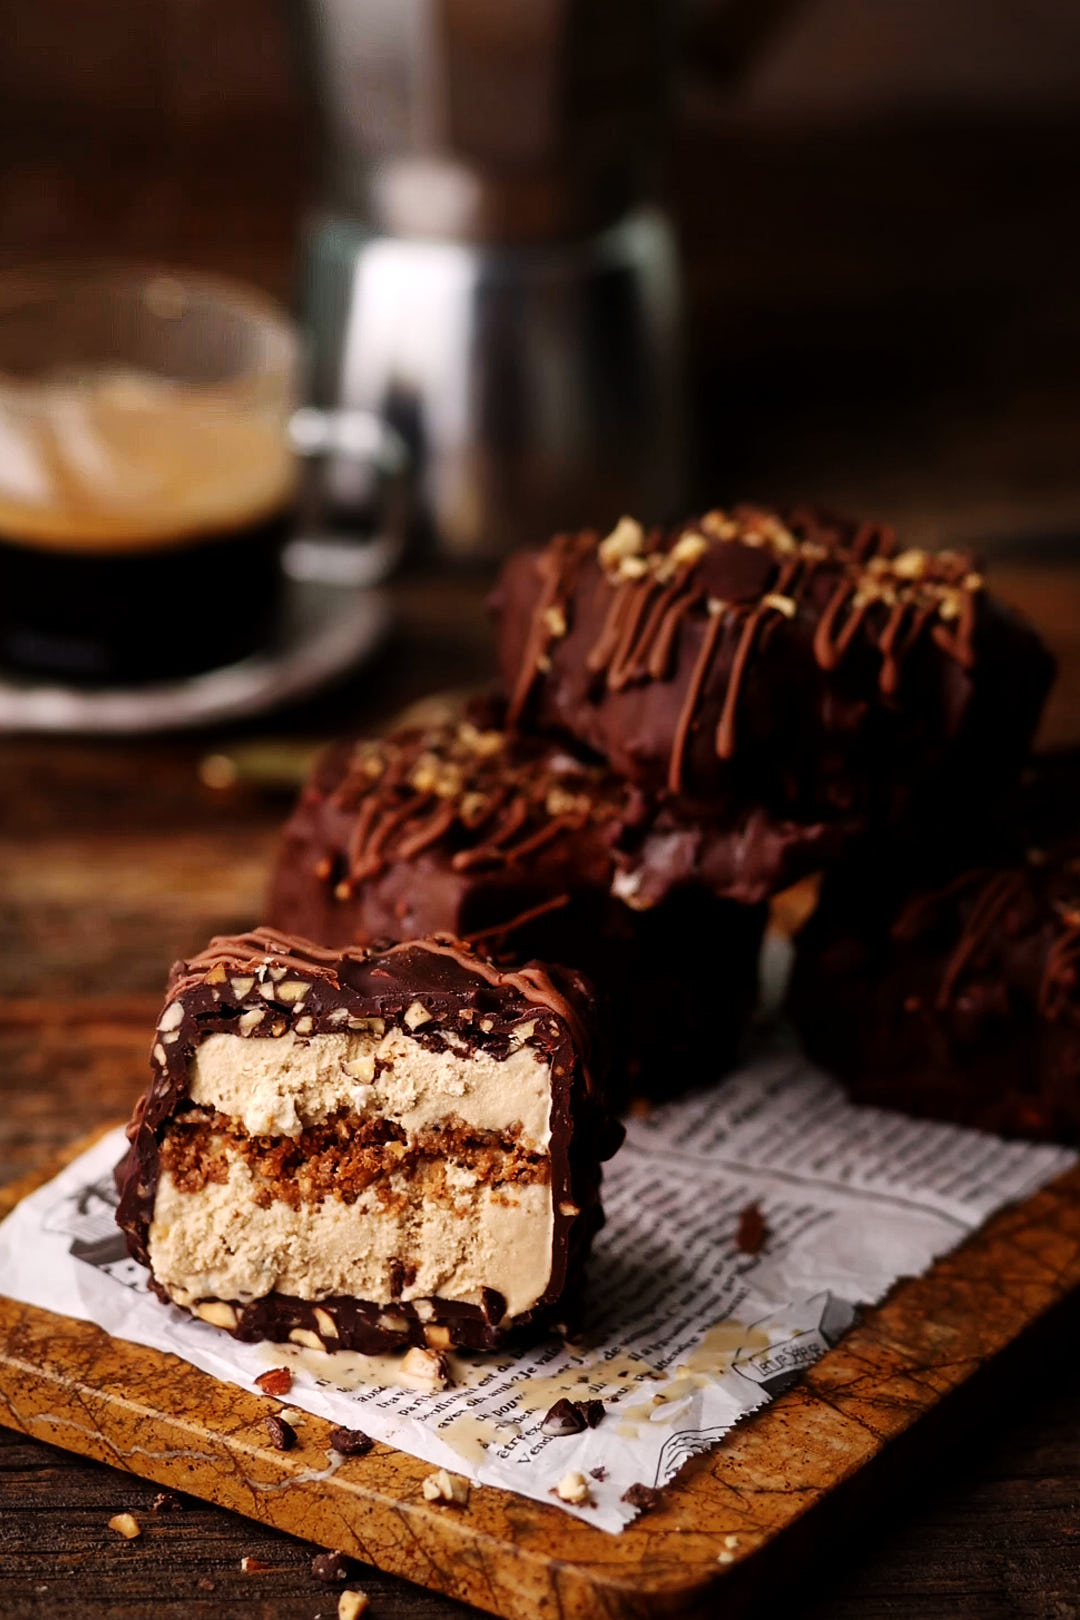
These Coffee Crunch Ice Cream Bars are layered with flavour and texture—chocolate-covered espresso beans, toasted almonds, and crushed cookies form a crackly center, nestled between layers of smooth coffee ice cream. Dipped in chocolate and finished with a sprinkle of almonds and crushed chocolate covered espresso beans, they’re chilled, crunchy, and fully caffeinated.
We start with store-bought coffee ice cream—I used Haagen-Dazs, but any rich, smooth brand will do. If shaping bars feels like too much effort, you can absolutely skip the molding and just sprinkle the crunch layer over a scoop of ice cream. Still decadent. Still delicious.
But if you’re up for a little layering magic, the payoff is so worth it.
Keys to Success for Coffee Crunch Ice Cream Bars
- Start with good ice cream. Use a high-quality store-bought coffee ice cream. You want something ultra-creamy with bold flavour—Haagen-Dazs is my go-to.
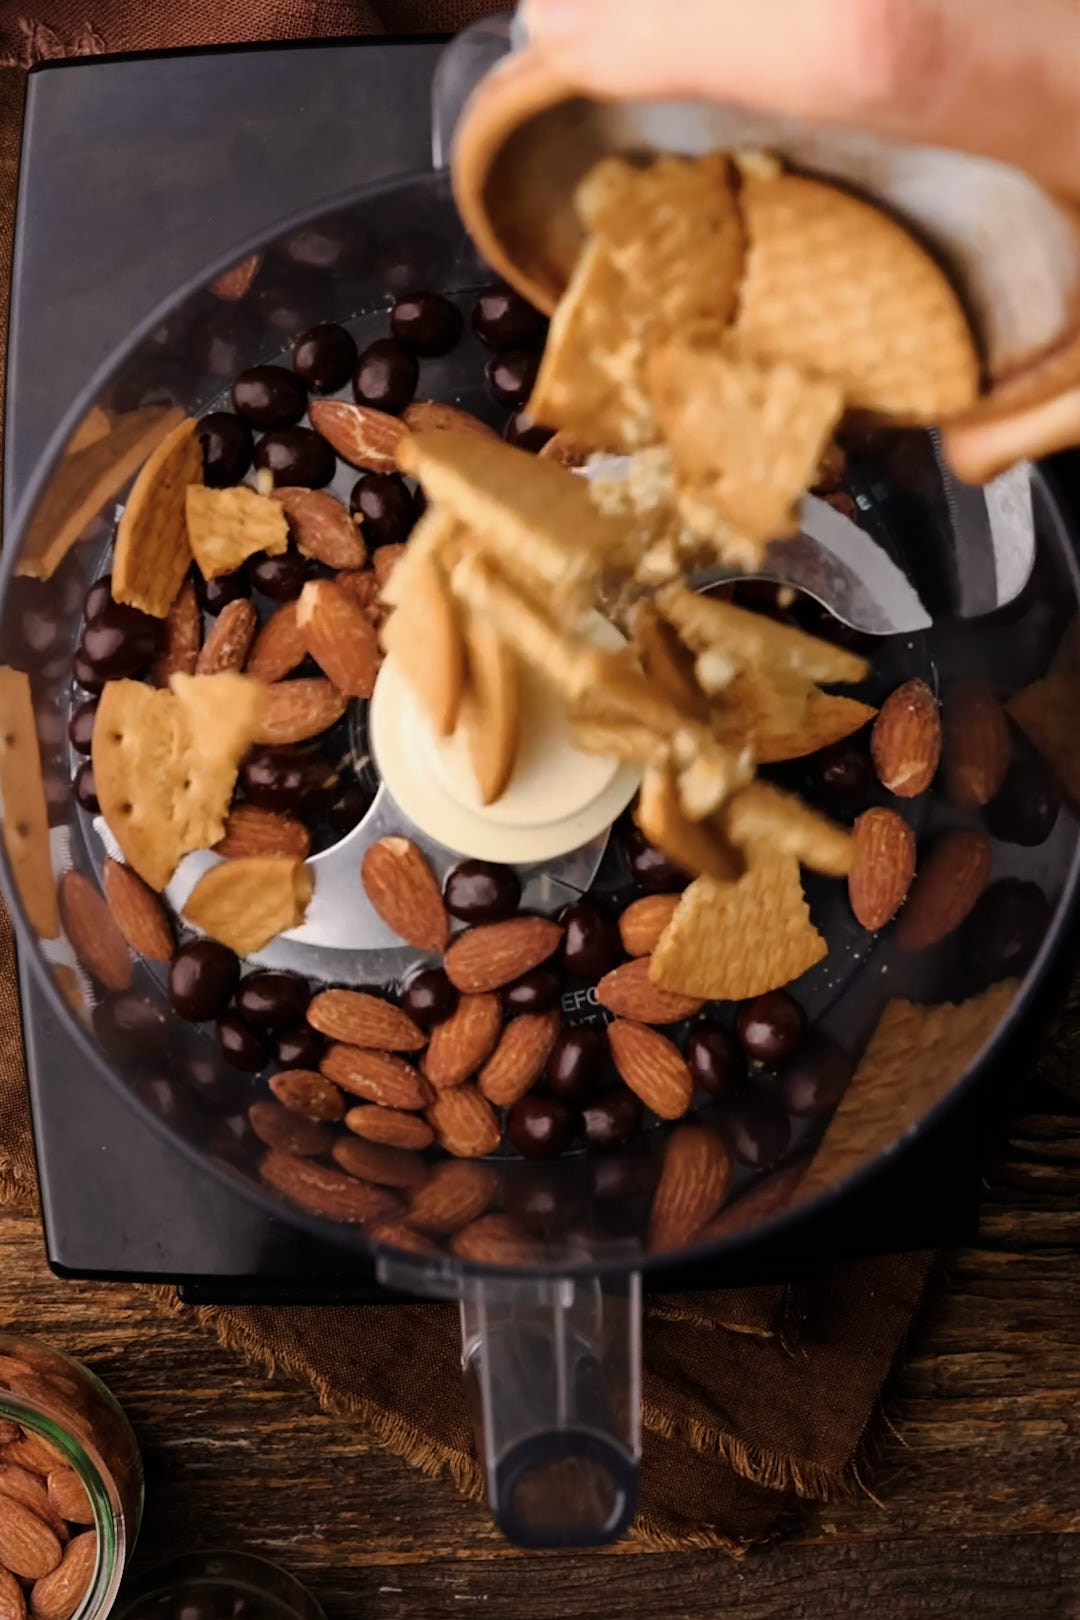
- Don’t over-process the crunch layer. Pulse just until the mixture holds together. You want distinct bits of almond and cookie in every bite—not dust. Texture is the goal here.
- Press firmly. Once you’ve added the crunch layer over the first ice cream layer, press it down firmly so it sticks. I like to use the bottom of a measuring cup to compact it evenly.
- Smooth the layers. For clean, defined bars, take the time to smooth each ice cream layer evenly. Cover the pan with parchment and press gently with the back of that same measuring cup to level things out.
- Freeze fully before cutting. Patience pays off. Give the bars plenty of time to firm up—at least 4 hours, ideally overnight—before unmolding and slicing.
- Use a deep container for dipping. Pour your melted chocolate into a narrow, deep vessel like a 4.5” x 2.5” deli container. It makes for a clean, even dip with minimal waste.
- Keep bars frozen until dipping. Work quickly. If the bars start to soften while dipping, just return them to the freezer for 10–15 minutes before continuing.
- Make it fancy. A drizzle of milk chocolate, a sprinkle of chopped almonds, and a few crushed chocolate-covered espresso beans take these from homemade to heroic. Don’t skip the final flair.

Storage & Make-Ahead Tips
These bars are freezer-friendly and ideal for making ahead. Once dipped and fully set, wrap each bar in plastic wrap and then transfer them to an airtight container or ziploc freezer bag. They’ll keep beautifully in the freezer for up to 4 weeks.
For best texture, let them sit at room temperature for 2–3 minutes before serving—just long enough to soften slightly for that perfect bite: creamy, crunchy, and snappy all at once.
Coffee Crunch Ice Cream Bars
Equipment
- 1 8 inch square baking pan
- 1 disposable piping bag
- 1 digital thermometer
- 1 offset spatula
Ingredients
For Coffee Crunch Filling
- 130 grams Digestive biscuits
- 20 grams roasted salted almonds
- 20 grams chocolate covered espresso beans
- 25 grams malted milk powder, such as Ovaltine
- 1/4 teaspoon Diamond Crystal Kosher salt
- 15 grams granulated sugar
- 75 grams unsalted butter, melted
For Ice Cream Bars
- 2 pints coffee ice cream, I used Haagen Dazs
For Dipping
- 200 grams milk chocolate, finely chopped
- 200 grams bittersweet or semi sweet chocolate, finely chopped
- 100 grams refined coconut oil
- 55 grams roasted salted almonds, coarsely chopped
For Decorating (optional)
- 56 grams milk chocolate finely chopped
- 30 grams roasted salted almonds toasted and coarsely chopped
- 30 grams chocolate covered espresso beans coarsely chopped
Instructions
Coffee Crunch Layer
- Preheat oven to 300°F. Line a rimmed baking sheet with parchment paper and set aside. Place Digestive cookies, chocolate covered espresso beans and almonds in food processor. Pulse 3-4 times. Add malted milk powder, sugar and salt and pulse a few more times to combine everything. Add melted butter and pulse 3-4 times until clumps form. Scatter clumps on baking sheet in a single layer. Bake for about 12-14 minutes, until fragrant and browned. Let cool completely. Break up into small clusters.
Ice Cream Bars
- Line an 8-inch square baking pan with two 8×14-inch sheets of parchment, leaving excess on all sides to help lift the bars later. Avoid using wax paper or foil.
- Scoop 1 pint of ice cream into the pan. Use an off-set spatula to start spreading it into an even layer. Cover with a square of parchment and use the back of a measuring cup to finish smoothing it into an even layer. Freeze until firm, about 1 hour.
- Remove the pan from the freezer and spread coffee crunch mixture evenly over the ice cream. Press gently with a spatula. Return to freezer for 30 minutes.
- Spread the remaining pint of ice cream over the coffee crunch layer. Cover with a square of parchment and use the back of a measuring cup to finish smoothing it into an even layer. Cover with plastic wrap, and freeze until completely firm — at least 4 hours, preferably overnight.
- Place a cutting board in the freezer to chill. Once the ice cream is frozen, line the chilled board with parchment. Use parchment flaps to lift the slab out of the pan. Invert onto cutting board, peel off parchment, and cut into 9 squares using a large, sharp knife. Wipe the blade clean between slices. Return bars to freezer, wrapped in plastic if freezing for more than 1 hour.
For Coating Ice Cream Bars
- Melt milk chocolate and bittersweet chocolate in a microwave-safe bowl at 50% power for 60 seconds. Stir, then continue in 30-second bursts at 50% power until smooth. Add coconut oil and stir to combine. If needed, rewarm briefly to smooth. Mix in chopped almonds.
- Pour about one-third of the chocolate mixture into a bowl or container measuring approximately 4½" wide x 2½"deep, and let cool to 80°F.
- Line a baking sheet with parchment paper. Remove ice cream bars from freezer. Working one at a time, loosen a bar with a spatula, dip in chocolate, let excess drip off, and place on the parchment.
- Continue until all bars are dipped, adding reserved chocolate as needed. Pause to return bars to freezer if they begin to soften.
- Freeze the bars until the chocolate coating has fully set, about 15 minutes.
Decorate Coated Bars
- Melt milk chocolate in microwave safe container at 50% power for 1 minute. Stir well until smooth. Transfer to disposable piping bag.
- Drizzle frozen bars with chocolate and sprinkle with chopped almonds and chopped chocolate covered espresso beans, Return to freezer until firm. Wrap each bar in plastic and store in a zip-top freezer bag for longer storage.
Nutrition
If you’re looking for a frozen summer treat that’s as satisfying to make as it is to eat, these Coffee Crunch Ice Cream Bars deliver. They’re simple, textural, and wildly delicious—no ice cream machine required. Whether you go all in with the layers or just sprinkle that crunch on top, this recipe is pure summer magic. Share them with friends… or keep the stash hidden in the back of your freezer. No judgement here.