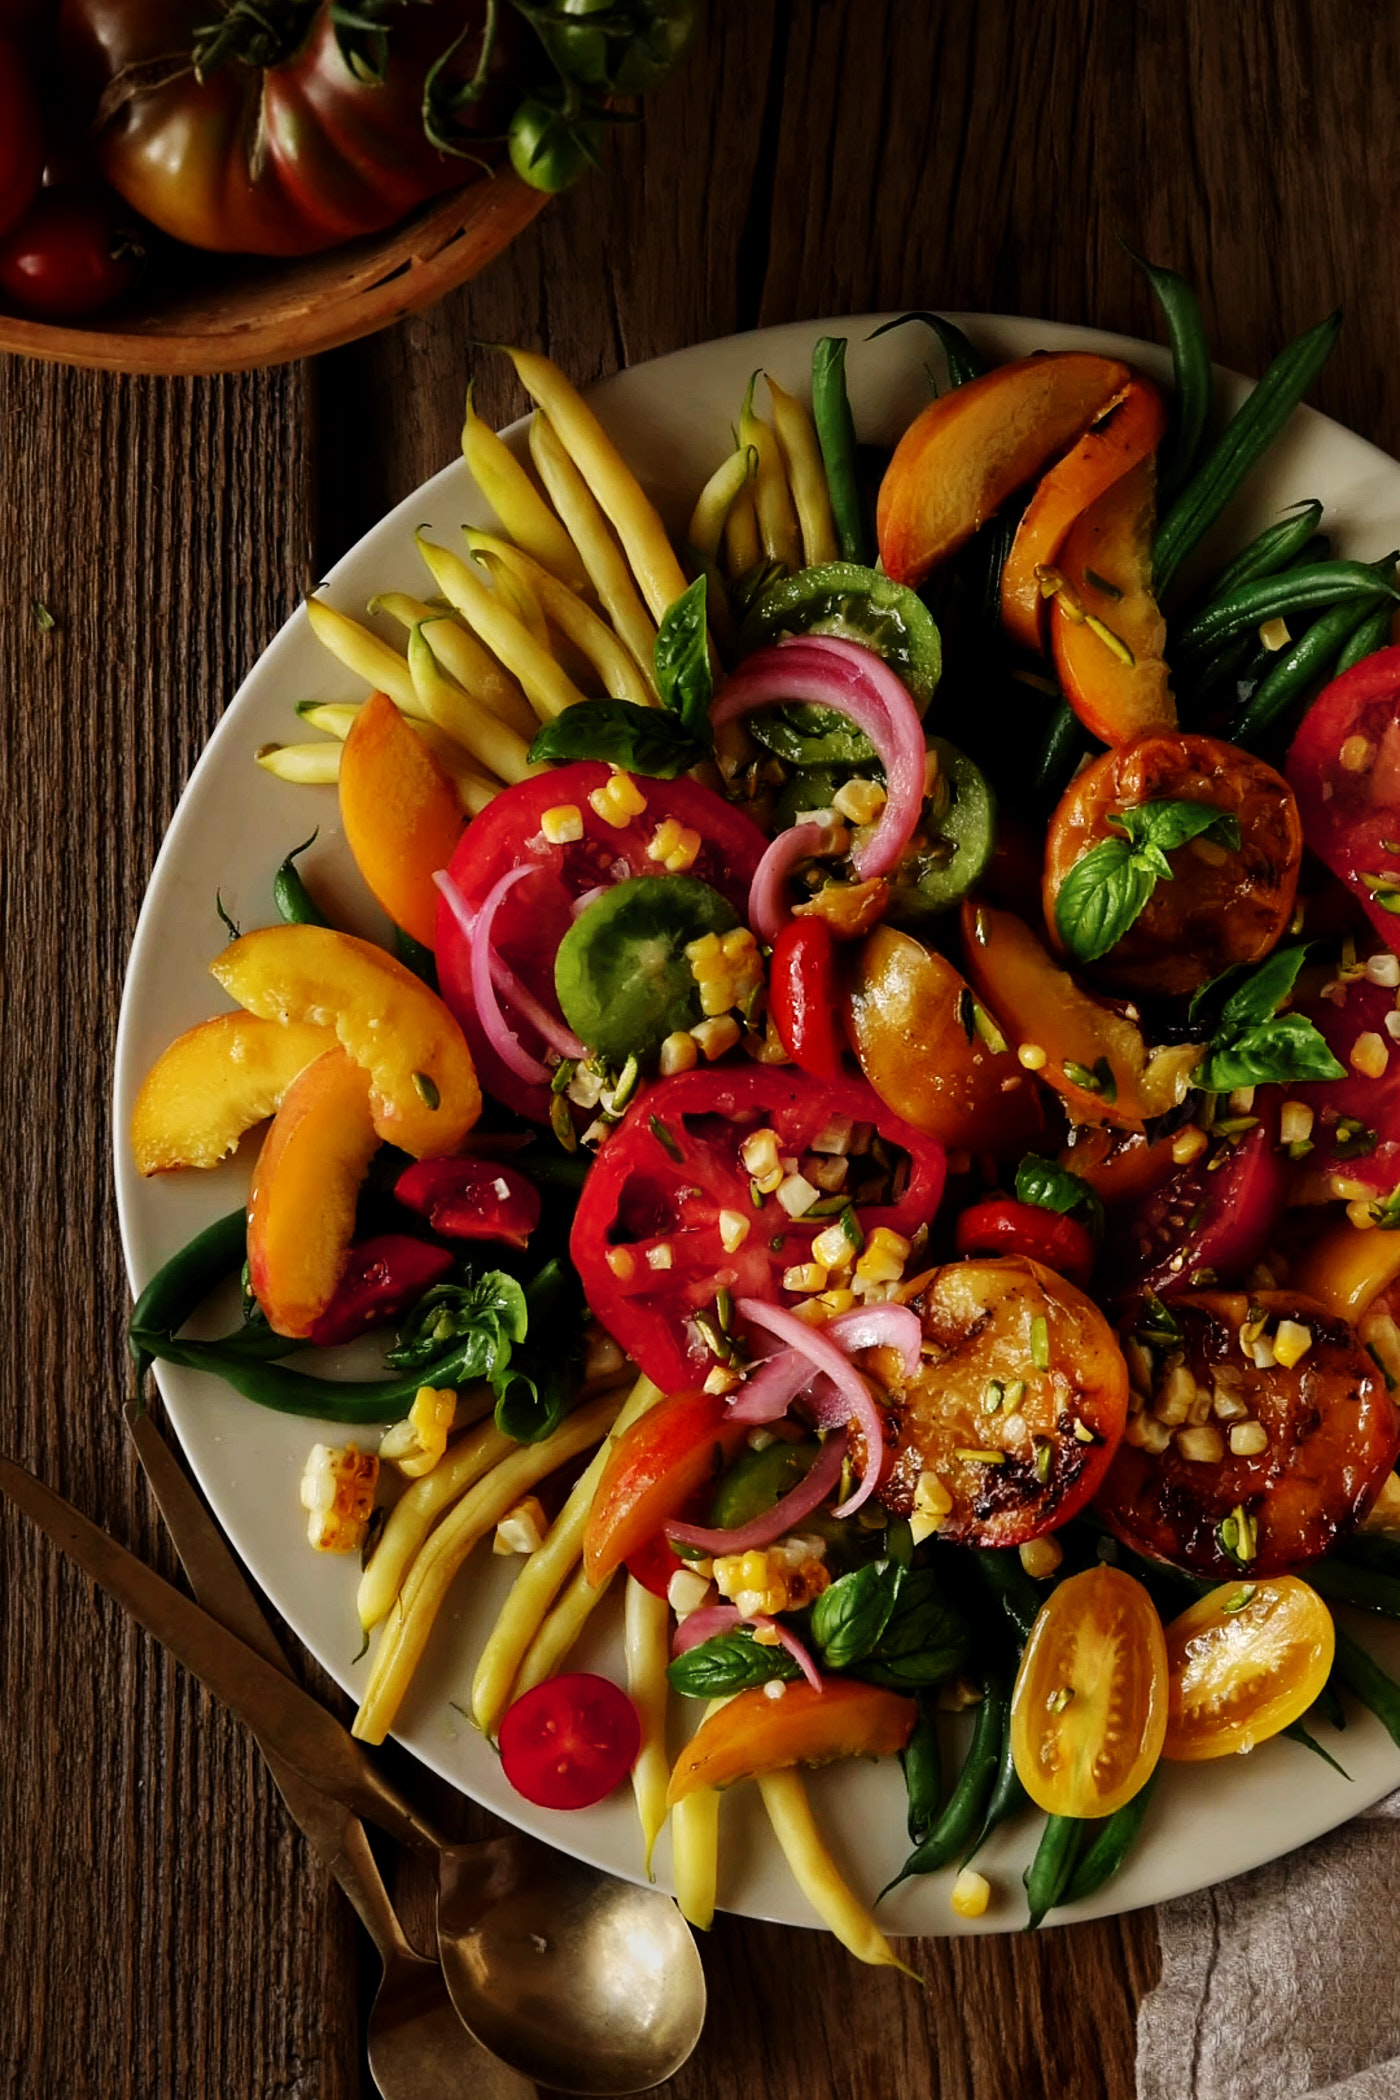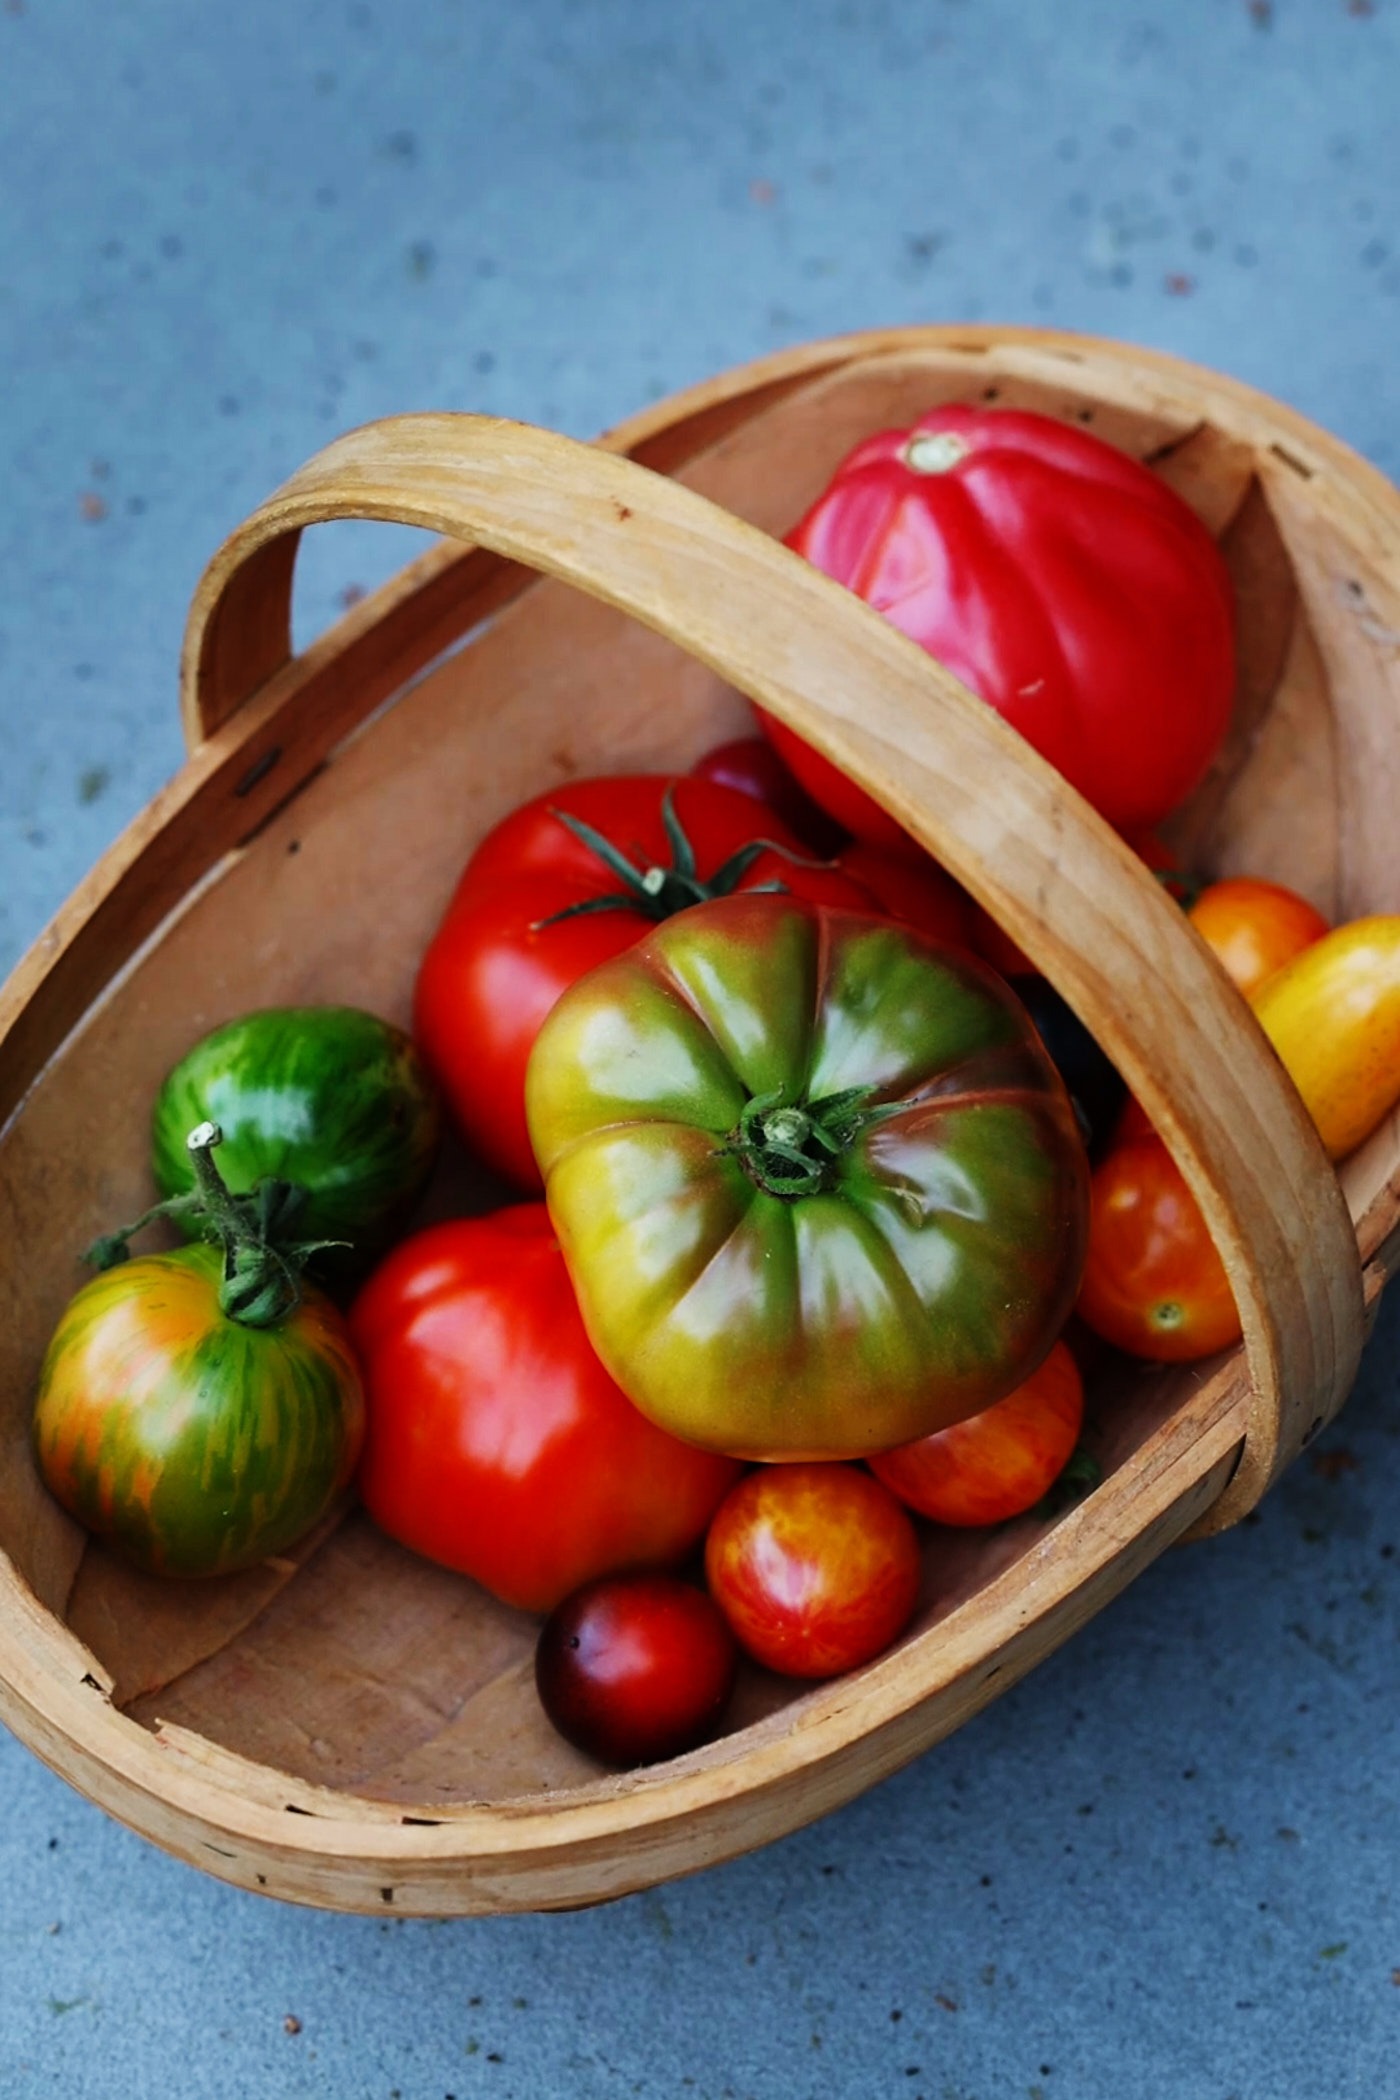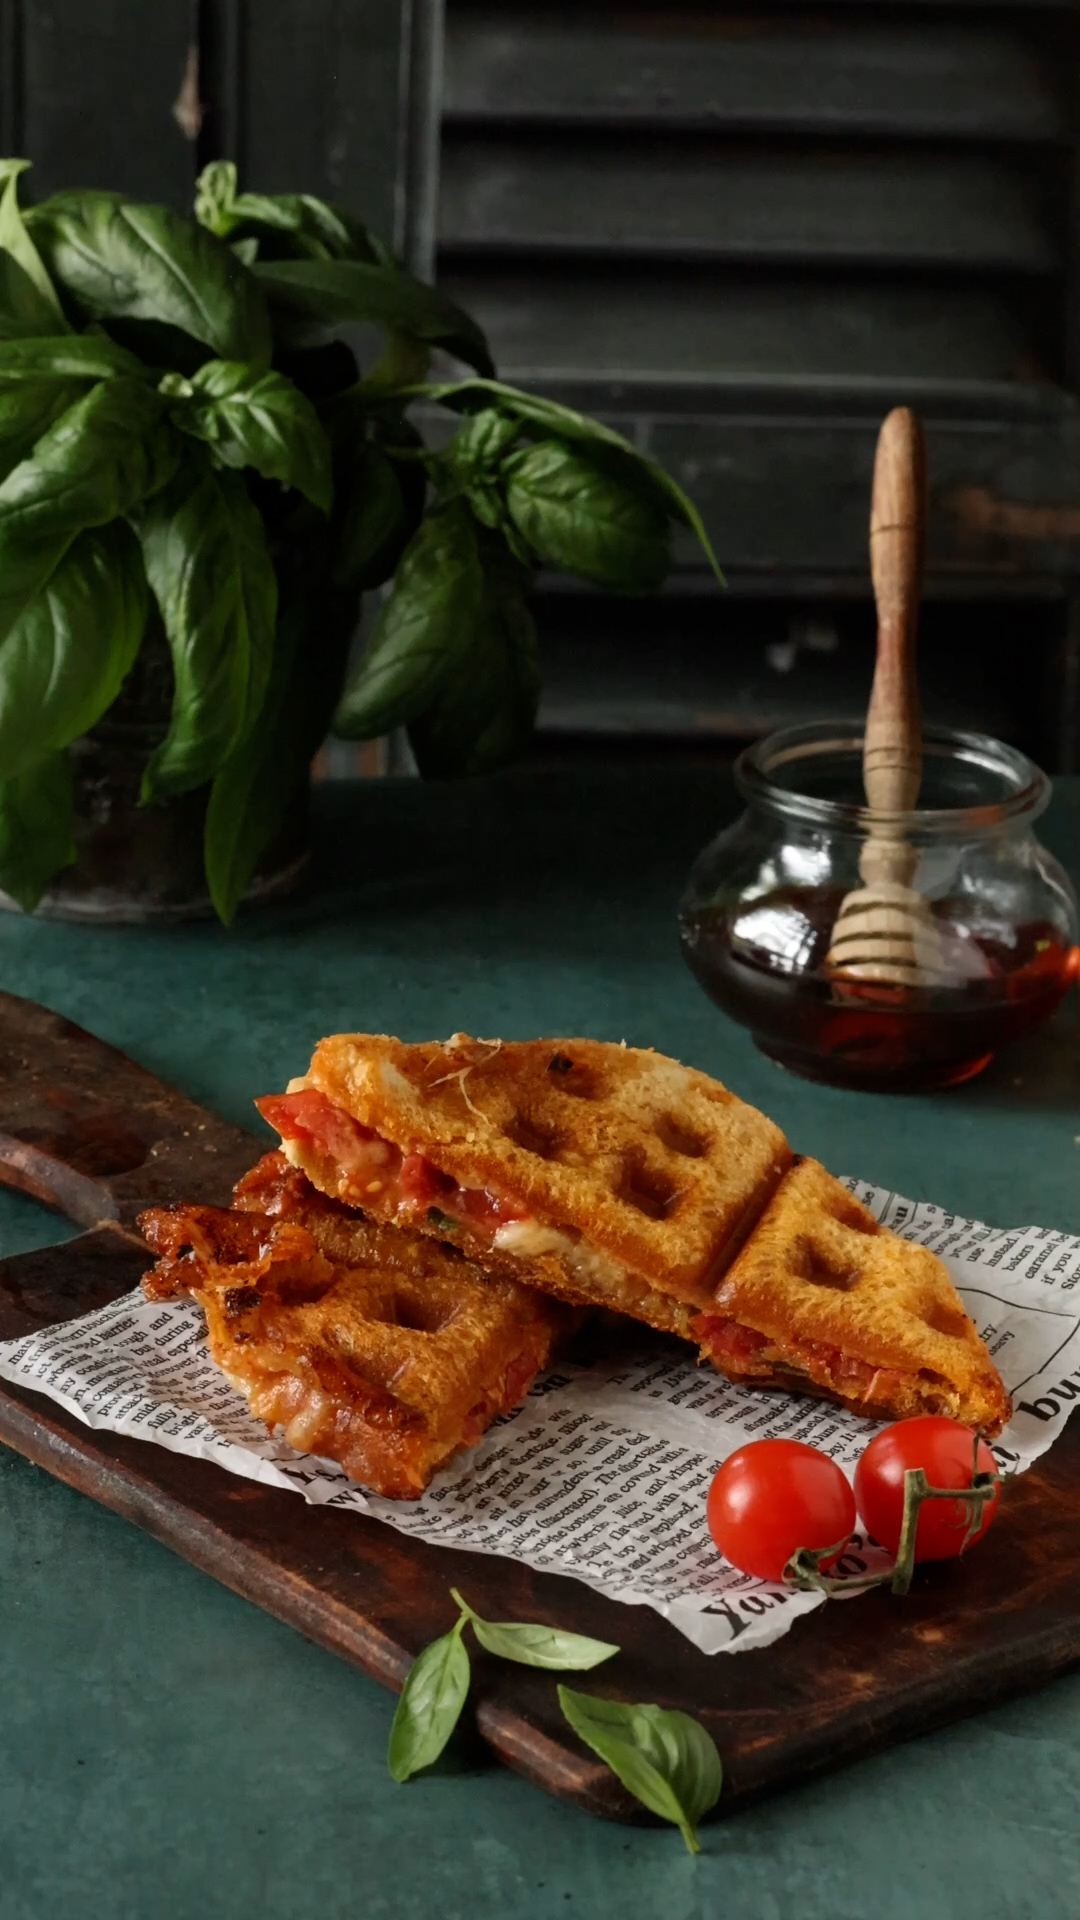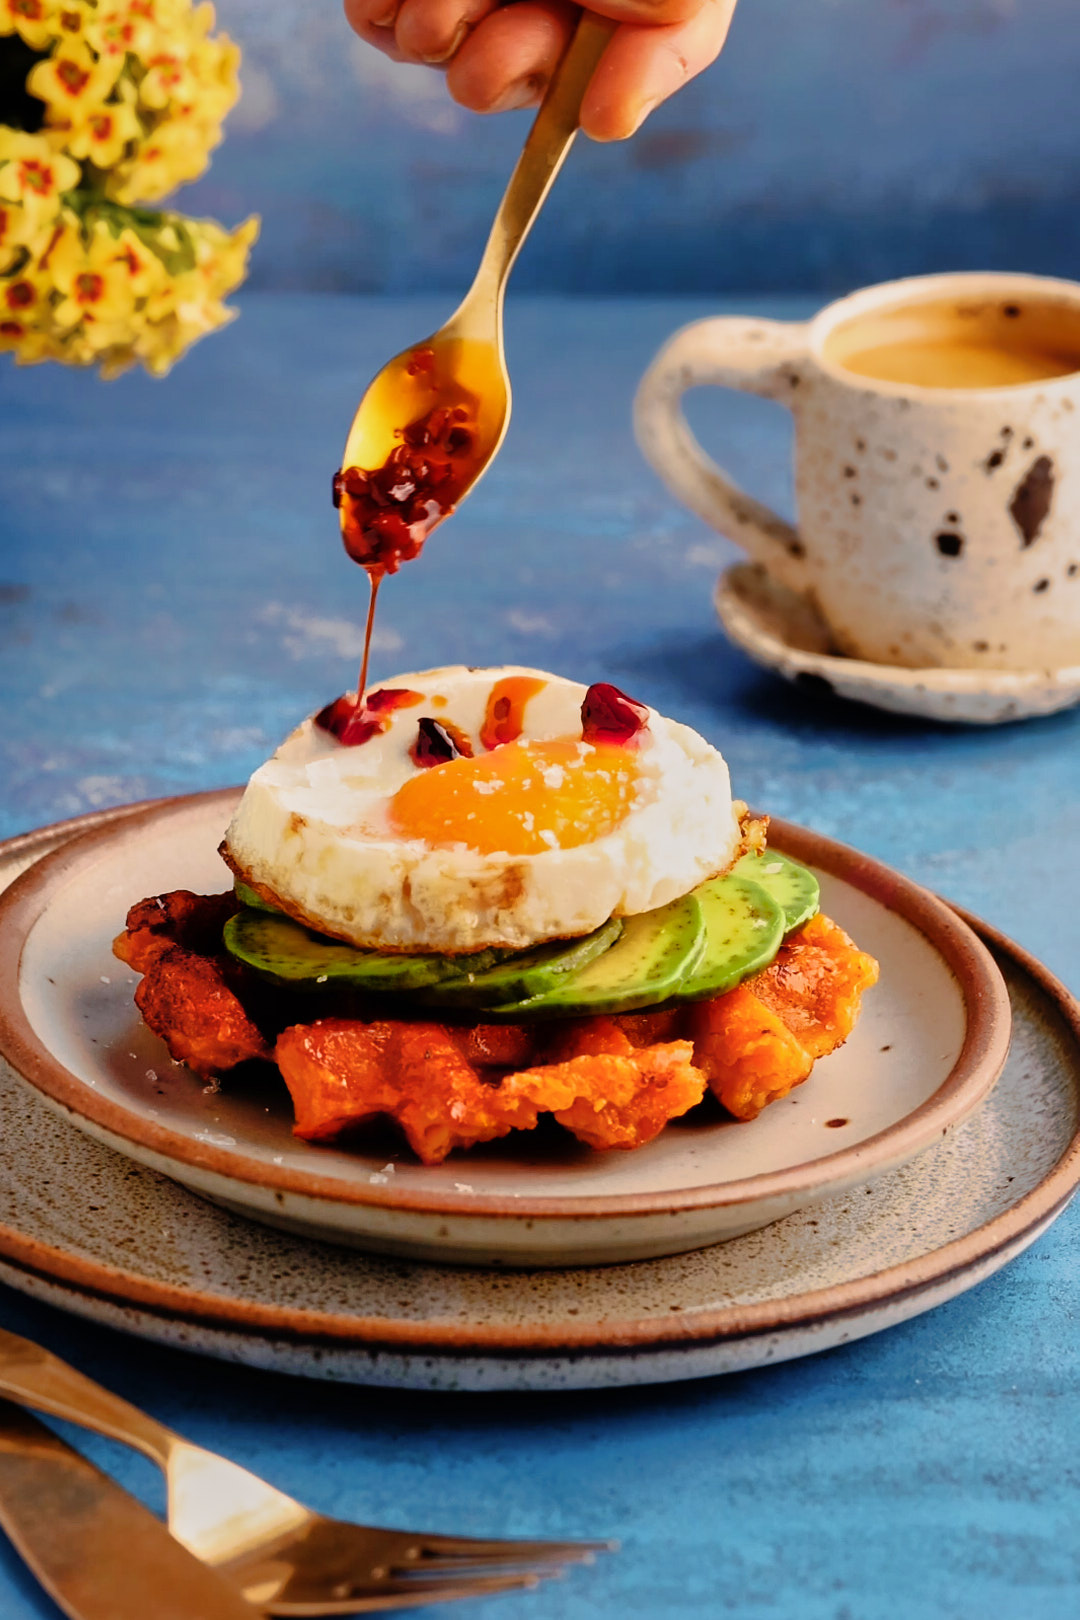
I wasn’t trying to reinvent the Caprese sandwich. Unlike my Loaded Sweet Potato Breakfast WafflesandCroffles, where the fun was discovering whether they would waffle at all, I already knew a sandwich would work in a waffle iron. The real question was whether it would be better than a skillet. Was it worth it to pull out another appliance?
After a few rounds of testing, I had the answer. The waffle iron creates an incredibly crisp, buttery crust while pressing all the layers together into one perfect bite. Add ripe summer tomatoes, fresh basil, creamy mozzarella, a little Fontina and Monterey Jack for extra flavour, and a swipe of sun-dried tomato paste, and you’ve got a sandwich that celebrates everything we love about tomato season. It’s a twist on the classic Caprese—and one I think is even better.
If you’re ready to give your waffle iron a new job, here are a few tips that will guarantee a perfectly crisp sandwich every time.
Keys to success in making Waffled Caprese Sandwich
Use soft white sandwich bread: I tested this sandwich with sourdough, ciabatta and soft white sandwich bread. The soft bread was the clear winner. It created the crispiest crust and the most defined waffle pattern.
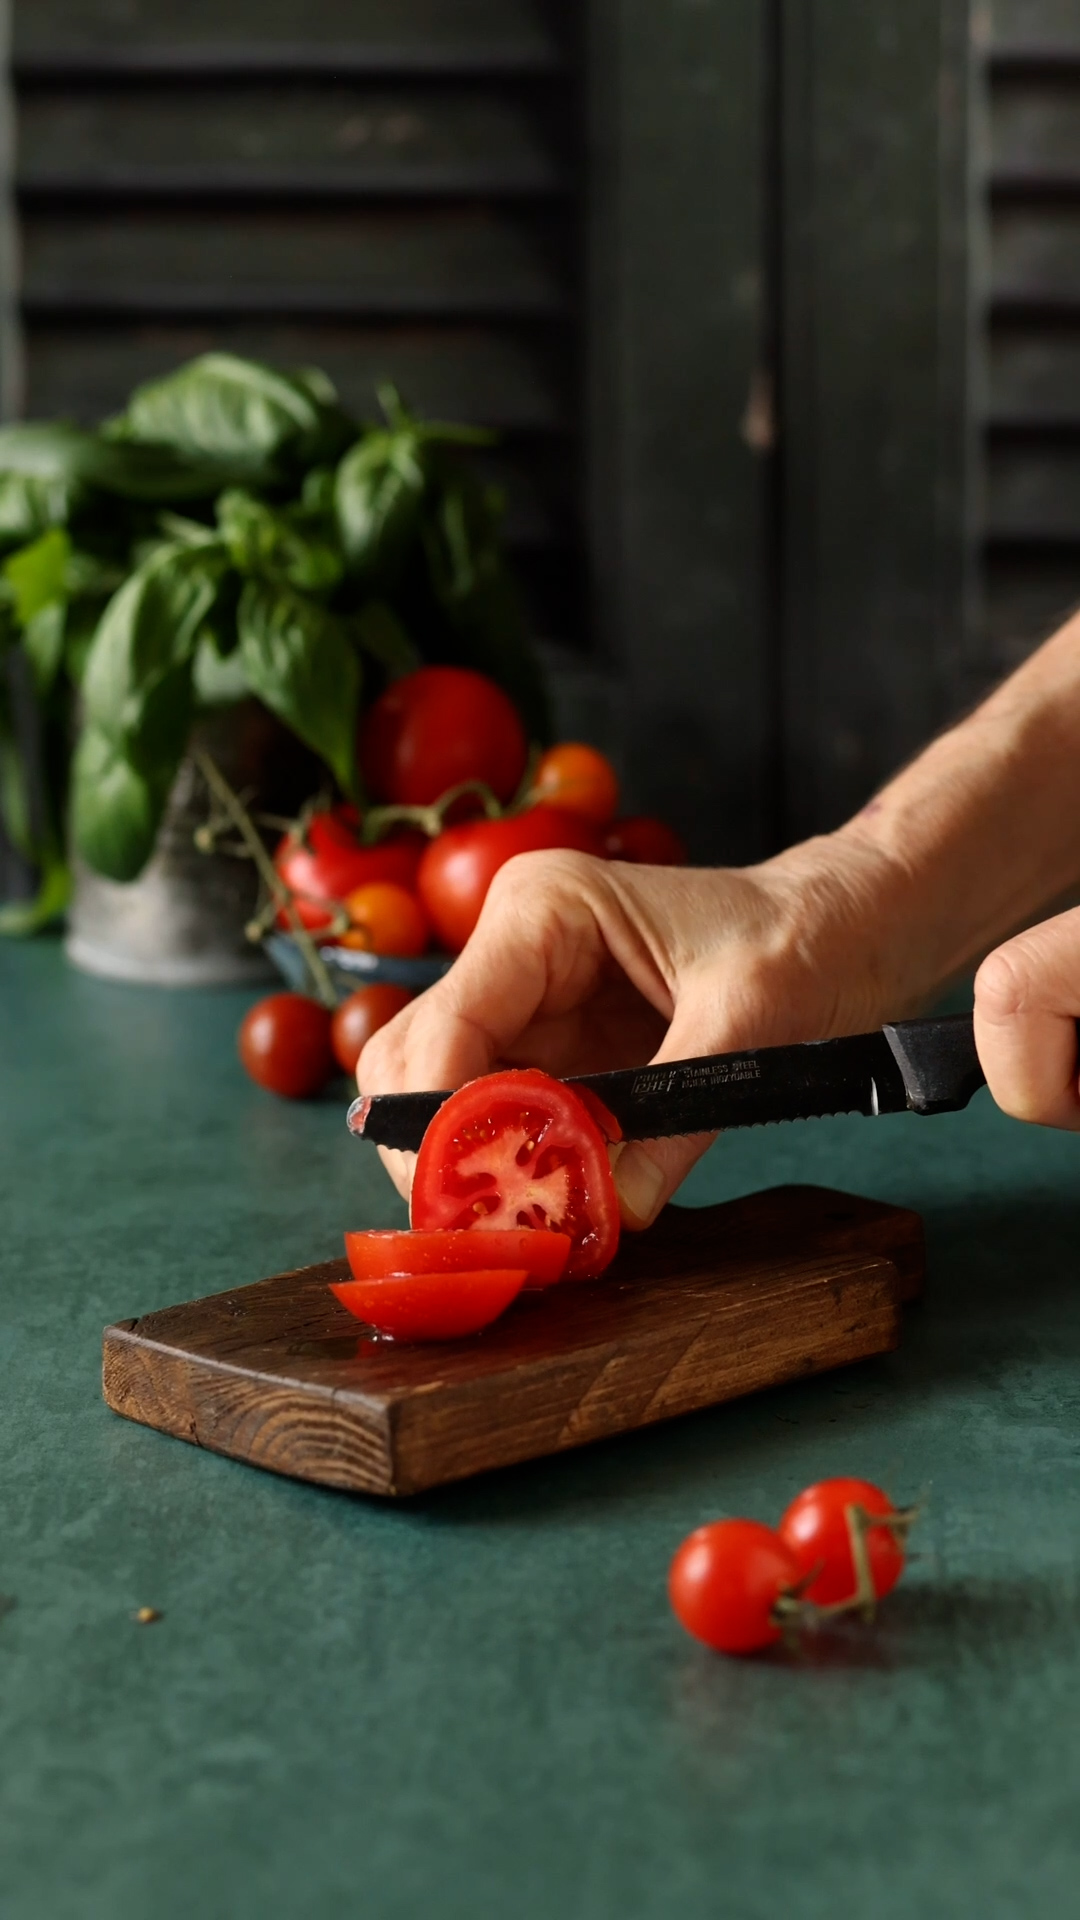
Salt the tomatoes: Sprinkle the tomato slices with kosher salt and let them rest for about 5 minutes before assembling the sandwich. This draws out excess moisture, intensifies their flavour, and helps keep the sandwich from becoming soggy.
Use fresh mozzarella: For this sandwich, you want fresh mozzarella—the soft, creamy mozzarella packed in water or whey, not the firm block of low-moisture pizza mozzarella. Fresh mozzarella gives you that classic Caprese flavour and creamy texture.
Fresh mozzarella needs a little help: Fresh mozzarella gives you that classic Caprese flavour, but it’s quite mild. Adding a small amount of a more flavourful melting cheese, like Fontina and Monterey Jack, gives the sandwich more depth and a better melt. Gouda, Havarti, Provolone or even a mild cheddar would all work well too.
Layer strategically: Spread the sun-dried tomato paste on the bottom slice, then add the fresh mozzarella, tomatoes, basil, and finally the grated cheeses before topping with the pesto-covered slice of bread. Sandwiching the tomatoes between two layers of cheese helps hold everything together, so the filling stays put instead of sliding out with the first bite.
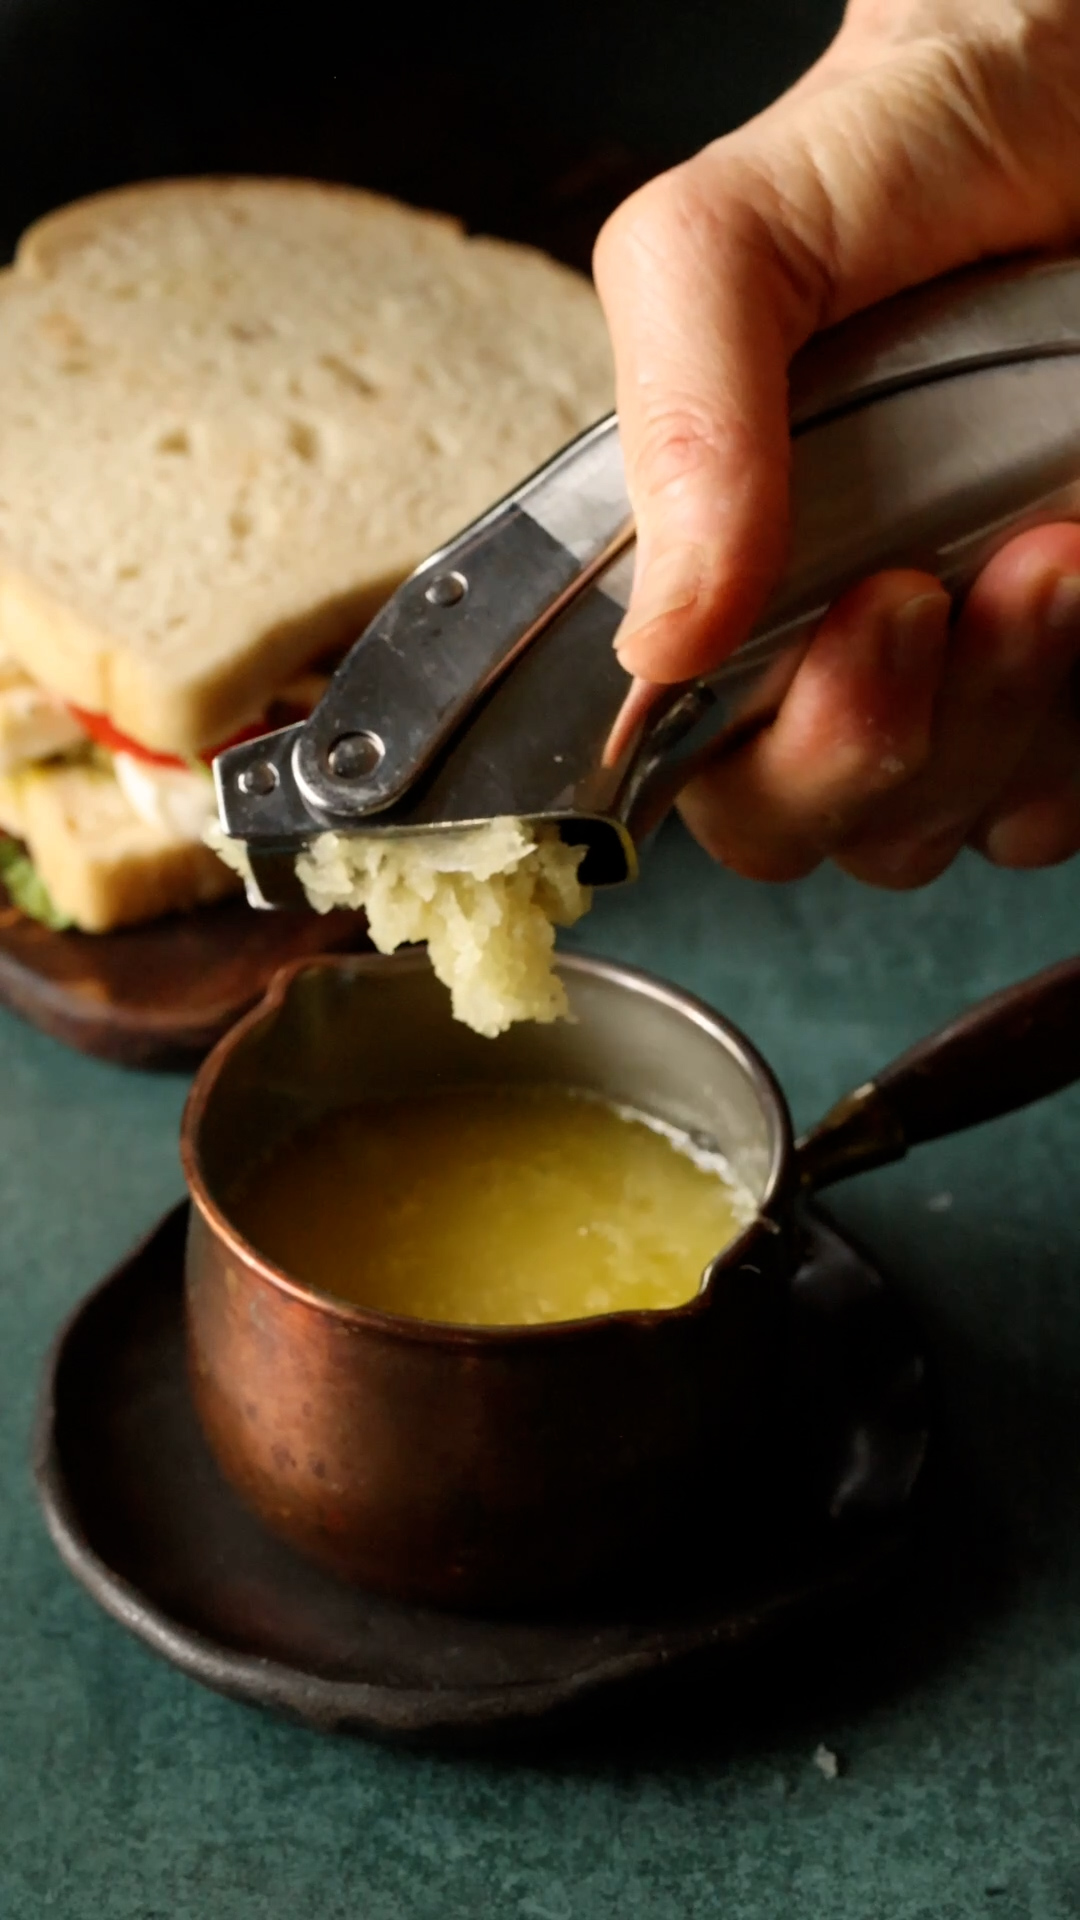
Don’t skip the garlic butter: Brushing the outside of the sandwich with garlic butter adds another layer of flavour and helps create that beautifully golden, crispy crust that makes the waffle iron shine.
Don’t rush the resting time: Once the sandwich comes out of the waffle iron, let it rest on a wire rack for 2 minutes before slicing. This keeps the crust crisp and gives the melted cheese a chance to settle so it stays in the sandwich instead of running onto the cutting board.
I think this sandwich has officially earned a permanent spot in my summer dinner rotation. If you give it a try, I’d love to hear what you think. And if you’ve discovered another sandwich that deserves the waffle iron treatment, let me know in the comments. I may have just started a new obsession.
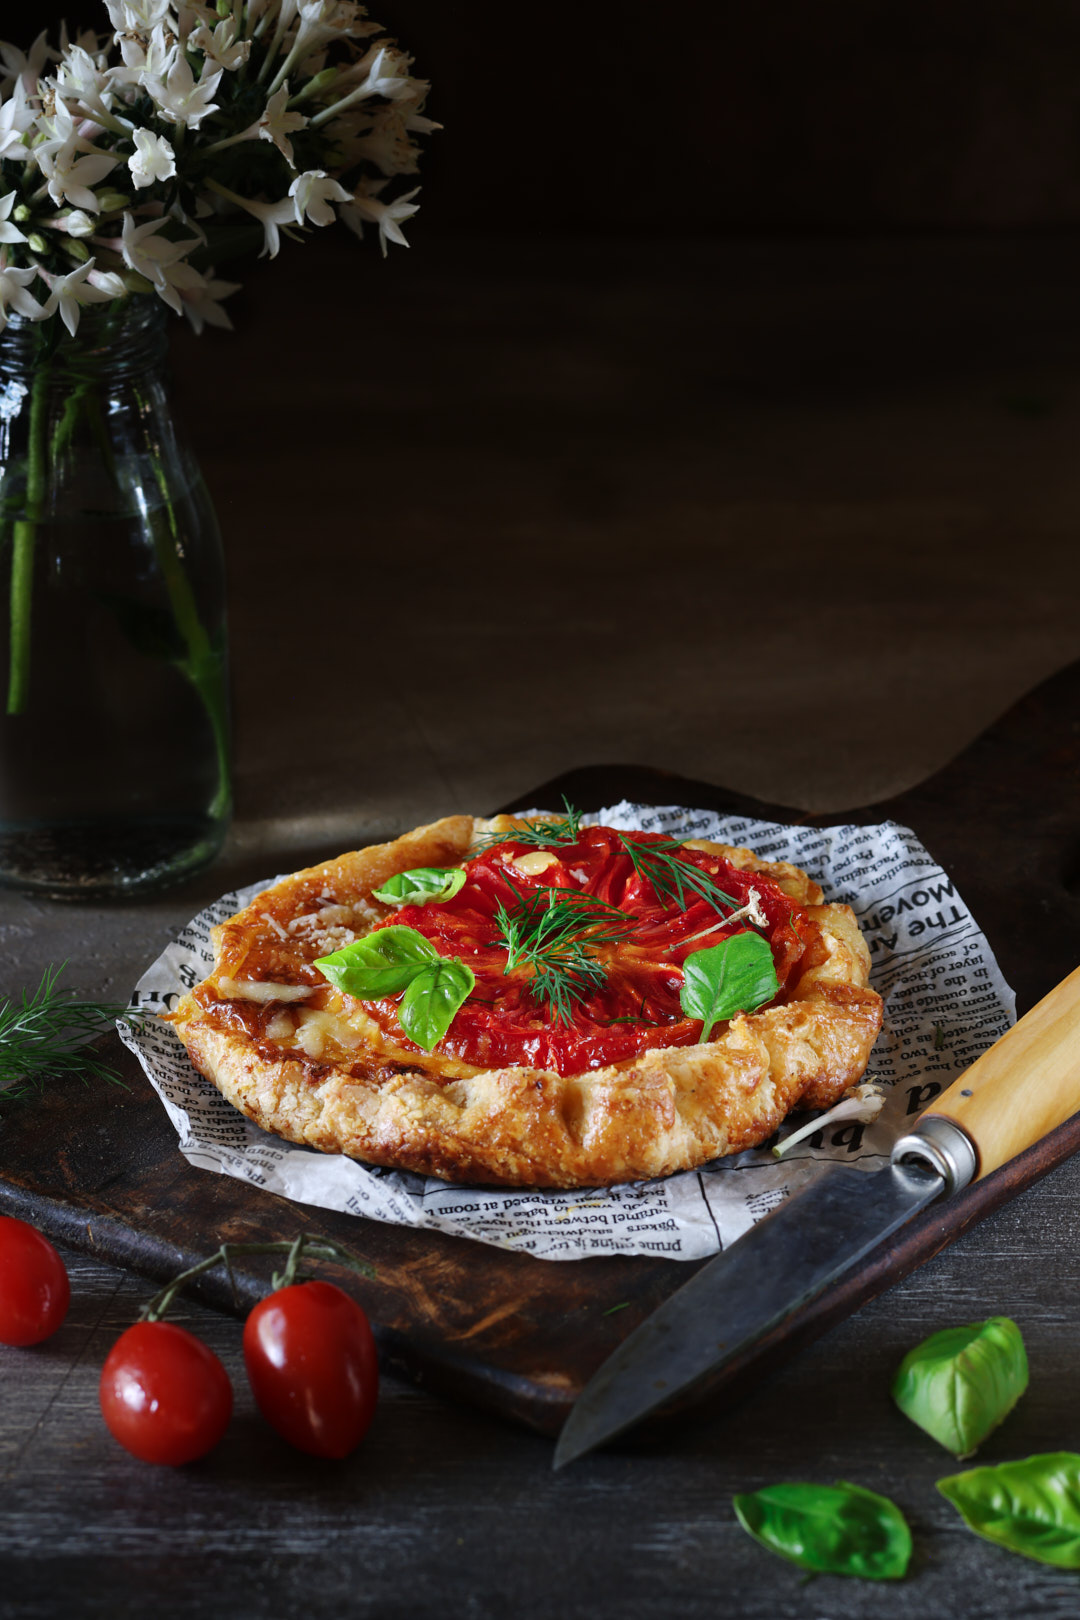
When I spotted Bon Appétit’s Tiny Tomato Galettes, I was immediately smitten. I’m a sucker for a little handheld pie, so I couldn’t wait to make them. Of course, I couldn’t resist putting my own spin on the recipe. Instead of a traditional pastry, I used my favourite sour cream cornmeal galette dough. The sour cream keeps the crust incredibly tender, while the cornmeal adds just the right amount of crunch, creating a crust that’s impossibly flaky.
I also couldn’t resist adding Gruyère to the garlicky Parmesan filling for an extra layer of savoury, nutty flavour. The result is everything I love about a rustic tomato galette, only in a perfectly portable, hand-held package that’s just as suitable for lunch as it is for a summer picnic or cocktail party.
The sour cream cornmeal dough is the foundation of this recipe. It’s one of my favourite pastry doughs because it’s easy to work with, bakes up beautifully flaky, and has just enough cornmeal to add a subtle crunch.
What I love most about this dough is how endlessly versatile it is. It’s equally at home with sweet or savoury fillings and adapts beautifully to the seasons—from spring asparagus and summer tomatoes to autumn apples and winter squash. I have a feeling it’s going to become a regular in your baking rotation.
If you’ve never made it before, here’s a step-by-step video showing exactly how it comes together.
Once your dough is chilled, the mini galettes come together quickly. This short video walks you through the filling, assembly, and a few little tricks for getting beautifully crisp bottoms every time .Here’s a step-by-step video showing exactly how it comes together.
Keys to Success in making Mini Tomato Galettes
1. Use ripe, but firm tomatoes. Choose tomatoes that are deeply coloured and flavourful but still firm enough to slice cleanly. Overripe tomatoes release too much liquid and can make the crust soggy.
2. Tomato powder is the secret ingredient. A light sprinkle of freeze-dried tomato powder on the tomato slices intensifies their flavour without adding moisture. Place the tomato slices powder-side down on the galettes so the vibrant tomato colour stays on top.
3. Don’t skip the Dijon. A thin layer of Dijon mustard adds brightness and a subtle tang that balances the richness of the cheeses. It doesn’t taste mustardy—it simply makes the tomatoes taste more like themselves.
4. Keep the dough cold. If the dough becomes soft while you’re working, pop it back into the refrigerator for a few minutes. Cold butter is what creates a beautifully flaky crust.
5. Freeze before baking. After shaping the galettes, freeze them for 10 minutes before they go into the oven. This helps the crust hold its shape and encourages maximum flakiness.
6. Bake until deeply golden. Don’t be tempted to pull them out too early. The crust should be a rich golden brown, especially around the pleated edges. That’s when the butter has fully crisped the layers and the cornmeal develops its subtle crunch.
7. They’re just as good at room temperature. These mini galettes are wonderful straight from the oven, but they’re also delicious warm or at room temperature, making them perfect for picnics, brunches, lunches, or entertaining.
8. Make extra dough. This sour cream and cornmeal galette dough freezes beautifully. I often keep a few rolled sheets in the freezer so I’m only minutes away from turning whatever is in season into a galette. It’s one of my favourite make-ahead baking tricks.
Mini Tomato Galettes with Sour Cream and Cornmeal Crust
43gramssour cream, full-fat or light (5%); do not use fat-free.
75gramsice cold water
170gramsall-purpose flour
40gramscornmeal
5gramssugar
1/2teaspoonDiamond Crystal Kosher salt, or 1/4 teaspoon Morton's Kosher salt
100gramsunsalted butter, coldcut into 1/2 inch pieces
Filling
125gramsmayonnaise,light (5%) is fine; do not use nonfat
5cloves garlic, finely grated on a Microplane, or use garlic press
56gramsgrated Parmesan cheese
70gramsgrated Gruyere cheese
33"-4" diameterHeirloom tomatoes, sliced 1/2 inch thick, you need 6 slices in total
1Tablespoonfreeze dried tomato powder
Assembly
2TablespoonsDijon mustard
1largeEgg, lightly beaten
Instructions
Galette Dough
Whisk sour cream and ice water together in a small bowl; set aside. In a food processor fitted with the metal blade, combine flour, cornmeal, sugar, and salt. Pulse to mix.
Add the cold butter and pulse 8 to 10 times, until the mixture resembles coarse crumbs with butter pieces ranging from breadcrumbs to small peas.
With the machine running, slowly pour in the sour cream mixture. Process just until the dough comes together in moist, shaggy curds. Turn the dough onto the counter and gently gather it into a ball. Divide into 3 equal pieces and shape each into a disc.
Lightly flour one disc and roll it between two sheets of parchment into an oval about 13 inches long and 7 inches wide. Repeat with the remaining discs. Refrigerate the dough, still between the parchment sheets, for about 30 minutes.
To make ahead, keep the rolled dough ovals between sheets of parchment, wrap tightly in plastic, and refrigerate for up to 3 days or freeze flat for up to 1 month.
Tomatoes
Arrange tomato slices on a paper towel-lined baking sheet. Sprinkle with tomato powder and let sit while you prepare the filling and cut the dough.
Filling
In a medium bowl, stir together the mayonnaise, garlic, Parmesan, and Gruyère until well combined.
Assemble Galettes
Arrange two racks in the oven—one in the top-middle position, the other in the bottom-middle. Preheat the oven to 425°F. Line an 18 x 13 inch baking sheet with parchment paper.
Using a 6-inch bowl or plate as a guide, cut two circles from each dough oval to make six circles total.
Spread each dough circle with a thin layer of Dijon mustard, leaving a 1-inch border. Spoon about 2 tablespoons of filling into the centre and spread it over the mustard, still keeping the border clear.
Blot the tomato slices dry with paper towel, then place one slice on each galette, tomato powder-side down, to keep the vibrant colour facing up.
Fold the border of dough up and over the filling, pleating gently as you work your way around each galette. Transfer formed galettes to parchment lined baking sheet. Brush the dough border with egg wash. Chill galettes in freezer for about 10 minutes before baking.
Place baking sheet on lower rack, Bake for 15 minutes. Then move the baking sheet to the upper rack. Bake for another 15 minutes, until galette is deeply golden. Depending on your oven, you might need an extra 5-7 minutes. Deep golden brown is the goad. No soggy bottoms allowed. Remove from oven and let cool slightly on wire rack before serving. These are delicious hot, warm or even at room temperature.
Notes
This is the perfect make-ahead dough. Store it in the fridge for up to 3 days, or freeze for up to a month—so you’re always ready when the mood for galette strikes.
I’m blessed—or perhaps cursed—with a strong sense of aesthetic and have always been drawn to beautiful little details. These days, I find myself slowing down and taking time for things that serve no practical purpose other than making me smile. Whether it’s latticing the top of a tart, dusting cookies with edible gold, or turning an avocado into a rose, some things can simply be beautiful.
If you’ve ever wanted to try making one yourself, here’s my simple step-by-step method.
Keys to Success in making an Avocado Rose
Start with the Right Avocado Choose an avocado that is ripe but still firm enough to hold its shape. If it’s too hard, the slices will crack. If it’s too soft, the rose will collapse into a mushy mess.
Use a Sharp Knife A sharp knife is essential for making clean, even slices. Ragged cuts make the rose more difficult to shape.
Slice Thinly Thin slices are flexible and bend easily as you roll the rose. Aim for slices about ⅛ inch (3 mm) thick.
Use Your Fingers as a Guide After each slice, use your fingers to gently hold the last slice in place as you pull the knife back. This prevents the slices from shifting and keeps the avocado neatly aligned. Taking a few extra seconds here will make it much easier to fan out the slices and roll them into a rose later.
Keep the Slices Aligned After slicing, gently fan the avocado out into a long line, work carefully to keep them neatly aligned. This makes rolling the rose much easier.
Finish with Lime Juice Once your avocado rose is formed, squeeze a little fresh lime juice over the top. It adds a bright pop of flavour and helps slow browning. Don’t forget the salt!
I’d love to know—are you team ‘just eat the avocado’ or team ‘turn it into a rose first’?
Recipe for Loaded Sweet Potato Breakfast Waffle is in my last blog post.
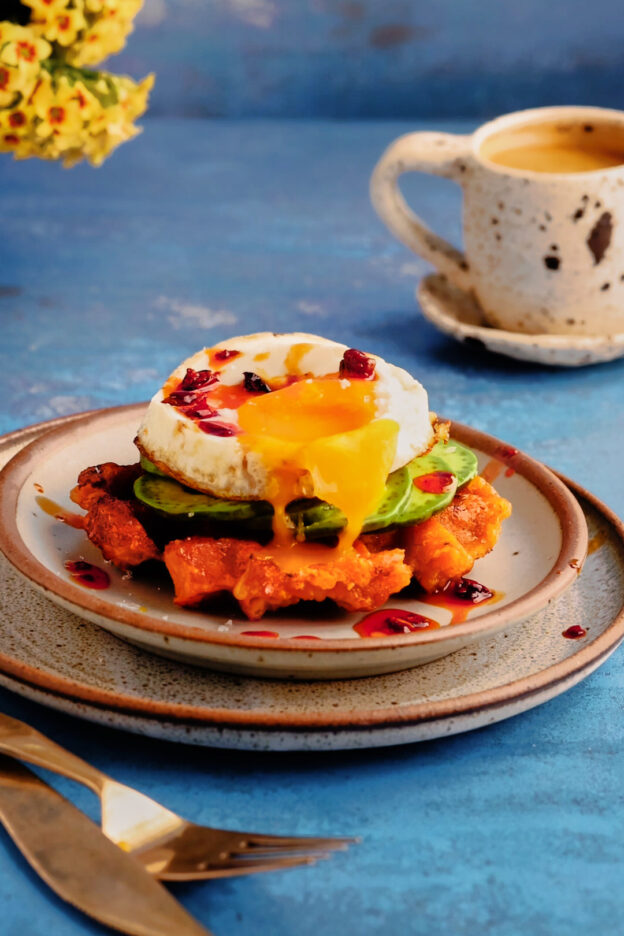
These Loaded Sweet Potato Breakfast Waffles were born out of a viral Instagram fail. For weeks, I kept seeing videos of people layering cheese and mashed sweet potato in a waffle iron and pulling out perfectly crispy, golden waffles. They looked so good that I couldn’t resist trying it for myself.
Unfortunately, my results looked nothing like the videos. Instead of crispy perfection, I ended up with a greasy, sticky mess welded to my waffle iron. Most people would have accepted defeat and moved on. I became slightly obsessed with figuring out why it wasn’t working. Some people would call it stubbornness. I prefer to think of it as perseverance.
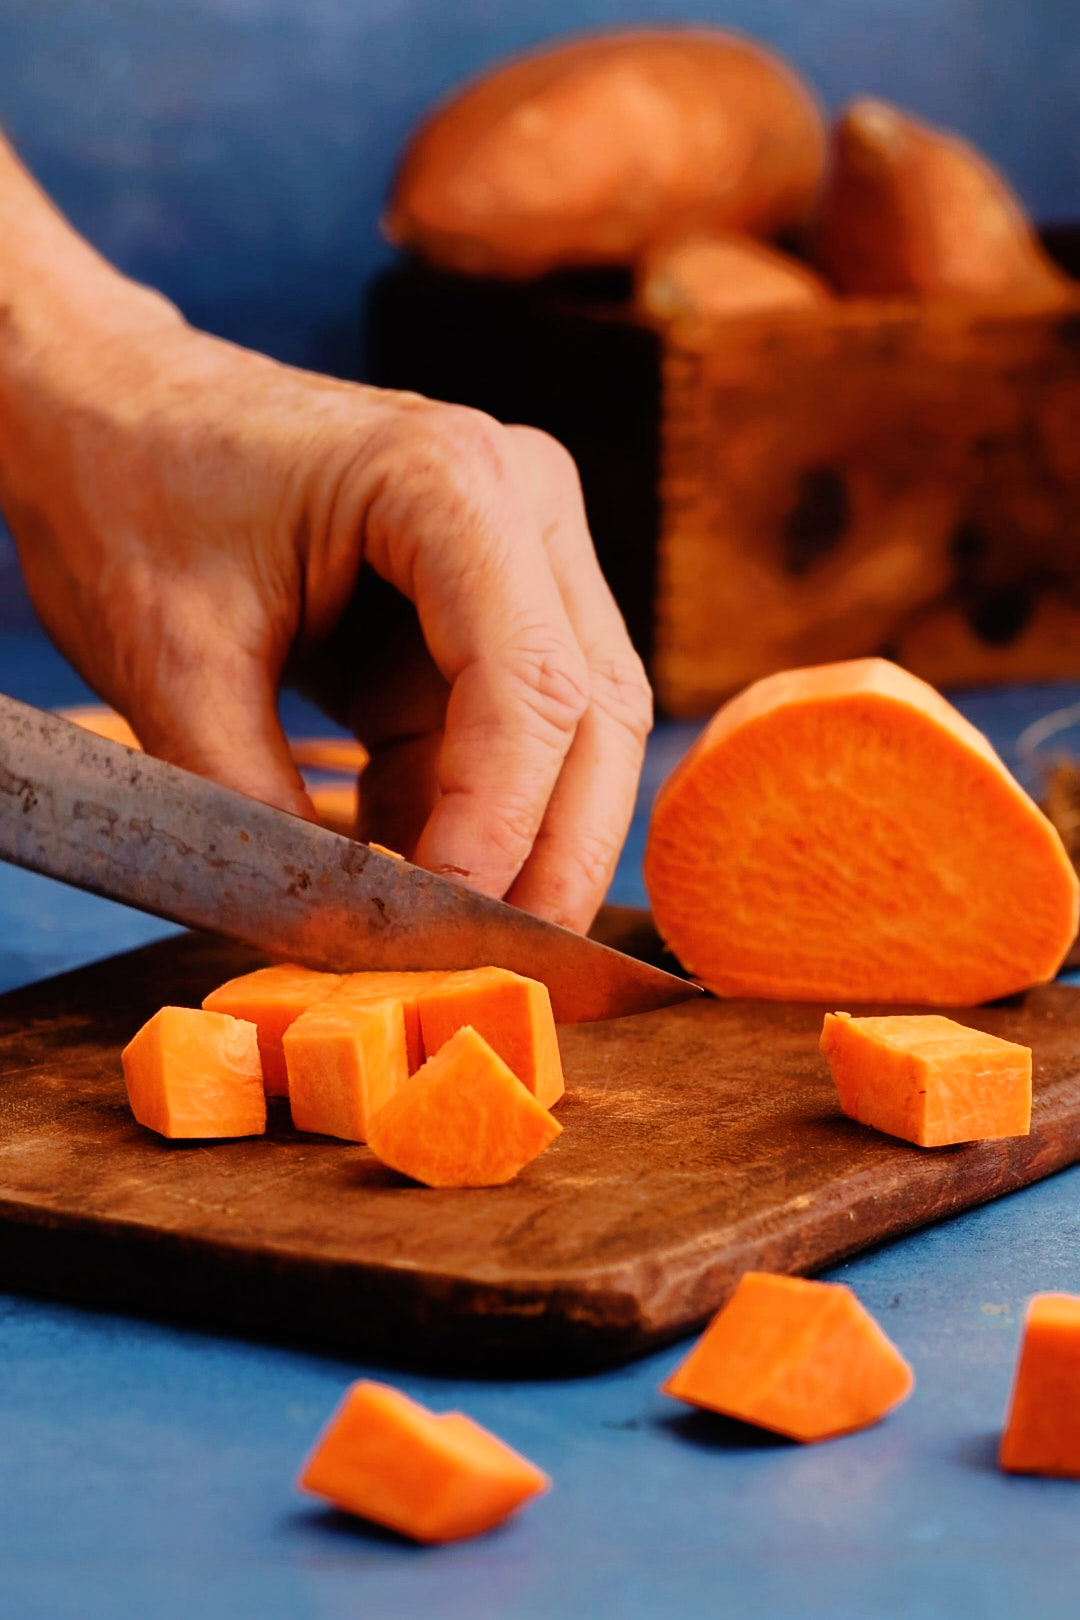
After a few rounds of trial and error, I realized the problem was moisture. Roasting a whole sweet potato leaves too much water trapped inside. By cutting the sweet potato into cubes before roasting, I was able to drive off excess moisture and create a mixture that actually waffles beautifully. A little cheddar, Parmesan, and an egg for binding transformed the failed trend into something genuinely delicious.
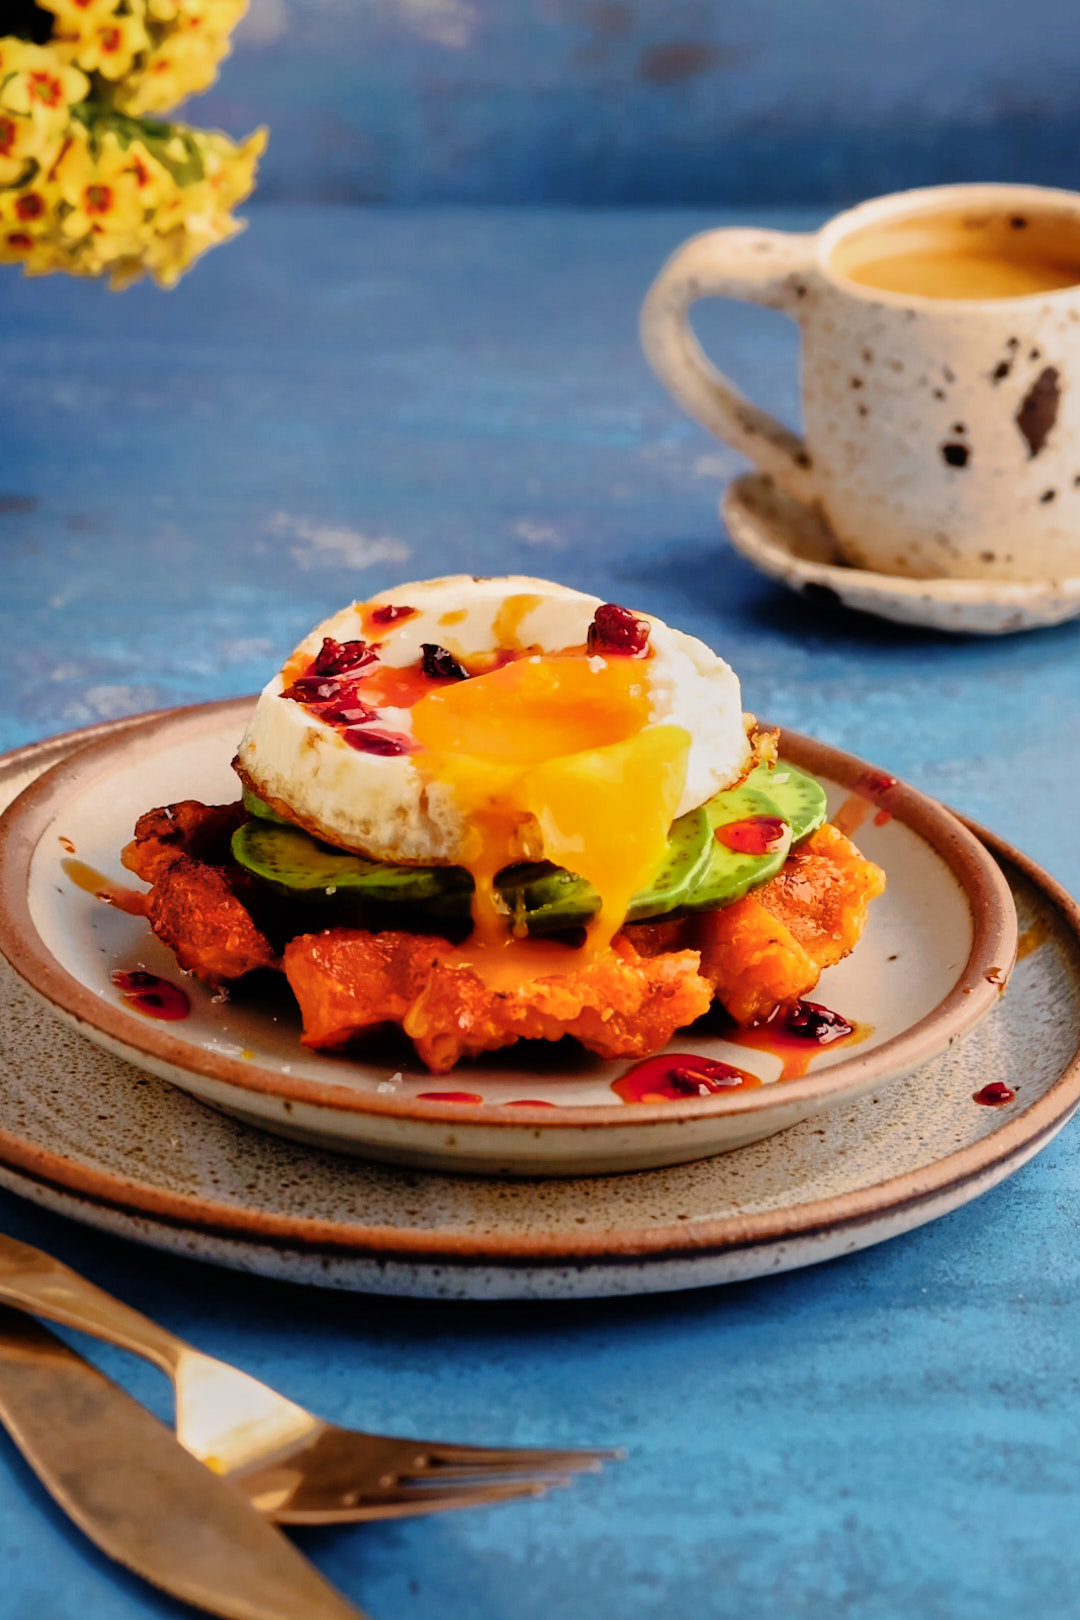
The result is a crispy, savoury breakfast waffle that’s packed with 18 grams of protein and 7 grams of fibre. And even more importantly, it tastes far better than the viral version that inspired it. Topped with avocado, a fried egg, and a drizzle of chile crisp (I’m addicted to this brand!) , it’s the kind of breakfast that keeps you full for hours while still feeling like a treat.
Keys to Success when making Loaded Sweet Potato Breakfast Waffles
1. Roast Sweet Potato Cubes, Not a Whole Sweet Potato. This is the secret to getting these waffles to work. Roasting a whole sweet potato traps too much moisture, which can lead to soggy waffles that stick to the waffle iron. Cutting the sweet potato into small cubes before roasting exposes more surface area to the oven heat, resulting in a drier mash and a crispier waffle.
2. Don’t Skip the Egg The egg acts as a binder, helping the waffles hold together when they’re removed from the waffle iron. Without it, the mixture can be fragile and more likely to fall apart.
3. Use Freshly Grated Cheese Pre-shredded cheese contains anti-caking agents that can affect how smoothly it melts. Grating your own cheddar and Parmesan gives the waffles better flavour and texture.
4. Let the Waffle Iron Do Its Job Resist the urge to peek too early. Opening the waffle iron before the waffles have had time to crisp can cause them to tear or stick. Wait until steam has mostly subsided and the exterior is deeply golden before lifting the lid.
5. Use a Measuring Scoop A ⅓-cup scoop ensures waffles of a consistent size and thickness. This helps them cook evenly and makes it easier to predict cooking times.
6. Serve Immediately These waffles are at their absolute best straight from the waffle iron when the exterior is crisp and the cheese is still warm. Top with avocado, a fried egg, and a drizzle of chile crisp for the ultimate breakfast.
7. Make Extra for Meal Prep The waffles reheat surprisingly well in a toaster oven or air fryer. Make a double batch and freeze extras for quick weekday breakfasts.
Loaded Sweet Potato Breakfast Waffles
Looking for a breakfast that actually keeps you full? With 18 grams of protein and 7 grams of fibre per serving, these Loaded Sweet Potato Breakfast Waffles are as nourishing as they are delicious. Roasted sweet potatoes, cheese and eggs are transformed into crispy golden waffles, then topped with avocado, a fried egg and a drizzle of chile crisp.
Preheat oven to 400°F. Line a baking sheet with parchment paper.
Spread sweet potato cubes on the baking sheet. Drizzle with oil, sprinkle with salt and toss to coat.
Roast for 20 minutes. Stir the potatoes and continue roasting for 10–15 minutes, until golden and fork-tender.
Let cool for 5–10 minutes before mashing.The sweet potatoes can be roasted up to 1 day ahead and stored covered in the refrigerator.
Place sweet potatoes in large mixing bowl. Using a potato masher or fork, mash the sweet potatoes until mostly smooth with a few small lumps remaining.
Add the grated marble cheese, Parmesan, and egg. Mix until well combined.
Preheat waffle iron to medium-low setting. Spray or brush waffle iron with Pam or vegetable oil.
Place 1/3 cup waffle mix into each section of waffle iron. Close lid and cook for 3 minutes. Gently lift lid and check degree of doneness. Waffle should be deeply golden brown. Using tongs, gently lift waffles from iron and place on wire cooling rack.The waffles may stick slightly when you first try to lift them. Don’t force them. Continue cooking for another 30–60 seconds and try again. Once properly browned, they will release easily from the waffle iron.
Transfer to a wire rack rather than a plate to maintain crispness.
Avocado Topping
Cut avocado in half, around the pit. Open and carefully remove pit. Peel both halves of avocado and cut each half into 6 thin wedges. Place avocado on plate, and squeeze juice of 1 lime over them. Sprinkle with salt.
Fried Eggs
Place skillet over medium heat. Add oil or butter. Crack each egg into a small bowl, then carefully slide into the skillet. This gentle handling ensures yolks do not break.
Sprinkle eggs with salt. Turn heat down to low and cover pan with lid or a baking sheet. This will trap steam and help egg whites cook faster. Cook until the whites are set but the yolks are still runny, about 2–3 minutes.
Assembly
Place a sweet potato waffle on each plate. Top with avocado slices and a fried egg. Drizzle with chile crisp, if using. For a sweet-and-spicy variation, drizzle with hot honey instead of chile crisp.
The recipe for these savoury cheese biscuits comes from Les Fougères, a farm-to-table restaurant located in the town of Chelsea, Quebec, about a 20 minute drive from Ottawa. They’re the perfect companion to cocktails or a glass of wine, and are always one of the first things to disappear when I serve them.
Rich with butter and sharp cheddar, these crisp little biscuits get their irresistible crunch from toasted pecans and a somewhat surprising ingredient—Rice Krispies cereal. A pinch of cayenne adds just enough heat to keep you reaching for another.
One of the things I love most about this recipe is that the dough freezes beautifully. Keep a log or two tucked away in the freezer and you’re never more than a few minutes from a warm batch of homemade cheese biscuits. They’re essentially the savoury version of slice-and-bake cookies.
A Note About This Recipe
This recipe has been on the blog since 2010, and I probably wouldn’t have revisited it if it weren’t for a reader named Meredith.
She left a comment questioning some of the measurements in the original recipe. After taking another look, I realized she was absolutely right. The recipe was published during my second year of blogging. I was still learning the art and science of recipe development, and several of the quantities contained errors.
So I headed back to the kitchen and started testing.
Over the past 16 years, I’ve learned that baking recipes are far more reliable when ingredients are measured by weight rather than volume. I retested the recipe several times, converted everything to grams, and rewrote the instructions for clarity and consistency.
The recipe below is the corrected and thoroughly tested version. I’m grateful to Meredith for catching the mistakes and prompting me to revisit an old favourite.
Then and Now
When I first published this recipe in 2010, I was only in my second year of blogging. Meredith’s comment prompted me to revisit not only the recipe itself, but also the photos.
In the past 16 years, I’ve learned a lot about recipe development, testing, and writing. I’ve also spent countless hours behind the camera. Looking back at these original images makes me smile—and reminds me just how far this little blog has come.
Les Fougeres Cheese Biscuits
These savoury cheese biscuits are rich with sharp cheddar, studded with toasted pecans, and packed with irresistible crunch thanks to a surprising secret ingredient—Rice Krispies cereal. A touch of cayenne adds gentle heat, making them the perfect cocktail-hour nibble or addition to a cheese board. Best of all, the dough freezes beautifully, so you can keep a log on hand and bake off a fresh batch whenever the craving strikes.
1teaspoonDiamond Crystal Kosher salt,or 1/2 teaspoon Morton's Kosher salt
1teaspoonblack pepper
1/4 teaspooncayenne pepper
85gramspecans, toasted, cooled and coarsely chopped
60gramsRice Krispies cereal
Instructions
Fit a food processor with the metal blade. Add the flour, sugar, salt, black pepper, and cayenne pepper. Pulse 5 times to combine.
Add the butter and pulse 10–15 times, until the mixture resembles coarse crumbs. Add the cheddar, pecans, and Rice Krispies cereal. Pulse just until combined and the mixture is crumbly, about 30 seconds.
Turn the dough out onto a work surface and divide it in half. Shape each portion into a log about 1½ inches (4 cm) in diameter, and about 8 inches long. Wrap each log tightly in wax paper.
Refrigerate for at least 2 hours, or up to 2 days.
Preheat the oven to 350°F. Slice the chilled logs into 1/3-inch-thick rounds and arrange them on parchment-lined baking sheets, leaving about 1 inch between biscuits.
Bake until lightly golden around the edges, 14–16 minutes. Let the biscuits cool on the baking sheet for 5 minutes, then transfer to a wire rack to cool completely.
Notes
The unbaked logs can be frozen for up to 3 months. Thaw slightly, then slice and bake as directed.
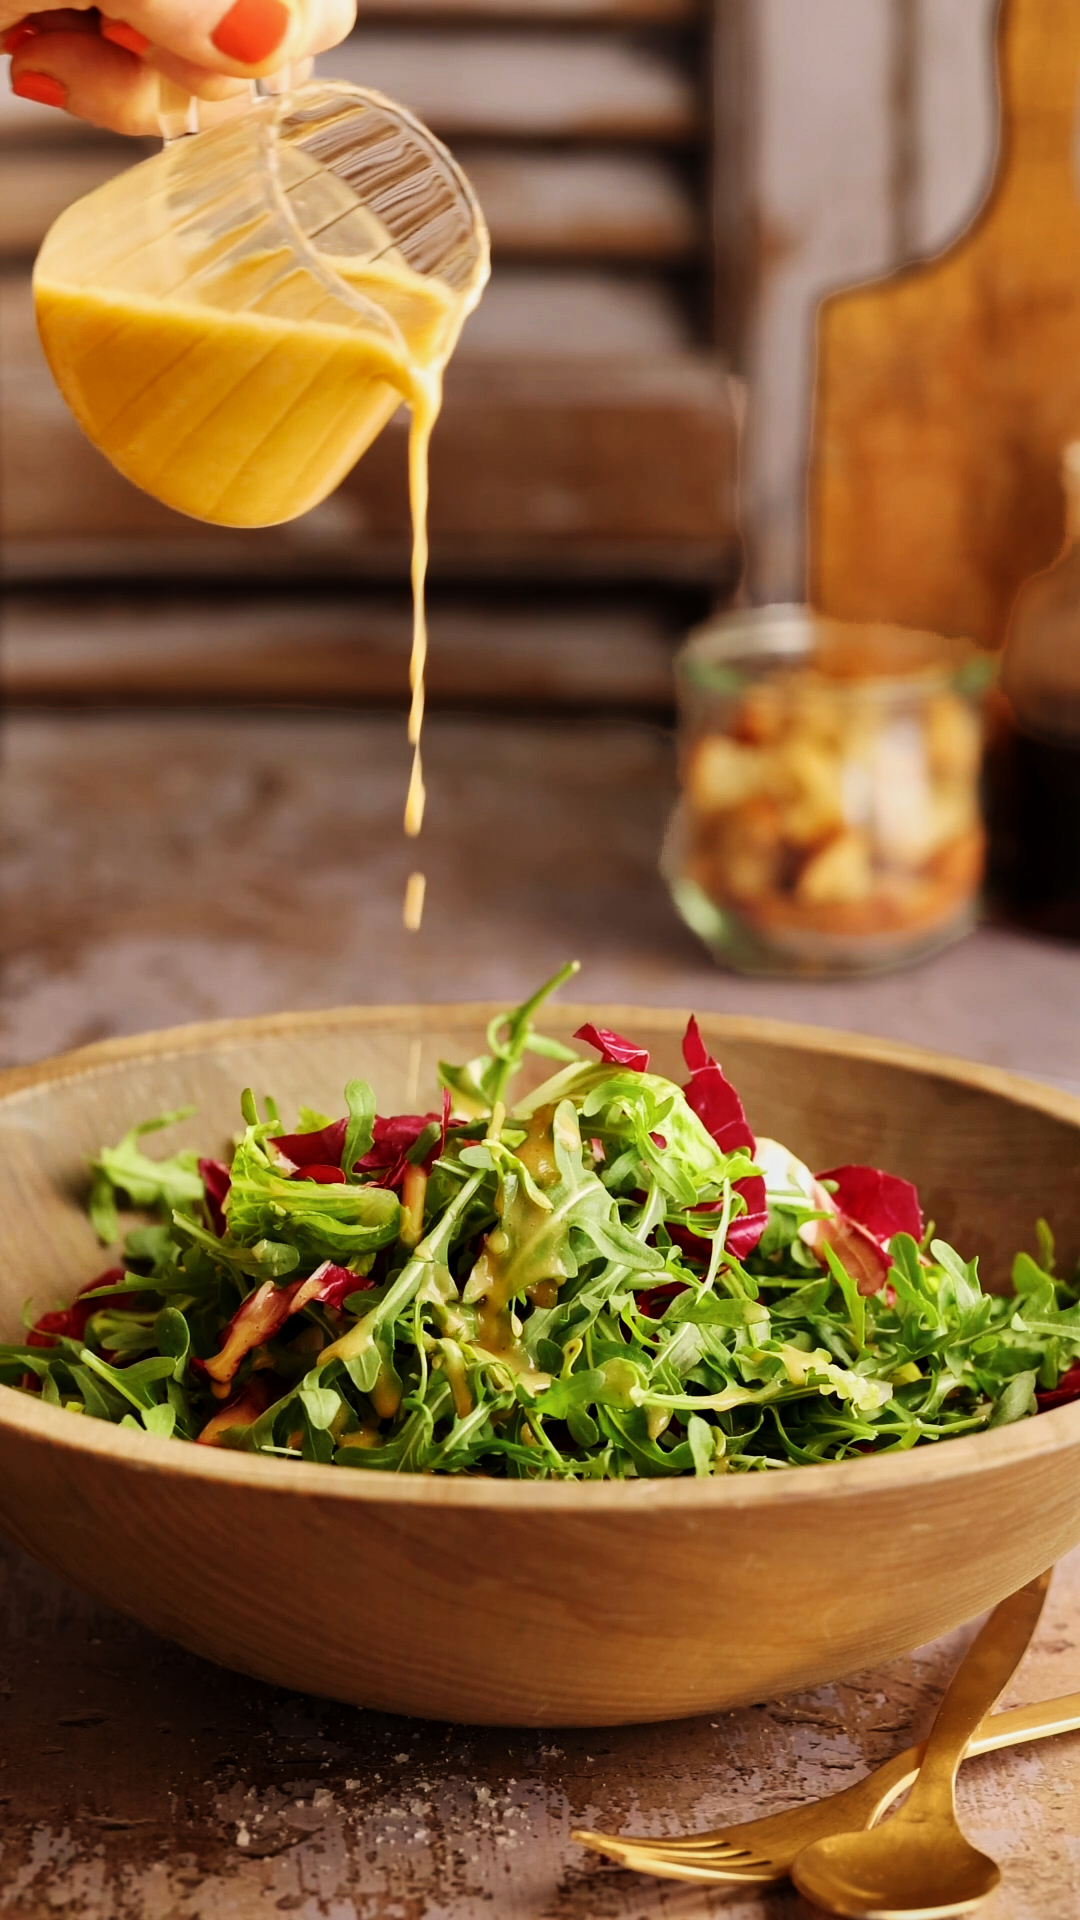
After a long Ottawa winter, I have a tendency to get a little carried away when spring produce finally arrives. Asparagus? Into the basket. Peas? Absolutely. Rhubarb? Always. While I usually save rhubarb for desserts, this year I found myself wondering whether those tart pink stalks could do double duty in something savoury. That curiosity led to this Spring Greens Salad with Rhubarb Vinaigrette. The dressing is bright, tangy, and beautifully pink, and it pairs perfectly with spring greens, strawberries, creamy Brie, and candied spiced nuts. It’s the kind of salad that makes me genuinely excited to eat my greens.
I’m firmly on Team Texture when it comes to salads. If every bite tastes and feels the same, I lose interest pretty quickly. This salad has crunch from the Little Gem lettuce and candied spiced nuts, sweetness from strawberries, honey, and the candied coating on the nuts, and creamy richness from the Brie. The rhubarb vinaigrette brings a bright tang, while a little Aleppo pepper in the spice mix adds just enough heat to keep things interesting. I also love the slightly bitter, peppery bite of arugula. It balances the sweetness of the berries and candied nuts and makes every other flavour pop a little more. And can we talk about the colours? Between the pink dressing, red berries, and fresh green lettuces, this salad practically screams spring.
Keys to Success:
1. Homemade candied nuts are worth it, but store-bought works too. Short on time? Feel free to use your favourite store-bought candied nuts. That said, homemade candied nuts are surprisingly easy to make and keep well for several weeks in an airtight jar. I used a combination of pistachios, walnuts, and pecans, but this recipe is very forgiving. Use whatever nuts you have on hand.
2. Choose a cheese you love. Not a Brie fan? No problem. Havarti, Gouda, or a good aged cheddar would all work beautifully here. The goal is a creamy, flavourful cheese that balances the tangy dressing.
3. Use whatever blending tool you have. A high-speed blender creates an especially smooth rhubarb vinaigrette, but an immersion blender or food processor will also do the job. Blend until the dressing is silky and no chunks of rhubarb remain.
4. Dry your greens thoroughly. Waterlogged lettuce is the enemy of a good salad. After washing your greens, spin or pat them dry so the dressing clings to the leaves instead of sliding off.
5. No Little Gem? Use romaine hearts. I love Little Gem for its sweet flavour and crisp texture, but romaine hearts are an excellent substitute and much easier to find in some areas.
6. Platter or bowl—your choice. I like arranging all the components on a large platter because the colours look so beautiful and everyone can see what’s in the salad. If you’re serving a crowd or prefer a more casual presentation, toss everything together in a large bowl instead.
7. Don’t overdress the salad. The rhubarb vinaigrette is bright and flavourful, so a little goes a long way. Start with about two-thirds of the dressing, toss gently, and add more as needed. You can always add more dressing, but you can’t take it away. Keeping the greens lightly coated helps preserve all those wonderful textures.
Spring Greens Salad with Rhubarb Vinaigrette
This Spring Greens Salad with Rhubarb Vinaigrette combines crisp Little Gem lettuce, peppery arugula, sweet strawberries, creamy Brie, and candied spiced nuts with a bright, tangy rhubarb dressing. It’s a colourful celebration of spring flavours and textures.
300gramsassorted nuts,(about 3 cups). I used pecan halves, walnut halves, and shelled pistachios.
50gramsgranulated sugar
4 teaspoonsDiamond Crystal Kosher salt, or 2 teaspoons Morton Kosher salt
1/2teaspoonAleppo pepper
1largeegg white
Rhubarb Vinaigrette
150gramsrhubarb, sliced into 1-inch pieces
1 cupwater
3Tablespoonsmaple syrup
1 teaspoonDijon mustard
2Tablespoonssherry vinegar or red wine vinegar
1/3cup extra-virgin olive oil
Salad Ingredients
400gramsmixed spring greens(about 7–8 cups loosely packed). I used a mix of Little Gem, arugula, frisée, and pea shoots.
1pint strawberries, sliced
130gramsbrie,cut into 1-inch pieces
Instructions
Make Candied Spiced Nuts
Preheat oven to 350°F.
In a small bowl, combine the sugar, salt, and Aleppo pepper. Set aside.
In a medium bowl, lightly whisk the egg white until frothy. Add the nuts and toss until evenly coated. Sprinkle the spice mixture over the nuts and toss again until well coated.
Spread the nuts in an even layer on a parchment-lined baking sheet. Bake for 15–20 minutes, stirring once halfway through, until lightly golden and dry to the touch.
Let cool completely. The nuts will crisp as they cool. Break apart the clusters and roughly chop before using. Store extras in an airtight container at room temperature.
Make Rhubarb Vinaigrette
Place the rhubarb and water in a medium saucepan. Bring to a simmer over medium heat, then cover and cook until the rhubarb is very soft, about 10 minutes.
Drain the rhubarb well and discard the cooking liquid. Transfer the softened rhubarb to a blender and add the maple syrup, Dijon mustard, vinegar, and olive oil. Blend until smooth and creamy. Taste and adjust seasoning if needed.
Assemble Salad:
Place the greens in a large bowl and toss with about ¼ cup of the rhubarb vinaigrette, adding more as needed to lightly coat the leaves. Season with salt and pepper.
Transfer to a platter or shallow serving bowl. Top with the strawberries, brie, and about ½ cup of the candied spiced nuts. Serve immediately
Notes
The colour of the vinaigrette will vary depending on the colour of your rhubarb stalks.Do not attempt making spiced candied nuts on a very humid day. They will not dry our properly and will be very sticky after baking.You will only need about 1/2 cup of the Candied Spiced Nuts in the salad. Store extra in an airtight container at room temperature. They will last for several weeks. Do not attempt making these on a very humid day. They will not dry our properly and will be very sticky after baking.
I set out to see whether rhubarb could make a good salad dressing, and honestly, I wasn’t sure how the experiment would turn out. The fact that my husband went back for seconds tells me everything I need to know. This salad has quickly become one of my favourite ways to enjoy rhubarb season, and I hope you’ll give it a try. If you do, leave a comment below and let me know where you stand on the great rhubarb debate.
In Ottawa, spring feels more like a romantic ideal than an actual season. We go from freezing temperatures to a few perfect cool days, and then suddenly we’re sweltering. So by the time asparagus, peas, dill, and mint start showing up at the market, I completely lose all self-control. After a long winter of root vegetables and heavy comfort food, I get so greedy for anything green that I inevitably come home with far more spring produce than I had any actual plans for. Please tell me I’m not the only one who does this.
This Spring Couscous Salad with Asparagus & Peas is exactly the kind of thing that comes out of that first haul of spring vegetables and herbs. Chewy pearl couscous, crisp asparagus, sweet peas, loads of dill and mint, tangy pickled shallots, toasted almonds, and plenty of Parmesan for that salty umami hit. It’s bright, fresh, full of texture, and has officially worked its way into my spring rotation.
Spring Couscous Salad with Asparagus and Peas
This springtime Israeli couscous salad is bright, fresh, and full of texture. Chewy pearl couscous is tossed with sweet asparagus, peas, creamy avocado, crunchy toasted pistachios, and tangy pickled shallots, then finished with a lemony herb dressing and plenty of fresh herbs. It’s the kind of salad that feels substantial enough for dinner but still light and vibrant — basically everything you want to eat during those fleeting perfect spring days.
1teaspoonDiamond Crystal Kosher salt, or 1/2 teaspoon Morton's Kosher salt
2teaspoonshoney
2 Tablespoons white wine vinegar
2 Tablespoonsfresh dill leaves
2Tablespoonsfresh mint leaves
1/2cupextra virgin olive oil
Salad Ingredients
454gramsasparagus
1cuppearl (Israeli) cous cous
1/2cupfrozen peas, thawed
1/2cupfresh dill leaves, coarsely chopped
1/2cupfresh mint leavescoarsely chopped
Garnish
1/4cupalmonds, toasted and coarsely chopped
60gramsParmesan Reggiano, shaved with vegetable peeler or grated
Instructions
Make Pickled Shallots
Place vinegar, water, sugar, salt and dried hibiscus flowers, in a small saucepan and bring to a simmer over medium heat, stirring until the sugar, and salt dissolve, about 2 minutes.
Place sliced shallots in a small heatproof bowl. Set a fine-mesh sieve over the bowl and pour the hot pickling liquid over the shallots, straining out the hibiscus flowers. Let sit for at least 30 minutes, until the shallots soften and turn a vibrant pink.
Make Dressing
Using a garlic press or microplane, grate garlic into a blender jar. Add lemon juice and let sit for 2 minutes to mellow the raw garlic flavour.
Add Dijon, salt, honey, white wine vinegar, dill, and mint. Blend until herbs are finely chopped, about 30 seconds.
With the blender running on medium speed, slowly drizzle in the olive oil and blend until emulsified.
Prepare salad Ingredients
Bring a large pot of generously salted water to a boil.
While water is coming to a boil, trim off woody ends of asparagus spears. Use a vegetable peeler to peel bottom 2 inches of stalk. Cut asparagus on the bias, into 1.5-inch pieces.
Add asparagus and blanch until bright green and crisp-tender, 2–3 minutes. Using a spider or slotted spoon, transfer to an ice bath to stop the cooking and preserve the vibrant green colour. Drain well and set aside.
Return the water to a boil, add the couscous, and cook until tender with a slight chew, about 10-12 minutes. Drain well and let cool slightly.
Assemble Salad
In a large bowl, combine the couscous, asparagus, peas, pickled shallots, dill, and mint. Add 1/4 cup of the dressing and toss well to combine. Taste and add additional dressing, salt, and pepper as needed. Extra dressing keeps in fridge for about a week.
Transfer to a serving bowl or platter. Use a vegetable peeler to shave Parmesan over the salad, then scatter with toasted almonds and additional herbs, if desired.
Peel the Bottom of the Asparagus Stalks It’s a small extra step, but peeling the lower 2 inches of the asparagus stalks makes a noticeable difference in texture, especially when using thicker spears. The result is tender asparagus from tip to end, with none of the stringiness.
Choose Thick Asparagus Spears This is not the moment for skinny asparagus. Thick asparagus spears are sweeter, juicier, and far more satisfying in a salad like this. Since they’re blanched briefly, they stay crisp-tender while still delivering great flavour and texture.
Add Dried Hibiscus Flowers for Vibrant Pink Shallots A tablespoon of dried hibiscus flowers added to the pickling liquid intensifies the colour of the shallots, turning them the prettiest vivid pink. They don’t add much flavour, but they make the salad look especially beautiful against all the greens.
Always Toast Your Nuts Toasting the almonds deepens their flavour and makes them much crunchier. Raw nuts can taste flat in a salad, while toasted nuts add warmth, texture, and contrast.
Use Pearl Couscous, Not Regular Couscous For this recipe, you want pearl (Israeli) couscous, not the tiny grains of regular couscous. Pearl couscous has a chewy, bouncy texture that holds up beautifully against the crisp asparagus and crunchy almonds.
Shock the Asparagus in Ice Water After blanching, transfer the asparagus immediately to an ice water bath. This stops the cooking, keeps the asparagus crisp-tender, and helps preserve that vibrant spring-green colour.
Ingredient Substitutions & Variations
Sugar snap peas — crisp, sweet, juicy; probably the best addition.
English peas/fava beans combo — feels very spring market.
Shaved raw zucchini — delicate ribbons would work beautifully with the herbs.
Blanched green beans — especially skinny haricots verts.
Baby spinach or arugula — folded in at the end for extra freshness.
Thinly sliced fennel — adds crunch and a subtle anise note that works with dill and mint.
Radishes — peppery crunch and great colour contrast.
Blanched broccolini — if you want a slightly heartier version.
Fresh shelled edamame — less classic spring, but great texture and protein.
Tender baby kale — for a greener, more substantial salad.
Feta instead of Parmesan for a sharper salty hit
Pistachios instead of almonds
Basil added alongside mint/dill later in summer
Burrata on top if serving as more of a main-course platter
This is the kind of salad that makes me genuinely excited to cook in the spring. The combination of chewy pearl couscous, crisp asparagus, sweet peas, fresh herbs, tangy pickled shallots, crunchy almonds, and salty Parmesan just works. It’s bright, full of contrasting textures and exactly what I want to eat during that short stretch between winter comfort food and full summer cooking.
Let me know if you make it, I’m curious to know what spring produce you’re most excited about right now. Are you team asparagus, peas, ramps, rhubarb… or something else entirely?
This Gluten Free Chocolate Cake with Mocha Buttercream is the cake I make for my youngest son every year.
He follows a gluten free and dairy free diet, and over time this has become his cake—the one he asks for, without fail. The base is adapted from America’s Test Kitchen, but the espresso soak and mocha buttercream are my additions, bringing extra depth and richness.
It’s rich, deeply chocolatey, with a tender, ultra-moist crumb, exactly what you want from a great chocolate cake. And every time I serve it, everyone is surprised it’s gluten free.
If you’re wondering why this cake is decorated with Smarties, it goes back to when my son was little. I wasn’t sure if he might be colour blind like his dad, and every answer to “what colour is this?” was “green”—with a giggle. So I started testing him. I’d hold up a Smartie and ask the colour. If he got it right, he got to eat it. He passed with flying colours, and somehow that little test became a tradition. This is still his birthday cake, every year.
Watch it come together:
Keys to Success:
Use a good gluten-free flour blend. Not all gluten-free flour blends behave the same way. I use Bob’s Red Mill 1:1 Baking Blend, which already contains xanthan gum. If your blend doesn’t, make sure to add it—it’s what gives the cake structure and keeps it from crumbling.
Sift the cocoa powder. Cocoa powder loves to clump, and those lumps don’t always dissolve properly. A quick sift ensures a smooth, evenly mixed batter and a more consistent chocolate flavour throughout.
Don’t skip the chocolate + cocoa step. Melting the chocolate with the oil and cocoa powder might seem like an extra step, but it’s what gives this cake its deep, rich chocolate flavour. It also helps create that smooth, cohesive batter that bakes up beautifully tender.
Let the chocolate mixture cool slightly. You don’t want it hot when it goes into the eggs. Warm is fine—hot can scramble them. Give it a few minutes so everything stays smooth.
Weigh your ingredients. This is especially important with gluten-free baking. A little too much flour can make the cake dense, while too little can affect structure. A kitchen scale takes the guesswork out and gives you consistent results.
Don’t over bake. Gluten-free cakes can go from perfectly tender to dry quickly. Start checking at 18 minutes. You’re looking for a few moist crumbs on the toothpick—not a completely dry one.
Chill the cake layers before frosting. A short chill (20–30 minutes) makes the layers easier to handle and reduces crumbs when frosting. It’s a small step that makes a big difference in how clean your final cake looks.
Use the espresso syrup lightly. The syrup adds moisture and enhances the chocolate flavour, but you don’t want to soak the layers. A light brush is all you need.. This recipe makes more syrup than you’ll need. The extra keeps well in the fridge for up to a month—perfect for brushing onto other cakes or even adding to coffee.
Make sure your meringue is fully cooled. Before adding the butter, the bowl should feel completely neutral—not warm at all. If it’s even slightly warm, the buttercream can turn soupy.
Don’t panic if the buttercream looks curdled. It almost always does at some point. Just keep mixing—it will come together into a smooth, silky buttercream.
Let the cake sit before serving. If you’ve refrigerated it, let the cake sit at room temperature for 20–30 minutes before serving. The buttercream softens, and the texture of the cake is at its best.
This is a rich, ultra-moist gluten free chocolate cake layered with silky mocha Swiss meringue buttercream and brushed with espresso syrup for depth. Based on an America’s Test Kitchen recipe, it’s the kind of cake that just happens to be gluten free—not the other way around.
1 candy thermometer or instant read digital thermometer
1 electric stand mixer
3 8 inch cake pans
Ingredients
Cake
238gramsvegetable oil or sunflower oil
204gramsbittersweet or semisweet chocolate, coarsely chopped into 1/4 inch chunks
68gramsunsweetened cocoa powder,sifted
240gramsGluten free flour blend,(I like Bob's Red Mill Gluten Free 1 to 1 Baking Blend)
1 1/2 teaspoonsbaking powder
1teaspoonbaking soda
1teaspoonDiamond Crystal Kosher salt,or 1/2 teaspoon Mortons kosher salt
1teaspoonxanthan gum,only if your gluten-free flour blend does not already contain it.
5largeeggs
2teaspoonsvanilla bean paste or vanilla extract
360gramsgranulated sugar
290 gramswhole milk, or coconut milk for a dairy-free option
Coffee Simple Syrup
1/2cupwater
1/2cup granulated sugar
1Tablespooninstant espresso powder
Mocha Swiss Meringue Buttercream
260gramsbittersweet or semisweet chocolate,chopped coarsely into 1/4 inch pieces
180gramsegg whites, about 6 egg whites
260gramsgranulated sugar
454gramsunsalted butter,or vegan butter for dairy-free option, room temperature, cut into 1/2 inch cubes
2Tablespoonsinstant espresso powder
2Tablespoonsboiling water
1Tablespoonvanilla bean paste or vanilla extract
Instructions
Prepare baking pans:
Adjust an oven rack to the lower-middle position and preheat the oven to 350°F. Grease three 8-inch round cake pans and line the bottoms with parchment paper circles.
Make cake:
In a medium microwave-safe bowl, microwave the oil, chocolate, and cocoa powder at 50% power, stirring occasionally, until the chocolate is melted, 1 to 2 minutes. Whisk until smooth and set aside to cool slightly.
In a separate bowl, whisk together the gluten-free flour blend, baking powder, baking soda, salt, and xanthan gum, if using.
In a large bowl, whisk together the eggs and vanilla. Add the sugar and whisk until well combined. Whisk in the cooled chocolate mixture and the milk until smooth. Add the dry ingredients and switch to a rubber spatula, stirring until the batter is smooth and fully combined.
Divide the batter evenly among the prepared pans and smooth the tops. Bake for 18 to 20 minutes, until a toothpick inserted in the centre of a cake comes out clean.
Let the cakes cool in the pans on a wire rack for 10 minutes. Run a knife around the edges to loosen, then turn the cakes out onto the rack, peel off the parchment, and let cool completely, about 1 hour.(The cake layers can be wrapped tightly in plastic wrap and stored at room temperature for up to 1 day.)For easiest assembly, chill the cake layers for 20 to 30 minutes before frosting.
Make coffee simple syrup:
In a small saucepan, combine the water and sugar. Bring to a boil over high heat and cook just until the sugar dissolves. Remove from the heat and stir in the espresso powder. Pour into a glass measuring cup or small bowl and refrigerate until chilled.
Make buttercream:
Place the chocolate in a glass measuring cup or microwave-safe bowl. Microwave at medium power for 2 minutes, then stir well. If needed, microwave for another 30 seconds at medium power and stir until completely melted. Set aside to cool.
Place the egg whites and sugar in the bowl of a stand mixer and whisk by hand just until combined.
Set up a double boiler: Fill a saucepan with a few inches of water and bring it to a simmer. Set the mixer bowl over the saucepan, making sure the bottom of the bowl does not touch the water.
Cook the egg white mixture over the simmering water, whisking occasionally, until it reaches 160°F on a candy thermometer. It should feel very warm and the sugar should be fully dissolved.
Once the mixture reaches 160°F, carefully return the bowl to the stand mixer. Using the whisk attachment, beat on high speed for about 8 minutes. If the bowl still feels warm, continue beating until it has cooled to room temperature. The meringue should be glossy and hold medium-stiff peaks. Switch to the paddle attachment.
With the mixer on medium-low, add the butter a few pieces at a time. Scrape down the bowl as needed. The mixture may look curdled at one point, but keep mixing and it will come together.If the buttercream looks too soft or loose at this stage, chill it briefly, then beat again until smooth.
In a small bowl, stir together the espresso powder and boiling water until dissolved. Add the espresso mixture and vanilla to the buttercream and mix on medium speed for about 20 seconds. Reduce the speed to low and drizzle in the cooled melted chocolate.
Increase the speed to medium and beat until the buttercream is silky smooth, about 2 minutes more.
Assemble and frost cake:
Place one cake layer on a serving platter or cake stand. Tuck 4 small strips of waxed paper under the edges of the cake to keep the platter clean while frosting.Brush the top of the layer with some of the espresso simple syrup—just enough to moisten the cake without soaking it. Spread about 1/2 cup of buttercream over the top with an offset spatula.Repeat with the second and third layers.If you want a very clean finish, apply a thin crumb coat and chill the cake for 15 to 20 minutes before adding the final layer of buttercream.Frost the top and sides of the cake, then smooth the buttercream with an offset spatula or bench scraper.
Carefully remove the waxed paper strips. Refrigerate the cake until ready to serve.
What started as a little Smarties test turned into a birthday tradition that stuck. It’s still the cake he asks for every year. It may be gluten-free and dairy-free, but that’s beside the point. It’s just a really good chocolate cake—rich, tender, and quietly a bit luxurious.
This Blood Orange Coconut Bundt Cake with Poppy Seeds is the kind of cake I like to keep on the counter all week long.
It’s the kind of cake where you tell yourself you’ll cut a tiny slice, just to even it off, — and somehow you’re back in the kitchen an hour later trimming another one.
Poppy seeds are most often paired with lemon, but they work just as beautifully with orange. Add coconut to the mix and the whole thing leans a little tropical. The batter is scented with plenty of blood orange zest and studded with sweetened shredded coconut and poppy seeds for a bit of texture. I tested the recipe with both buttermilk and coconut milk, and coconut milk was the clear winner. It makes the cake richer and more tender without giving it a strong coconut flavour.
Why You’ll Love This Blood Orange Coconut Bundt Cake
Bright citrus flavour from plenty of blood orange zest
Tender crumb thanks to coconut milk
Great texture from shredded coconut and poppy seeds
Even better on day two when the flavours settle
Keys to Success
1. Use Fresh Blood Orange Zest:
Blood orange zest does most of the flavour work in this blood orange coconut cake, so be sure to zest the fruit before juicing it and avoid the bitter white pith. The oils in the zest are what give the cake its vibrant citrus aroma.
2. Weigh Your Ingredients
For consistent results, use a kitchen scale. Baking by weight eliminates the guesswork that comes with measuring cups and ensures the cake turns out exactly as intended every time.
3. Don’t Overmix the Batter
Once the flour is added, mix just until combined. Overmixing can develop gluten and lead to a tougher crumb instead of the soft texture you want in a Bundt cake.
4. Prep the Bundt Pan Thoroughly
Bundt cakes have lots of crevices, which makes them prone to sticking. Grease every detail of the pan well and lightly flour it to guarantee a clean release.
5. Let the Cake Cool Before Glazing
Allow the cake to cool completely before adding the glaze. If the cake is still warm, the glaze will melt and run off instead of setting into a smooth finish.
6. Adjust the Glaze Consistency
Add blood orange juice to the icing sugar gradually until the glaze is thick but pourable. If it becomes too thin, simply whisk in a little more icing sugar.
How to make Blood Orange Coconut Bundt Cake with Poppyseeds
Blood Orange Coconut Bundt Cake with Poppy Seeds
This Blood Orange Coconut Bundt Cake with Poppy Seeds is a tender citrus Bundt cake finished with a bright blood orange glaze. Coconut milk keeps the crumb rich and soft, while shredded coconut and poppy seeds add great texture.It’s the kind of cake that sits on the counter all week, disappearing slice by slice — and it tastes even better on day two.
1Tablespoonblood orange zest, reserved from the oranges used for the cake
1Tablespoonpoppy seeds
2Tablespoons sweetened shredded coconut, toasted
For the glaze:
300gramsicing sugar, sifted
6Tablespoonsblood orange juice,reserved from juicing the oranges
2Tablespoons corn syrup
pinchDiamond Crystal Kosher salt
Instructions
Make Non-stick coating
In a small bowl, whisk together flour, oil and shortening until smooth.
Make cake:
Preheat the oven and prepare the pan: Preheat the oven to 325°F. Using a pastry brush, generously coat the inside of a 10-inch Bundt pan with the non-stick mixture, making sure to get into all the crevices, including the centre tube. Set aside.
Zest and juice the blood oranges: Finely grate 4 tablespoons of zest from the blood oranges. Set aside 1 tablespoon for the garnish and use the remaining 3 tablespoons in the cake batter.Juice the oranges until you have 3/4 cup juice. Set aside 6 tablespoons for the cake batter and 6 tablespoons for the glaze.
Mix the dry ingredients: In a large bowl, whisk together the flour, sugar, baking powder, baking soda, and salt.
Mix the wet ingredients: In a medium bowl, lightly whisk the eggs. Add 3 tablespoons blood orange zest, 6 tablespoons blood orange juice, the oil, coconut milk, sour cream and vanilla. Whisk until smooth and well combined. Whisk in the shredded coconut and poppy seeds.
Combine the batter: Pour the wet ingredients into the dry ingredients. Using a rubber spatula, fold gently just until no dry streaks remain. Do not over mix.
Pour liquid ingredients into bowl of dry ingredients. Use a rubber spatula to mix everything together.
Fill the pan and bake: Scrape the batter into the prepared Bundt pan and smooth the top. Bake for 30 minutes. Loosely cover the cake with foil and continue baking for 20 minutes more, or until a cake tester or skewer inserted into the centre comes out clean.For extra precision, an instant-read thermometer inserted into the centre of the cake should register 200–205°F.
Cool: Let the cake cool in the pan for 20 minutes, then carefully invert it onto a wire rack. Let it cool completely before glazing.
Mix garnish ingredients: In a small bowl mix together zest, poppy seeds and coconut.
Garnish and glaze
Make the garnish: In a small bowl, stir together the reserved blood orange zest, poppy seeds, and toasted coconut.
Glaze the cake: In a medium bowl, whisk together the icing sugar, blood orange juice, corn syrup, and salt until smooth. Spoon or pour the glaze over the cooled cake, letting it drip naturally down the sides. While the glaze is still wet, sprinkle the top with the garnish mixture. Let the glaze set for about 1 hour before slicing and serving.
Can I use regular oranges instead of blood oranges?
Yes. Navel or Cara Cara oranges work well. The glaze will be pale instead of pink, but the flavour will still be bright and citrusy.
What size Bundt pan should I use?
This recipe is designed for a 10–12 cup Bundt pan. Fill the pan about ¾ full so the cake has room to rise.
Can this cake be baked in loaf pans instead of a Bundt pan?
Yes. Divide the batter between two 9×5-inch loaf pans and begin checking for doneness around 35-40 minutes.
Can this cake be frozen?
Yes. Slice the cake and wrap individual pieces well. Store in the freezer for up to two months. Thaw at room temperature.
Does the cake really taste better on day two?
Yes. Like many Bundt cakes, the flavour improves as it sits and the crumb becomes even more tender.
If you’re looking for a cake that feels a little special but still fits easily into everyday baking, this Blood Orange Coconut Bundt Cake is a good one to add to your rotation. The bright citrus flavour, soft crumb, chewy bits of coconut, and delicate crunch from the poppy seeds mean every bite has a little something going on — exactly the way I like a cake to be. Leave it on the counter and watch it slowly disappear — or do what I often do and wrap a few slices for the freezer, where my husband inevitably goes foraging late at night.
Nothing makes my husband happier than a banana cake sitting on the counter, ready for him to slice at his whim all week long. (Unless of course it’s slices of this, tucked away in the freezer) This Brown Butter Banana Bundt Cake, created by Anna Olsen, takes that simple comfort and elevates it. Instead of just melting the butter, you brown it until it turns nutty and flecked with flavour, giving this banana cake a depth you don’t usually find. And while maple and banana might sound like an unusual pairing, the maple adds a gentle warmth that makes this cake feel just a little more special — and somehow even better the next day.
Keys to Success
Let the Butter Go Far Enough: Brown butter is what sets this banana Bundt cake apart. After it melts, it will bubble. Then it will foam. Keep going. You’re looking for golden brown flecks at the bottom of the pan and a nutty aroma. Don’t pull it off the heat too soon — that’s where the flavour lives. Tip: Transfer it immediately to a heatproof bowl so it doesn’t keep cooking in the hot pan.
Use Very Ripe Bananas: This isn’t the time for barely-speckled bananas. The darker and softer they are, the deeper the banana flavour and the sweeter the cake. If your bananas are just yellow, wait. It’s worth it.
Take Pan Prep Seriously: Bundt cakes are dramatic. They either release perfectly… or they don’t. Brush your pan generously with a mixture of vegetable oil, flour, and shortening, making sure to coat every ridge and corner. This extra step makes all the difference. Let the cake cool for 20 minutes before turning it out — too soon and it may break, too late and it can stick.
Bake to Temperature: In addition to testing with a cake skewer, use an instant-read thermometer for precision. Inserted into the centre, the cake should read 200–205°F when fully baked. This ensures a moist crumb without underbaking.
Brown Butter Banana Bundt with Maple Glaze
A deeply flavourful banana Bundt cake made with brown butter and maple syrup for rich, nutty depth. Finished with a glossy brown butter maple glaze, this tender cake improves in flavour over time and is perfect for slicing all week long. Recipe created by Anna Olsen.
1/2teaspoonDiamond Crystal Kosher salt,or 1/4 teaspoon Morton's Kosher salt
Maple Glaze
90gramsunsalted butter,cut into 1 inch cubes
60gramsmaple syrup
1Tablespoonmilk
162gramsicing sugar, sifted
1/4teaspoonDiamond Crystal Kosher salt,or 1/8 teaspoon Morton's Kosher salt
Instructions
Make Non-stick coating for pan
Whisk together flour, oil and shortening until smooth.
Make the Bundt Cake
Preheat and prepare the pan: Preheat the oven to 325°F. Using a pastry brush, very generously coat the inside of Bundt pan with the non-stick mixture. Don't forget the center post. Set pan aside.
Brown the butter: In a small saucepan over medium-high heat, melt the butter. Continue cooking until it foams, then turns golden brown with nutty-smelling brown flecks on the bottom, about 3 minutes after melting.Immediately transfer the butter to a heatproof bowl and let cool for 10 minutes.
Mix the wet ingredients: Pour the slightly cooled brown butter into a large mixing bowl. Whisk in the mashed bananas, sugar, and maple syrup until well combined.Whisk in the eggs and vanilla until smooth.
Add the dry ingredients: In a separate bowl, sift together the flour, baking soda, and salt.Add the dry ingredients to the banana mixture and gently fold just until combined. Do not over mix.
Bake: Scrape the batter into the prepared Bundt pan and smooth the top.Bake for 60–70 minutes, until a cake tester or skewer inserted into the centre comes out clean. You can also For extra precision, you can also use an instant-read thermometer — inserted into the centre of the cake, it should register 200–205°F when fully baked.
Cool: Let the cake cool in the pan for 20 minutes, then carefully turn it out onto a cooling rack.Allow the cake to cool completely before glazing.
Make Maple Glaze
Brown the butter: In a small saucepan, brown the butter as you did for the cake. This second batch will brown more quickly — about 1 minute.Transfer to a heatproof bowl and let cool for 5 minutes.
Whisk the glaze: Whisk in the maple syrup, milk, and icing sugar until smooth and pourable.
Glaze and set: Spoon or pour the glaze over the cooled Bundt cake, allowing it to drip naturally down the sides.Let the glaze set for about 1 hour before slicing and serving.
Banana cake will always be good. But browned butter makes it unforgettable. It’s a small extra step, but it changes everything — the aroma, the depth, the way people go back for a second slice. So take the time. Brown the butter. Your future self — and anyone lucky enough to grab a slice — will thank you.