Tag Archives: Fall Baking

Autumn Maple Shortbread Sandwich Cookies

I’ve never been particularly skilled at drawing. Even as a kid, my artistic ambitions far exceeded my actual abilities. But give me some cookie dough, a rolling pin and a few clever tools, and suddenly I’m creating edible art.

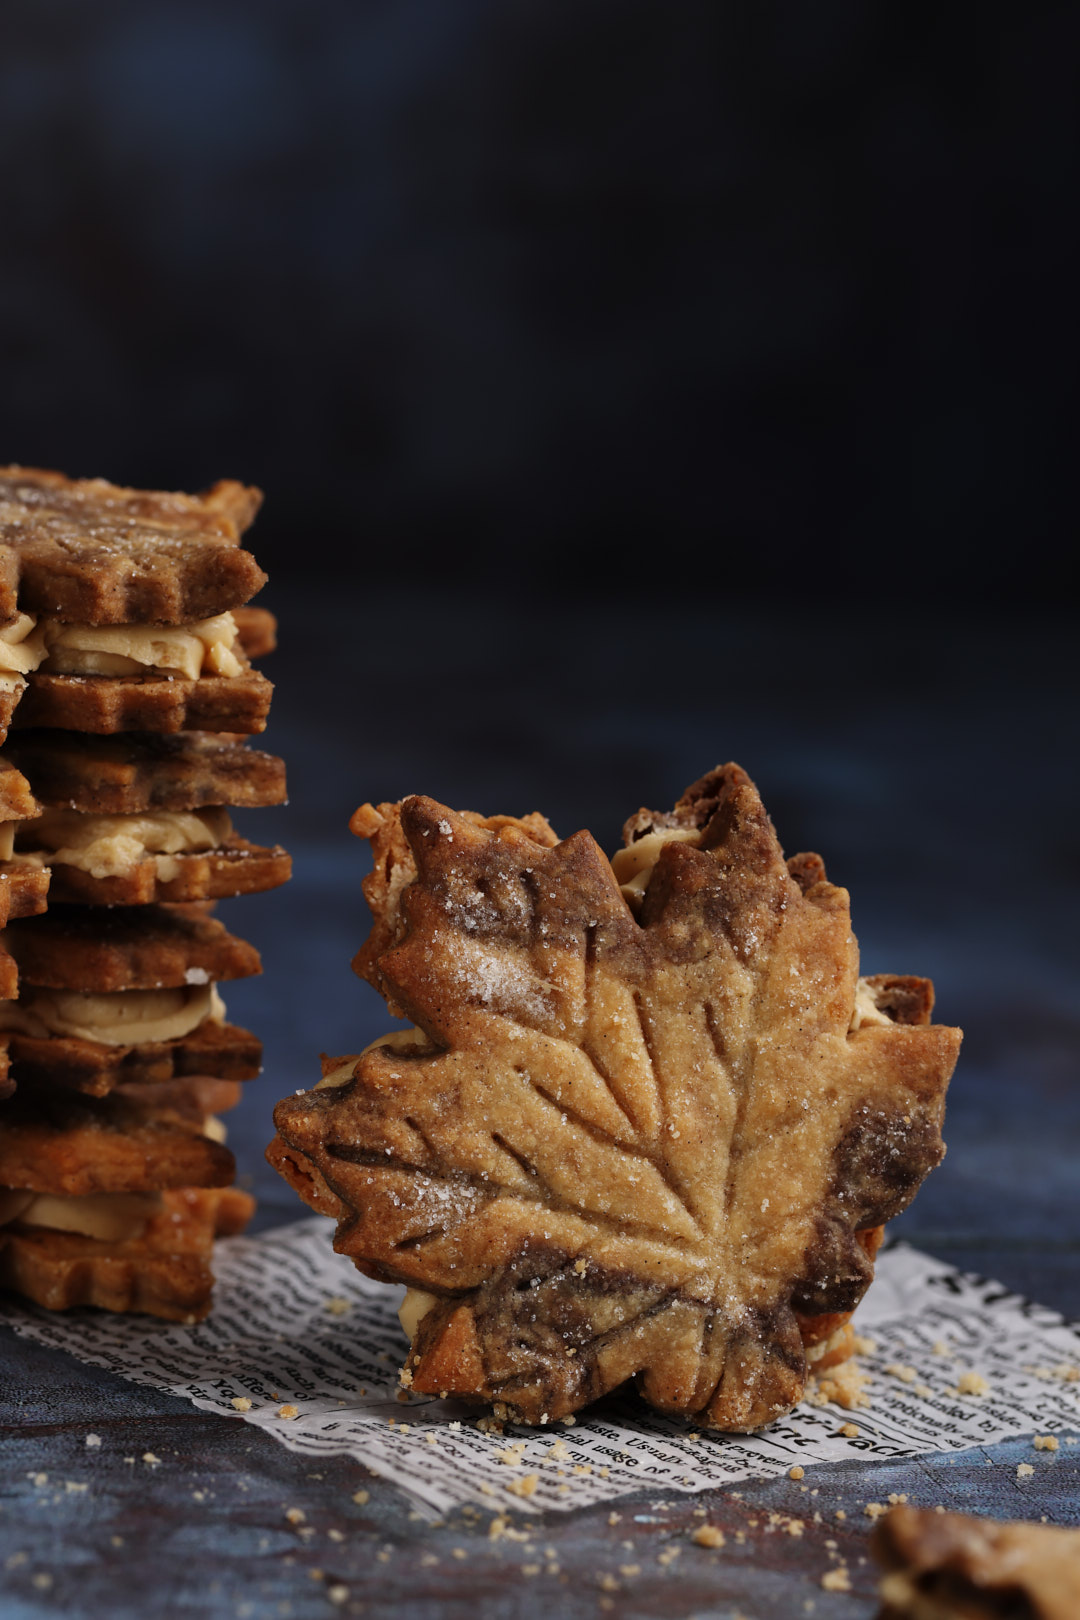
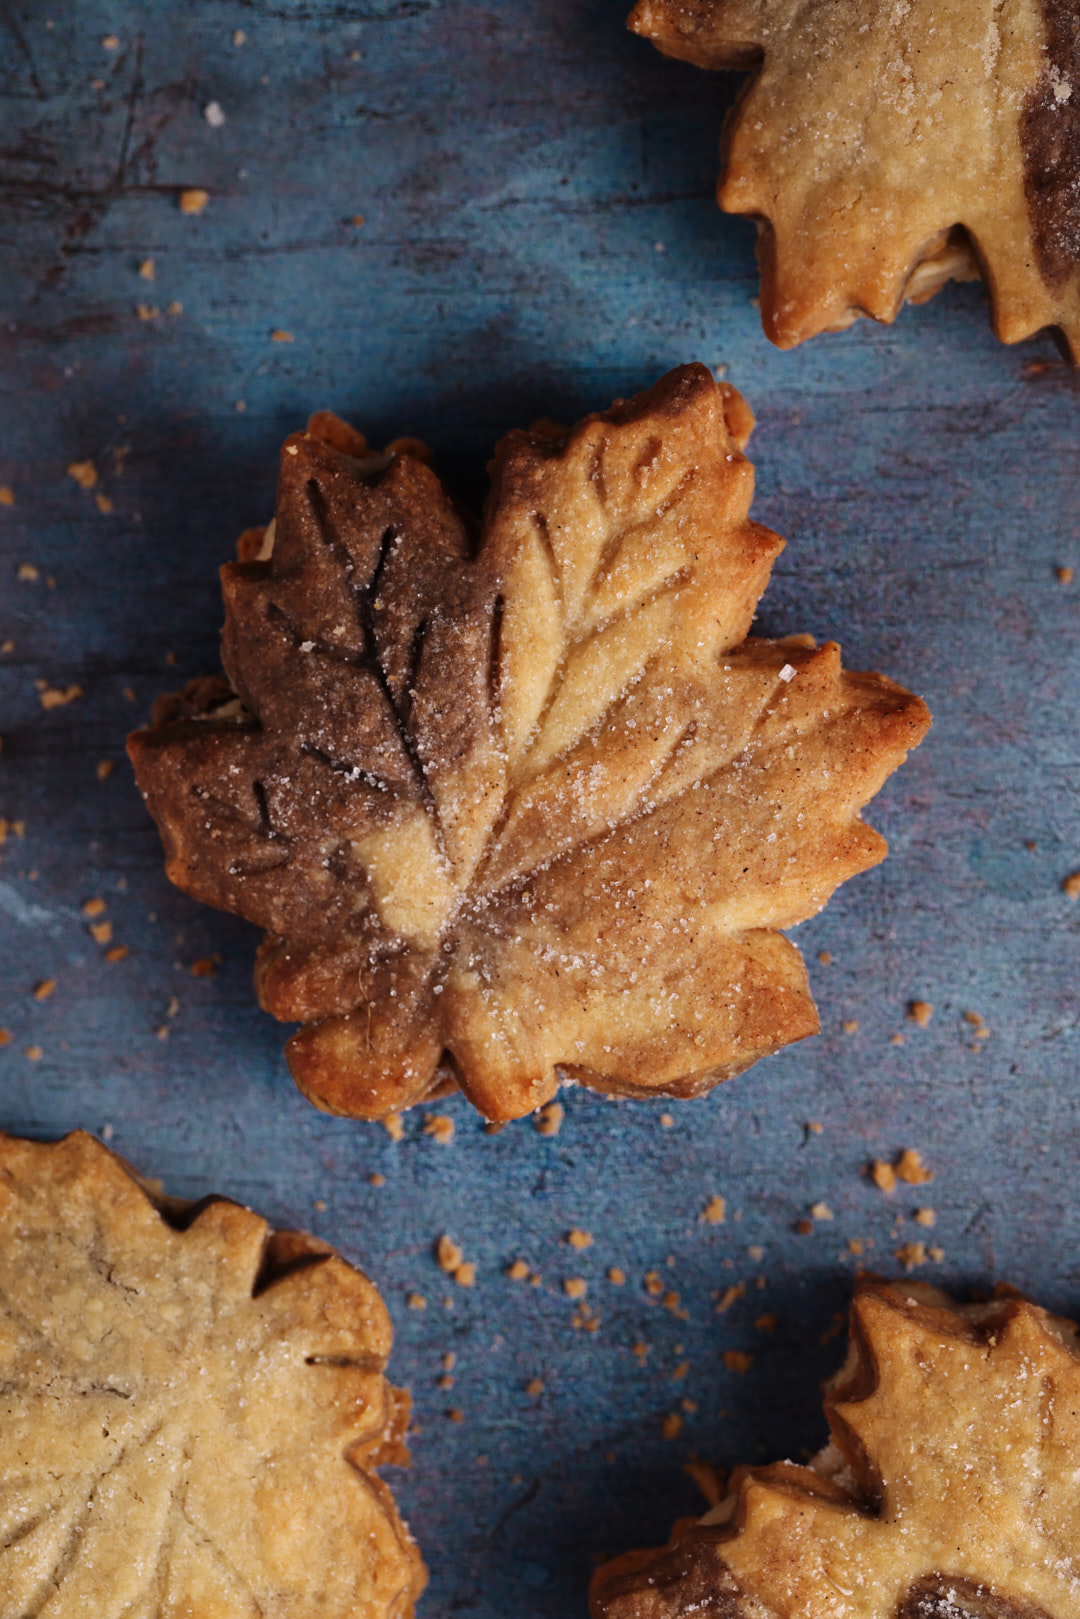
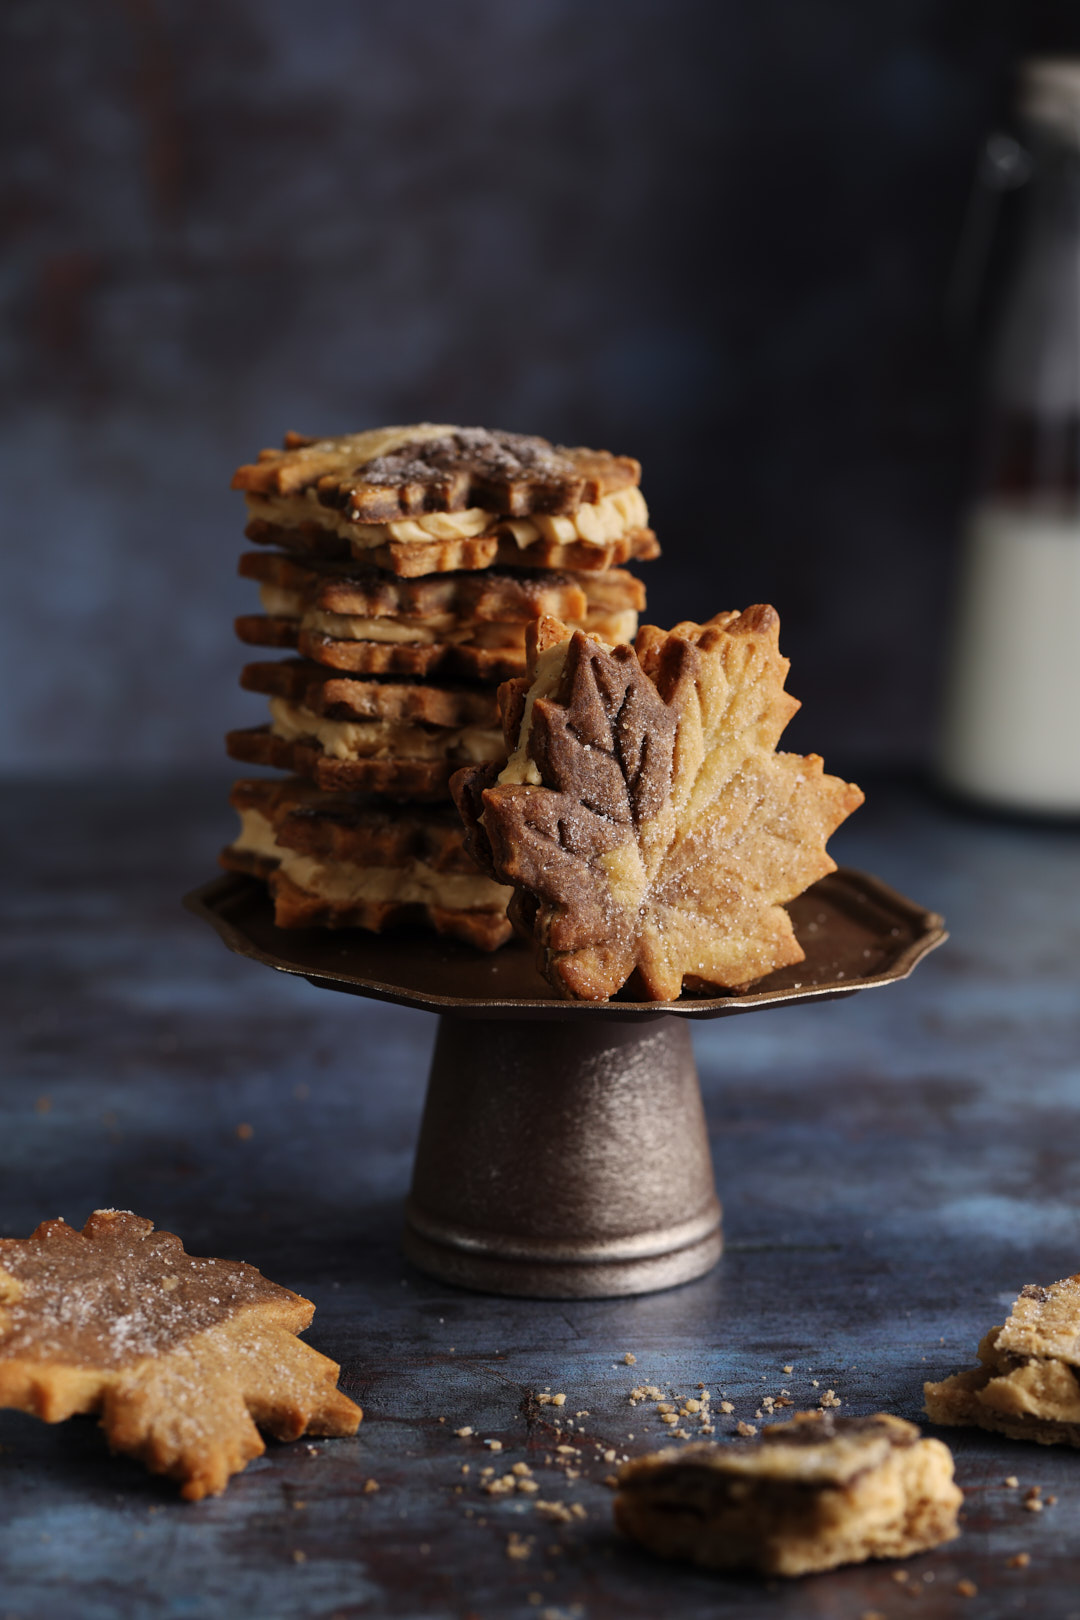
These Autumn Maple Shortbread Sandwich Cookies start with one batch of my favourite maple shortbread dough. I was inspired by Kat at The Loopy Whisk who uses a brilliant marbling technique to create beautiful cookies. I borrowed her technique, adding a little cinnamon and cocoa to my dough, then rolling and folding it into beautifully marbled autumn leaves. A maple leaf cutter and embosser do the artistic heavy lifting. I just get to take the credit.

If you’re Canadian, you know the iconic maple crème sandwich cookies. Those maple-leaf-shaped cookies with the sweet maple filling are practically a national institution. Consider these their slightly more sophisticated cousins. Buttery maple shortbread, beautifully marbled autumn leaves and a silky maple Italian meringue buttercream with a deeper, more pronounced maple flavour. Same nostalgic idea, just dressed up for a special occasion.

These cookies are a bit of a project. If you’re someone who loves a good cookie project, you’re going to have a wonderful time. If you’re looking for a one-bowl, stir-and-scoop situation, feel free to admire the pretty pictures and move on. No hard feelings.

That said, there are ways to simplify things. The maple shortbread cookies are delicious all on their own, so you can skip the filling entirely. Or, instead of making the maple Italian meringue buttercream, try this simpler American maple buttercream (It’s a little sweeter and doesn’t have quite the same depth of maple flavour, but it’s still absolutely delicious.
Keys to success in making Autumn Maple Shortbread Sandwich Cookies

  • Don’t overdo the marbling. The goal is to create distinct swirls and patches of colour, not blend everything into one uniform shade. A little rolling and folding goes a long way. Use gentle, even pressure when rolling to avoid muddying the colours or distorting the pattern. Stop while you can still see the individual colours.
  • Chill the dough before cutting. Chilling helps the dough hold its shape and gives you cleaner edges. But don’t let it get rock hard. If the dough cracks when you try to cut out the leaves, let it sit at room temperature for a few minutes until it’s slightly more pliable.
  • Give your embosser a little sugar dip. Dip the embossing tool into granulated sugar before pressing it into each cookie. This prevents sticking and helps create those beautiful, sharply defined veins.
  • Chill the cookies before baking. Once the leaves are cut and embossed, pop them back into the fridge. Cold dough helps the cookies hold their shape and preserves all that lovely detail in the oven.
  • Butter temperature matters for the buttercream. Ideally, your butter should be around 70°F (21°C)—soft but not greasy. If it’s too cold, the buttercream may look curdled or grainy. Don’t panic! It’s just a temporary emulsion issue, not a ruined buttercream. Keep whipping, and it should smooth out as the mixture warms slightly. If it remains curdled, gently warm the outside of the mixing bowl and continue whipping. If the buttercream becomes soupy instead, it’s likely too warm. Chill it briefly, then whip again.
Autumn Maple Shortbread Sandwich Cookies

Servings 28 sandwich cookies
Calories 243 kcal

Equipment

Ingredients
  

Maple Shortbread Cookies

  • 340 grams unsalted butter, softened slightly
  • 120 grams granulated sugar
  • 80 grams maple sugar
  • 490 grams all purpose flour
  • 1/4 teaspoon Diamond Crystal Kosher salt, or 1/8 teaspoon Morton's Kosher salt
  • 1 teaspoon vanilla bean paste or vanilla extract
  • 1/2 teaspoon cinnamon
  • 2 teaspoons cocoa powder
  • granulated sugar, as needed, for dipping the embosser

Italian Meringue Maple Buttercream

  • 200 grams maple syrup
  • 85 grams egg whites
  • 1/8 teaspoon Diamond Crystal Kosher salt
  • 170 grams unsalted butter, softened to 65°F, cut into 1 inch cubes,
  • 3/4 teaspoon vanilla bean paste or vanilla extract

Instructions
 

Make shortbread dough

  • Using a stand mixer fitted with the paddle attachment, beat the butter, granulated sugar and maple sugar until light and fluffy. Mix in vanilla.
  • Whisk together flour and salt. Add to the butter mixture and mix just until incorporated. Turn dough onto a lightly floured surface and knead gently for about 1 minute.
  • Divide dough into 4 equal portions. Leave 2 portions plain. Knead cinnamon into the third portion and cocoa powder into the fourth, until each is evenly coloured.

Create the marbled dough

  • Line your work surface with parchment paper. Tear small pieces from each of the three dough colours and arrange them randomly into a large rectangle, distributing the colours throughout.
  • Cover with a second sheet of parchment and roll gently a few times to press the pieces together. Remove the top parchment and fold the dough into thirds, like a letter. If needed, fold once more to distribute the colours, but don’t overwork the dough or the colours will blend together. You want distinct patches of plain, cinnamon and cocoa dough.
    Cover again with parchment and roll the dough to ¼-inch thickness. Refrigerate for about 5 minutes, until slightly firm.

Cut and bake the cookies

  • Preheat oven to 350°F. Position a rack in the middle of the oven and line 2 baking sheets with parchment.
  • Peel off the top sheet of parchment, replace it loosely, then flip the dough over and remove the second sheet. Cut out maple leaves and transfer them to the prepared baking sheets with a wide metal spatula, spacing them 1 inch apart.
  • Gather scraps and gently press them together without kneading. Re-roll and cut additional cookies, taking care to preserve the marbling.
  • Dip the leaf embosser in granulated sugar to prevent sticking, then gently press it into each cookie to imprint the vein pattern. Chill cookies in fridge for 10 minutes before baking.
  • Bake one sheet at a time for about 12 minutes, rotating the pan halfway through, until the edges and bottoms are lightly golden.
  • Cool on the baking sheet for 10 minutes, then transfer to a wire rack to cool completely.

Make Italian Meringue Maple Buttercream

  • Bring maple syrup to a boil in a 3-quart stainless steel saucepan over high heat, about 3 minutes. Clip a candy thermometer to the side of the pot, making sure bulb does not hit bottom of pot. Reduce heat to medium and continue cooking.
  • When the syrup reaches 230°F, begin whipping the egg whites in a stand mixer fitted with the whisk attachment on medium-high speed. The whites should become light and foamy, not stiff.
  • Continue cooking the maple syrup until it reaches 240–250°F, adjusting the heat as needed. Use a heat-resistant spatula to gently knock down the foam if necessary.
  • Reduce mixer speed to low. With the mixer running, slowly pour the hot syrup down the inside of the bowl in a steady stream, taking care to avoid the moving whisk.
  • Increase speed and whip until the meringue is thick, glossy and cooled to 85–90°F, about 4 minutes.
  • Switch to the paddle attachment. Add salt, then butter in roughly 2-tablespoon increments, waiting a few seconds between additions. The meringue will deflate as the butter is incorporated. This is normal.
  • Reduce speed to medium-low and mix in vanilla. Scrape down the bowl and paddle, then beat briefly until smooth and creamy.

Fill sandwich cookies

  • Fit a piping bag with a 1/4 inch open star tip.
    Turn half the cookies over. Pipe buttercream onto the flat side of each cookie, leaving a small border around the edge.
    Top with the remaining cookies, vein-side up, pressing gently to sandwich.
  • Store in an airtight container in the refrigerator for up to 1 week or freeze for up to 2 months. Bring refrigerated cookies to room temperature before serving.

Notes

Marbling inspiration: The technique for creating the autumn-leaf effect was inspired by Kat at The Loopy Whisk. Her version of the leaf cookies is gluten-free.
Maple buttercream: This buttercream was developed by Stella Parks for Serious Eats. Unlike traditional buttercream made with granulated sugar, it’s sweetened entirely with maple syrup, giving it a delicate sweetness and earthy maple flavour.
Buttercream troubleshooting: Italian meringue buttercream is very temperature-sensitive and may look curdled, greasy or soupy if it gets too cold or too warm. Its ideal working temperature is about 70°F (21°C). If it’s too soft, chill it briefly; if it’s too cold or looks curdled, gently warm it. Then whip on medium-high speed for several minutes until smooth, light and creamy. Don’t panic—it can almost always be rescued.

Nutrition

Calories: 243kcalCarbohydrates: 25gProtein: 2gFat: 15gSaturated Fat: 9gPolyunsaturated Fat: 1gMonounsaturated Fat: 4gTrans Fat: 1gCholesterol: 39mgSodium: 40mgPotassium: 54mgFiber: 1gSugar: 11gVitamin A: 455IUVitamin C: 0.001mgCalcium: 18mgIron: 1mg
Tried this recipe?Let us know how it was!

There’s something incredibly satisfying about starting with one batch of dough and ending up with cookies that look like little works of art. No two leaves are quite alike, and that’s part of their charm. Yes, they take a little time and patience, but if you enjoy the creative side of baking as much as I do, I think you’ll love making these.
Battle Apple Cider Donuts


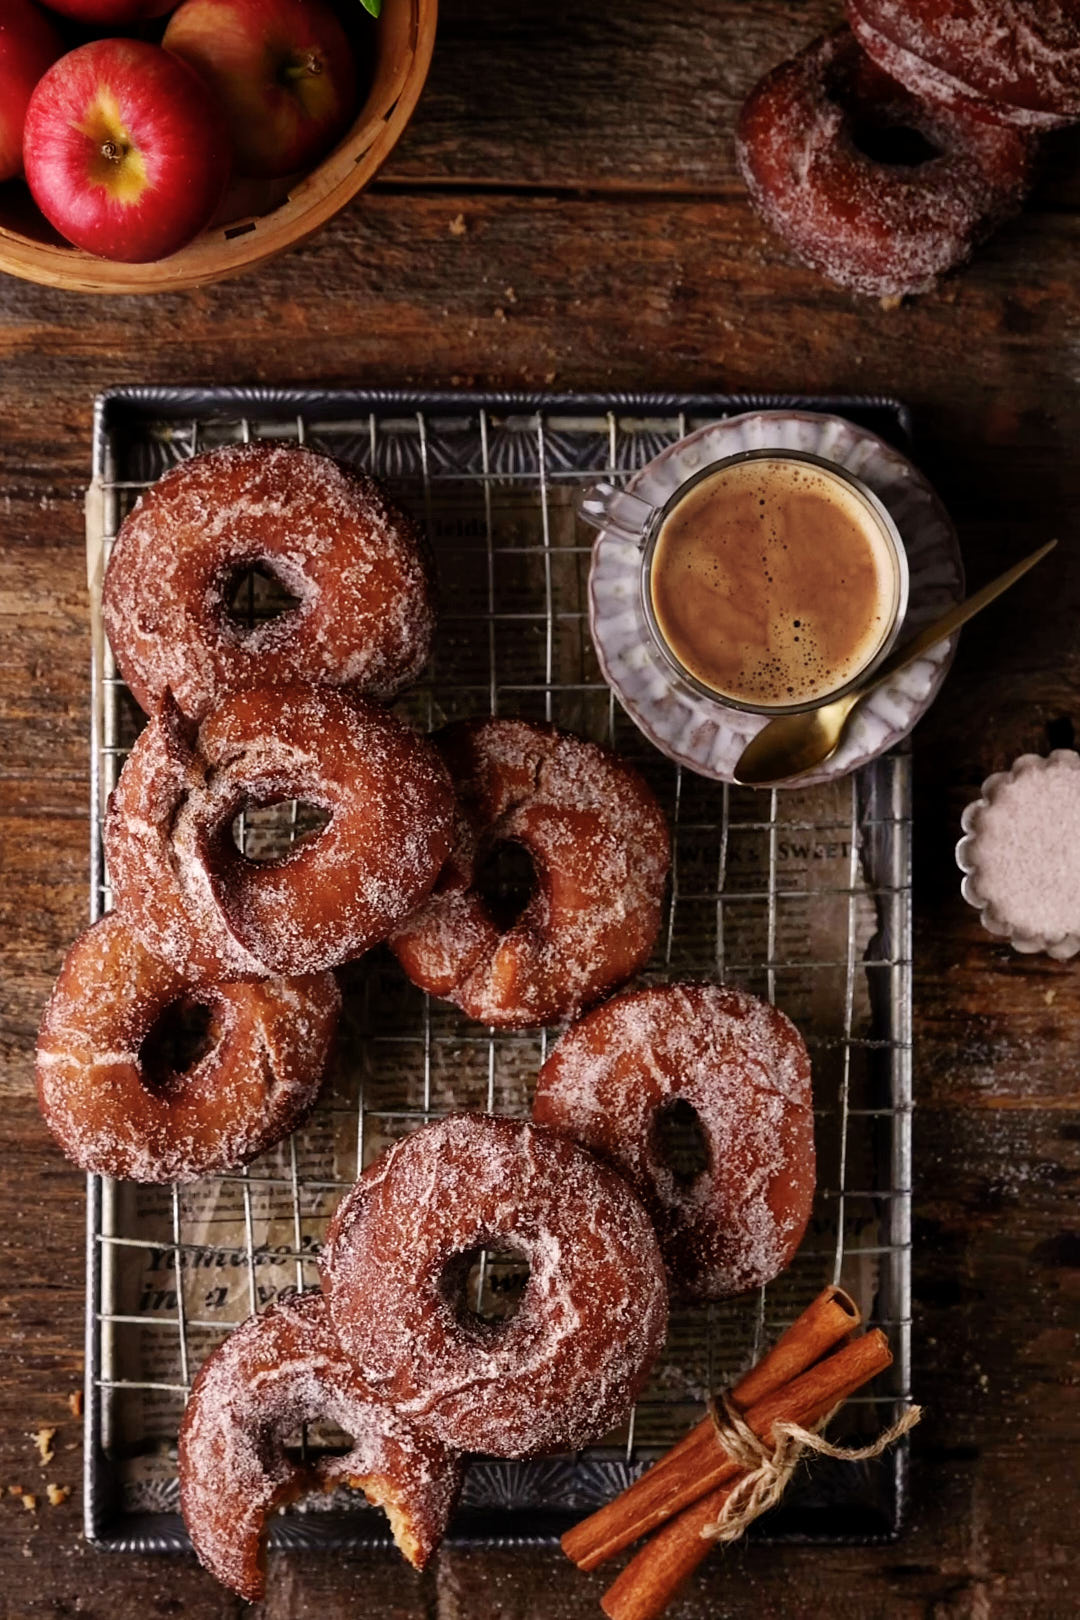
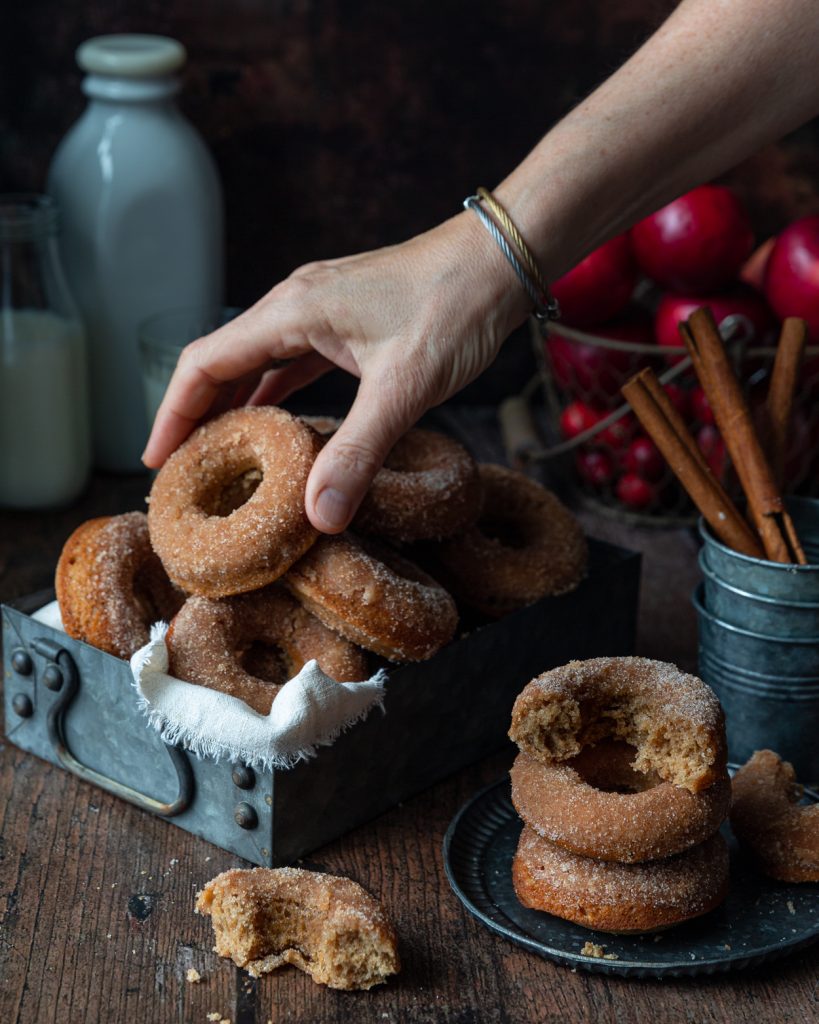
I’ve made both baked and fried apple cider donuts before, but never side by side. This fall, I decided it was time for a little friendly competition — purely scientific, of course. I wanted to see which method would win in a head-to-head test: the brown butter–baked version or the classic fried cider donut.

I’ll start by admitting I’m not really a donut person. If I’m choosing dessert, I’ll usually reach for a cookie. But these? These are a whole different story. Both versions encapsulate everything cozy and comforting about fall — apple cider simmering on the stove, the scent of cinnamon and nutmeg wafting through the kitchen, and sugar clinging to warm pastry. Each batch finishes with a quick toss in cinnamon sugar, sealing in flavour and adding just the right amount of crunch. I had several willing taste testers on standby, which only added to the fun.

The experiment was simple: same base flavours — apple cider, apple butter, cinnamon, and nutmeg — but two very different paths. One donut gets the brown butter treatment and bakes up golden and tender in the oven. The other takes a fearless dive into hot oil, emerging with a crisp, caramelized shell and a perfectly plush, dense interior.

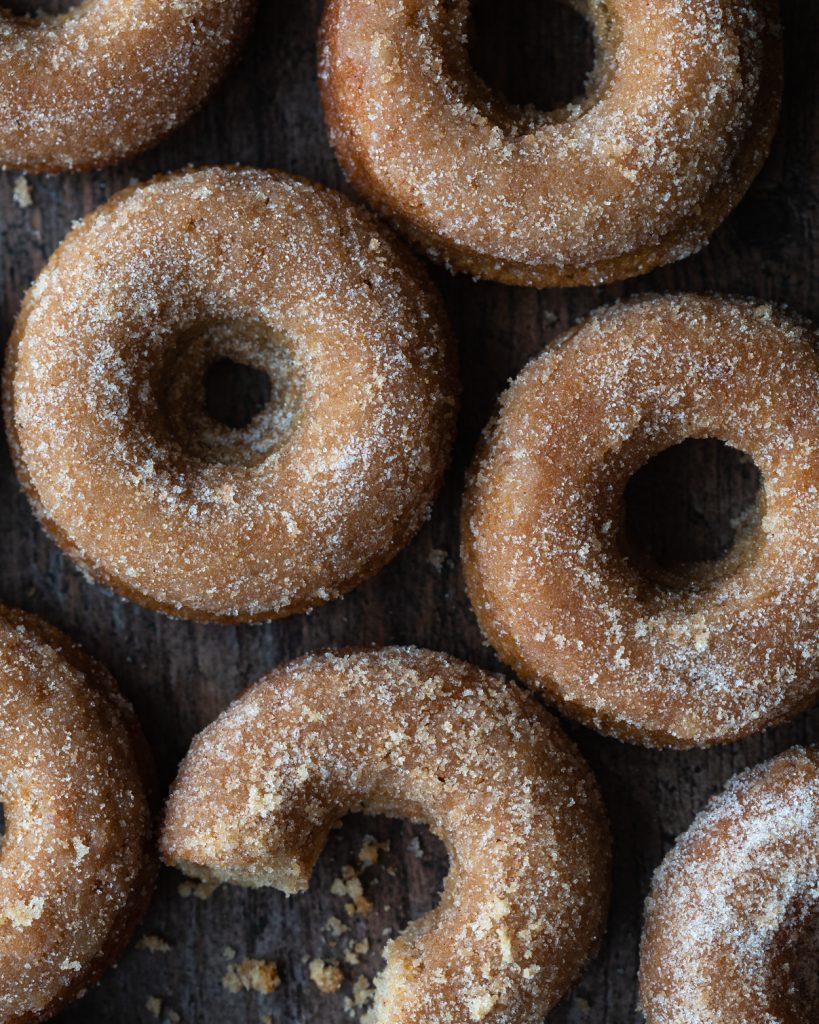
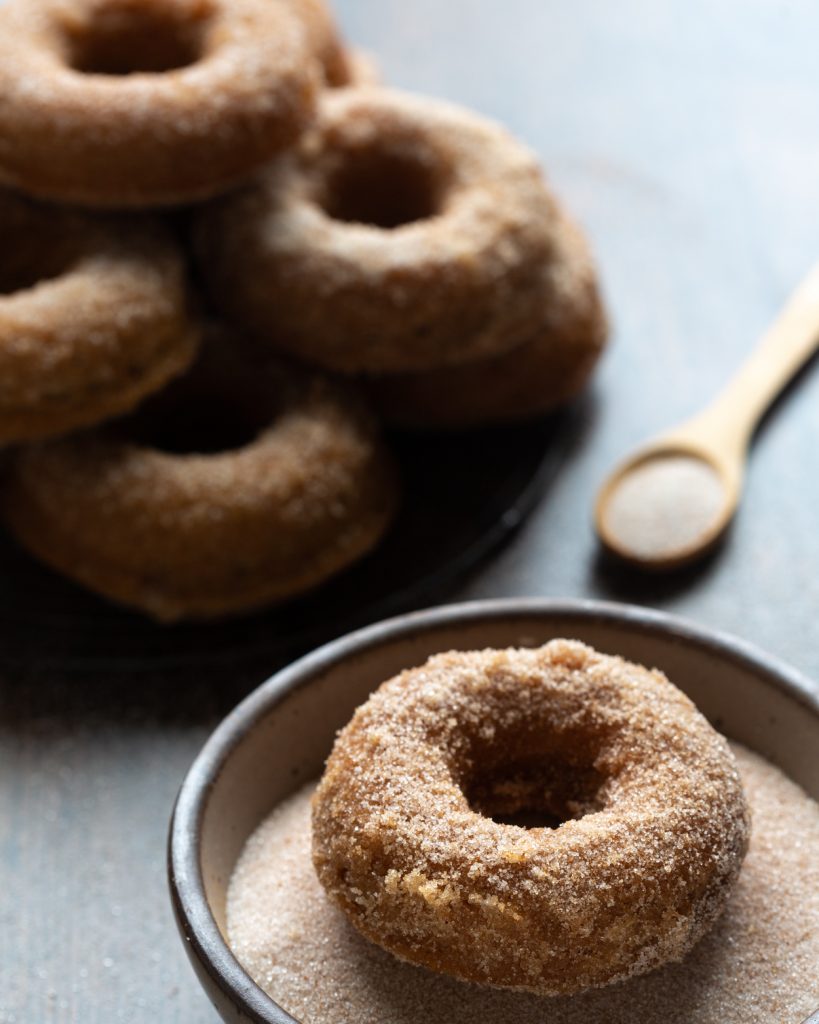
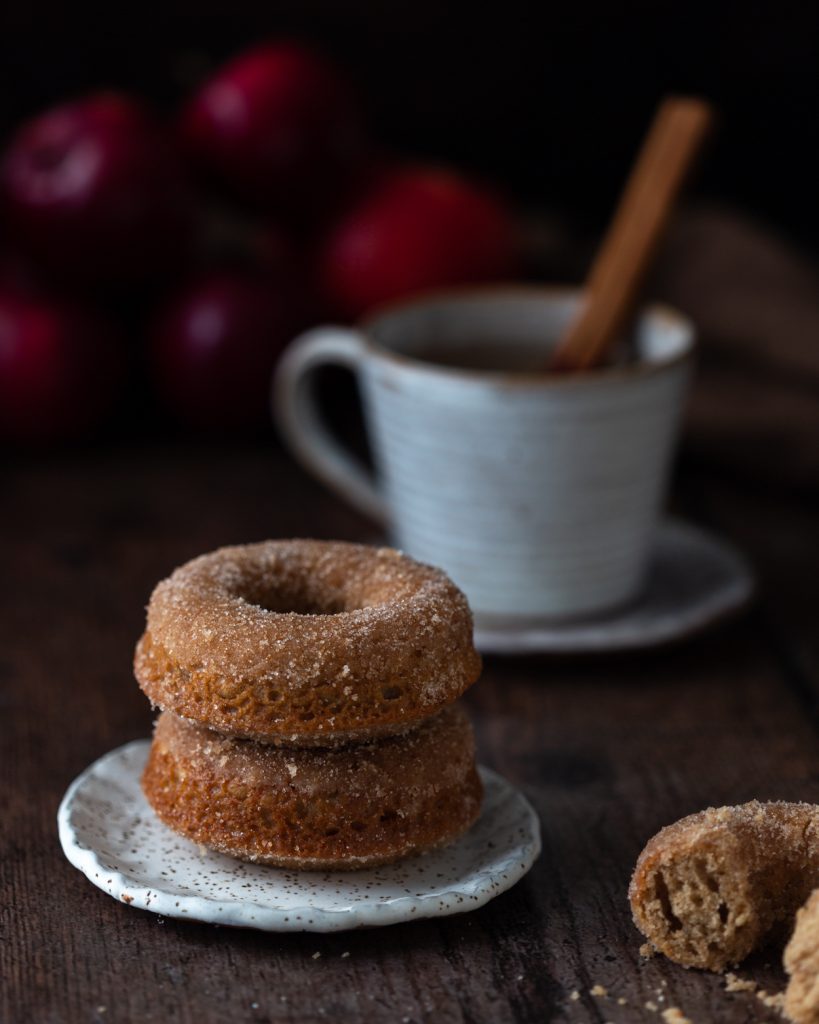
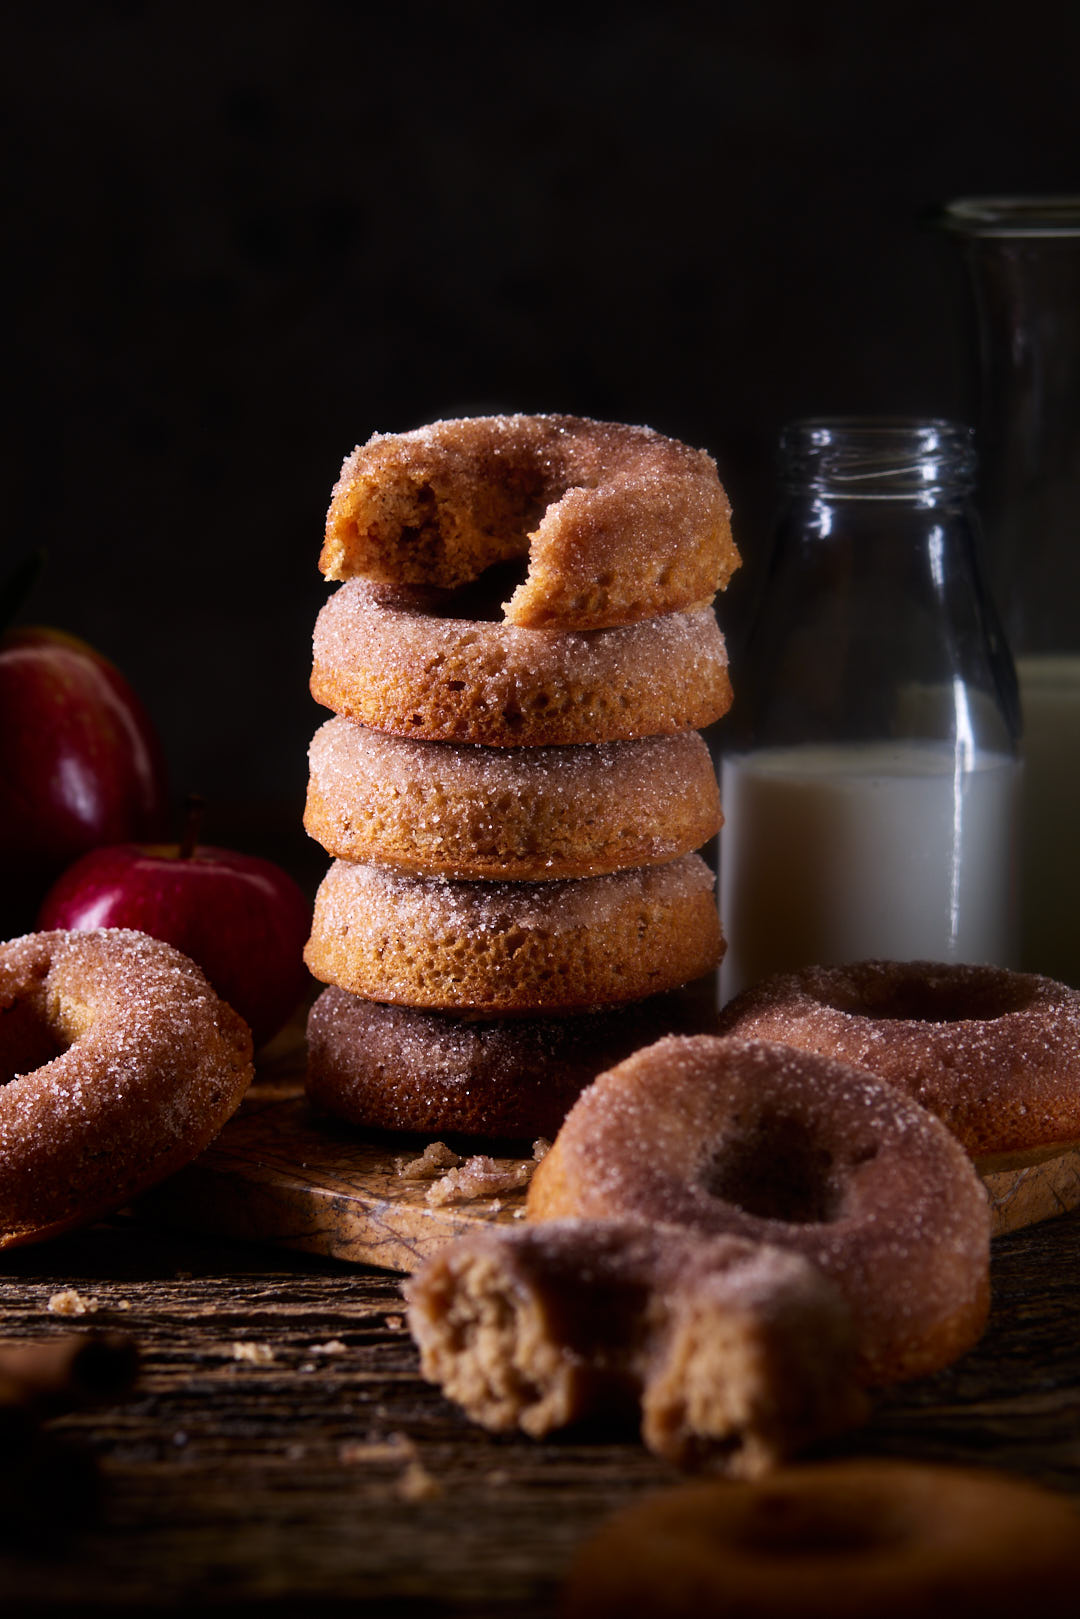
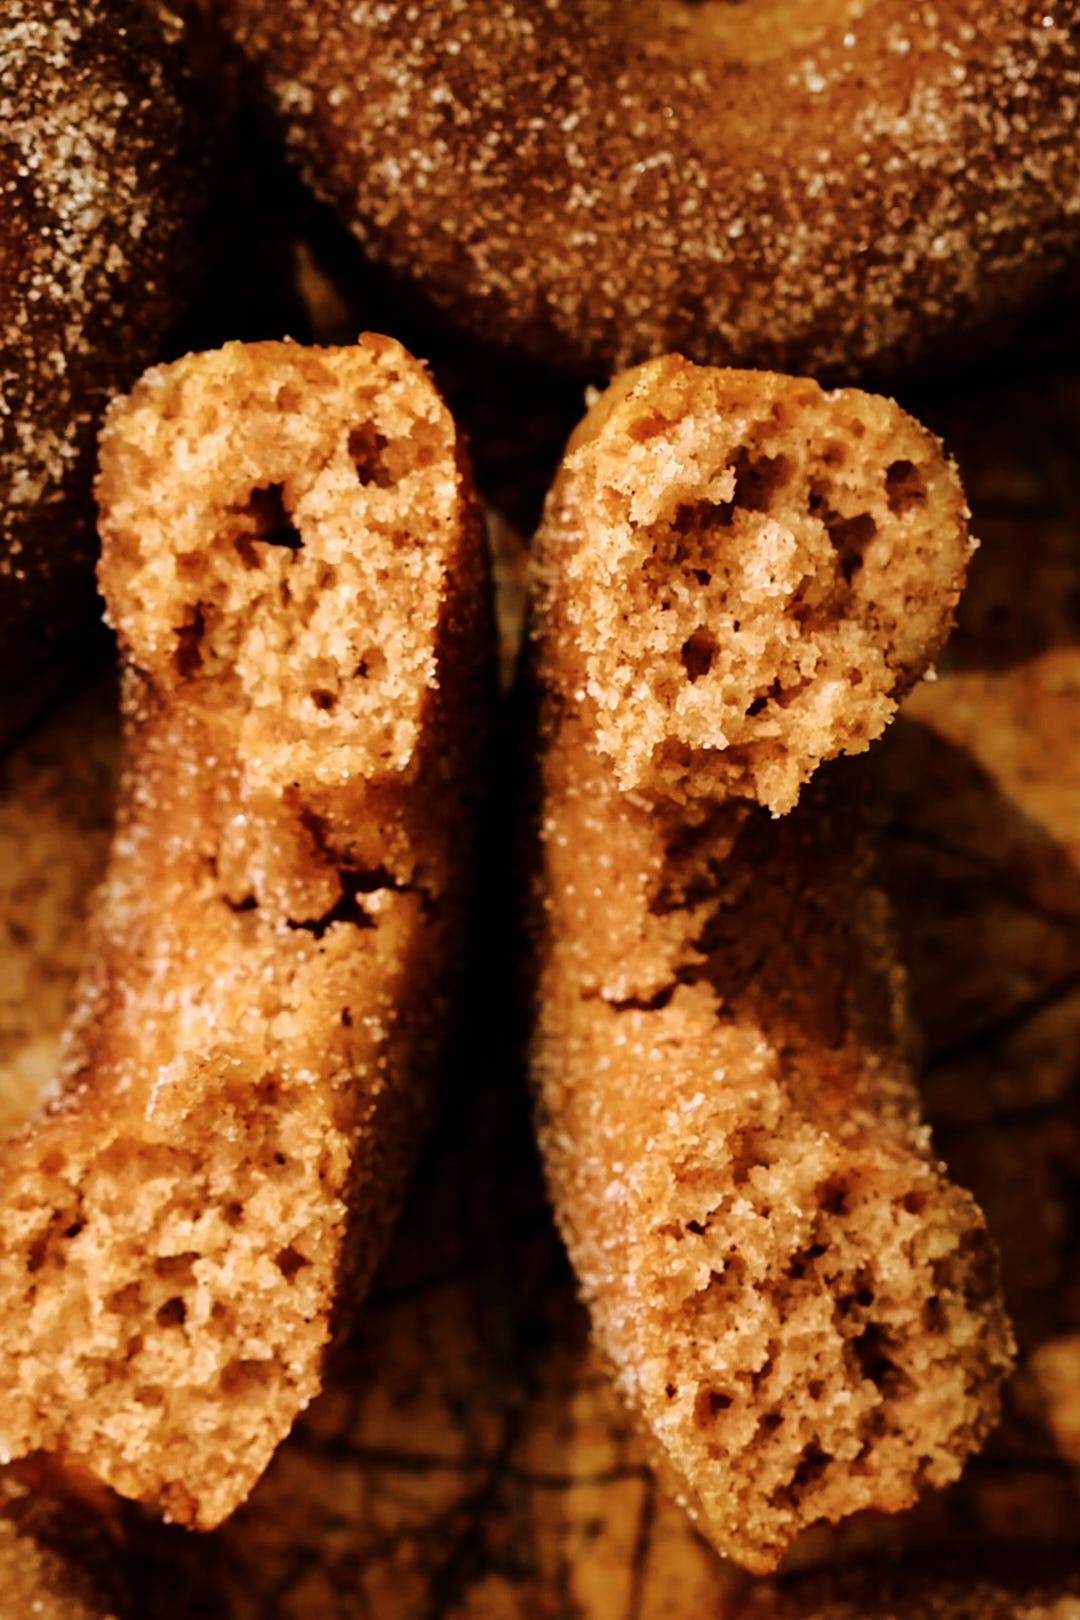
Baked: Soft and tender, like little fluffy clouds.

Stack of freshly baked Apple Cider Donuts.
Interior crumb of Baked Apple Cider Donut. Light and fluffy.

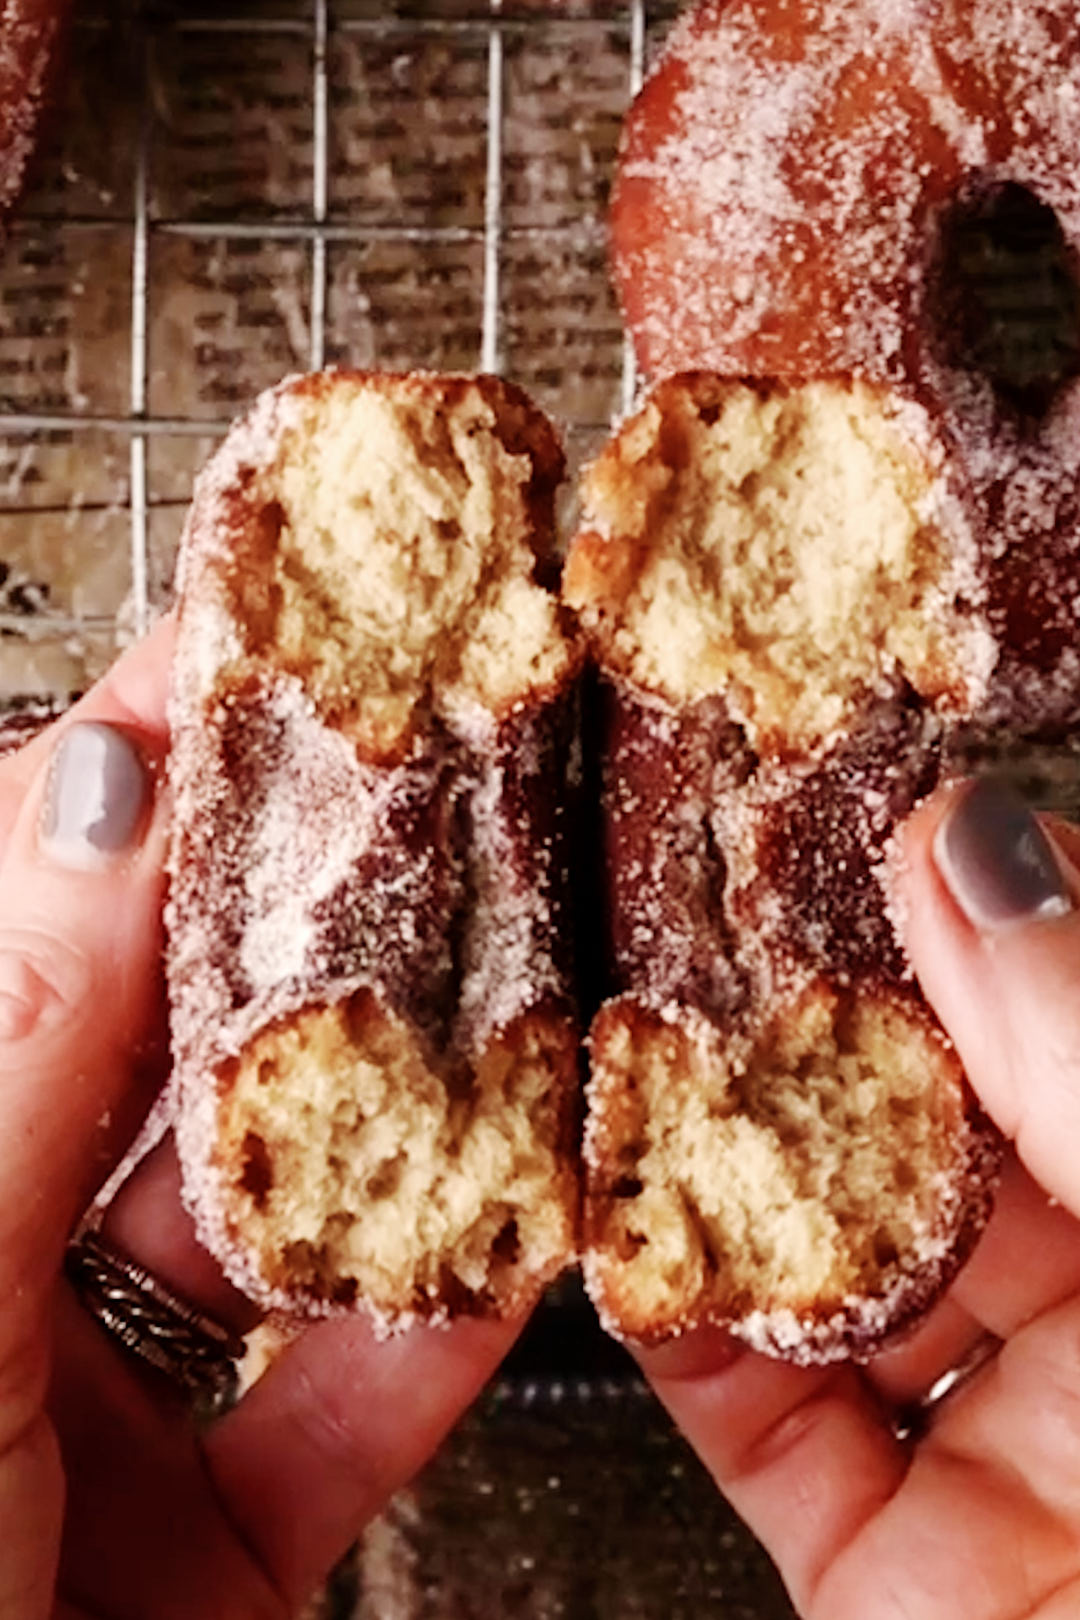
Fried: Crisp shell that gives way to a plush, perfectly dense interior – in the best possible way.

Tray of freshly fried Apple Cider Donuts.
Plush dense interior crumb of fried apple cider donut.

Baking and frying side by side turned out to be the best kind of kitchen challenge. Watching the differences unfold — how each batter behaved, how each one smelled as it cooked — was as fascinating as it was delicious. And while opinions were split among my taste testers (two preferred the baked, three went for the fried), I’m firmly in the fried camp. I adore a dense, satisfying crumb — that texture you really bite into. Light and fluffy gets far too much love and attention, if you ask me.

Keys to Apple Cider Donut success:

  • Reduce the cider for maximum flavour. Boil it down until it’s thick and syrupy — concentrated cider is the heart of these donuts. I saw that America’s Test Kitchen suggested using thawed frozen apple juice concentrate as a shortcut to save time. I tried it, but it just didn’t deliver the same depth or punch of flavour that reduced cider does. It’s worth taking those extra few minutes at the stove — your kitchen will smell incredible.
  • Use the right spice balance. Cinnamon and nutmeg are essential, but don’t overdo it. You want the apple to shine through.
  • Don’t skip the brown butter. For the baked version, this step adds incredible depth and aroma. It’s what takes the flavour from good to irresistible.
  • Mind your temperature. If you’re frying, keep your oil around 350°F. Too hot and they brown before cooking through; too cool and they’ll absorb oil.
  • Handle the dough properly. The fried donut dough is quite sticky — it needs a liberal dusting of flour to handle and shape. Be sure to give it at least 3 hours in the fridge before cutting and frying. This rest time allows the flour to fully hydrate, making the dough easier to work with and ensuring that perfectly plush texture once fried.
  • Use parchment squares for frying. Cut small squares of parchment paper and place each donut on one before frying. This makes transferring the donuts into hot oil so much easier and helps them keep their shape. The parchment slips right off as they fry — just fish it out with tongs.
  • Coat while warm. Whether baked or fried, the cinnamon sugar sticks best when the donuts are still just warm to the touch. Bonus tip: if you can find freeze-dried apple powder, add a touch of it to the cinnamon-sugar mix — it really amps up the apple flavour.
  • Freeze any extras. Both versions freeze beautifully — just rewarm briefly before serving, and they’ll taste freshly made.

Baked Apple Cider Donuts (with a brown butter twist)

Oven-baked cider donuts dipped in brown butter and coated in cinnamon-sugar.
Servings 20 donuts
Calories 303 kcal

Equipment

Ingredients
  

Donuts

  • 339 grams unsalted butter, to be browned, method below
  • 496 grams fresh apple cider, (2 cups) NOT apple cider vinegar
  • 225 grams all-purpose flour
  • 130 grams whole wheat flour
  • 1 1/2 teaspoons baking powder
  • 1/2 teaspoon baking soda
  • 1 teaspoon Diamond Crystal Kosher salt or 1/2 teaspoon Morton's Kosher salt
  • 1 teaspoon ground cinnamon
  • 1/4 teaspoon ground nutmeg
  • 198 grams granulated sugar
  • 105 grams light brown sugar
  • 128 grams apple butter or applesauce
  • 3 large eggs
  • 1 teaspoon vanilla bean paste or vanilla extract

Sugar Coating

  • 132 grams granulated sugar
  • 1 teaspoon ground cinnamon
  • 1/8 teaspoon ground nutmeg
  • 1 Tablespoon freeze dried apple powder, optional

Instructions
 

  • Brown the butter: In a light-coloured, heavy saucepan over medium-low heat, melt the butter. Cook, stirring often, until the foam subsides, it smells nutty, and the milk solids turn deep golden brown, 5–7 minutes. Immediately scrape everything (fat + browned bits) into a heatproof bowl to stop the cooking. Cool 5–10 minutes.
    You’ll use 137 g of this browned butter in the batter; reserve the rest for dipping later.
  • Reduce the cider and enrich: Wipe out the pan. Add 496 g (2 cups) cider and boil over medium-high, stirring occasionally, until reduced by about half (to roughly 1 cup), 10–15 minutes. Off heat, whisk in the 128 g apple butter (or applesauce). Let cool until just warm, not hot
  • Prep pans and oven: Heat oven to 350°F. Lightly spray the cavities of your donut pans; use a pastry brush to coat evenly and avoid pooling. 
  • Dry mix: In a medium bowl, whisk together AP flour, whole-wheat flour, baking powder, baking soda, cinnamon, nutmeg, and salt until well combined
  • Start the batter with browned butter and sugars: Weigh 137 g of the cooled browned butter into a large mixing bowl. Add 198 g granulated sugar and 105 g light brown sugar; whisk until glossy and slightly thick. Whisk in the eggs one at a time, fully incorporating each before adding the next, then whisk in the vanilla. (If anything looks greasy or separated, give it 30–60 seconds of extra whisking.) 
  • Combine wet and dry ingredients: Switch to a spatula. Stir in half the dry mix, then all of the warm (not hot) cider mixture, then the remaining dry mix. Fold just until no dry patches remain. Batter will be thick and scoopable.
  • Fill and bake: Transfer batter to a piping bag (or zip-top bag) and pipe each cavity about ⅔ full (aim for level rims). Tap pan gently on counter to remove any large air bubbles. Bake 8–10 minutes until domed, lightly golden, and the centres spring back when gently pressed; a toothpick should come out clean. Cool 10 minutes in the pan, then turn out onto a rack. Re-grease pans and repeat with remaining batter.  
  • Cinnamon-sugar finish: Stir together the 132 g sugar, cinnamon, nutmeg. and optional freeze-dried apple powder. Gently re-warm the reserved browned butter until fluid. While doughnuts are warm (not hot), dip the tops in butter, let excess drip, then press into the cinnamon-sugar. For a fully coated effect, lightly brush sides with butter and toss in a shallow bowl of sugar mix.
  • To serve and store: Best the day they’re baked. To freeze, skip the sugar coating; cool completely, freeze airtight up to 2 months. Re-warm at 300°F (about 8 minutes), then dip into melted browned butter and sugar just before serving.

Notes

Adapted from Tara O’Brady’s recipe for Apple Cider Donut Cake. to really amp up the apple flavour, I added a bit of freeze dried apple powder to the cinnamon-sugar mixture for dipping finished donuts into. Totally optional if you can’t find it. I order it online. 

Nutrition

Calories: 303kcalCarbohydrates: 41gProtein: 3gFat: 15gSaturated Fat: 9gPolyunsaturated Fat: 1gMonounsaturated Fat: 4gTrans Fat: 1gCholesterol: 64mgSodium: 192mgPotassium: 90mgFiber: 1gSugar: 26gVitamin A: 467IUVitamin C: 0.3mgCalcium: 39mgIron: 1mg
Tried this recipe?Let us know how it was!

Apple Cider Donuts

The orchard classic: hot, fresh, and fried to perfection.
Servings 10 donuts
Calories 449 kcal

Equipment

  • Deep-fry thermometer
  • Doughnut cutter or 3¼-inch round cutter plus 1¼-inch round cutter;

Ingredients
  

Donuts

  • 485 grams apple cider (2 cups), NOT apple cider vinegar
  • 128 grams apple butter (1/2 cup), or applesauce
  • 113 grams sour cream (1/2 cup)
  • 2 teaspoon vanilla bean paste or vanilla extract
  • 455 grams all-purpose flour
  • 1/2 teaspoon baking soda
  • 2 1/2 teaspoons baking powder
  • 1 teaspoon Diamond Crystal Kosher salt, or 1/2 teaspoon Morton's Kosher salt
  • 1 teaspoon ground cinnamon
  • 1/8 teaspoon ground nutmeg
  • 50 grams granulated sugar (1/4 cup)
  • 53 grams light brown sugar (1/4 cup)
  • 2 large eggs
  • 56 grams unsalted butter (4 Tablespoons), melted and slightly cooled

For frying and coating

  • vegetable oil, for frying
  • 45 grams all-purpose flour, for dusting parchment lined baking sheet, (1/3 cup)
  • 198 grams granulated sugar
  • 1 Tablespoon ground cinnamon
  • 1/8 teaspoon ground nutmeg
  • 2 Tablespoons freeze-dried apple powder, optional

Instructions
 

  • Reduce cider: In a medium saucepan, bring the apple cider to a boil over medium-high heat. Cook, stirring occasionally, until syrupy and reduced to about 120 ml / ½ cup, 18–22 minutes. Pour into a medium bowl. Whisk in the apple butter, sour cream, and vanilla. Let cool slightly.
  • Mix dry ingredients: In another medium bowl, whisk together flour, baking powder, salt, baking soda, cinnamon, and nutmeg.
  • Cream eggs and sugars: Using a stand mixer fitted with the paddle or a hand mixer, beat the brown sugar, and eggs on medium-high until light and fluffy, 3–4 minutes. Add the melted, cooled butter and mix until incorporated, about 1 minute.
  • Combine wet and dry ingredients: Reduce mixer speed to low. Add the dry ingredients in two additions, alternating with the cider mixture in two additions, starting and ending with the dry. Mix just until combined. Dough will be very soft and sticky.
  • Shape and chill dough: Thoroughly flour a parchment-lined baking sheet with about ⅓ cup flour. Scrape dough onto it. Dust the top and your hands with more flour and gently pat into a ¾-inch thick rectangle. Lightly flour again, cover tightly with plastic wrap, and chill at least 3 hours or up to overnight.
  • Make cinnamon sugar: Stir together the sugar, cinnamon, nutmeg and freeze dried apple powder (if using) in a wide, shallow bowl. If your apple powder has clumped up, push it through a fine mesh sieve to remove any lumps.
  • Cut doughnuts: Cut 10 squares of parchment, about 4 inches each. Working directly on the floured baking sheet, dip your cutter(s) in flour and punch out rounds. If using two cutters, cut the centre holes. Place each doughnut on its own parchment square. Gather scraps (including holes), gently re-roll once, and cut more rounds—don’t overwork or doughnuts will be tough. You should get about 10 doughnuts plus the bonus (chef's snack!) holes.
  • Set up frying station: Place a wire rack over a paper towel–lined baking sheet. Fit a large heavy pot with a deep-fry thermometer. Add oil to a depth of 3 inches and heat over medium-high to 350°F (177°C).
  • Fry doughnuts: Working in batches, carefully lower donuts (parchment and all) into the hot oil; after a few seconds, peel away parchment with tongs. Fry until deep golden brown, about 3 minutes per side. Transfer to the rack. Repeat with doughnut holes, about 2 minutes per side. Return oil to 350°F between batches.
  • Coat & serve: While still warm, toss doughnuts and holes in the cinnamon sugar. Best enjoyed within a few hours of frying.

Notes

Adapted from Dessert Person by Claire Saffitz. Freeze dried apple powder, an optional ingredient in the recipe, is available online, if you decide to use it. I

Nutrition

Calories: 449kcalCarbohydrates: 71gProtein: 7gFat: 15gSaturated Fat: 6gPolyunsaturated Fat: 5gMonounsaturated Fat: 4gTrans Fat: 0.2gCholesterol: 56mgSodium: 418mgPotassium: 157mgFiber: 2gSugar: 30gVitamin A: 271IUVitamin C: 1mgCalcium: 105mgIron: 3mg
Tried this recipe?Let us know how it was!

In the end, the fried donuts won my heart — and my taste buds. That crisp shell giving way to a plush, dense interior is everything I love about fall baking: comforting, nostalgic, and deeply satisfying. Still, the baked version has its charm — soft, tender, and laced with brown butter warmth.

So maybe it’s less a battle and more a celebration of two ways to capture the flavour of fall. Whether you’re Team Brown Butter or Team Hot Oil, the smell of cider and cinnamon wafting through the house is pure happiness.

Apple Cider Browned Butter Baked Doughnuts

These Apple Cider Browned Butter Doughnuts are the best thing I have baked all year. Yes, I realize that’s a bold statement, given the number of things I have baked in 2020. (It’s been a heavy baking year… we all deal with stress in our own way, don’t judge!)

Granted, these doughnuts are not as pretty as my black and white ones from a few weeks ago, but OMG, the taste and texture of these is off-the-charts fantastic. I was inspired to bake these after seeing a recipe for Apple Cider Doughnut Cake from food writer Tara O’Brady. I subscribe to her newsletter and every week I get a charming, informative and beautifully crafted email.

Tara baked the batter in a loaf pan. Her description of this loaf is so lyrical. I want to write like this when I grow up.😉 “Out of the oven the texture is almost spongy; jaunty and open. As the cake sits, it settles, relaxing into a sturdiness that is exactly right and as it should be. The crust establishes itself with a gentle crunch as it meets the teeth, while the centre fluff gives way with a velvet weight.“

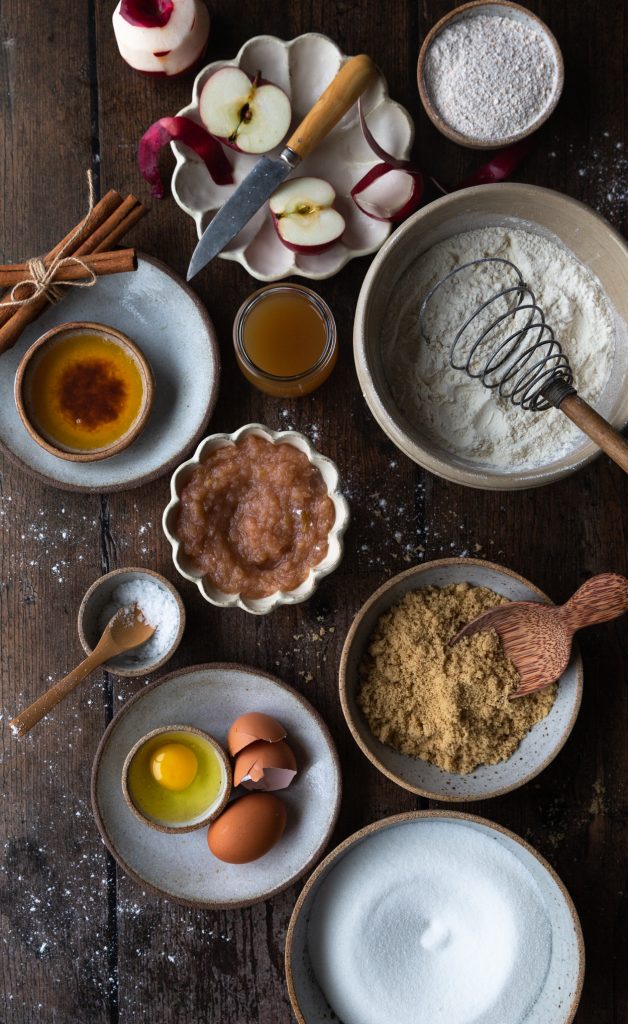
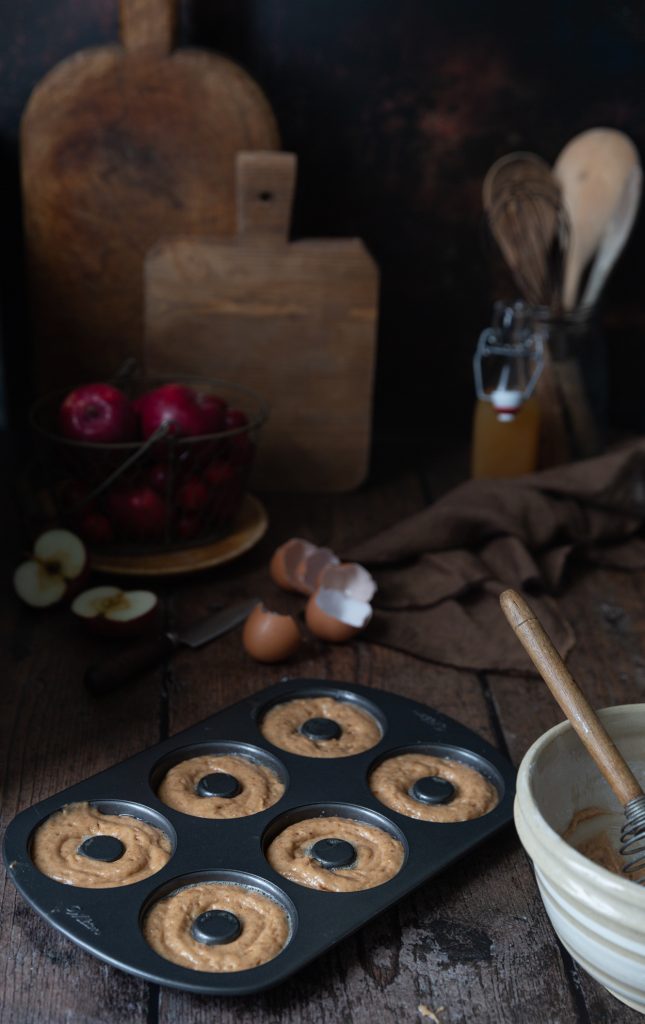
I made the loaves and fell in love with her recipe. Apples are featured prominently. The batter calls for reduced apple cider and applesauce. I wondered what would happen if I baked the batter in doughnut pans. You could also bake them in muffin tins, but they will take a few minutes longer to bake.

As I was assembling the ingredients, I realized I had run out of applesauce, but I had a jar of apple butter leftover from baking this.

There is no actual butter in apple butter. Apple butter is basically concentrated applesauce, or as I like to describe it, “applesauce on steroids“. Alex Delaney wrote a brilliant article explaining the difference.

The doughnuts come together fairly quickly. You will need to reduce the apple cider and brown the butter in advance.

While the doughnuts are delicious plain, dipping them in browned butter and then rolling them in cinnamon-sugar takes them over the top, so don’t skip this step!

I baked these doughnuts several times, the first time to just test the recipe, the second time to shoot the photos and the third time to shoot the video. Luckily I live in a condo and have several neighbours who happily take the leftovers. I also discovered that they freeze beautifully. Wrap individual doughnuts in plastic wrap and place them all in a freezer bag. They will thaw at room temperature in about 45 minutes.