I have a complicated relationship with pie. I’m firmly a cookie person, but I married a pie person, and somehow, over the past 34 years, I’ve become a reasonably competent pie baker. Not because I had any great ambition to master pastry, but because I accidentally saddled myself with a lifetime of pie-making guilt.
My husband’s mom baked him peach pies every summer. Then I accidentally destroyed the last peach pie she ever made him. Yes, there’s a story there. And yes, I still feel terrible about it.
That final summer, even though she was quite ill, she still managed to make him several peach pies. He tucked them away in our freezer, saving them to enjoy over the months ahead.
She died the following spring, and there was one peach pie left.
He couldn’t bring himself to eat it. He liked knowing it was there. Every time he opened the freezer door, he could see that last pie his mom had made for him. I completely understood.
And then I did the unthinkable.
We went away for a long weekend and I accidentally left the freezer door ajar. We came home to puddles on the floor, a very smelly freezer and, of course, a completely defrosted peach pie.
He said all the right things: “It was an accident. Don’t worry about it.” But I felt awful.
And that is how my twice-a-year pie-making tradition began. Apple crumble for his birthday in the fall, and peach—or sometimes peach and blueberry—every summer.

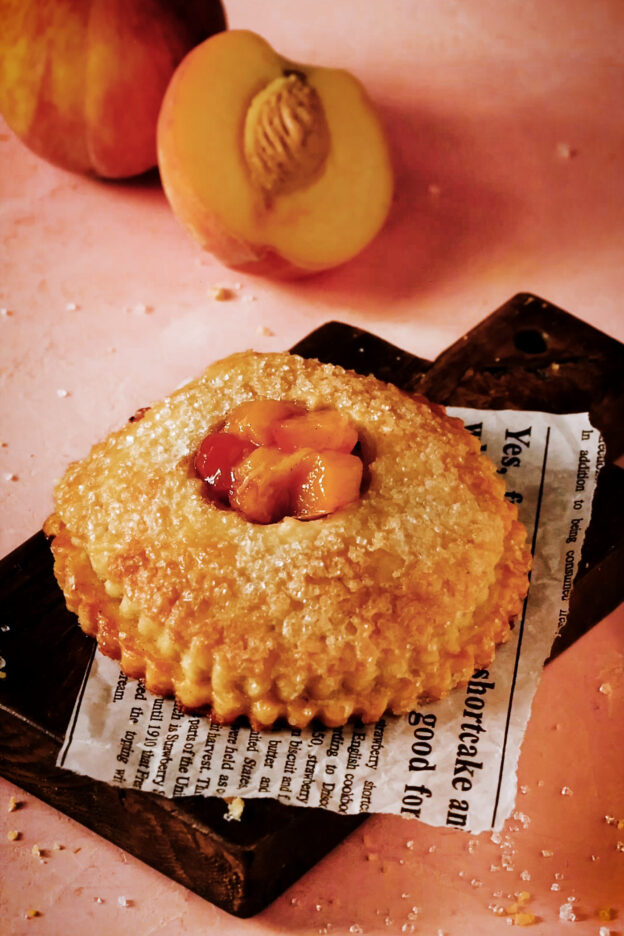
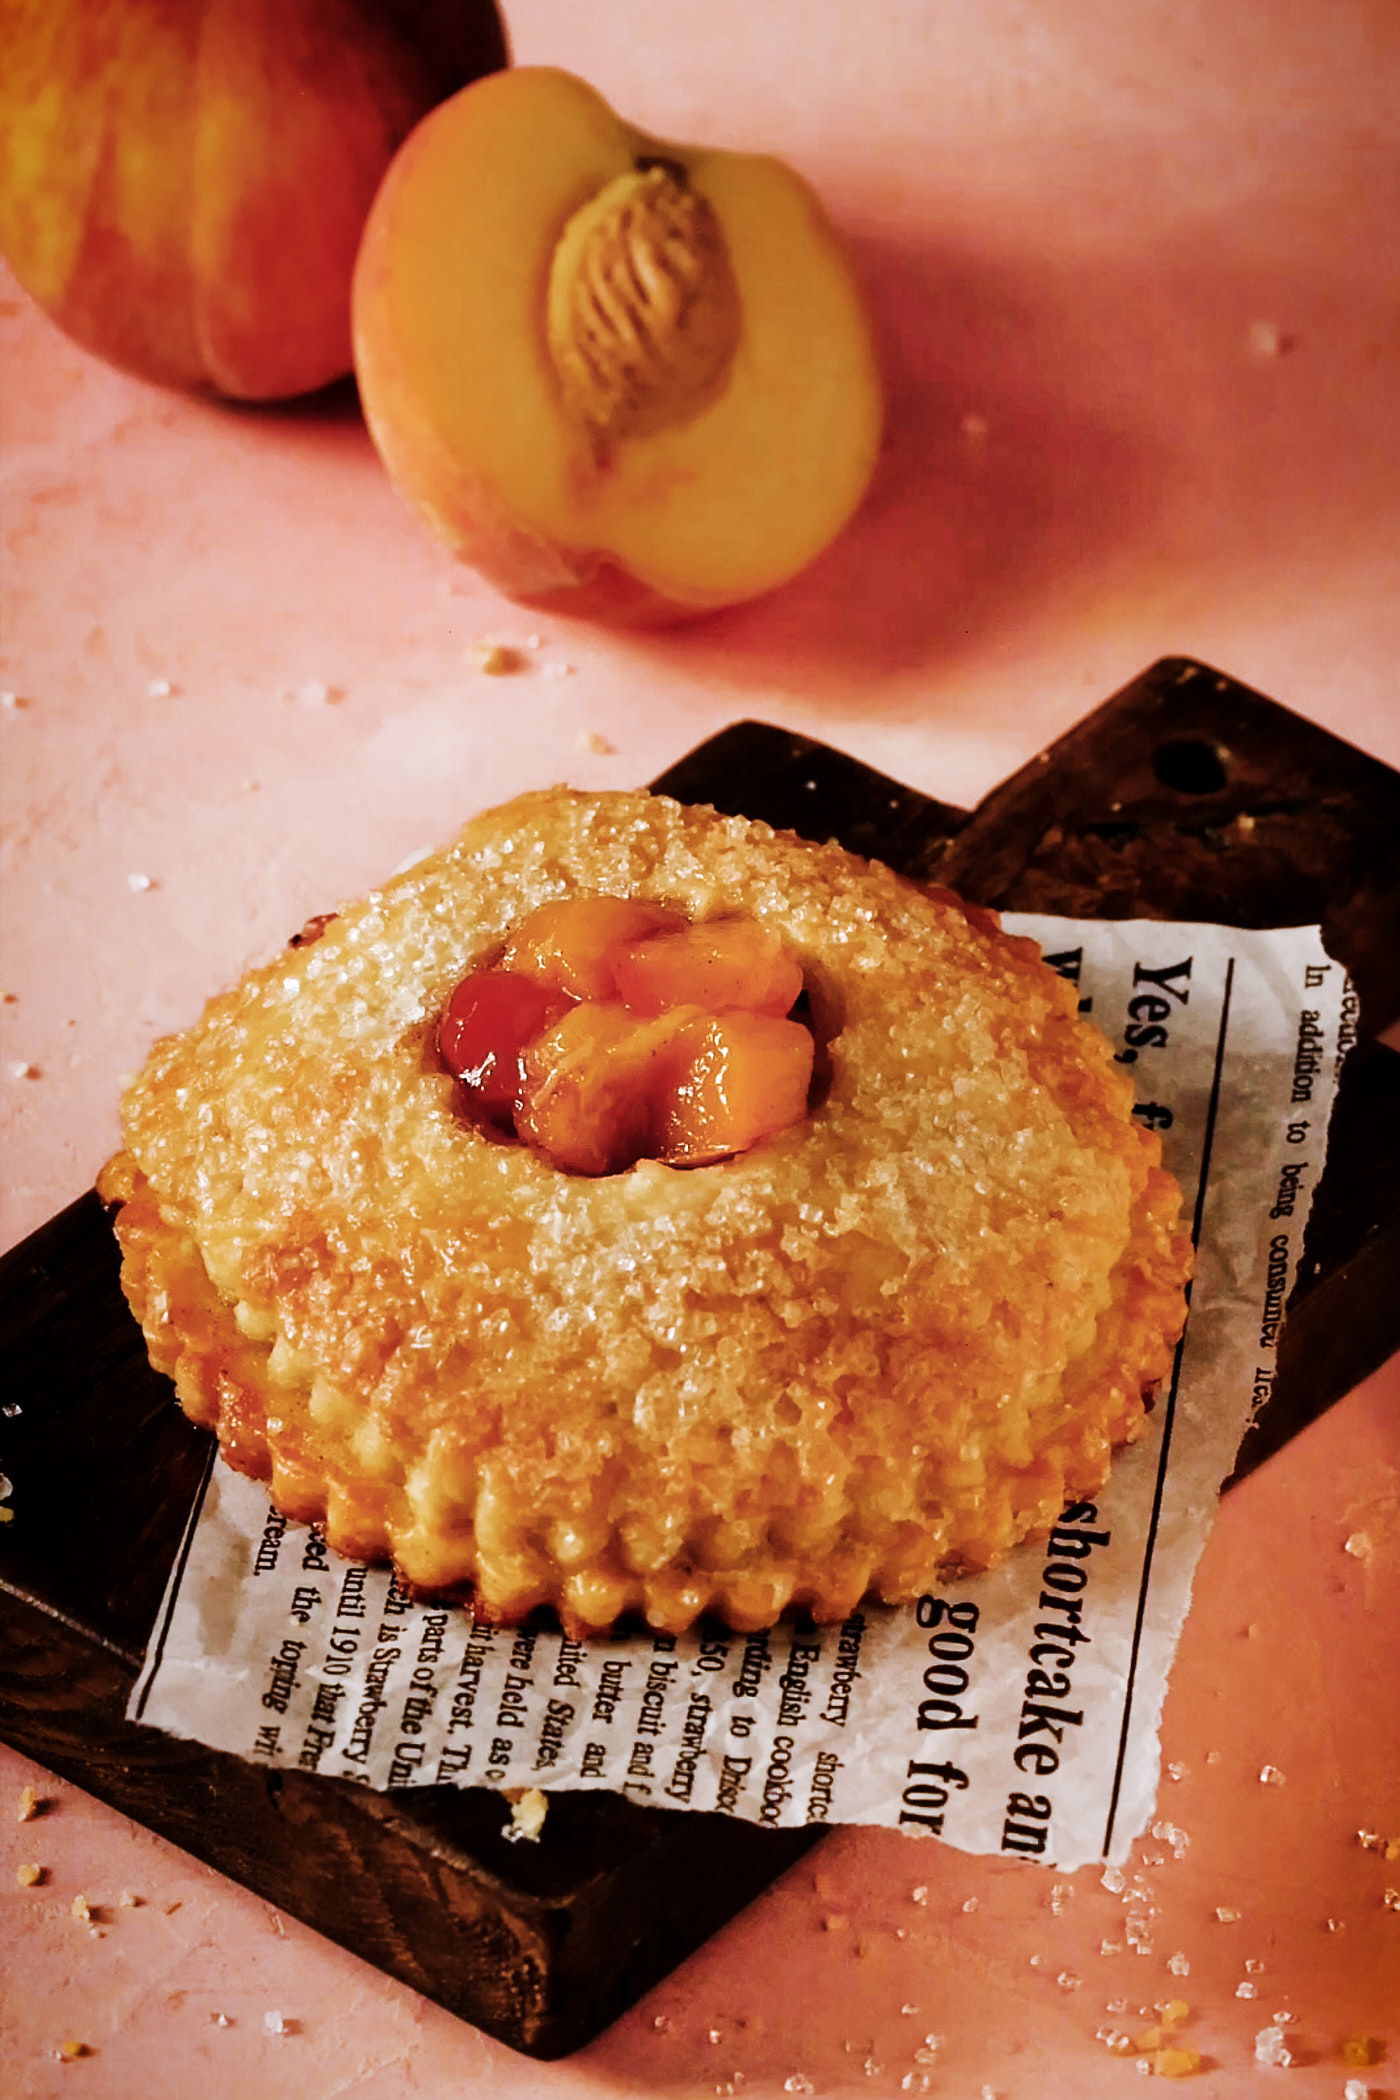
This summer, I decided to change things up and make Peach Hand Pies. They have everything he loves about peach pie—juicy summer peaches and flaky, buttery pastry—but in a little individual package, with my cornmeal crust and plenty of crunchy sugar on top.
After 34 years, I’m still a cookie person.
But I make a pretty damn good pie.
Keys to success for making Peach Hand Pies
- 1. Skip peeling the peaches. There’s really no need. Once baked, the skin softens and you’ll barely notice it. Plus, a little extra fibre never hurts.
- 2. Don’t overwork the pastry. Those visible bits of butter are what help create a flaky crust. When making the dough, you should still see some pea-sized pieces of butter throughout. Stop before everything looks completely smooth and uniform.
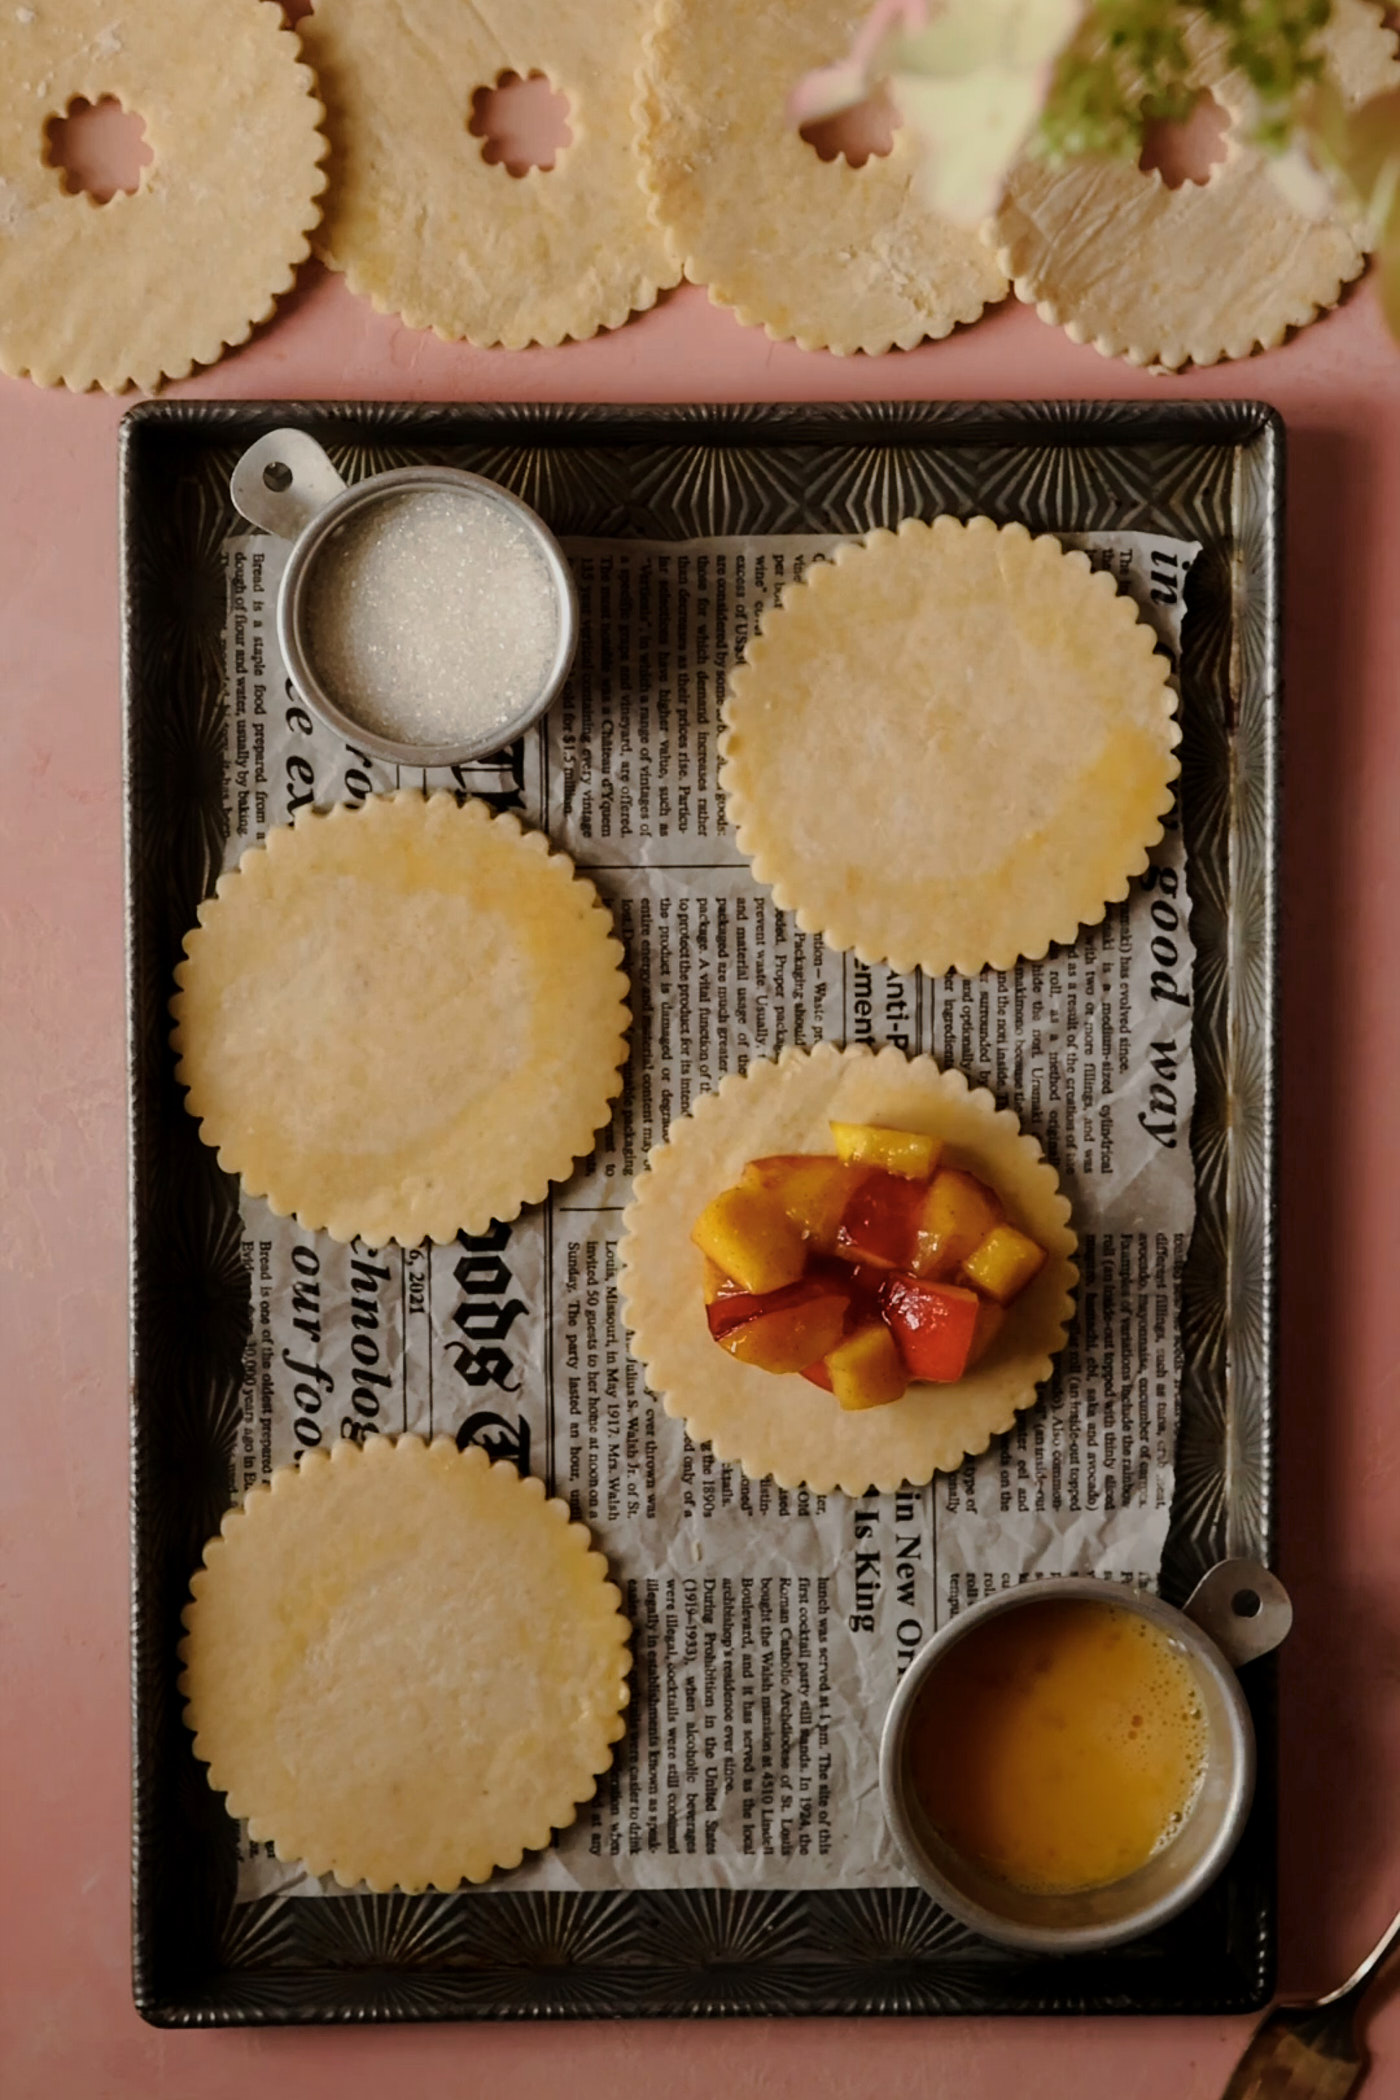
- 3. Resist the urge to overfill. More filling sounds like a good thing—until it leaks out all over the baking sheet. A scant ¼ cup of peach filling per hand pie is just right and still allows you to get a good seal around the edges.
- 4. Don’t forget the vent holes. Cut a small hole in the centre of each top crust before assembling the pies. This gives steam somewhere to escape as the peaches cook and helps prevent the inside of the pastry from becoming soggy.
- 5. Chill before baking. Once the hand pies are assembled, pop them back into the fridge to firm up the pastry before they go into the oven. Cold pastry + hot oven = a flakier crust and better-defined pies.
- 6. Check the bottoms. Don’t judge doneness by the tops alone. You want the bottom crust to be deeply golden. Pale bottoms usually mean the pastry needs a little more time in the oven.
- 7. Freeze the leftovers. These hand pies freeze beautifully, which means future you gets warm peach pie whenever the mood strikes. To reheat, place a frozen hand pie on a parchment-lined baking sheet and bake in a preheated 350°F oven for 15–20 minutes, until heated through and crisp.
Peach Hand Pies
Ingredients
Hand Pie Dough
- 86 grams sour cream, full-fat or light (5%); do not use fat-free.
- 150 grams ice-cold water
- 340 grams all-purpose flour
- 80 grams cornmeal
- 10 grams sugar
- 1 teaspoon Diamond Crystal Kosher salt, or 1/2 teaspoon Morton's Kosher salt
- 200 grams cold unsalted butter, cut into 1/2 inch pieces
Filling
- 600 grams peaches, about 4-5 medium peaches
- 40 grams granulated sugar
- 9 grams tapioca starch or all-purpose flour
- 1 1/2 teaspoons freshly squeezed lemon juice
- 1/4 teaspoon ground cinnamon
- 1 pinch salt
Assembly
- 1 large egg, lightly beaten
- 60 grams coarse white sparkling sugar
- 2 tablespoons all purpose flour
Instructions
Hand Pie Dough
- Whisk sour cream and ice water together in a small bowl; set aside. In a food processor fitted with the metal blade, combine flour, cornmeal, sugar, and salt. Pulse to mix.
- Add the cold butter and pulse 8 to 10 times, until the mixture resembles coarse crumbs with butter pieces ranging from breadcrumbs to small peas.
- With the machine running, slowly pour in the sour cream mixture. Process just until the dough comes together in moist, shaggy curds. Turn the dough onto the counter and gently gather it into a ball. Divide into 4 equal pieces and shape each into a disc.
- Lightly flour one disc and roll it between two sheets of parchment into an oval about 14 inches long and 9 inches wide. Repeat with the remaining discs. Refrigerate the dough, still between the parchment sheets, for about 30 minutes.
- To make ahead, keep the rolled dough ovals between sheets of parchment, wrap tightly in plastic, and refrigerate for up to 3 days or freeze flat for up to 1 month.
- Using a 4-inch round cookie cutter or plate as a guide, cut four circles from each dough oval. After using all the dough you will have about 16 circles. Gather scraps, re roll and cut an additional 4 circles, for a total of 20 circles.
- Use a small round cookie cutter or tip of piping bag to cut out 1/2 inch circles from half of the dough rounds. These are vent holes for the top of each hand pie, to allow steam to escape. Set dough rounds on parchment lined baking sheet, stacking with parchment between layers and refrigerate while making filling.
Peach Filling
- No need to peel peaches. Wash well. Cut peaches in half and remove pit. Dice peaches into 1/2 inch cubes and place into large bowl. You will have about 4 1/2 cups diced peaches.
- Add sugar, tapioca starch or flour, lemon juice, cinnamon and salt and mix filling well. Set filling aside.
Assemble and Bake Hand Pies
- Arrange two racks in the oven—one in the top-middle position, the other in the bottom-middle. Preheat the oven to 425°F. Line two 18 x 13 inch baking sheet with parchment paper.
- Lay 5 dough circles (the ones without the cut out vent holes) onto each baking sheet. Brush edges of each dough circle with beaten egg. Top each circle with a scant 1/4 cup filling.
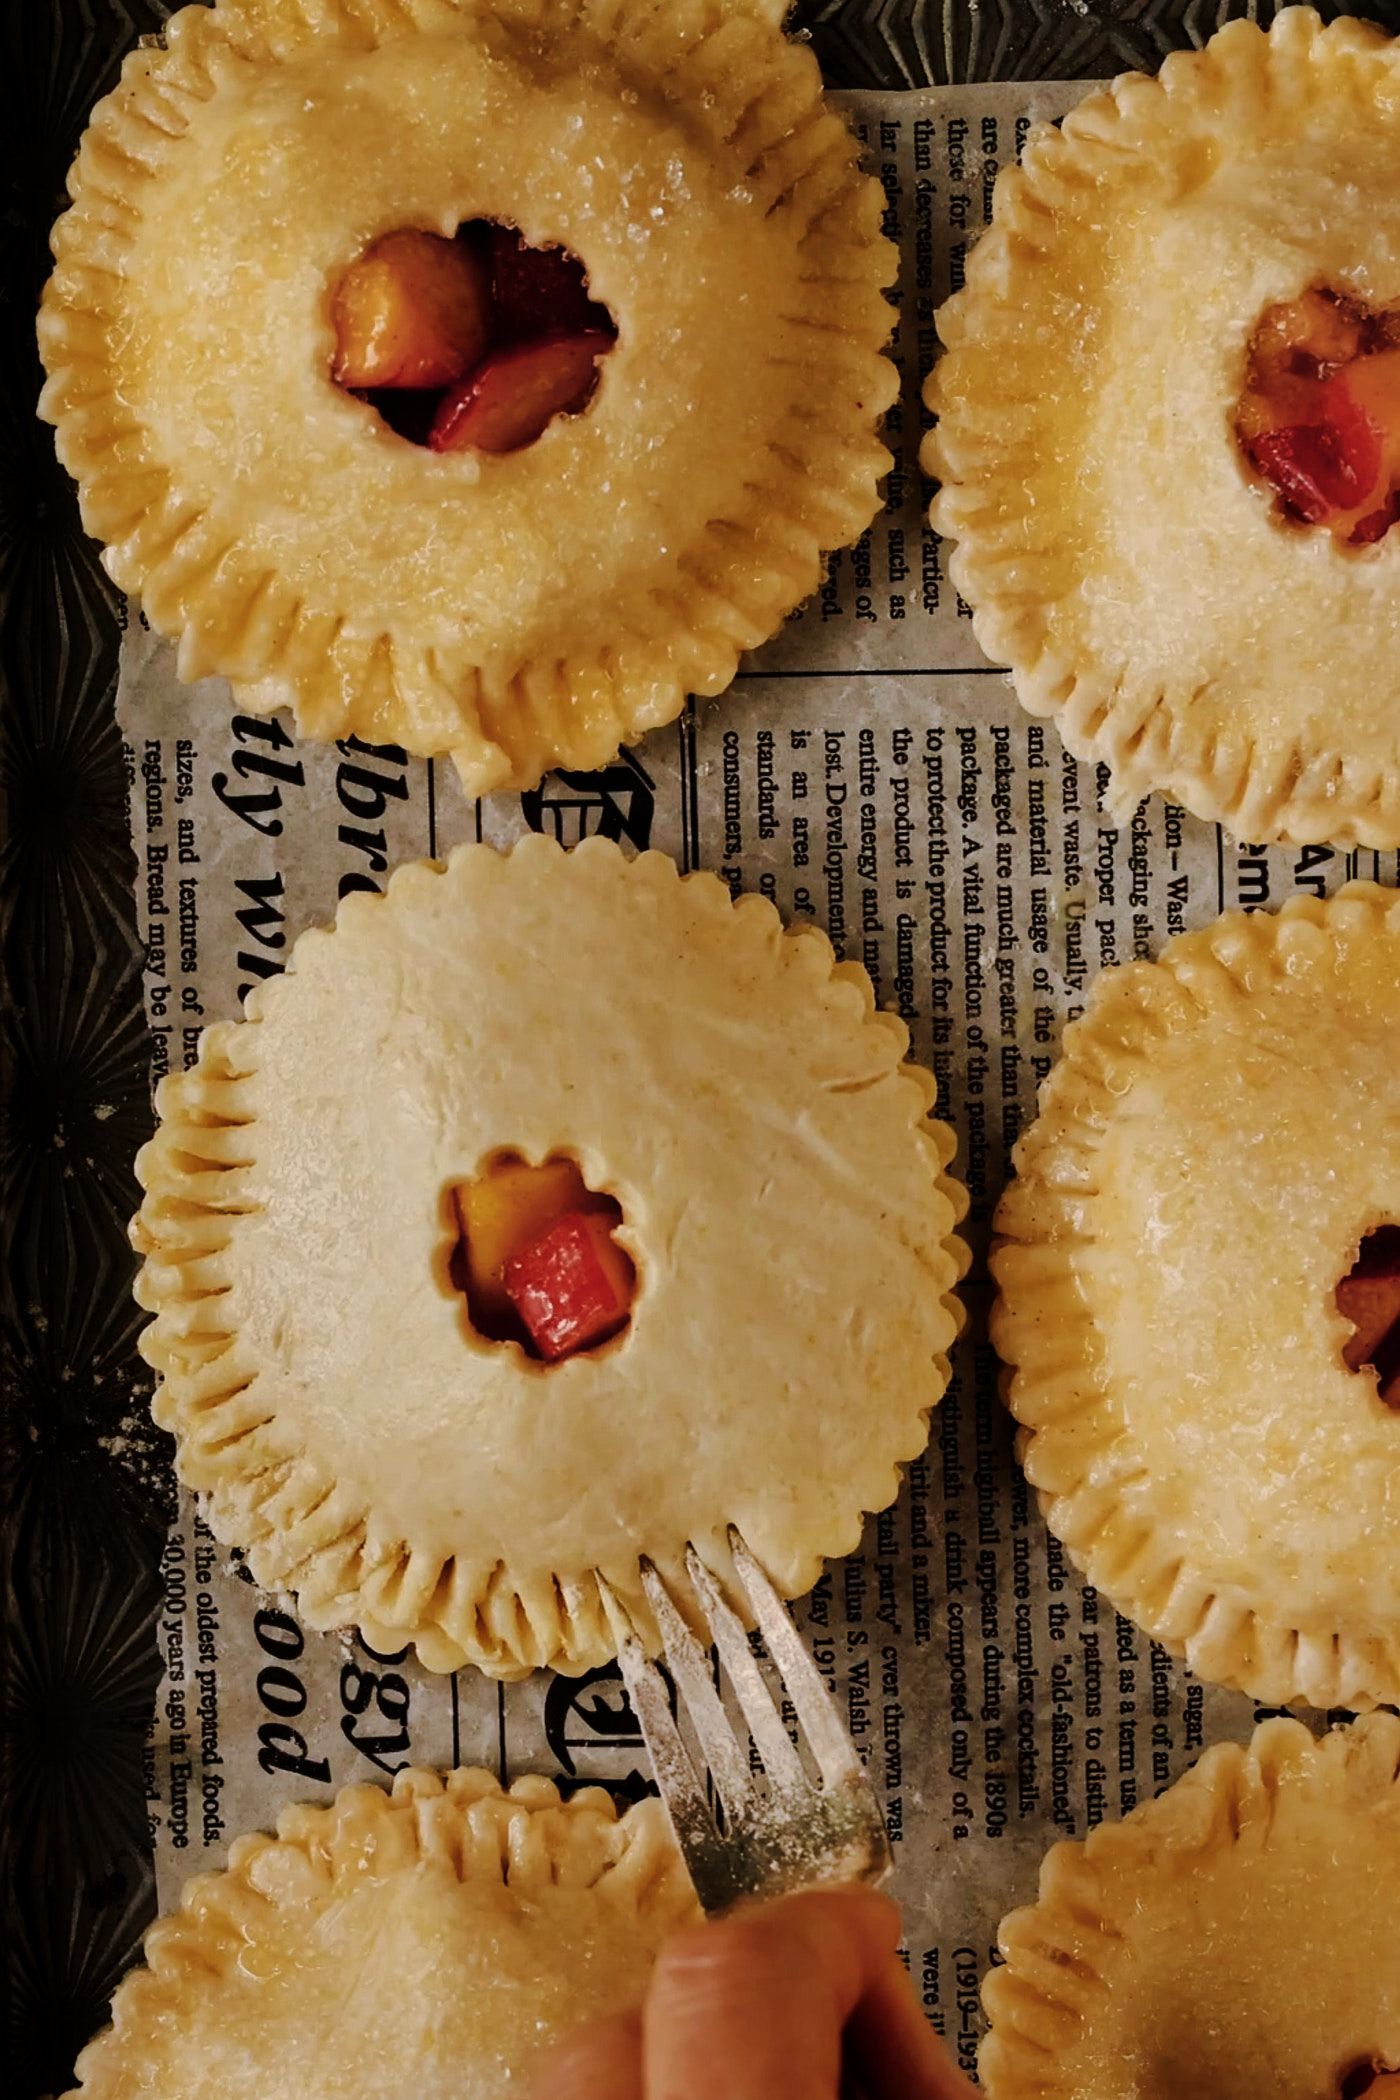
- Top each pie with a dough round that has vent hole cut our. Press around edges gently to seal. Dip tines of fork in flour and press fork around edges to get a good seal.
- Brush hand pies with beaten egg and sprinkle with coarse sugar.
- Once the hand pies are assembled, pop them back into the fridge for about 20 minutes to firm up the pastry for before they go into the oven. This will give you a flakier crust and better-defined pies.
- Place one baking sheet on lower rack, and second baking sheet on upper rack, Bake for 15 minutes. Turn oven temperature down to 375° F and switch position of the trays. Bake for another 15 minutes, until bottom of hand pies are deeply golden. Depending on your oven, you might need an extra 5-7 minutes.
- Remove from oven and let cool slightly on wire rack before serving. These are delicious hot, warm or even at room temperature.
Notes
Nutrition
After 34 years of making pies for a devoted pie lover, I’ve learned a thing or two. These peach hand pies, with their juicy filling, flaky cornmeal crust and crunchy sugar topping, might even be enough to turn this cookie person into a pie person. Almost.