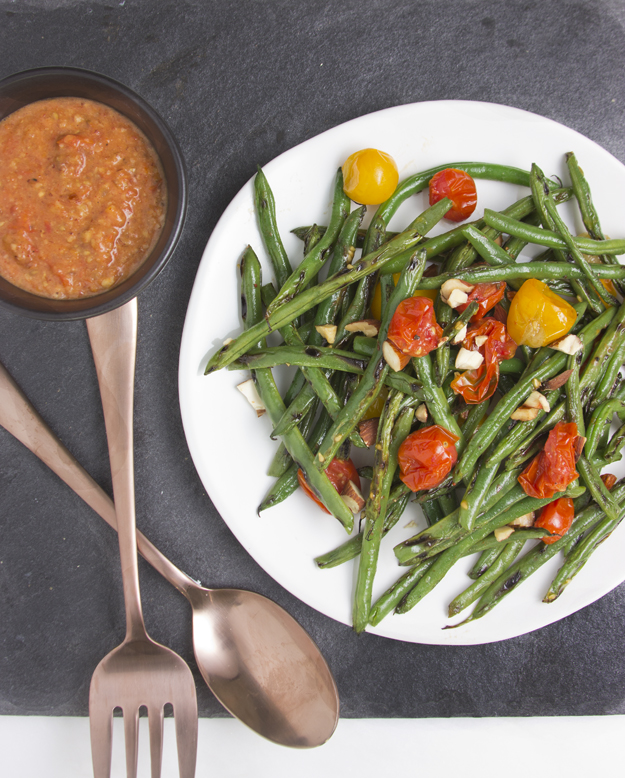
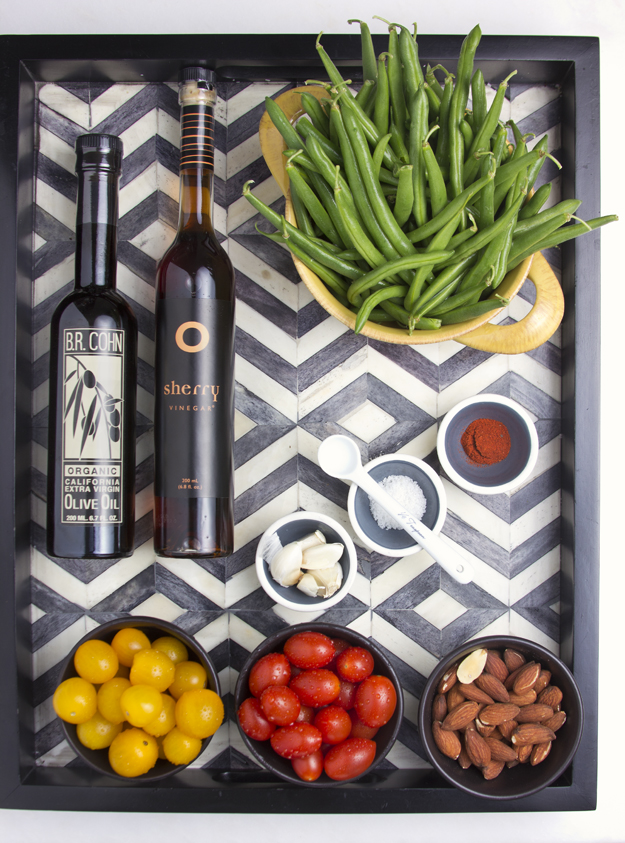
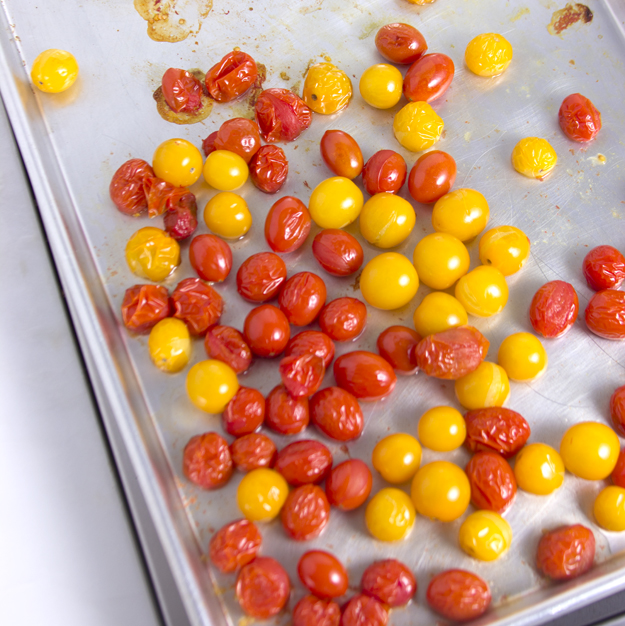
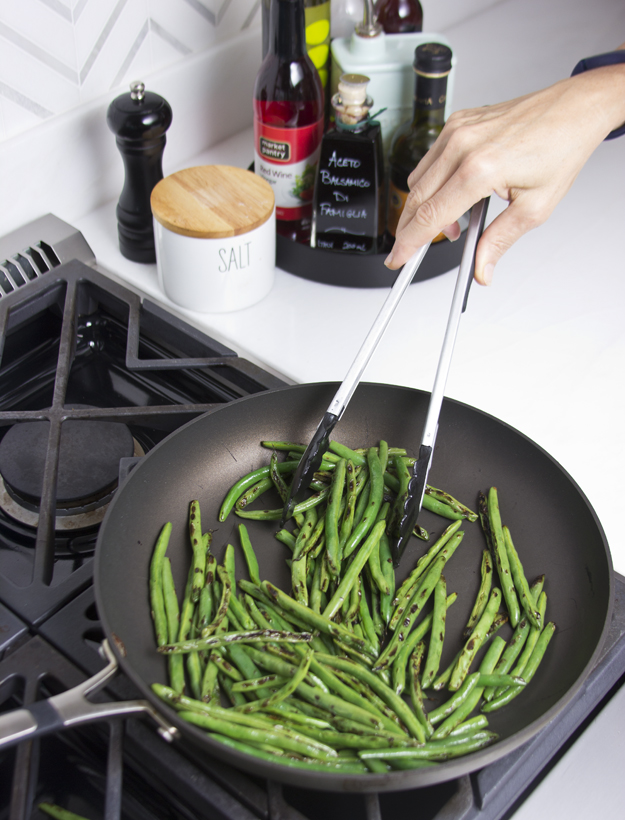
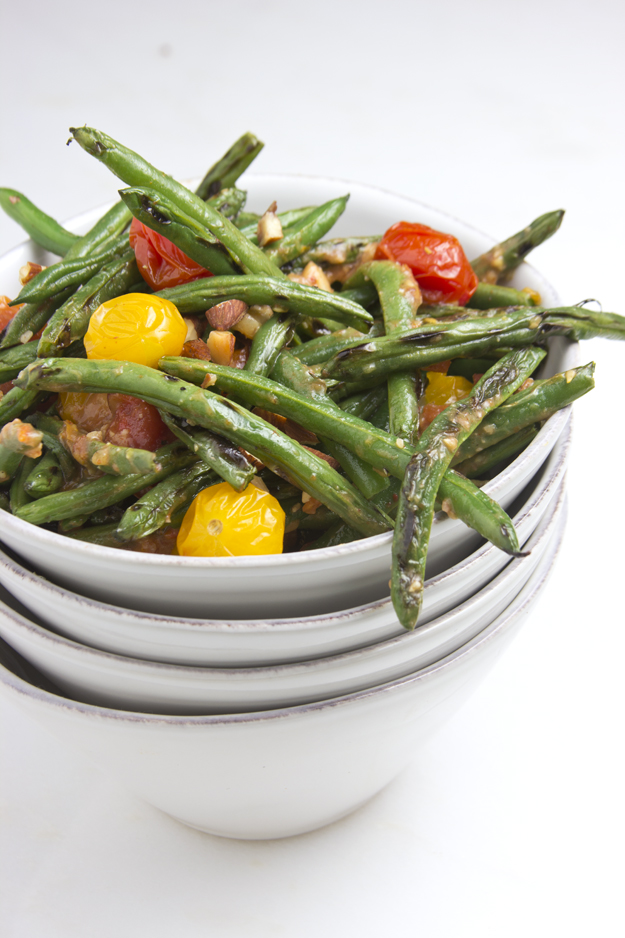
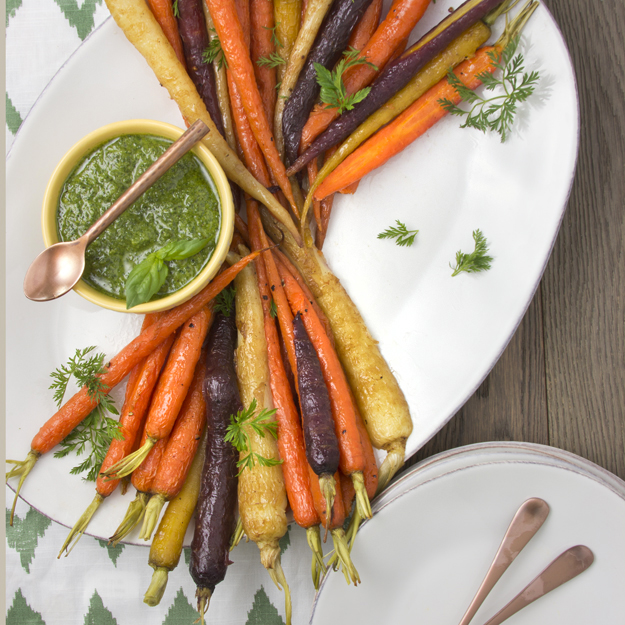
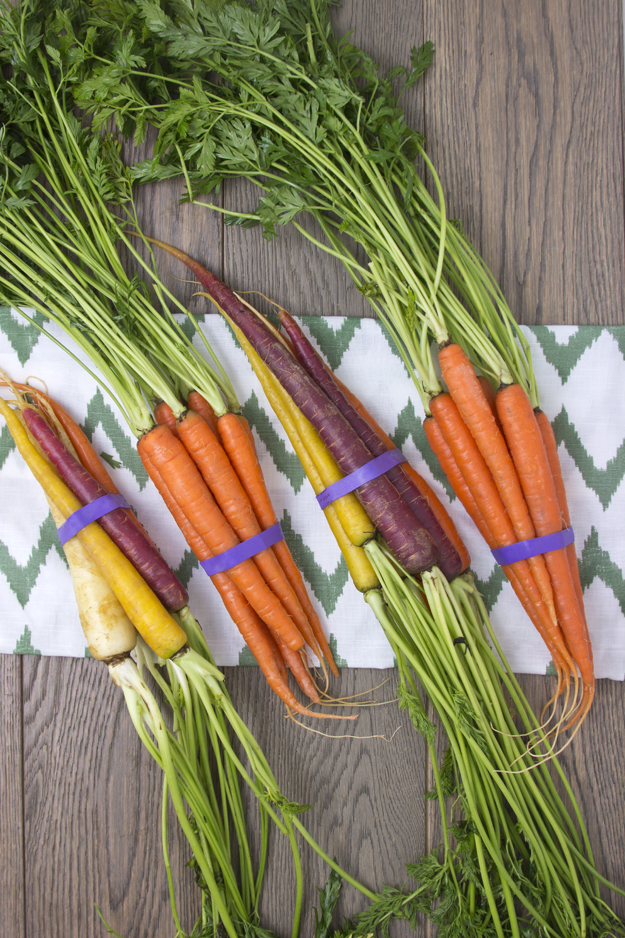
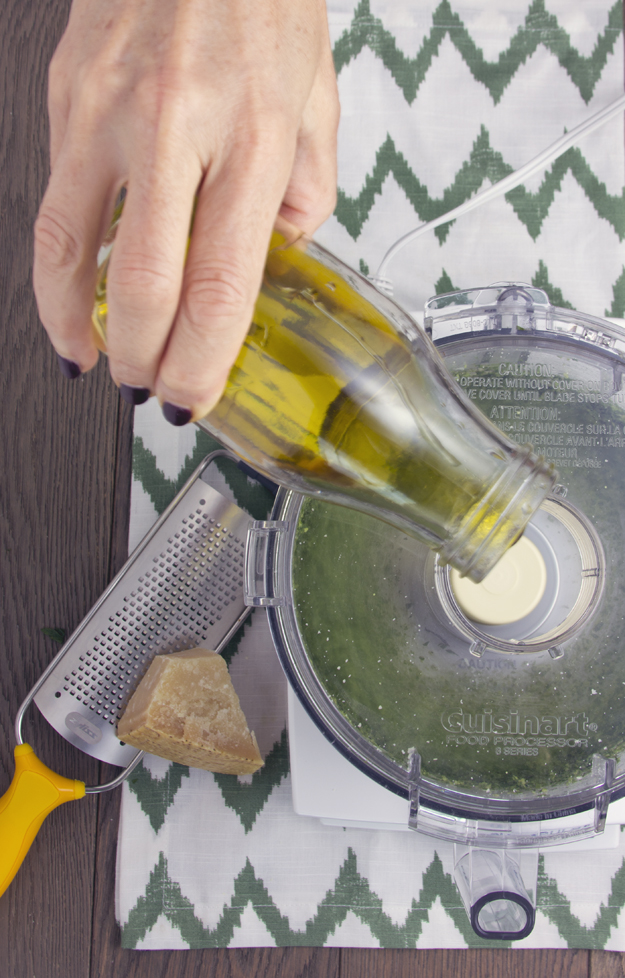
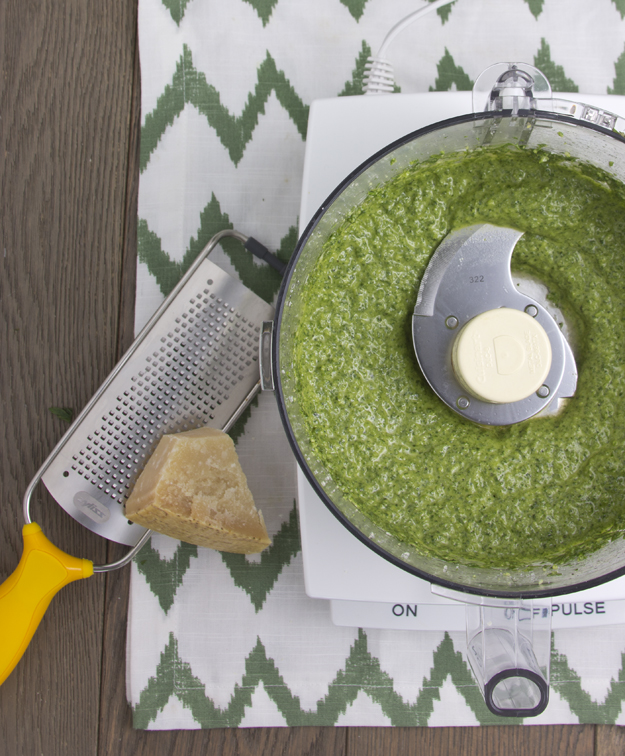
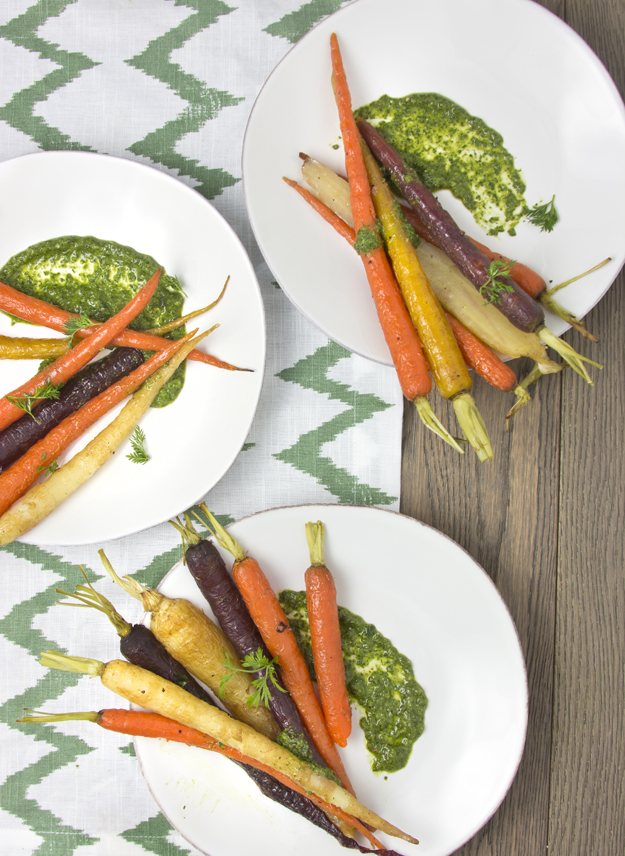
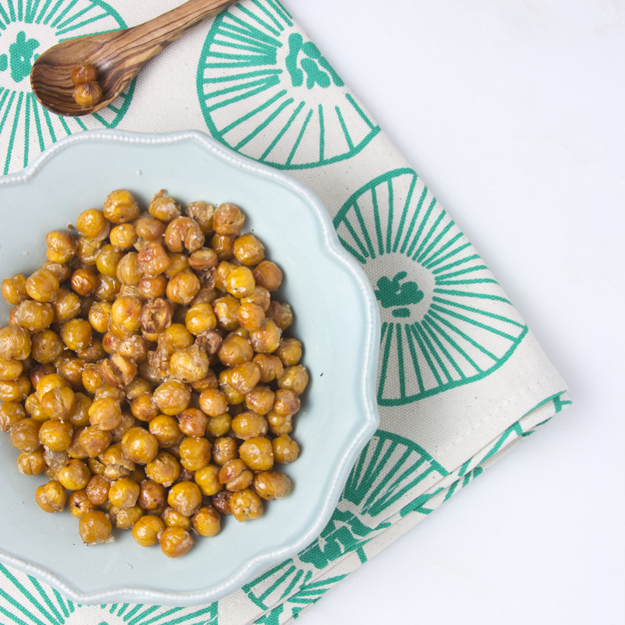
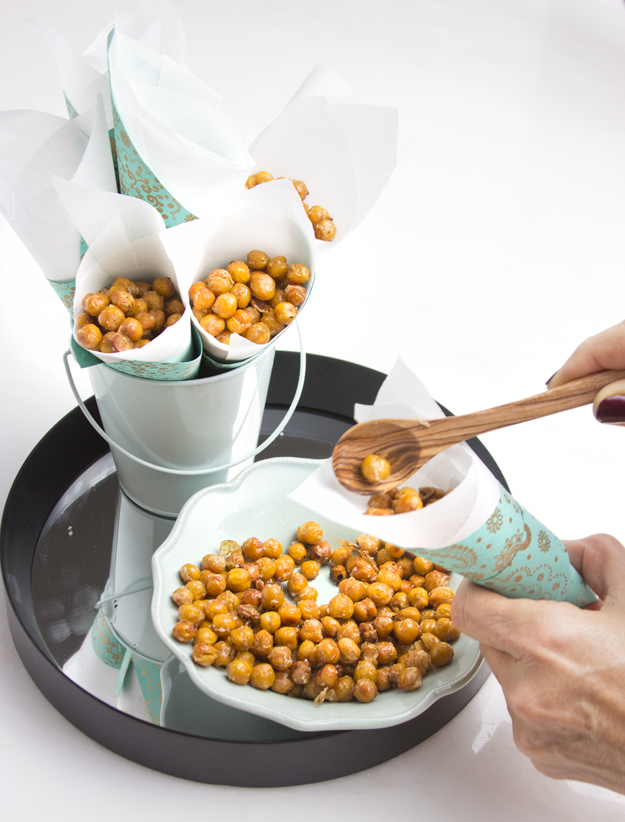
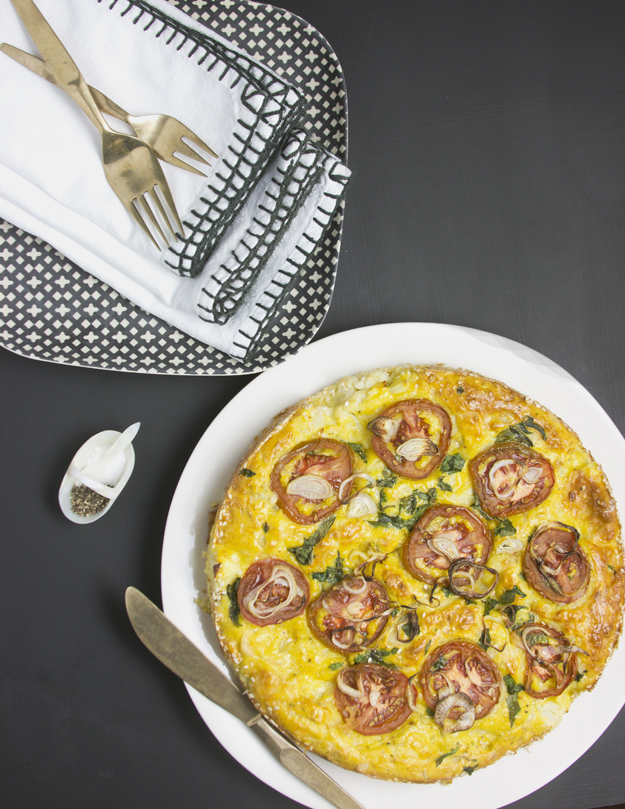
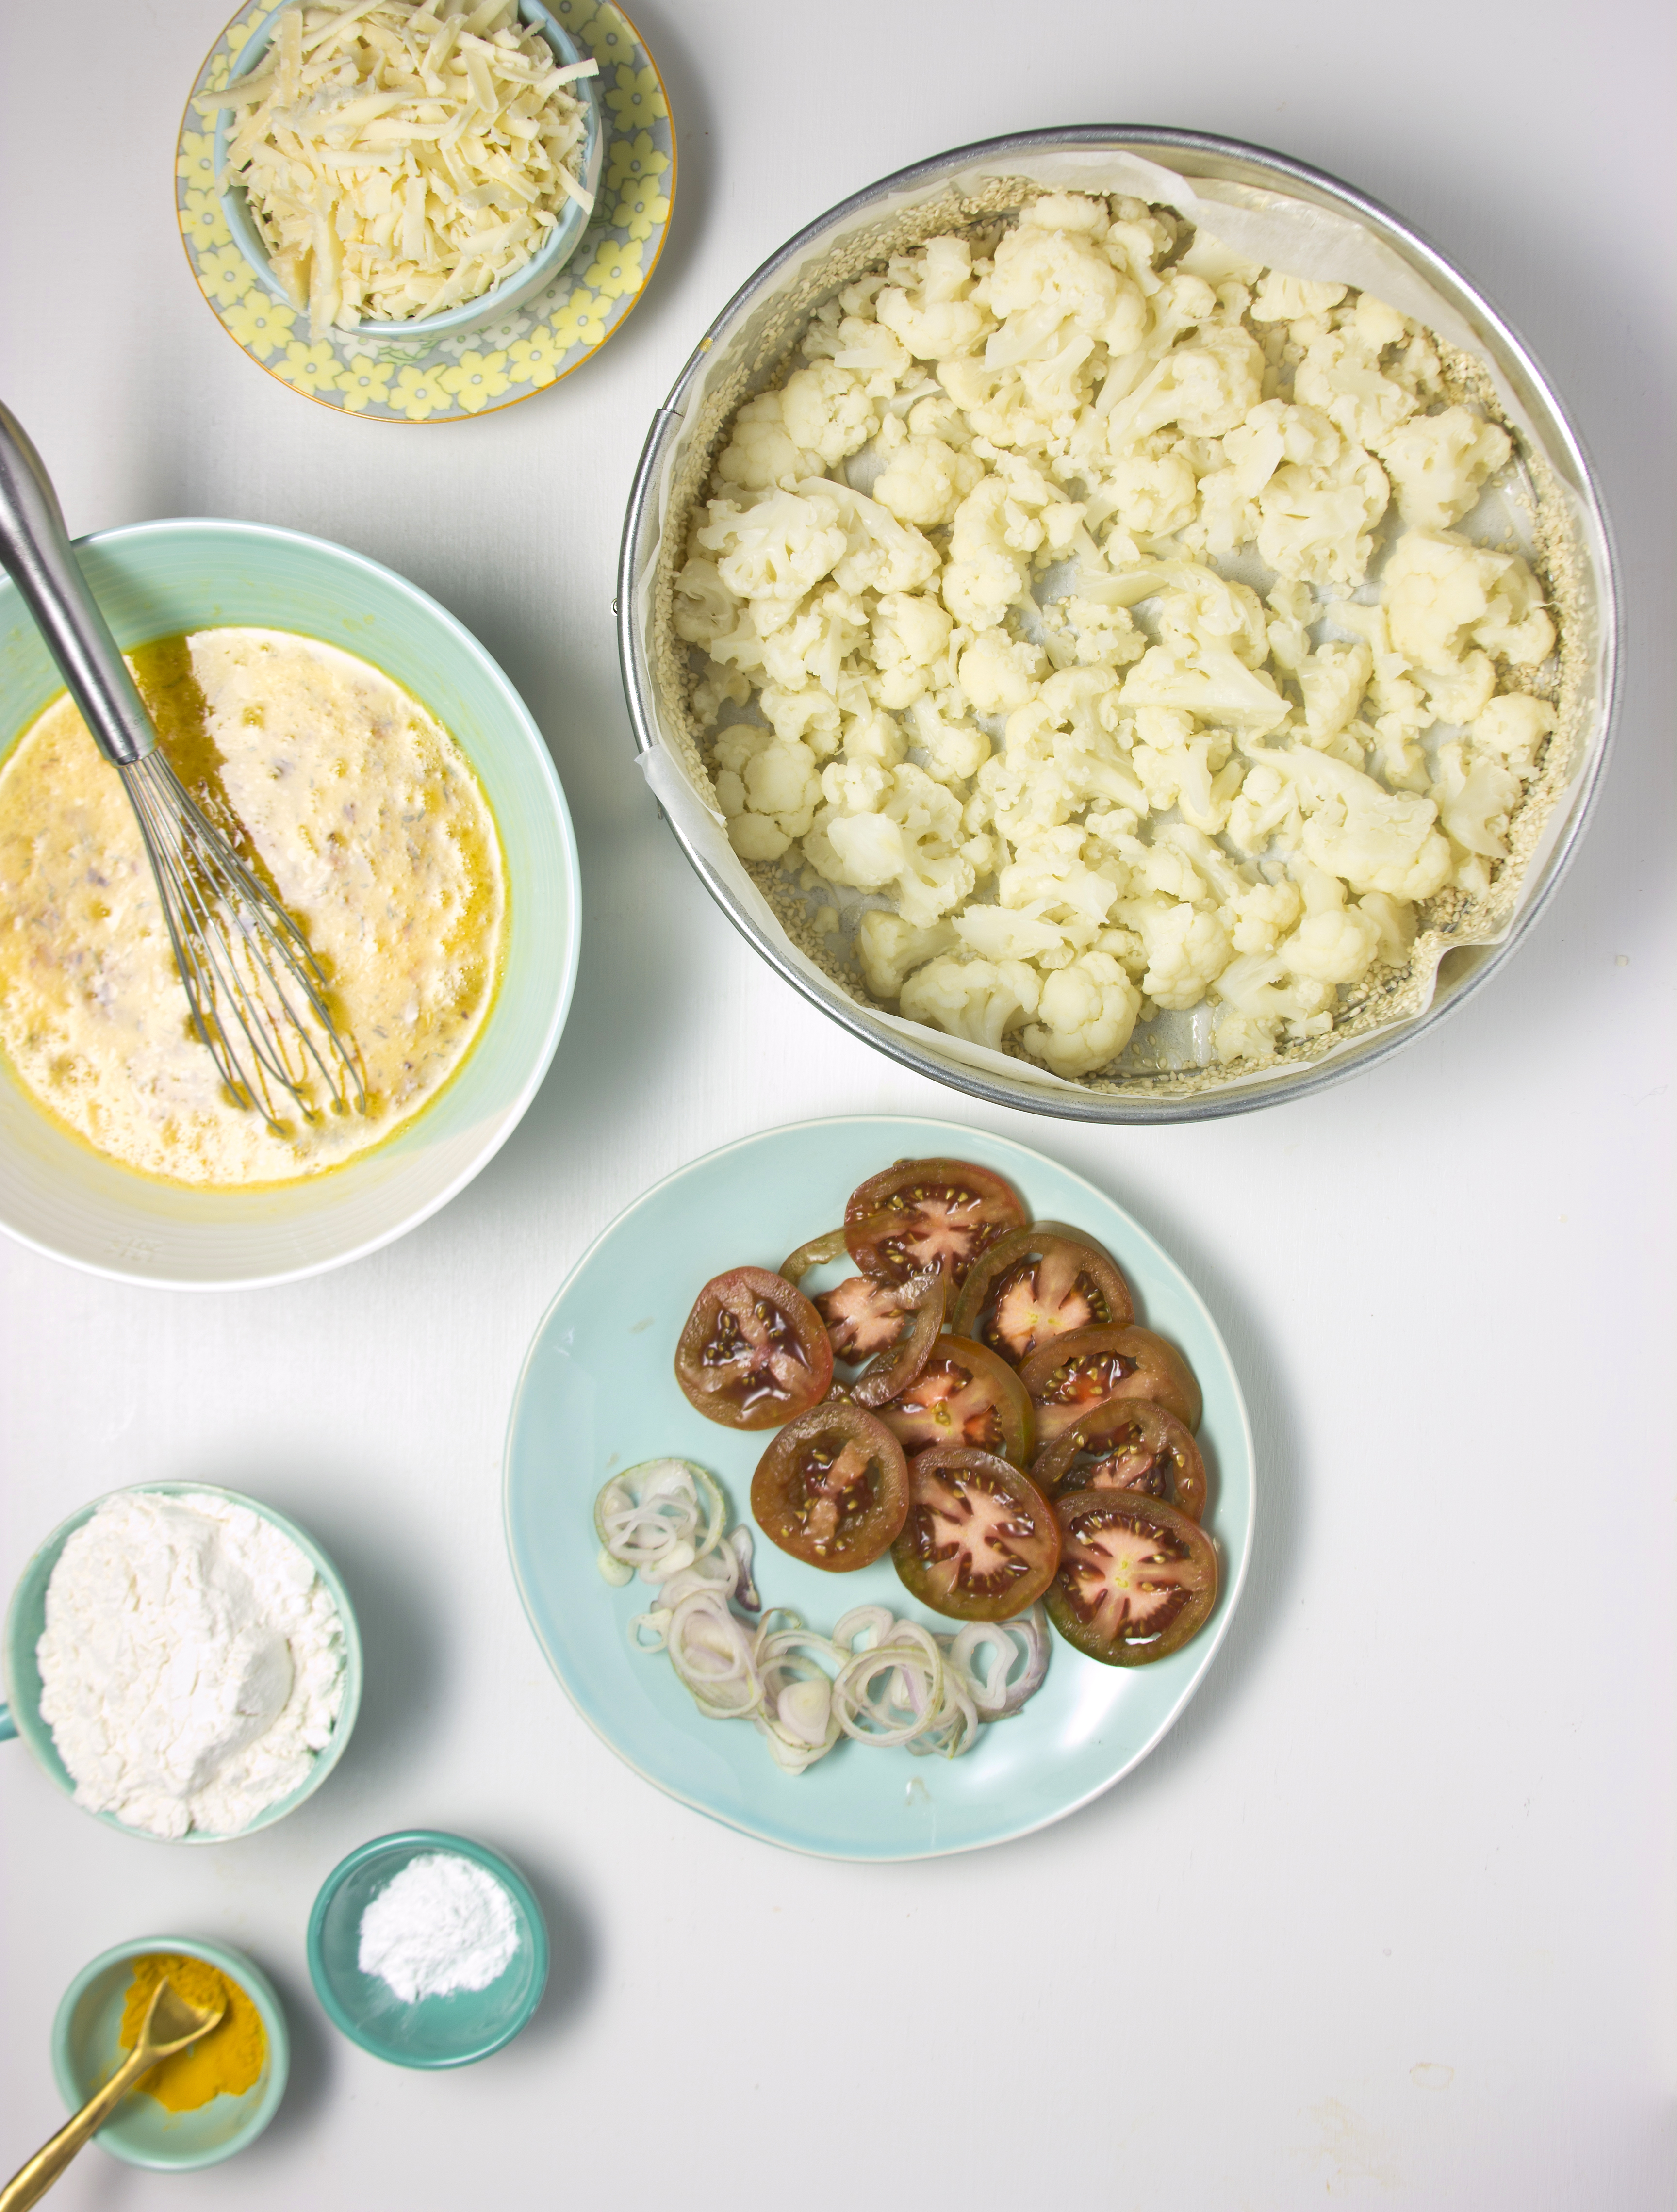
Ok, let’s all breathe a big sigh of relief. We made it through January. We’ve heaped the recommended daily servings of veggies onto our plates all month long. I’ve posted about carrots, green beans, cauliflower and chick peas. It’s officially February. Can we please talk about (and eat) cake?
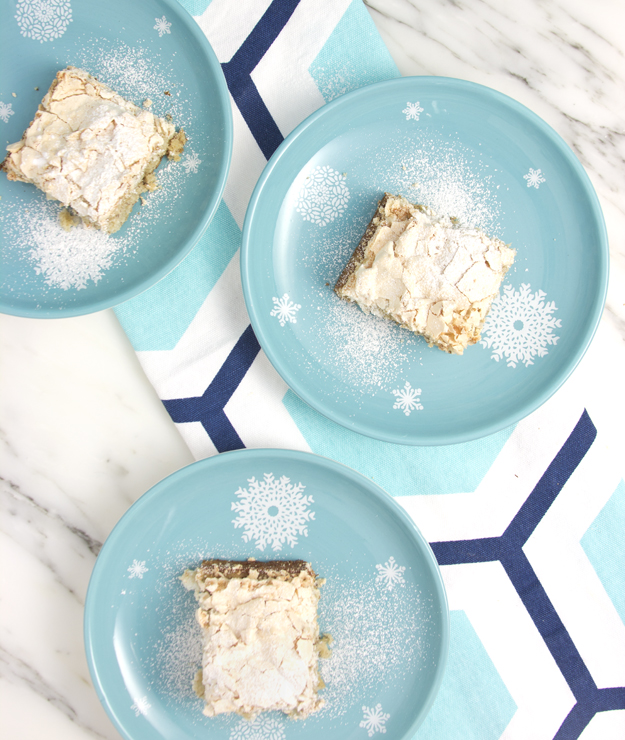
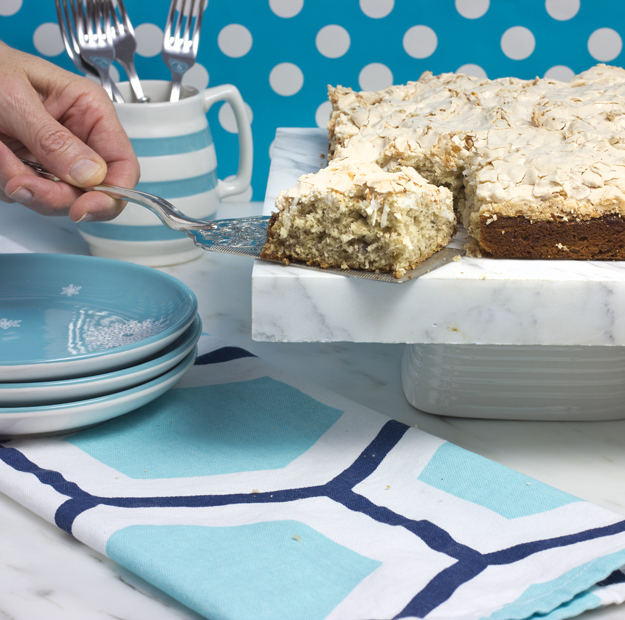
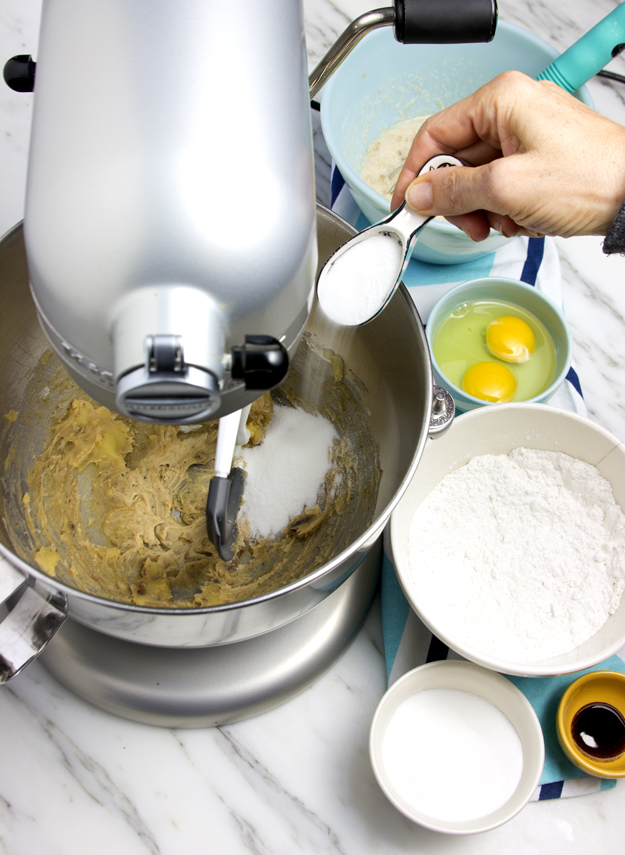
Specifically, this cake. Brown Butter Banana Cake with Coconut Meringue. This is indeed a magical cake. A layer of airy coconut meringue is spread over a base of banana cake batter. The whole thing goes into the oven and comes out perfectly baked, 30 minutes later. As I placed it into the oven, I had my doubts that the cake layer would be completely baked by the time the meringue was golden brown.
But, given the source of this recipe, I should have known not to worry. This cake was crafted by the genius mind of pastry chef Joanne Yolles. I have been a fan since I first tasted her coconut cream pie at Scaramouche restaurant many years ago. It’s kind of brilliant to layer meringue over cake batter. Culinary alchemy at it’s finest.
We need to brown the butter because “brown food tastes better“. This recipe is a perfect way to use up those brown bananas buried deep in your freezer.
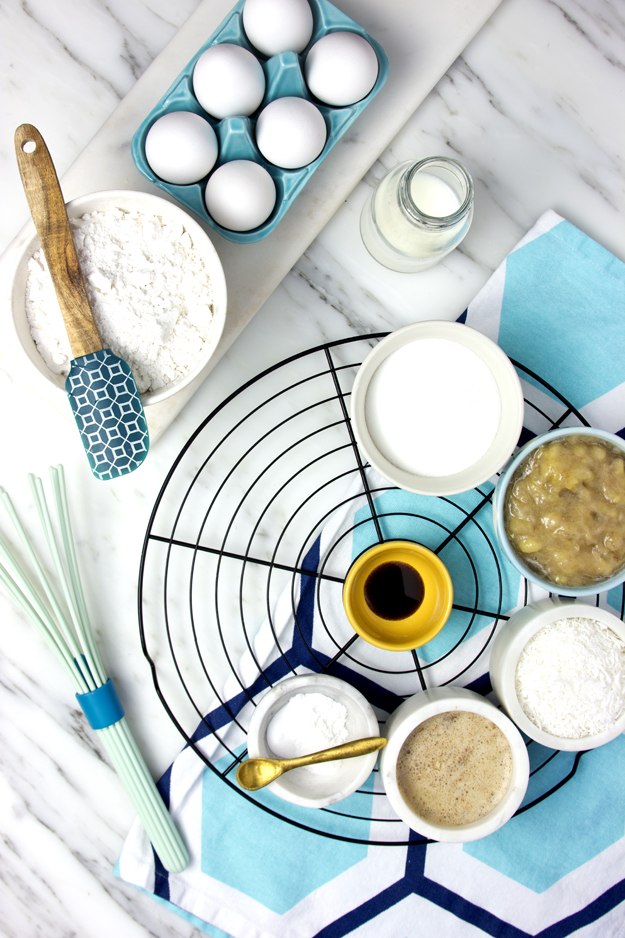
I used a 10 x 10 inch cake pan. A 9 x 13 pan would also work well. Don’t use anything smaller. You want a shallow layer of cake, so that the cake batter and meringue are done at the same time.
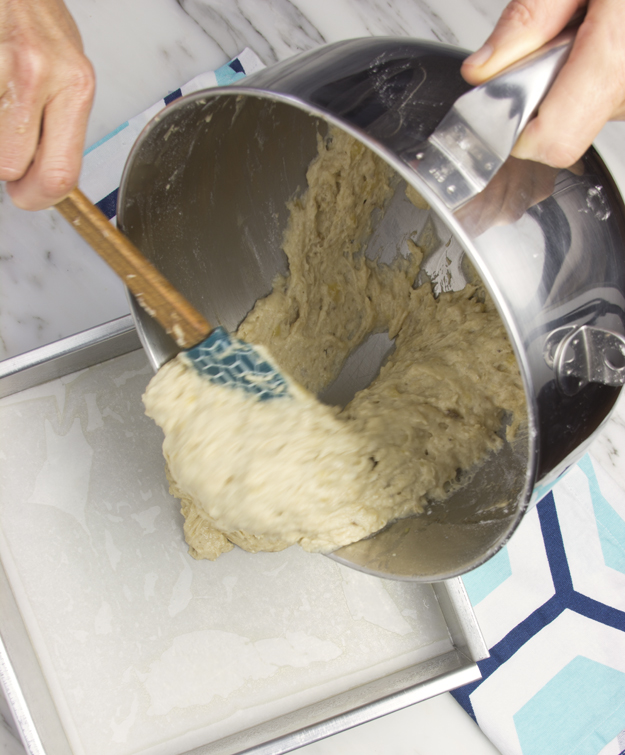
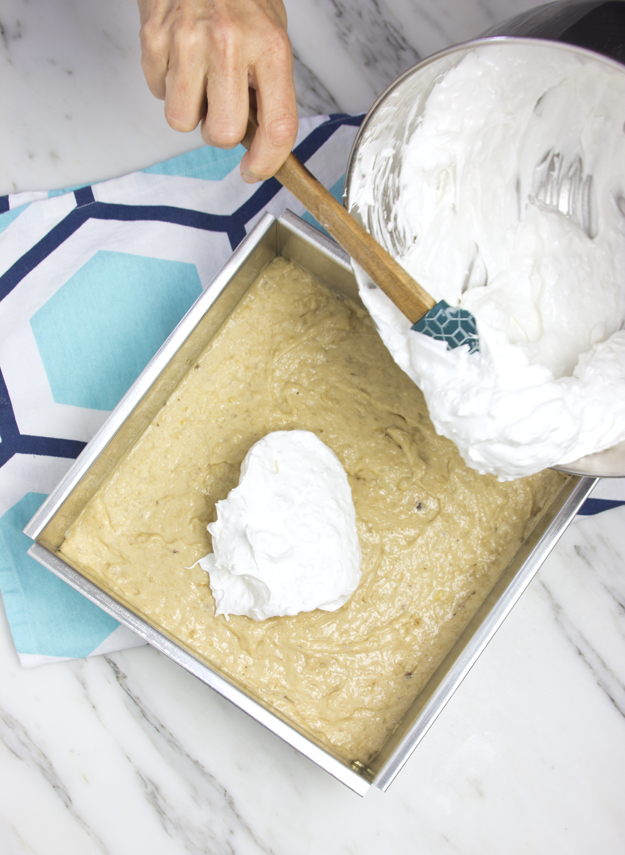
The brown butter banana cake is feather light and very fragrant. The coconut meringue is soft and all marshmallowy underneath that crispy browned top.
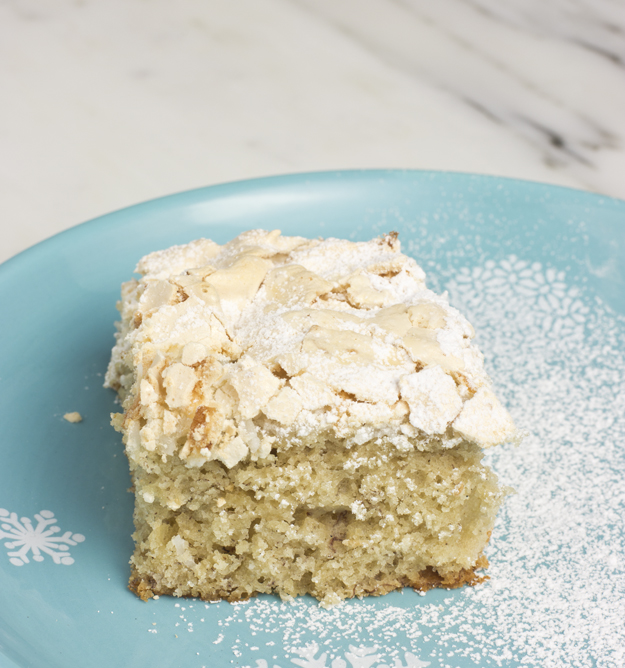
Top with a light dusting of icing sugar.And, a scoop of vanilla ice cream too, because you deserve it.
Some people consider green beans boring. I prefer to think of them as a blank canvas. Their neutral flavour is a perfect backdrop for all kinds of culinary profiles. These blistered green beans are ideal for when you just want to crunch your way through something green.
This recipe was featured in the 2015 Thanksgiving (November) issue of Bon Appétit. I wanted to cook and bake almost every recipe in that magazine. While I still mourn the loss of Gourmet, I think that editor-in-chief Adam Rapoport is doing a stellar job at the helm of Bon Appétit. The magazine feels fresh and modern to me and the photography always leaves me feeling inspired.The pesto sauce for these beans is a riff on a traditional Catalan sauce made with roasted red peppers and almonds. Roasted tomatoes stand in for the traditional peppers. While winter tomatoes are often insipid, roasting infuses them with tons of flavour. The green beans spend about 10 minutes in a blisteringly hot pan, until they become lightly charred but still have some crunch. Crunchy, fresh, and tangy-sweet, these green beans hit all the right notes. They are sure to become a regular in your weekday rotation.
The concept of “nose to tail eating” has been gathering quite a bit of momentum over the past several years. It stems from a desire to be more responsible and waste as little as possible of the animals being killed for our food.
I try to be a more responsible carnivore. I buy whole chickens and cut them up myself, using the bones and neck to make stock. However, I just can’t seem to jump aboard the whole animal movement when it comes to using up veal tongue, beef cheeks or pigs ears. I’m just not that adventurous an eater.
Happily, for me, the nose to tail movement has recently made it’s way over from animals to vegetables. There’s a movement afoot by chefs, to use up every part of each vegetable we pull from the garden. Here’s a crusade I can get behind. I’m already great at using up broccoli stems and corn cobs.When I stumbled across a recipe for using up the green carrot tops on epicurious.com, it kind of blew my mind. Who knew that carrot tops were edible and that you could create a pesto from them? I was very excited to try it. Carrots get oiled and seasoned and then blasted in a hot oven to roast for about 30 minutes. I left a tiny bit of the stems on because it looks so pretty. Using up the tender green carrot tops in a pesto is a very clever way to use them up. They taste fresh and clean with a mild carrot flavour. Fresh basil, parmesan, garlic, macadamia nuts and some extra virgin olive oil get blitzed in the food processor with the carrot tops to make a smooth pesto.
Salty, crunchy, tangy and just perfect for mindless snacking, these roasted chickpeas are addictive. I was introduced to these a few months ago by my friend Marla. She made them to serve with drinks at my house. They were quickly gobbled up by everyone.
While roasting chickpeas may seem like a new idea, they’re actually quite a retro snack, dating back to 1000 CE. Known as Leblebi, they are a very common snack food in Turkey, Iran and Algeria. Often seasoned with salt and hot spices, once in a while you come across candy coated ones. I’m thinking of trying a salt, cumin and smoked paprika variation next.
I used canned chickpeas to keep things fast and easy. Rinse and drain a couple of cans.Tip them into a pot and cover with 2 cups of plain white distilled vinegar. You could be fancy and try apple cider or champagne vinegar if you wanted. Bring to a boil. Cover pot, remove from heat and let sit for 30 minutes. The key to getting the chick peas super crispy is to dry them very well. After draining them from their vinegar bath, I spread them out on a few layers of paper towels and let them air dry for about 30 minutes before coating with oil, salt and pepper. 45 minutes in a hot oven and they are golden brown and perfectly crispy.Inspired by street food snacks in the Middle-East, I decided to serve them in paper cones. I fashioned them out of parchment paper and then dressed them up with a band of pretty wrapping paper.I first learned how to fashion a cone out of parchment paper when I was in culinary school. We had to make them to use as a piping bag for decorative icing in our baking class. My fine motor skills are not the sharpest, so I had difficulty making them. I got the brilliant idea to bring in plastic disposable piping bags, but was promptly scolded by my teacher. He said that the plastic piping bags were for “housewives” and we were professionals! I practiced over and over again and can now make them in my sleep. Here is a great video tutorial.
Just saying the word “Popover” makes me happy. These are so much fun to make. I turned on my oven light and watched them rise up and pop right over the rim of the pan. It’s like magic! (Do not ever open the oven door while they are baking!)I somehow managed to keep my popover virginity for the first 50 years of my life. I had my first one a few years ago at my cottage. My sister Bonnie came to visit and brought her popover pans with her. (Doesn’t everyone travel with popover pans?) I promptly ate two, right out of the oven, slathered with butter. Why had I waited so long?
I have been meaning to make them myself and blog about them, to share the popover love, but life got in the way, and I got sidetracked. A family holiday to Aruba, over the winter break, brought me right back on track again. We had dinner one night at the Aruba outpost of BLT Steak.
Our entire dinner was delicious, but it was the popovers that will keep me coming back again and again. I was thrilled to see that they arrived at the table with soft butter and a copy of the recipe!Popover batter consists of nothing more than milk, eggs, flour and salt. I also added some cheese, because cheese makes everything better. Making perfect popovers is not really all that magical or mysterious if you understand about the science behind them. The website, bite-sizedbiology does a brilliant job explaining this. Popovers are like little balloons. An elastic network of egg, milk, and flour proteins (particularly gluten) forms as the popover batter is mixed. This rubbery network then “inflates” as air trapped inside the batter expands during baking.
Beat your eggs well.Whisk in some warm (120°F) whole milk.Gradually add the flour and salt, stirring well after each addition. It is not critical to get it totally smooth. A few little lumps are ok.
Place your muffin or popover tins in the oven, on the lowest rack, while it is preheating to 400°F. A hot pan will assist in giving your popovers a head start in rising. While popovers can certainly be made in a muffin tin, they will not be nearly as tall and dramatic as ones made in a popover pan. The main difference between muffin and popover pans is the shape of the cups. Popover pans have tall narrow-straight sided cups, while muffin tins are squatter and narrower at the base. The taller straighter sides of the popover pan gives the batter more vertical room to expand and build a bigger steam pocket.Each popover got a generous topping of Gruyere cheese before heading into the oven. Serve as soon as they come out of the oven, with butter, if that makes you happy. The top and sides are a deep mahogany colour. Pop off the crunchy cheesy top to reveal a hollow custardy cavity inside.
Happy New Year! Have you made any resolutions? Let me know what you’re determined to change or accomplish this year. Personally, I’m not big on goal setting. It makes me very uncomfortable. I fear the inevitable disappointment if I fall short of my target.
A good friend of mine resolved to express more gratitude this year. She wrote me a beautiful note, letting me know how grateful she is for our friendship. I was so touched. Yet, a small part of me felt like crap! Maybe I should be resolving to be a better person too. Or maybe I’ll just bake a cake, a vegetable cake. That counts as virtuous, doesn’t it?
This lovely cauliflower cake is very slightly adapted from Yotam Ottolenghi’s book Plenty More.Roasted, mashed, or thinly sliced in a slaw, cauliflower is such a versatile vegetable. In this rendition, cauliflower gets boiled until soft and tender. Then it gets folded into a gossamer light cake batter, made with eggs, flour and baking powder. Basil and rosemary add a herbal freshness. Parmesan and Gruyere cheese add some gooey, nutty saltiness and the addition of turmeric makes this cake positively sunny. Topped with thinly sliced tomatoes and shallots, this is a very pretty golden cake indeed.
On the eighth, and final night of Chanukah I gave my true love Chocolate Pretzel Peanut Butter Squares. Reminiscent of peanut butter cups, but way better because of the crunchy, salty pretzel crust. And, the best part is that they don’t have to be baked!This recipe was given to me by my friend Mrs. Dolphin. I’ve granted her this nickname because she shares numerous traits with porpoises. Dolphins are very social animals and excellent communicators. They are friendly, clever and natural performers. Mrs. Dolphin enjoys a very busy and complicated social life. She is charismatic, fun loving and was born to be on the stage. She is very organized and excels in creative problem solving. Mrs. Dolphin found this recipe in the food section of the Ottawa Citizen. It was inspired by Trisha Yearwood’s No-Bake Chocolate-Pretzel-Peanut Butter Squares. (Yes, the country singer Trisha Yearwood. Did you know she has a show on The Food Network?) I took the recipe one step further and made the top layer more lavish, with a marbleized bittersweet and white chocolate topping, because really, we all need more fancy in our lives!
Marbleizing looks very impressive but it’s simple to do. Here is a video showing you the technique. The video is from my The Ultimate S’mores post, but the method of creating a marble pattern is still the same.
Perfect with a glass of milk or a cup of coffee. The awesome drip coffee stand is from Restoration Hardware. I bought it for my husband because his plastic Melita cone offends my aesthetic sensibilities.
On the 7th night of Chanukah I baked my true love Florentines. Thin, crispy, lacy, delicate and just drop dead gorgeous! I will warn you that these cookies are a bit of a pain in the ass to make. They require a candy thermometer and you will need to temper the chocolate for them, but they are so pretty (and delicious), that I think they’re worth the effort. Ever since I watched Anna create these on her show “Bake with Anna Olsen,” I became obsessed with making them. I have made similar lacy cookies with oats , but these are something totally different.These are essentially an almond cookie. Sliced almonds get coarsely crushed. Honey, cream and sugar are cooked until they reach 244°F.The almonds get mixed into the batter and then the cookies are formed and baked. The baked cookies are quite fragile, so they get a coating of melted chocolate on one side, to give them some extra strength. The cookies can then be embellished further, by placing the wet chocolate side of the cookie onto a chocolate transfer sheet. This is an acetate sheet embossed with cocoa butter and powdered food colouring. Once the chocolate hardens, you peel the cookie off the sheet and the design transfers to the chocolate, producing a stunning pattern. They come in a wide variety of designs. There are many differentonline sources for them.
On the 6th night of Chanukah, my true love asked me if I was trying to kill him with all that butter and sugar I’d been force feeding him. What??? Pecan Toffee Squares, Oat Pistachio Cookies, Macadamia Coconut White Chocolate Shortbread, Perfect Chocolate Chunk Cookies and Chocolate Crunch too much? OK, point taken. Perhaps it’s time for some salad.I’ve been on a bit of a raw Brussels sprouts bender lately. But really, can you blame me? Would you be able to resist buying these Brussels sprouts? Who knew Brussels sprouts grow on a stalk? So cool. I think I actually squealed when I saw them. These giant bright green olives are Castelvetrano olives. I was introduced to them this summer, and was astounded at how different they are from the typical salty heavily brined green olives we normally buy. They have a crunchy bite and a mild buttery flavour. They somehow manage to be sweet and salty at the same time. Mild and not at all overpowering, they are the perfect olive for this salad. I found them at Whole Foods. I discovered this recipe in the November 2015 issue of Bon Appetit Magazine. A food processor makes quick work of shredding the Brussels sprouts. As we crunched through this salad, my true love said he could feel his arteries unclogging. A fresh lemon vinaigrette dressing gets additional punch from a bit of anchovy paste. Rather than make the dressing taste fishy, it just adds a rich, savory background flavour. A generous shaving of Parmesan cheese, fresh corn and some chopped toasted almonds round out this addictive slaw.
On the fifth night of Chanukah, I made Chocolate Crunch for my true love. Truthfully, this one was for me. My true love is not a huge chocolate lover. This recipe comes from The Mast Brother’scookbook.
My friends, The Grizzlies, gave me this book as a gift when I broke my foot a few years ago. It kept me greatly entertained while my bones were healing. The recipes are delicious but what I really love best about this book are the deep, dark, exquisite chocolate photos. The book reads like an adventure novel, following the bearded brother’s unusual journey from their home state of Iowa to their factory in Brooklyn. Plus, how could you not love a book whose dedication reads, “To our mother, we love you.”
The Mast Brothers were on the forefront of the bean-to-bar artisan chocolate movement. They source cocoa beans with unique flavour profiles from around the world, roast the beans in small batches to create truly handmade chocolate, one of the very few chocolate makers to do so. And their bars have the coolest packaging.
This is a pretty simple recipe, no baking required. I tinkered with their recipe, ever so slightly by adding some Skor bits to the mix. Rice Krispies add a gentle snap, while the toffee flavoured Skor bits add a firmer crackle and pop.
The mixture gets poured into a parchment lined baking sheet and refrigerated until set. Sliced into thick slabs, this is the perfect afternoon pick-me-up!