Avocado Toasts

I’m about to confess something that may get me drummed out of the tribe. I’m sick of eating humus! Truthfully, I have only myself to blame for this unfortunate state of events. I have been eating humus with carrot and celery sticks  for lunch everyday for the past year. Seriously, everyday! I know, you must be wondering, how is that possible? She’s a food blogger, she must create all kinds of wonderful lunches, each day more imaginative and fantastic than the last. But the sad truth is that I get into a rut, it’s just easy, plus it’s healthy and fairly low cal and so then I feel justified later in the day to indulge in my daily aperitivo!

I confess my boring lunch habit not so you will feel sorry for me, but as a way of sharing with you the discovery of a fantastic and simple appetizer to serve with drinks when company comes to visit.

Every summer for the past 26 years we have been gathering at our cottage with my husband’s University housemates and their spouses. Over the years our numbers have swelled as everyone started having kids. We had our annual get together this past weekend. It was just a small group of 15 this year as several members had other commitments. Each family is responsible for one meal over the weekend. It’s fantastic because it means that I am not in the kitchen the entire weekend cooking for everyone and I can enjoy my company instead of resent them!

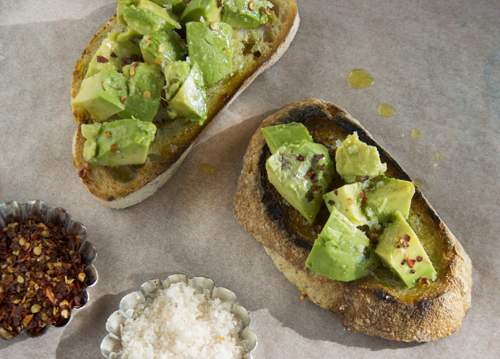
As I began to plan what to serve my guests with drinks before dinner, I ruled out the usual suspects: humus and pita (sick of humus, see above!), tortilla chips and salsa (too predictable), a big bowl of pistachios or peanuts (nut allergies). As I was reading my July issue of Bon Appetit magazine, the photo on the editor’s letter page stopped me cold. It was just simply grilled bread topped with ripe avocado, sea salt, olive oil and red pepper flakes. I have to say that since Editor-in-Chief  Adam Rapoport took over at the helm of Bon Appetit, I have really started to enjoy reading this magazine once again. He has injected it with a fresh modern vibe and it just inspires me to cook everything on the pages. I still miss Gourmet (a moment of silence please!), but Bon Appetit is really doing a great job to partially fill the void.

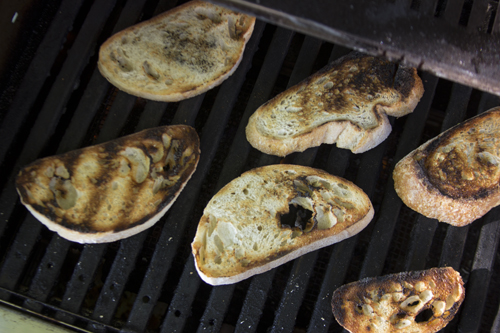
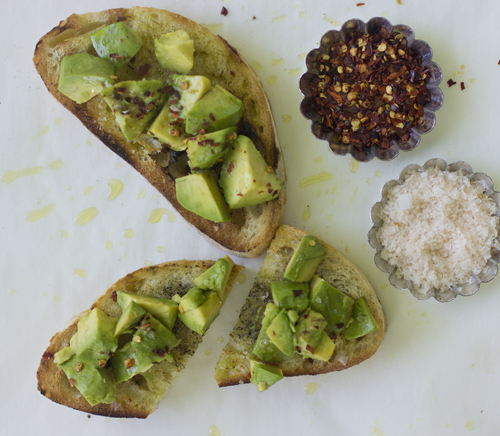
The beauty of these avocado toasts is in their simplicity. The key is to gather together the very best ingredients for this dish. There is no real cooking or recipe involved here. Think of yourself as an orchestra leader, bringing together some gifted musicians. Each on their own, sounds quite nice. Together, they create a beautiful harmony. Look for good Artisan bread that has an “open crumb structure” (that’s baker speak for bread with lots of holes – more holes means more crusty spots to give added crunch and crevices for the olive oil to drip into).

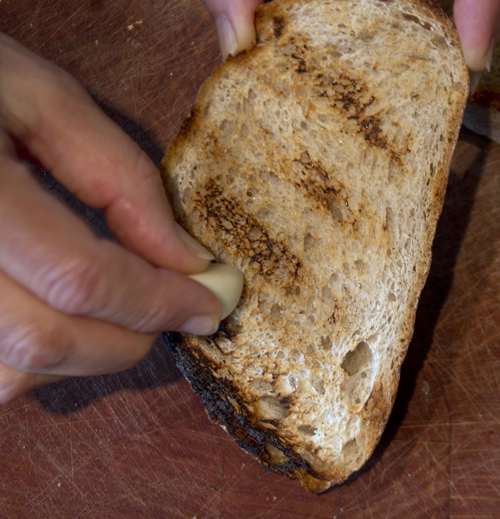
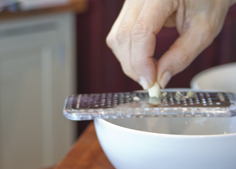
A big fat clove of fresh garlic gets rubbed onto just grilled bread.

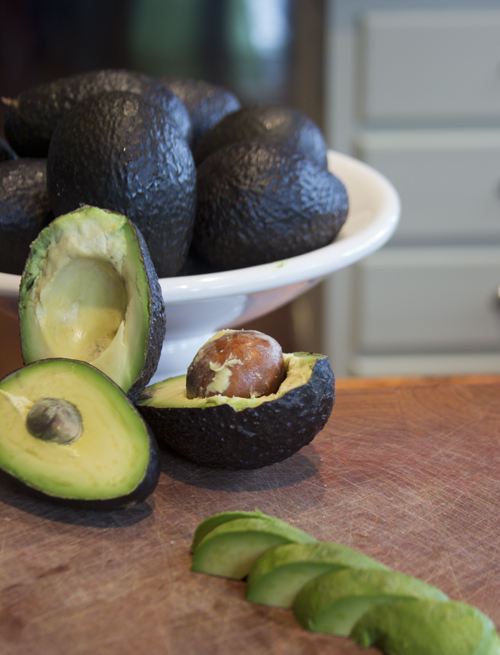
The avocados should be perfectly ripe, so buy them a few days ahead so they have time to ripen to perfection.

Table salt need not apply for the job of topping these crostini. Pull out the Maldon Sea Salt or some Fleur de Sel. The large crystals of salt will give added crunch and provide a perfect counterpoint to the bland creamy avocado. Pull out that expensive bottle of fruity, slightly bitter olive oil that you have been saving for a special occasion. The nooks and crannies of the grilled Artisan bread will soak it up. Finally, a very light sprinkling of red pepper flakes to wake up the taste buds.

These Avocado Toasts will have your friends and family toasting you!!

Tuxedo Orzo Salad

This is a cautionary tale told to warn you about the dangers of shopping without your reading glasses. It is dark and scary! (Not really!) If you are blessed with 20/20 vision or are under the age of 40, you may just want to skip the first part of this post. Otherwise, you will be shaking your head and wondering what this crazy old lady is rambling on about.
Growing up, I had always had perfect vision. My dad was an optometrist and of course, I always wanted to wear glasses. I would go to his office and try on different frames, imagining the various personalities that went with each pair. When I turned 40, I noticed that I could no longer read the directions on the back of over-the-counter medicines. Just a word to the wise, do not assume that the package says Tylenol nighttime when your kids wake up sick in the middle of the night. Without my glasses on I was never quite sure if I was giving them nighttime or daytime. If I accidentally gave them the daytime, it became quite obvious within 20 minutes of swallowing the medicine, and I would pay the price for my deteriorating vision.

Eventually, I did go see an optometrist. The beginning of my failing eyesight coincided with my dad’s death. It felt so disloyal to visit another optometrist, that I put it off for as long as I could. When I finally went, I was prescribed mild reading glasses and he told me I could just get by with a drugstore pair. Not a chance! I spent the better part of the afternoon at his office, trying on almost every pair of frames in his office, driving the poor assistant there crazy, I’m sure. I chose a racy red pair of reading glasses that I was convinced portrayed me as intelligent, creative, slightly quirky and someone with who is comfortable in her own skin and does not worry about what others think. A lot to ask from one pair of glasses, to be sure! I really only needed them for very small print, but I pulled them on at every opportunity.
Fast forward several years and with each passing year, my vision has continued to spiral downward. My optometrist has assured me that it’s a normal part of aging. However, I now need my glasses to read everything. I have my Blackberry set at the biggest font size, and I still need my glasses to read e-mails and texts. Yes, I still have a Blackberry! I like to think that it was Blackberry that taught the world to type with their thumbs. Way to go Canadian innovators. I have tried the iPhone but I can not seem to get the hang of that touch screen. I am all thumbs when it comes to using it. Yet, I digress, sorry about that!

I now have about 12 pairs of reading glasses scattered throughout the house, in my car and in my purse. I find it such a pain to have to put them on to read a recipe, take them off to cook or take pictures of what I am cooking. I am forever lamenting that I can’t find my glasses. My daughter really wants me to buy one of those chains you put around your neck to hold the glasses, so you don’t lose them. I have managed to hold off so far, because, really, they just announce that you are a woman of a certain age, and I’m just not ready to be that woman yet. So until Marni or Miu Miu come up with a chain that conveys to everyone that I am intelligent, creative and slightly quirky, I will pass.

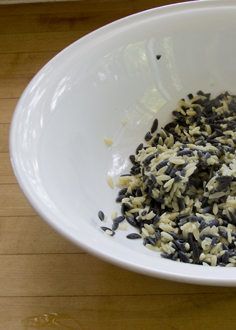
Last week I was at the supermarket, wandering up the grains and rice aisle, when I spotted a beautiful box. I picked it up and the bright yellow large font announced itself to be Tuxedo Orzo. Pretty little grains of black and white orzo. I had to buy a box and make something fantastic with it. I never read the fine print on the box because I couldn’t be bothered to take out my glasses.

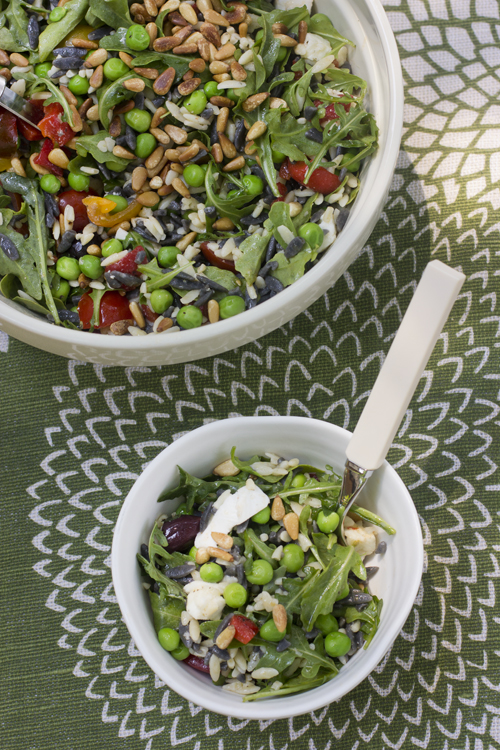
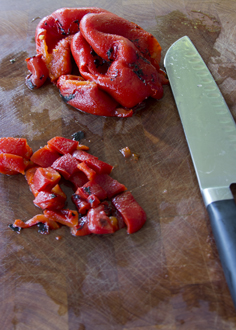
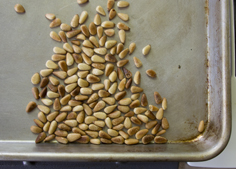
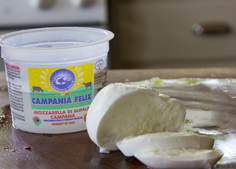
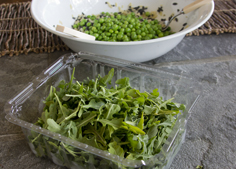
When I got home I rummaged through the fridge and pantry and began creating a Tuxedo Orzo Salad.

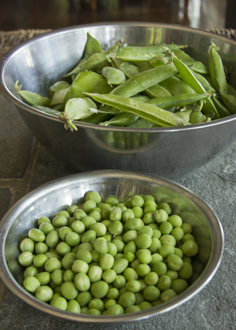
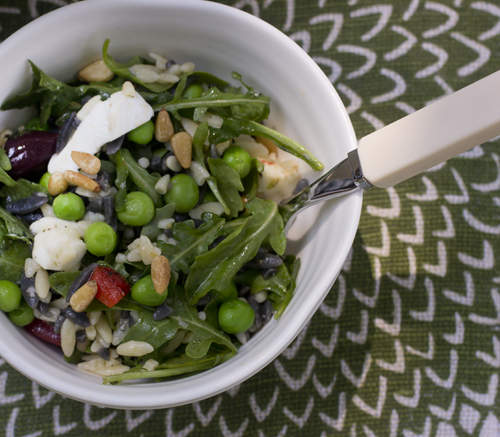
The contrasting textures and tastes in this salad are fantastic. The grains of orzo are slightly chewy, the pine nuts are crunchy and the buffalo mozzarella is creamy. The sweetness of the corn and peas play off so well against the bitter arugula. Bathed in a fresh lemon-garlic olive oil dressing, this salad is addictive. I made it for my family and the huge bowl disappeared very quickly.

The following week, my girlfriends were visiting at the cottage and I made the salad a second time for them for lunch. As we were inhaling the salad and oohing and aahing over the pretty black and white grains of orzo, one friend asked how they made the orzo black. I pulled out the box and slipped on my reading glasses and was horrified to discover that it was dyed with cuttlefish ink. We keep a kosher home and cuttlefish is a member of the squid family and is definitely not kosher. Oops!

I will certainly be making this salad again, but with white orzo only! It is a great salad to use up all the little odds and ends you have in the fridge and pantry. I think it would be wonderful with almonds, asparagus and parmesan in the spring or cooked butternut squash, hazelnuts and diced apples in the fall.

Click here to print the recipe for Tuxedo Orzo Salad.

Berry Brown Butter Tarts


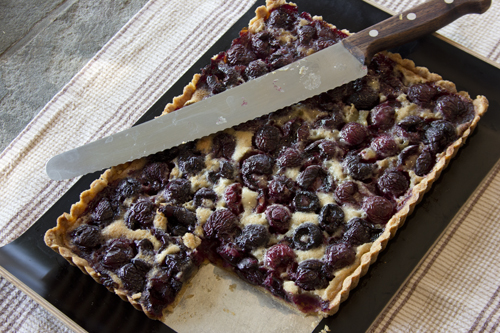
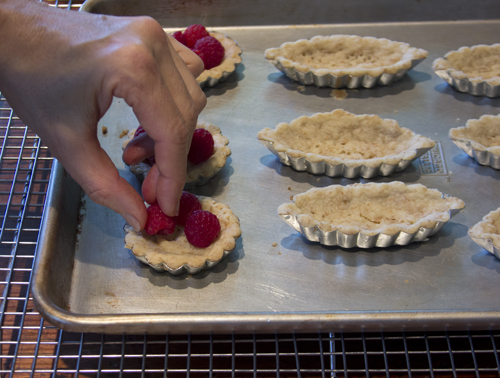
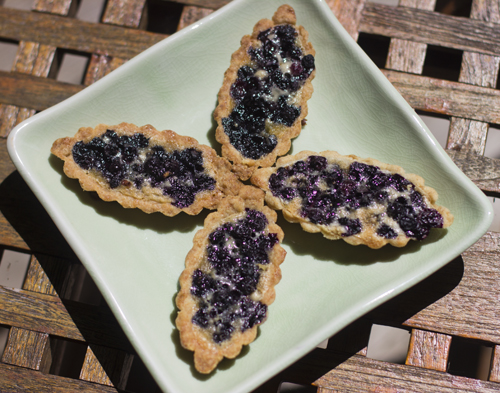
These adorable mini raspberry tarts actually started their life as a cherry tart. It all began a few weeks ago when my brother-in-law sent me a link to this blog. The talented Rowena of Apron and Sneakers made a stunning cherry tart. As soon as cherries started rolling into the market, I bought a big box and got to work.

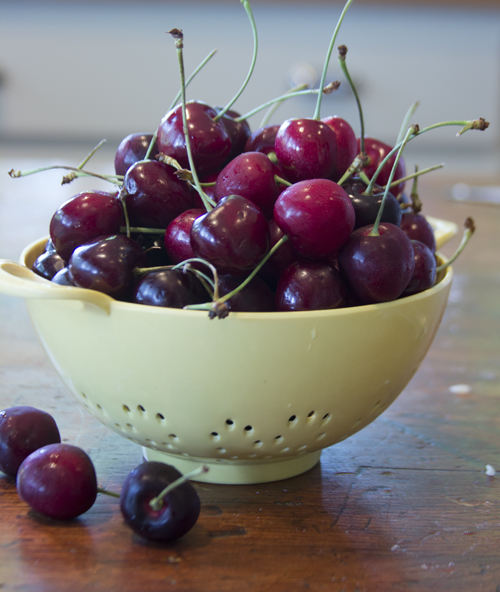
I had such high hopes for this tart. Fresh cherries in a tart with a brown butter filling. What could be bad? To be honest, the filling was just too sweet for me. I have discovered that I only really like cherries in their raw form. I think it’s that slight snap when you bite into a firm cherry, as it gives way to the sweet juicy fruit inside. For me, when cherries are cooked, they lose what makes them so special.

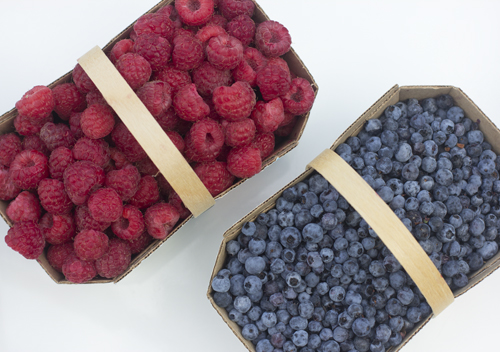
While the filling was just ok, the crust was fantastic. Buttery, slightly sweet and browned to perfection it was reminiscent of a cookie. I knew I had to make this again, but in mini form so I could maximize the crust to filling ratio. Admittedly, mini tarts are more work than one big tart, but I was convinced it would be worth it. The stands at the market this week were overflowing with raspberries and the little wild blueberries, that make me scream with joy, were just starting to arrive. The heady scent of the ripe berries filled my car and made me slightly dizzy as I drove back to the cottage.

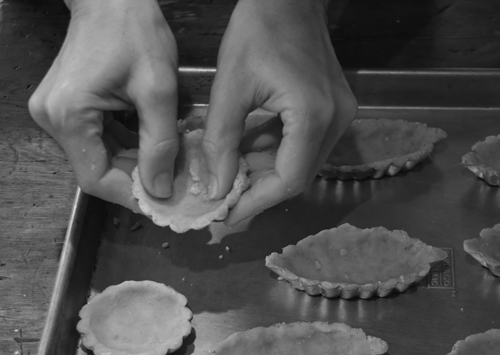
The dough comes together really quickly. No mixer needed. Flour, sugar, vanilla, a pinch of salt and some melted butter are combined in a mixing bowl. The original recipe uses all-purpose flour but I snuck in a bit of whole wheat flour, not because I am delusional to believe that 1/4 cup of whole wheat flour will make this a healthy dessert, but because I thought it would really enhance the nuttiness of this crust. I unearthed my mini tart pans from my basement graveyard shelf of unloved and useless kitchen gadgets. The dough just pressed into the tart pans, no rolling required.

To ensure maximum crunch in the pastry, the shells are pre-baked before filling. While they are in the oven, prepare the  filling. The butter is cooked over low heat until it turns a light brown. Do not walk away when doing this. It goes from light brown to black in a flash! The smell of the brown butter is intoxicating. Brown butter gives a real depth of flavour to the filling.

Click here to print recipe for Berry Brown Butter Tarts.

The crisp tart shell shatters when you bite into it, giving way to tangy berries in a nutty brown butter filling. These are summer perfection!

Strawberry Frozen Yogurt

Before the days when terms like  locavores and zero carbon footprint were part of our everyday lexicon, I belonged to a CSA (Community Shared Agriculture) farm. Basically, what this involved was a cheque from me to the local farm, prepaying an entire season’s worth of produce. Each week from mid-May to mid-October, I would get a large box of local farm grown produce. Now, before you go ahead and congratulate me on being ahead of my time and a wonderfully environmentally conscious human being, I will admit my motives were less than pure.  I had 3 kids under the age of 4 and having produce dropped off at my doorstep, rather than dragging the kids to the grocery store sounded like a great timesaver. When I signed up for this, it seemed like a brilliant idea.

However, once I was knee-deep in swiss chard, rutabaga and turnips, I realized I was in way over my head. My kids would only eat carrots and frozen peas. I still had to go to the grocery store and I ended up throwing away half the produce. I know, I am ashamed to even admit this. But this was back in the day when we didn’t have a clue how to cook kale, kohlrabi or collard greens. We thought that beet greens were meant to be tossed out, not cooked down and eaten. This experiment lasted only one season and I never signed up again.

However, I do recall the June and July boxes, filled with fresh strawberries, then raspberries and finally blueberries. These we ate with abandon! When we had our fill of fresh berries, I baked with them and then froze the rest to use in the winter.

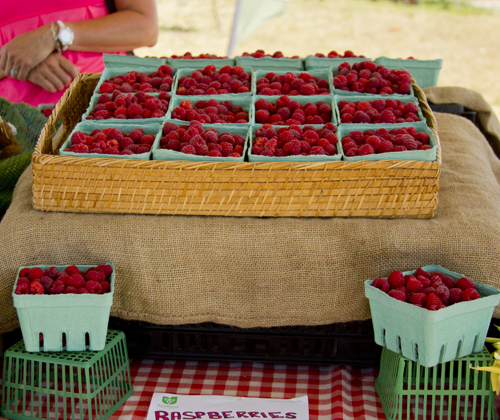
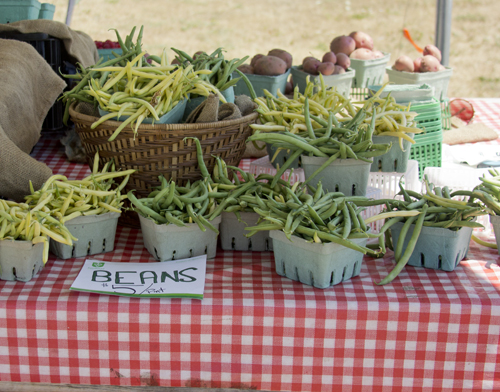
Now we have farmer’s markets to supply us with seasonal local produce. At my cottage, near the town of Smiths Falls, tucked in behind the numerous chip wagons, there are about 4 roadside produce stands that pop up every summer. When I was in town last week, the stands were overflowing with strawberries. I bought way too many of course, and ended up making this frozen strawberry yogurt. It was so good, I decided to blog about it. When I went back today to take pictures of the stands, they told me it has been so hot that the strawberries are all done and now they are onto raspberries, beans and corn!

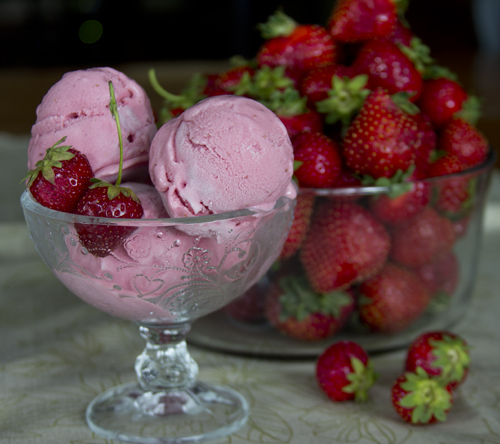
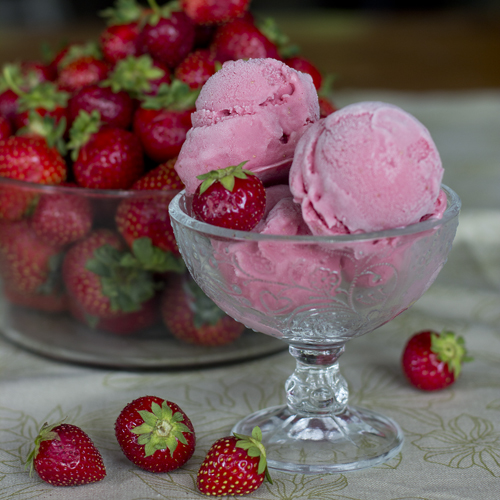
I came across this recipe for Strawberry Frozen Yogurt on Serious Eats (seriouseats.com). It is the creation of Max Falkowwitz. It is made with fat-free Greek Yogurt. While it is low in sugar and fat, you do not feel one bit deprived when eating this. It is pure frozen strawberry sunshine.

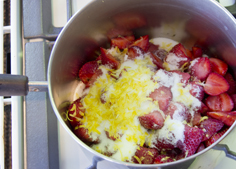
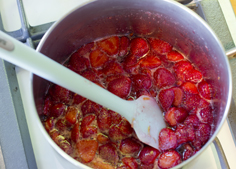
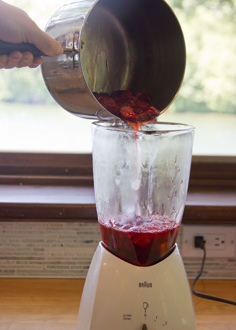
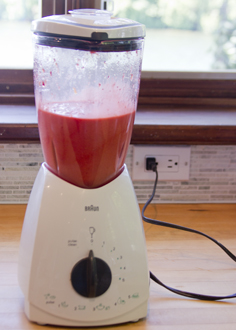
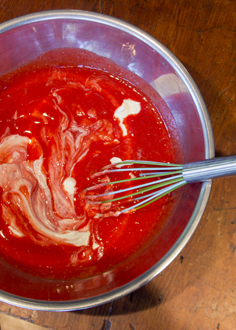
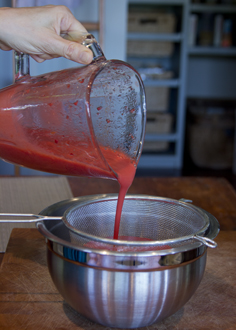
Sliced berries, sugar, lemon zest and lemon juice are cooked down until thick. Puree and strain, whisk in the yogurt, chill and then freeze in an ice cream machine.

It will be like soft serve after about 20 minutes in the ice cream machine. You can eat it like this or put in an airtight container and freeze until later. Because of the low fat and sugar content and the high content of water in strawberries, it will freeze quite solid. Let it defrost on the counter for about 10 minutes before scooping.

Click here to print recipe for Strawberry Frozen Yogurt.

Aperitivo for One

I learned about the concept of “Aperitivo” when I was in Italy last fall. Aperitivo are pre-dinner drinks accompanied by appetizers. Derived from the Latin aperitivus, to open, aperitivo is meant to stimulate the appetite and tease the taste buds, previewing the delights of dinner. In my mind, I picture stylish Italian men in their Armani or DSquared2 clothing, and Italian women in their classic navy or black sheath dresses with a scarf knotted effortlessly around their necks, stopping whatever they are doing at precisely 5:00 pm, donning their helmets, hopping onto their Vespas and heading out to the nearest bar for Aperitivo.

In Italy there is an “Aperitivo Culture”. It is a very social custom where people meet in bars to catch up on the happenings of the day, to drink and to eat. Typical aperitivo snacks can be as simple as olives and chips, or more elaborate fare, like frito misto, arancini, potato croquettes and assorted crostini.

This is such a civilized custom. Sadly, during, most of the year I am just too busy to stop whatever I am doing at 5 pm for Aperitivo, but come the summer, when I am up at my cottage, I indulge. Almost every day at 5:30 pm I pour myself a glass of Prosecco or white wine and have a little snack. Some days it’s just carrot sticks and humus but some days, I will treat myself to something more elaborate. Now, full disclosure here, most weekdays it is Aperitivo for one. Which sort of goes against the whole social aspect of the custom, but don’t feel too sorry for me. I thoroughly enjoy my own company and find myself quite amusing! I have been voted the 5th funniest of our family (we are a family of 5, but they just don’t appreciate my sense of humour!)

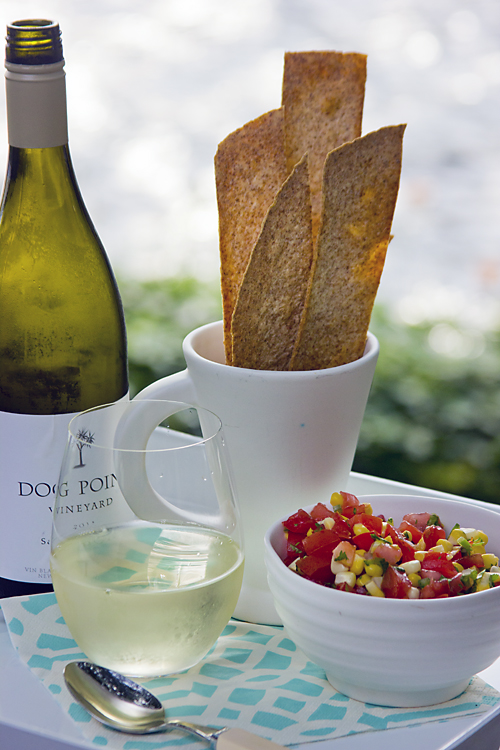
My new favourite white wine this summer is Dog Point Sauvignon Blanc. From the Marlborough region of new Zealand, it is a fantastic white wine for summer quaffing. It is refreshingly acidic with an intense concentration of citrus flavours, notably grapefruit. It has a crisp lingering finish and is the perfect choice for summer aperitivo.

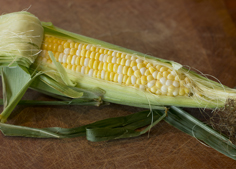
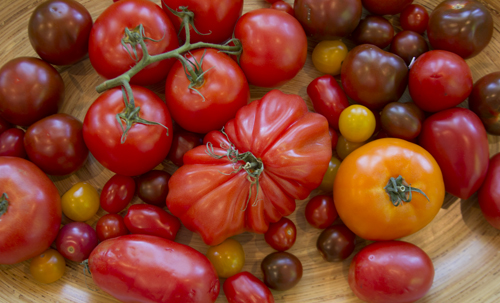
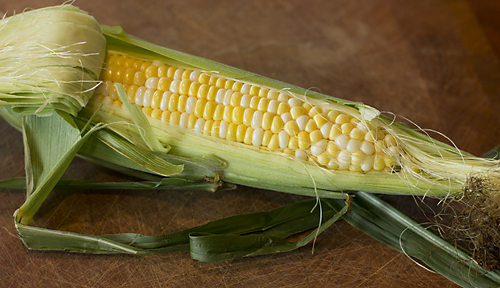
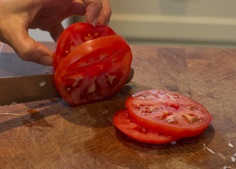
This week I found that I had a surplus of tomatoes on the counter. My local supermarket has been carrying some beautiful heirloom tomatoes as well as Kumato tomatoes, which are sweeter than regular tomatoes and are a godsend in the winter months. I also discovered the first early corn of the season, being sold roadside near my cottage, so I picked up a few ears and decided to make a corn-tomato salsa.

The July-August issue of Cook’s Illustrated featured a corn salsa recipe that I decided to try. Most corn salsa recipes call for grilling the corn, but sometimes you just can’t be bothered to fire up the grill if all you are making is some corn for salsa. Using the corn raw was considered, but raw corn kernels always seem too starchy. Boiling the kernels destroyed the “freshness” you want from a corn salsa.  Keith Dresser  of Cook’s Illustrated solved this problem by coming up with quite a genius solution. He explains,

“Softening the hull without overcooking the center seemed impossible until I considered salsa’s natural partner: the tortilla chip. Corn tortillas are formed out of masa, a dough made with ground hominy, which is dried corn that has been soaked in alkaline limewater. This ancient process, called nixtamalization, was first used by Mesoamerican cultures thousands of years ago to soften corn and loosen the hulls.

Could I get a similar effect by introducing alkali to the cooking water for my corn? A quarter teaspoon of baking soda added to the boiling water worked like magic: As the corn steeped, its hulls softened just enough that they weren’t leathery, but the kernels still burst with crisp sweetness.”

I have much love and admiration for the food science geeks at Cook’s Illustrated.

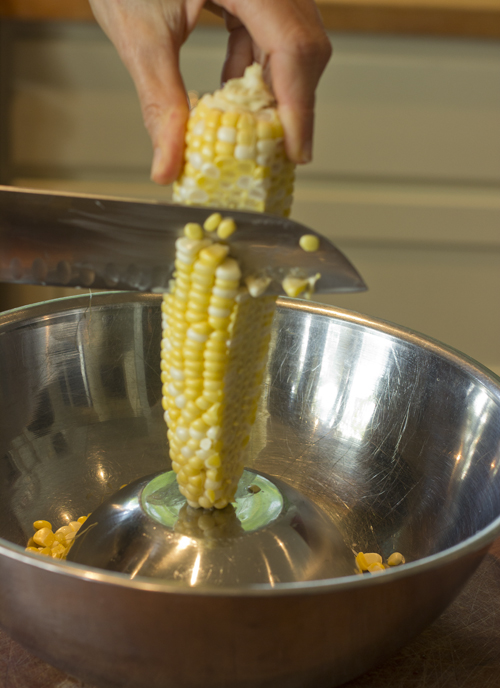
Here’s my tip for getting the corn off the cob without having the kernels flying all over the kitchen: invert a small bowl into a bigger bowl. Stand the corn cob on the smaller bowl and use a sharp knife to cut off the corn. The kernels will land in the bigger bowl, not the floor. You will thank me later!

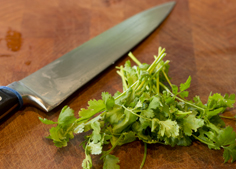
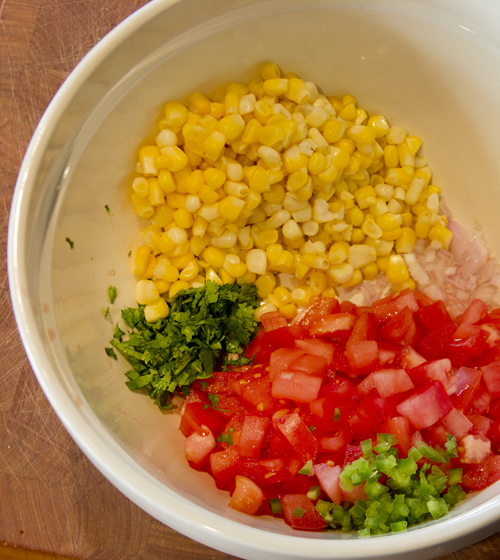
Tomatoes, jalapeno, cilantro, shallots, lime juice, salt and a drop of honey finish off the salsa.

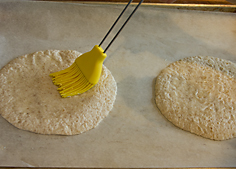
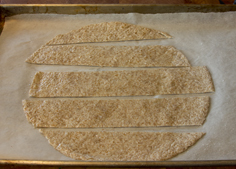
If you have corn or flour tortillas in the freezer, take the time to make your own tortilla chips. I used whole wheat flour tortillas, brushed them with vegetable oil and sprinkled them with a little kosher salt. Then I cut them into strips, instead of triangles. Bake them at 350 °F  for about 10 minutes, until crispy. They look so pretty when you stand them in a mug or vase. Sometimes I buy the flax or spinach tortillas and delude myself into thinking that these are really healthy!

Click here to print recipe for Tomato Corn Salsa .

Pour a glass of something cold, gather all the amusing people you can find and enjoy Aperitivo. And if you drink alone, I won’t judge.

Pecan Maple Fudge Cookies

Serendipity can be defined as a happy accident or pleasant surprise; specifically, the accident of finding something good or useful without looking for it. Some of the greatest foods we know today were discovered serendipitously.

Chocolate Chip Cookies are but one example of serendipity in the kitchen. Nannette Richford at Yahoo! Contributor Network explains how that happy accident came to be.

It all began when Kenneth and Ruth Wakefield purchased a Cape Cod-style TOLL HOUSE, located between Boston and New Bedford, in 1930. This house was originally a “toll house” where travelers stopped to pay a toll for using the highway. While their horses were being changed, they enjoyed a home cooked meal in the toll house. The Wakefields later turned the toll house into a lodge and called it The Toll House Inn.

Ruth, and her guests, had a passion for Butter Drop Do cookies which called for baker’s chocolate. One day, while Ruth was making these cookies, she ran out of bakers chocolate. As any resourceful woman would do, Ruth looked around for a substitution. She grabbed a semisweet chocolate bar that had reportedly been given to her as a gift from Andrew Nestle of the Nestle Chocolate Company. She chopped this chocolate bar it in small morsels and added them in place of the baker’s chocolate. Ruth expected the morsels to melt like bakers chocolate, but instead she discovered smooth gooey bits of chocolate throughout her cookies.

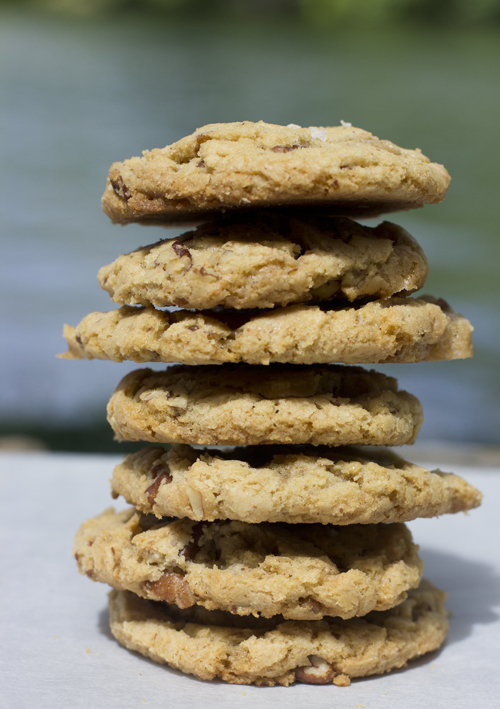
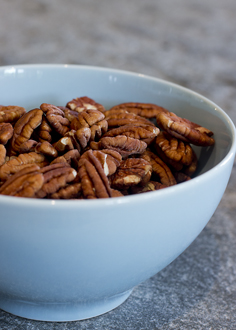
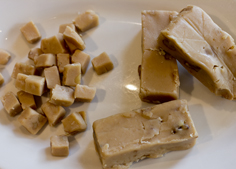
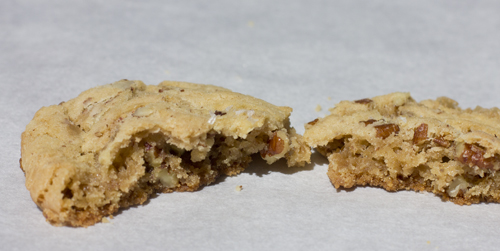
Serendipity recently struck food blogger Mandy Mortimer. I came across Mandy’s blog when I was checking out new entries on Food Gawker. Her Pecan Caramel Cookies stopped me dead in my tracks. I immediately clicked on them and went to her blog. Using Jacques Torres chocolate chip cookie recipe as a base, she took out the chocolate and added pecans and chunks of vanilla fudge instead. She expected the fudge bits to stay all chewy in the middle of the cookies, but they melted out and oozed all over the edge of the cookies, making a yummy crispy caramel accident.

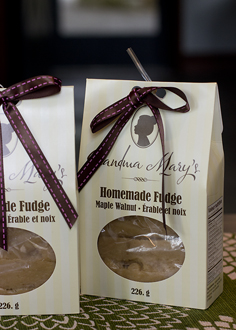
I have to say that finding the fudge was the hardest part of making this recipe. Mandy is originally from South Africa but now lives in Ireland. She found fudge chunks made by Dr. Oetker, right in her local supermarket. No such luck here. No prepackaged fudge bits in my neck of the woods. I decided to just buy some fudge and chop it up. Fudge is one of those candies that everyone has heard of but no one sells anymore. Fudge making is at risk for becoming a lost culinary art.

After much searching, I found some at Kilbourne’s in Newboro Ontario, near my cottage. Mandy used vanilla fudge, Being the proud Canadian I am, I chose maple fudge! I think that the combination of pecan and maple is incredible. Something magical happens when you combine those two and somehow the whole is greater than the sum of its parts.

Be sure to toast the pecans before chopping them and adding them to the dough.

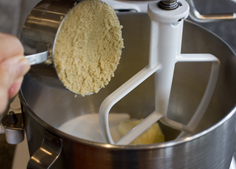
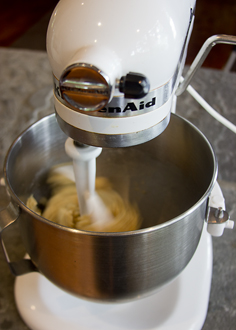
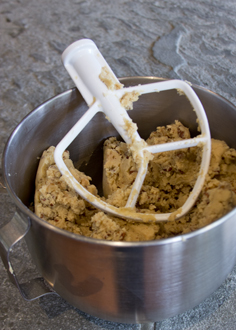
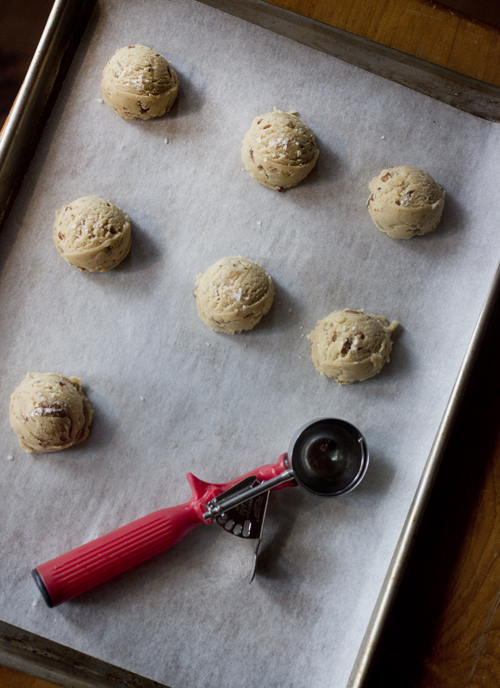
Chill the dough for a few hours before forming and baking cookies.I like to use an ice cream scoop so that all my cookies are exactly the same size. I used a 1 1/3 ounce sized scoop (about 1 3/4 inches across). A little sprinkle of fleur de sel on top of each takes these cookies to the next level and helps to tame the sweetness.

They will still look a bit underbaked when you remove them from the oven, but they will firm up upon cooling. Some of the fudge will ooze out, but don’t worry about it. Once it cools, that’s the baker’s treat!

I got Mickey Mouse ears in this batch.

I let them cool a bit and then had a warm one. Crispy around th edges and chewy in the center, nutty and almost butterscotchy. Completely addictive. Mandy warned me, and now I’m warning you. As soon as they cooled, I packaged them up and put them in the freezer so I would not snack on them any more. Well, 4 frozen cookies later, I can attest to the fact that they are even excellent straight from the freezer. I took the rest of them to my hairdresser today because I can not be left alone in the house with them!

Click here to print the recipe for Pecan Maple Fudge Cookies.

Chili Hand Pies

Just the words “Hand Pie” make me smile. Could there be anything more adorable and appealing than a little pie you eat with your hands? To be honest, I’m not a huge fruit pie fan. Perhaps it’s because of my peach pie blunder.   Or maybe it’s just that if I’m going to ingest copious amounts of butter and sugar, I’d rather partner it with chocolate or caramel rather than fruit. Plus, there’s something about a fruit hand pie makes me think of McDonald’s deep-fried apple pies. Not that there’s anything wrong with that.

But stuff something savory in pastry and I’m all over it!

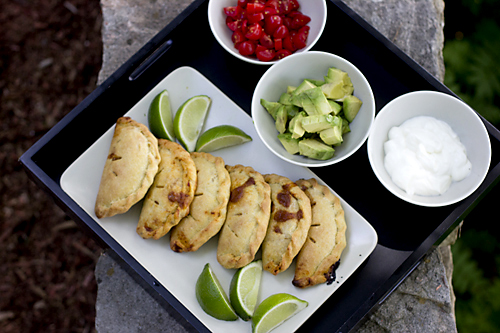
I was watching The Chew last week and Carla and Clinton teamed up to make Chili Hand Pies. They had way too much fun making them, and I wanted in on it. I think it would be so much fun to have the cast of The Chew over for drinks! Cooking dinner for them would be too much pressure, but I know that certainly after a few cocktails, they’d all be in my kitchen with me cooking away. Michael would be laughing while he prepared some porky goodness, Mario would be grating Parmesan Cheese over everything and Clinton would surely keep the cocktails flowing.

My sisters just read the last paragraph and I know they are thinking that I am turning into my mother, having imaginary parties with my TV friends.

Carla and Clinton did a Beef Chili. I decided to do a vegetarian version, substituting Veggie Ground Round for the beef. I also added some onions to the chili and ramped up the heat, using 3 kinds of peppers: fresh jalapeno, diced pickled jalapeno and ancho chili powder. You want the filling to be quite spicy because the pastry crust is quite mild.

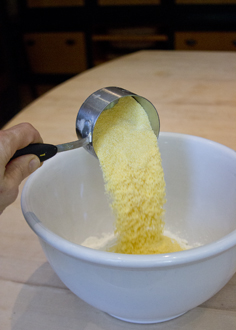
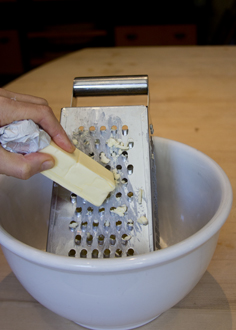
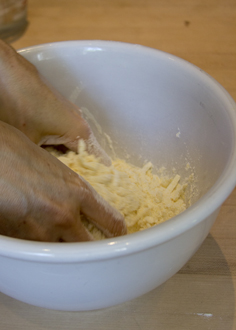
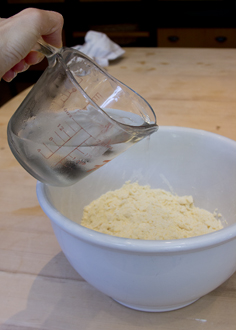
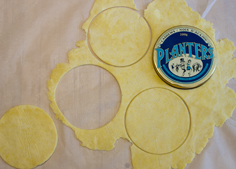
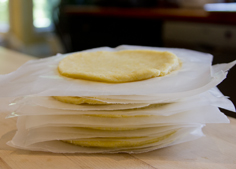
The dough is made with cornmeal. They recommended cutting the butter into small slices, but I took it right from the freezer and grated it into the dry ingredients. This is a wonderfully supple dough and rolls out without any problems. I used a 5 inch tin to cut out my circles. Use whatever you have on hand. Smaller ones would also be a wonderful hors d’oeuvre. You can make the chili and the pastry a day ahead and refrigerate them separately. I rolled out all my pastry circles and stacked them between sheets of waxed paper, before chilling. That way, the next day it was all ready to assemble and bake.

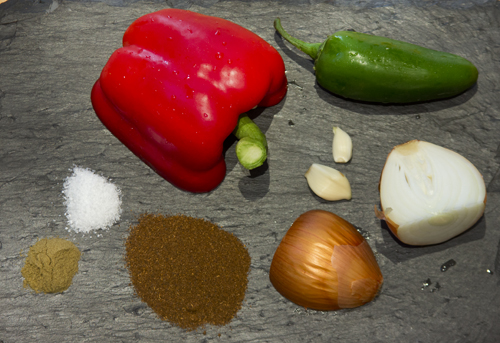
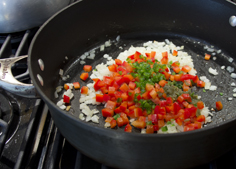
Onions, garlic, red pepper, jalapeno pepper, cumin, chili powder and salt form the flavour base.

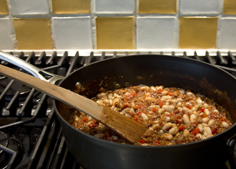
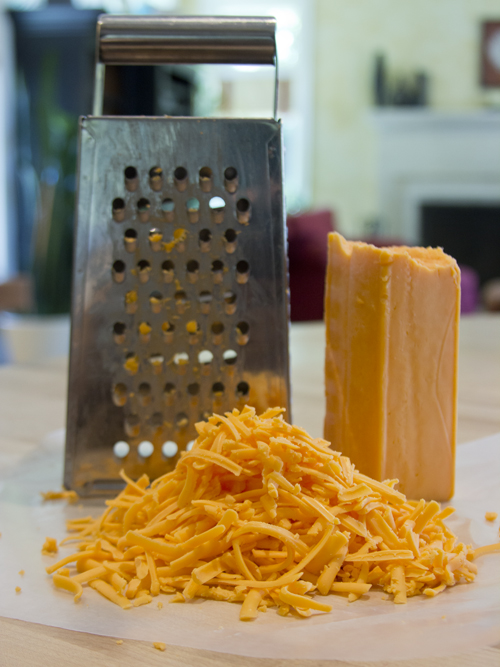
Make sure you let the chili cool before mixing in some grated cheddar.

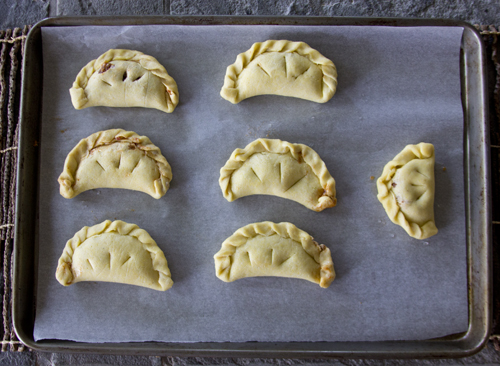
Don’t overfill them or you will have trouble sealing them. You can simply press the edges with the tines of a fork, or get fancy and roll the edges like a rope. 

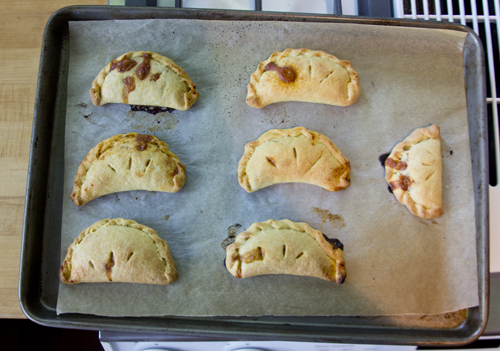
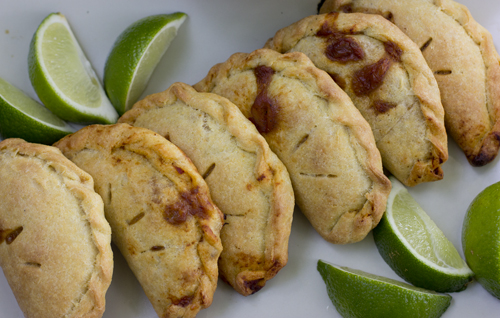
Cut a few slits so the steam can escape. 20 minutes in a 400 degree oven, and they are ready to serve.

Click here to print the recipe for Chili Hand Pies.

Chip Stand Crawl

I must admit, I only became intimate with chip wagons in my early 30’s. I moved from Toronto, where there are very few chip wagons, to Ottawa, where they abound in glory. To those of you who don’t know what a chip wagon is, I will explain. A chip wagon is what got me through my second and third pregnancies. It is a french fry truck or trailer, usually parked  at the side of a busy road, or in the parking lot of a shopping center.

I spent my first pregnancy in Toronto, gorging on Dairy Queen Blizzards. I only had to glance at my husband and he was off and running to the DQ for a medium Skor Bar Blizzard. I gained 40 pounds with my first.

I was dragged, kicking and screaming, halfway through my second pregnancy, from the home I had known all my life, in Toronto, to the lovely town of Ottawa. It was a difficult transition for me. However, the discovery of chip wagons helped to smooth out the rough edges of my new life. Or more specifically,  the S&G chipwagon, parked just a block away from my doctor’s office, on Carling Ave. I would go to my doctor’s appointment to be weighed and measured and then right after that I would make a beeline to S&G for a cheeseburger and a medium fries. I gained 45 pounds during this pregnancy. Given that she was force-fed burgers during her incarceration in my womb, it came as no surprise to me when this child became a vegetarian.

During my third pregnancy, my love affair with S&G continued. By this point, Steve (the S from S&G), and I were on a first name basis. I only gained 30 pounds this time round. However, before you go applauding my restraint and willpower, you should be aware of the fact that child # 3 was born 10 weeks early! Don’t tell my older two children this, but I secretly believe that their little brother is the clear genius of my progeny. He had the good sense to get out early, before his arteries became irreparably damaged.

After the birth of my third I refrained from visiting Chip Wagons on a regular basis. I would indulge only every once in a while.

But over the past few weeks, driving up to my cottage, I noticed that within less than a mile there are 3 chip stands stationed on Highway 15, at the South edge of Smiths Falls. Being the keen researcher that I am, I thought it would be a great idea to study them and report back to you what I discovered. Here are the findings of my highly scientific Chip Stand Crawl Waddle.

Hank’s Fries is easy to find. By the side of the road there’s a life-size sign, featuring 6 foot long wooden fries dripping with ketchup. Locals and tourists love to stop in for lunch and a keepsake photo.

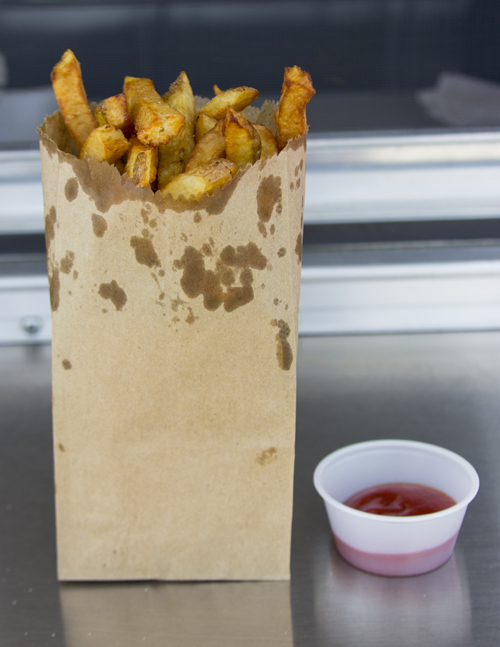
New this year at Hank’s are the pulled pork sandwich and the popcorn chicken. While I was mightily tempted, I had to stay focused, and I just ordered a small fries. My fry gal told me that they only use fresh, never frozen potatoes. She wasn’t sure what kind of potatoes they used, but she did know they were fried twice in vegetable oil. This, by the way, is the correct method to make perfect french fries. If you just fry them once at a high temperature, you will get the outside nice and brown, but you will never achieve that fluffy interior which is the hallmark of a perfect fry.

The first frying takes 8 minutes and is done in a lower temperature oil, just to blanch the fries and cook them thoroughly on the inside. The blanched fries will keep for many hours at room temperature, so they prepare lots ahead of time each morning. The second frying is done to order and takes just 4 minutes. This one is done at a higher temperature to crisp up the outside.

As she was bagging the fries, she offered a shake of salt and vinegar after filling the bag half full, so that I would get an even distribution of condiments. I said no to the vinegar but I never say no to salt!

Hank’s fries were partially peeled, which I really liked. They were slightly pale in colour and I was worried that the outside wouldn’t be crisp, but they were. I found the insides to be a little bit chewy, so I suspect that this batch was not cooked for long enough on the first frying.

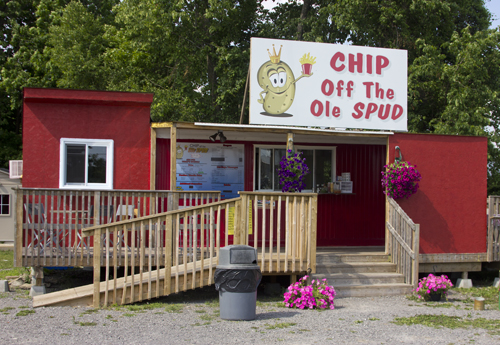
About 800 metres down the road, right across from Mike Fair’s Chevrolet dealership is “Chip Off the Ole Spud.” Owners Mark and Adriana have spruced up the place with some pretty baskets of annuals. They also get bonus points for being wheelchair accessible!

Mark told me that they fry in Canola oil and use whatever potatoes are on special that week. They also use the twice cooked method, first blanching in a lower temperature oil and then crisping them up at a higher temperature. My order came very quickly, within a minute of ordering.

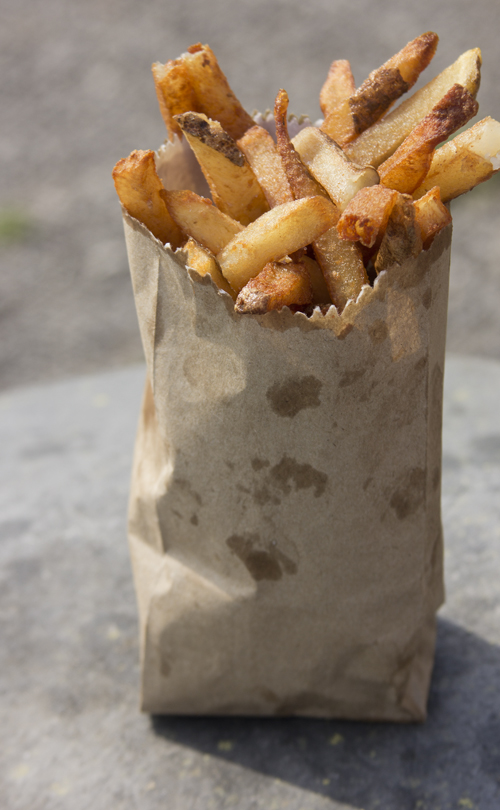
These fries were cut much thinner that the ones at Hank’s. They were a gorgeous burnished brown colour and I had high hopes for them. Unfortunately they were not very crispy. I suspect they had already been given their second fry a while ago and were sitting around. When I ordered them they were just briefly dipped in the oil to reheat. There was no offer to salt halfway through bagging so the seasoning was very uneven.

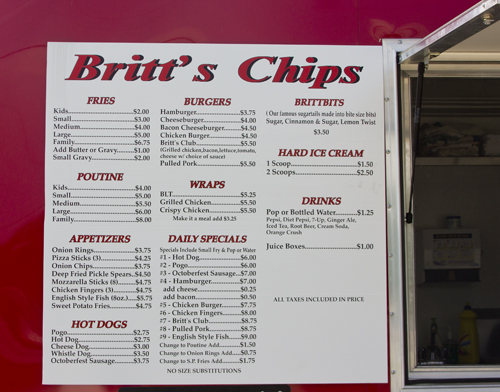
My final stop was Britt’s Chips, across from Town and Country Chrysler. Britt just opened at this location in May. She has a second stand, further South on Highway 15, in Lombardy, at Rideau Ferry Road.

Britt’s had the most extensive menu selection. I was dying to try the sweet potato fries and the Brittbitts (fried sugar-cinnamon and sugar-lemon dough twists), but I had to stay focused in my research, so I ordered regular fries. Interesting to note that the small fries here were only $3.00. This is 50 cents less than at the other 2 chip stands.

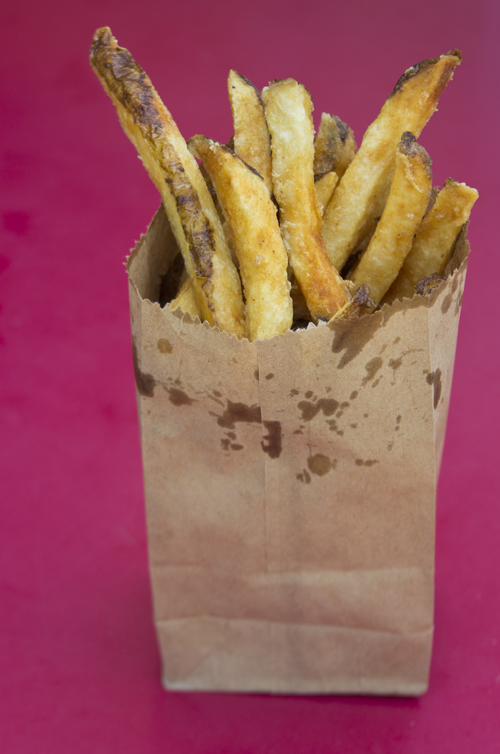
They fry in canola oil and use both P.E.I. and Quebec potatoes. They also use the twice fried method. They offered to salt halfway through, and offered me a little container for my ketchup so I could dip the fries, rather than squeezing the ketchup on top. I loved this touch. I always get too much ketchup on top and then there is none left by the time you get to the bottom of the bag. These fries were a light golden brown and they were very crispy on the outside with soft fluffy interiors.

When I looked at the fries closely, it seemed that many of them had roughed up edges, which explained their supreme crispness. I recall learning about this method from British cook Delia Smith for making the crunchiest roast potatoes. After par-boiling the potatoes, she recommended roughing the potatoes up a bit by shaking them in the pot so that they developed more cracks and crevices on the surface, thereby increasing the surface area for maximum outer crunch.

It would seem that Britt likes to play a bit rough with her potatoes after the first fry, and that’s a good thing! Top marks go to Britt’s chips! I’ll be back soon for the sweet potato fries.

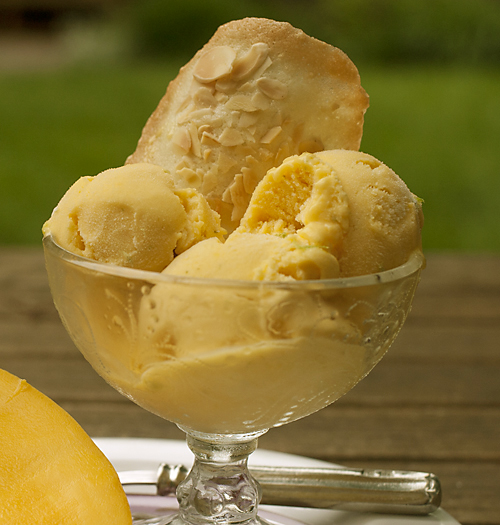
Mango Lime Sherbet

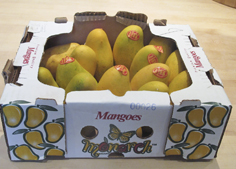
I seem to have a plethora of mangoes. I found my favourite variety of mangoes the other day, being sold in Wal-Mart, of all places. They were selling a case for $12.00! How could I resist? My favourite variety, is the Altafulo Mango. I was patiently explaining this to my husband last Saturday morning at 6:30 a.m., after he curiously asked me why we had a case of mangoes sitting on our kitchen counter.

This is one of the many reasons I love my husband. He patiently listened to me explain the difference between Altafulo mangoes and the more common Tommy Douglas mangoes. Then he gently pointed out that perhaps the variety was not actually called Tommy Douglas, as Tommy Douglas was a Canadian politician, now deceased. He was actually the founder and first leader of the NDP Party . Um yeah, I said, I think they are called Tommy Atkin mangoes. I sliced up an altafulo mango for him to try. Altafulos have a much silkier flesh than Tommy Atkins. Tommy Atkins tend to be a bit fibrous and stringy.

He polished off his smoother than silk mango, made his hazelnut vanilla coffee (don’t get me started on flavoured coffees!) and left me alone to make mango lime sherbet and worry that perhaps I was turning into my mother. She also mixes up names of common household items. She used to call Mr. Clean “Jim Dandy.”

I discovered this recipe for Mango Lime Sherbet on food52.com. I was more than a little curious when I read the title because I grew up calling it sherbert (note the second r). That’s what my mom called it. Was this just another case of my mom butchering the English language yet again?  In doing a little research I discovered that my mom was not alone, and many people erroneously add that second “R”. The proper spelling is indeed sherbet. But wait, what about sorbet?

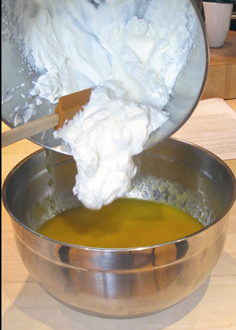
Now that I have you totally confused, I think a little primer on the nomenclature of frozen desserts is in order here. Both sorbets and sherbets are frozen puréed fruit and sugar based desserts. However, sherbet goes one step further with the addition of some type of dairy added. Traditionally most sherbets contain 1% or 2% milk. The sherbet I am presenting here kicks it up a notch with the addition of 35% cream (whipping cream). We go one step further here by whipping the cream and folding it into the purred mango-lime base. This is a technique I discovered in the May 2004 issue of Cook’s Illustrated. Whipping the cream really lightens the whole dessert. “Lighten” here is taken to refer to texture not calories. 35% cream has the same number of calories whether it is whipped or not, but we can delude ourselves into thinking otherwise if we wish!

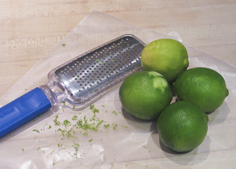
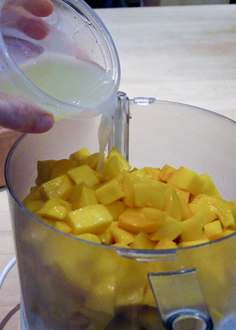
This sherbet is sweet, but not cloying, thanks to the addition of lime zest and lime juice. I reduced the amount of sugar slightly from the original recipe as I found the original a bit too sweet.

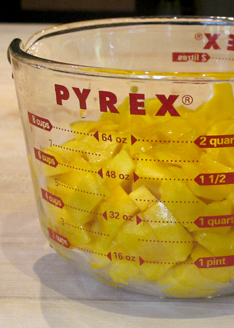
The success of this recipe depend, of course, on having some really ripe mangoes. If none are available, thaw a bag of frozen mangoes). If peeling mangoes is something you have never done, check out this video. Or if you have peeled lots of mangoes but are a fan of the musical group Phish (or “Phish Phan”, as they like to be known), you can also check out this video. It features their hit, “The Mango Song.”

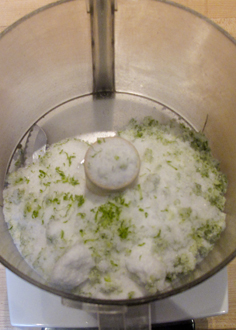
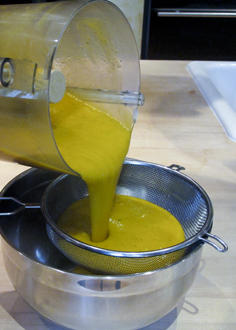
The lime flavour in this sherbet relies on both the zest and the juice of the lime. Process the sugar with the zest. Puree the mangoes. Emily at Food 52 recommends straining the mango puree. I pureed mine, but did not find anything left behind in the strainer, so if you are using the smoother, silkier Altafulo mangoes, feel free to skip this step. This mixture needs to be chilled for several hours before folding in the whipped cream.

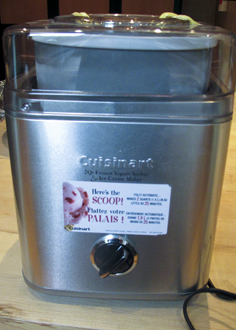
Twenty minutes in the Ice cream machine and the sherbet is churned. It is still quite soft at this point and really benefits from an additional several hours of freezing time. Scoop sherbet out of the ice cream machine canister, into a Tupperware container. Cover the surface of the sherbet with some plastic wrap to prevent ice crystals from forming. Then put on the Tupperware lid and freeze.

Scoop and serve!

Cick here to print the recipe for Mango-Lime Sherbet.

Almond tuiles are a wonderful complement to the sherbet. I’ll blog about the tuiles next week!

Grilled Pumpernickel Bread Salad

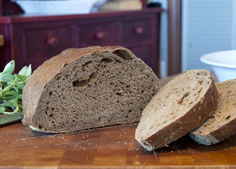
This salad is all about the ingredients. Let me say, right up front, if you can’t find any good pumpernickel bread where you live, substitute a sourdough or other hearty type bread. Do not buy supermarket pumpernickel bread. It is too light and fluffy, and when grilled, it will just burn and then become sponge like in the salad.  It is not what you are looking for here. You need a dense heavy bread that can stand up to the rigors of the grill. I once actually made pumpernickel bread. It was good, but not great. Luckily, in Ottawa, where I live, we have the Rideau Bakery. They make a fantastic pumpernickel. Dense and chewy, it is the perfect vehicle for soaking up all the flavours of this salad.

This salad is the creation of grillmeisters Chris Schlesinger and John (Doc) Willoughby, from their book “Let the Flames Begin.” Now you wouldn’t expect to find a great salad in a book about BBQ, but these guys take grilling everything seriously. They give very detailed instructions for grilling the bread properly.

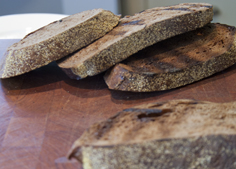
“Making a good piece of toast on the grill is actually not that easy. You want to get it really toasted – not just grill marked – but to stay tender on the inside. So cut the pumpernickel thick (1 inch) and make sure the fire is medium, not hot.”

I overdosed on this salad several years ago, when I made it for lunch every Saturday for 8 weeks in a row. We finally got sick of it and I retired the recipe. But I was having a manicure a few weeks ago and my esthetician was telling me about a Macedonian feta cheese that she always buys. When she is not telling me filthy jokes, we talk food. She is originally from Bulgaria and I have learned so much from her. So when she talks about feta from Macedonia, I listen!  Macedonia, if you don’t know (and, I didn’t!), is bordered by Serbia to the North, Bulgaria to the East, Greece to the South and Albania to the West.

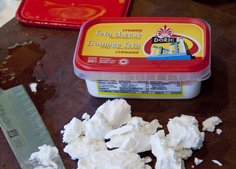
Macedonian Feta is very creamy, much like goat cheese. If you can’t find it, a Greek feta would also do very well in this salad. Just make sure you find a feta that is not too dry and chalky.

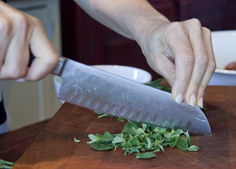
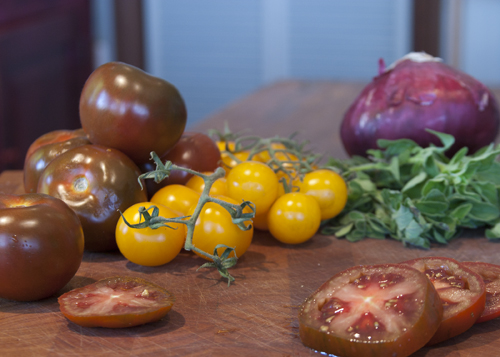
Fresh oregano is called for in this salad. It really adds an earthy quality. If you can’t find any, substitute fresh basil instead. I like to use a variety of coloured tomatoes in the salad. If you can find Lebanese (sometimes called Israeli) cucumbers for this salad, use them. If not, an english cucumber will also work. I don’t bother peeling them, but I do take the time to scrape out the seeds, with a little teaspoon. Just slice the cuke in half lengthwise to remove the seeds. I find that sometimes the seeds can be bitter and they can also make the salad a bit watery.

Click here to print recipe for Grilled Pumpernickel Bread Salad.