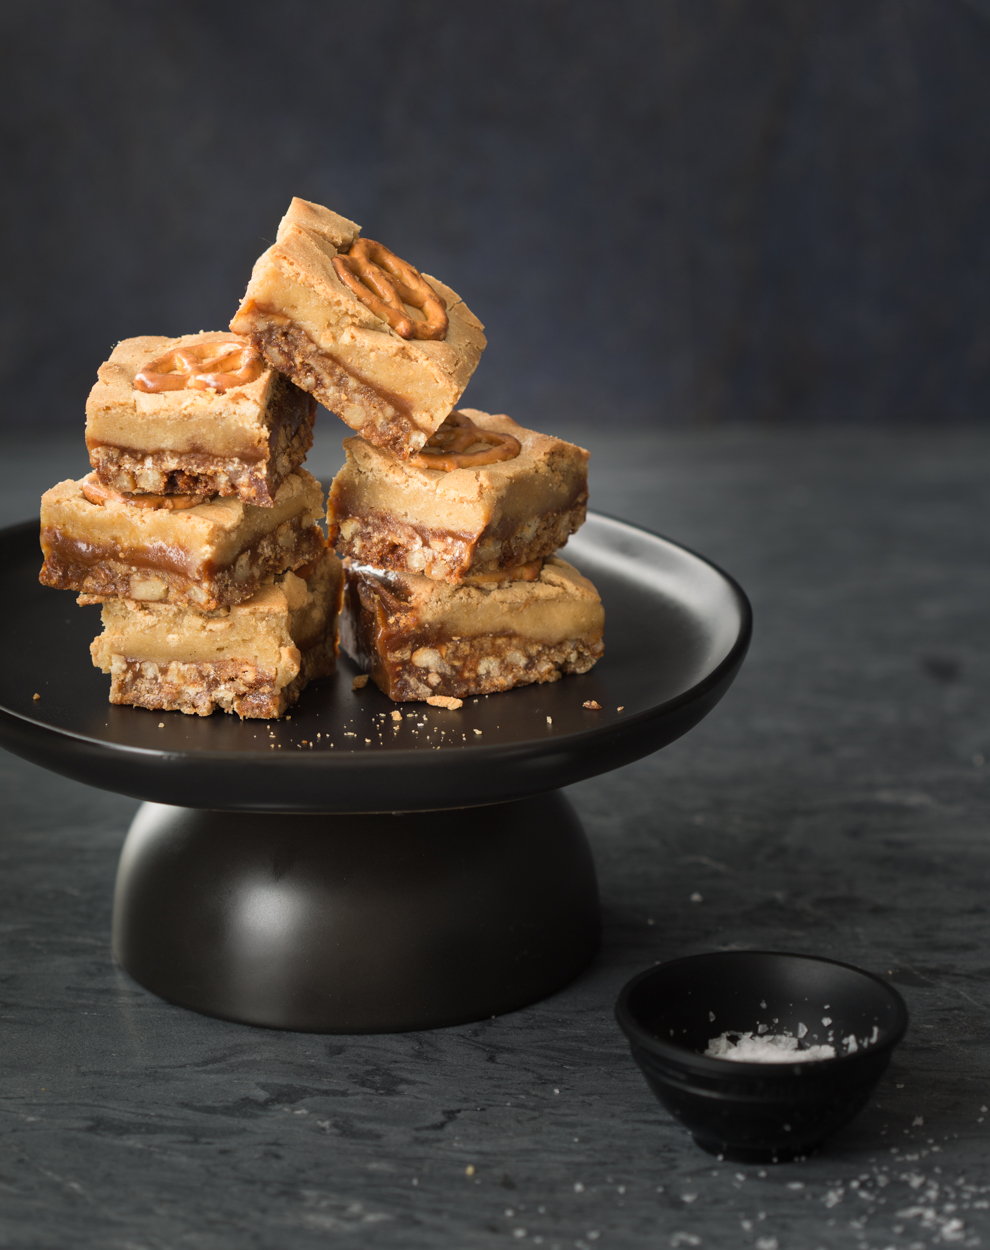
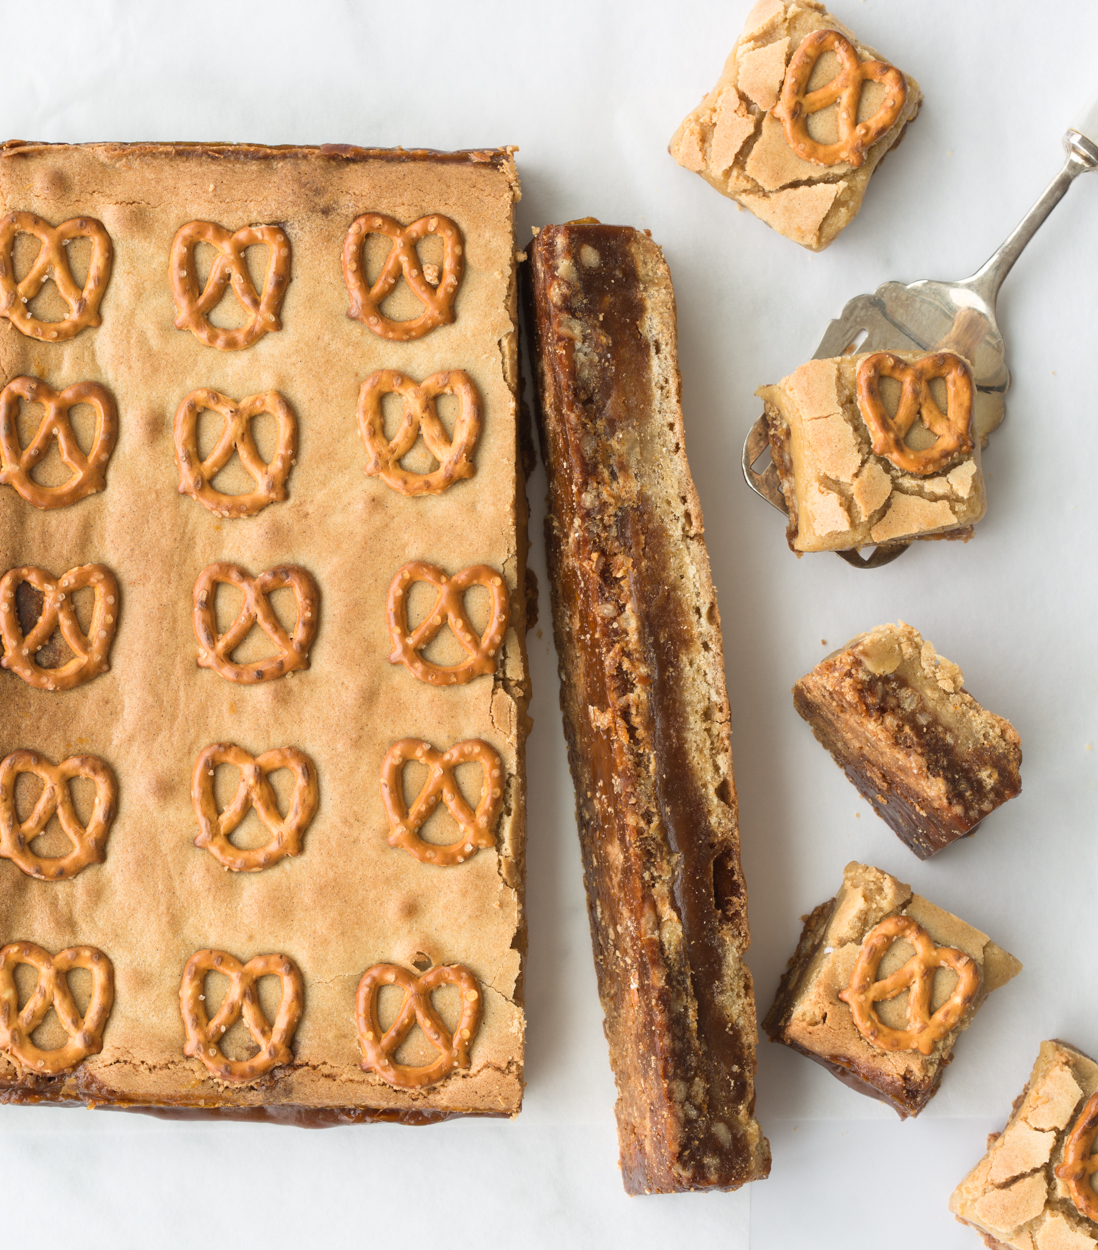
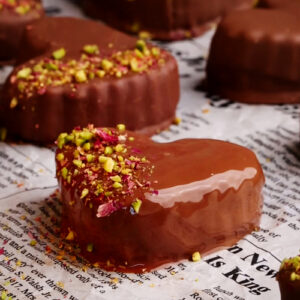
Don’t believe everything you see online. These Pretzel-Crusted Pistachio Butter Hearts are salty-sweet, crunchy, creamy, and completely Valentine-ready — and yes, they really are as delicious as they look. I’m sharing the polished version first because the heart shapes are undeniably cute, and this is exactly how I styled and filmed them.
The polished version:
And now for what happened off-camera — the part that actually matters if you want to make these at home.
What actually happened:
After testing, I’m updating the method so you get the best part — that crisp, buttery pretzel base — without any unnecessary fuss. I’m realistic enough to know most people aren’t going to go to the effort it takes to get perfect heart shapes, so here’s the practical workaround: follow the recipe exactly as written, chill the slab until firm, and cut it into neat squares instead. Same flavour, same crunch, cleaner edges, and a result you’ll actually want to repeat.
Keys to Success
A few small details make all the difference with a crunchy base and a soft filling. Read these before you start so the slab lifts cleanly, chills properly, and slices into tidy squares without crumbling.
- Line the pan with parchment. Leave an overhang so you can lift the slab out cleanly for slicing.
- Press the pretzel crust into an even layer. Even thickness = even crunch and cleaner cuts.
- Chill until very firm before cutting. A cold pistachio layer gives you sharp edges and clean layers.
- Flip for cutting, crust-side down. Place the slab crust-side down on the cutting board to help prevent the base from cracking off in big pieces.
- Use a large, sharp knife and press straight down. Avoid sawing. Warm the blade under hot water, wipe dry, and re-warm as needed.
- Wipe the blade between cuts. It keeps the edges neat and prevents smearing.
- Trim the edges first. A quick trim makes every piece look polished (and you get snack scraps).
Before you scroll on to the ingredient list, here are a few quick notes on what matters most. The recipe is straightforward, but a few ingredient choices can make a big difference in flavour and colour — plus the optional toppings I use when I want them to look a little extra special.
Ingredient notes + optional toppings (this is where I get fancy)
- Pistachio butter vs pistachio paste: They can look similar on a shelf, but they’re not always interchangeable.
- Pistachio butter is ground pistachios—ideally just pistachios (salt is fine). It gives you a clean, nutty flavour and lets you control the sweetness in the filling.
- Pistachio paste often contains added sugar, oils, or other ingredients, which can make the filling sweeter (or looser) than intended. For this recipe, pistachio butter is the most reliable choice. What to buy: Look for jars that list only pistachios (and maybe salt). What I use: Canada: Yupik Natural Pistachio Butter • USA: Wilderness Poets Pistachio Butter (both easiest to buy online).
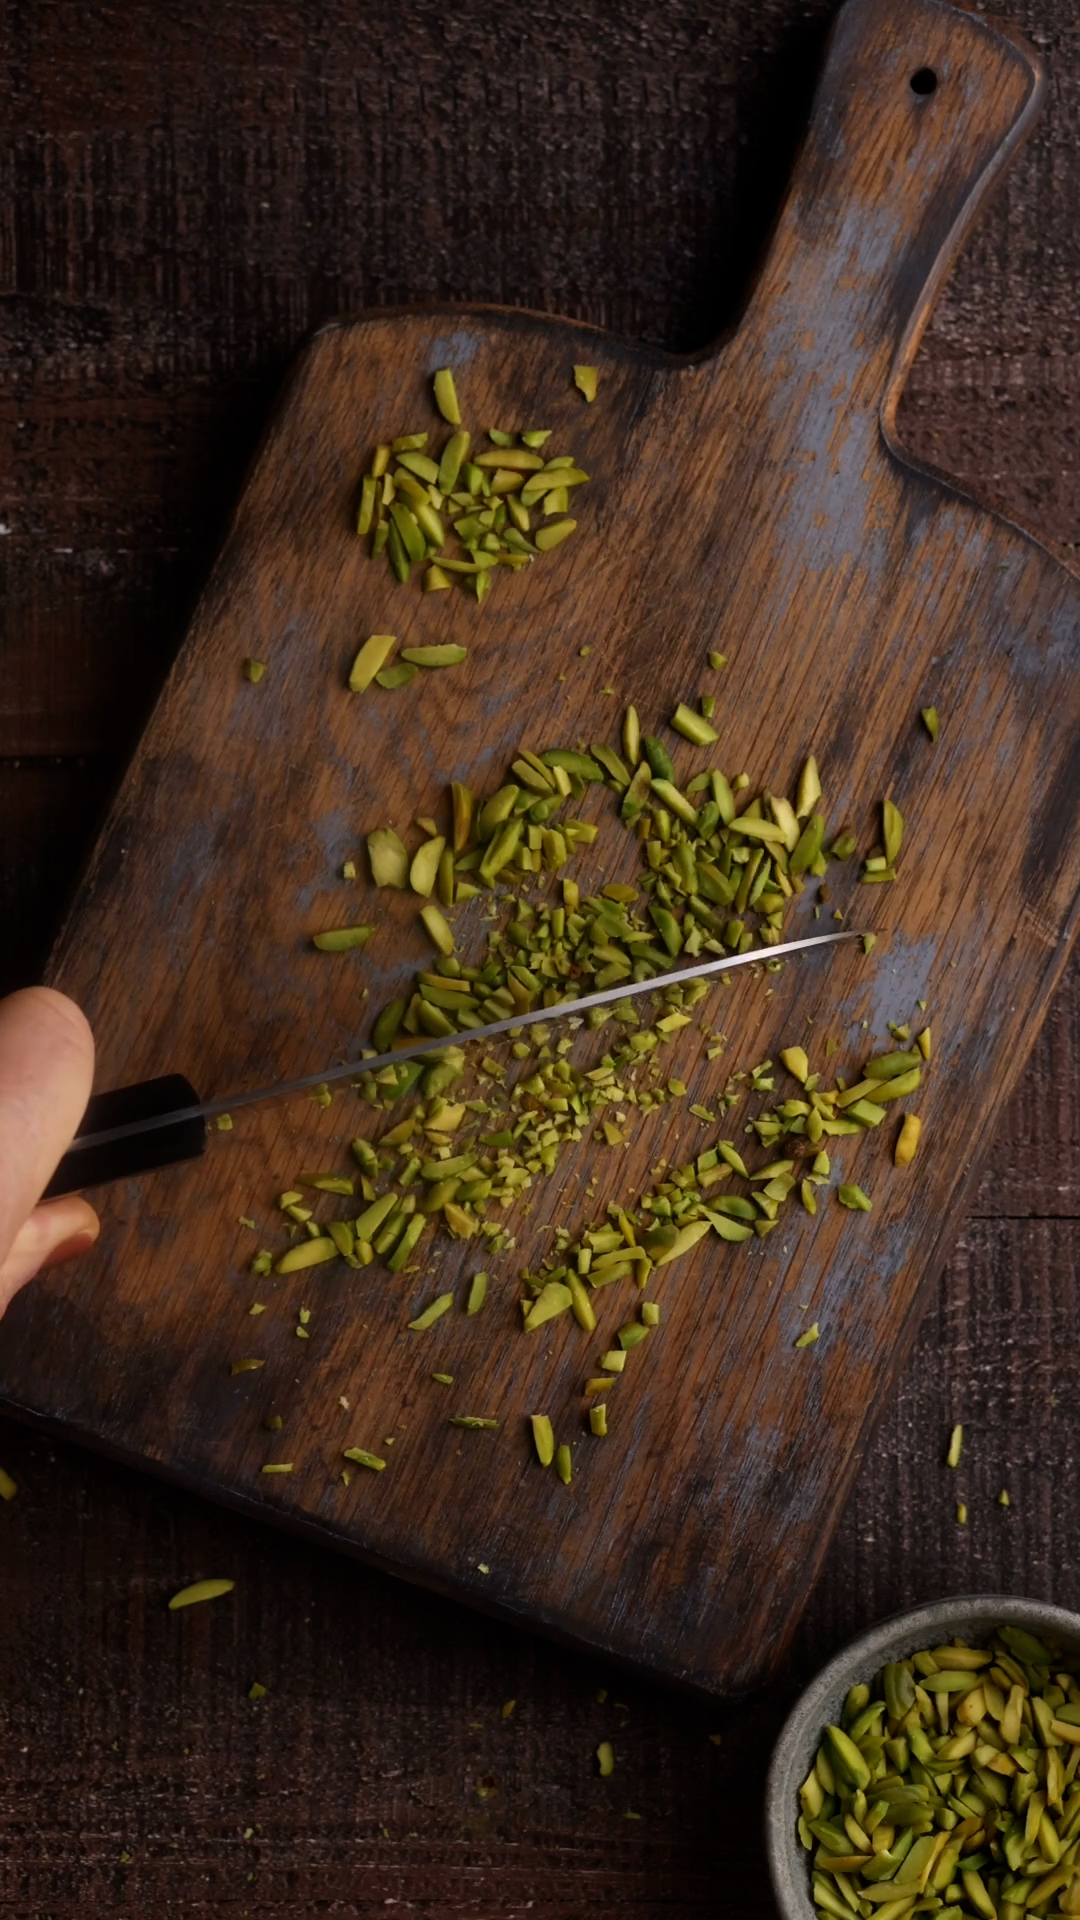
- Pistachios for the topping: Regular shelled pistachios often have a papery brown skin, which is why they don’t always give you that bright green finish. When I want the topping to look really polished, I buy vibrant green pistachios online and keep them in the freezer so they’re always ready. What I use: Ayoubs
- Edible rose petals: These add colour, a delicate floral note, and instant visual impact—especially against the pistachio green. Make sure they’re food-grade (not decorative). What I use: FullChea Dried Rose Petals (online)
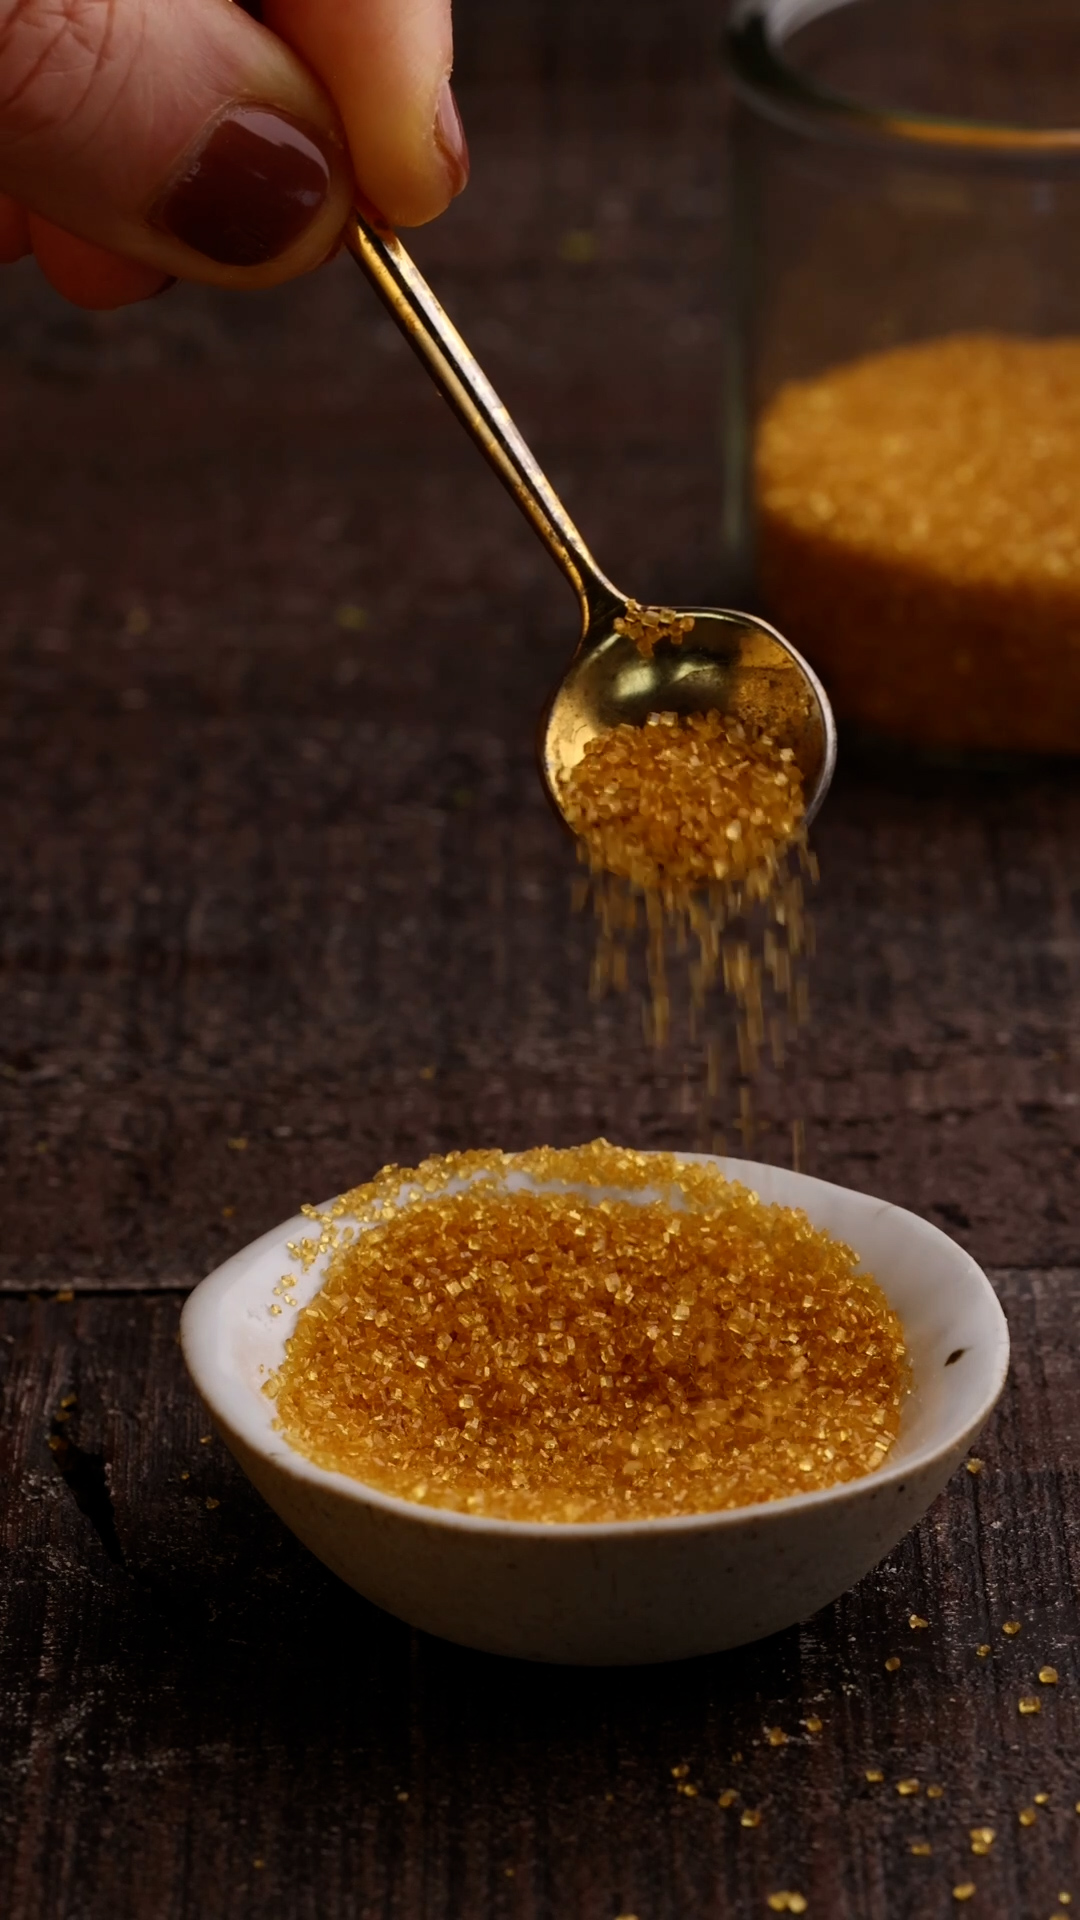
- Gold sprinkles: A tiny sprinkle adds instant “gift-worthy” sparkle, especially paired with rose petals and green pistachios. Make sure they’re clearly labelled edible. What I use: Sweets Indeed Sprinkles (online)
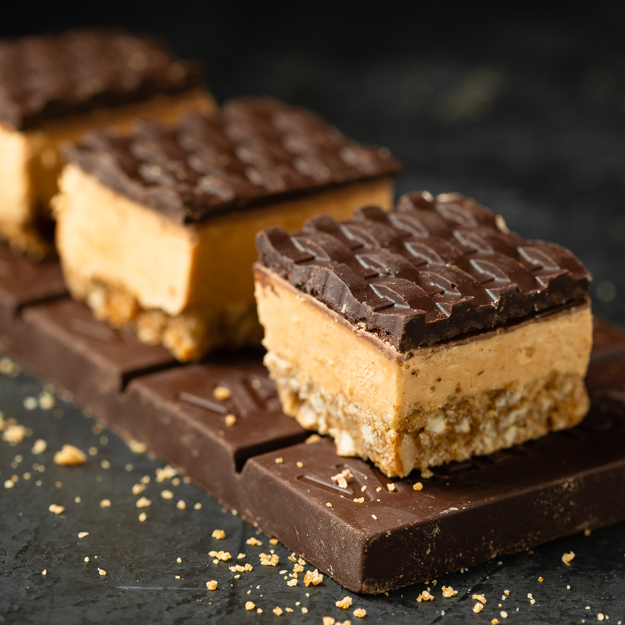
Pretzel Crusted Pistachio Butter Squares
Equipment
- 1 8 inch square baking pan
- 1 sheet parchment paper
- 1 food processor
- 1 Hand Mixer
- 1 offset spatula helpful
- 1 Large Sharp Chef's Knife
- 1 Ruler, (optional but makes perfect squares)
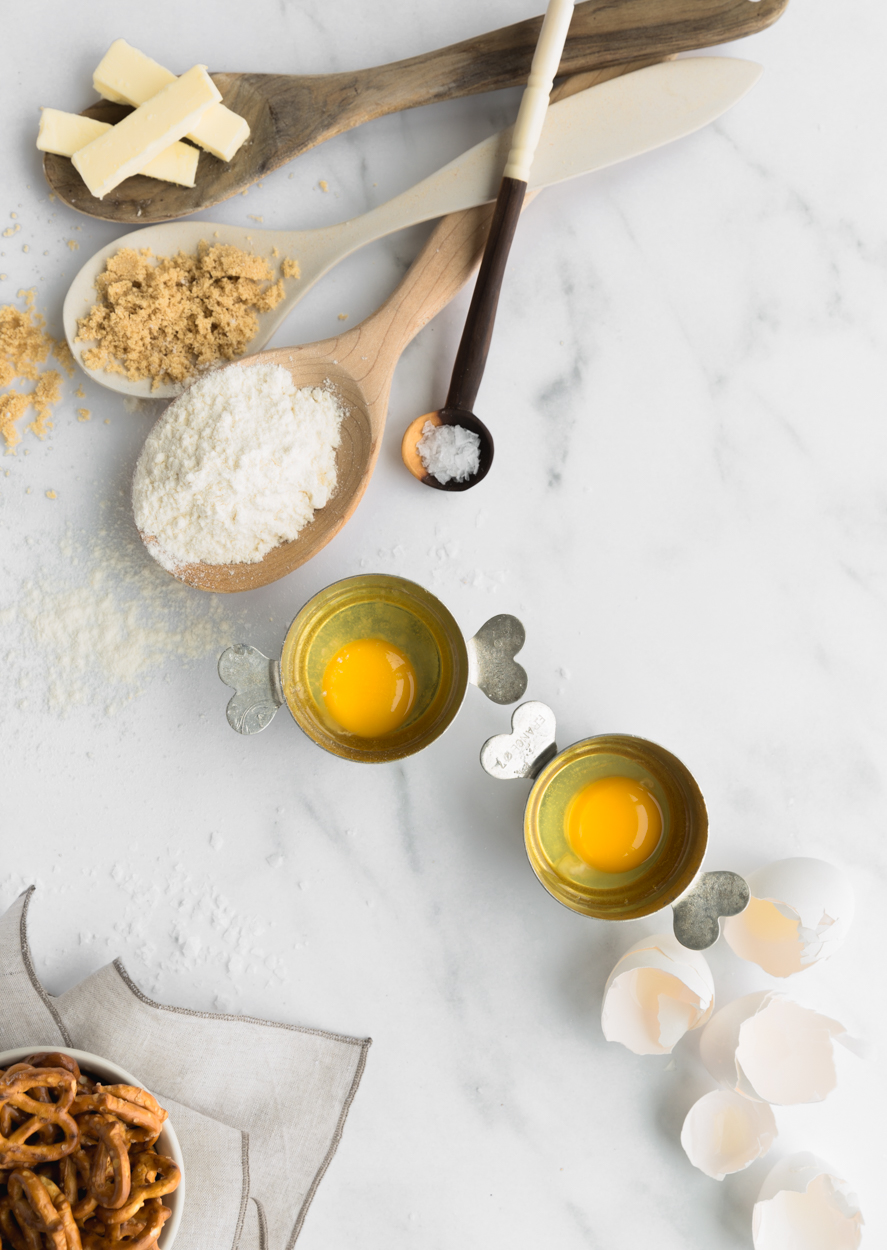
Ingredients
Pretzel Crust
- 70 grams pretzels
- 65 grams all purpose flour
- 105 grams light brown sugar
- 1/8 teaspoon baking soda
- 113 grams unsalted butter, melted
Pistachio Butter Layer
- 227 grams pistachio butter
- 56 grams unsalted butter, room temperature
- 113 grams icing sugar, sifted
- 80 grams white chocolate, melted
- 1/2 teaspoon Diamond Crystal Kosher salt, or 1/4 teaspoon Morton's kosher salt
Chocolate Coating
- 350 grams milk chocolate
- 30 grams coconut oil
Topping (optional)
- 2 Tablespoons edible dried rose petals, finely chopped in a spice grinder or by hand with sharp knife
- 40 grams shelled pistachios, toasted and finely chopped
- 2 Tablespoons gold sprinkles
Instructions
Make Pretzel Crust
- Spray the bottom and sides of an 8 inch square baking pan with Pam. Line pan with parchment paper.
- Preheat oven to 350° F. Place pretzels, flour, brown sugar, baking soda and melted butter into food processor and process until pretzels are crushed. Do not crush to the point of pretzel dust. You want to have some small pieces so that the crust will have some crunch.
- Pour crushed pretzel mixture into lined baking pan. Use the bottom of a measuring cup to press/smooth the crumbs into an even layer. Bake for 10-12 minutes. Remove from oven and set aside to cool.
Make Pistachio Butter Layer
- Place pistachio butter, unsalted room temperature butter, icing sugar, melted white chocolate and salt into a medium sized. mixing bow. Using a hand mixer, starting on low speed, mix until light and fluffy. Once all the icing sugar is incorporated, you can increase speed on mixer. It will take about 1-2 minutes to totally mix.
- Spread pistachio butter mixture into a smooth even layer over the pretzel crust. An offset spatula does a great job. Place baking pan in fridge and chill for about 2 hours until filling firms up.
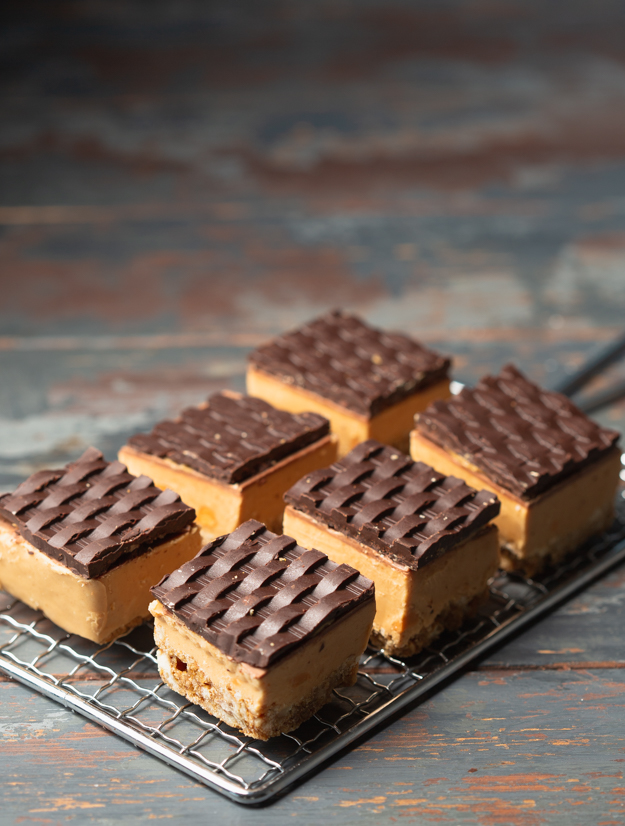
Cut into squares
- Lift crust/filling from pan using the parchment paper. Set onto a cutting board, crust side down.
- Trim a thin strip off the edges (optional but makes every piece look sharp and tidy). These are the chef's snack!
- Cut the chilled slab into 25 squares (a 5 × 5 grid; about 1.6 inches each) using a large, sharp chef’s knife. For the cleanest cuts, run the knife under hot water, wipe it completely dry, then press straight down to slice (re-warm and dry the blade as needed). Wipe the blade between cuts to keep the edges neat, and avoid sawing.
- Place the cut squares on a parchment-lined baking sheet and chill while you melt the chocolate.
Prepare topping (optional)
- Mix together chopped pistachios, gold sprinkles and chopped dried rose petals in a small bowl and set aside.
Melt and dip squares
- Place milk chocolate and coconut oil in a medium heatproof bowl. Microwave at 50% power in 45-second intervals, stirring between, until smooth. Let chocolate cool about 5 minutes (so it’s not overly hot when dipping).
- Dip each square (using a fork), let excess drip off, and return to parchment. Sprinkle toppings while chocolate is still wet.
- Chill until set. Store in the fridge.
At the end of the day, this recipe is about what actually matters: that salty-sweet crunch, the pistachio-forward filling, and the chocolate finish that makes every bite feel a little special. The hearts were fun for the camera, but the square-cut version is the one I’d genuinely make again. If you try them, I’d love to hear how you finish yours — simple, fancy, or somewhere in between.