
Tag Archives: Tomato Recipes

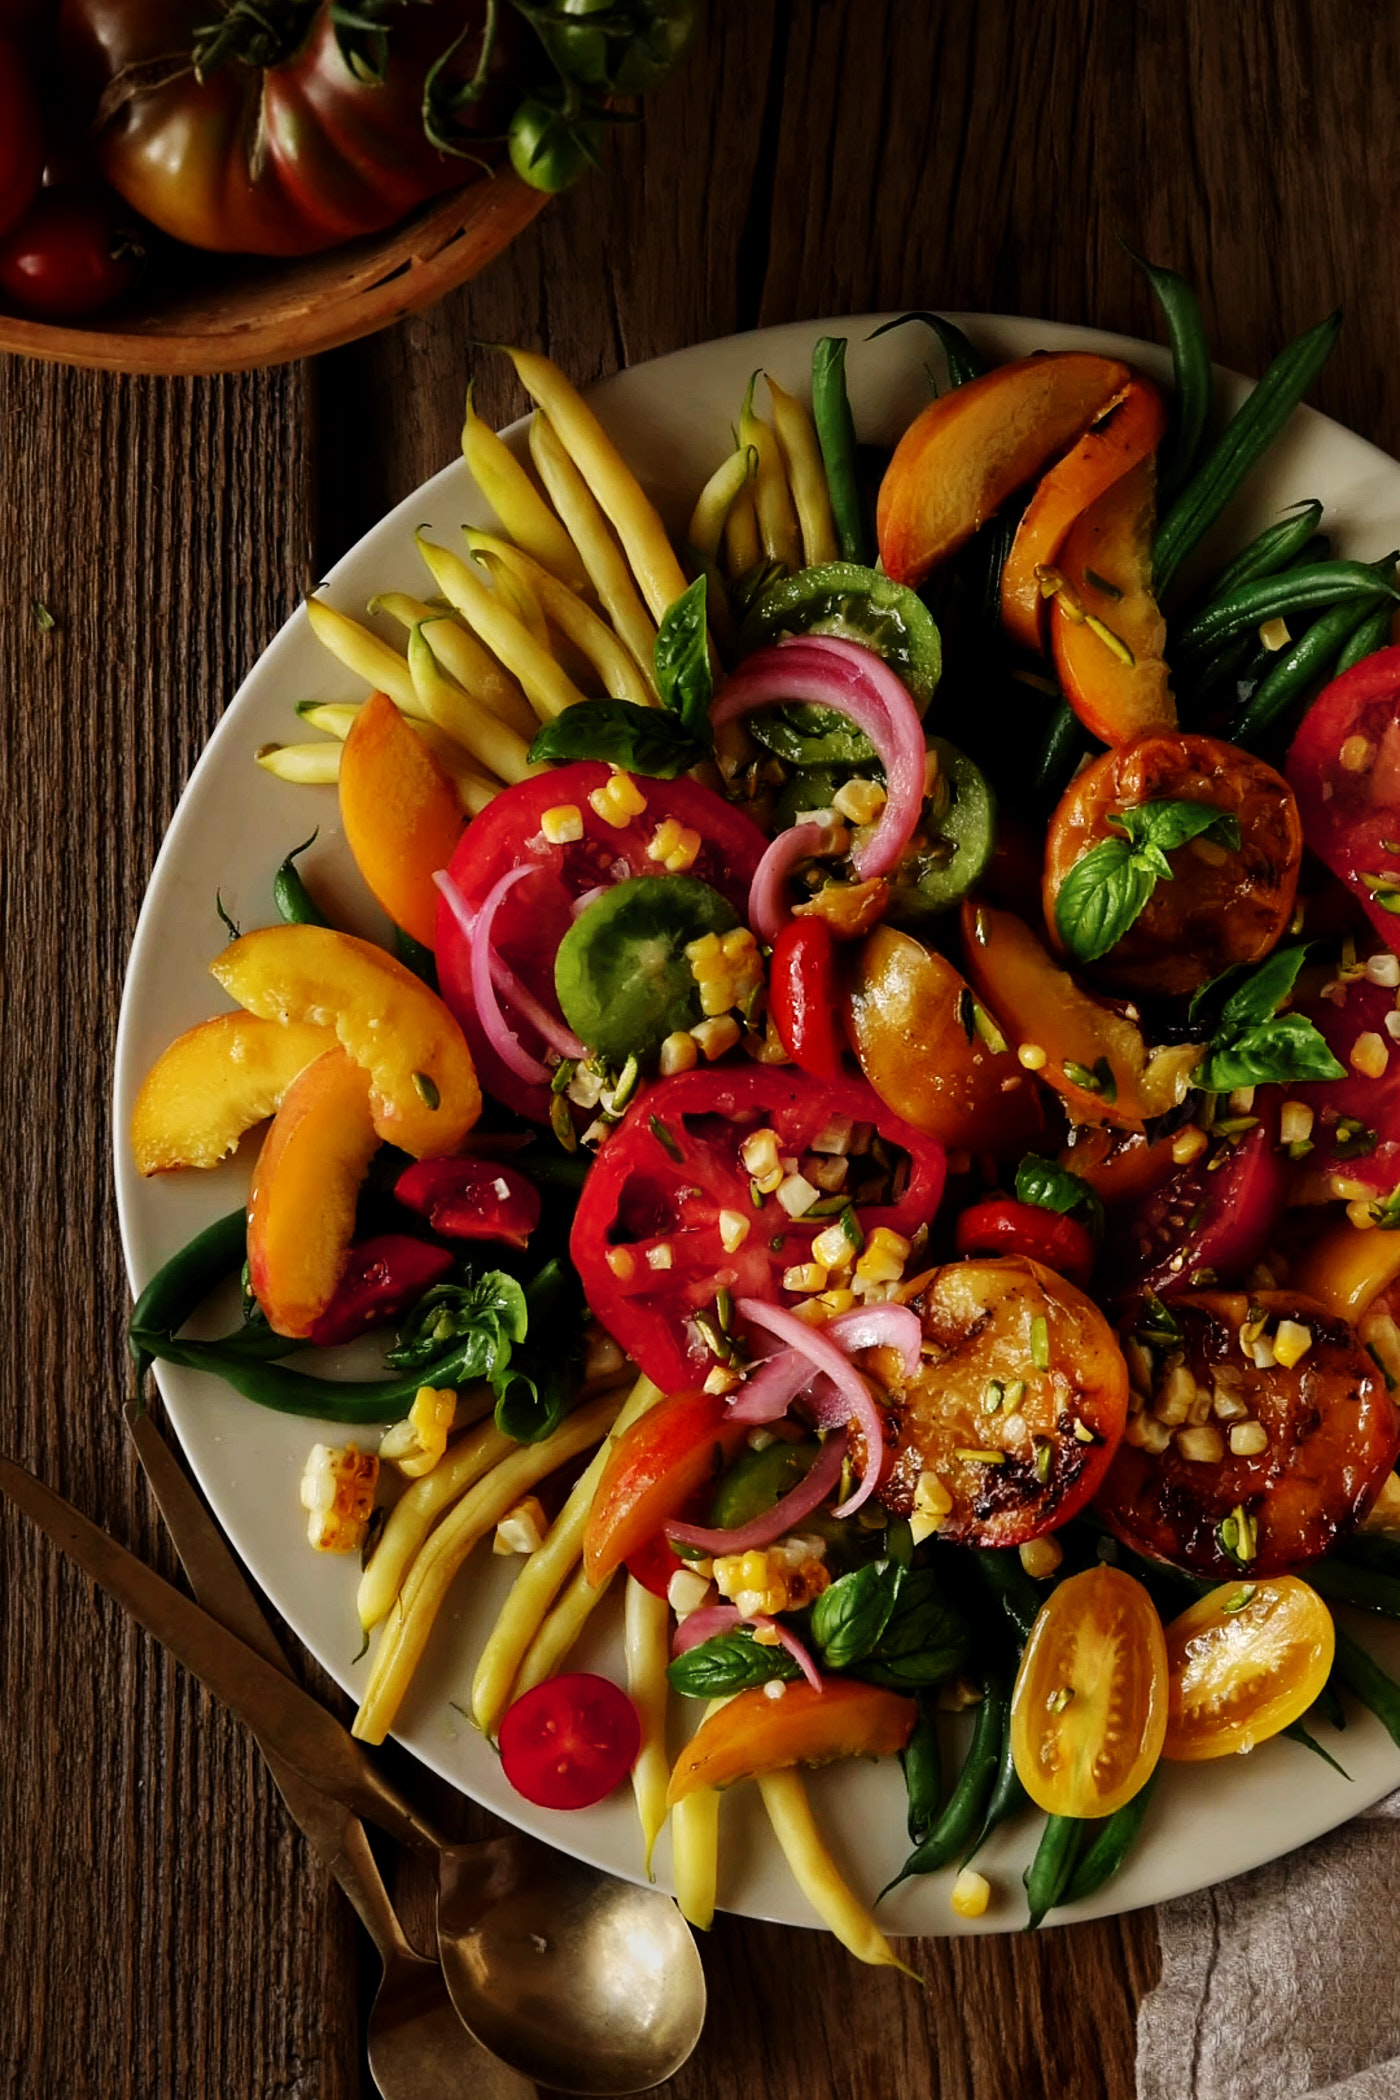
Late Summer Harvest Salad with Pistachio Vinaigrette

Late August always brings this strange mix of abundance and urgency. The tomatoes we waited all summer for are suddenly ripening faster than we can eat them. Peaches are so juicy they need to be eaten over the sink, and I seem incapable of leaving the farmers’ market without far more corn than two people could reasonably need.
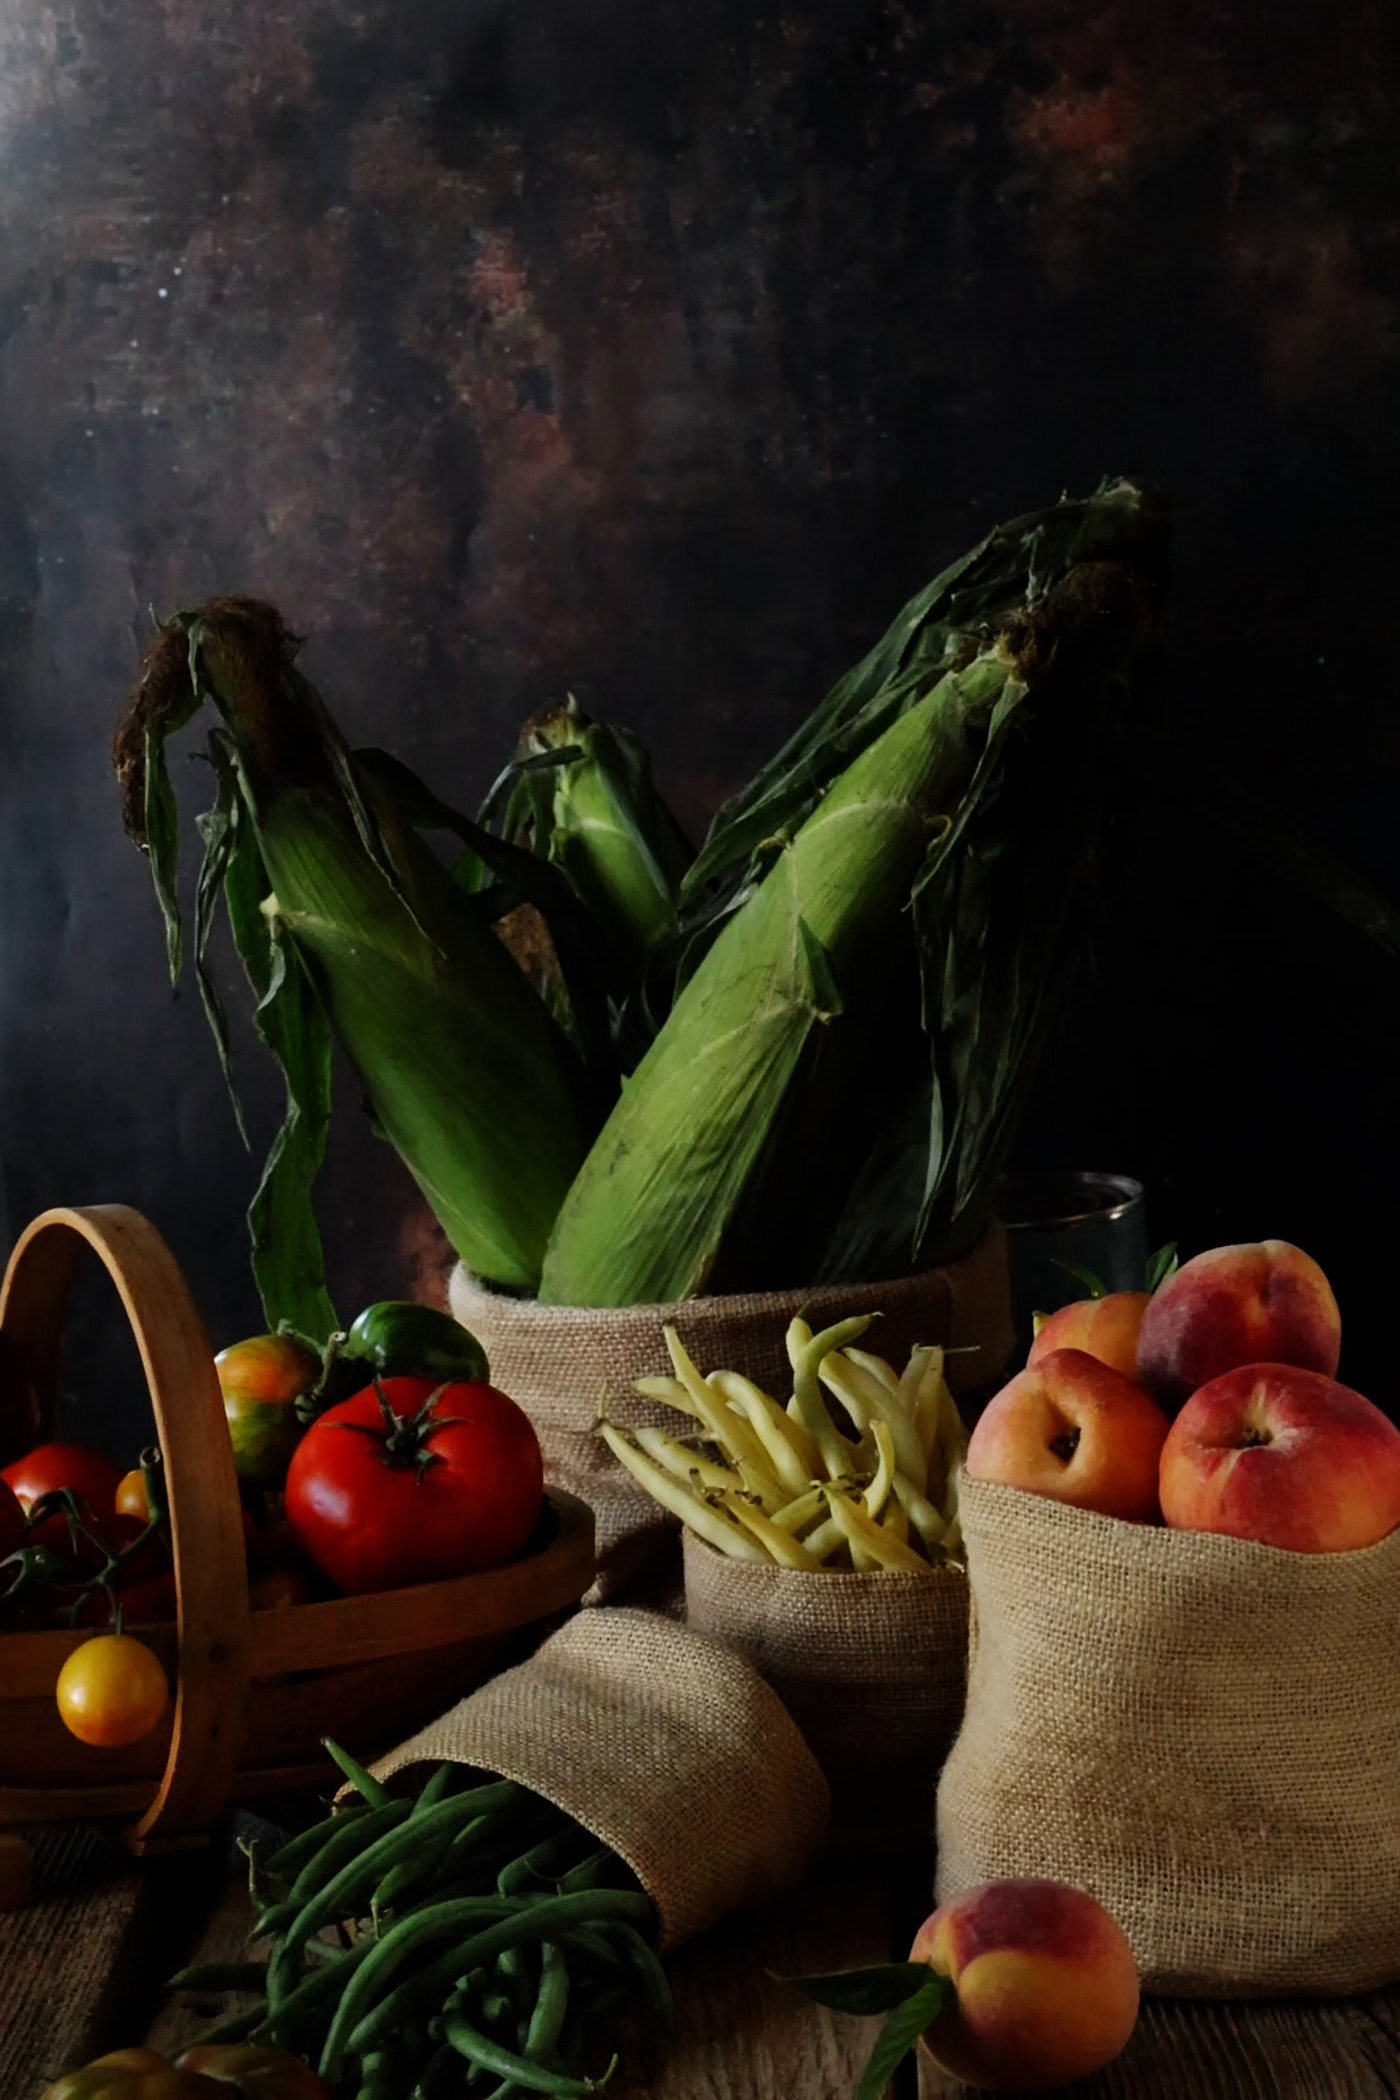
There’s a delicious panic to it all. Just when summer produce is at its best, the days are getting shorter and suddenly there doesn’t seem to be enough summer left. I find myself wanting to slow everything down—to eat all the tomatoes, buy another dozen ears of corn and not think about fall quite yet.
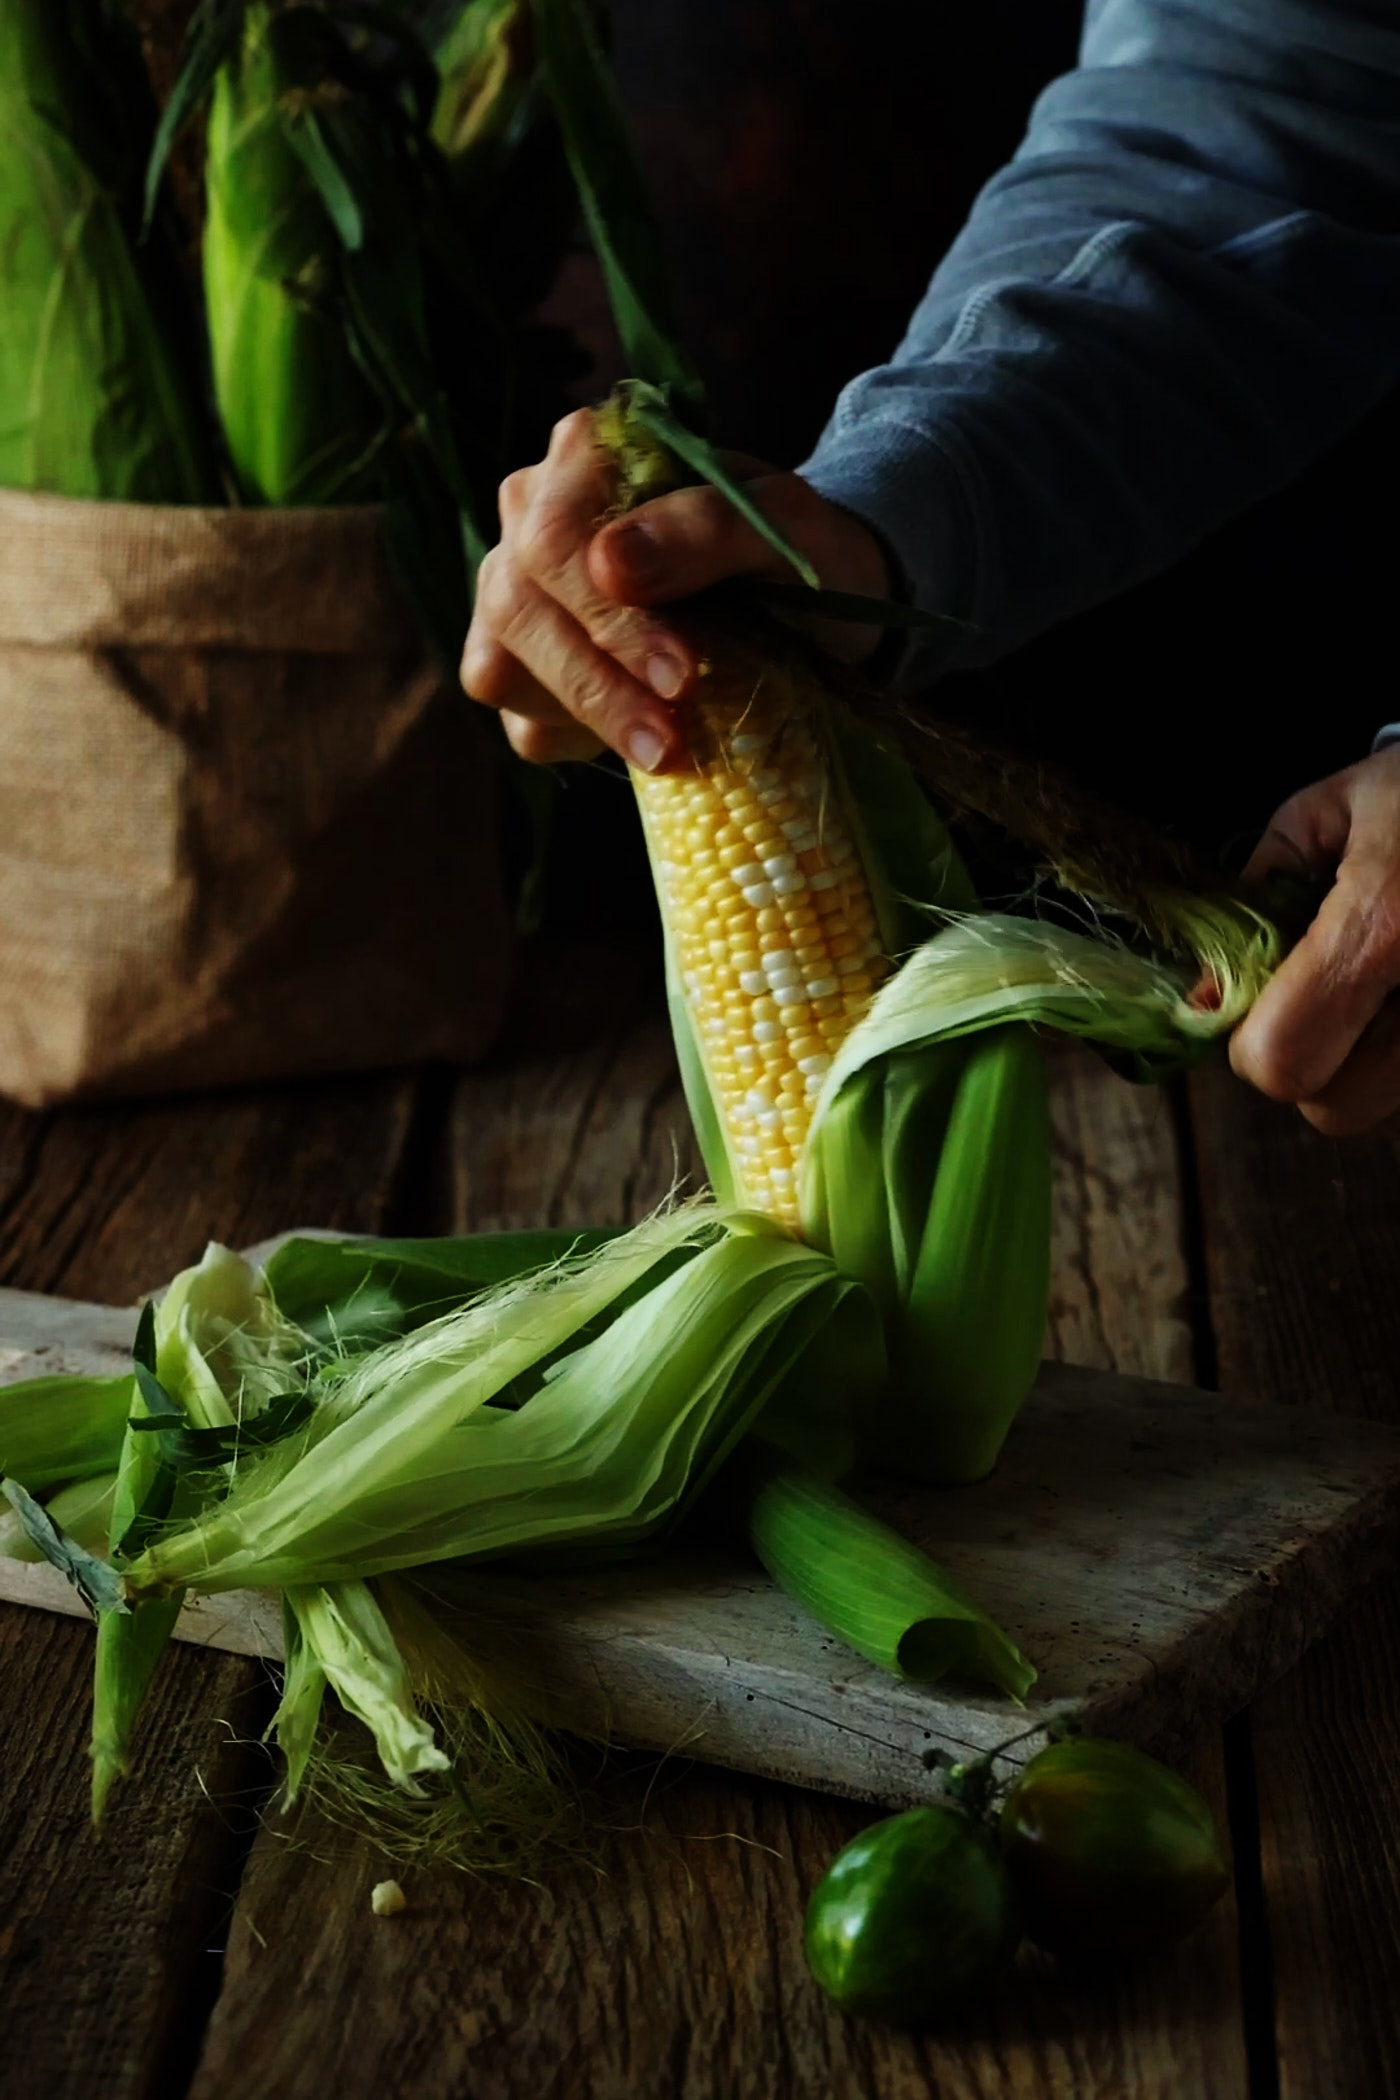
This Late Summer Harvest Salad with Pistachio Vinaigrette is my way of making the most of it. Green and yellow beans form the base, layered with ripe tomatoes, grilled corn and peaches, pickled red onions and basil. Pistachios are toasted in olive oil, then that nutty oil is whisked into a tangy sherry vinaigrette. The toasted pistachios go back on top for crunch.

This salad is really just a celebration of the best of late summer, while it’s all still here.

Keys to success when making Late Summer Harvest Salad

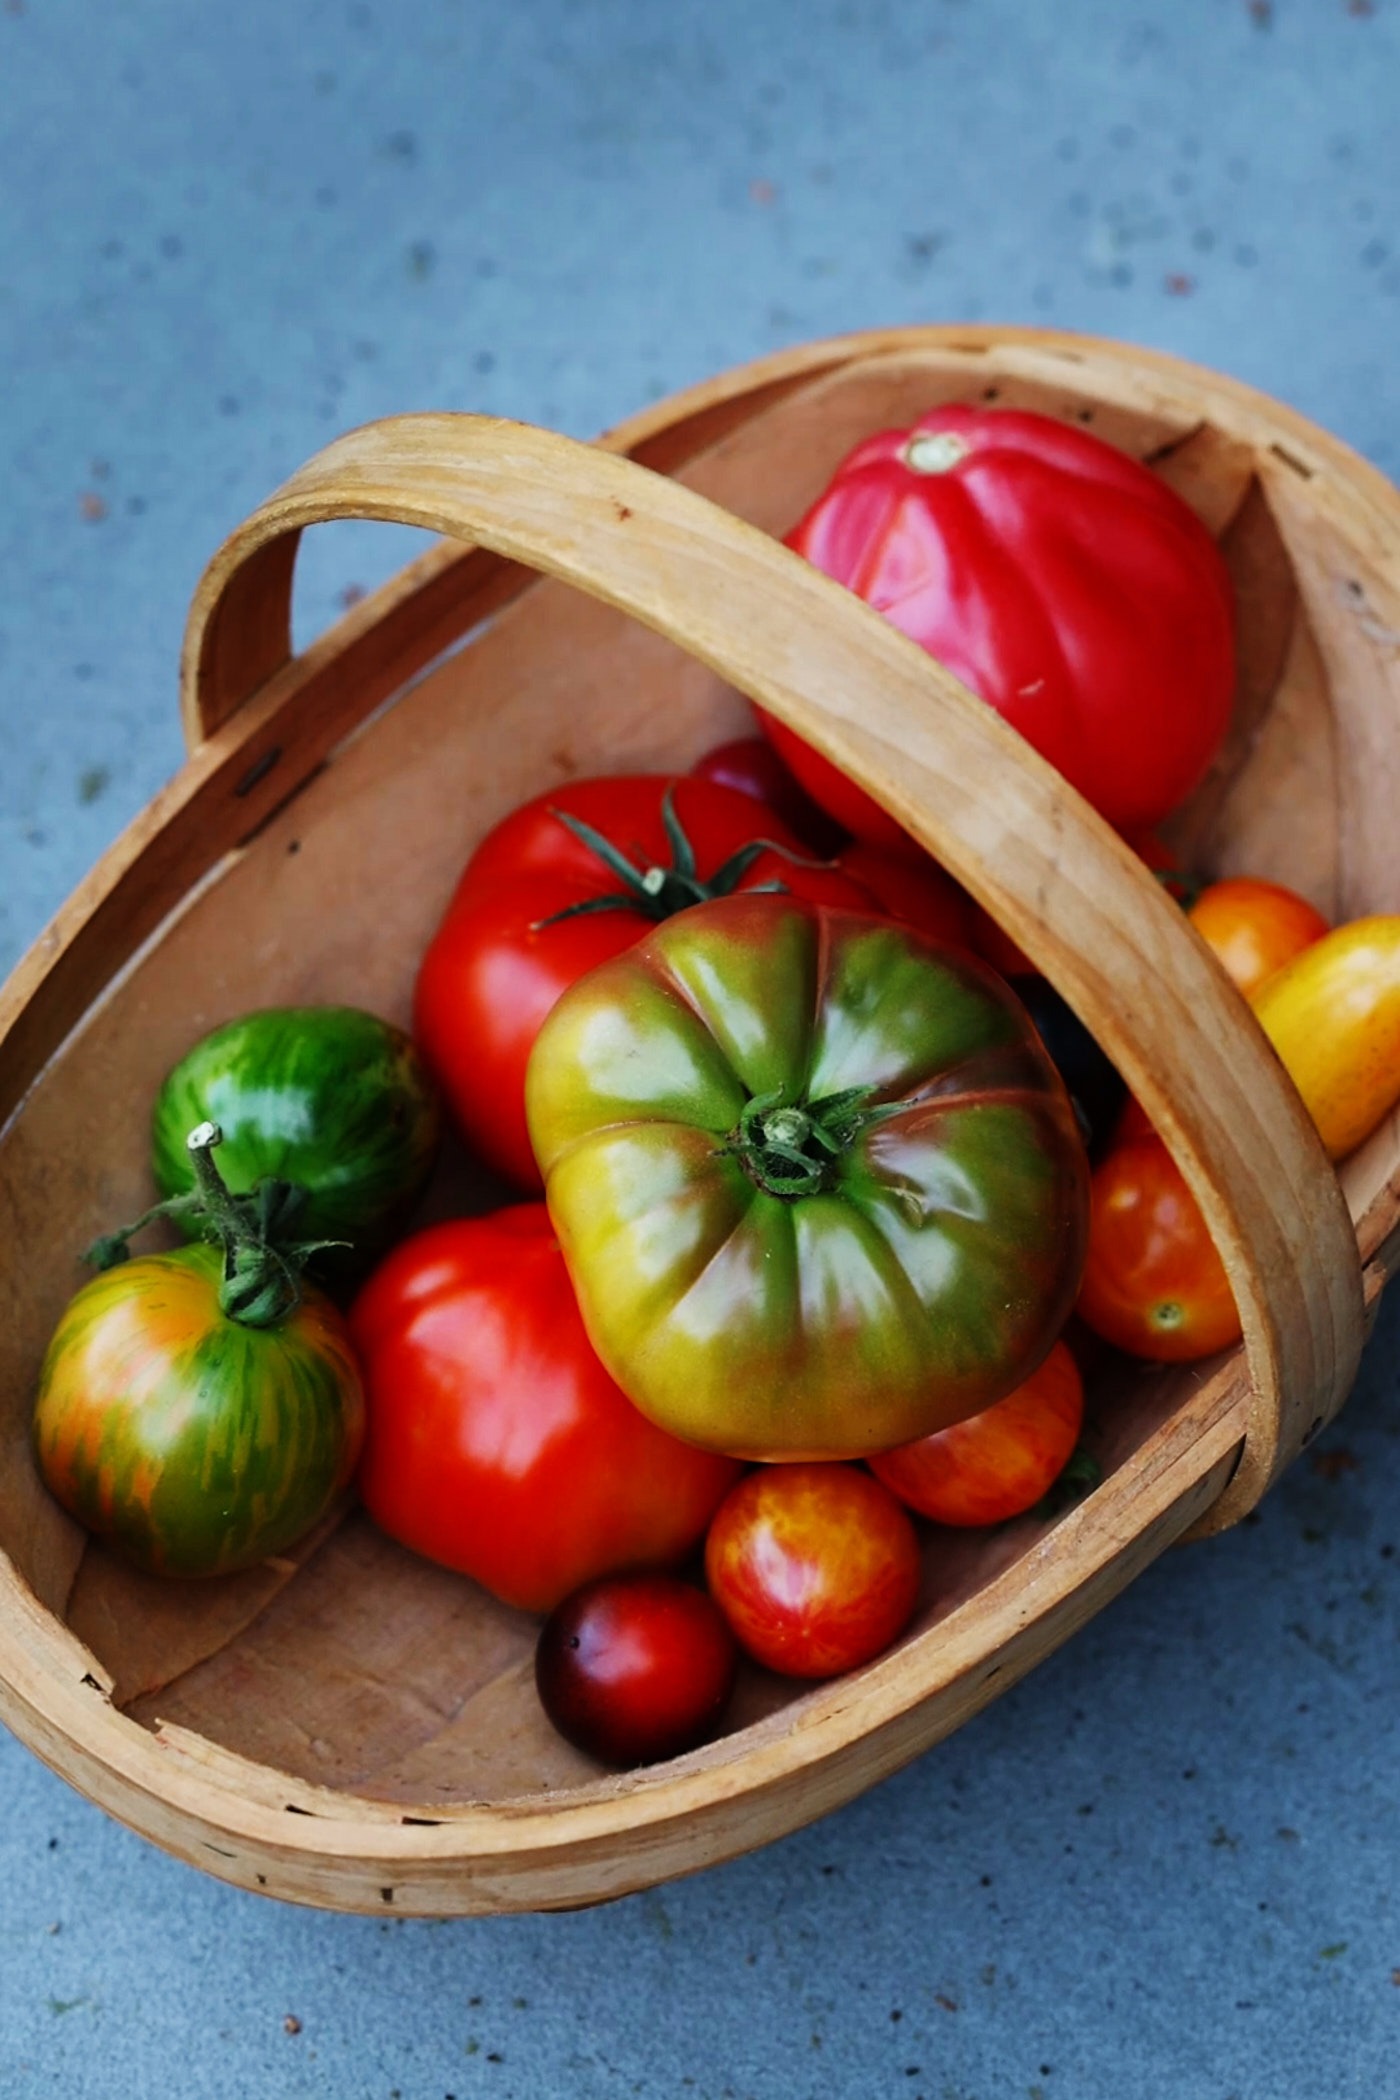
  • Salt your tomatoes. Even perfectly ripe summer tomatoes benefit from salt. It draws out their juices and makes them taste even more tomato-y. Season them after arranging them on the platter so none of that delicious juice gets left behind on the cutting board.
  • Yes, you really need all that salt for the beans. One cup of kosher salt sounds slightly unhinged, but trust me on this one. Cooking the green and yellow beans briefly in heavily salted water seasons them from the inside without making them taste salty. Most of that salt gets discarded with the cooking water.
  • Keep the beans crisp. Two to three minutes is all they need. You want them tender enough to eat but still with a good snap—they provide an important bit of crunch against the juicy tomatoes and soft grilled peaches.
  • Don’t skip the honey on the peaches. A light drizzle of honey before grilling helps the cut surface caramelize and gives the peaches an almost luscious texture. Grill them cut-side down and resist the urge to move them around—you want those beautiful grill marks.
  • Toast the pistachios in the olive oil. This one little step does double duty. Toasting brings out the flavour of the pistachios while also infusing the olive oil with their nuttiness. Use that same oil to make the vinaigrette, then scatter the toasted pistachios over the salad for crunch.
  • Use the best produce you can find. This isn’t the salad for hard peaches or disappointing tomatoes. There aren’t a lot of places for mediocre produce to hide here. Make it when tomatoes are properly ripe, peaches are fragrant and juicy, and corn is fresh and sweet.

Late Summer Harvest Salad with Pistachio Vinaigrette

A colourful late-summer salad loaded with green and yellow beans, ripe tomatoes, grilled corn and honey-kissed peaches, finished with pickled red onions, fresh basil and a tangy pistachio-sherry vinaigrette. A celebration of summer produce at its peak.
Servings 4 servings
Calories 326 kcal

Ingredients
  

Pistachio Vinaigrette

  • 1/2 cup extra virgin olive oil
  • 1/4 cup shelled pistachios, coarsely chopped
  • 1 small clove garlic, finely grated with microplaner, or crushed with garlic press
  • 1/4 cup sherry or red wine vinegar
  • 1 teaspoon honey
  • 1 teaspoon Dijon mustard

Pickled Red Onions

  • 1/2 medium red onion, thinly sliced
  • 1/4 cup red wine vinegar
  • 1/4 cup water
  • 1 Tablespoon sugar
  • 1 teaspoon Diamond Crystal Kosher salt, or 1/2 teaspoon Morton's kosher salt

Salad Ingredients

  • 200 grams green beans, about 2 cups
  • 200 grams yellow beans, about 2 cups
  • 1 cup Diamond Crystal Kosher salt
  • 2 ears fresh corn, shucked
  • 2 teaspoons olive oil
  • 3 medium peaches, halved and pitted
  • 1 teaspoon honey
  • 1 cup assorted small cherry tomatoes, halved
  • 1 large heirloom tomatoes, sliced into 1/4 inch thick slices
  • 1 teaspoon Diamond Crystal Kosher salt, or 1/2 teaspoon Morton's kosher salt

Instructions
 

Pistachio Vinaigrette

  • Add the olive oil and pistachios to a small skillet. Cook over medium heat, stirring occasionally, until the pistachios are fragrant and the oil is gently sizzling.
  • Strain the oil into a heatproof measuring cup or bowl. Set the pistachios aside for garnishing the salad.
  • Add the garlic to the warm pistachio-infused oil and let sit for a few minutes.
  • In a medium bowl, whisk together the sherry vinegar, honey and Dijon mustard. Slowly drizzle in the pistachio oil while whisking continuously, until the vinaigrette is emulsified.

Prepare pickled red onions

  • Combine the red wine vinegar, water, sugar and salt in a small saucepan. Bring to a simmer, stirring until the sugar and salt dissolve.
  • Place the sliced onions in a 2-cup jar. Pour the hot brine over the onions and stir well. Let cool to room temperature, then cover and refrigerate until needed.

Cook beans

  • Bring a large pot of water to a boil. Add 1 cup Diamond Crystal kosher salt. Yes, one cup! The heavily salted cooking water seasons the beans from the inside without making them taste overly salty.
  • Add the green and yellow beans and cook for 2–3 minutes, until crisp-tender. Drain and immediately rinse under cold running water to stop the cooking. Drain thoroughly.

Grill corn and peaches

  • Heat the grill over medium heat.
  • Brush the corn and the cut sides of the peaches with the olive oil. Drizzle the honey lightly over the cut sides of the peaches.
  • Place the peaches cut-side down on the grill. Add the corn.
  • Grill the peaches until deeply marked and beginning to caramelize. Grill the corn, turning occasionally, until lightly charred on all sides.
  • Transfer to a cutting board. Cut the kernels from the corn cobs. Cut the peach halves into wedges.

Assemble salad

  • Toss the drained beans with 2 tablespoons of the pistachio vinaigrette. Arrange them loosely over a large platter.
  • Layer the sliced and halved tomatoes over the beans. Season the tomatoes with the kosher salt.
  • Nestle the grilled peach wedges among the tomatoes and beans.
  • Scatter the grilled corn over the salad, followed by about 2 tablespoons of pickled red onions.
  • Drizzle with an additional 2 tablespoons of pistachio vinaigrette.
  • Finish with the toasted pistachios and fresh basil leaves. Serve immediately.

Notes

  • About all that salt: The 1 cup of kosher salt used to cook the beans is intentional. Briefly cooking the green and yellow beans in heavily salted water seasons them beautifully without making them taste salty. The cooking water—and nearly all that salt—is discarded when the beans are drained.
    Make-ahead: The recipe makes more vinaigrette, toasted pistachios and pickled onions than you will need for one salad. Refrigerate leftover vinaigrette and pickled onions in separate airtight containers. Store leftover toasted pistachios in an airtight container at room temperature.

Nutrition
Calories: 326kcalCarbohydrates: 38gProtein: 6gFat: 19gSaturated Fat: 3gPolyunsaturated Fat: 3gMonounsaturated Fat: 13gTrans Fat: 0.003gSodium: 29508mgPotassium: 733mgFiber: 6gSugar: 23gVitamin A: 1375IUVitamin C: 40mgCalcium: 84mgIron: 3mg
Tried this recipe?Let us know how it was!

There will be plenty of time for apples, squash and all things cozy. For now, I’m hanging onto tomatoes, peaches and corn for as long as I possibly can. Late summer is just too delicious to rush.
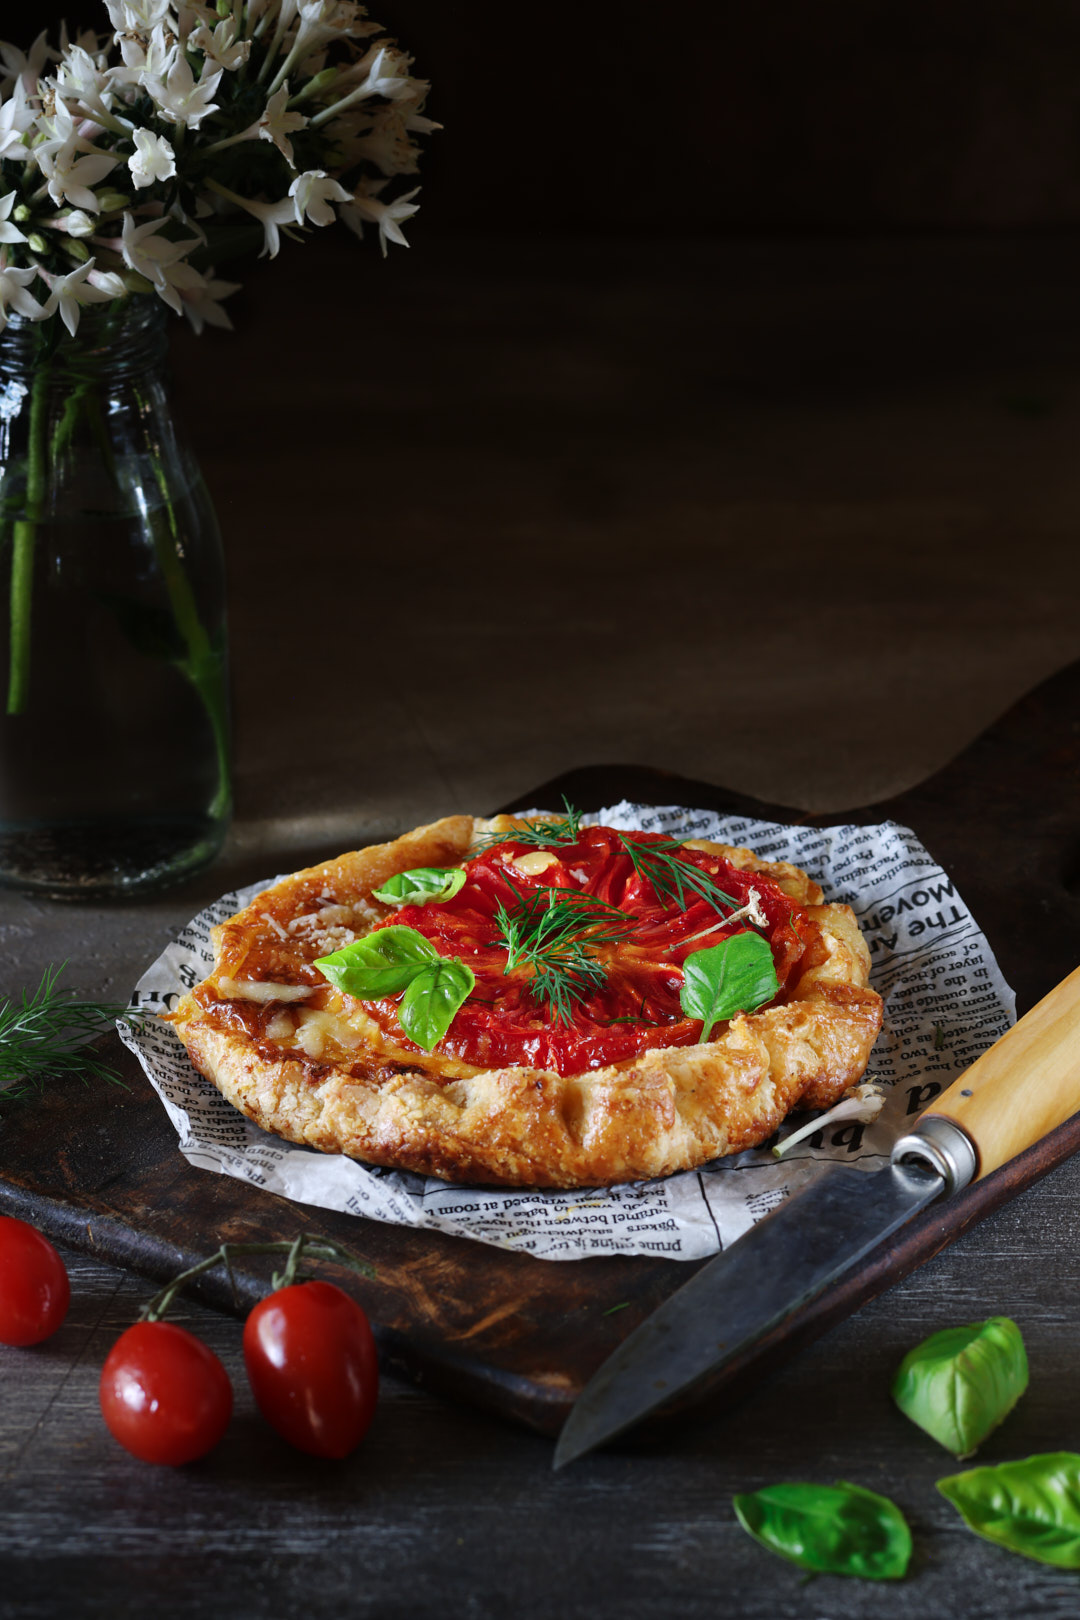

Mini Tomato Galettes with Sour Cream Cornmeal Crust

When I spotted Bon Appétit’s Tiny Tomato Galettes, I was immediately smitten. I’m a sucker for a little handheld pie, so I couldn’t wait to make them. Of course, I couldn’t resist putting my own spin on the recipe. Instead of a traditional pastry, I used my favourite sour cream cornmeal galette dough. The sour cream keeps the crust incredibly tender, while the cornmeal adds just the right amount of crunch, creating a crust that’s impossibly flaky.

I also couldn’t resist adding Gruyère to the garlicky Parmesan filling for an extra layer of savoury, nutty flavour. The result is everything I love about a rustic tomato galette, only in a perfectly portable, hand-held package that’s just as suitable for lunch as it is for a summer picnic or cocktail party.

The sour cream cornmeal dough is the foundation of this recipe. It’s one of my favourite pastry doughs because it’s easy to work with, bakes up beautifully flaky, and has just enough cornmeal to add a subtle crunch.

What I love most about this dough is how endlessly versatile it is. It’s equally at home with sweet or savoury fillings and adapts beautifully to the seasons—from spring asparagus and summer tomatoes to autumn apples and winter squash. I have a feeling it’s going to become a regular in your baking rotation.

If you’ve never made it before, here’s a step-by-step video showing exactly how it comes together.

Once your dough is chilled, the mini galettes come together quickly. This short video walks you through the filling, assembly, and a few little tricks for getting beautifully crisp bottoms every time .Here’s a step-by-step video showing exactly how it comes together.

Keys to Success in making Mini Tomato Galettes

  • 1. Use ripe, but firm tomatoes. Choose tomatoes that are deeply coloured and flavourful but still firm enough to slice cleanly. Overripe tomatoes release too much liquid and can make the crust soggy.
  • 2. Tomato powder is the secret ingredient. A light sprinkle of freeze-dried tomato powder on the tomato slices intensifies their flavour without adding moisture. Place the tomato slices powder-side down on the galettes so the vibrant tomato colour stays on top.
  • 3. Don’t skip the Dijon. A thin layer of Dijon mustard adds brightness and a subtle tang that balances the richness of the cheeses. It doesn’t taste mustardy—it simply makes the tomatoes taste more like themselves.
  • 4. Keep the dough cold. If the dough becomes soft while you’re working, pop it back into the refrigerator for a few minutes. Cold butter is what creates a beautifully flaky crust.
  • 5. Freeze before baking. After shaping the galettes, freeze them for 10 minutes before they go into the oven. This helps the crust hold its shape and encourages maximum flakiness.
  • 6. Bake until deeply golden. Don’t be tempted to pull them out too early. The crust should be a rich golden brown, especially around the pleated edges. That’s when the butter has fully crisped the layers and the cornmeal develops its subtle crunch.
  • 7. They’re just as good at room temperature. These mini galettes are wonderful straight from the oven, but they’re also delicious warm or at room temperature, making them perfect for picnics, brunches, lunches, or entertaining.
  • 8. Make extra dough. This sour cream and cornmeal galette dough freezes beautifully. I often keep a few rolled sheets in the freezer so I’m only minutes away from turning whatever is in season into a galette. It’s one of my favourite make-ahead baking tricks.

Mini Tomato Galettes with Sour Cream and Cornmeal Crust

Makes six 6-inch galettes
Servings 6 servings
Calories 421 kcal

Ingredients
  

Galette Dough

  • 43 grams sour cream, full-fat or light (5%); do not use fat-free.
  • 75 grams ice cold water
  • 170 grams all-purpose flour
  • 40 grams cornmeal
  • 5 grams sugar
  • 1/2 teaspoon Diamond Crystal Kosher salt, or 1/4 teaspoon Morton's Kosher salt
  • 100 grams unsalted butter, cold cut into 1/2 inch pieces

Filling

  • 125 grams mayonnaise, light (5%) is fine; do not use nonfat
  • 5 cloves garlic, finely grated on a Microplane, or use garlic press
  • 56 grams grated Parmesan cheese
  • 70 grams grated Gruyere cheese
  • 3 3"-4" diameter Heirloom tomatoes, sliced 1/2 inch thick, you need 6 slices in total
  • 1 Tablespoon freeze dried tomato powder

Assembly

  • 2 Tablespoons Dijon mustard
  • 1 large Egg, lightly beaten

Instructions
 

Galette Dough

  • Whisk sour cream and ice water together in a small bowl; set aside. In a food processor fitted with the metal blade, combine flour, cornmeal, sugar, and salt. Pulse to mix.
  • Add the cold butter and pulse 8 to 10 times, until the mixture resembles coarse crumbs with butter pieces ranging from breadcrumbs to small peas.
  • With the machine running, slowly pour in the sour cream mixture. Process just until the dough comes together in moist, shaggy curds. Turn the dough onto the counter and gently gather it into a ball. Divide into 3 equal pieces and shape each into a disc.
  • Lightly flour one disc and roll it between two sheets of parchment into an oval about 13 inches long and 7 inches wide. Repeat with the remaining discs. Refrigerate the dough, still between the parchment sheets, for about 30 minutes.
  • To make ahead, keep the rolled dough ovals between sheets of parchment, wrap tightly in plastic, and refrigerate for up to 3 days or freeze flat for up to 1 month.

Tomatoes

  • Arrange tomato slices on a paper towel-lined baking sheet. Sprinkle with tomato powder and let sit while you prepare the filling and cut the dough.

Filling

  • In a medium bowl, stir together the mayonnaise, garlic, Parmesan, and Gruyère until well combined.

Assemble Galettes

  • Arrange two racks in the oven—one in the top-middle position, the other in the bottom-middle. Preheat the oven to 425°F. Line an 18 x 13 inch baking sheet with parchment paper.
  • Using a 6-inch bowl or plate as a guide, cut two circles from each dough oval to make six circles total.
  • Spread each dough circle with a thin layer of Dijon mustard, leaving a 1-inch border. Spoon about 2 tablespoons of filling into the centre and spread it over the mustard, still keeping the border clear.
  • Blot the tomato slices dry with paper towel, then place one slice on each galette, tomato powder-side down, to keep the vibrant colour facing up.
  • Fold the border of dough up and over the filling, pleating gently as you work your way around each galette. Transfer formed galettes to parchment lined baking sheet. Brush the dough border with egg wash. Chill galettes in freezer for about 10 minutes before baking.
  • Place baking sheet on lower rack, Bake for 15 minutes. Then move the baking sheet to the upper rack. Bake for another 15 minutes, until galette is deeply golden. Depending on your oven, you might need an extra 5-7 minutes. Deep golden brown is the goad. No soggy bottoms allowed. Remove from oven and let cool slightly on wire rack before serving. These are delicious hot, warm or even at room temperature.

Notes

This is the perfect make-ahead dough. Store it in the fridge for up to 3 days, or freeze for up to a month—so you’re always ready when the mood for galette strikes.

Nutrition

Calories: 421kcalCarbohydrates: 32gProtein: 12gFat: 28gSaturated Fat: 14gPolyunsaturated Fat: 4gMonounsaturated Fat: 7gTrans Fat: 1gCholesterol: 95mgSodium: 791mgPotassium: 128mgFiber: 2gSugar: 2gVitamin A: 720IUVitamin C: 1mgCalcium: 230mgIron: 2mg
Tried this recipe?Let us know how it was!