Tag Archives: vegetarian recipes

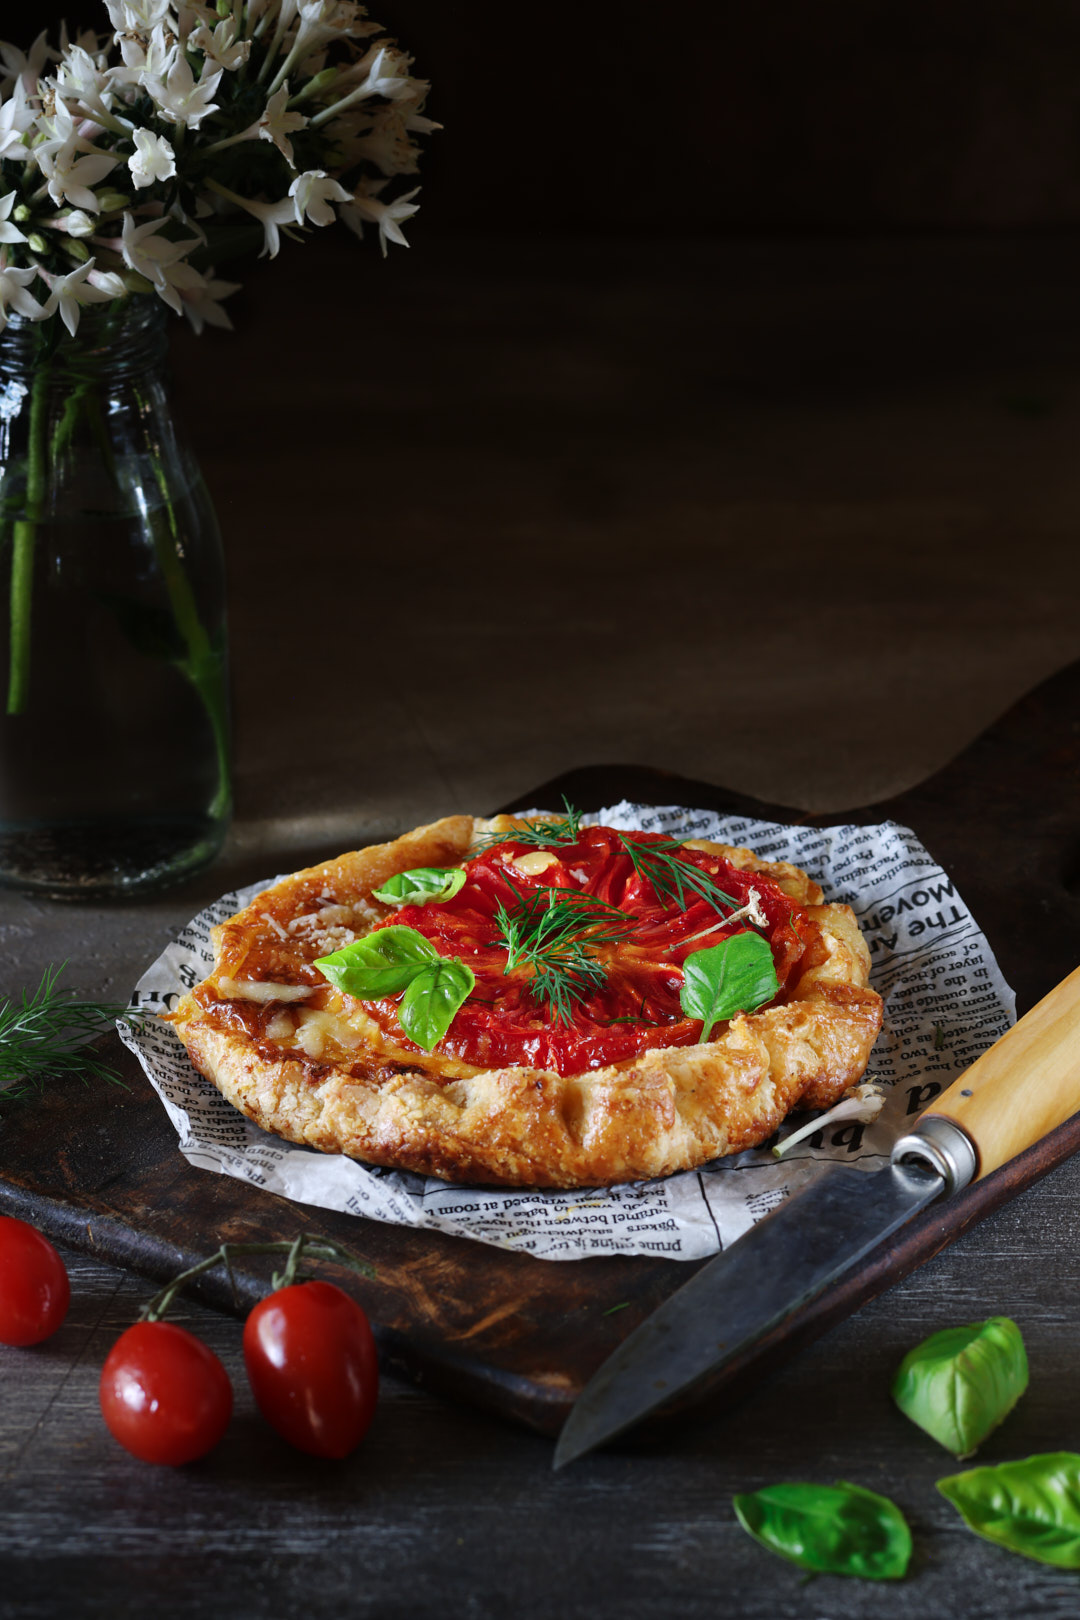
Mini Tomato Galettes with Sour Cream Cornmeal Crust

When I spotted Bon Appétit’s Tiny Tomato Galettes, I was immediately smitten. I’m a sucker for a little handheld pie, so I couldn’t wait to make them. Of course, I couldn’t resist putting my own spin on the recipe. Instead of a traditional pastry, I used my favourite sour cream cornmeal galette dough. The sour cream keeps the crust incredibly tender, while the cornmeal adds just the right amount of crunch, creating a crust that’s impossibly flaky.

I also couldn’t resist adding Gruyère to the garlicky Parmesan filling for an extra layer of savoury, nutty flavour. The result is everything I love about a rustic tomato galette, only in a perfectly portable, hand-held package that’s just as suitable for lunch as it is for a summer picnic or cocktail party.

The sour cream cornmeal dough is the foundation of this recipe. It’s one of my favourite pastry doughs because it’s easy to work with, bakes up beautifully flaky, and has just enough cornmeal to add a subtle crunch.

What I love most about this dough is how endlessly versatile it is. It’s equally at home with sweet or savoury fillings and adapts beautifully to the seasons—from spring asparagus and summer tomatoes to autumn apples and winter squash. I have a feeling it’s going to become a regular in your baking rotation.

If you’ve never made it before, here’s a step-by-step video showing exactly how it comes together.

Once your dough is chilled, the mini galettes come together quickly. This short video walks you through the filling, assembly, and a few little tricks for getting beautifully crisp bottoms every time .Here’s a step-by-step video showing exactly how it comes together.

Keys to Success in making Mini Tomato Galettes

  • 1. Use ripe, but firm tomatoes. Choose tomatoes that are deeply coloured and flavourful but still firm enough to slice cleanly. Overripe tomatoes release too much liquid and can make the crust soggy.
  • 2. Tomato powder is the secret ingredient. A light sprinkle of freeze-dried tomato powder on the tomato slices intensifies their flavour without adding moisture. Place the tomato slices powder-side down on the galettes so the vibrant tomato colour stays on top.
  • 3. Don’t skip the Dijon. A thin layer of Dijon mustard adds brightness and a subtle tang that balances the richness of the cheeses. It doesn’t taste mustardy—it simply makes the tomatoes taste more like themselves.
  • 4. Keep the dough cold. If the dough becomes soft while you’re working, pop it back into the refrigerator for a few minutes. Cold butter is what creates a beautifully flaky crust.
  • 5. Freeze before baking. After shaping the galettes, freeze them for 10 minutes before they go into the oven. This helps the crust hold its shape and encourages maximum flakiness.
  • 6. Bake until deeply golden. Don’t be tempted to pull them out too early. The crust should be a rich golden brown, especially around the pleated edges. That’s when the butter has fully crisped the layers and the cornmeal develops its subtle crunch.
  • 7. They’re just as good at room temperature. These mini galettes are wonderful straight from the oven, but they’re also delicious warm or at room temperature, making them perfect for picnics, brunches, lunches, or entertaining.
  • 8. Make extra dough. This sour cream and cornmeal galette dough freezes beautifully. I often keep a few rolled sheets in the freezer so I’m only minutes away from turning whatever is in season into a galette. It’s one of my favourite make-ahead baking tricks.

Mini Tomato Galettes with Sour Cream and Cornmeal Crust

Makes six 6-inch galettes
Servings 6 servings
Calories 421 kcal

Ingredients
  

Galette Dough

  • 43 grams sour cream, full-fat or light (5%); do not use fat-free.
  • 75 grams ice cold water
  • 170 grams all-purpose flour
  • 40 grams cornmeal
  • 5 grams sugar
  • 1/2 teaspoon Diamond Crystal Kosher salt, or 1/4 teaspoon Morton's Kosher salt
  • 100 grams unsalted butter, cold cut into 1/2 inch pieces

Filling

  • 125 grams mayonnaise, light (5%) is fine; do not use nonfat
  • 5 cloves garlic, finely grated on a Microplane, or use garlic press
  • 56 grams grated Parmesan cheese
  • 70 grams grated Gruyere cheese
  • 3 3"-4" diameter Heirloom tomatoes, sliced 1/2 inch thick, you need 6 slices in total
  • 1 Tablespoon freeze dried tomato powder

Assembly

  • 2 Tablespoons Dijon mustard
  • 1 large Egg, lightly beaten

Instructions
 

Galette Dough

  • Whisk sour cream and ice water together in a small bowl; set aside. In a food processor fitted with the metal blade, combine flour, cornmeal, sugar, and salt. Pulse to mix.
  • Add the cold butter and pulse 8 to 10 times, until the mixture resembles coarse crumbs with butter pieces ranging from breadcrumbs to small peas.
  • With the machine running, slowly pour in the sour cream mixture. Process just until the dough comes together in moist, shaggy curds. Turn the dough onto the counter and gently gather it into a ball. Divide into 3 equal pieces and shape each into a disc.
  • Lightly flour one disc and roll it between two sheets of parchment into an oval about 13 inches long and 7 inches wide. Repeat with the remaining discs. Refrigerate the dough, still between the parchment sheets, for about 30 minutes.
  • To make ahead, keep the rolled dough ovals between sheets of parchment, wrap tightly in plastic, and refrigerate for up to 3 days or freeze flat for up to 1 month.

Tomatoes

  • Arrange tomato slices on a paper towel-lined baking sheet. Sprinkle with tomato powder and let sit while you prepare the filling and cut the dough.

Filling

  • In a medium bowl, stir together the mayonnaise, garlic, Parmesan, and Gruyère until well combined.

Assemble Galettes

  • Arrange two racks in the oven—one in the top-middle position, the other in the bottom-middle. Preheat the oven to 425°F. Line an 18 x 13 inch baking sheet with parchment paper.
  • Using a 6-inch bowl or plate as a guide, cut two circles from each dough oval to make six circles total.
  • Spread each dough circle with a thin layer of Dijon mustard, leaving a 1-inch border. Spoon about 2 tablespoons of filling into the centre and spread it over the mustard, still keeping the border clear.
  • Blot the tomato slices dry with paper towel, then place one slice on each galette, tomato powder-side down, to keep the vibrant colour facing up.
  • Fold the border of dough up and over the filling, pleating gently as you work your way around each galette. Transfer formed galettes to parchment lined baking sheet. Brush the dough border with egg wash. Chill galettes in freezer for about 10 minutes before baking.
  • Place baking sheet on lower rack, Bake for 15 minutes. Then move the baking sheet to the upper rack. Bake for another 15 minutes, until galette is deeply golden. Depending on your oven, you might need an extra 5-7 minutes. Deep golden brown is the goad. No soggy bottoms allowed. Remove from oven and let cool slightly on wire rack before serving. These are delicious hot, warm or even at room temperature.
Notes

This is the perfect make-ahead dough. Store it in the fridge for up to 3 days, or freeze for up to a month—so you’re always ready when the mood for galette strikes.
 

Nutrition

Calories: 421kcalCarbohydrates: 32gProtein: 12gFat: 28gSaturated Fat: 14gPolyunsaturated Fat: 4gMonounsaturated Fat: 7gTrans Fat: 1gCholesterol: 95mgSodium: 791mgPotassium: 128mgFiber: 2gSugar: 2gVitamin A: 720IUVitamin C: 1mgCalcium: 230mgIron: 2mg
Tried this recipe?Let us know how it was!

Spring Greens with Rhubarb Vinaigrette

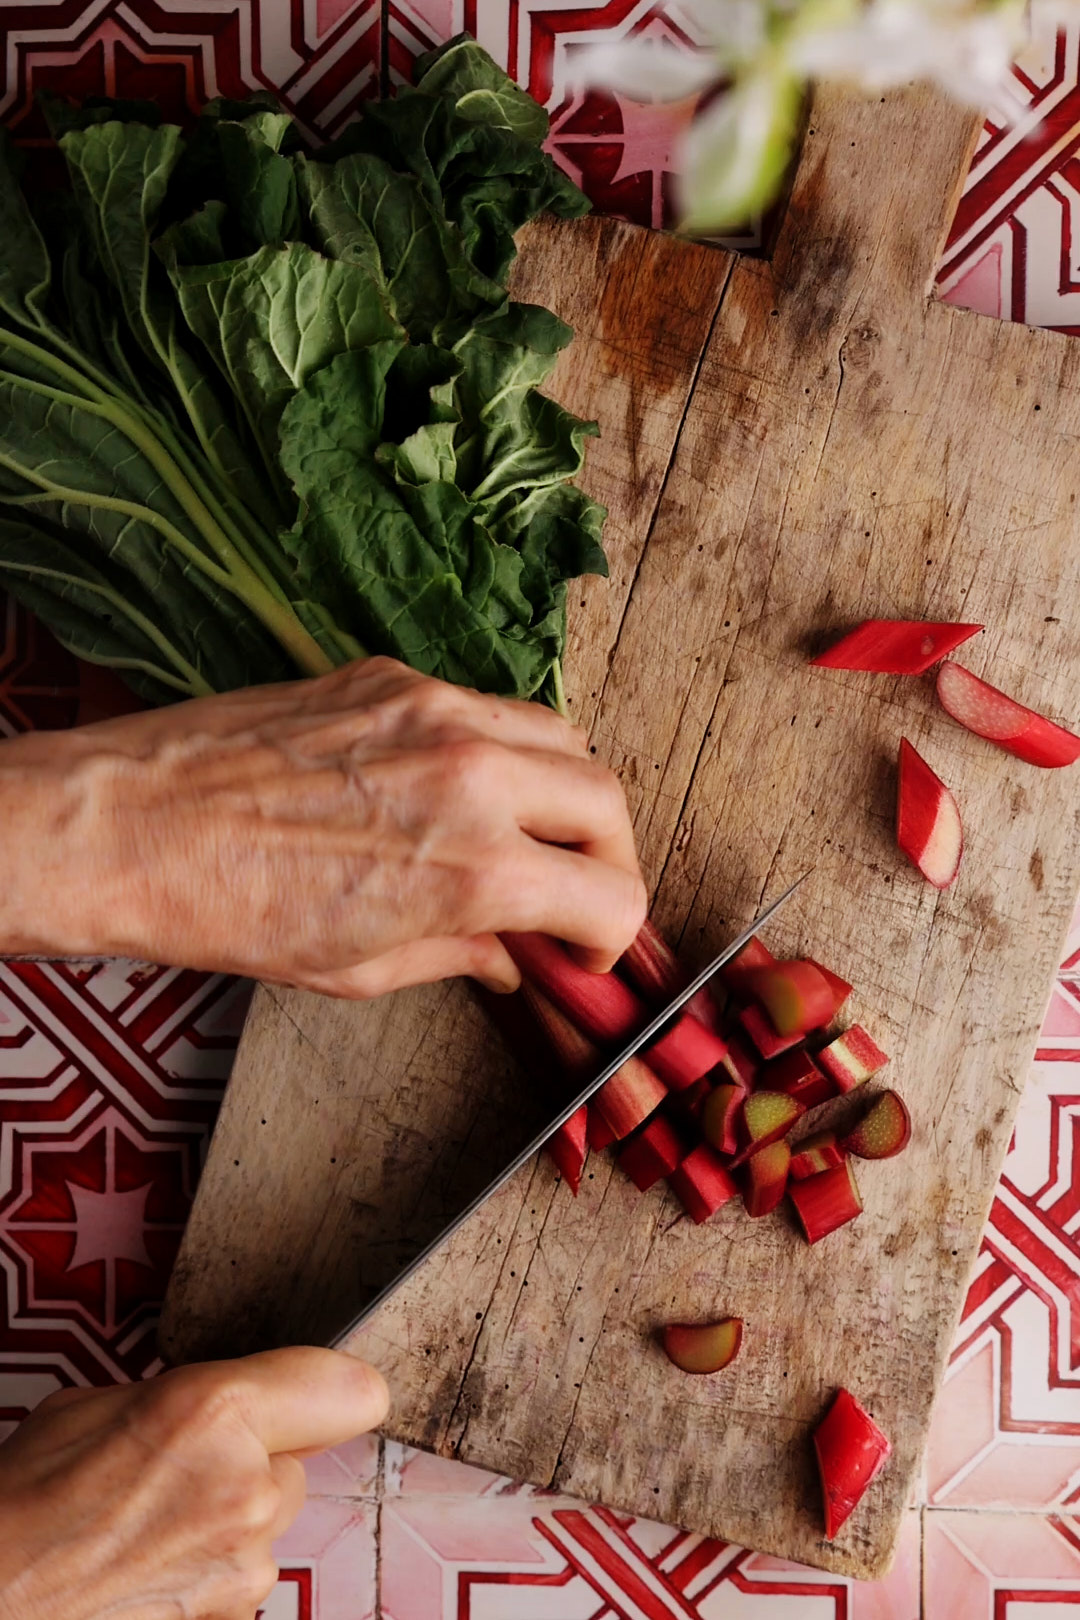
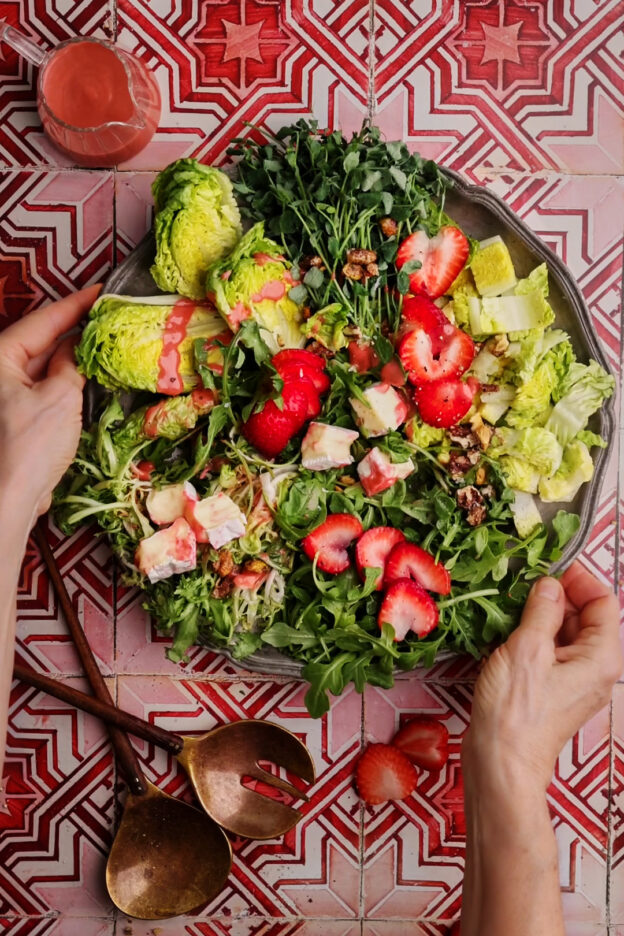
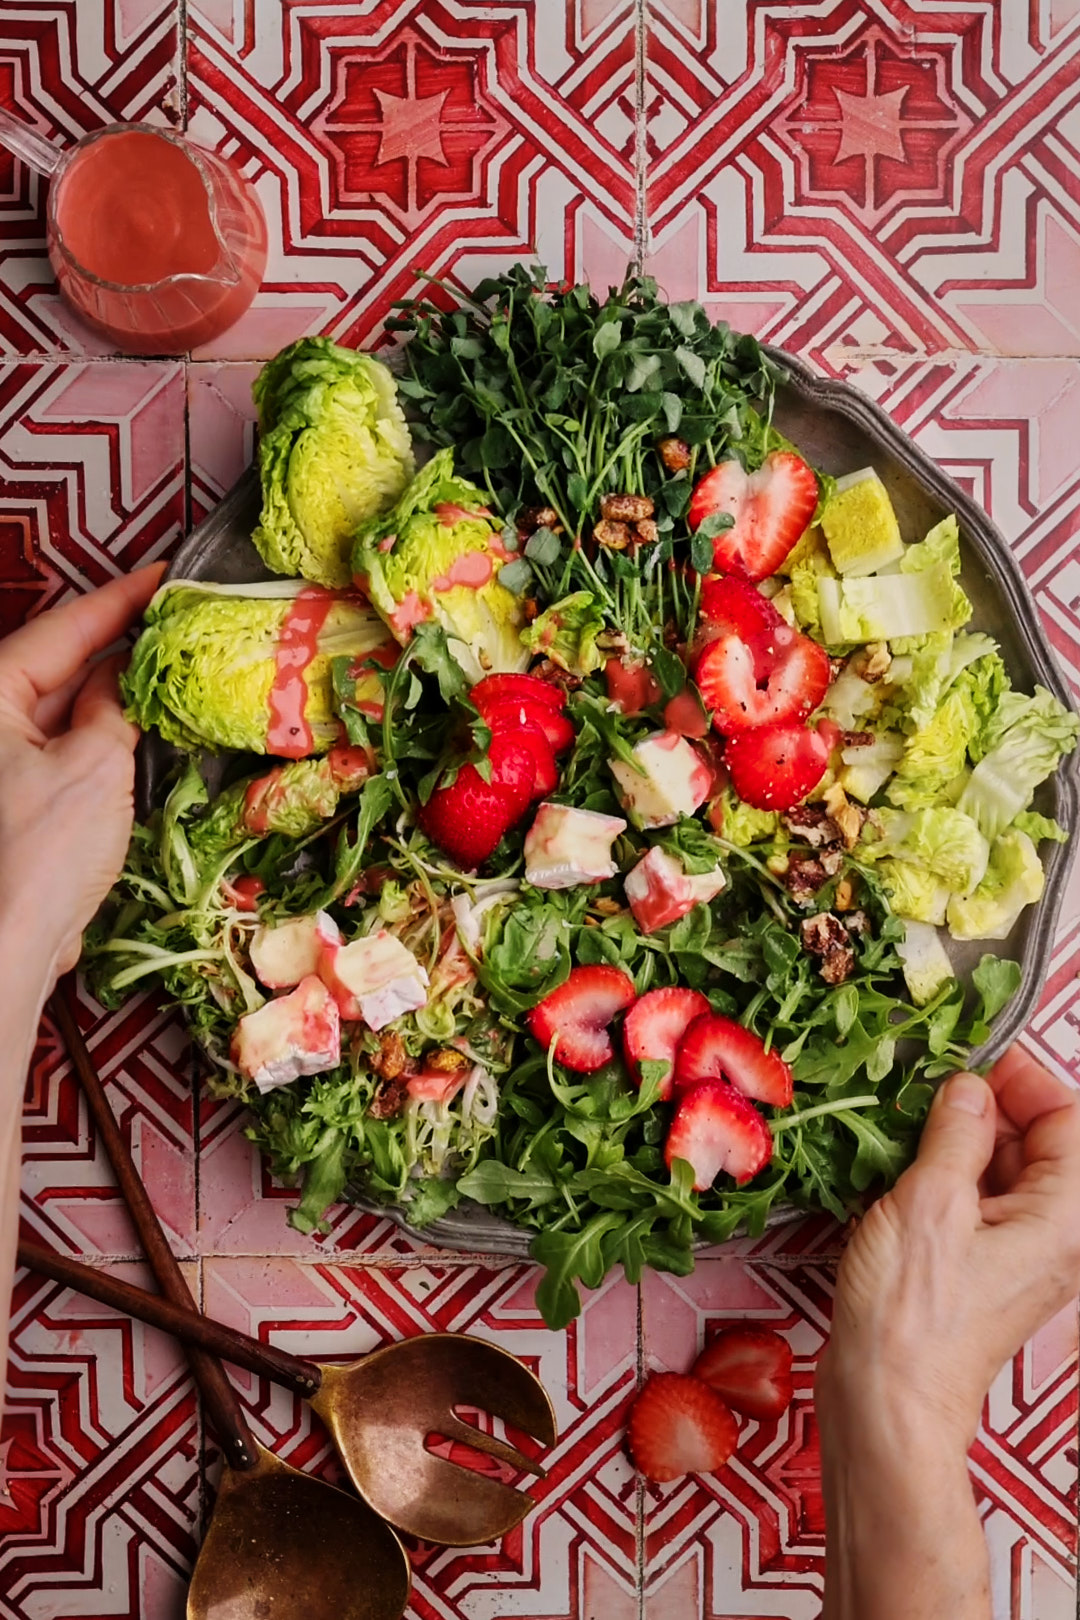
After a long Ottawa winter, I have a tendency to get a little carried away when spring produce finally arrives. Asparagus? Into the basket. Peas? Absolutely. Rhubarb? Always. While I usually save rhubarb for desserts, this year I found myself wondering whether those tart pink stalks could do double duty in something savoury. That curiosity led to this Spring Greens Salad with Rhubarb Vinaigrette. The dressing is bright, tangy, and beautifully pink, and it pairs perfectly with spring greens, strawberries, creamy Brie, and candied spiced nuts. It’s the kind of salad that makes me genuinely excited to eat my greens.

I’m firmly on Team Texture when it comes to salads. If every bite tastes and feels the same, I lose interest pretty quickly. This salad has crunch from the Little Gem lettuce and candied spiced nuts, sweetness from strawberries, honey, and the candied coating on the nuts, and creamy richness from the Brie. The rhubarb vinaigrette brings a bright tang, while a little Aleppo pepper in the spice mix adds just enough heat to keep things interesting. I also love the slightly bitter, peppery bite of arugula. It balances the sweetness of the berries and candied nuts and makes every other flavour pop a little more. And can we talk about the colours? Between the pink dressing, red berries, and fresh green lettuces, this salad practically screams spring.

Keys to Success:

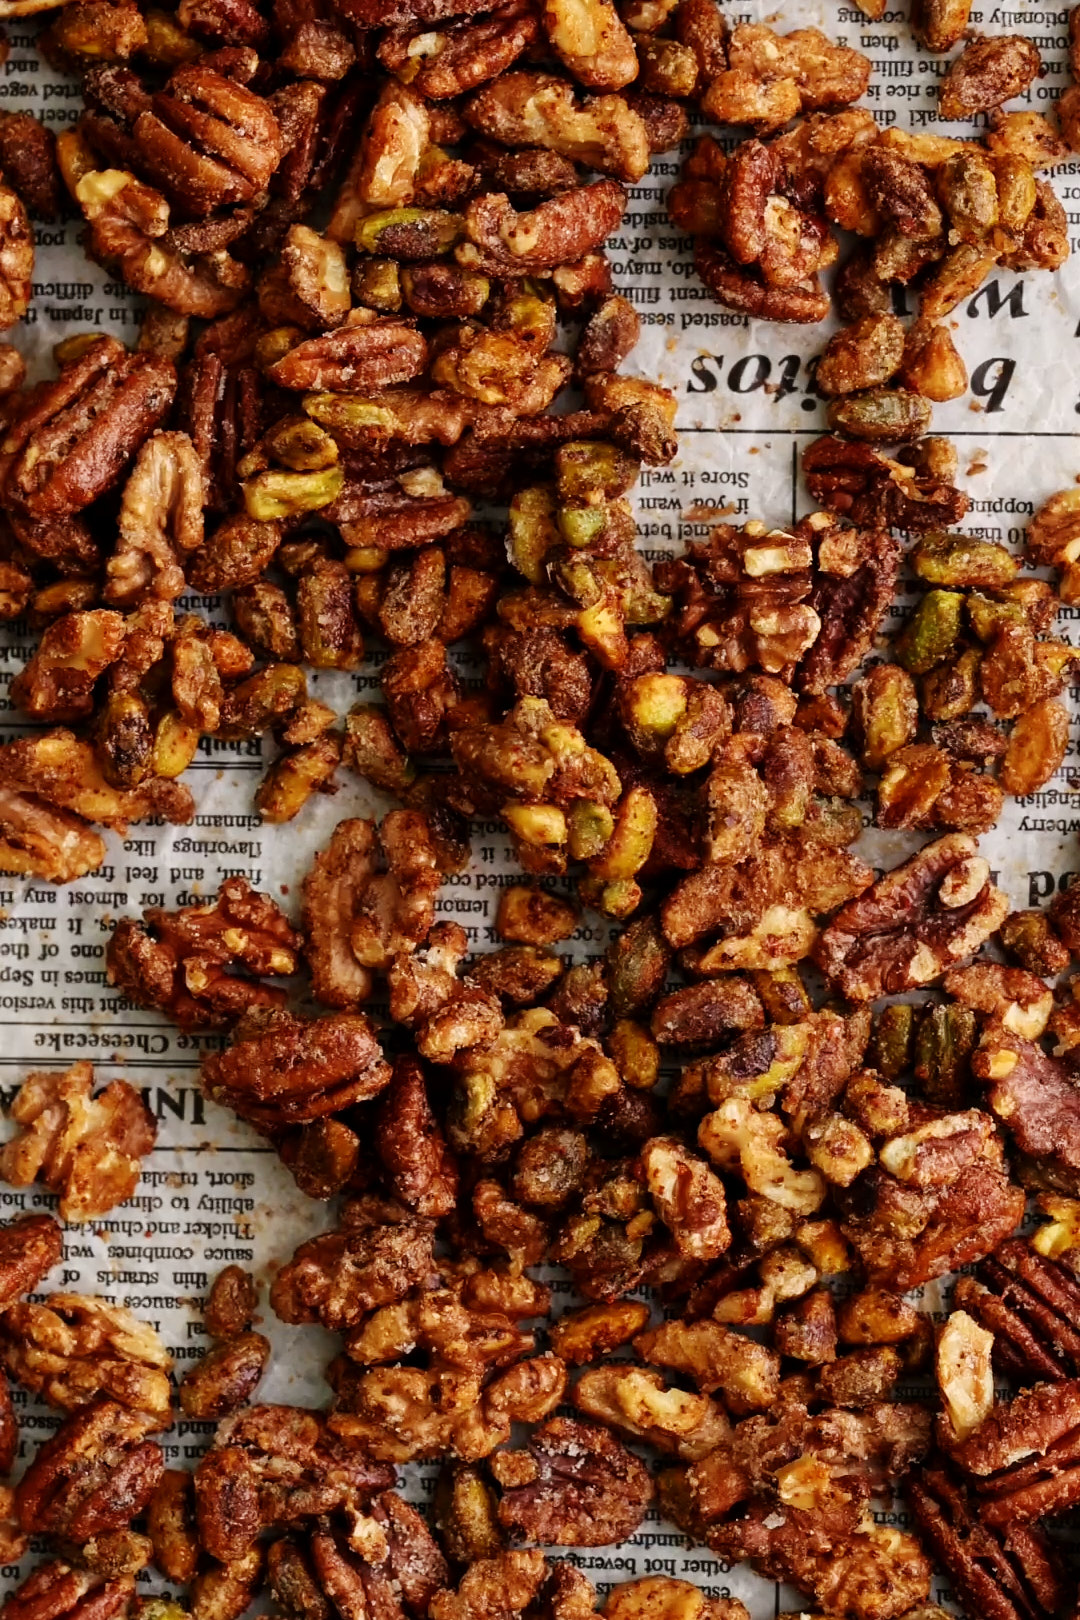
  • 1. Homemade candied nuts are worth it, but store-bought works too. Short on time? Feel free to use your favourite store-bought candied nuts. That said, homemade candied nuts are surprisingly easy to make and keep well for several weeks in an airtight jar. I used a combination of pistachios, walnuts, and pecans, but this recipe is very forgiving. Use whatever nuts you have on hand.
  • 2. Choose a cheese you love. Not a Brie fan? No problem. Havarti, Gouda, or a good aged cheddar would all work beautifully here. The goal is a creamy, flavourful cheese that balances the tangy dressing.
  • 3. Use whatever blending tool you have. A high-speed blender creates an especially smooth rhubarb vinaigrette, but an immersion blender or food processor will also do the job. Blend until the dressing is silky and no chunks of rhubarb remain.
  • 4. Dry your greens thoroughly. Waterlogged lettuce is the enemy of a good salad. After washing your greens, spin or pat them dry so the dressing clings to the leaves instead of sliding off.
  • 5. No Little Gem? Use romaine hearts. I love Little Gem for its sweet flavour and crisp texture, but romaine hearts are an excellent substitute and much easier to find in some areas.
  • 6. Platter or bowl—your choice. I like arranging all the components on a large platter because the colours look so beautiful and everyone can see what’s in the salad. If you’re serving a crowd or prefer a more casual presentation, toss everything together in a large bowl instead.
  • 7. Don’t overdress the salad. The rhubarb vinaigrette is bright and flavourful, so a little goes a long way. Start with about two-thirds of the dressing, toss gently, and add more as needed. You can always add more dressing, but you can’t take it away. Keeping the greens lightly coated helps preserve all those wonderful textures.

Spring Greens Salad with Rhubarb Vinaigrette

This Spring Greens Salad with Rhubarb Vinaigrette combines crisp Little Gem lettuce, peppery arugula, sweet strawberries, creamy Brie, and candied spiced nuts with a bright, tangy rhubarb dressing. It’s a colourful celebration of spring flavours and textures.
Servings 4
Calories 501 kcal

Ingredients
  

Candied Spiced Nuts

  • 300 grams assorted nuts, (about 3 cups). I used pecan halves, walnut halves, and shelled pistachios.
  • 50 grams granulated sugar
  • 4 teaspoons Diamond Crystal Kosher salt, or 2 teaspoons Morton Kosher salt
  • 1/2 teaspoon Aleppo pepper
  • 1 large egg white

Rhubarb Vinaigrette

  • 150 grams rhubarb, sliced into 1-inch pieces
  • 1 cup water
  • 3 Tablespoons maple syrup
  • 1 teaspoon Dijon mustard
  • 2 Tablespoons sherry vinegar or red wine vinegar
  • 1/3 cup extra-virgin olive oil

Salad Ingredients

  • 400 grams mixed spring greens (about 7–8 cups loosely packed). I used a mix of Little Gem, arugula, frisée, and pea shoots.
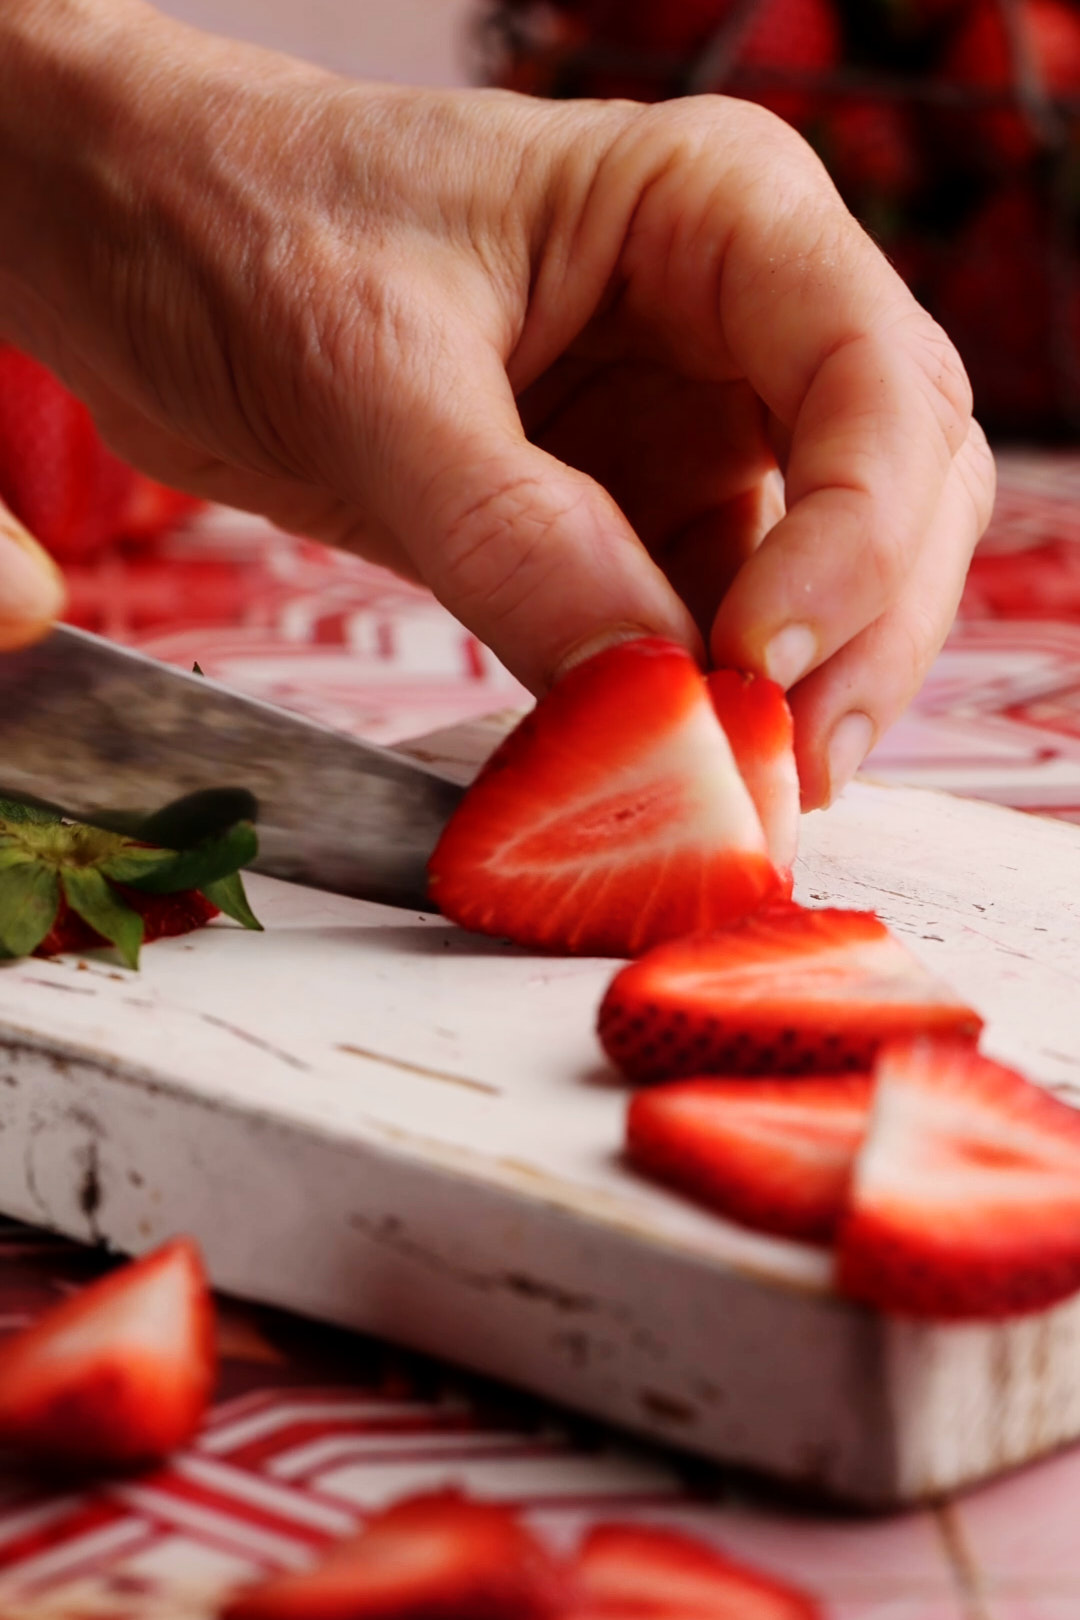
  • 1 pint strawberries, sliced
  • 130 grams brie, cut into 1-inch pieces

Instructions
 

Make Candied Spiced Nuts

  • Preheat oven to 350°F.
  • In a small bowl, combine the sugar, salt, and Aleppo pepper. Set aside.
  • In a medium bowl, lightly whisk the egg white until frothy. Add the nuts and toss until evenly coated. Sprinkle the spice mixture over the nuts and toss again until well coated.
  • Spread the nuts in an even layer on a parchment-lined baking sheet. Bake for 15–20 minutes, stirring once halfway through, until lightly golden and dry to the touch.
  • Let cool completely. The nuts will crisp as they cool. Break apart the clusters and roughly chop before using. Store extras in an airtight container at room temperature.

Make Rhubarb Vinaigrette

  • Place the rhubarb and water in a medium saucepan. Bring to a simmer over medium heat, then cover and cook until the rhubarb is very soft, about 10 minutes.
  • Drain the rhubarb well and discard the cooking liquid. Transfer the softened rhubarb to a blender and add the maple syrup, Dijon mustard, vinegar, and olive oil. Blend until smooth and creamy. Taste and adjust seasoning if needed.

Assemble Salad:

  • Place the greens in a large bowl and toss with about ¼ cup of the rhubarb vinaigrette, adding more as needed to lightly coat the leaves. Season with salt and pepper.
  • Transfer to a platter or shallow serving bowl. Top with the strawberries, brie, and about ½ cup of the candied spiced nuts. Serve immediately

Notes

The colour of the vinaigrette will vary depending on the colour of your rhubarb stalks.
Do not attempt making spiced candied nuts on a very humid day.  They will not dry our properly and will be very sticky after baking.
You will only need about 1/2 cup of the Candied Spiced Nuts in the salad. Store extra in an airtight container at room temperature. They will last for several weeks.  Do not attempt making these on a very humid day.  They will not dry our properly and will be very sticky after baking.

Nutrition

Calories: 501kcalCarbohydrates: 27gProtein: 11gFat: 41gSaturated Fat: 9gPolyunsaturated Fat: 6gMonounsaturated Fat: 23gCholesterol: 33mgSodium: 825mgPotassium: 470mgFiber: 5gSugar: 19gVitamin A: 330IUVitamin C: 73mgCalcium: 145mgIron: 1mg
Tried this recipe?Let us know how it was!

I set out to see whether rhubarb could make a good salad dressing, and honestly, I wasn’t sure how the experiment would turn out. The fact that my husband went back for seconds tells me everything I need to know. This salad has quickly become one of my favourite ways to enjoy rhubarb season, and I hope you’ll give it a try. If you do, leave a comment below and let me know where you stand on the great rhubarb debate.