 Don’t know what the weather’s like in your neck of the woods, but here in Ottawa we’ve been under siege. Earlier this week we set a one-day-record for snowfall with over 50 centimetres (that’s almost 20 inches) burying the city. The old record of 41 centimetres was set in 1947. Whoopee for us!
Perfect time to cocoon, binge watch Netflix and make oat and maple waffles. I finished off all five seasons of Friday Night Lights in a few short weeks and I’m having Tim Riggins withdrawal. My husband can’t believe that after watching all those episodes, I still don’t understand football.
We started watching House of Cards, but my husband doesn’t understand the concept of binge watching. He restricts us to one episode a night. The man has incredible self-control. I decided to see if I could break down his will power with waffles.  These waffles are the creation of whole grains maven Kim Boyce. Her 2011 book “Good to the Grain” is a veritable whole grains baking bible. Kim and co-author Amy Scattergood go beyond just substituting whole grains for all-purpose flour. They delve into 12 different whole grain flours and teach us what each one has to offer. I love that they are not whole grain militants. Many of the recipes have some all-purpose flour in the mix, because the lightness that you get from AP flour is sometimes necessary for superior taste. And first and foremost this book is focused on good taste!
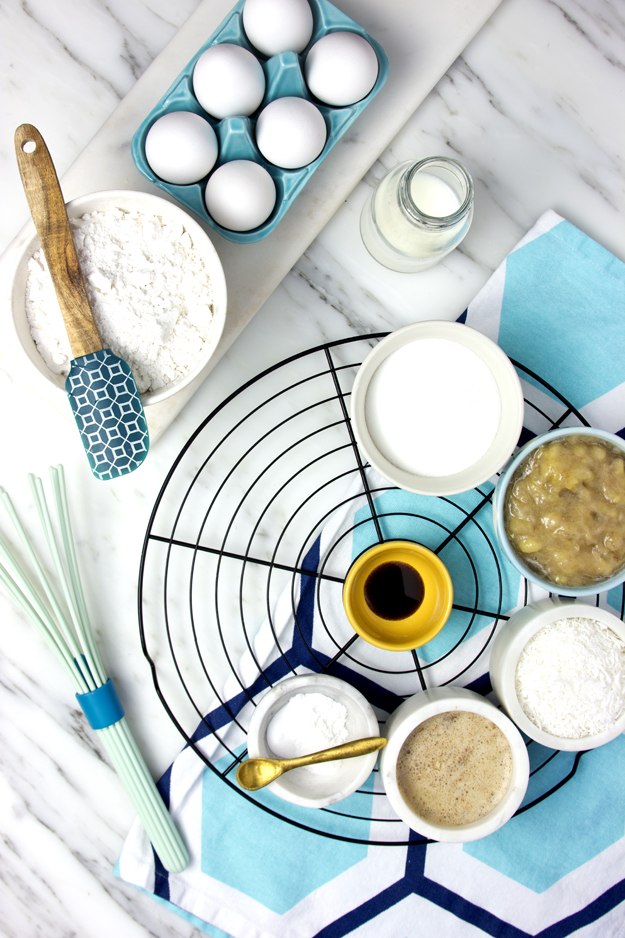
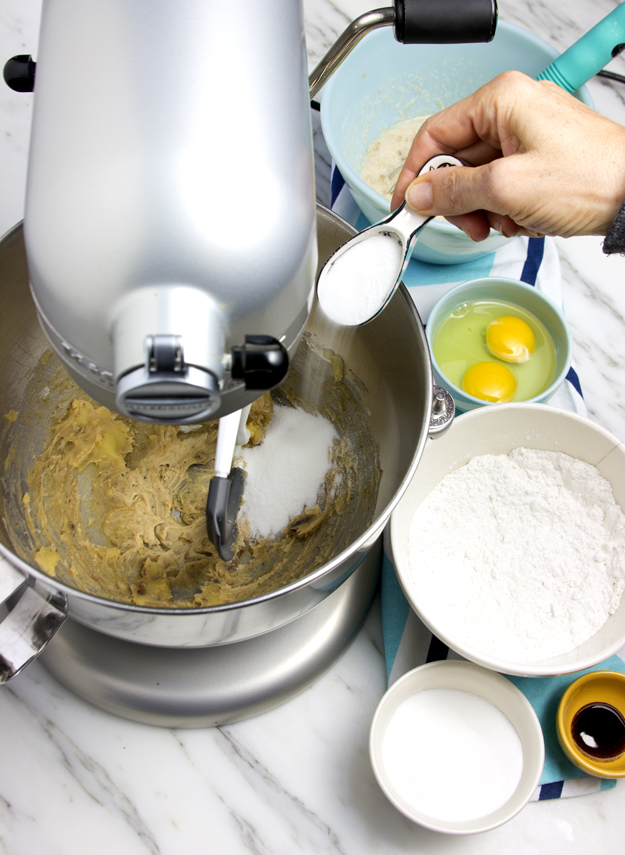
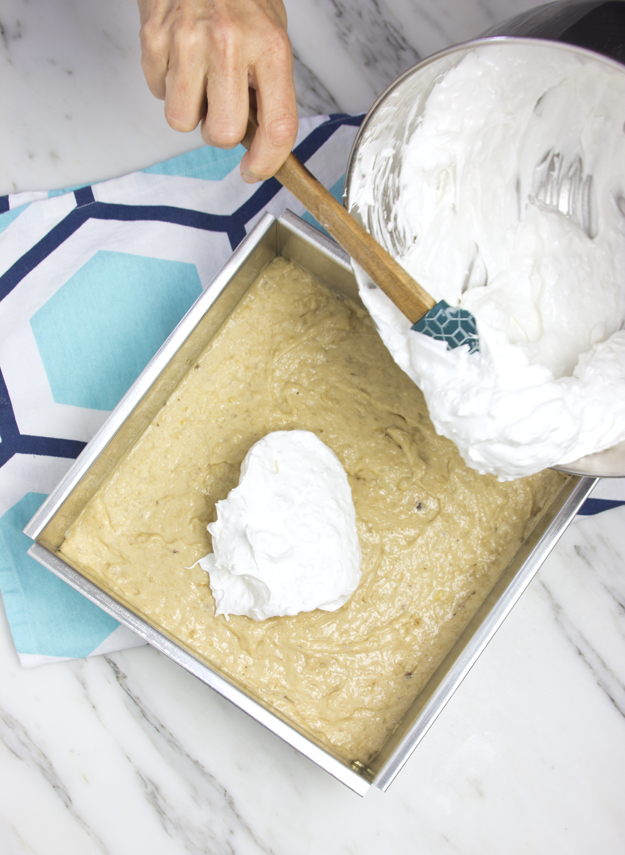
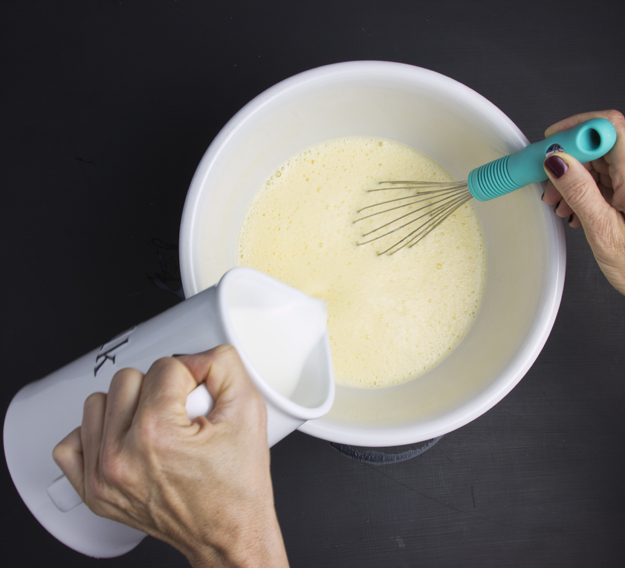
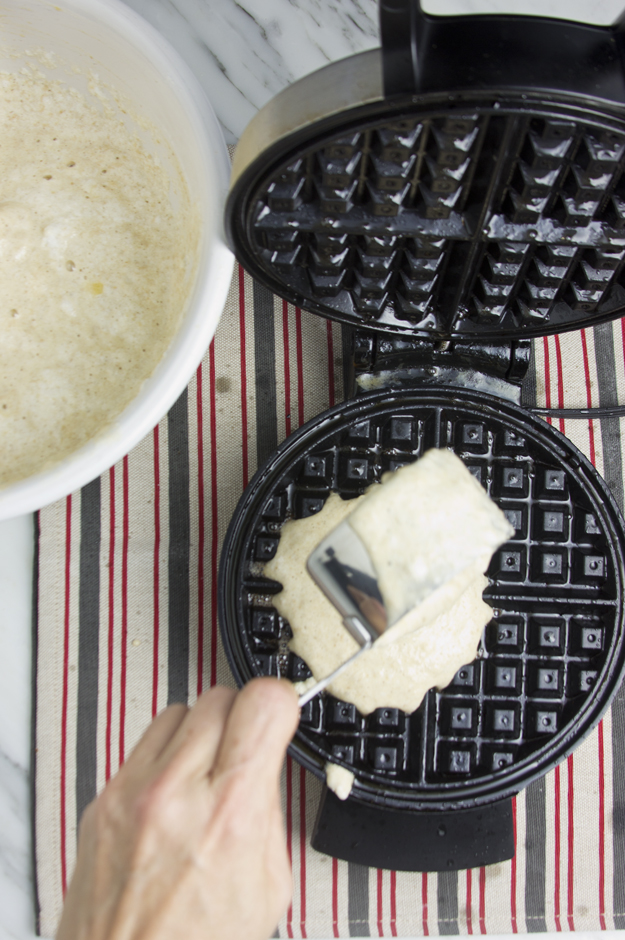
Start with sifting the oat flour, oat bran and all purpose flour. 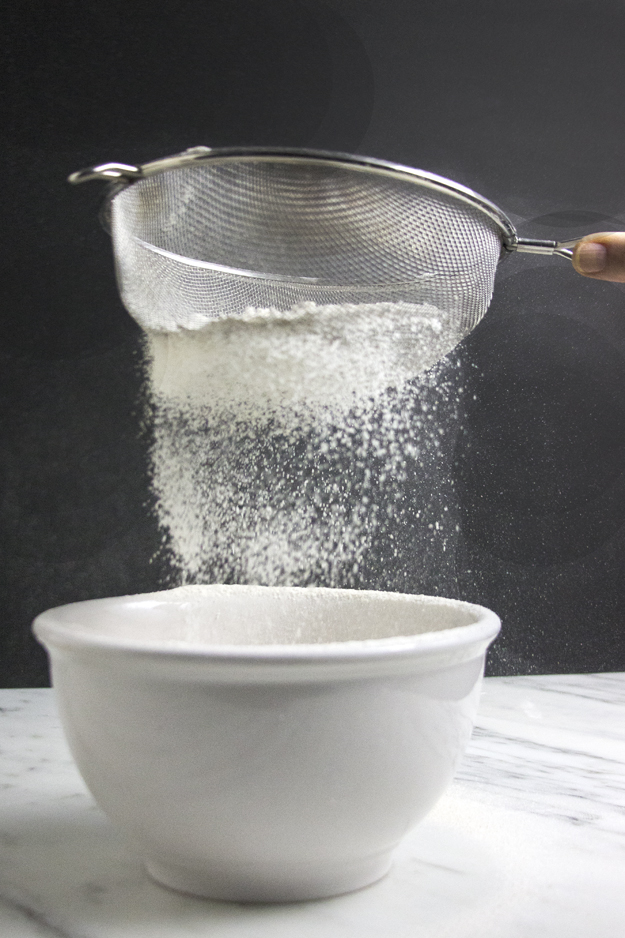 The batter is sweetened with maple syrup. They are light and fluffy, thanks to beaten egg whites.
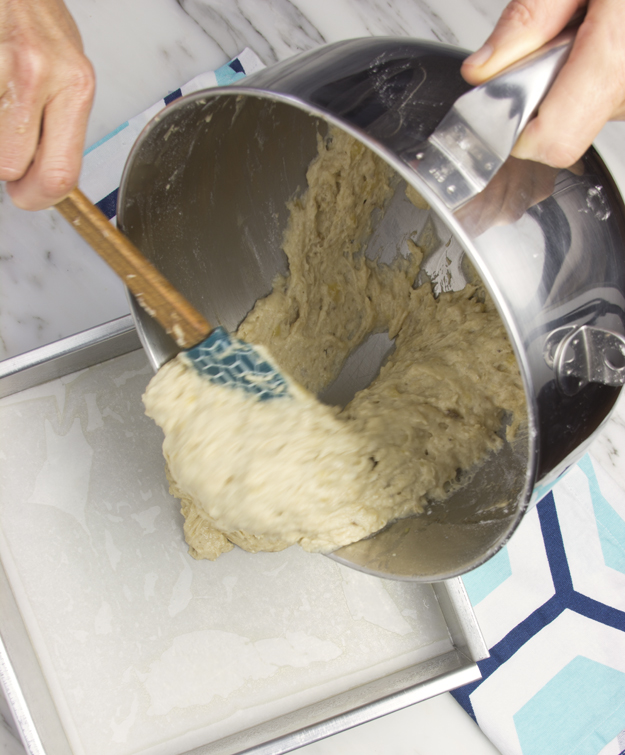
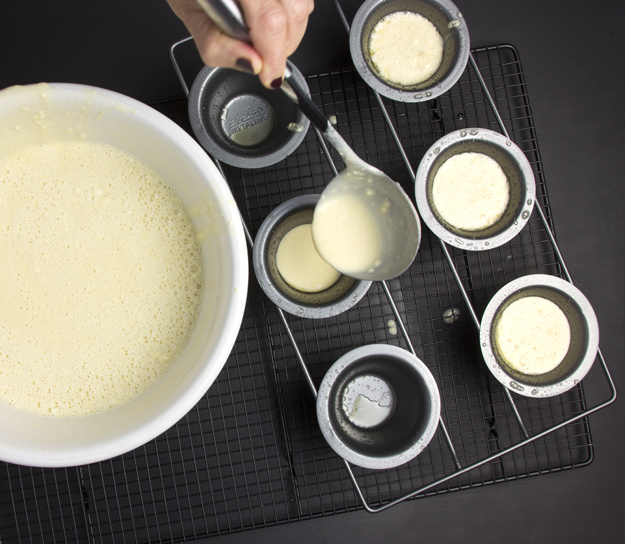
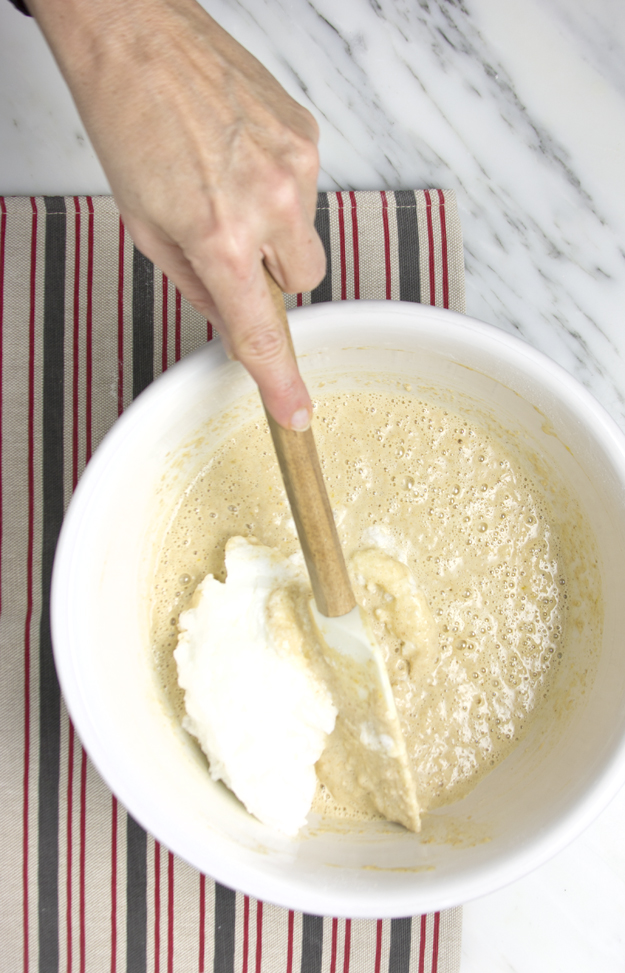 Make sure you preheat the waffle iron to high and brush on lots of butter.
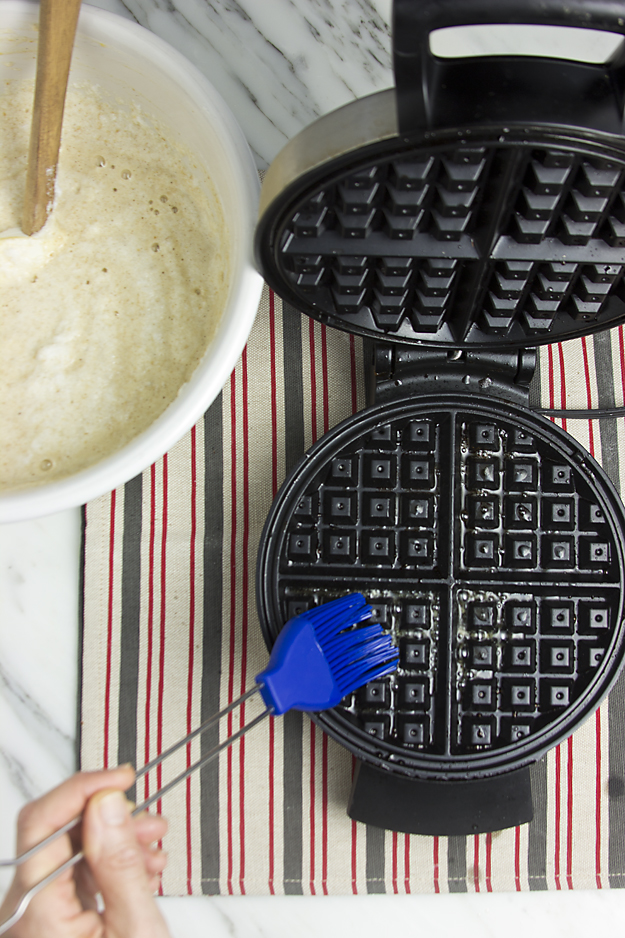
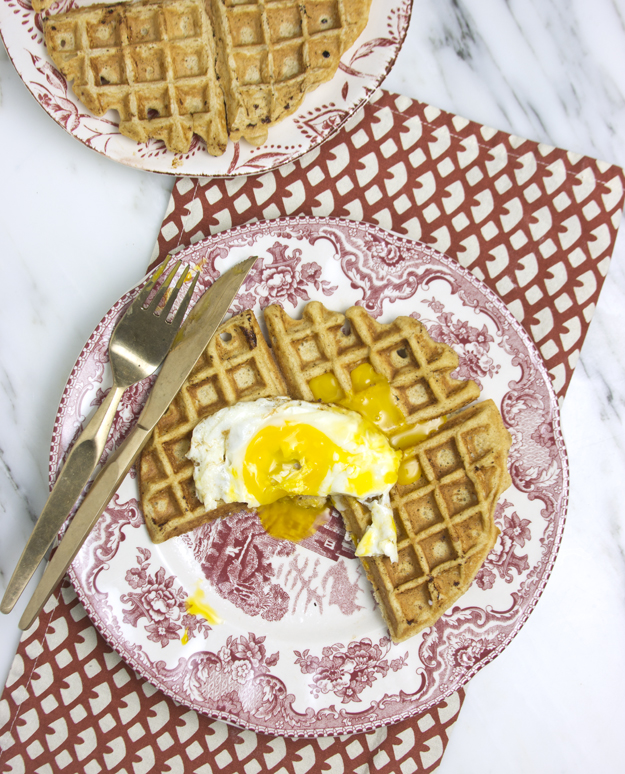
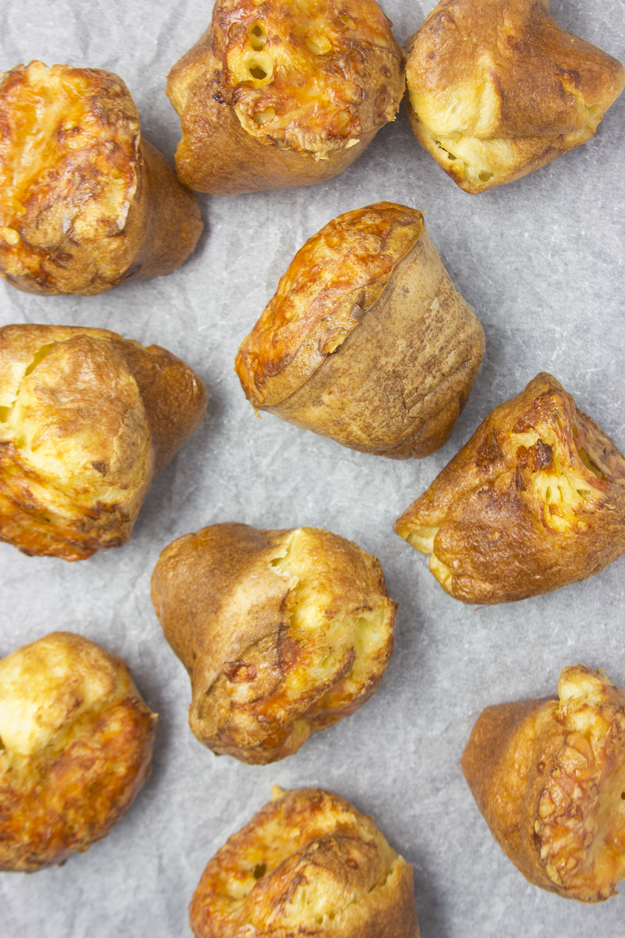
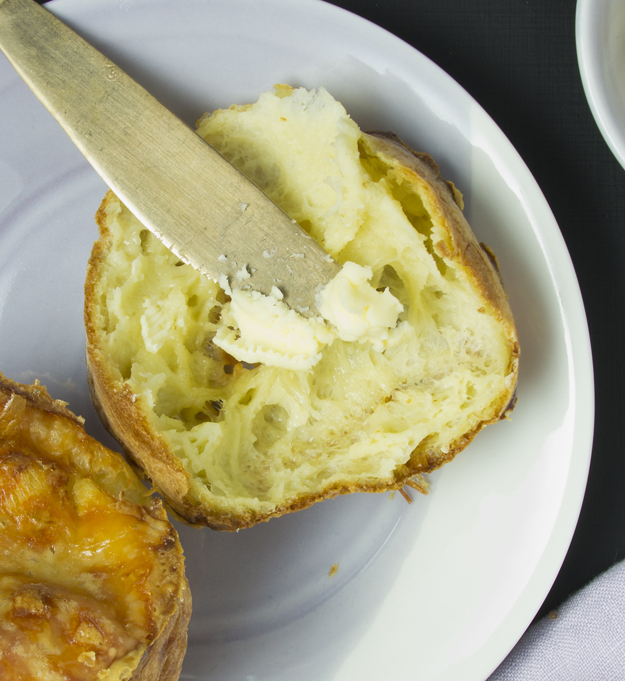
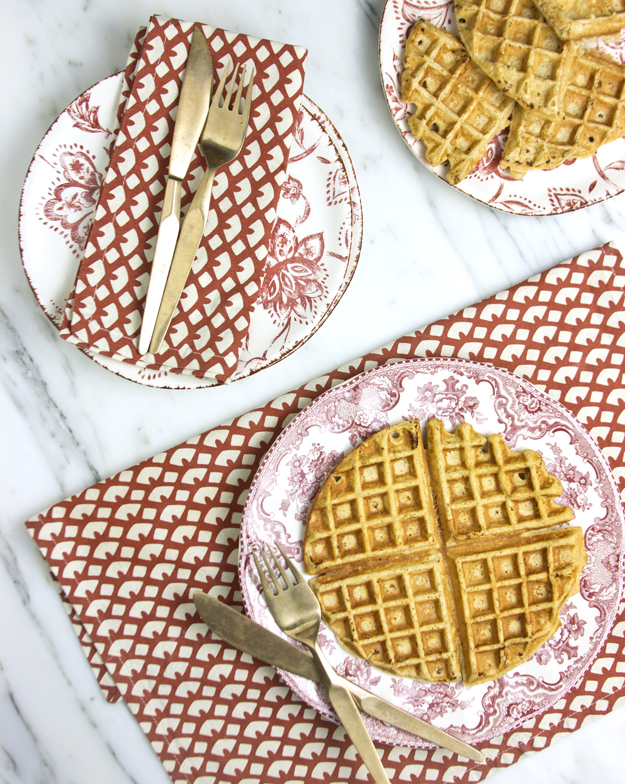
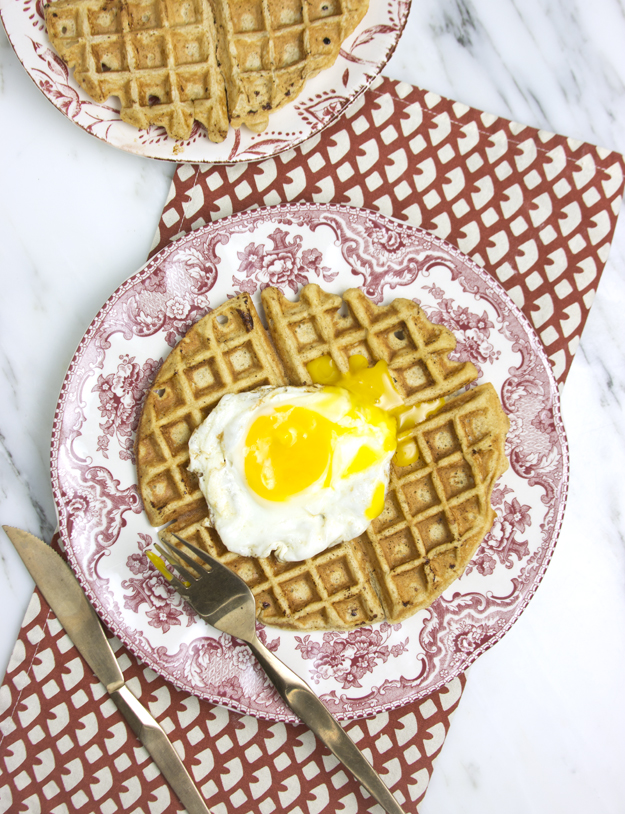
 We topped ours with a fried egg, because everything tastes better with a fried egg on top! This is one food trend I am happy to follow.
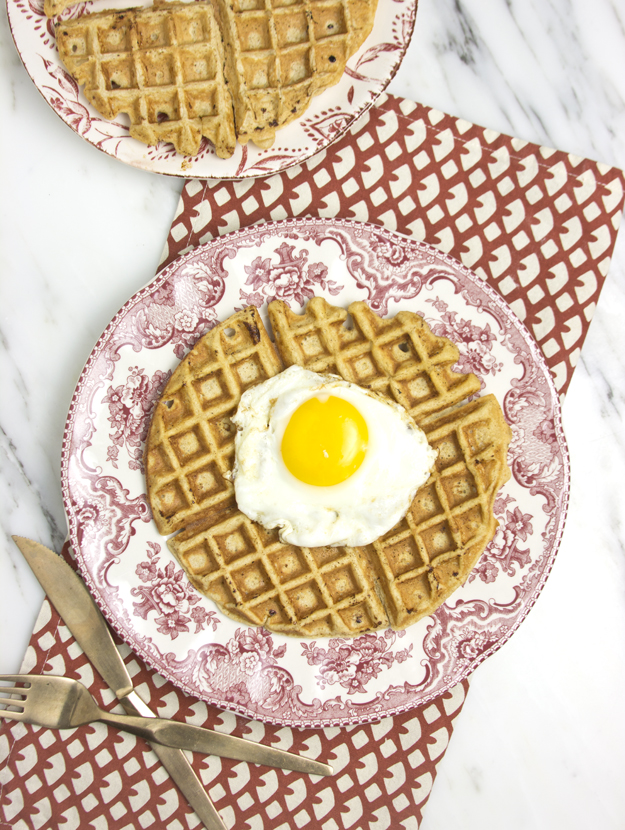
Click here to print recipe for Maple Oat Waffles.