
If the title of this post has left you shaking your head, wondering what the heck I am writing about, let me enlighten you. I wrote about cookie butter last year. It is also known as Speculoos or Biscoff spread. Basically, we are talking about ground up spicy gingerbread cookies, mixed with additional sugar and oil, to create, a somewhat addictive spread, in the vein of peanut butter and Nutella.
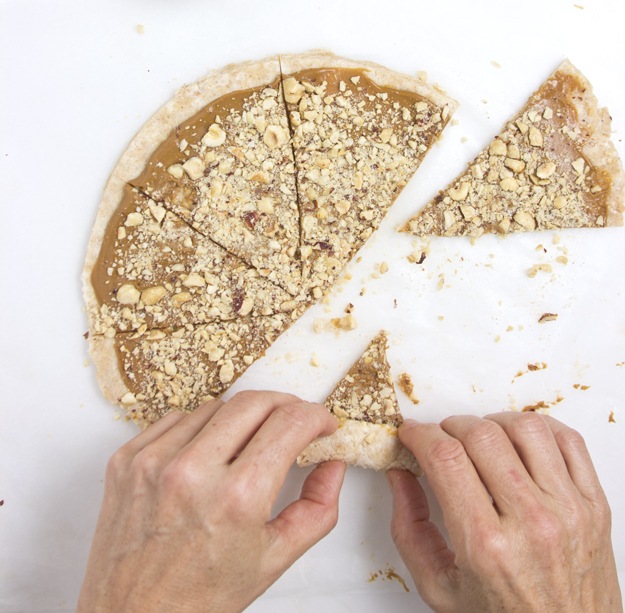
Rugelach is a small Jewish pastry, of Eastern European origin. Traditionally they are made in the form of a crescent by rolling a triangle of dough around a filling. The origin of the name comes from the Polish word “Rog” which is the prefix for horn, (croissant shaped pastries kind of look like horns). “El” is used as a diminutive and the “Ach” ending indicates plural. So put together we have horn shaped little pastries –Rugelach.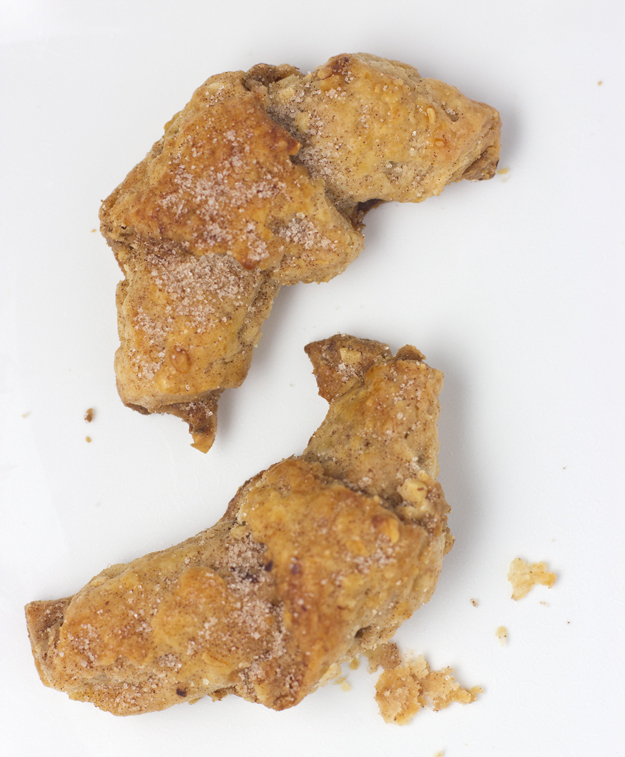 How this little cookie came to be made in a crescent shape is an interesting story. I have read several versions, but this is my favourite. In the 16th Century, the Jews were living under the rule of the brutal Ottoman Empire. Life was not easy for them. A baker with a warped sense of humour, decided to create little pastries, shaped like the crescent that decorated the Ottoman war flags. With every bite of these delicious little noshes, the Jews imagined that they were “chewing out” their merciless oppressors.
Back in Europe, the dough for rugelach is light, airy and yeast raised. Somehow, when it arrived in North America, it transformed into a dense cream cheese based dough. This is the rugelach I grew up with and love. Rich and flaky, but not too sweet, the best rugelach let the dough be the star and the fillings play a supporting role.
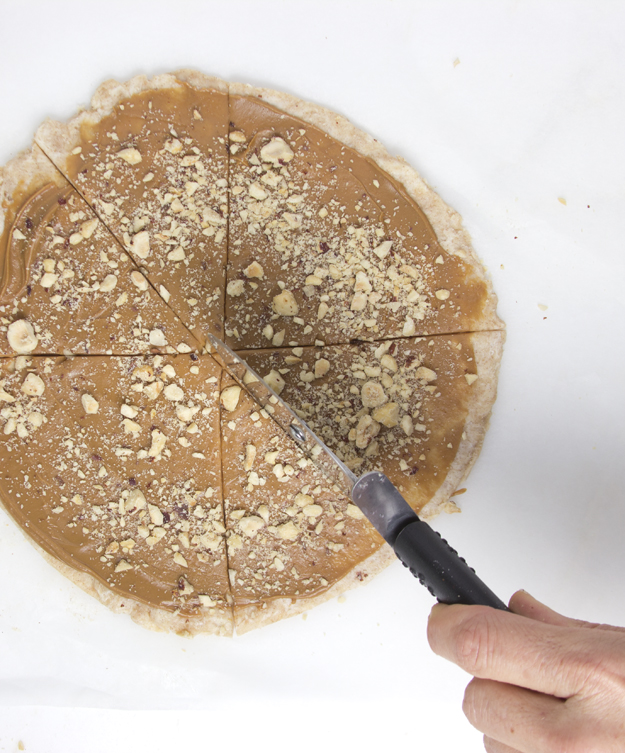
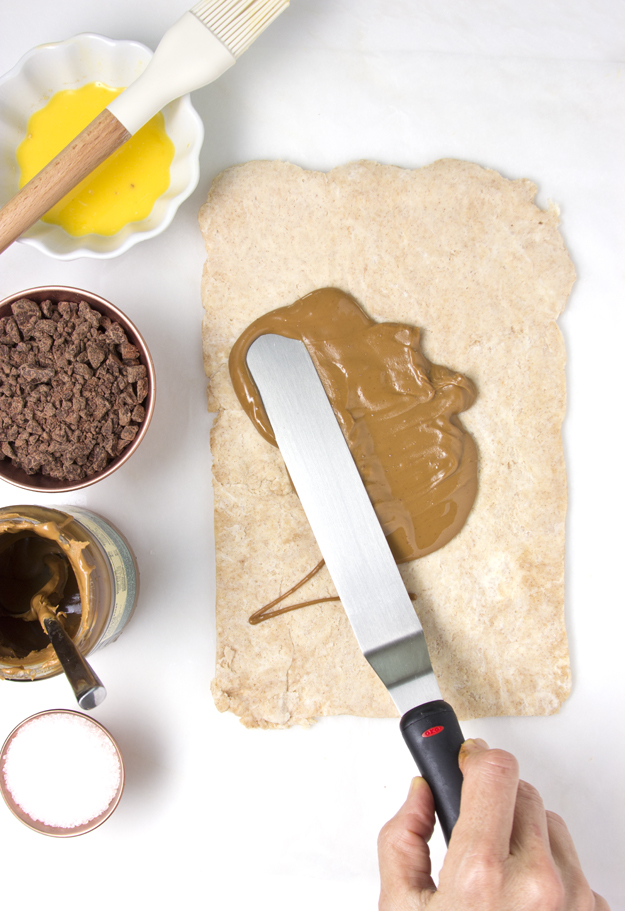
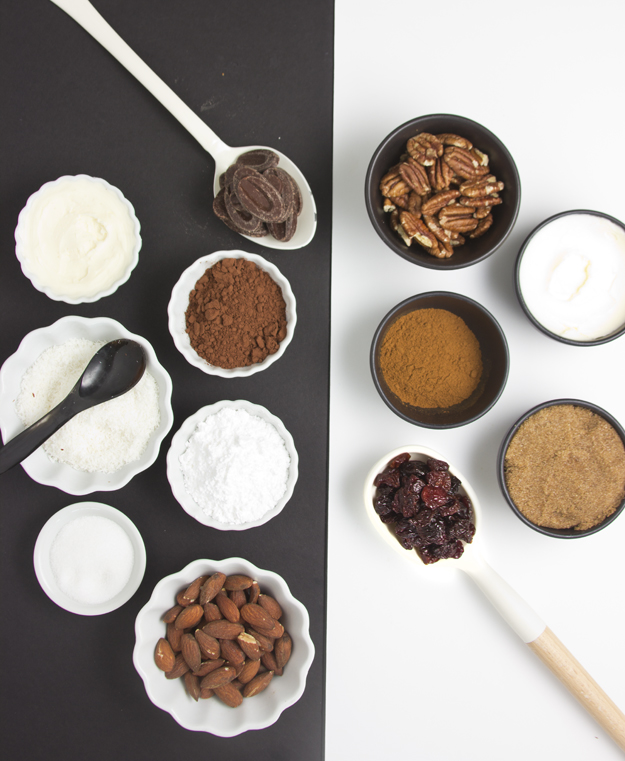
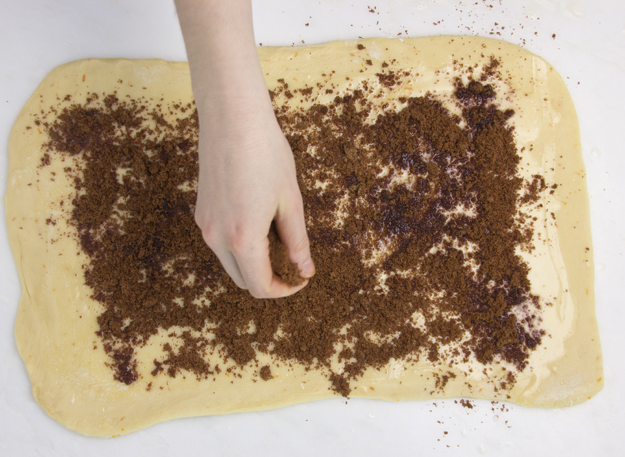
Most often they are filled with jam, cinnamon-sugar, raisins and nuts. Often chocolate is thrown into the mix. Screwing with a 500 year old cookie could be a dangerous thing, but I like to live on the edge, so I played around with the traditional recipe and spread mine with Cookie Butter instead of jam.
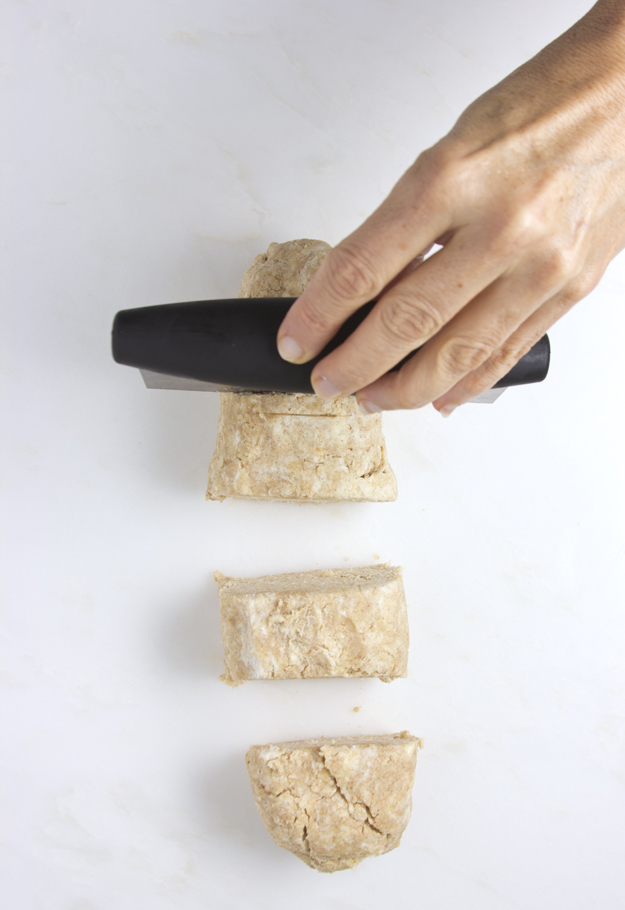
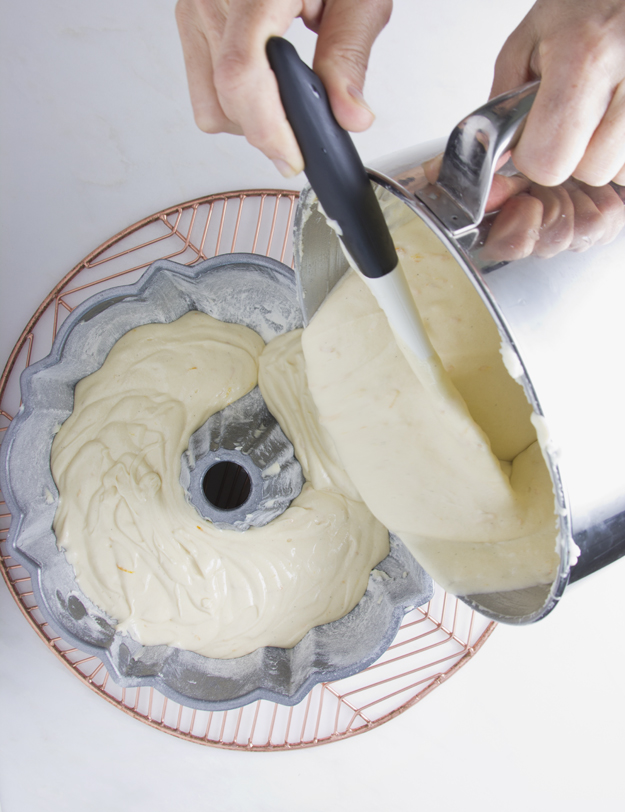
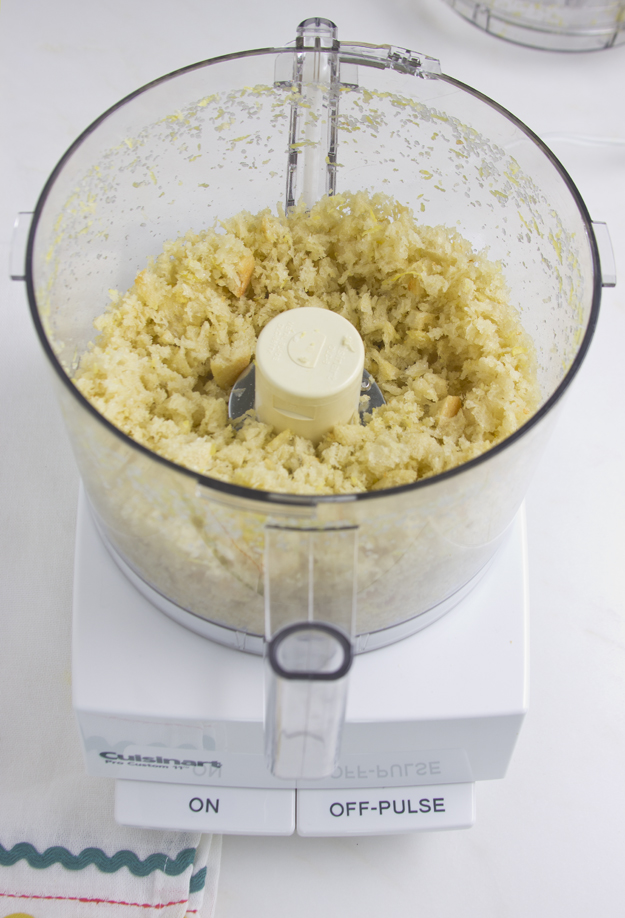
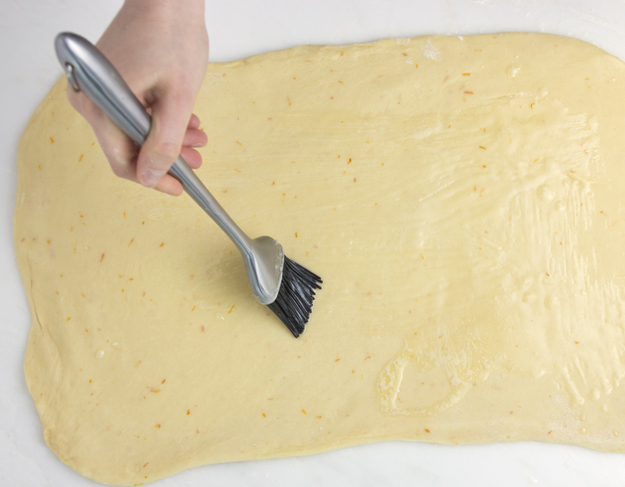
The dough is simple to put together. I used the recipe from Cook’s Illustrated for the dough, with the addition of some cinnamon and ground ginger to mimic the gingerbread flavour of the cookie butter. The butter and cream cheese must be very cold.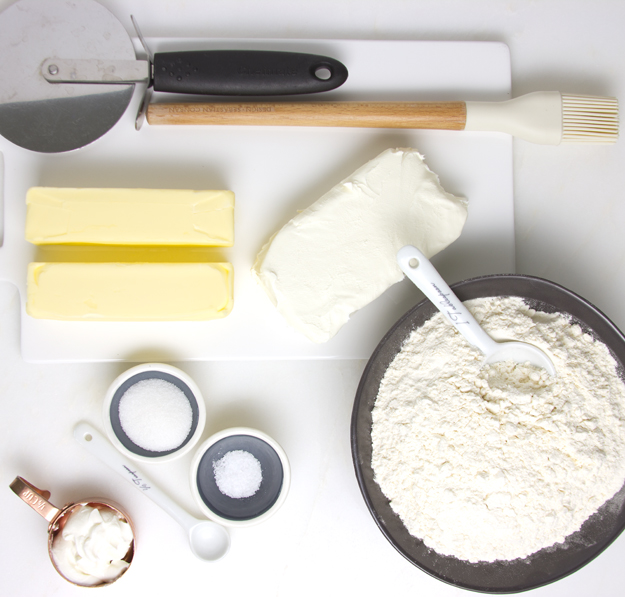
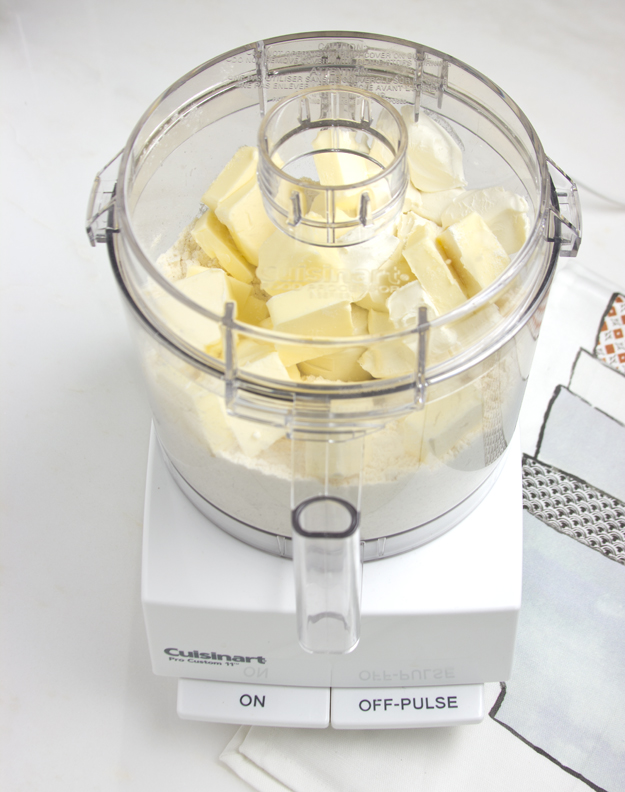 Only process the dough until it resembles small curd cottage cheese. Don’t let the processor form the dough into a ball, or you will have tough rugelach.
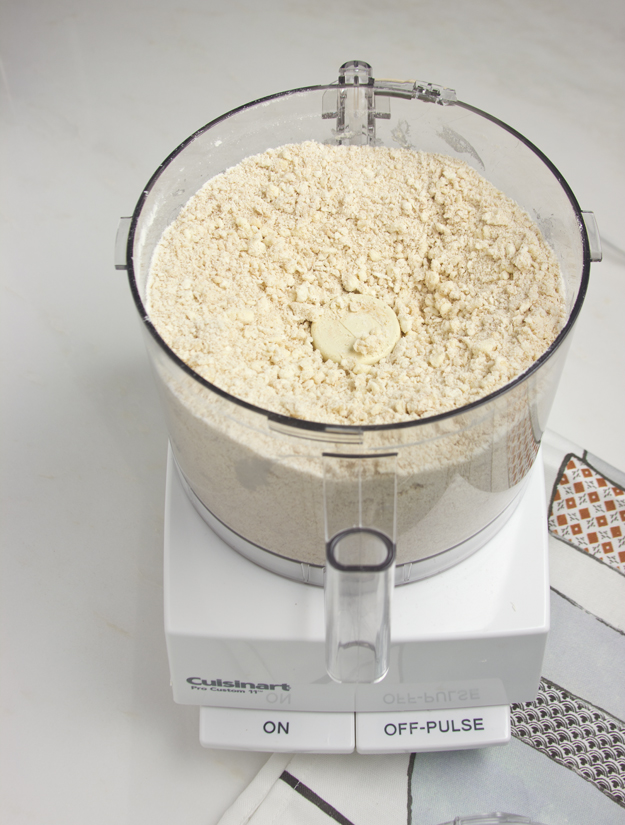
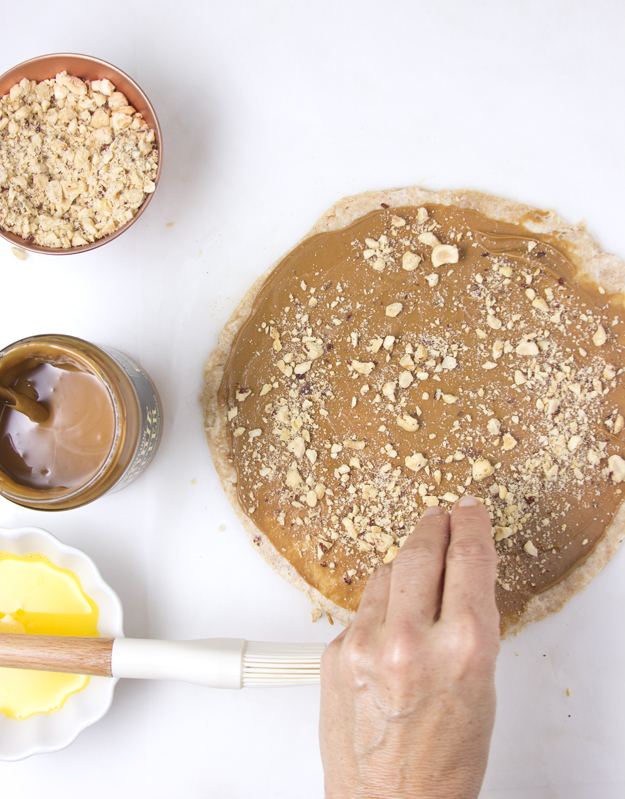
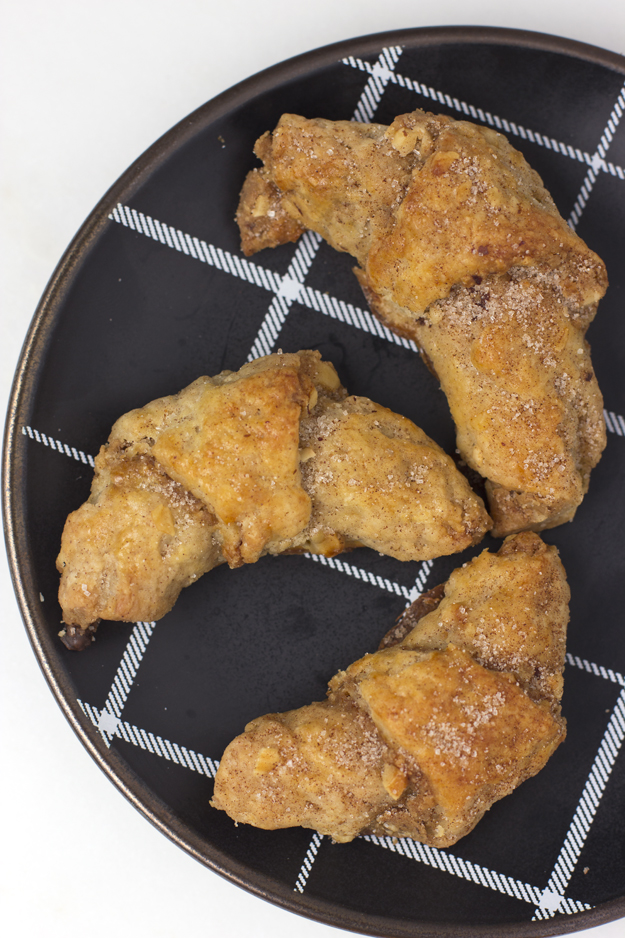
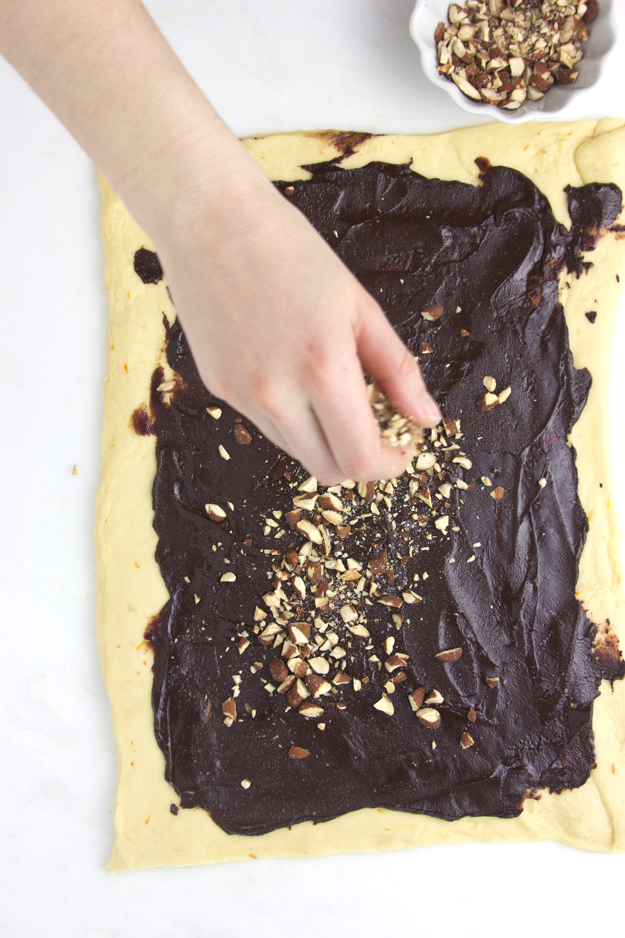
 I decided to make two varieties. The first, shaped in the traditional crescent, featured Cookie Butter and toasted chopped hazelnuts.
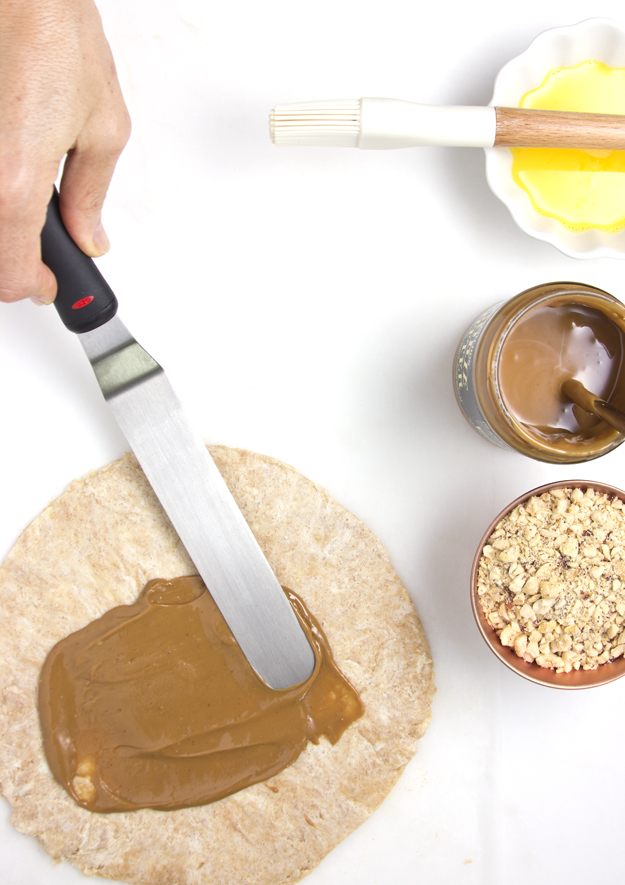
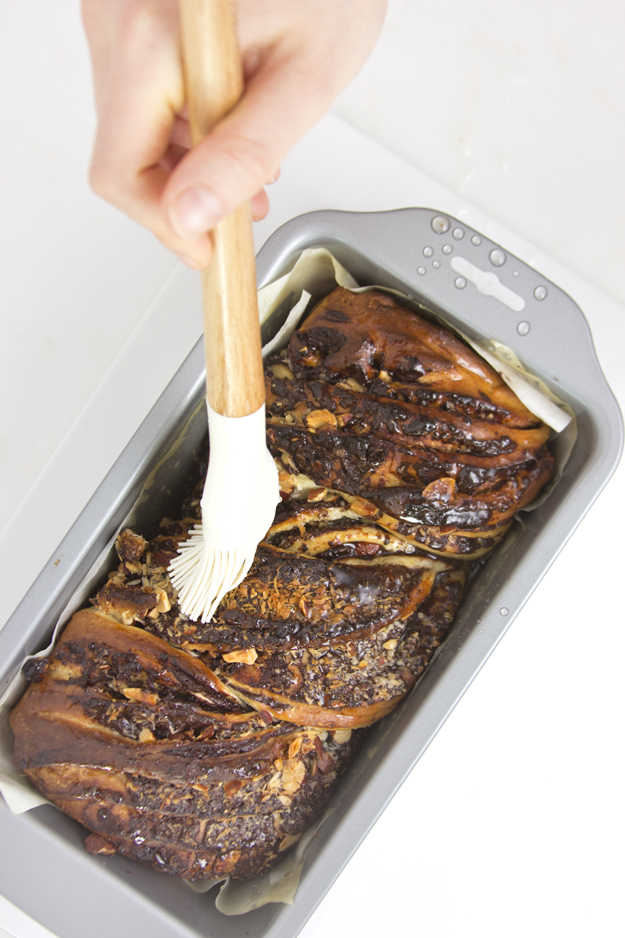
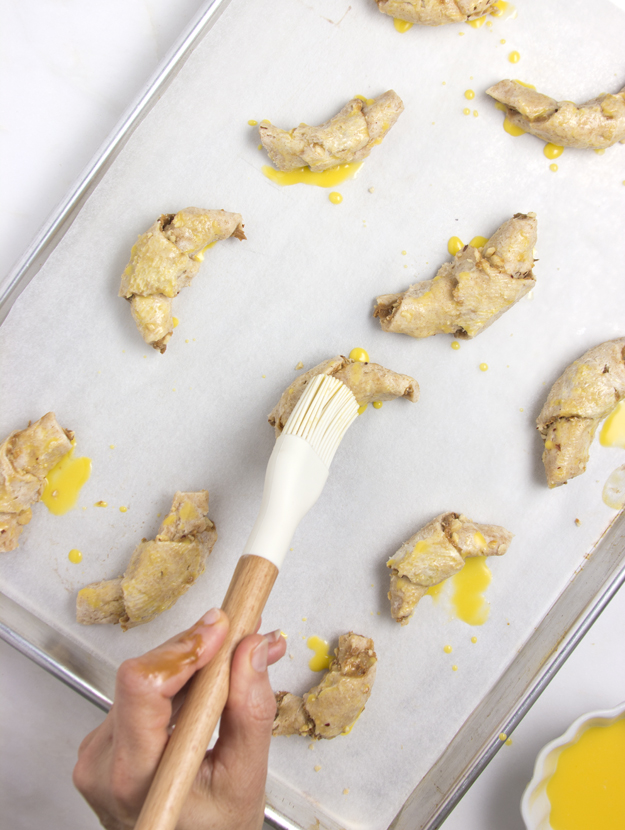 These got treated to a shower of cinnamon sugar as soon as they came out of the oven.
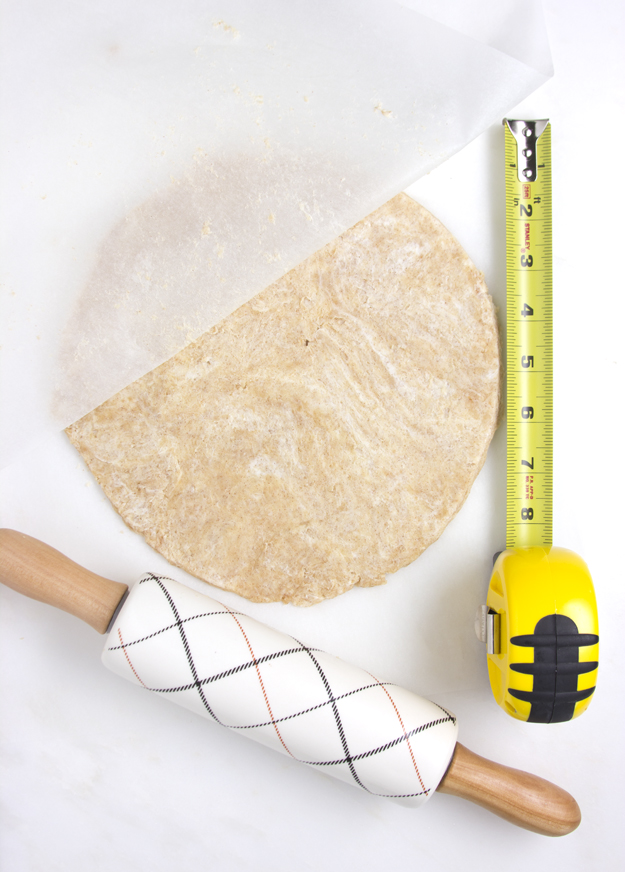
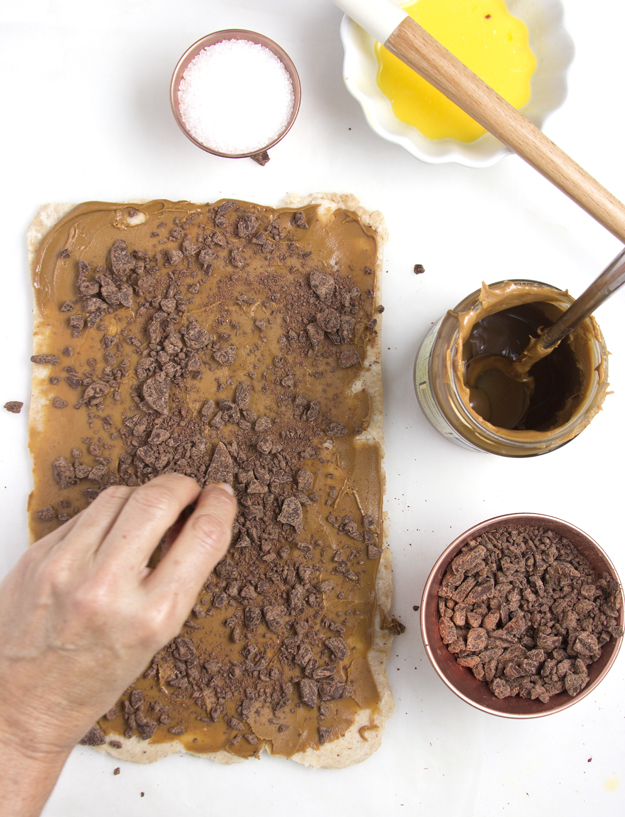
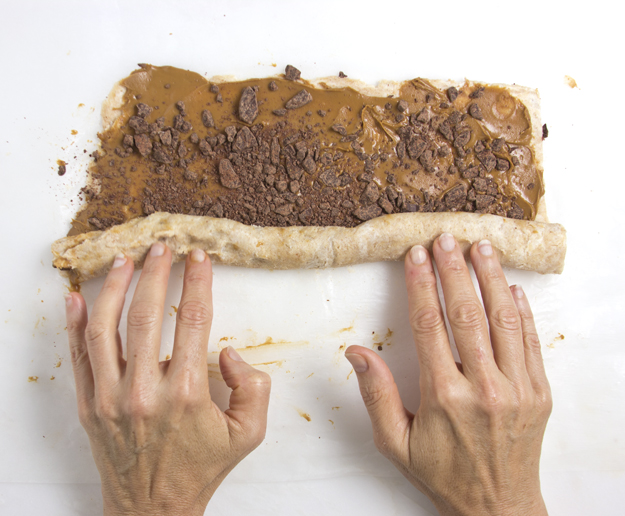
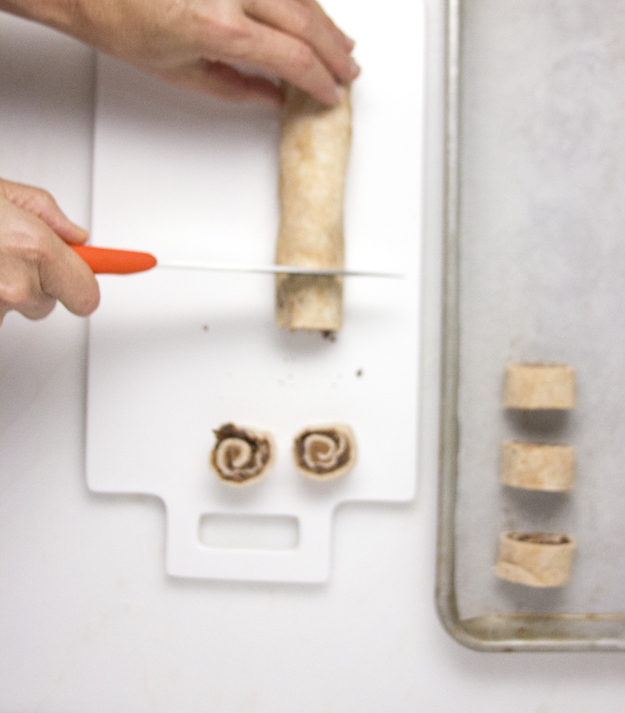
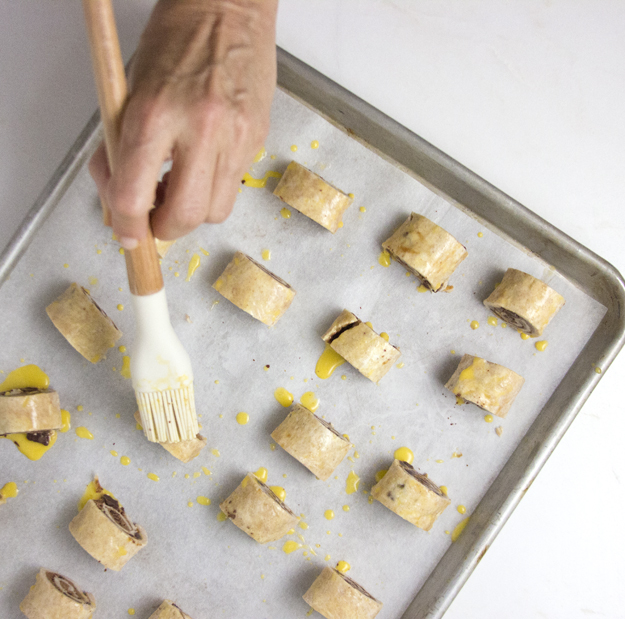
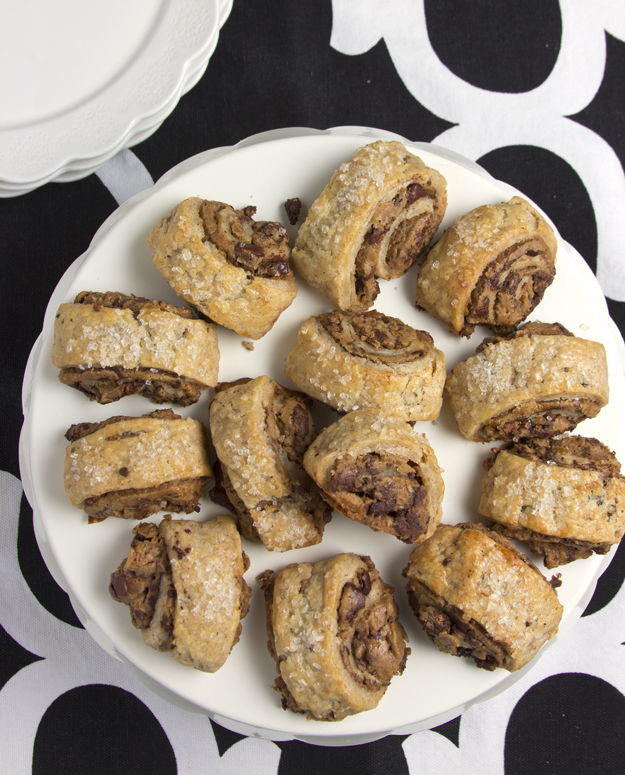
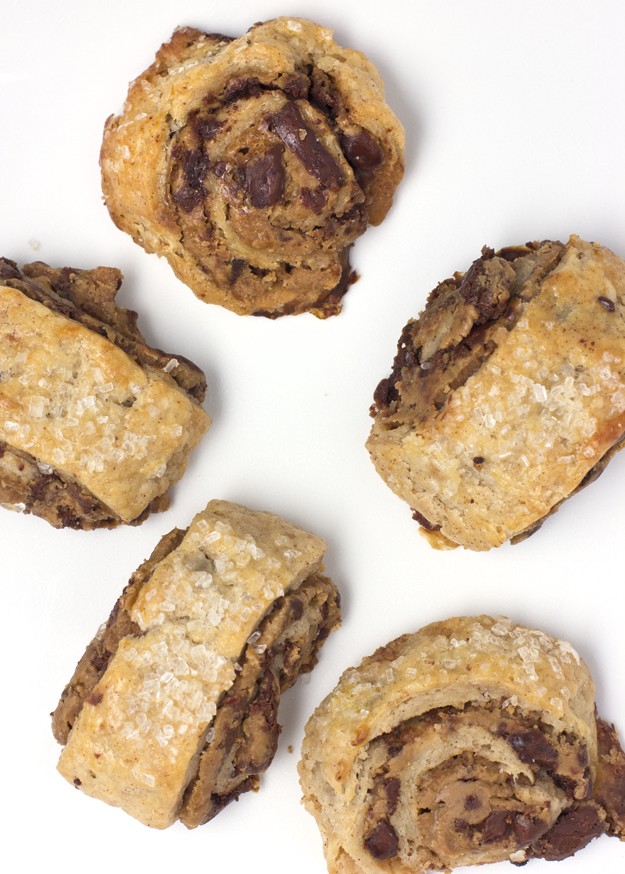
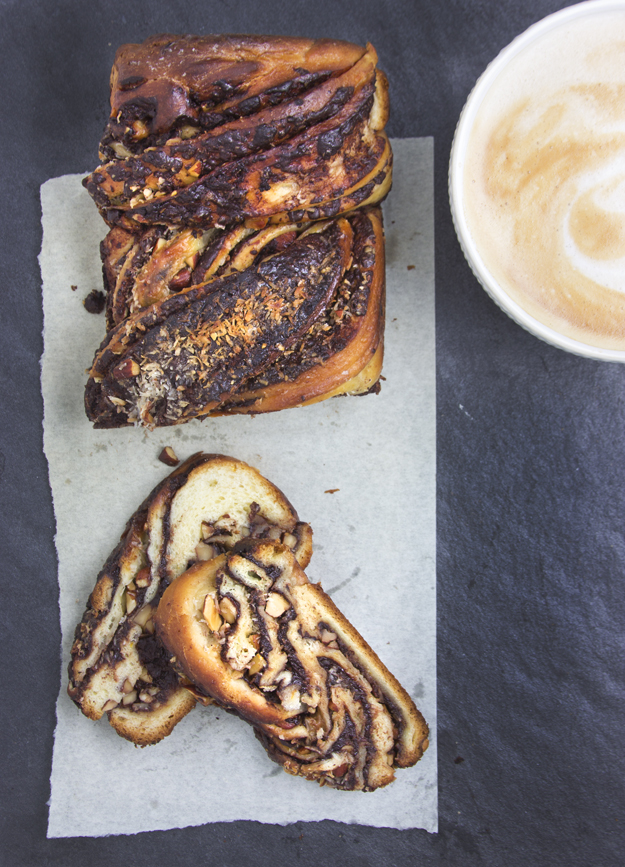
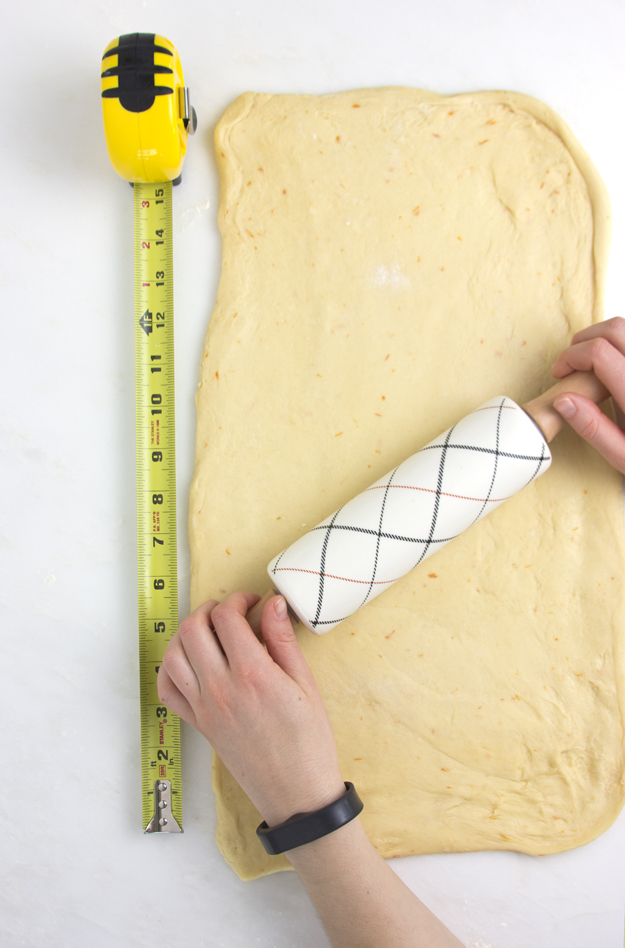
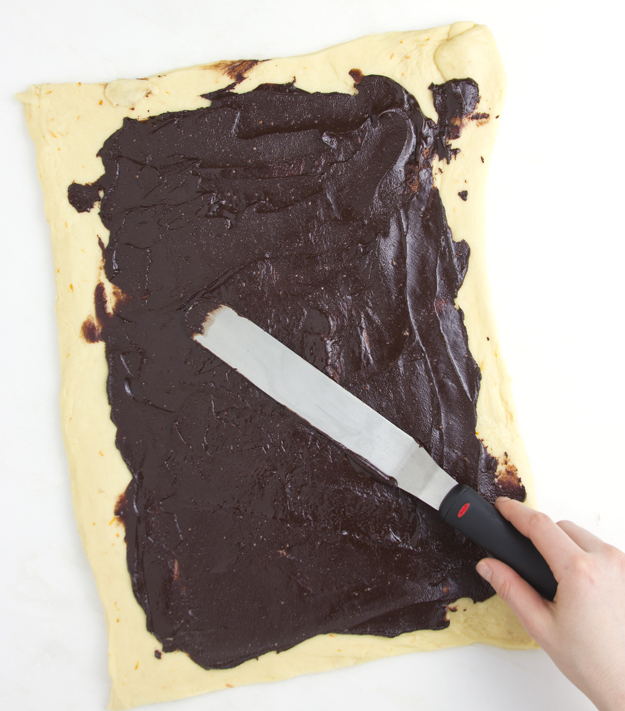
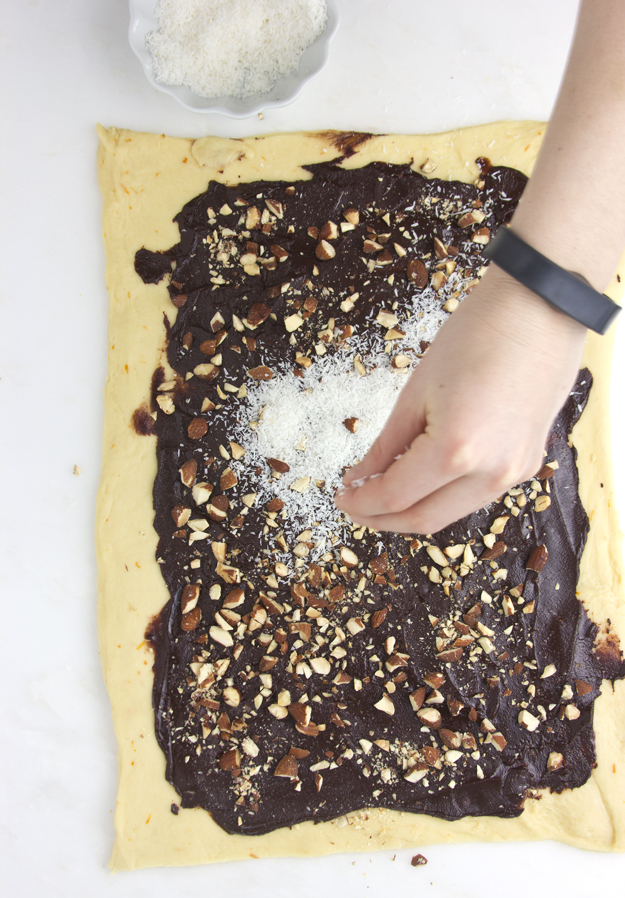
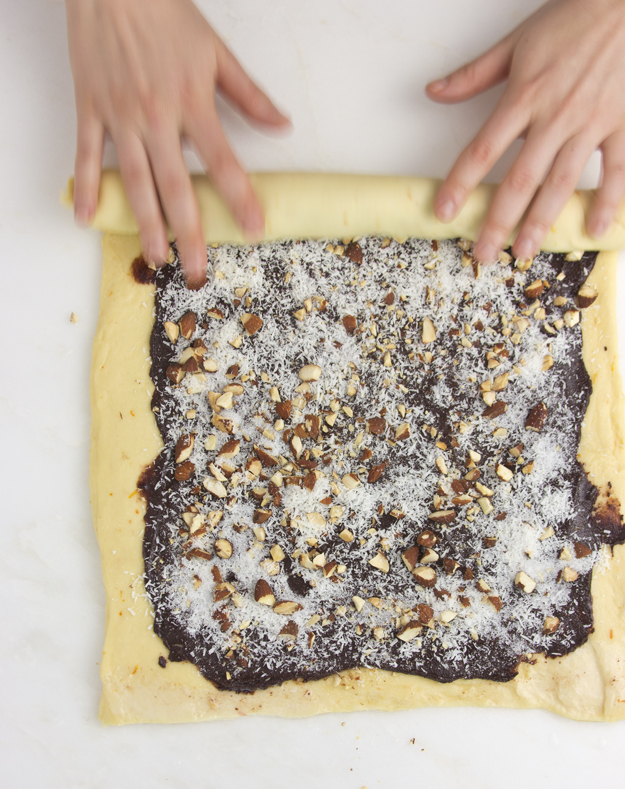
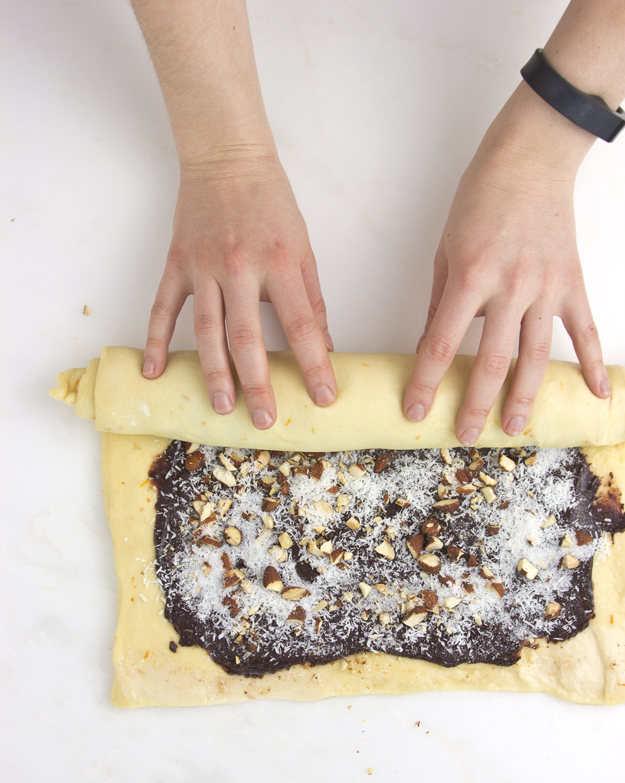
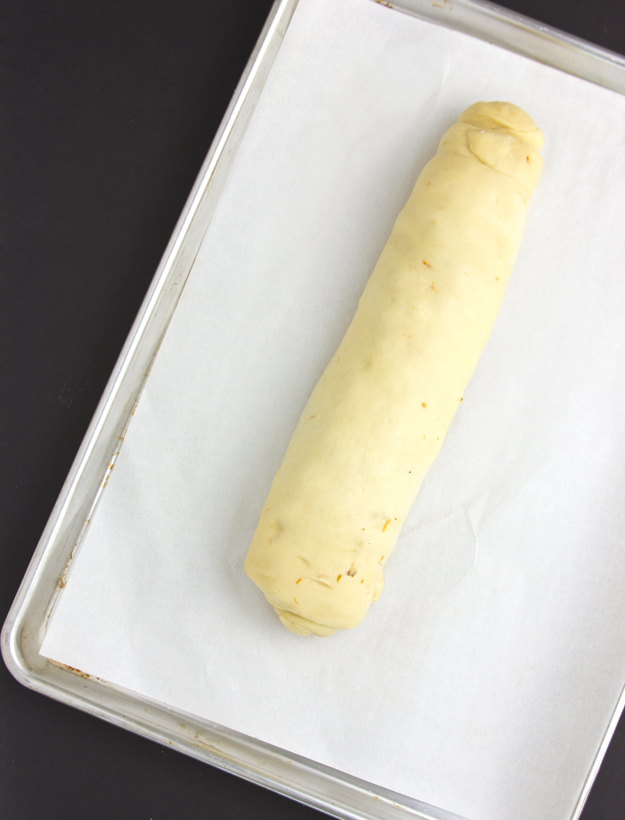
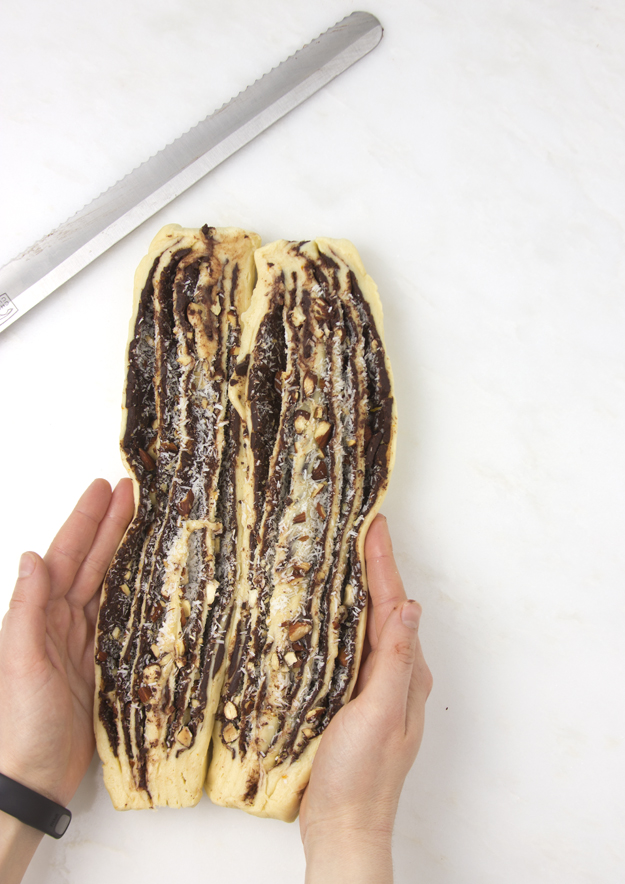
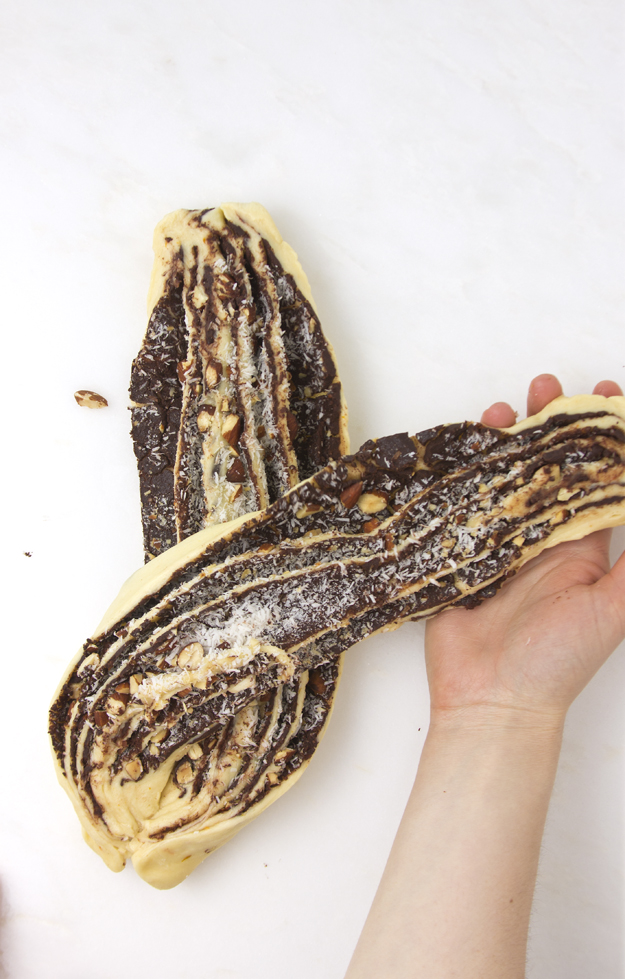
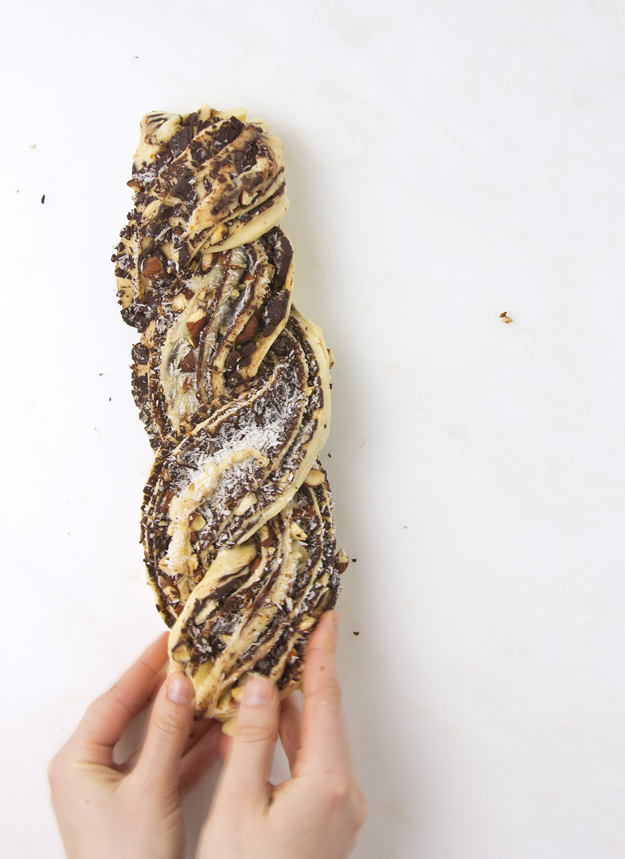
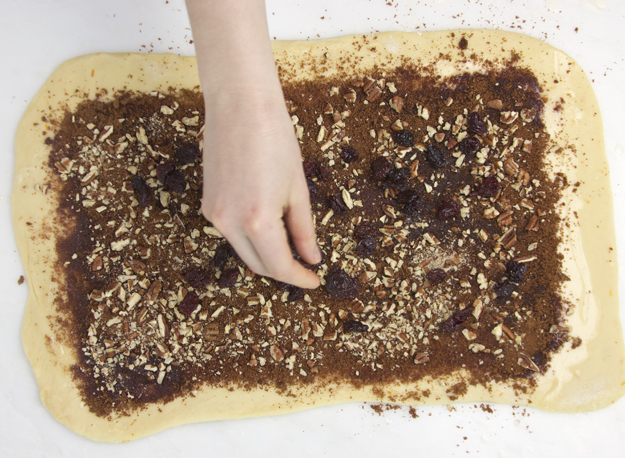
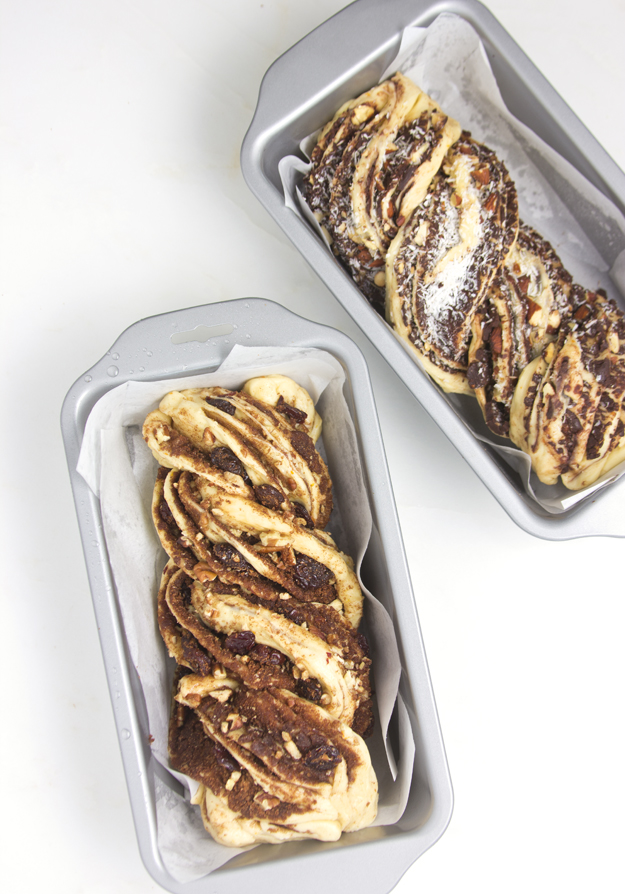
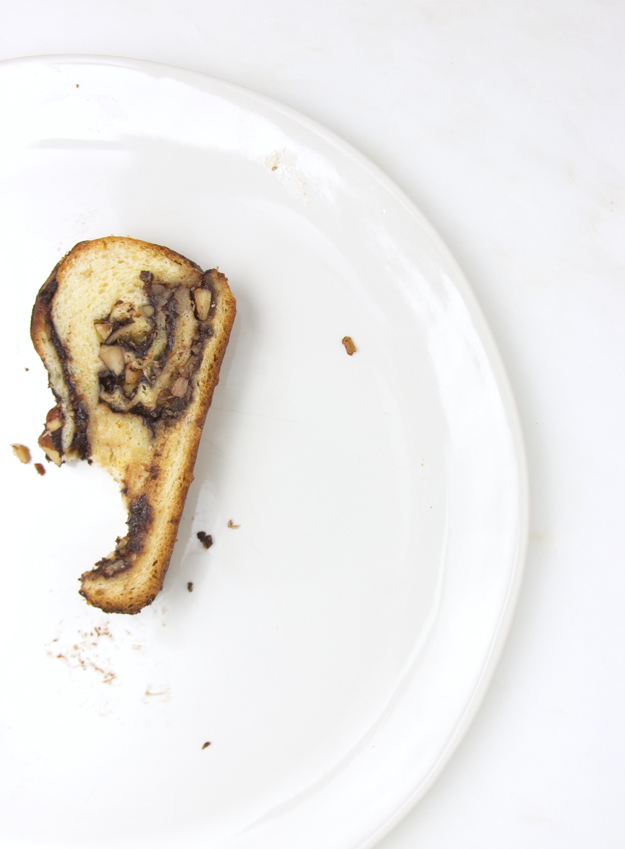
 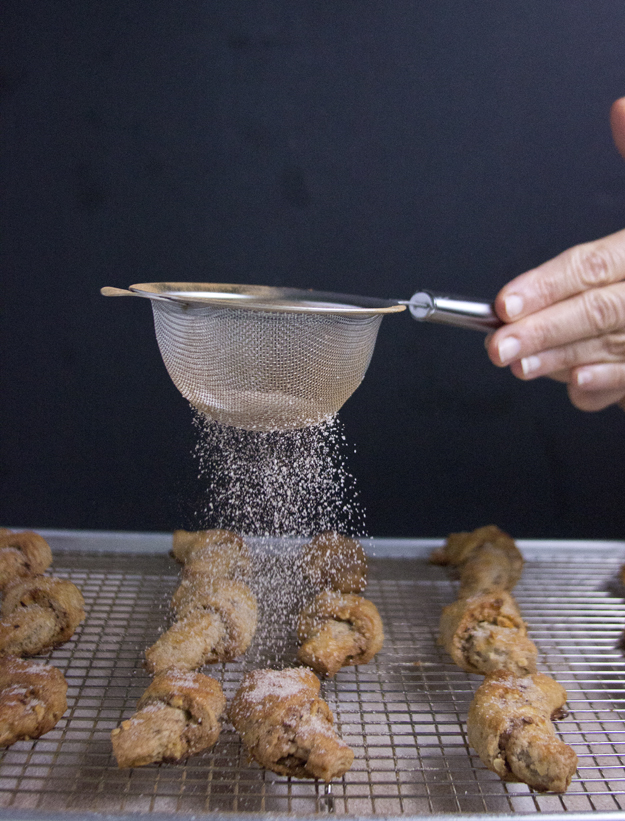 For the second variation I created little roulades. The dough was rolled into a rectangle, filled with cookie butter and chopped chocolate, and rolled and sliced, before baking.
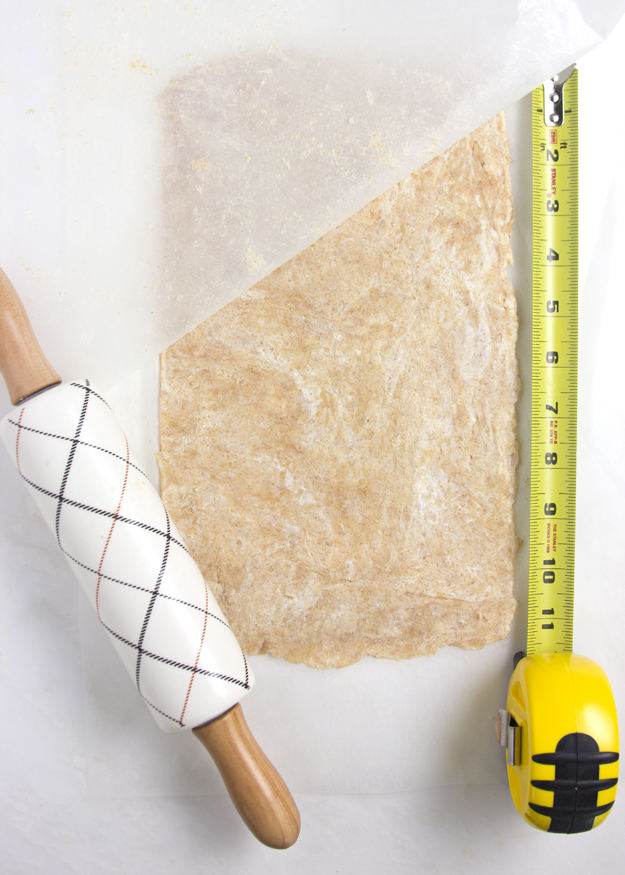
Click here to print recipe for Cookie Butter and Hazelnut Rugelach.
Click here to print recipe for Cookie Butter and Chocolate Rugelach Roulades.


