I created these black and white donuts as a homework assignment for an online photography course I am taking. The essence of the course is to learn how to style, plan and compose your food shots like the professionals and magazines do.
If you are a food photographer or blogger, I highly recommend this class. The course creator, Rachel Korinek, is a supremely gifted photographer and teacher, not to mention a real sweetheart! I have purchased several online courses and Rachel is one of the few teachers that is constantly adding new material to the course, stays continually engaged with her students and is available for help and feedback. She has created an amazing Facebook community for her students.
This assignment was to create a monochromatic scene where the background, props, and food all fit within your colour palette. I decided to go all black and white. The challenge is to make sure that there is enough interest and texture so that the image does not look flat or boring.
The first choice I had to make was which background to shoot on. I had two options in mind. I shot on both to see which I preferred.
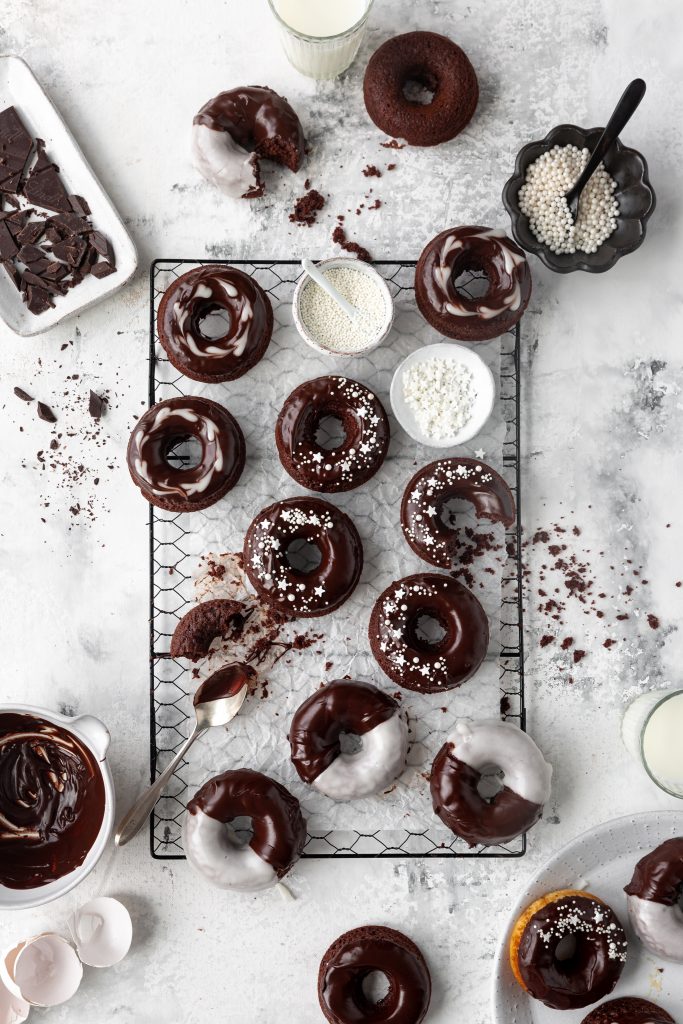
The first was a black, grey and white painted canvas.
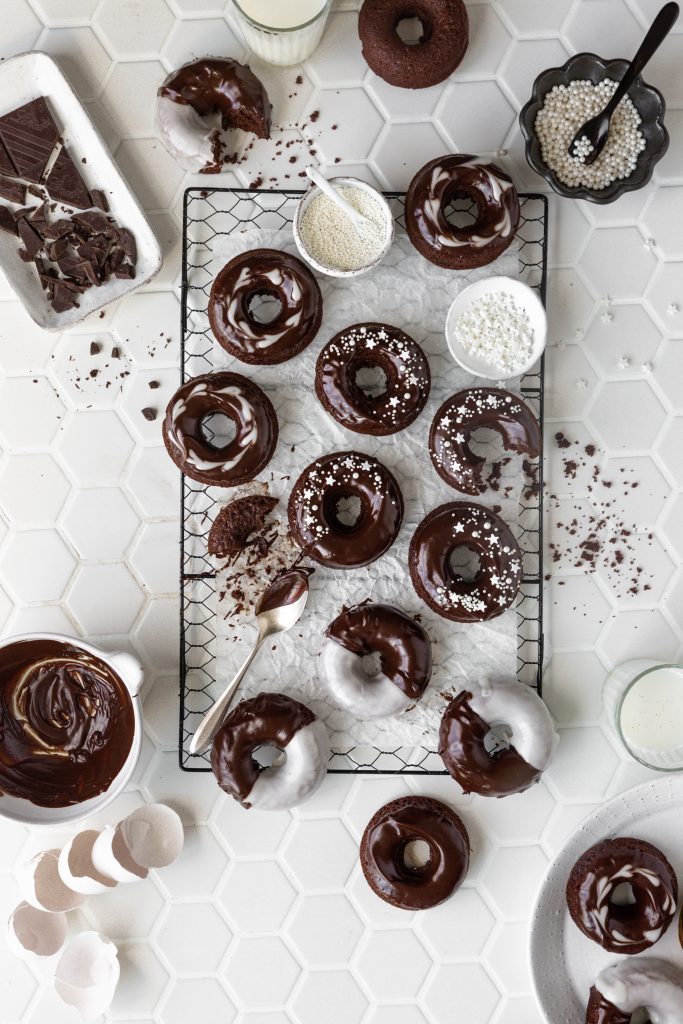
The second was a graphic hexagon tile.
I put it out to our Facebook community and there was no clear winner. It was almost a 50/50 split. Some people felt the tile was too busy and took away from the donuts. Others really liked that graphic detail. I am a Libra, so I was undecided😉. The canvas backdrop is softer and more ethereal, while the tile is more punchy and graphic. What do you think?
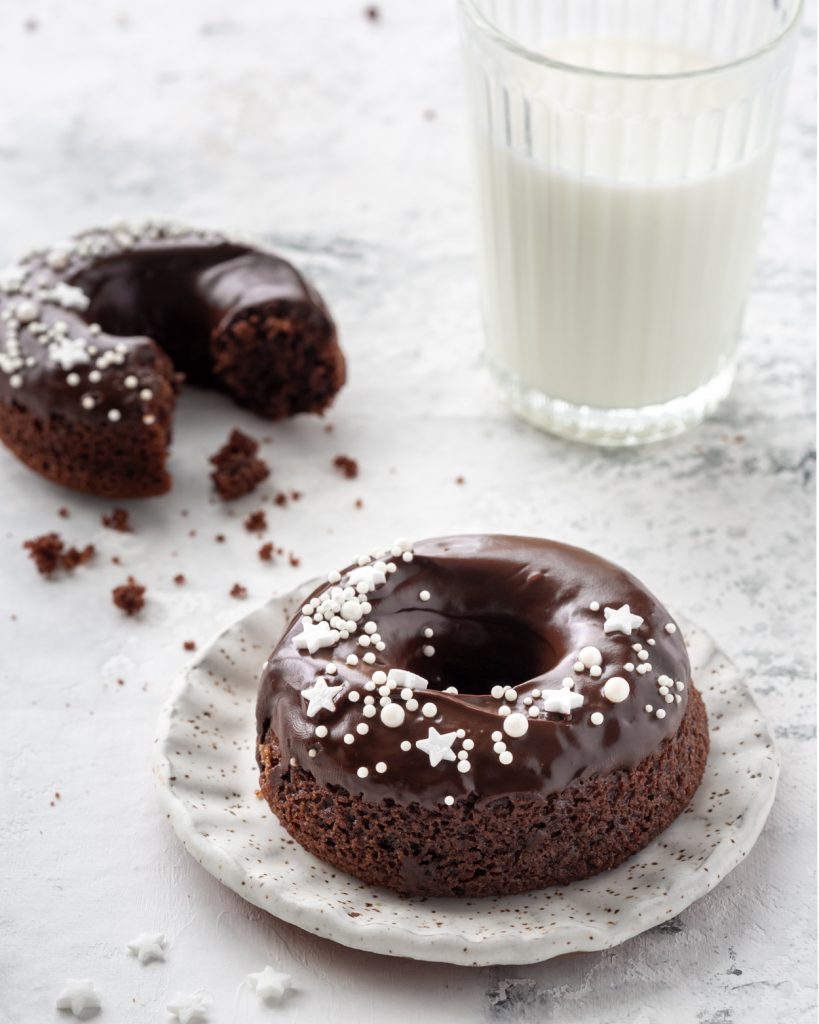
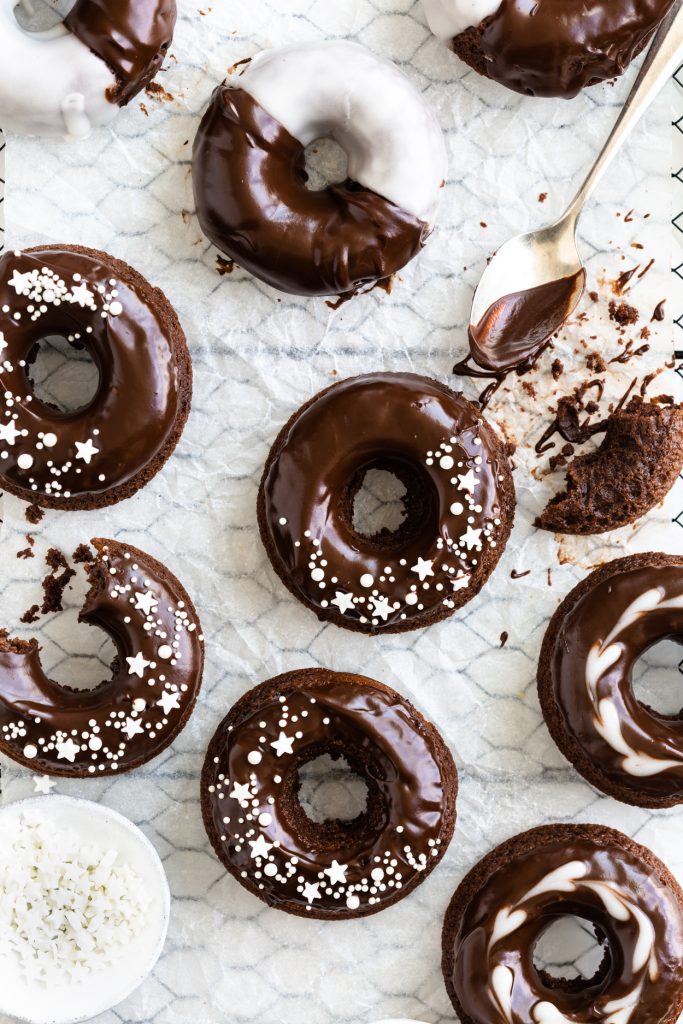
To add interest and layers, I decorated the donuts in three different ways; some half black and half white, some black with white sprinkles and some black with a white piped design. I had a few of the donuts unglazed and a few donuts had bites taken out of them. I placed the donuts on parchment paper, and lay that on a black cooling rack, for additional layers. Donut crumbs were sprinkled around for more texture.
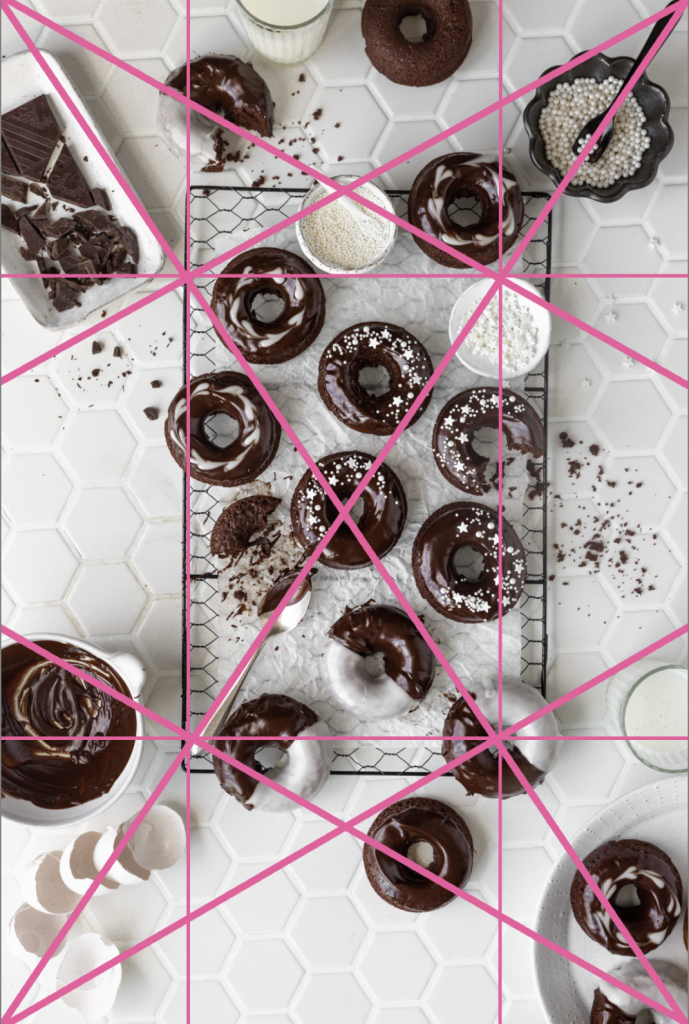
The most challenging part of the photo shoot, was arranging so many items in the scene, in an aesthetically pleasing arrangement. There are different compositional tools/guides that you can use to help you. The general idea is to place the main or important subjects along intersecting lines, or within the created squares or triangles of the guide, and let the eye be lead. Some of the tools/guides, like the rule of thirds or the golden triangle, are simpler to use.
Rachel challenged us to use a more complex tool called dynamic symmetry. This is my image, with the dynamic symmetry guide superimposed over it, so you can see how I used some of the lines to help me place all the items. This photo shoot took hours!
To be completely honest, the donuts, while quite beautiful, were way too sweet for me, because of all the glaze. If you have a big sweet tooth, here is the recipe.