
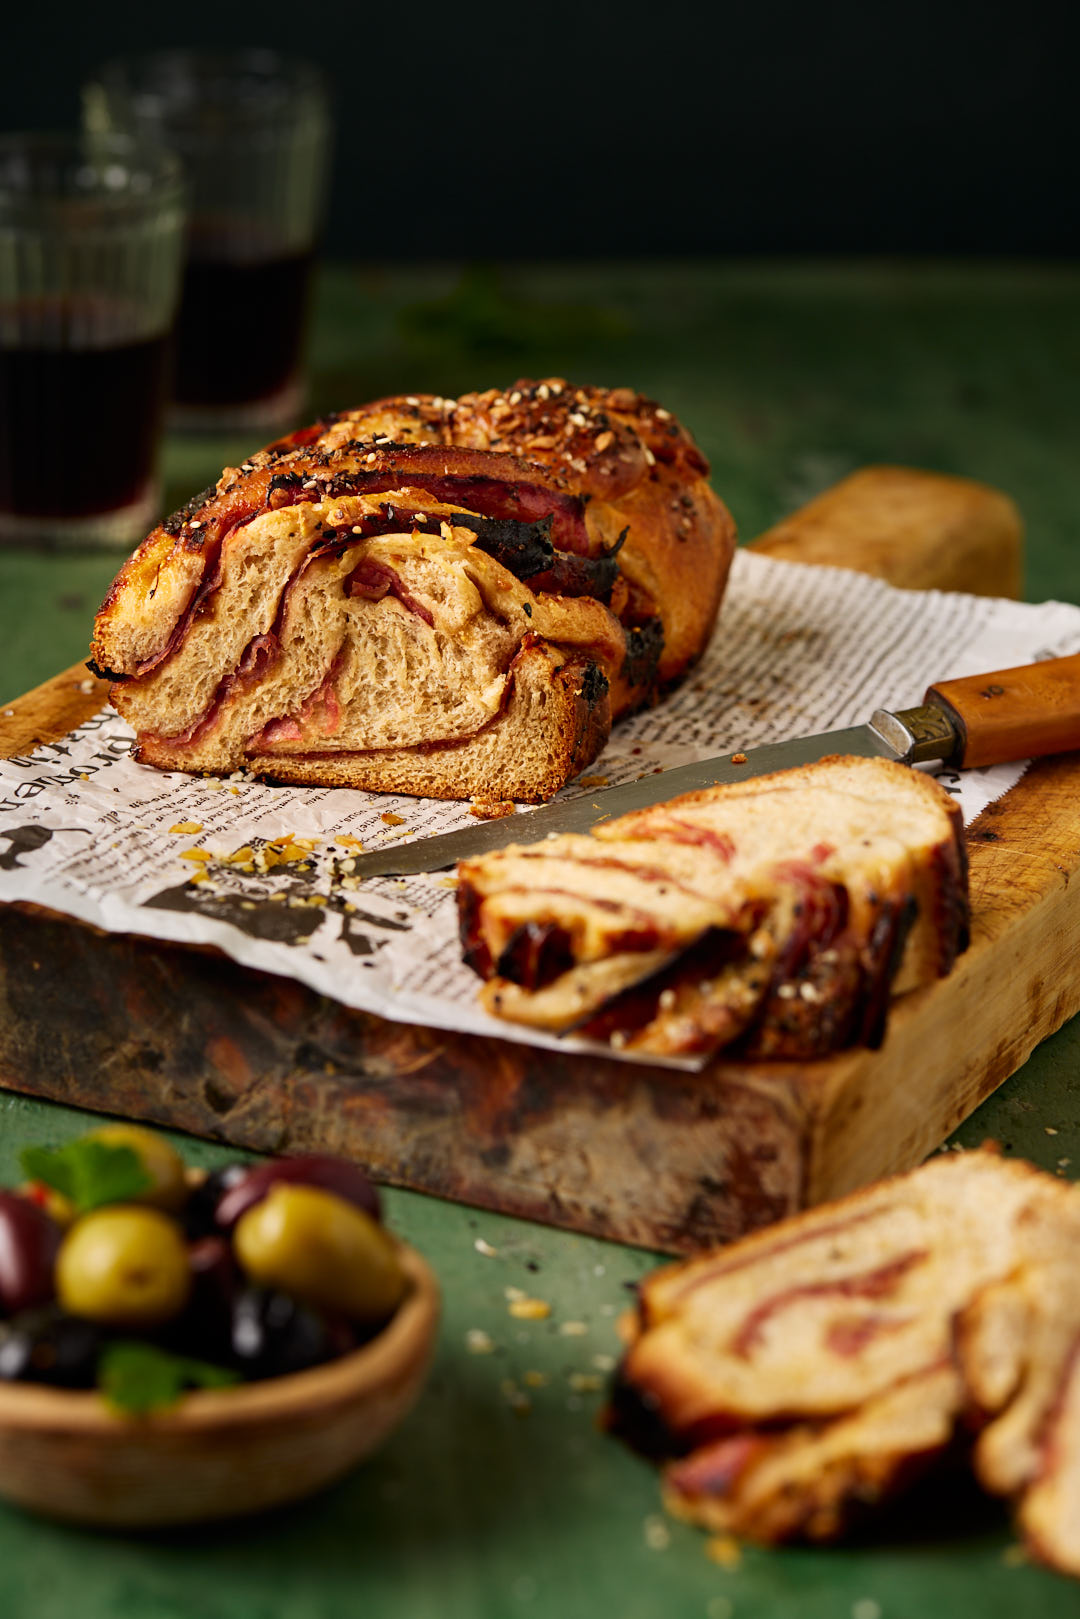
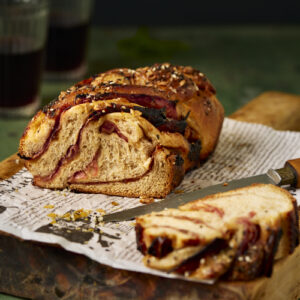
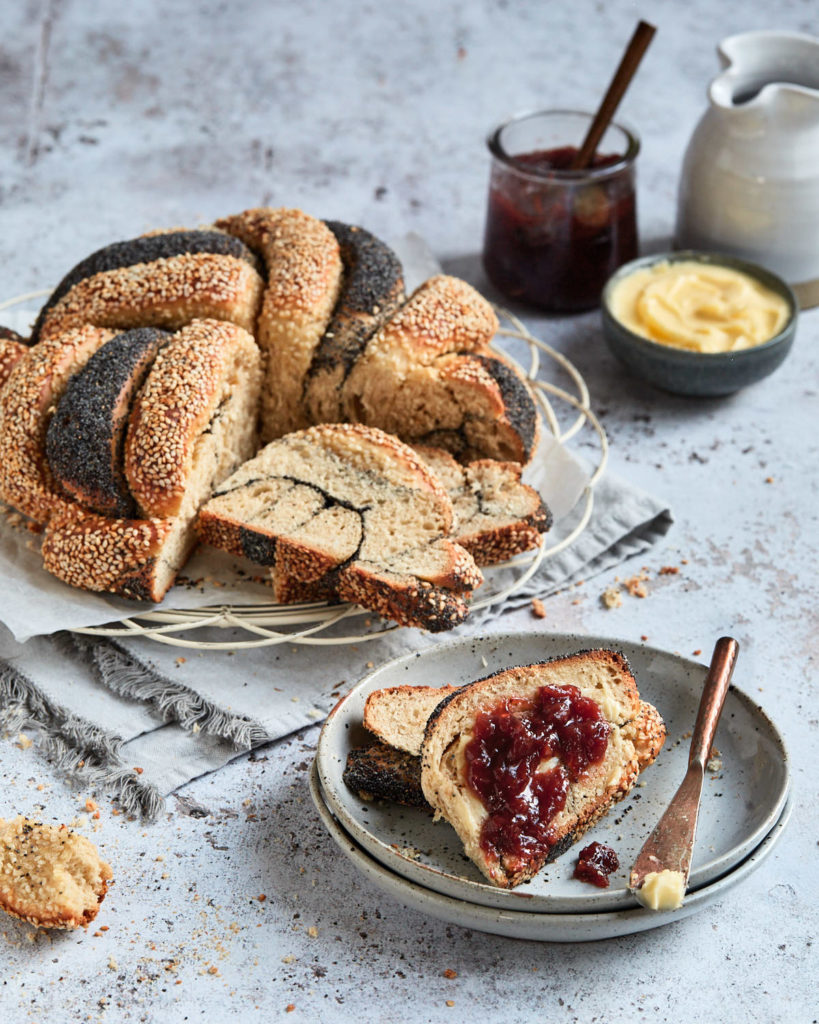
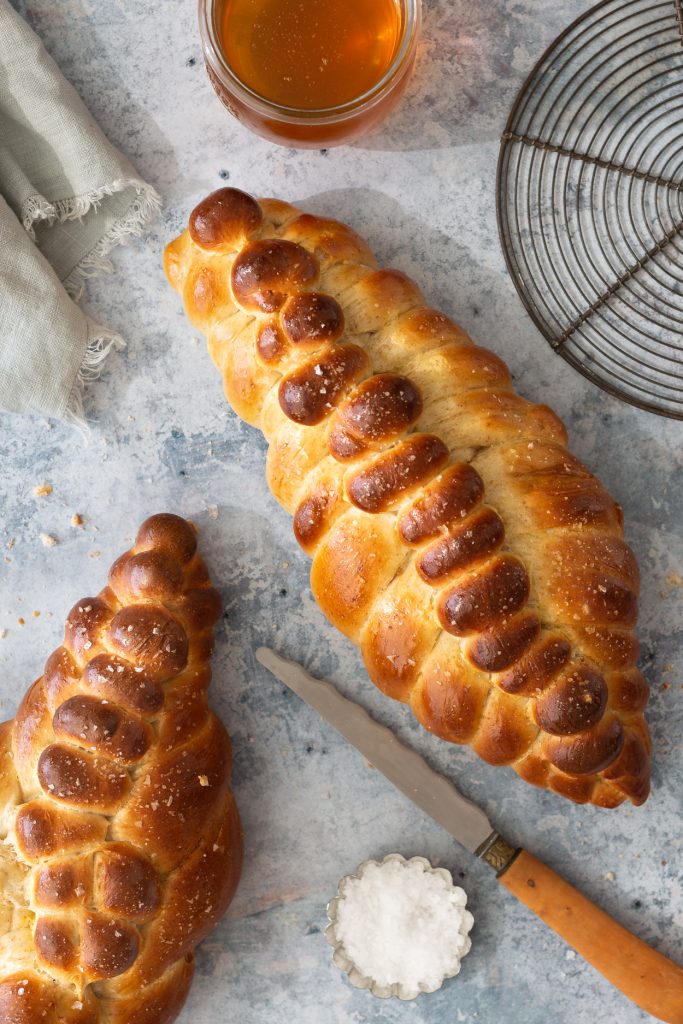
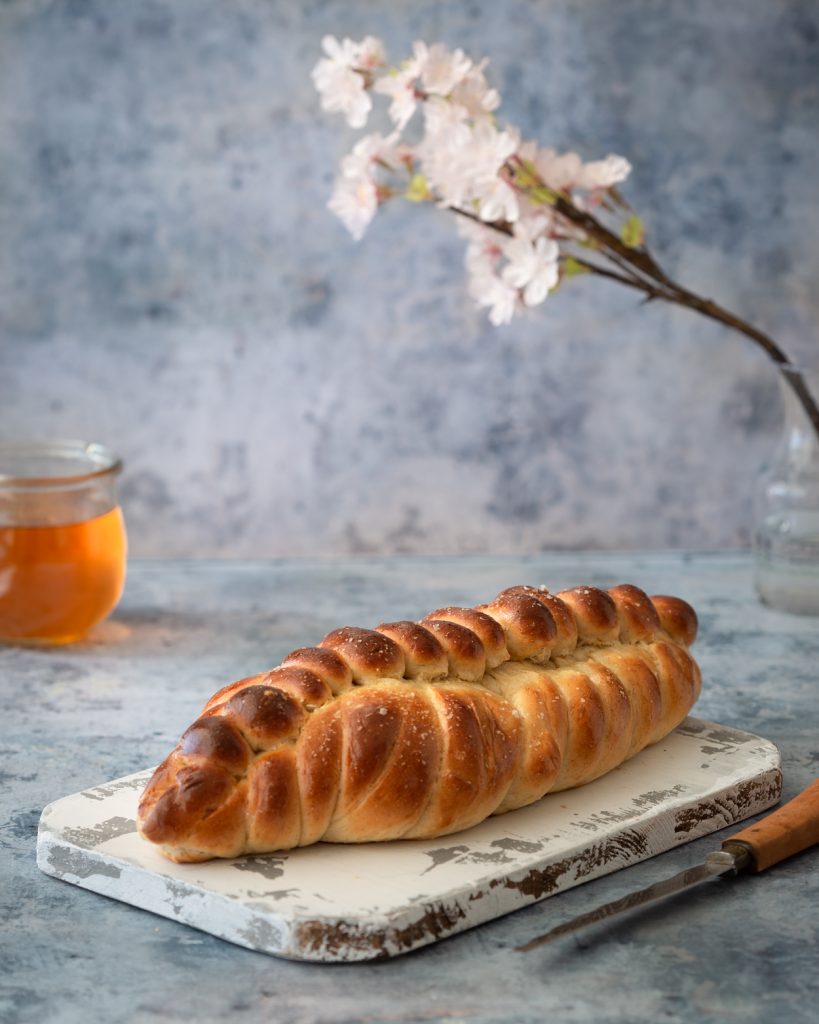
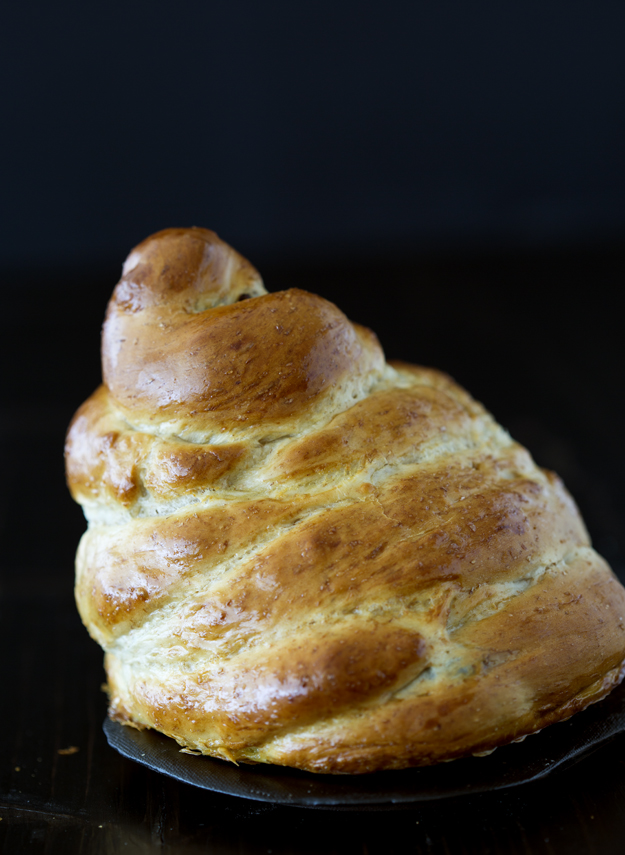
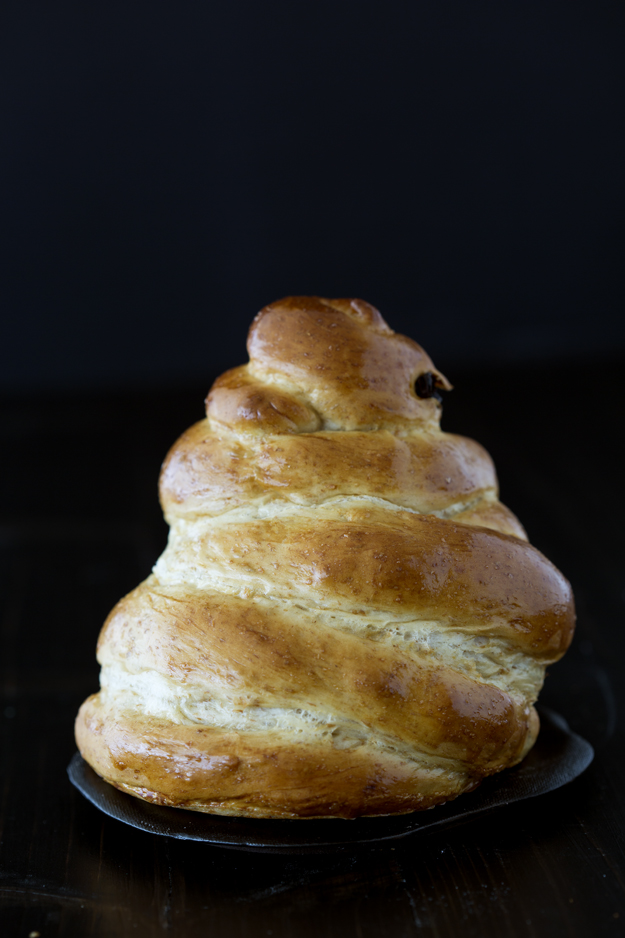
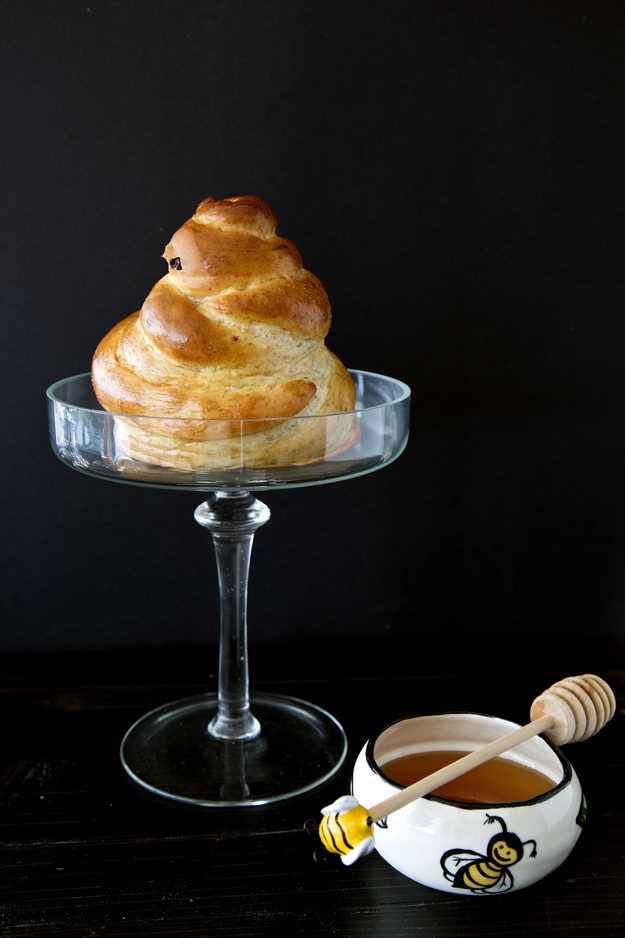
Sweet babkas seem to get all the love — but savoury babka absolutely deserves its moment in the spotlight. This one takes inspiration from the best kind of salami sandwich — only better, because it’s all wrapped up in tender, pillowy challah dough. The filling layers sweet fig jam with spicy salami and a brush of Dijon mustard for tang, twisted into a loaf that bakes up bronzed and glossy, with those irresistible crispy edges of salami peeking through.
The inspiration for this babka goes back to when I first started dating my husband. He brought me to Ottawa to meet his family, and one night, we ended up at his youngest uncle’s place for a backyard BBQ. As an appetizer, he sliced up salami, threw it straight on the grill, and served it sizzling and crispy, ready to dunk into yellow mustard. I was blown away. At the time, I thought this was the absolute height of culinary sophistication. Grilled salami? With mustard? I’d never seen anything like it — and I was thoroughly impressed. Crispy, salty, greasy in the best way… it totally hit the spot.
That memory stuck with me, and years later it became the inspiration for this Salami Babka — a more refined, but no less delicious, tribute to that backyard bite.
Think of it as the ultimate salami sandwich — all dressed up.
Keys to Success to Salami Babka Perfection
- Chill the logs before slicing. After shaping, freezing the filled logs for 10–15 minutes makes slicing and twisting much easier — the firm dough holds its shape cleanly.
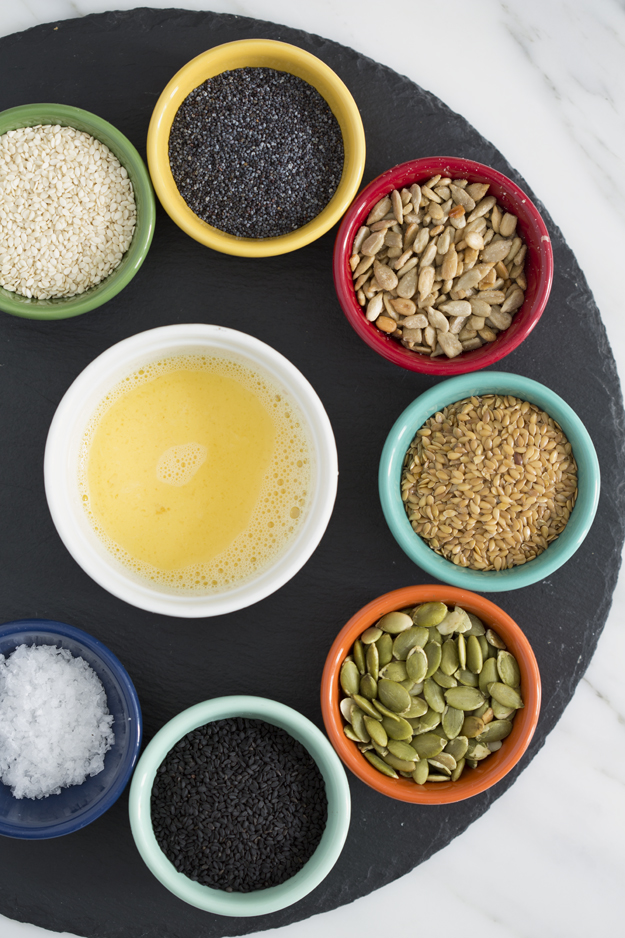
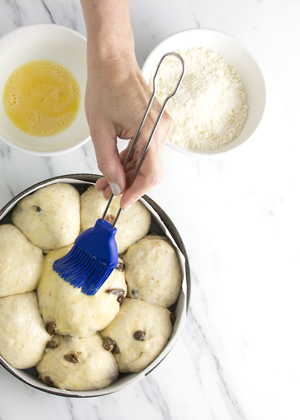
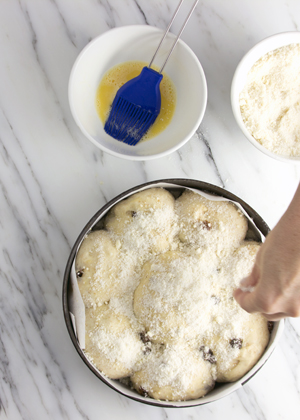
- Don’t skip the egg wash and bagel spice. Brushing with egg wash gives the babka a beautiful sheen, while Everything Bagel spice adds a crunchy, savoury finish that complements the filling perfectly.
- Use an instant-read thermometer. For best texture, bake until the internal temperature reaches 195°F (91°C). This ensures the centre is fully cooked without overbaking the crust.
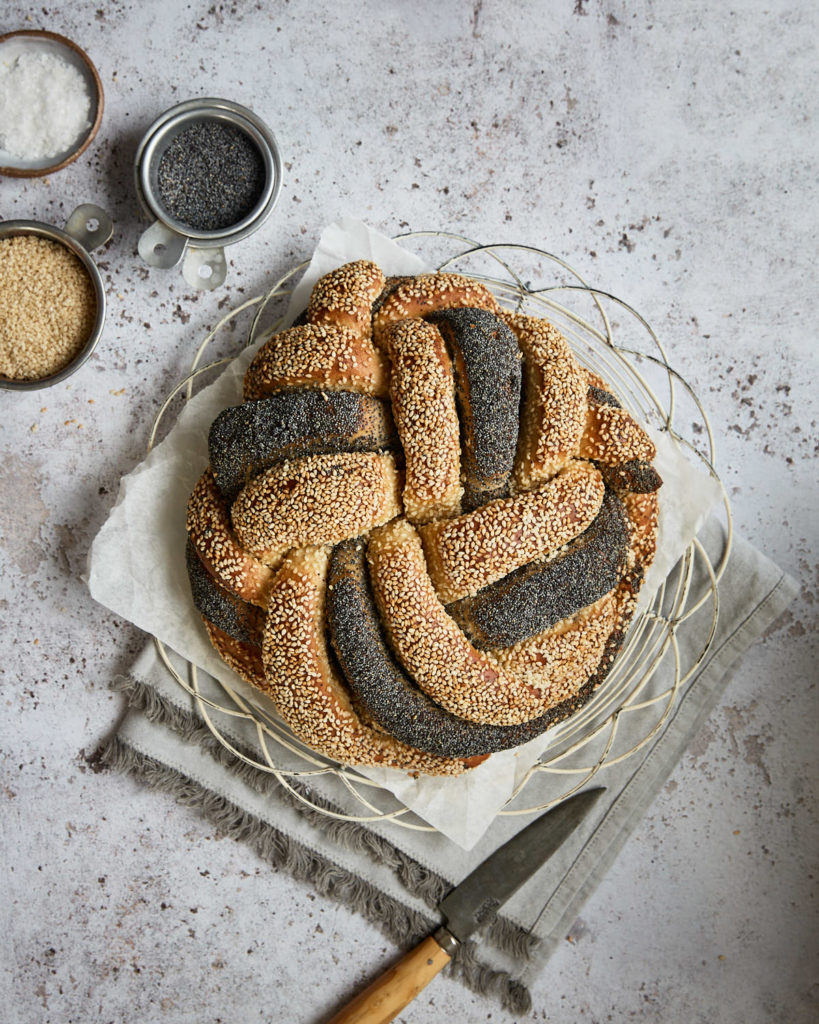
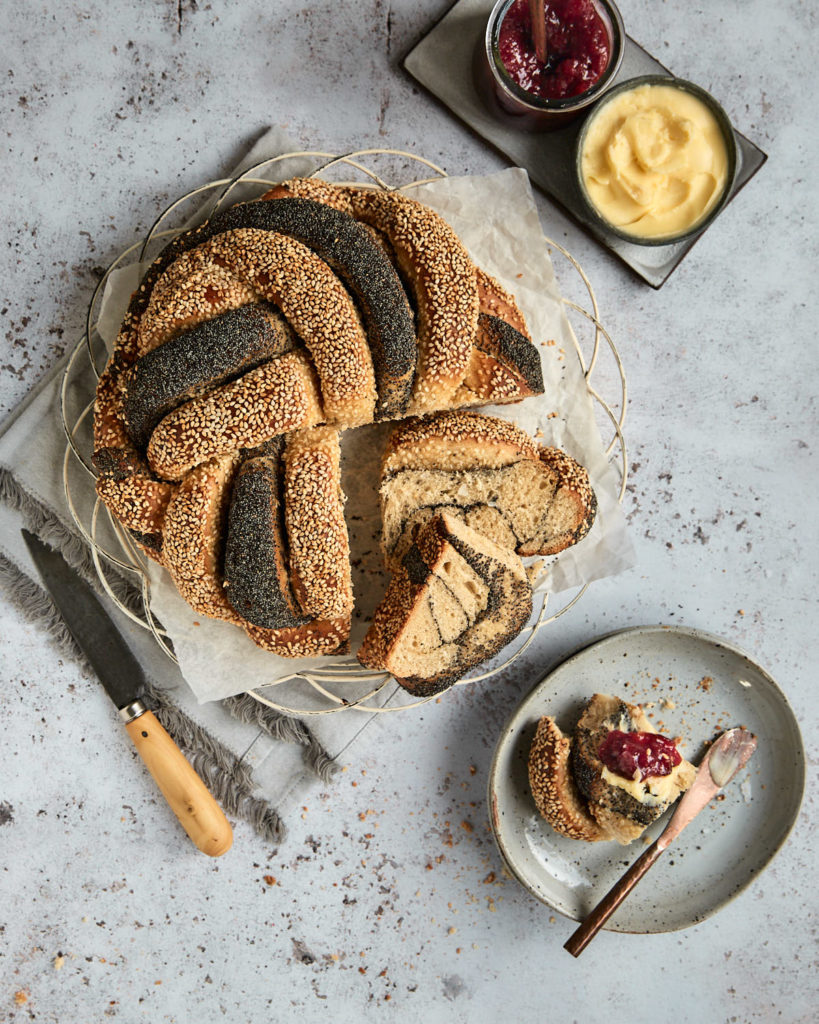
- Play with flavour. Once you’ve tried this give my Fig, Olive and Halloiumi Babka a try.
Harissa and olives or sun-dried tomato and za’atar would also be stellar combos.
Serving and Storage Tips
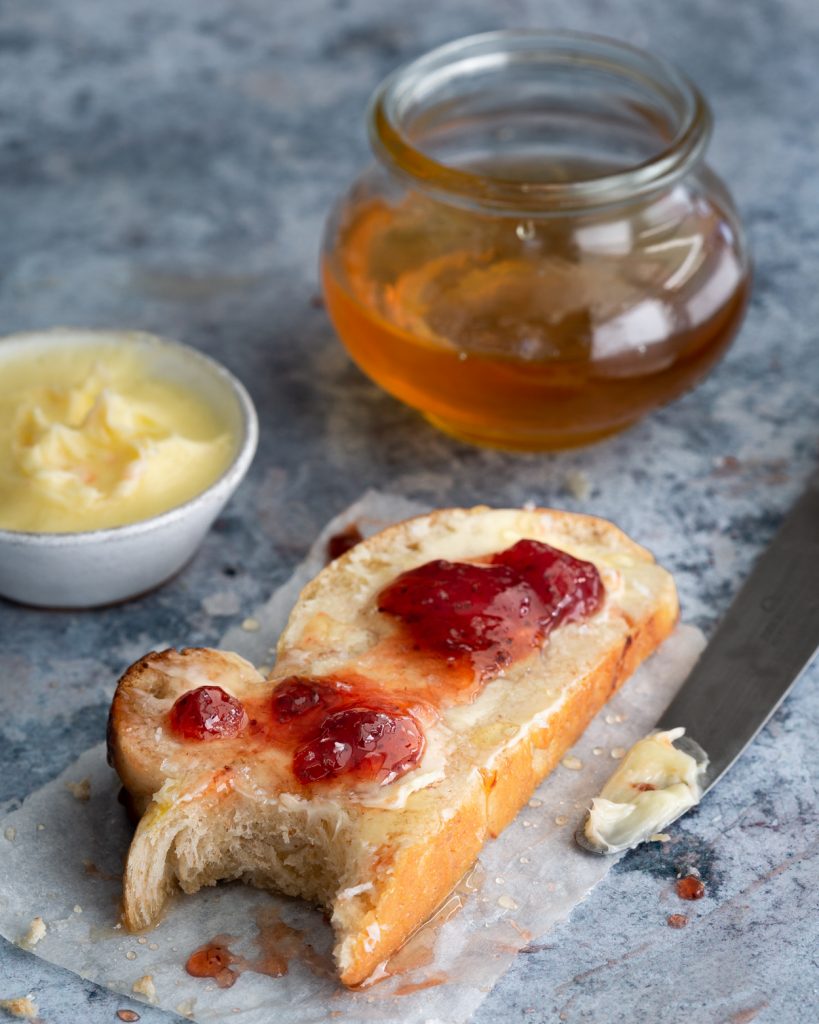
Salami Babka is at its best slightly warm or at room temperature. Serve it as a savoury alternative to traditional challah on a Friday night Shabbat table — it’s sure to spark conversation. It also makes an excellent snack with a glass of wine and a bowl of spiced olives as an aperitivo.
Wrap cooled loaves tightly in foil or an airtight container and store at room temperature for up to 2 days.
For longer storage, you can freeze the shaped, unbaked babka logs after the chilling step — wrap well in plastic and foil, and freeze for up to 1 month. When ready to bake, thaw overnight in the refrigerator, then proceed with final rise and baking.
Baked loaves also freeze beautifully. Wrap tightly and freeze for up to 1 month. Reheat slices in a 300°F (150°C) oven for 5–10 minutes to refresh.
Salami Babka
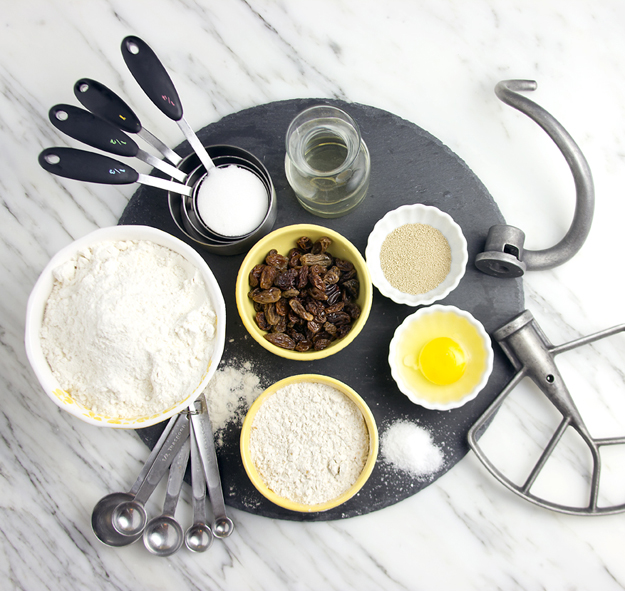
Ingredients
Challah Babka Dough
- 4 grams sugar
- 1 cup warm water, 115°-120°F
- 8 grams traditional yeast, (also called active dry yeast)
- 360 grams all-purpose flour
- 113 grams honey
- 6 grams Diamond Crystal Kosher salt
- 1 large egg, lightly beaten
- 49 grams vegetable oil
- 120 grams whole wheat flour
Babka Filling
- 1/2 cup fig jam
- 2 Tablespoons Dijon mustard
- 240 grams thinly sliced salami
Babka Topping
- 1 large egg, lightly beaten
- 2 Tablespoons everything bagel spice
Instructions
Challah Babka Dough
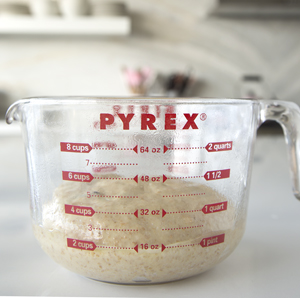
- In a 2-cup liquid measuring cup, dissolve 1 teaspoon sugar in 1 cup warm (115° -120°F) water. Sprinkle yeast on top and let stand for about 5 minutes, until yeast gets all bubbly.
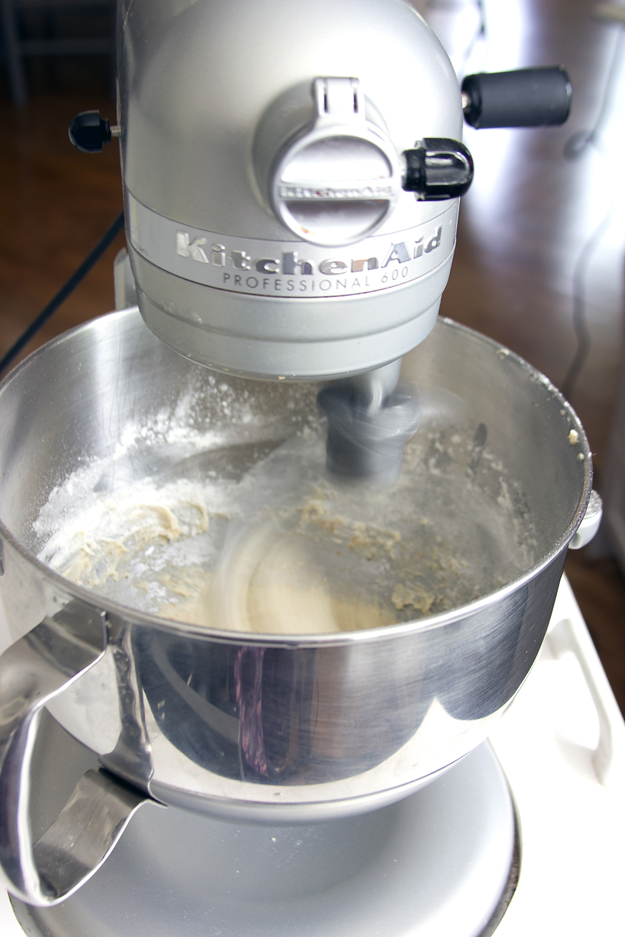
- Make the dough in a stand mixer: Place all-purpose flour, honey and salt in the stand mixer bowl, fitted with the paddle attachment. Mix briefly to combine. Pour dissolved yeast mixture into machine and mix for about 1 minute. Add egg and oil and mix again for about 30 seconds. Add whole wheat flour and mix on medium-low speed for about 1 minute. Remove paddle attachment and switch to the dough hook. Mix on lowest speed for 10 minutes, until dough is smooth and satiny.
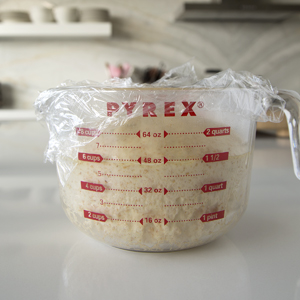
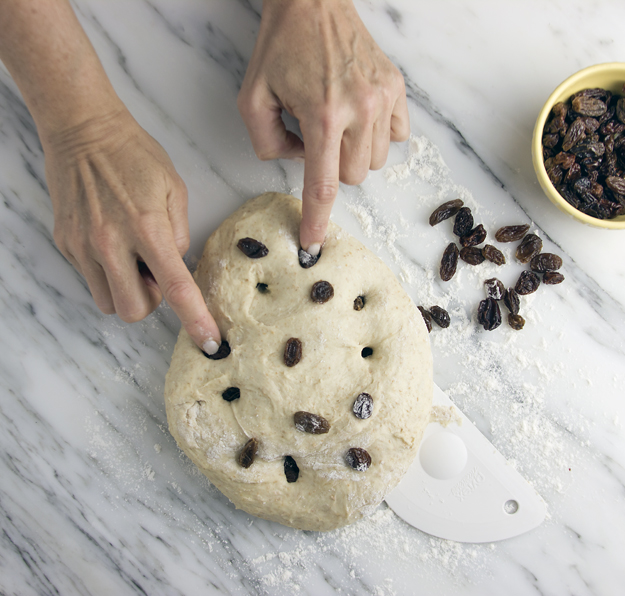
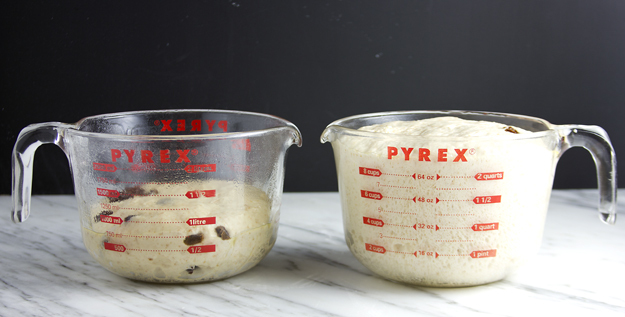
- Turn dough out onto a lightly floured surface. Knead for a minute and then form the dough into a ball and transfer it to a large oiled mixing bowl. Turn dough until all sides are coated. Cover the bowl with plastic wrap and set aside. Let rise at room temperature for about 60-90 minutes, or until doubled in bulk. A good test to see if the dough has risen enough is to insert your lightly floured finger to a depth of 1 inch into the dough and see how it springs back. If it springs back quickly and almost entirely the dough is underproofed and needs more time. If the indentation holds its shape the dough is likely overproofed. What you're aiming for is an indentation that springs back slowly and not all of the way.
- Spray two 8×4 inch loaf pans with cooking spray. Line pans with parchment paper. If you are unsure of the best way to do this, check out this video:
Shape and Bake the Babkas
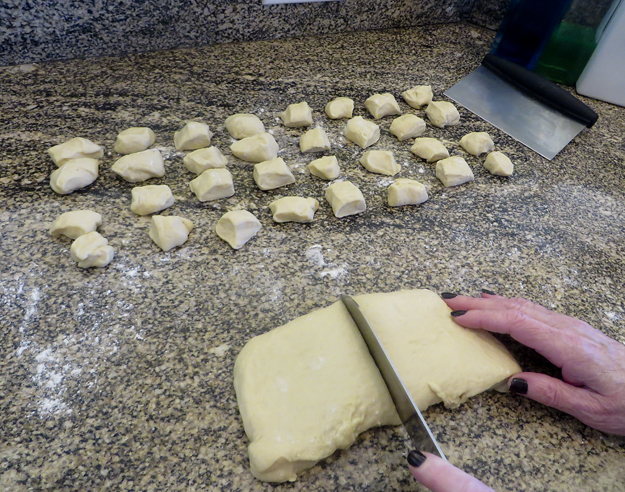
- Turn the risen dough out onto a lightly floured counter and divide it in half. Work with one piece of dough at a time; keep the other half loosely covered.
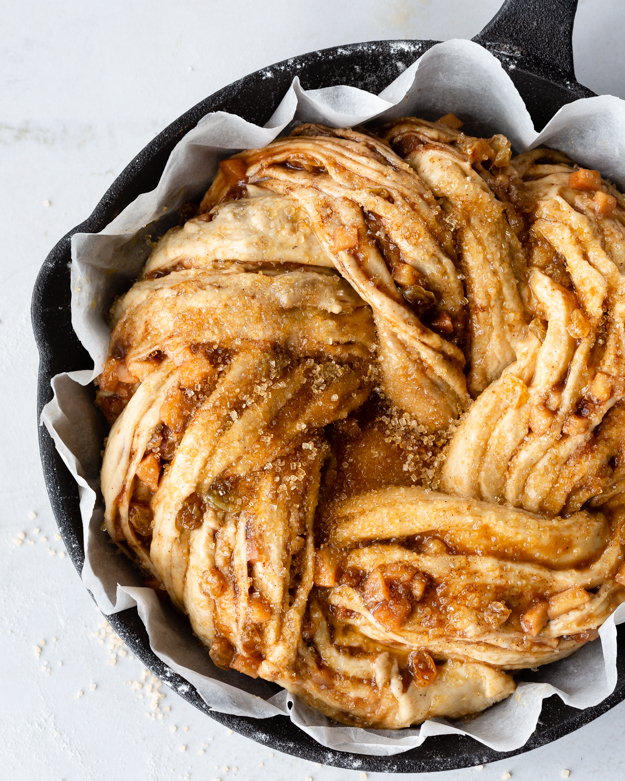
- Roll out one piece of dough into a 10 x 16 inch rectangle. Spread half of the fig jam evenly over the surface, leaving a 1-inch border along the long edges. Layer half of the salami slices over the jam, overlapping slightly. Spread half the Dijon mustard over the salami slices.
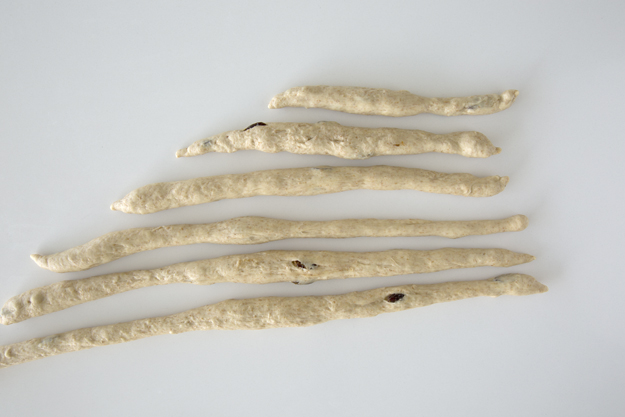
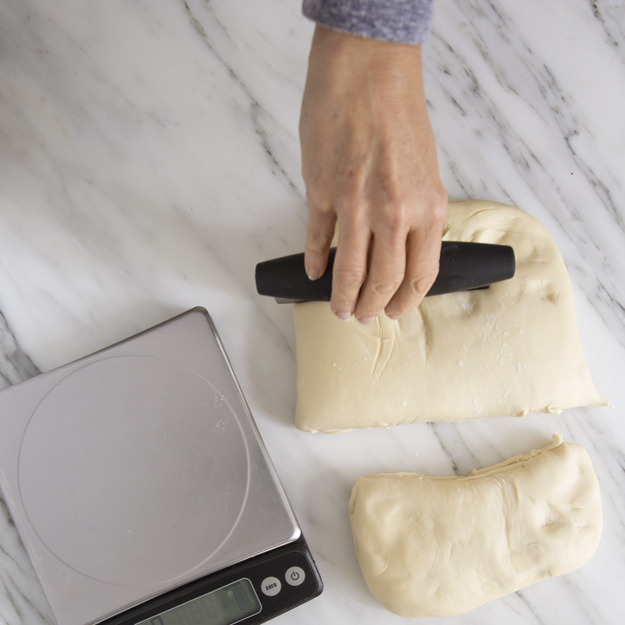
- Starting with the short edge closest to you, roll the dough into a tight log, pressing gently as you go. Use both hands to even out the roll into a perfect thick cigar. Place the rolled log on a parchment-lined baking sheet, seam side down, and transfer to the freezer for 10–15 minutes to firm up.
- Repeat the rolling filling and freezing process with the second piece of dough, using the remaining fig jam, salami and mustard.
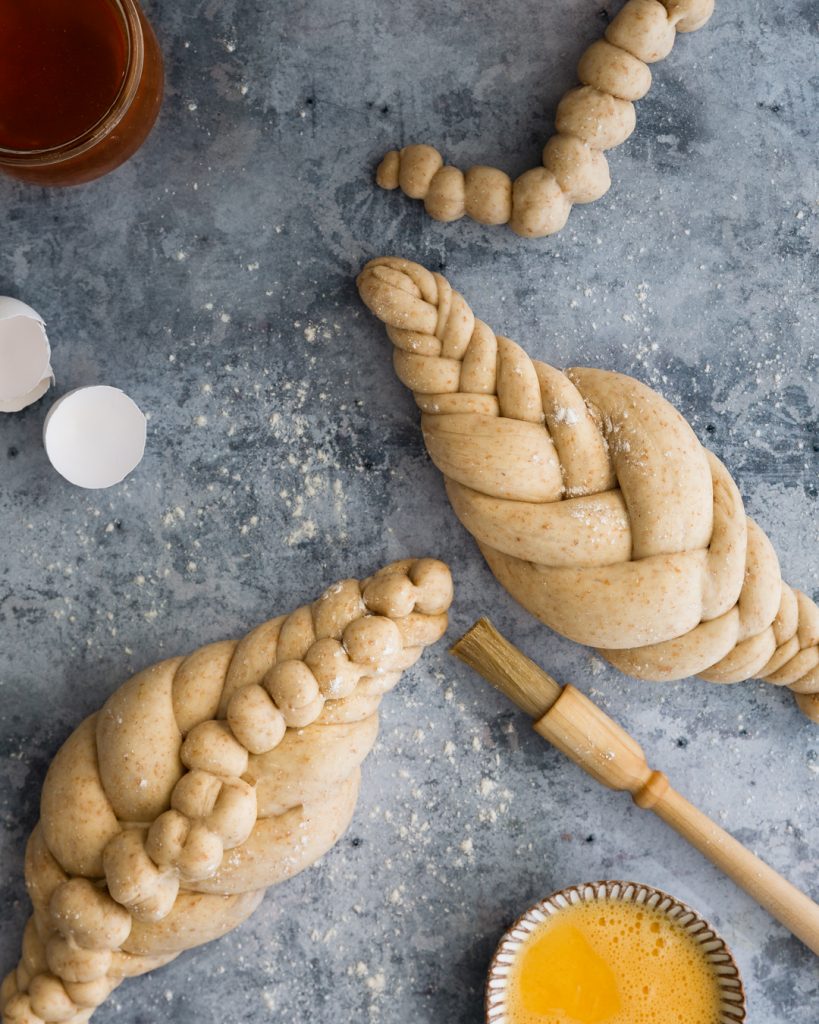
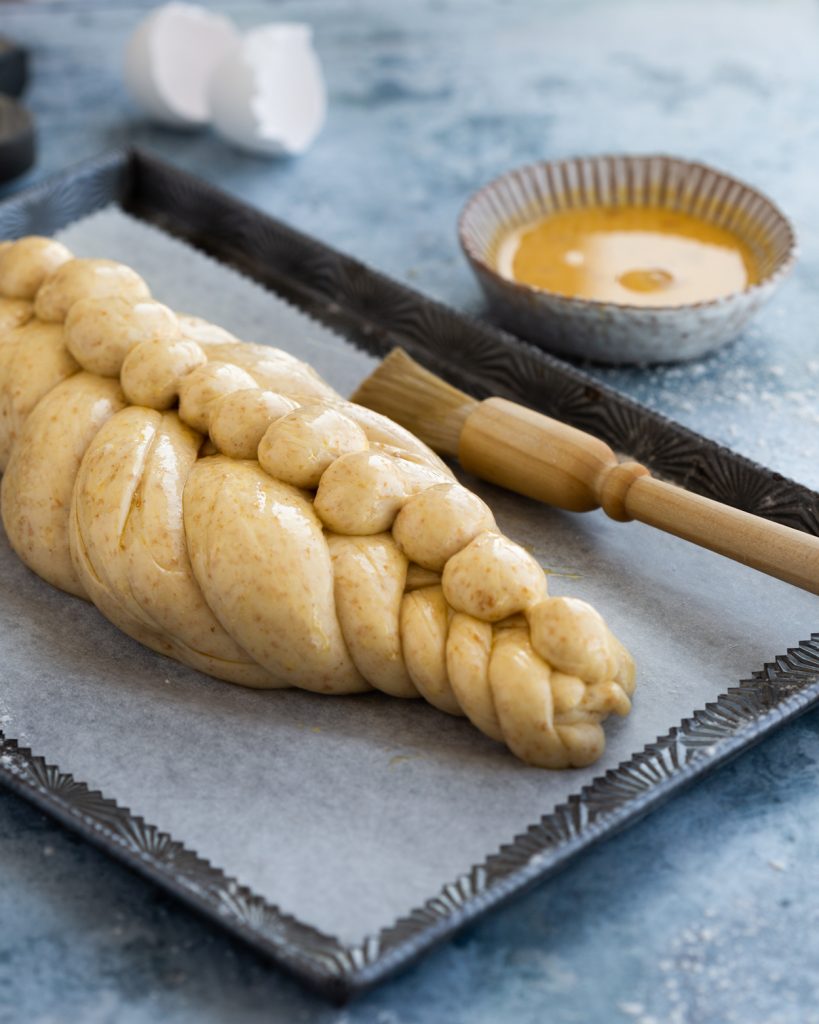
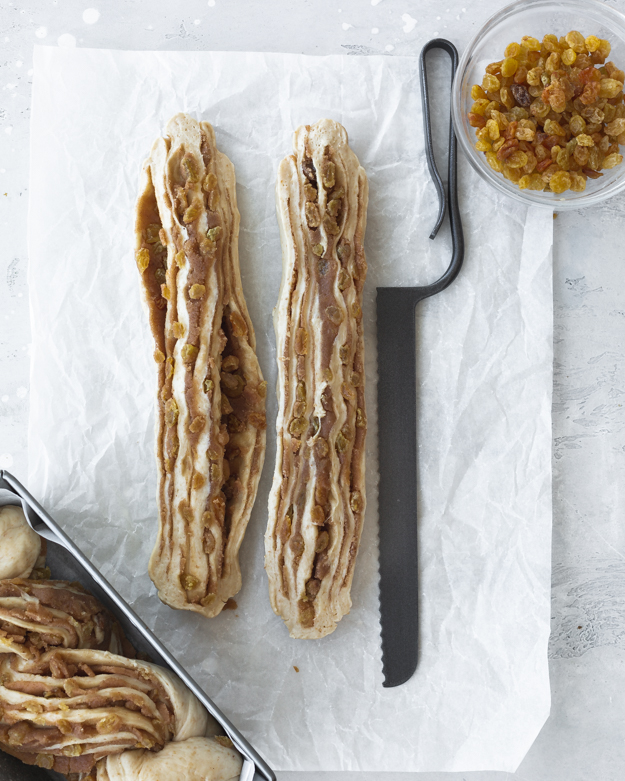
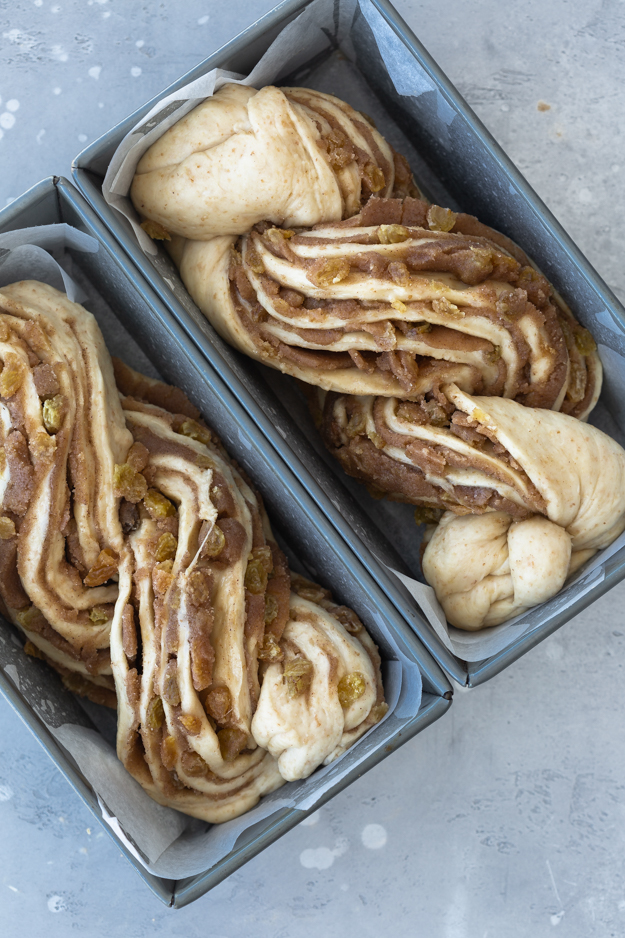
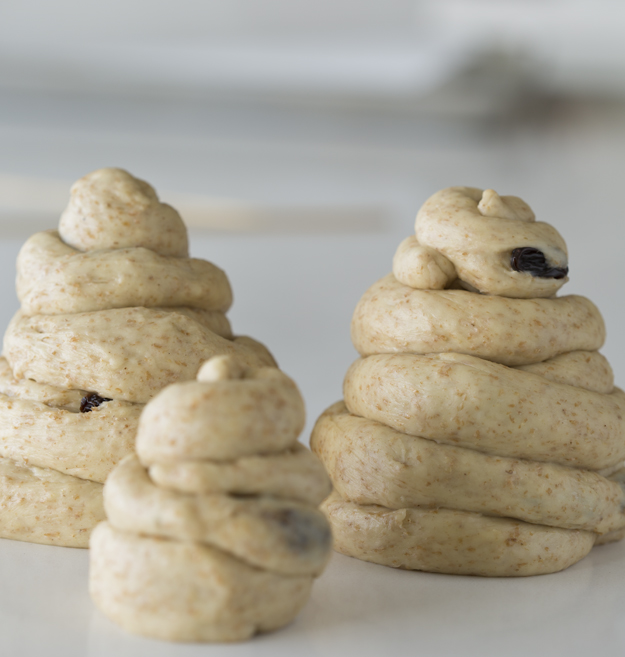
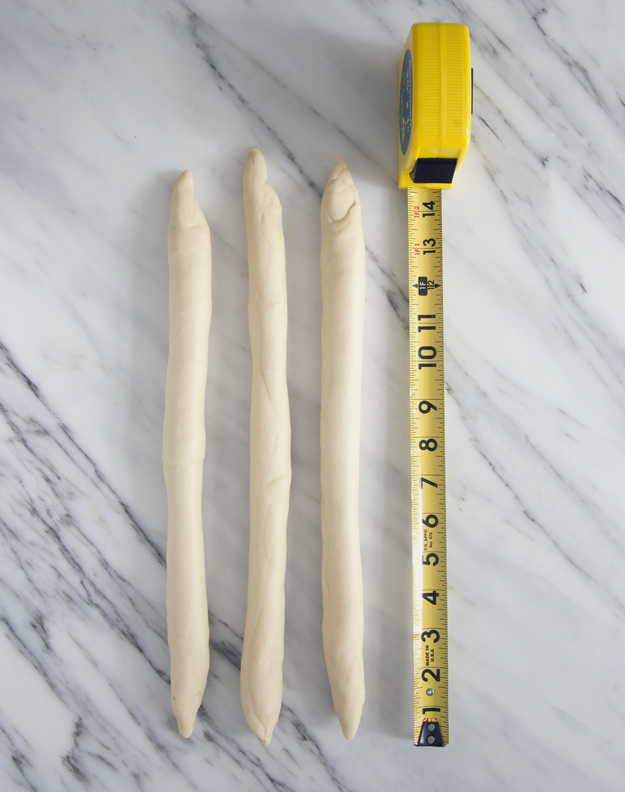
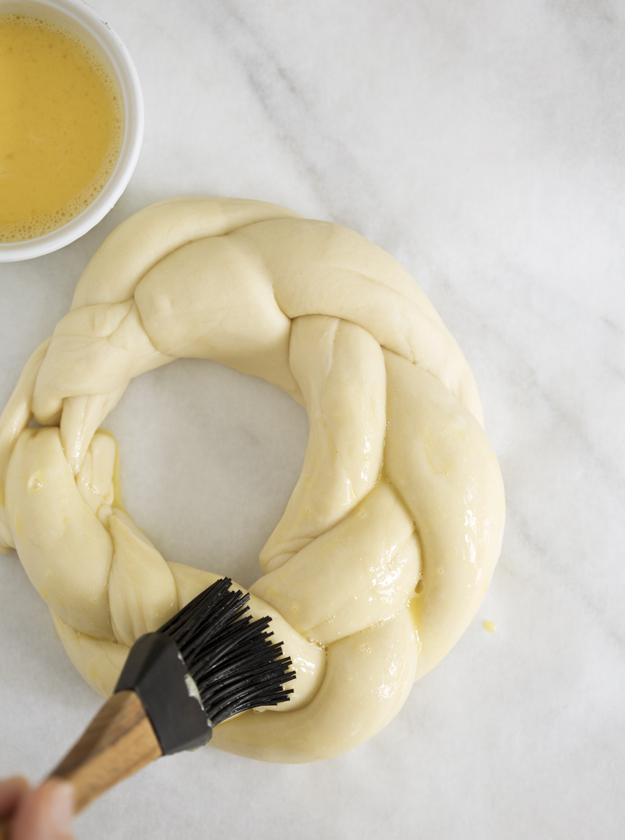
- Working with one chilled log at a time, use a sharp knife to cut the log in half lengthwise. With the cut sides facing up, twist the two halves together to form a braid. Carefully transfer the twisted dough to a parchment-lined 8×4 inch loaf pan. Repeat the cutting, twisting, and shaping process with the second chilled log. Cover both pans loosely and let rise until puffy, about 45–60 minutes.
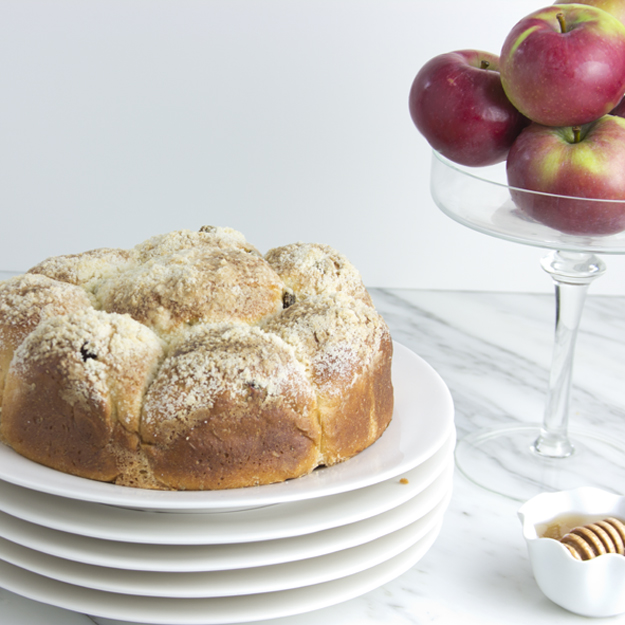
- Preheat the oven to 350°F (180°C). Brush the tops of the loaves with beaten egg and sprinkle generously with Everything Bagel spice. Bake for 20 minutes minutes and check to see how quickly the top is browning. If it is getting too dark, cover loosely with foil until the loaves are deep golden brown and the internal temperature reaches 195°-200°F. (91°-93°C) Cool in the pans for 15 minutes, then transfer to a wire rack to cool completely before slicing.
Notes
Nutrition
And here’s a little bonus I discovered: leftover slices of Salami Babka are absolutely incredible toasted. Just pop a slice into the toaster or throw it on the grill for a minute or two. The edges get crispy, the fig jam caramelizes a little, and the salami takes on that same irresistible sizzle I first fell in love with. It’s the ultimate snack upgrade — and proof that this babka is just as good the next day (if you’re lucky enough to have leftovers).


