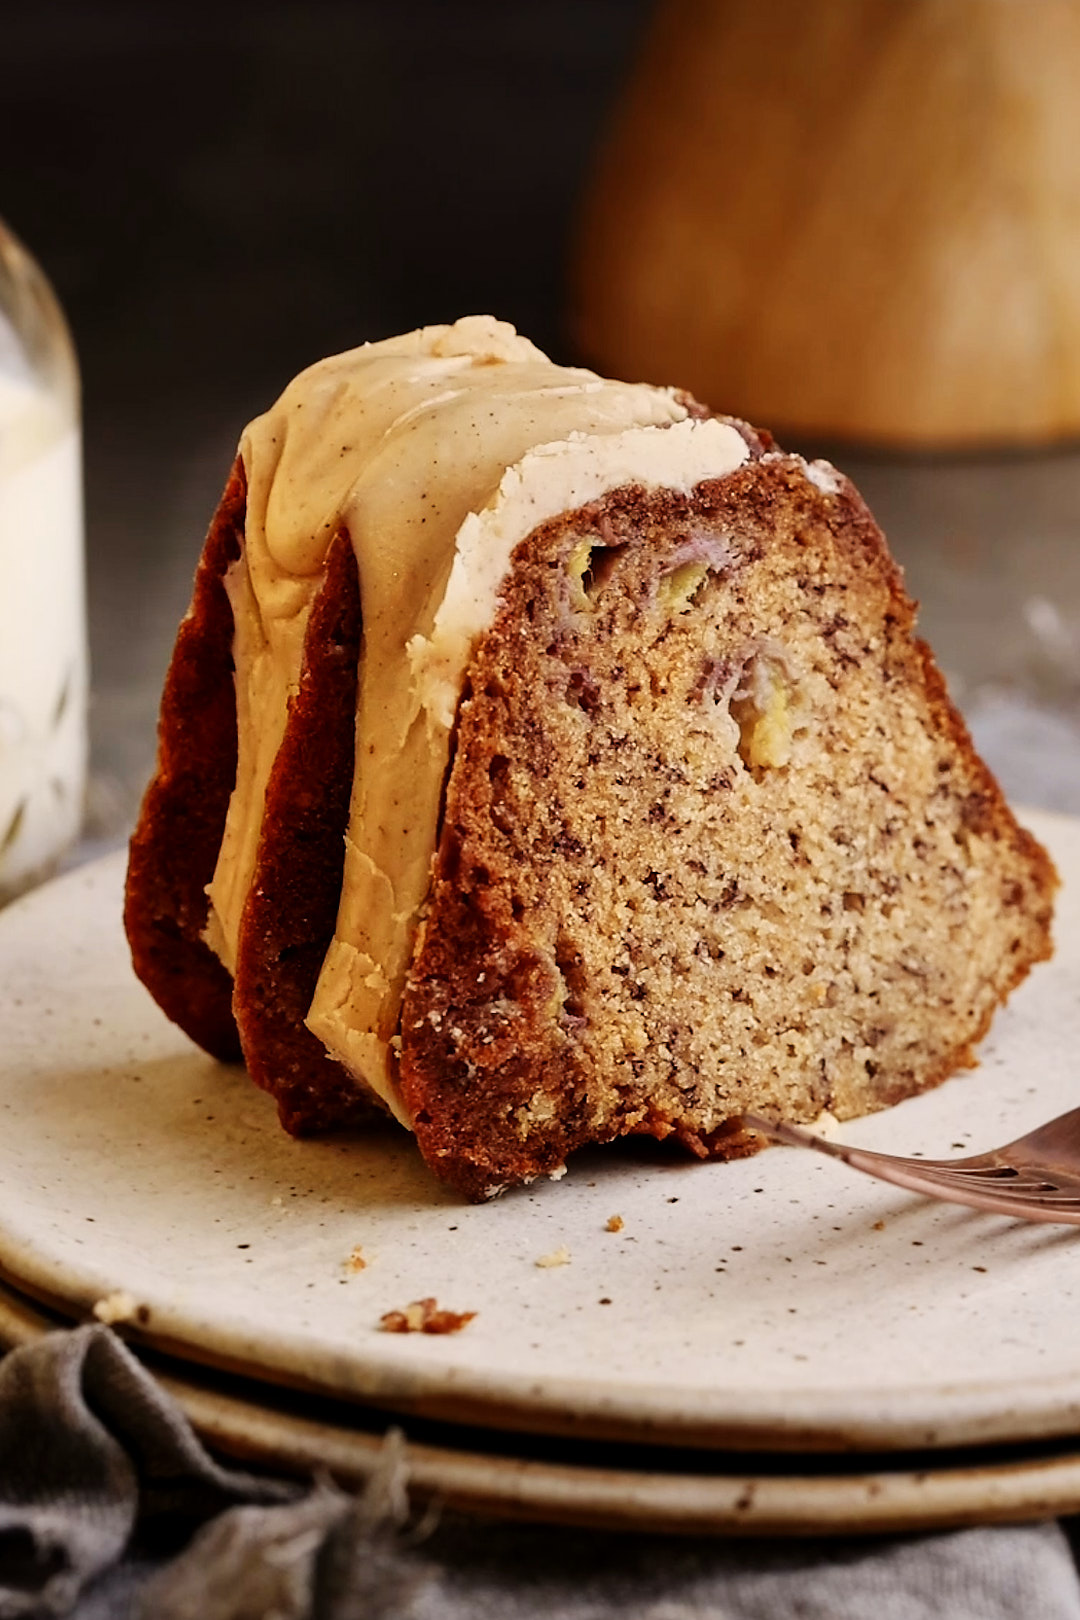
Nothing makes my husband happier than a banana cake sitting on the counter, ready for him to slice at his whim all week long. (Unless of course it’s slices of this, tucked away in the freezer) This Brown Butter Banana Bundt Cake, created by Anna Olsen, takes that simple comfort and elevates it. Instead of just melting the butter, you brown it until it turns nutty and flecked with flavour, giving this banana cake a depth you don’t usually find. And while maple and banana might sound like an unusual pairing, the maple adds a gentle warmth that makes this cake feel just a little more special — and somehow even better the next day.
Keys to Success
- Let the Butter Go Far Enough: Brown butter is what sets this banana Bundt cake apart. After it melts, it will bubble. Then it will foam. Keep going. You’re looking for golden brown flecks at the bottom of the pan and a nutty aroma. Don’t pull it off the heat too soon — that’s where the flavour lives. Tip: Transfer it immediately to a heatproof bowl so it doesn’t keep cooking in the hot pan.
- Use Very Ripe Bananas: This isn’t the time for barely-speckled bananas. The darker and softer they are, the deeper the banana flavour and the sweeter the cake. If your bananas are just yellow, wait. It’s worth it.
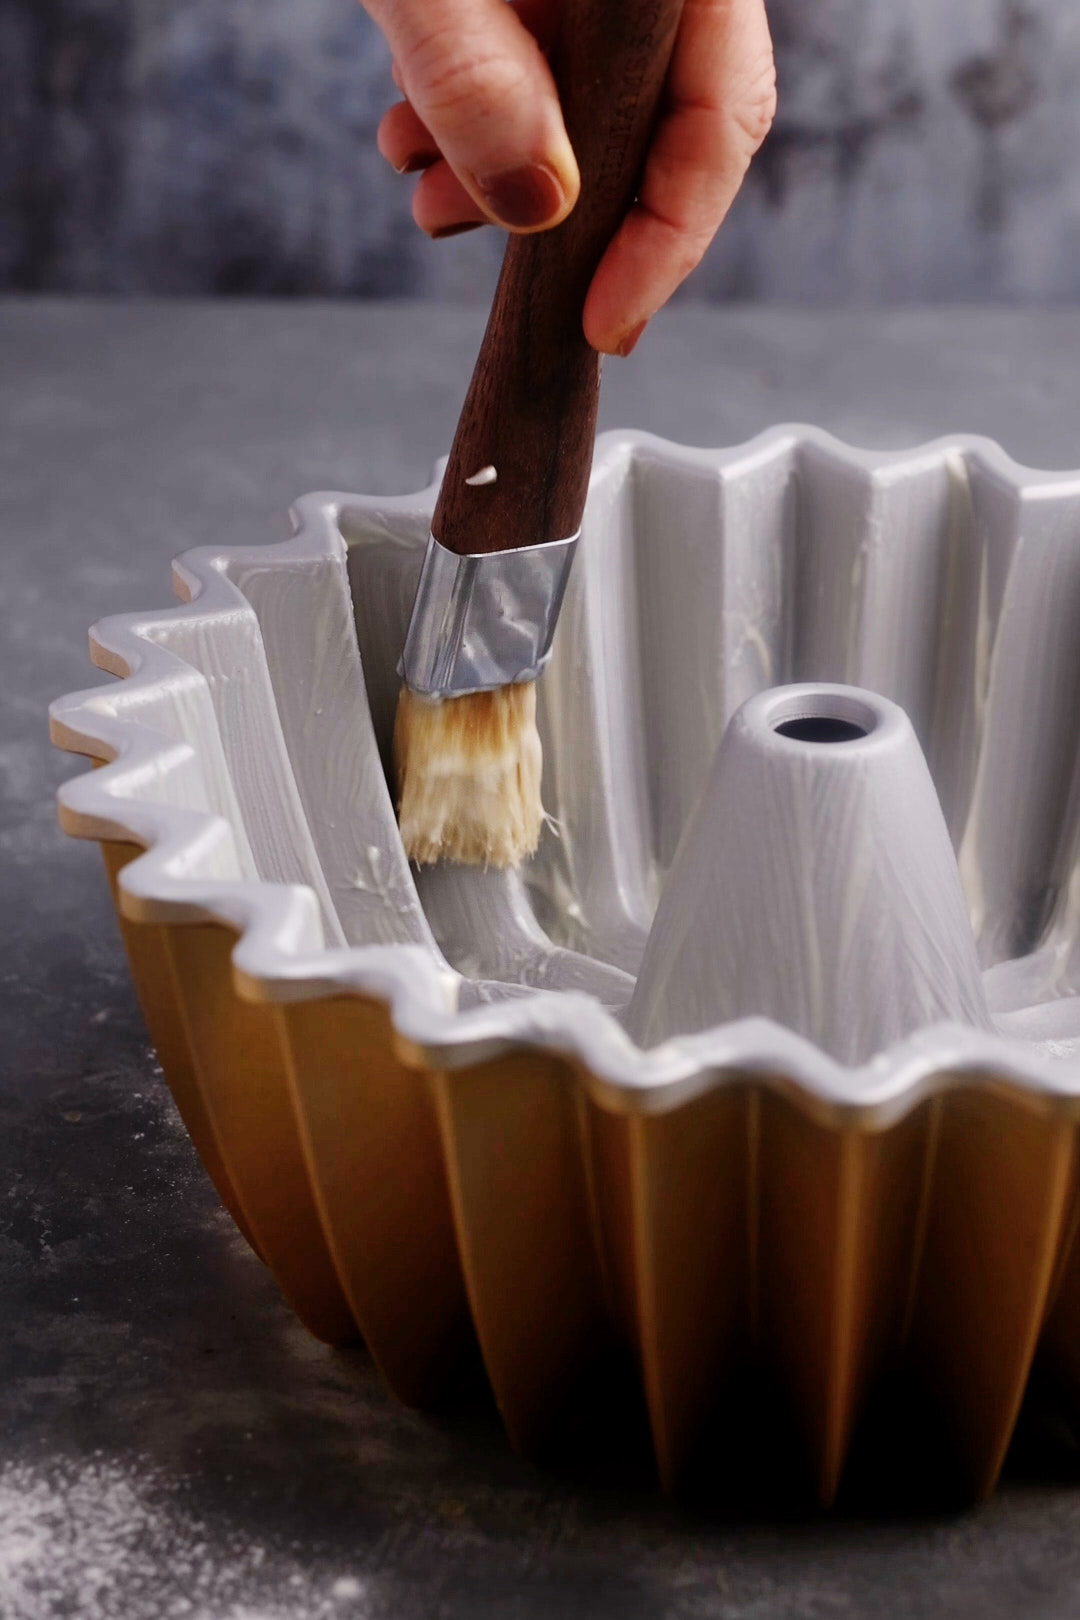
- Take Pan Prep Seriously: Bundt cakes are dramatic. They either release perfectly… or they don’t. Brush your pan generously with a mixture of vegetable oil, flour, and shortening, making sure to coat every ridge and corner. This extra step makes all the difference. Let the cake cool for 20 minutes before turning it out — too soon and it may break, too late and it can stick.
- Bake to Temperature: In addition to testing with a cake skewer, use an instant-read thermometer for precision. Inserted into the centre, the cake should read 200–205°F when fully baked. This ensures a moist crumb without underbaking.
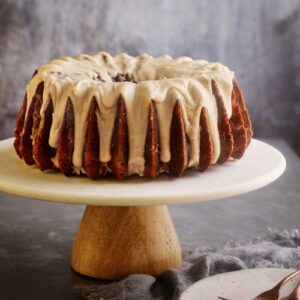
Brown Butter Banana Bundt with Maple Glaze
Equipment
- 1 10 cup Bundt pan
Ingredients
Non-stick mixture for coating pan
- 16 grams all-purpose flour
- 25 grams vegetable oil
- 25 grams vegetable shortening, like Crisco
Banana Cake
- 227 grams unsalted butter, cut into 1 inch cubes
- 775 grams mashed ripe bananas, about 6-8 bananas
- 300 grams granulated sugar
- 156 grams maple syrup
- 4 large eggs
- 2 teaspoons vanilla bean paste or vanilla extract
- 450 grams all-purpose flour
- 2 teaspoons baking soda
- 1/2 teaspoon Diamond Crystal Kosher salt, or 1/4 teaspoon Morton's Kosher salt
Maple Glaze
- 90 grams unsalted butter, cut into 1 inch cubes
- 60 grams maple syrup
- 1 Tablespoon milk
- 162 grams icing sugar, sifted
- 1/4 teaspoon Diamond Crystal Kosher salt, or 1/8 teaspoon Morton's Kosher salt
Instructions
Make Non-stick coating for pan
- Whisk together flour, oil and shortening until smooth.
Make the Bundt Cake
- Preheat and prepare the pan: Preheat the oven to 325°F. Using a pastry brush, very generously coat the inside of Bundt pan with the non-stick mixture. Don't forget the center post. Set pan aside.
- Brown the butter: In a small saucepan over medium-high heat, melt the butter. Continue cooking until it foams, then turns golden brown with nutty-smelling brown flecks on the bottom, about 3 minutes after melting.Immediately transfer the butter to a heatproof bowl and let cool for 10 minutes.
- Mix the wet ingredients: Pour the slightly cooled brown butter into a large mixing bowl. Whisk in the mashed bananas, sugar, and maple syrup until well combined.Whisk in the eggs and vanilla until smooth.
- Add the dry ingredients: In a separate bowl, sift together the flour, baking soda, and salt.Add the dry ingredients to the banana mixture and gently fold just until combined. Do not over mix.
- Bake: Scrape the batter into the prepared Bundt pan and smooth the top.Bake for 60–70 minutes, until a cake tester or skewer inserted into the centre comes out clean. You can also For extra precision, you can also use an instant-read thermometer — inserted into the centre of the cake, it should register 200–205°F when fully baked.
- Cool: Let the cake cool in the pan for 20 minutes, then carefully turn it out onto a cooling rack.Allow the cake to cool completely before glazing.
Make Maple Glaze
- Brown the butter: In a small saucepan, brown the butter as you did for the cake. This second batch will brown more quickly — about 1 minute.Transfer to a heatproof bowl and let cool for 5 minutes.
- Whisk the glaze: Whisk in the maple syrup, milk, and icing sugar until smooth and pourable.
- Glaze and set: Spoon or pour the glaze over the cooled Bundt cake, allowing it to drip naturally down the sides.Let the glaze set for about 1 hour before slicing and serving.
Nutrition
Banana cake will always be good. But browned butter makes it unforgettable. It’s a small extra step, but it changes everything — the aroma, the depth, the way people go back for a second slice. So take the time. Brown the butter. Your future self — and anyone lucky enough to grab a slice — will thank you.