 A funny thing happens when your adult children come home for a visit. In July, my daughter moved into the cottage with me for most of the summer. I was thrilled about it, as we live in different cities, and I don’t get to see her as much as I’d like.
The kitchen starts filling up with things you don’t recall buying. My fridge boasted 3 varieties of kombucha, (cosmic cranberry, ginger berry and multi-green) 2 packages of probiotic capsules (for making non-dairy coconut yogurt), Croatian organic artisan chocolate (that tasted like wax, to my palate) and Skyr, which I’m still not sure how to pronounce properly.
The tea drawer (yes, we have an entire drawer devoted to tea), filled up with several varieties of ginger tea as well as some turmeric concoction. The pantry shelves featured 2 flavours of muesli, collagen powder and All-Dressed Chips.
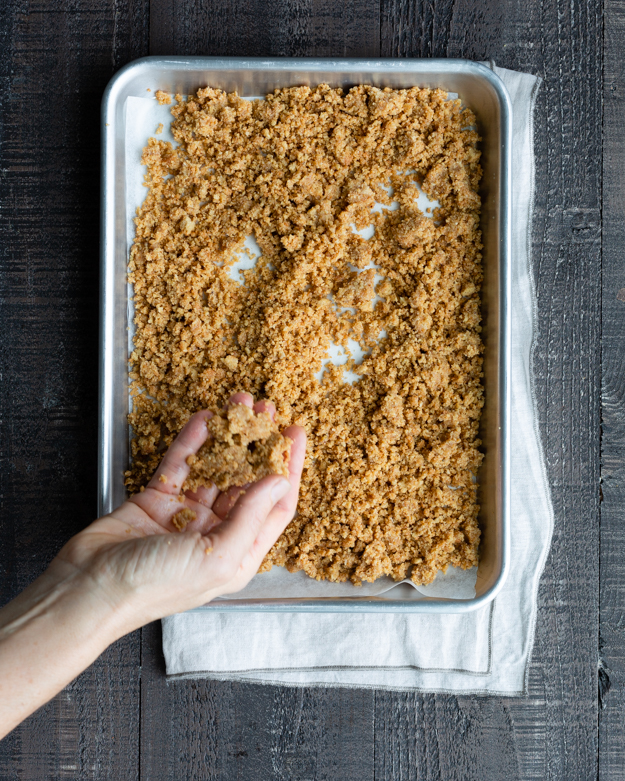
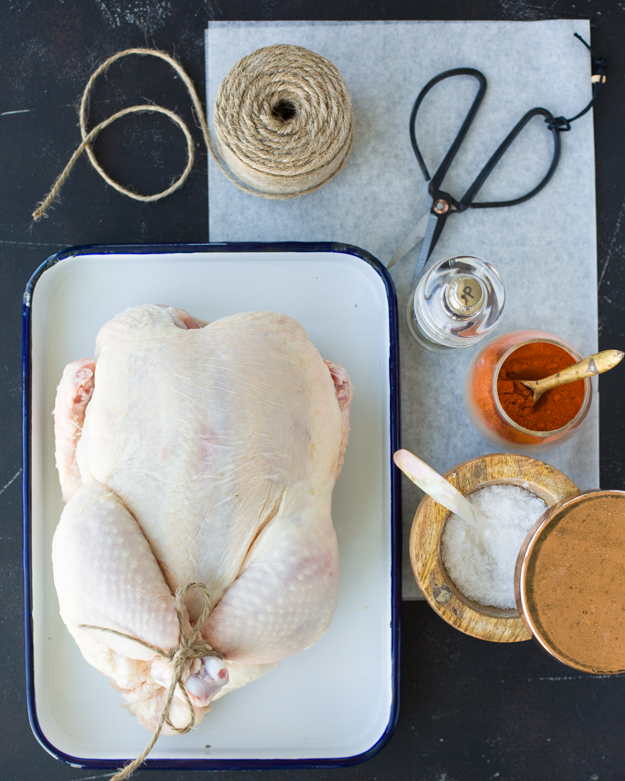
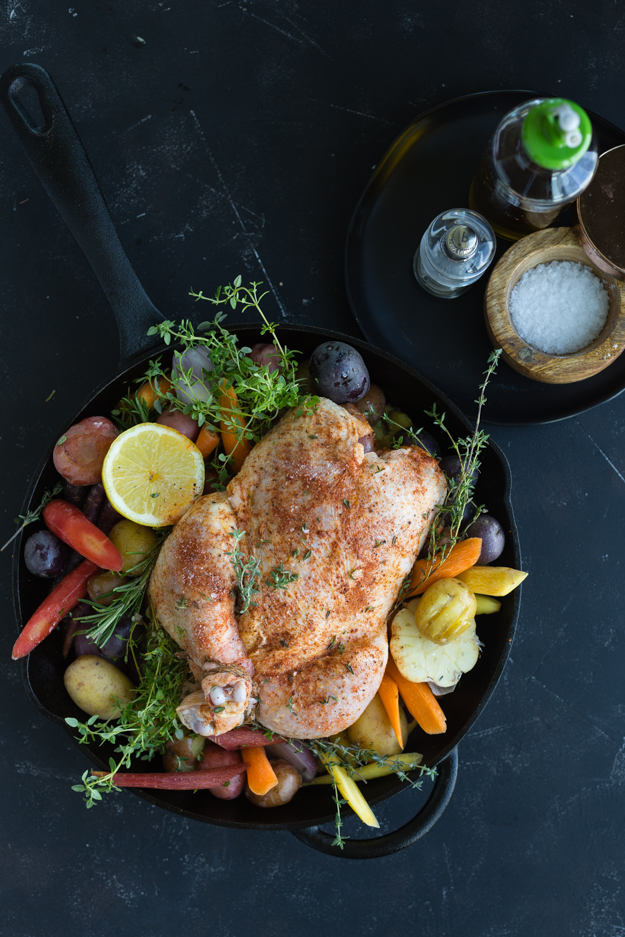
One morning I opened my spice drawer and saw a rogue shaped jar of something called New Bae Seasoning. I decant all my spices into the same shape jar, and file them alphabetically. Please don’t judge me, it’s how I keep my serenity.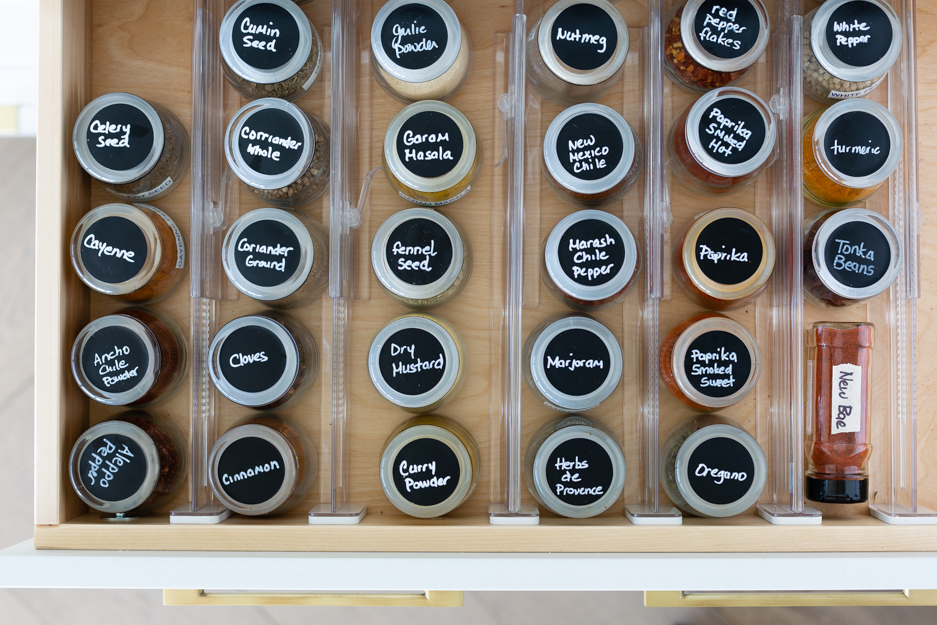 When I asked my daughter about it she excitedly told me that it’s a blend of different spices (Himalayan Pink Salt, Paprika, Celery, Black Pepper, Ancho Chili Powder, Cayenne, Cardamom, Allspice, Mace, Bay Leaves), and makes everything you put it on taste better. That night we sprinkled some on diced sweet potatoes and roasted them. I was hooked. We used it all summer on fish, chicken and all our roasted and grilled veggies. It was even delicious sprinkled on top of hummus. When she left at the end of the summer, she took her jar with her, but left me the probiotic capsules!
I ordered my own jar, online at purefeast.com . A few other online retailers carry it as well, but they seem to be out of stock when I last checked.
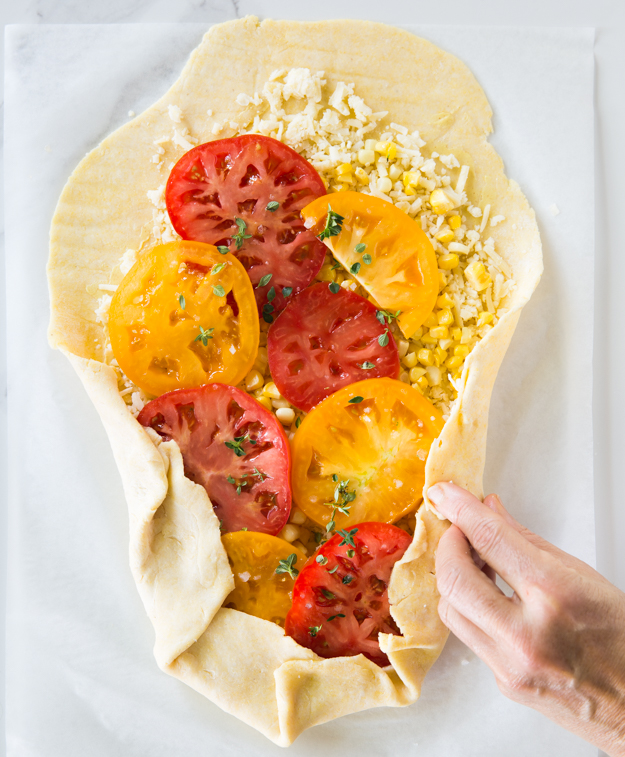
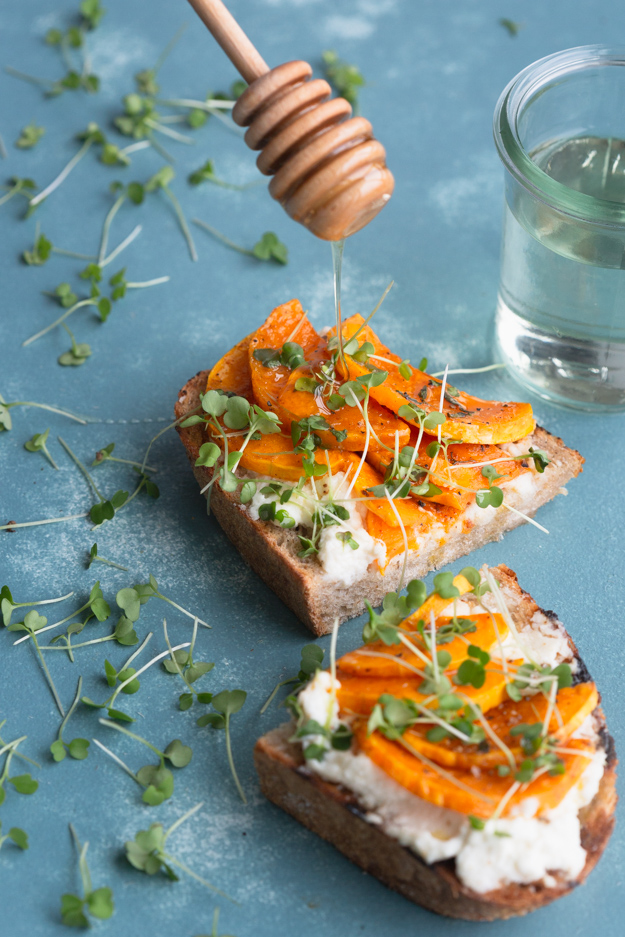
Here’s how to make these delicious tartines (that’s french for open-faced sandwich, because we’re fancy around here!)
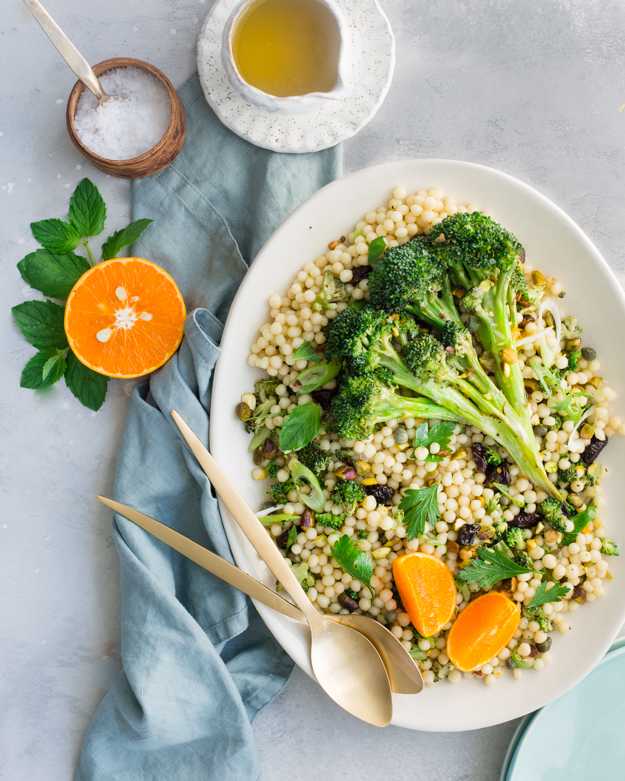
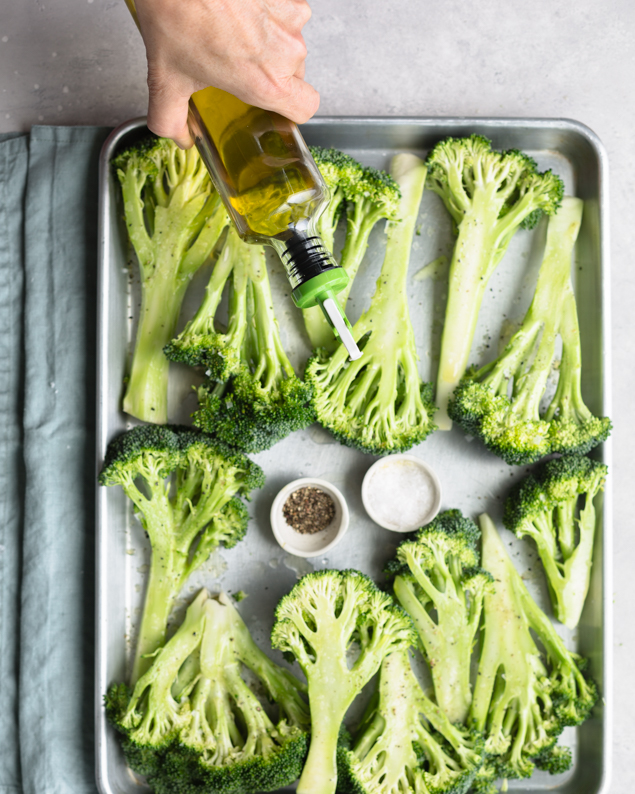
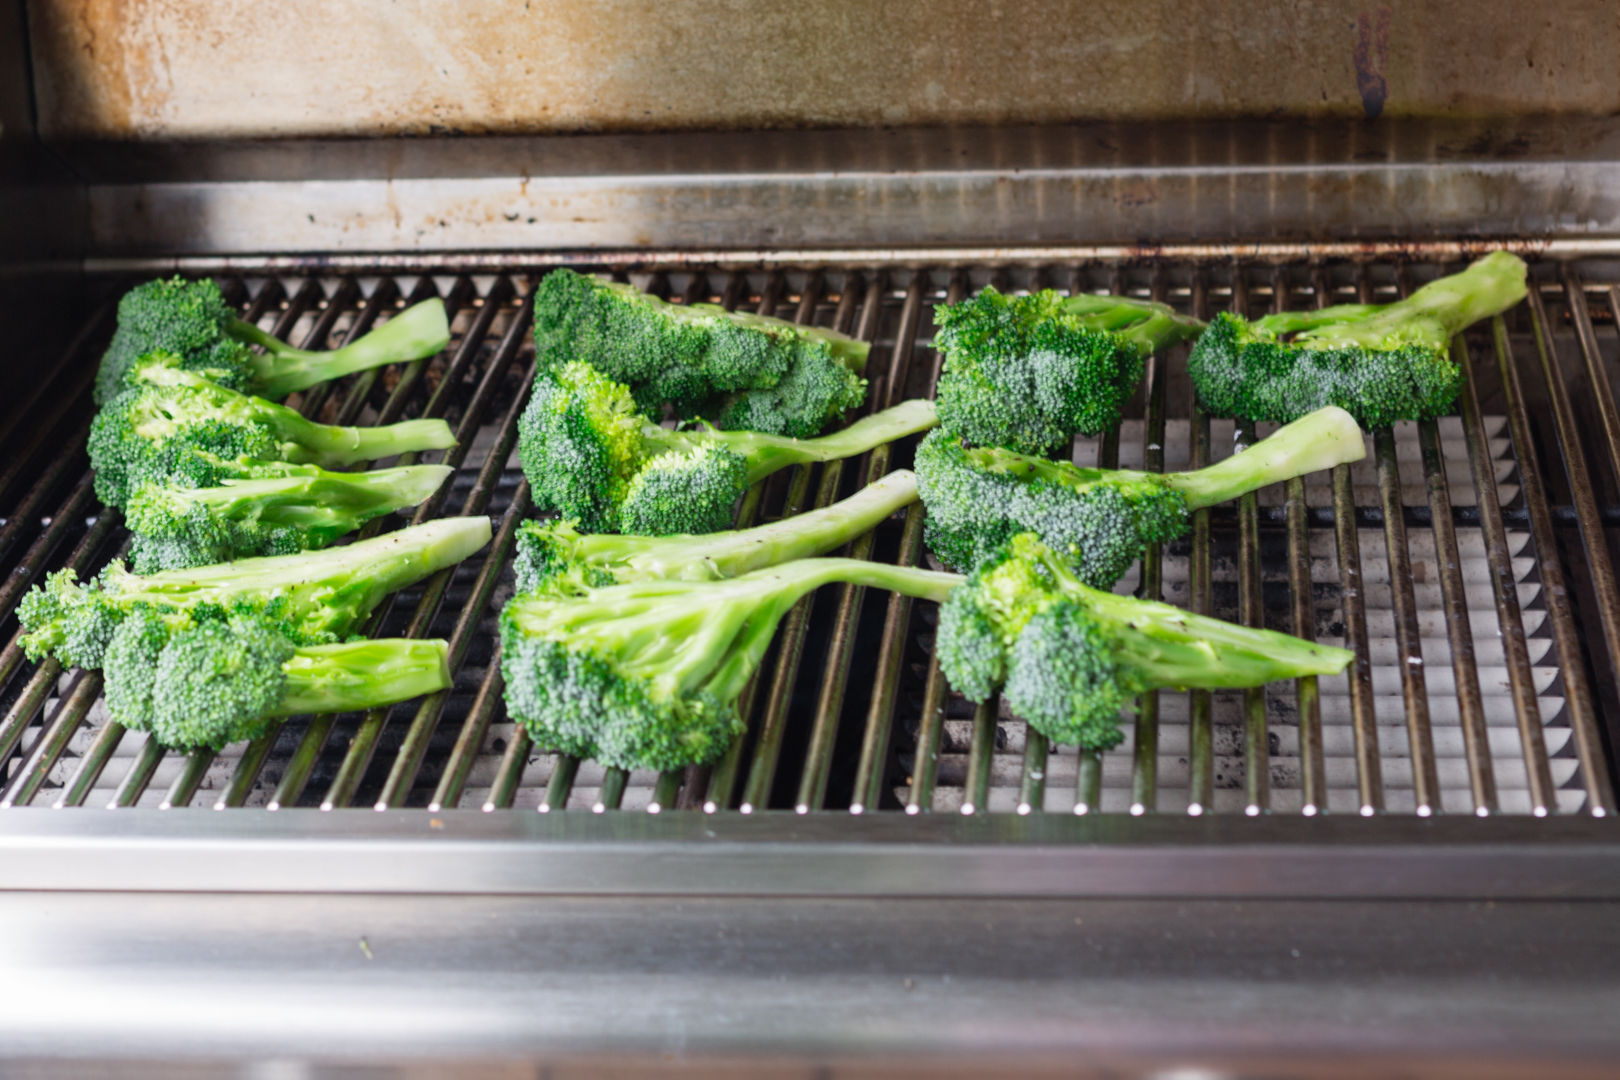
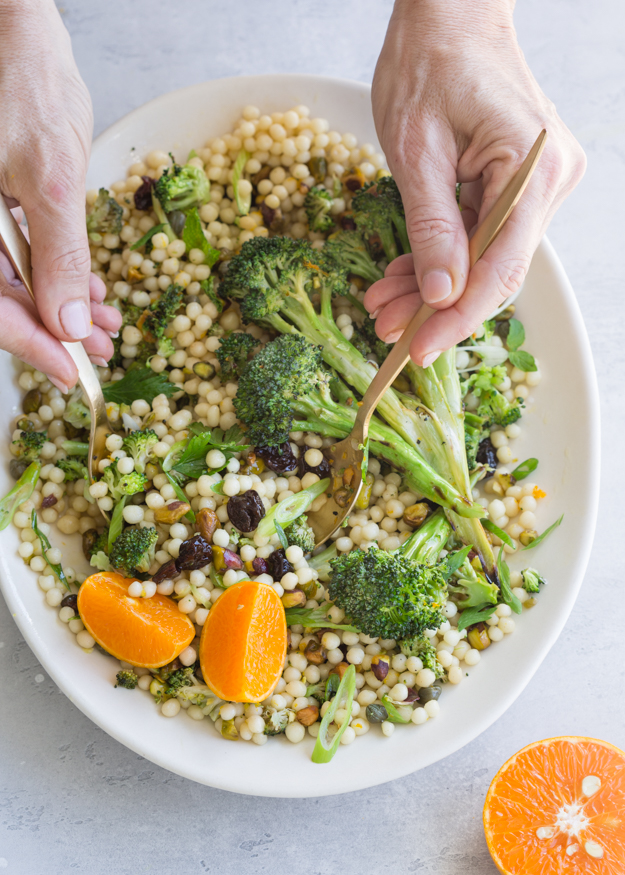
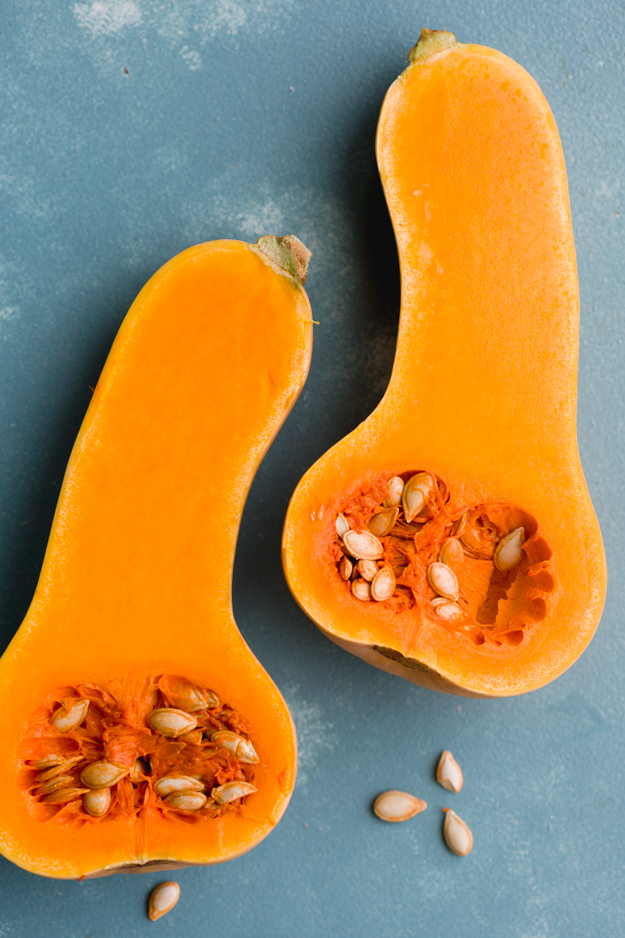
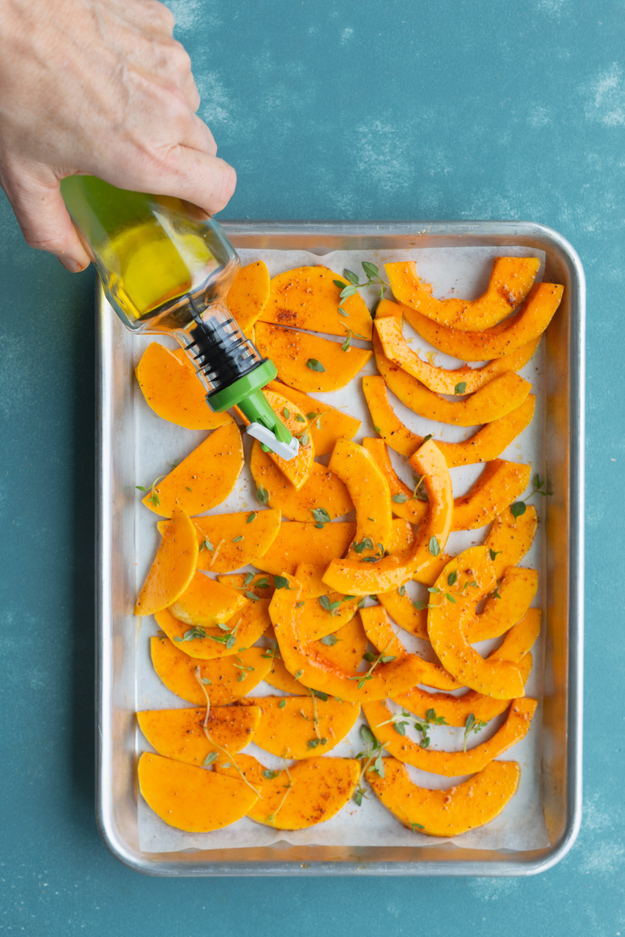
I used butternut squash and sliced it very thin. Use your favourite fall veggie. Roasted broccoli would also be delicious.
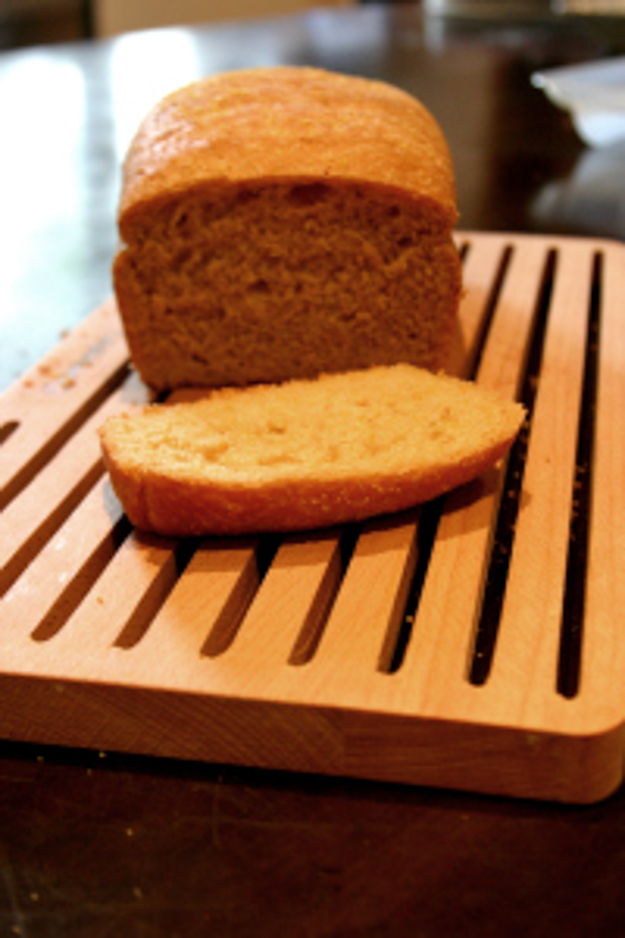
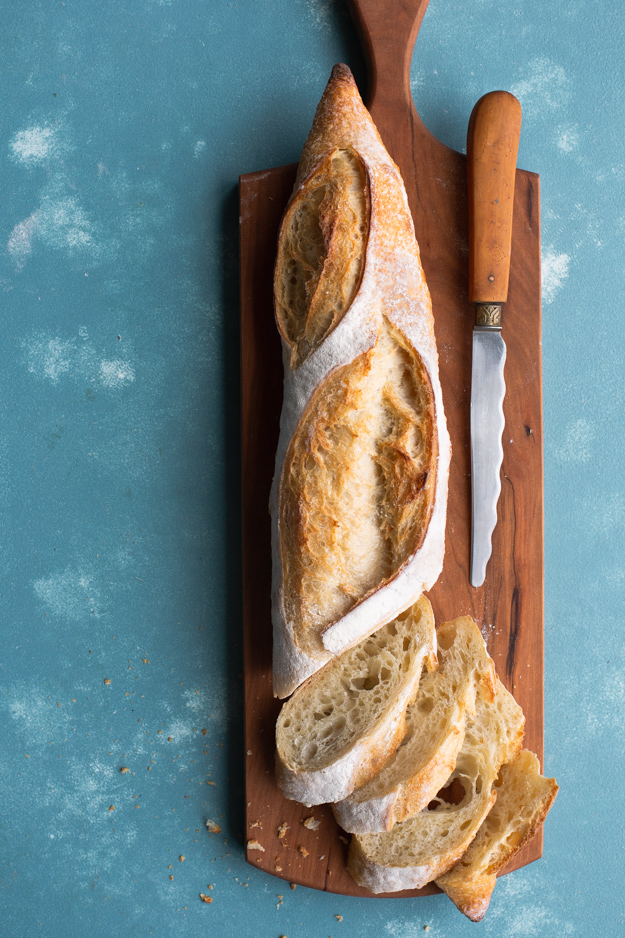
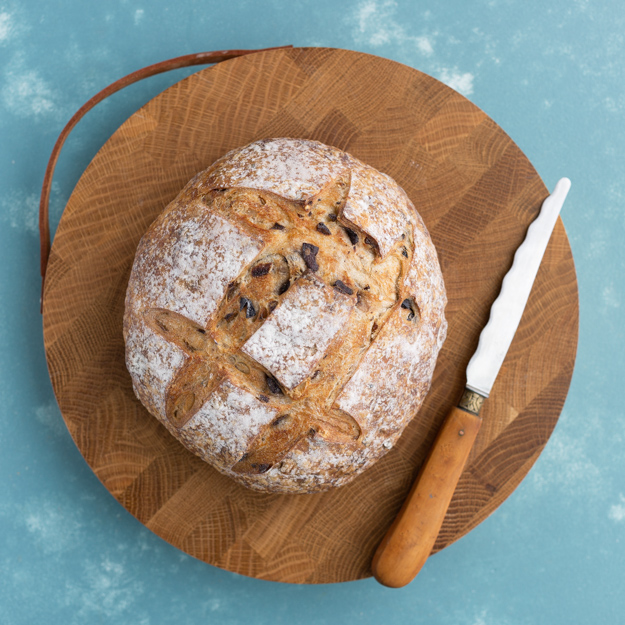
 Make sure you start with some really good bread and toast or grill it, so that it’s crunchy. I found a new bakery in my neighbourhood here in Ottawa that sells amazing artisan breads. If you’re in Ottawa, check our Mamie Clafouti’s on Richmond Rd.
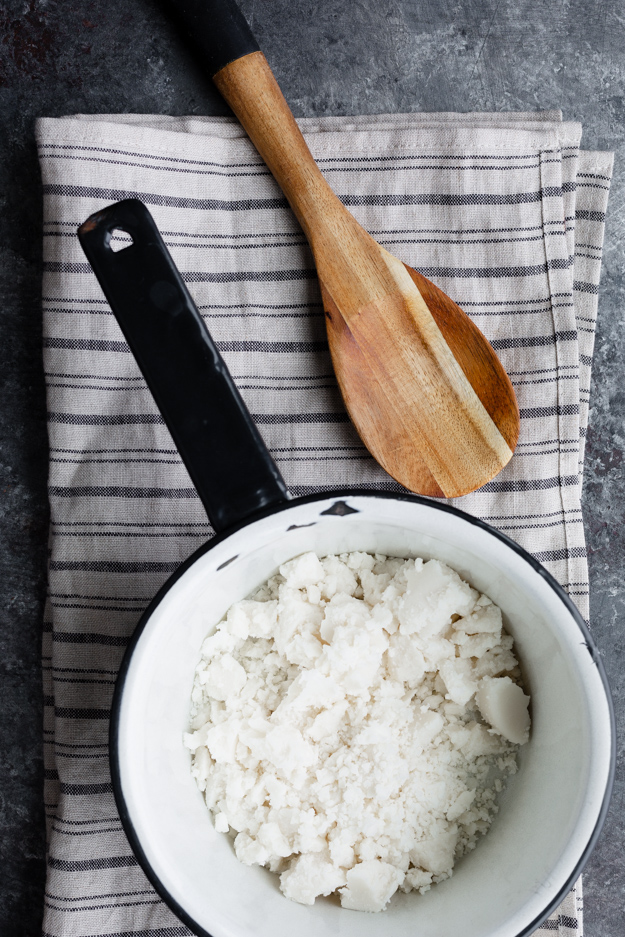
 If you have an extra 15 minutes, make your own ricotta. I will include the recipe in the link below. But if time is tight, use store-bought. It will still be really good. Choose an assertive green to top your tartine with. I found micro arugula, but regular arugula or some shredded radicchio would be good choices. You want something bitter to counter balance the spicy-sweet squash and mild ricotta. A drizzle of honey is an excellent way to finish.