 If you happened to have been visiting Ireland during the first week of September this year, and noticed a shortage of butter, I apologize. My bad. That was me, eating my way through Galway, Killarney and Dublin, one loaf of bread at a time, slathered with Irish butter and salt.
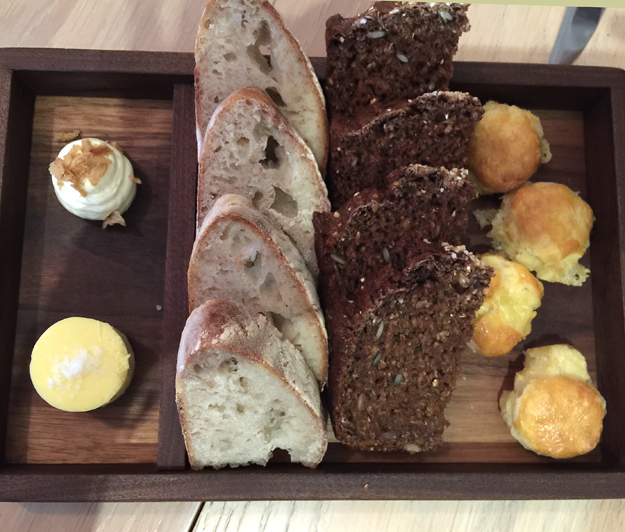 Most folks go to Ireland to drink Guinness or Irish Whiskey. When the customs officer asked us the purpose of our visit I think I shocked him when I divulged I was going for the butter.
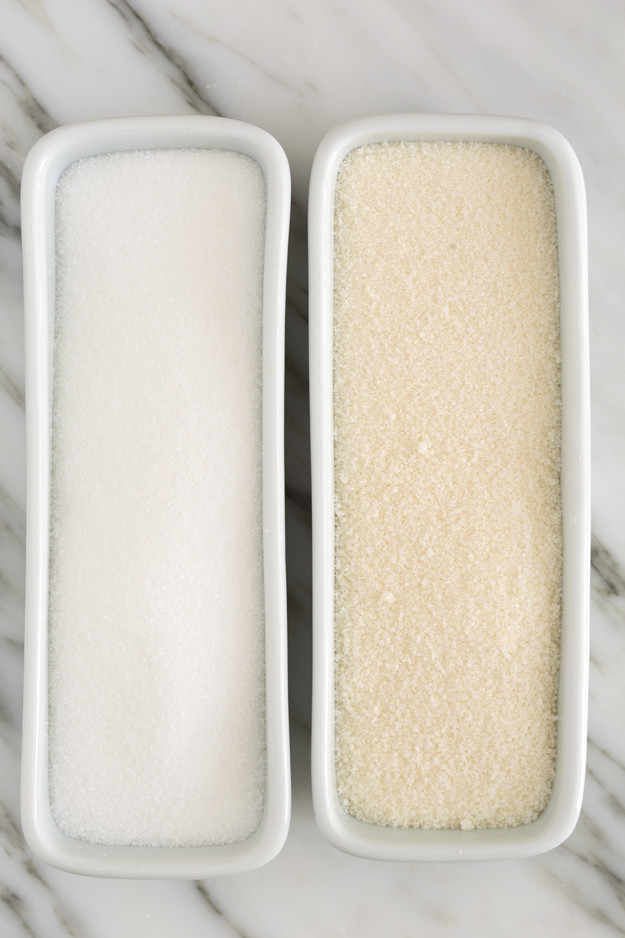
What makes Irish butter so good? Turns out that the key to their delicious butter is grass. Over two thirds of Irish land is dedicated to farming and agriculture. 80% of this land is used to grow grass, hence the country’s nickname, “The Emerald Isle”. Irish cows graze freely on grass for 10 months a year. 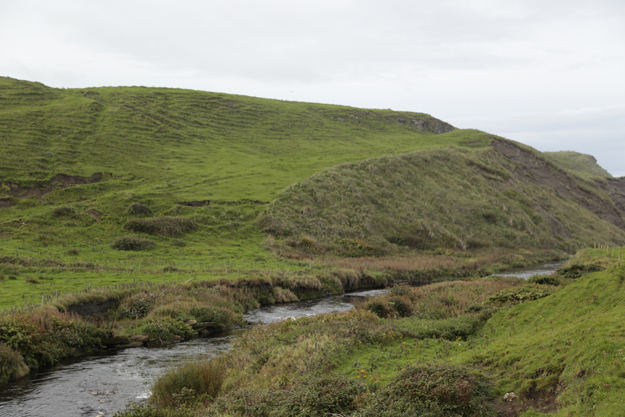 Irish butter has a deep golden colour, owing to the beta carotene in grass. Contrast that to North America, where most dairy cows are fed a diet comprised of primarily corn and soybeans. This produces a paler coloured butter, less rich and creamy than Irish butter. Creamy and sweet with a pure clean butter flavour and silky texture, Irish butter is the gold standard. The most well-known brand of Irish butter is Kerrygold. Luckily for us, it’s widely available here at home.
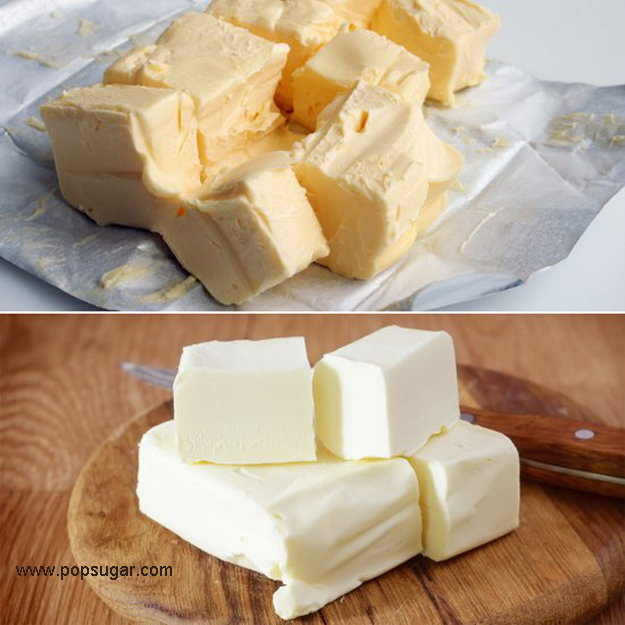 I discovered the joys of Irish soda bread and butter on our very first morning. We landed in Dublin after flying all night and rented a car to drive to Galway, on the west coast. We stopped halfway through our 3 hour drive for our first full Irish breakfast. My plate arrived piled high with eggs, sausages, bacon, potatoes and tomatoes. All very delicious, but I quickly lost interest and abandoned it once I took my first bite of the soda bread, thickly spread with salted butter and jam.
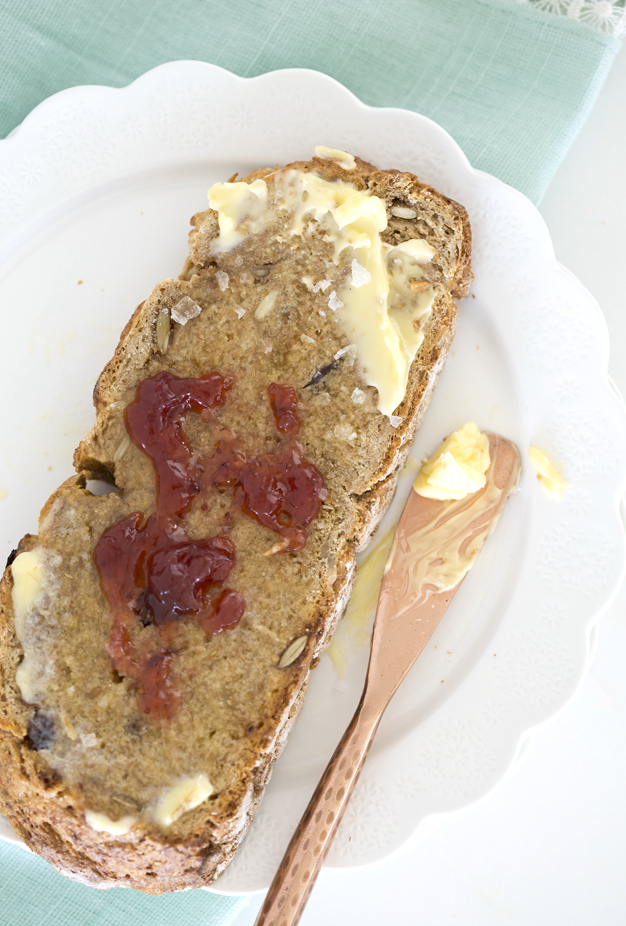
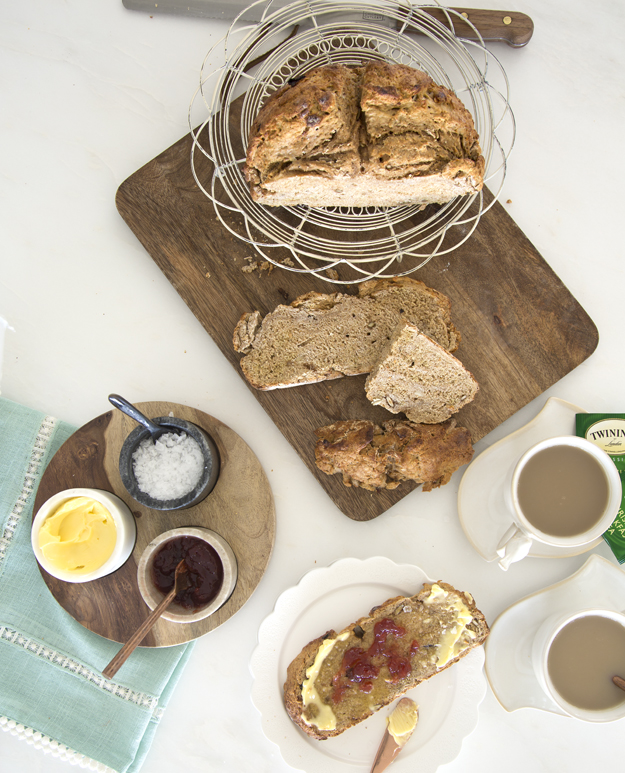
Turns out that almost every restaurant bakes their own soda bread and the variations seemed endless. My rule for bread eating is, that unless it’s stellar, I try not to waste the calories. I was powerless to resist all that amazing bread, and it goes without saying that the butter put me in my happy place.
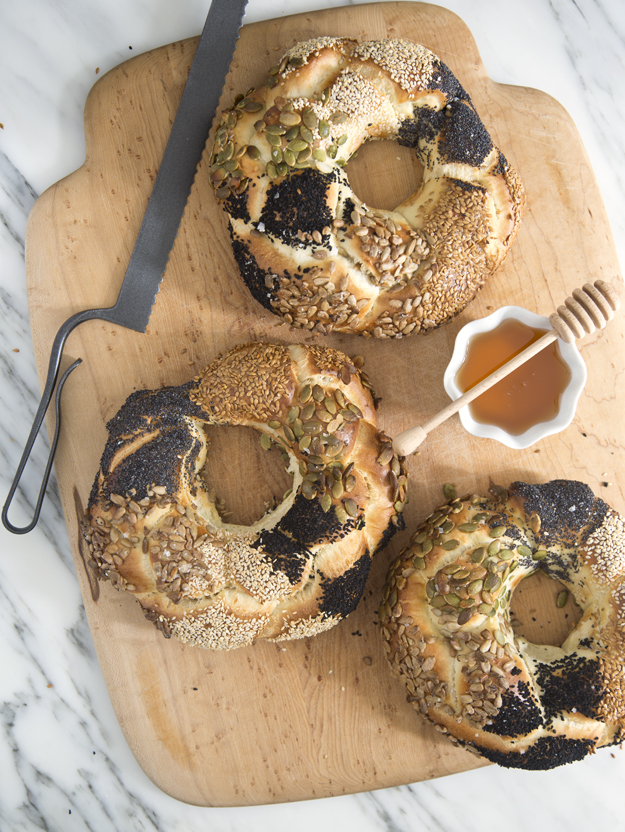
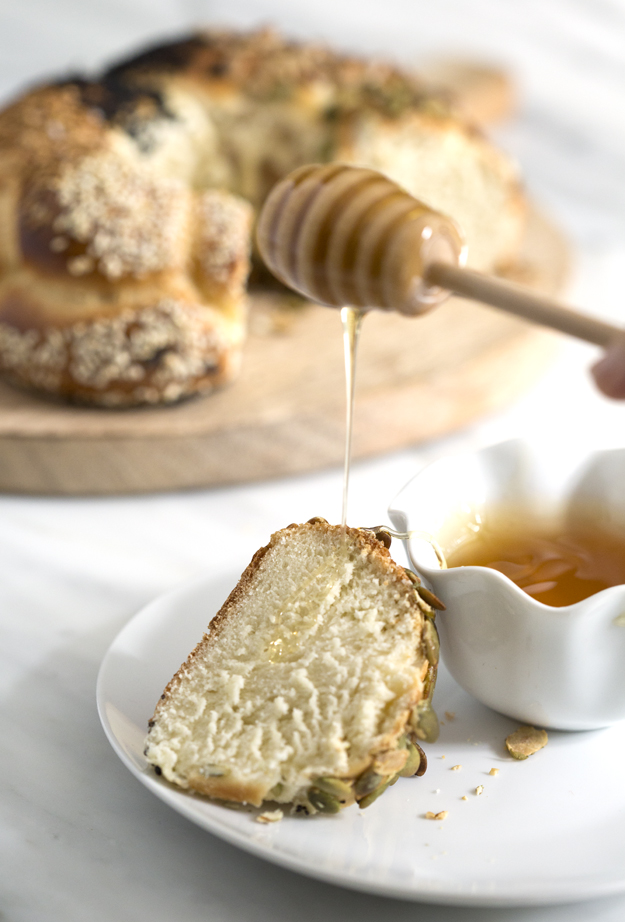
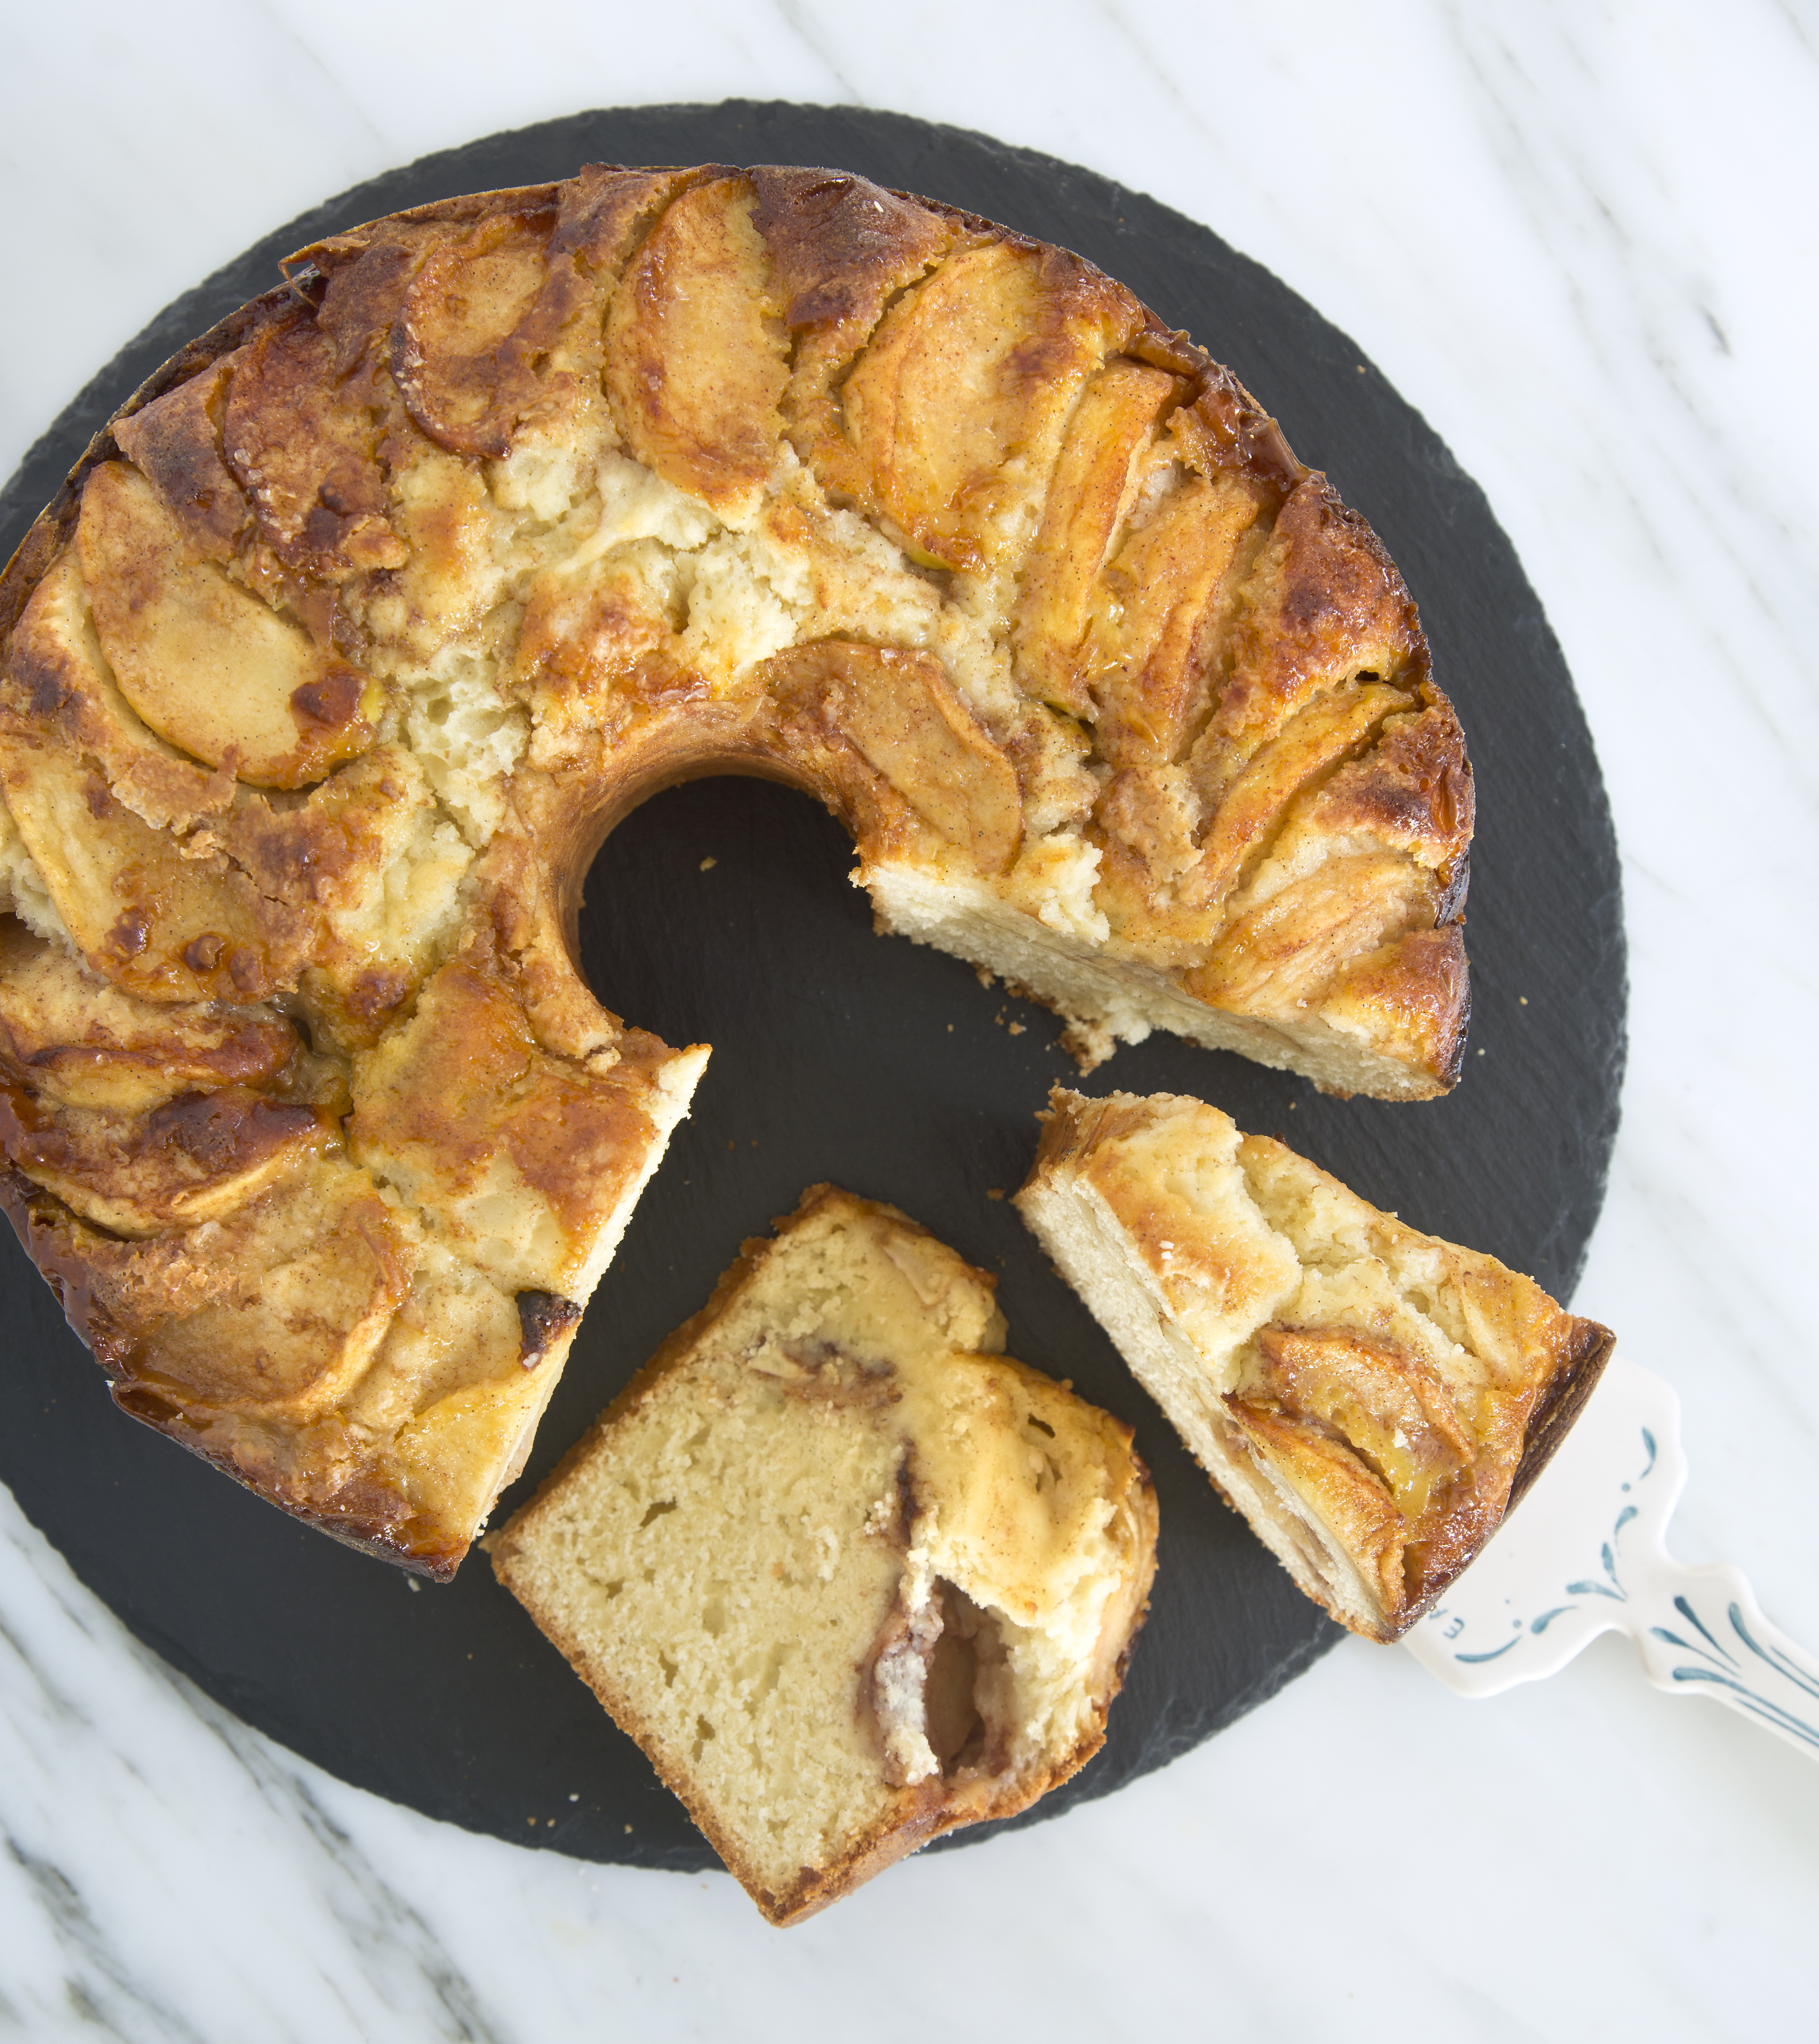
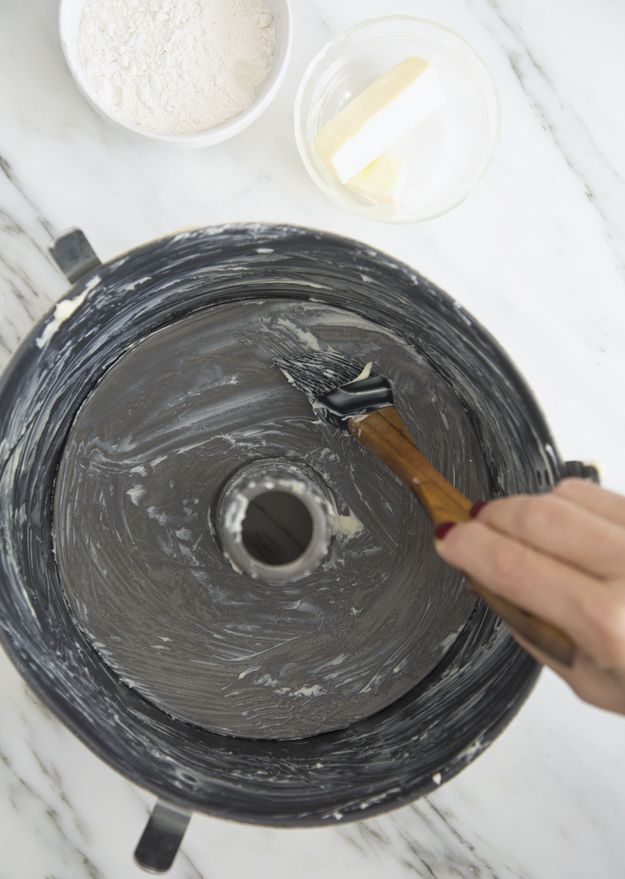
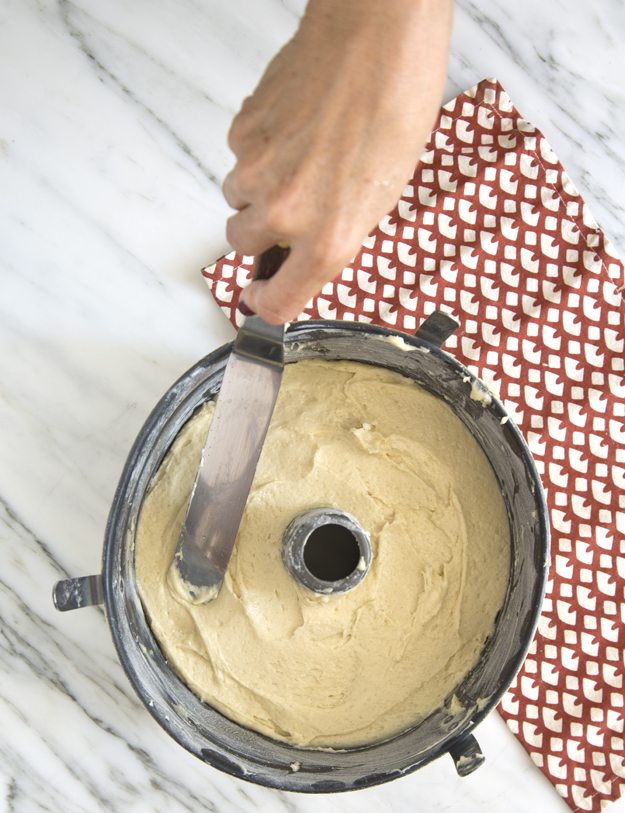
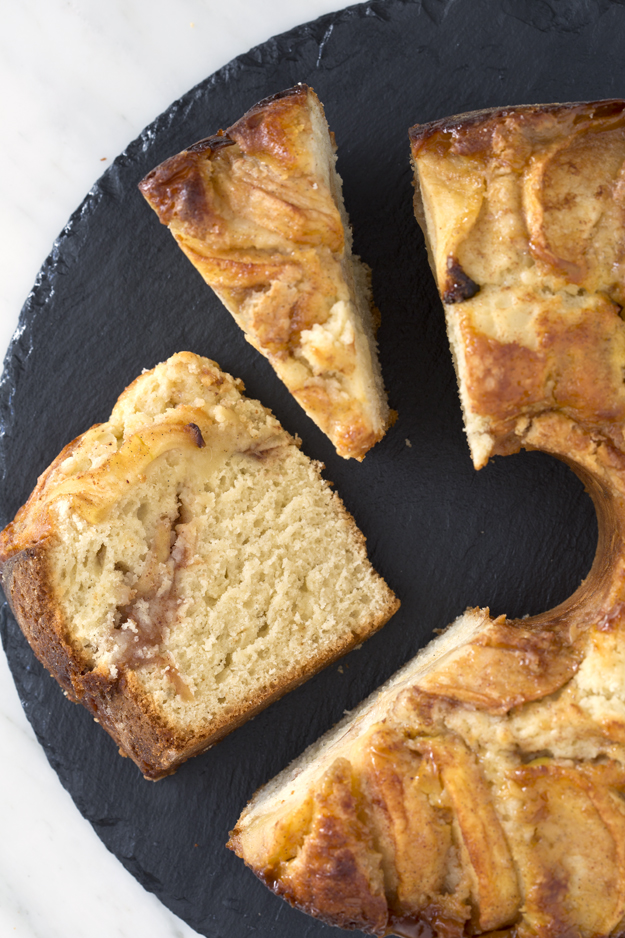
Irish soda bread boasts a craggy intensely crunchy crust and a dense chewy interior. There are many different versions and variations, but the traditional recipe consists of flour, baking soda, salt, and buttermilk. The power of baking soda is activated by the acid in the buttermilk.
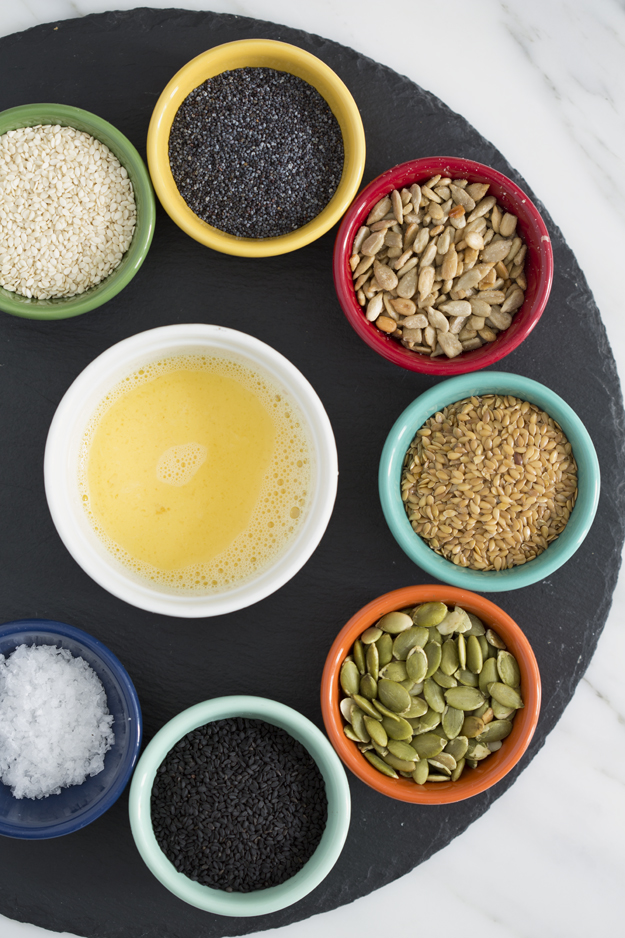
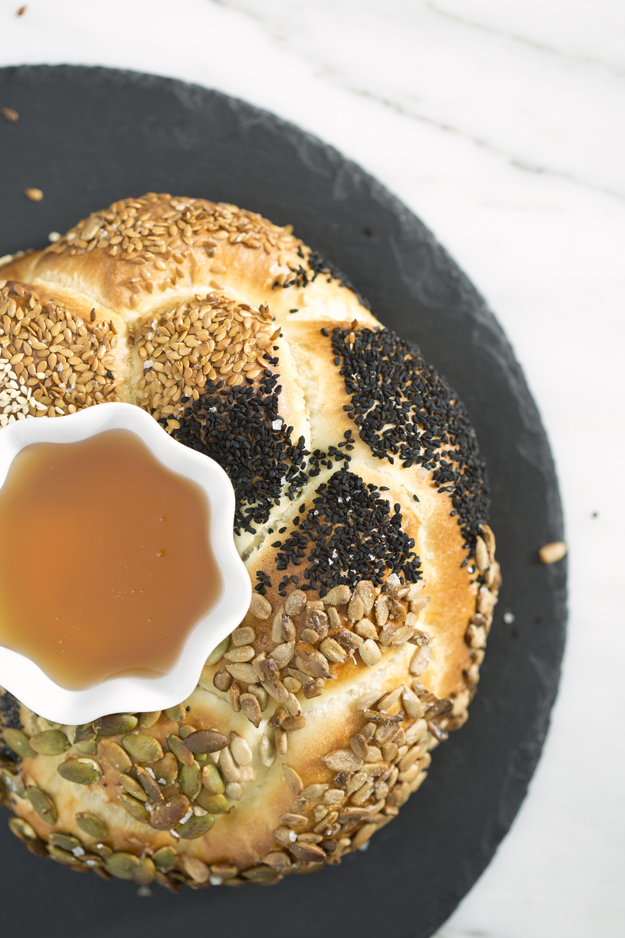
My version is adapted from Clodagh McKenna‘s book Clodagh’s Irish Kitchen. She uses equal parts of white all-purpose and whole wheat flours. I loaded up my loaf with golden flax seeds, sunflower and pumpkin seeds and raisins.
Irish butter, flaky sea salt and tart cherry jam make excellent accompaniments to the bread. Any leftover is delicious toasted all week long!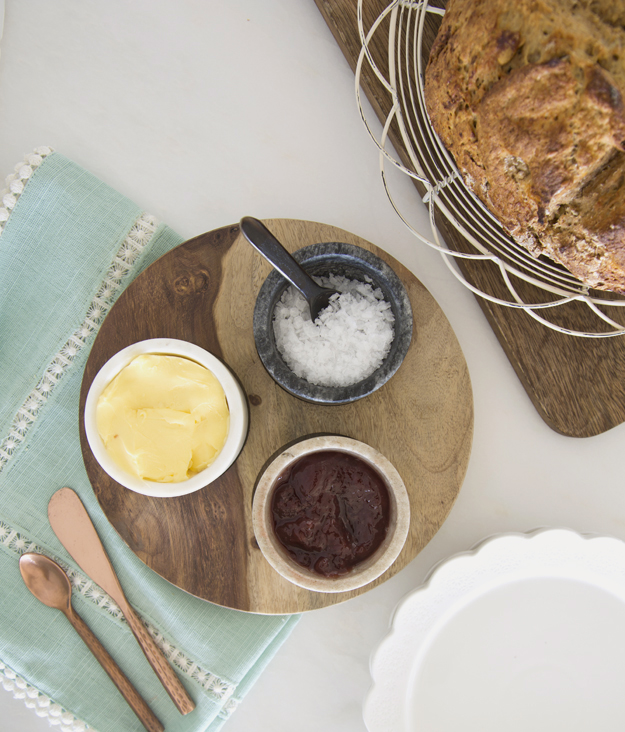
Click here to print recipe for Irish-soda-bread.