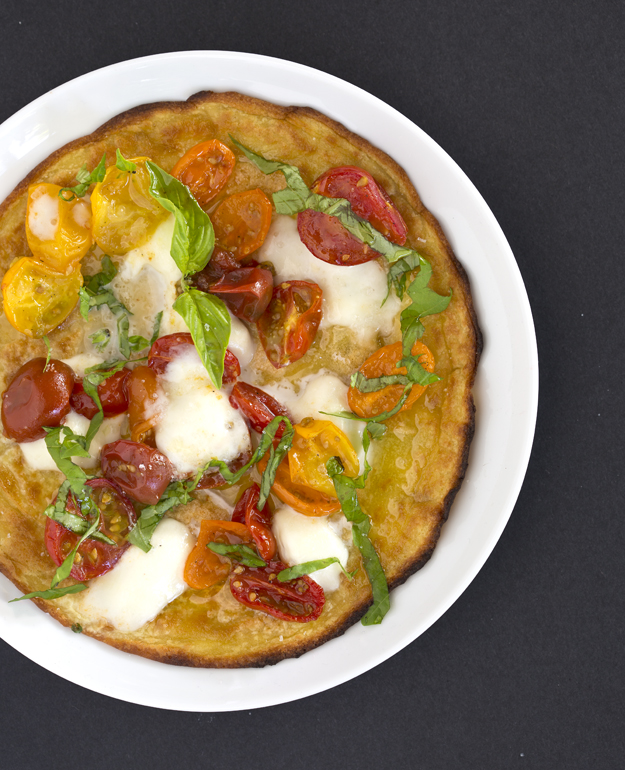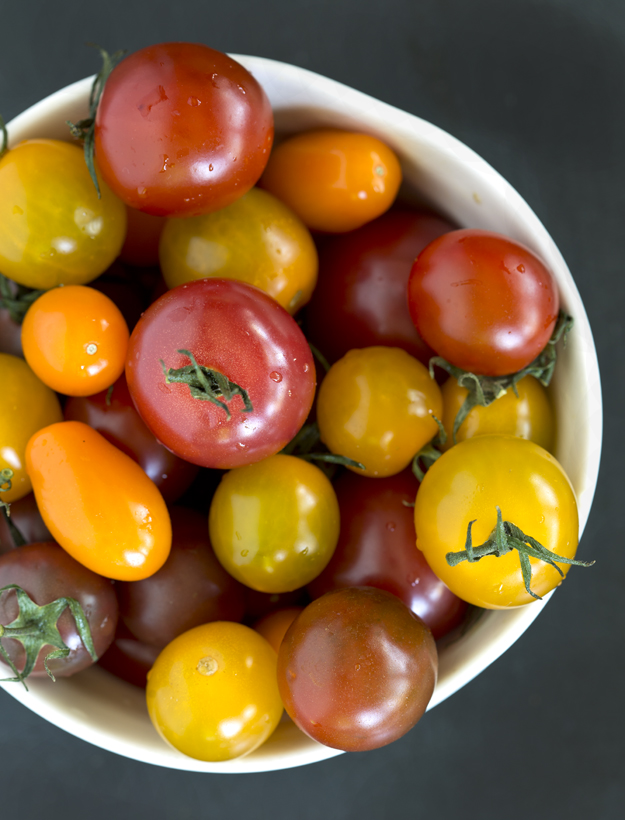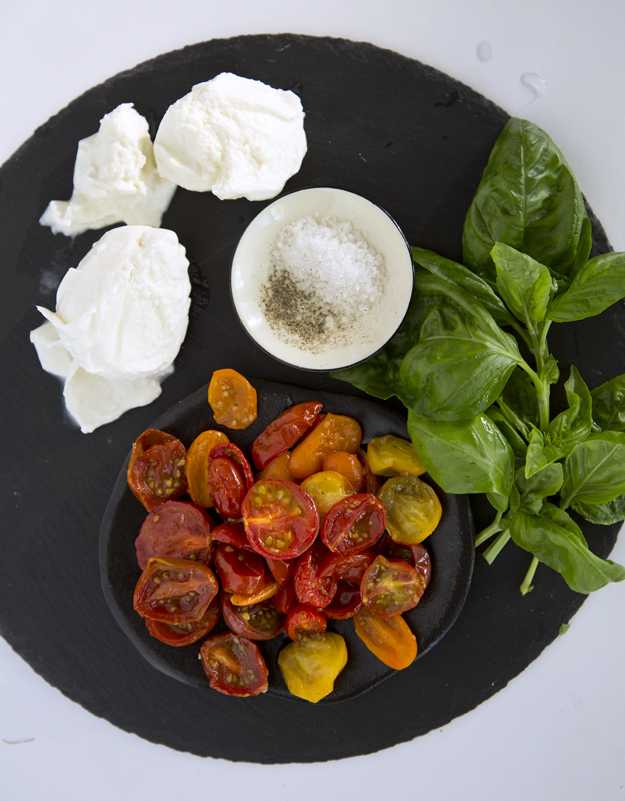
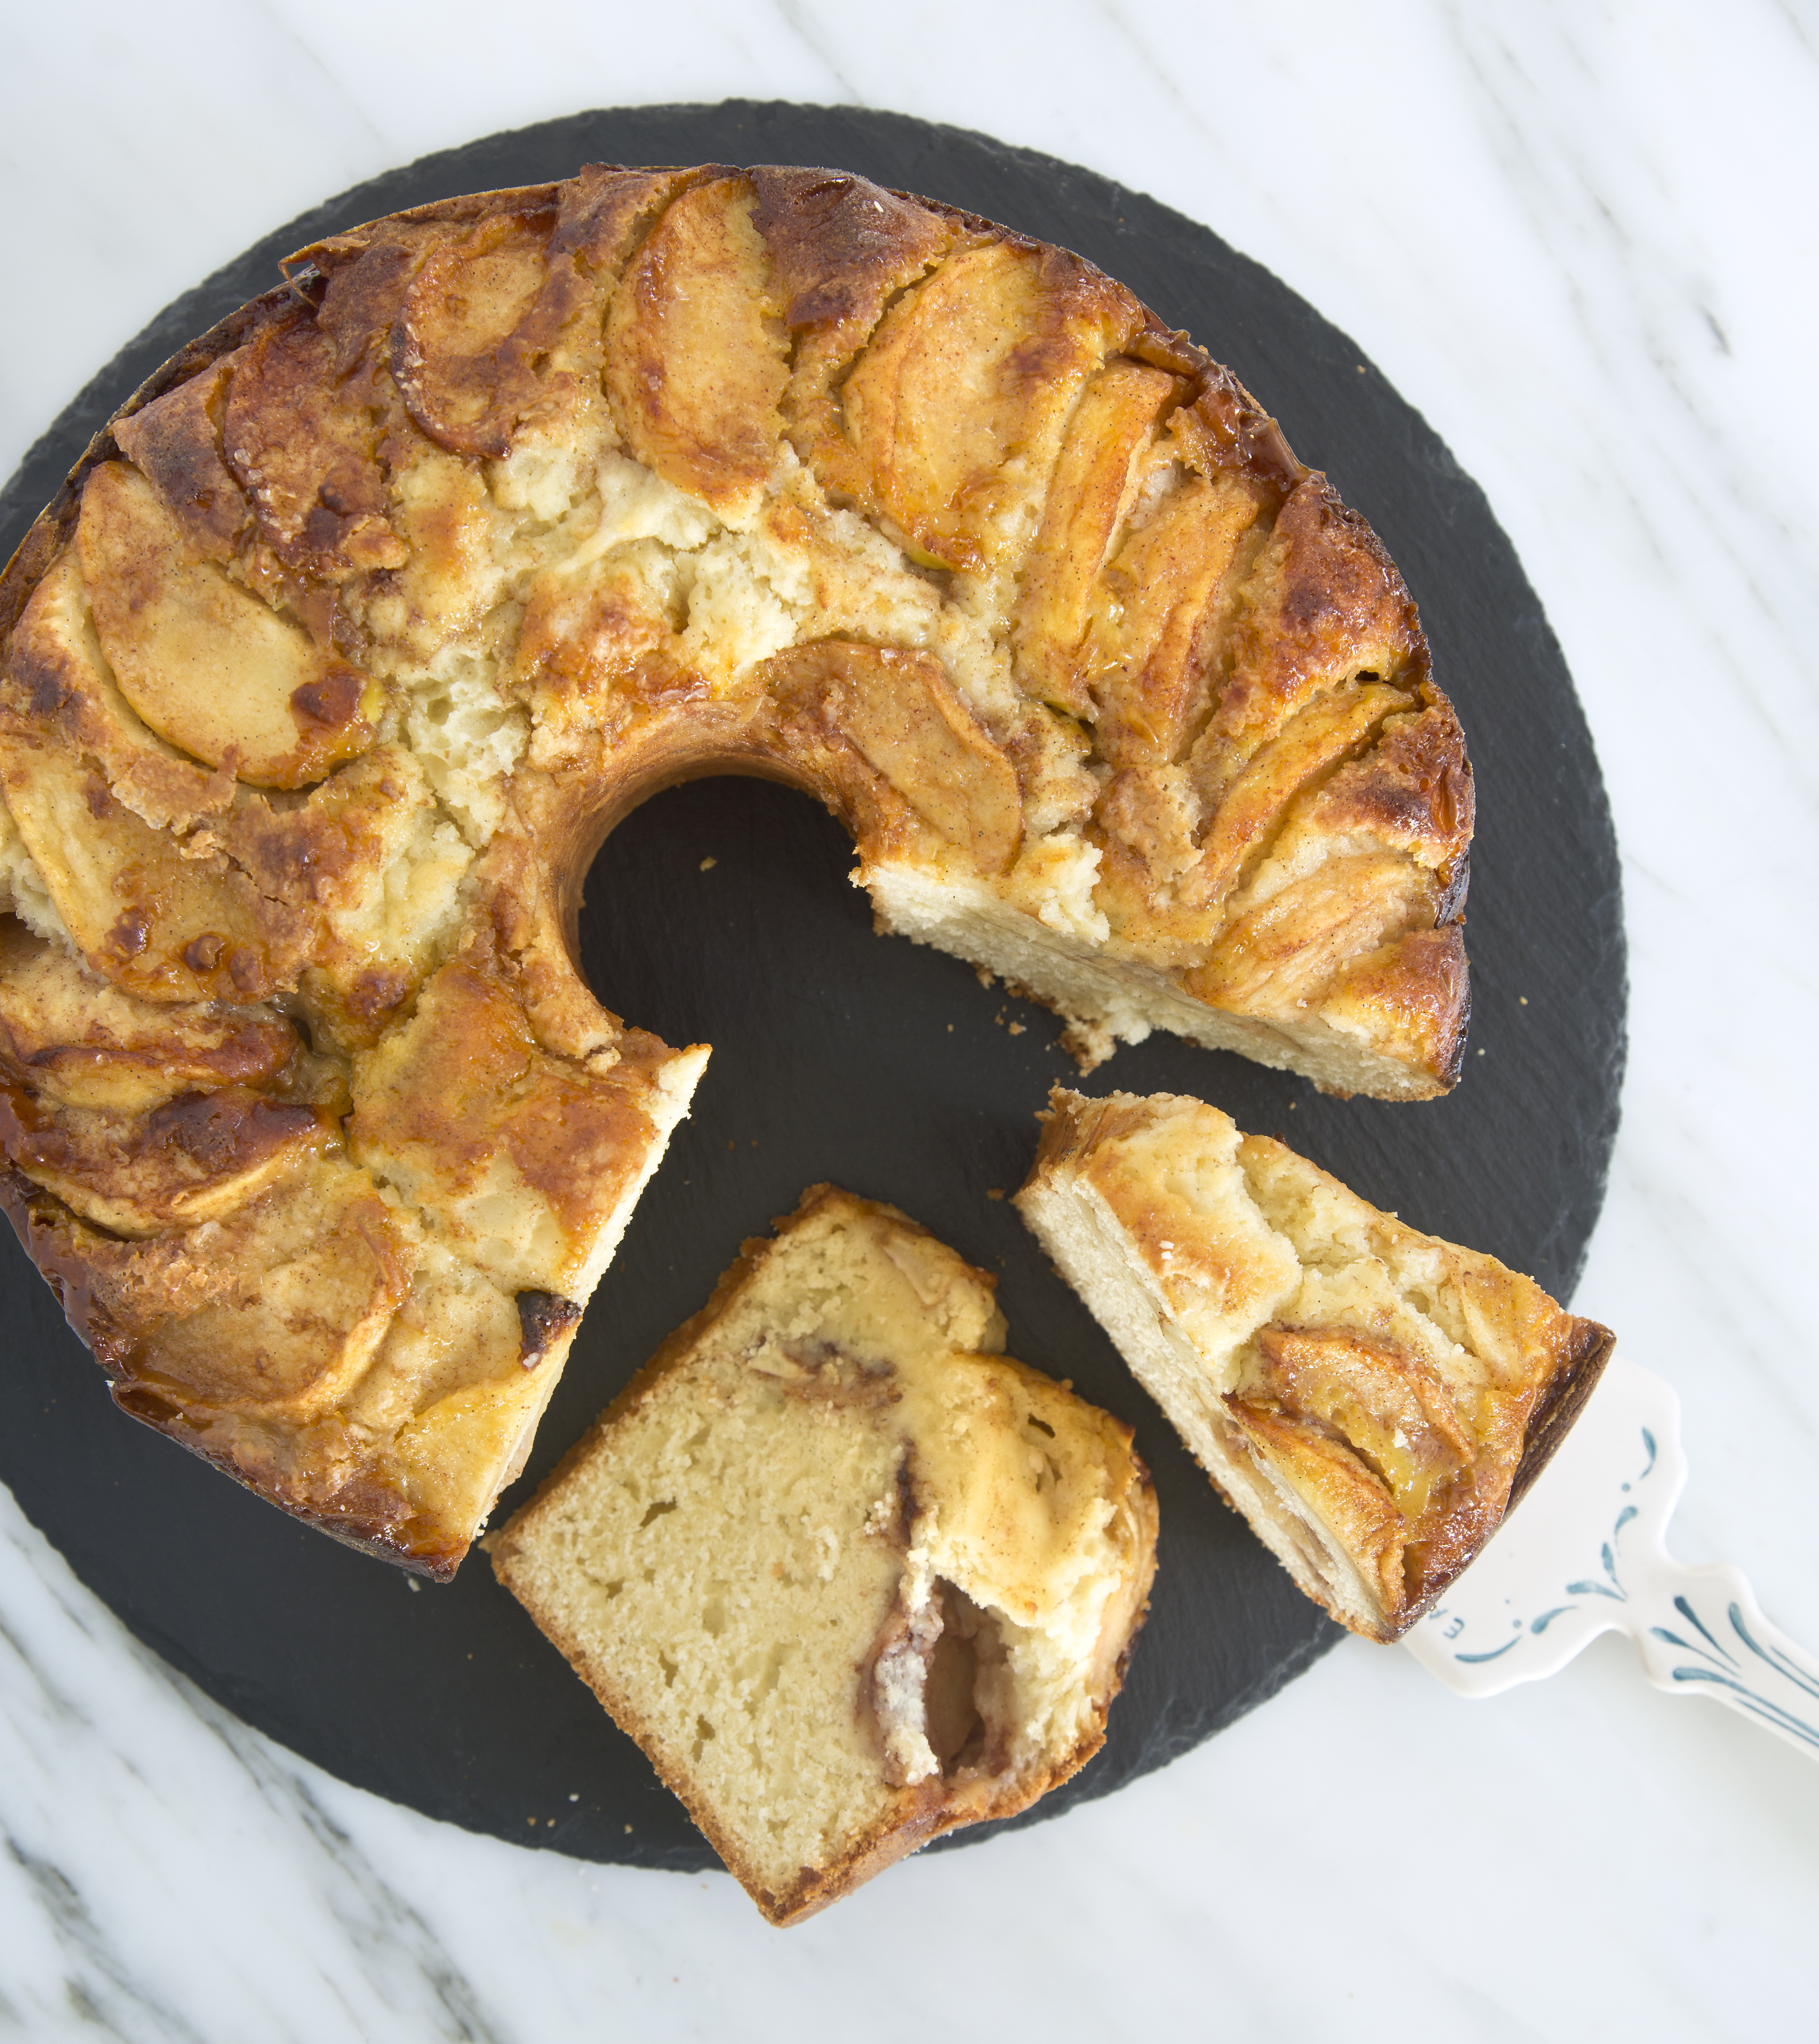
The final entry in my Socca Palooza is the classic Margherita; roasted cherry tomatoes, buffalo mozzarella and fresh basil. Start with some sweet little tomatoes, assorted colours are pretty.
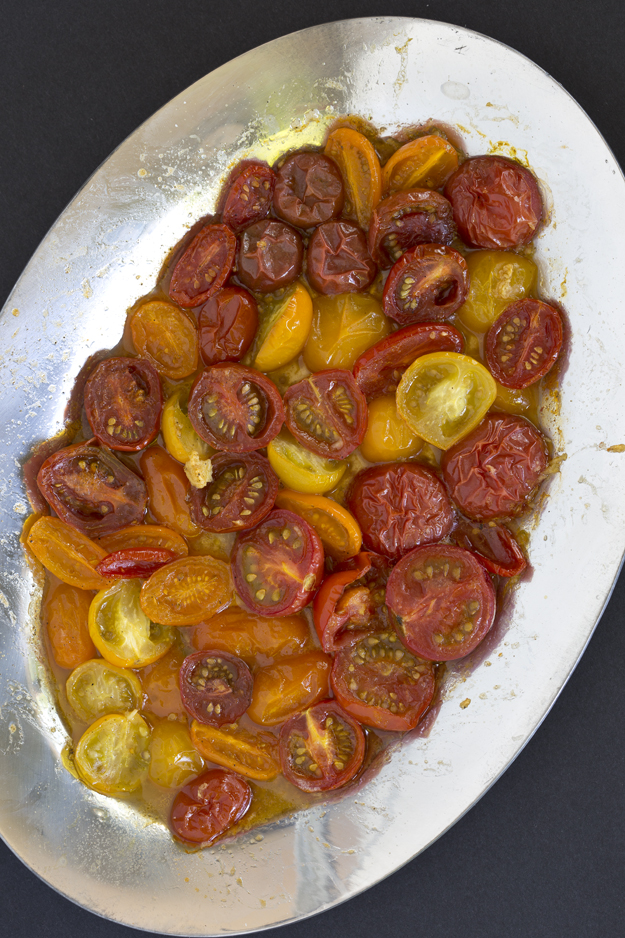
Cut them in half, mix with olive oil, salt and a bit of minced garlic. Roast them for about 20 minutes.
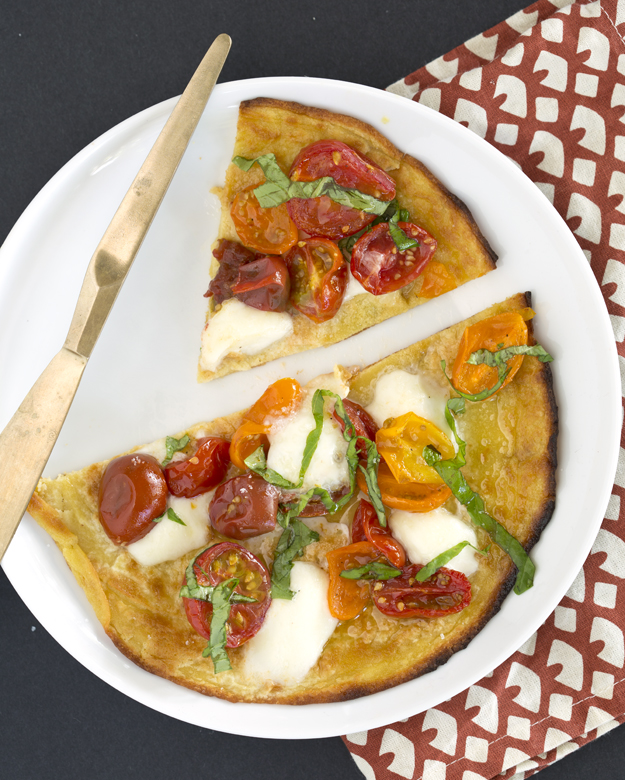
Top the soccas with roasted tomatoes and buffalo mozzarella. Pop it under the broiler to melt the cheese. Finish with fresh basil, a drizzle of olive oil and a sprinkling of sea salt.
This is a drippy messy socca. Serve with a knife, fork and lots of napkins and dig in. 
Author Archives: saltandserenity
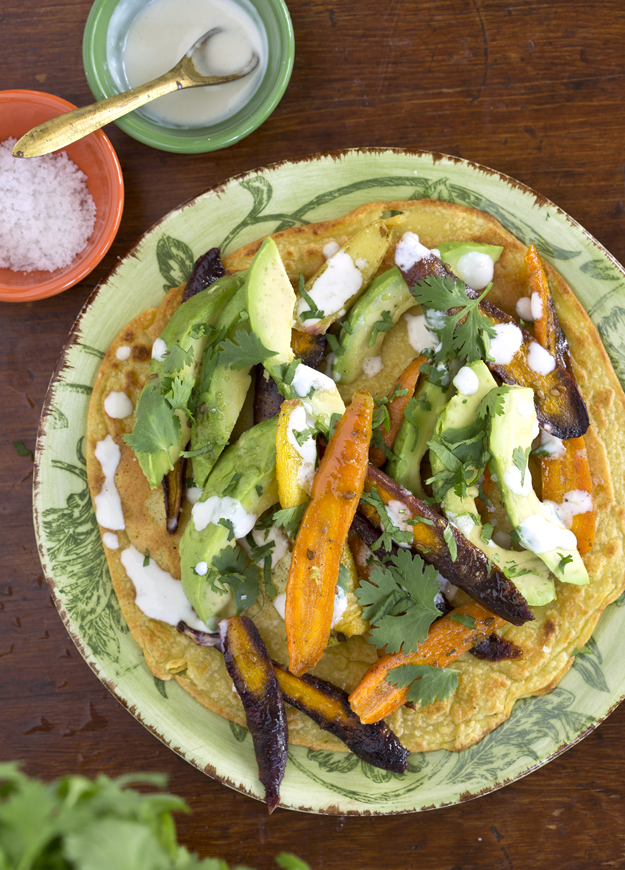
Za’atar Roasted Carrot and Avocado Socca Pizzas (Socca Palooza: Chapter 3)
This socca pizza is the creation of Gwyneth Paltrow. Regardless of your feelings for Gwynnie, this socca is pretty awesome! (For the record, I’m a fan) It was featured in this spring’s In Style Magazine. Bookmark this one for when you have to cook for those annoying vegan friends. (No judgement here!!)
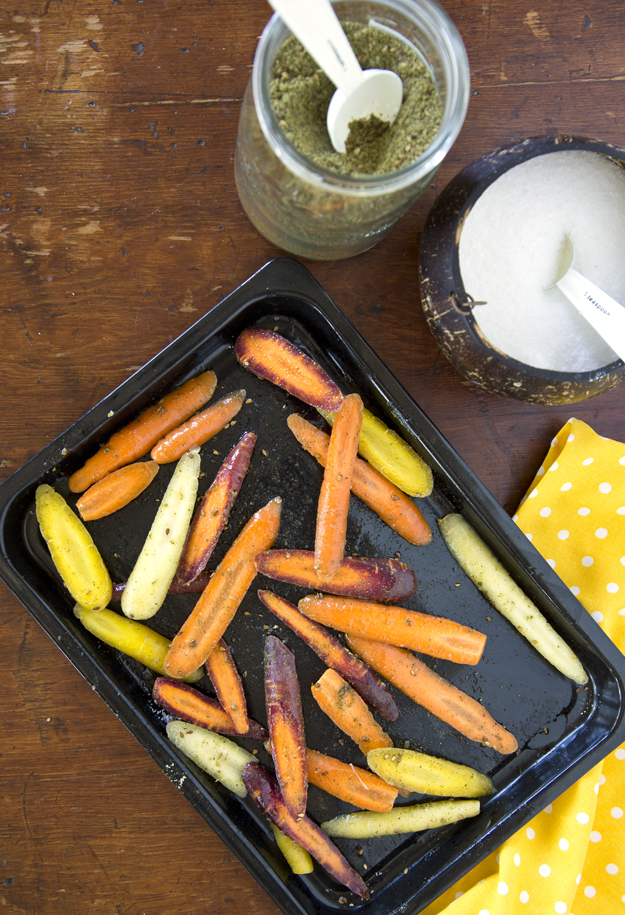
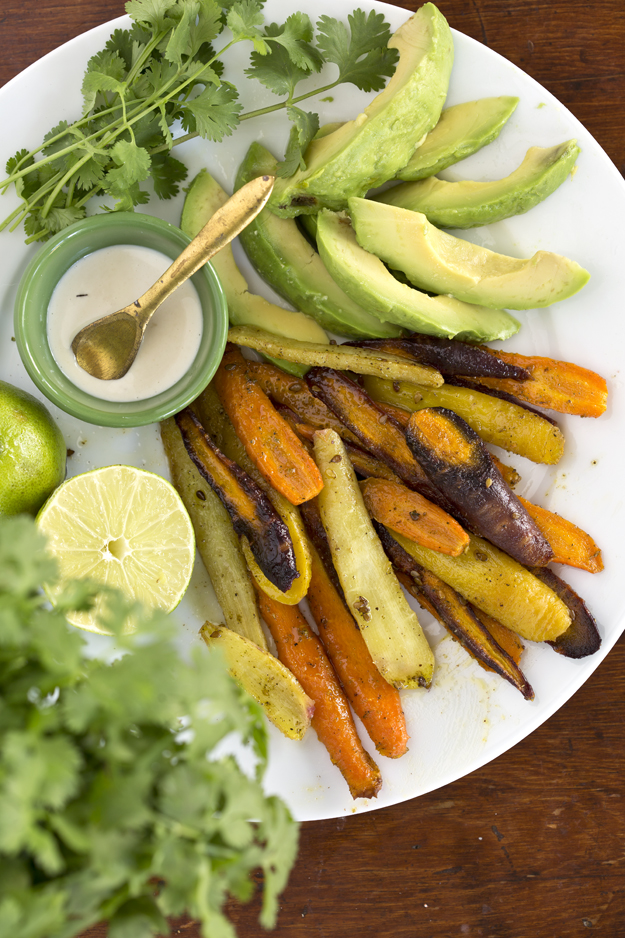
Toss sliced carrots with olive oil, salt and za’atar. Bonus points if you can find some purple and yellow carrots to mix in with the orange ones. Roast them in a hot oven for about 20 minutes.
Avocado, cilantro and lime join the party. A lemon-tahini sauce makes a fine accompaniment to drizzle on top.
Click here to print recipe for Za’arat Roasted Carrots with Avocado Socca Pizzas.
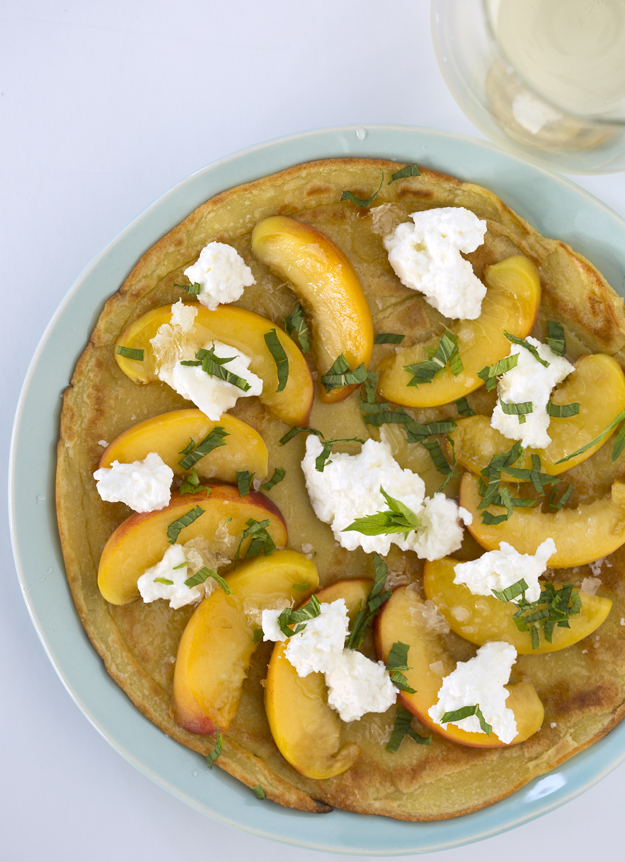
Ricotta Peach and Honey Socca Pizza (Socca-Palooza: Chapter 2)
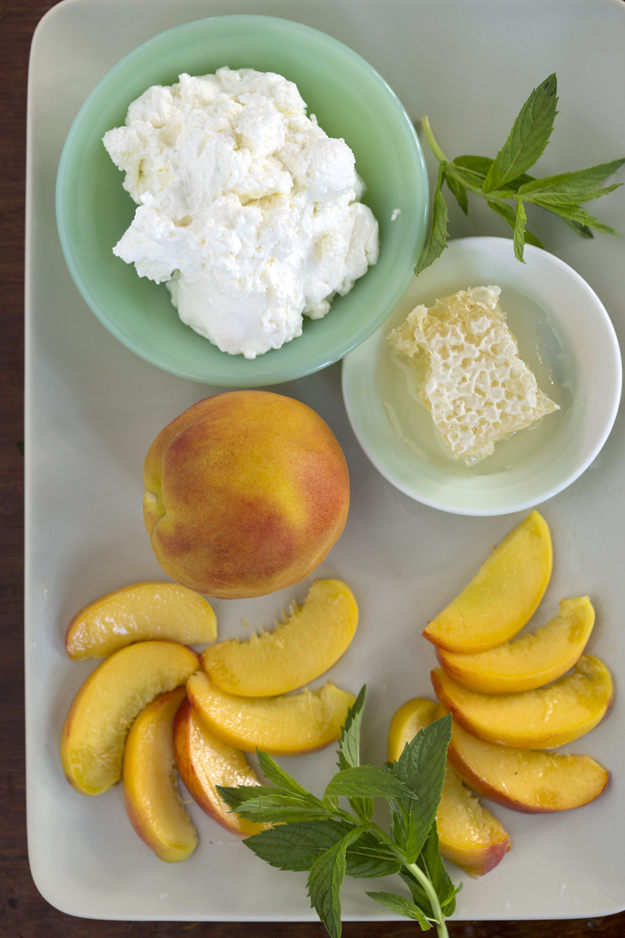
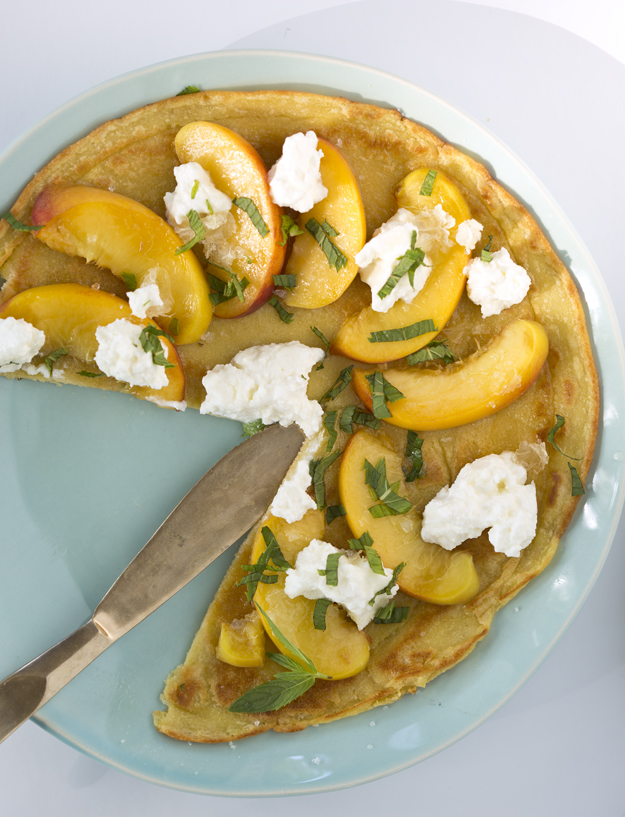
With perfect late summer peaches, this socca creation is fool proof! The combination of ripe peaches, creamy ricotta and a drizzle of honey is majestic. Fresh mint and a few flakes of fleur de sel take it to the next level of deliciousness.
If you have an extra 10 minutes, please make your own ricotta for this. It’s worth it, and really very simple. I love this recipe from epicurious.com. This socca would be perfect to serve for brunch, a light lunch or a not too sweet dessert.
Click here to print recipe for Ricotta, Peach and Honey Socca Pizzas.
Zucchini, Corn and Feta Socca Pizza
Socca is essentially a large chickpea flour flatbread. Similar in texture to a crepe, it has crisp edges and the sweet and nutty flavor of chickpeas, with a trace of smokiness from a trip under the broiler. They originated in Nice where they are cooked in wood ovens on copper disks. I thought they would be an excellent base for pizza.
I am not very skilled at drawing or painting, so I like to think of these socca crusts as my canvas and the toppings as my paint. It’s easy to create masterpieces when late summer markets are overflowing with gorgeous produce.
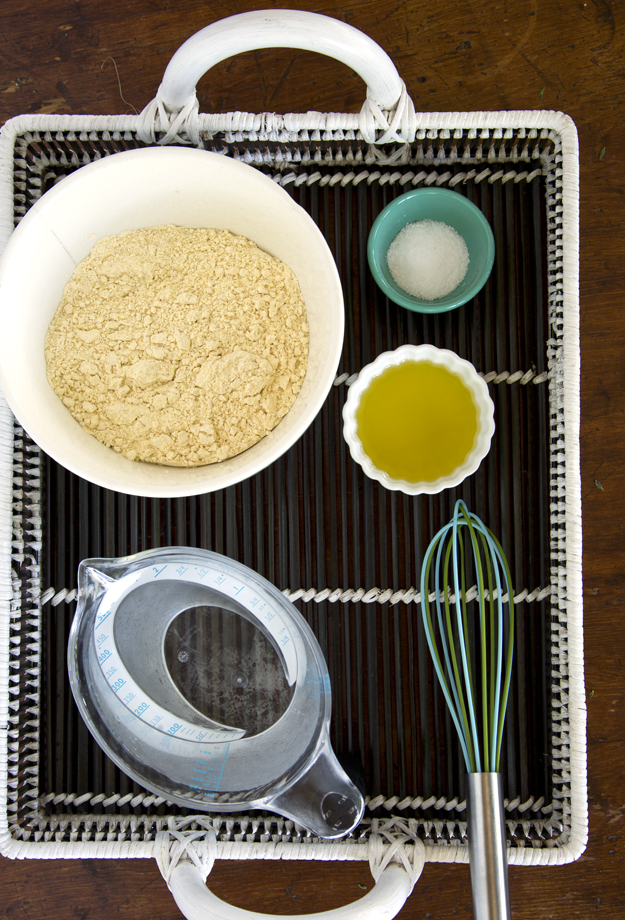
Mix up the socca batter; chickpea flour (I used Bob’s Redmill Garbanzo and Fava Bean Flour), water, olive oil and salt. Let the batter sit on the counter for at least 2 hours, or you can even refrigerate it overnight.
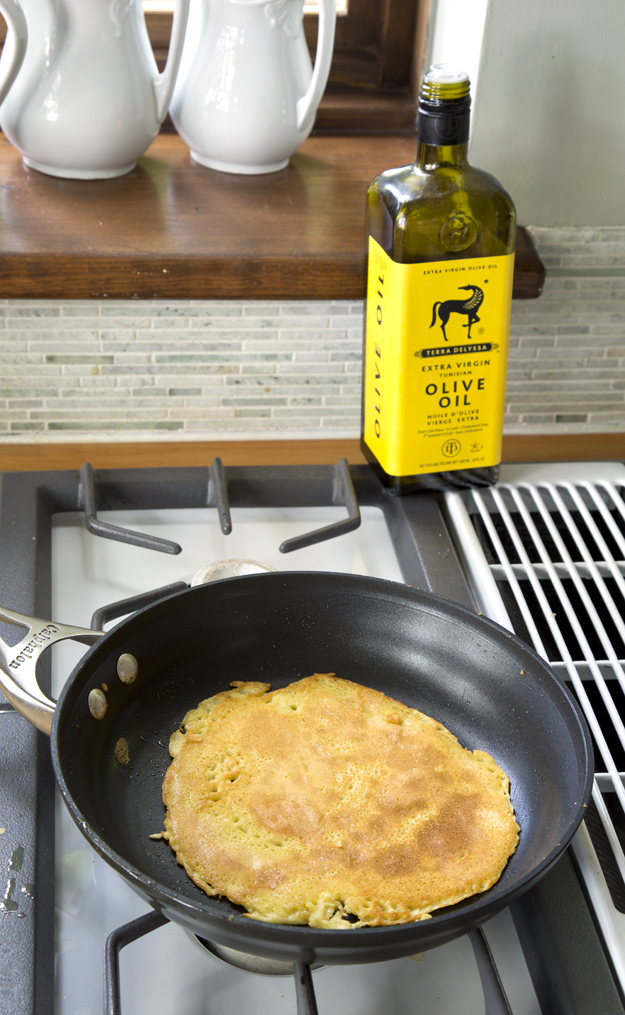
Pour about 3/4 cup batter into a lightly oiled hot nonstick pan, and cook until golden brown on both sides.
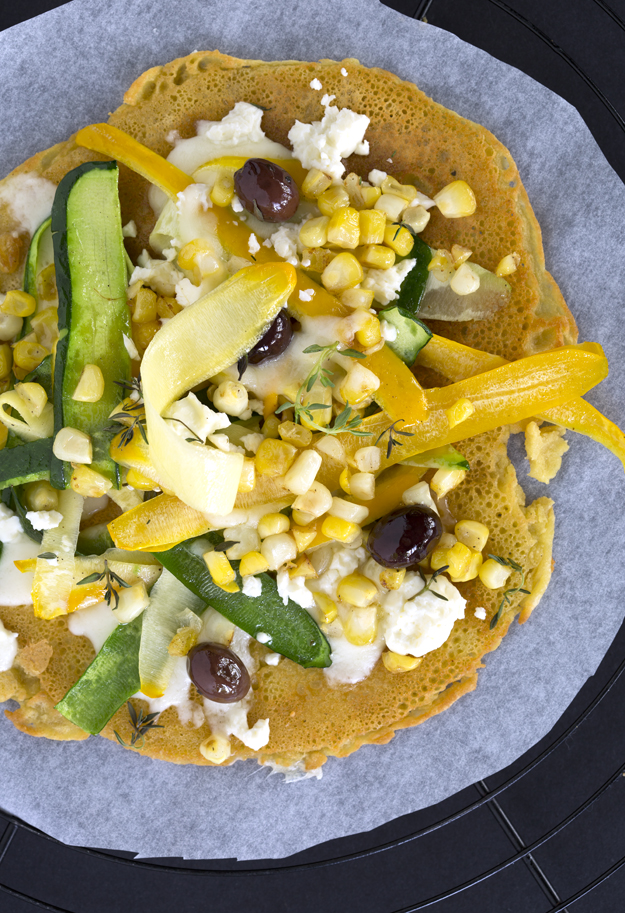
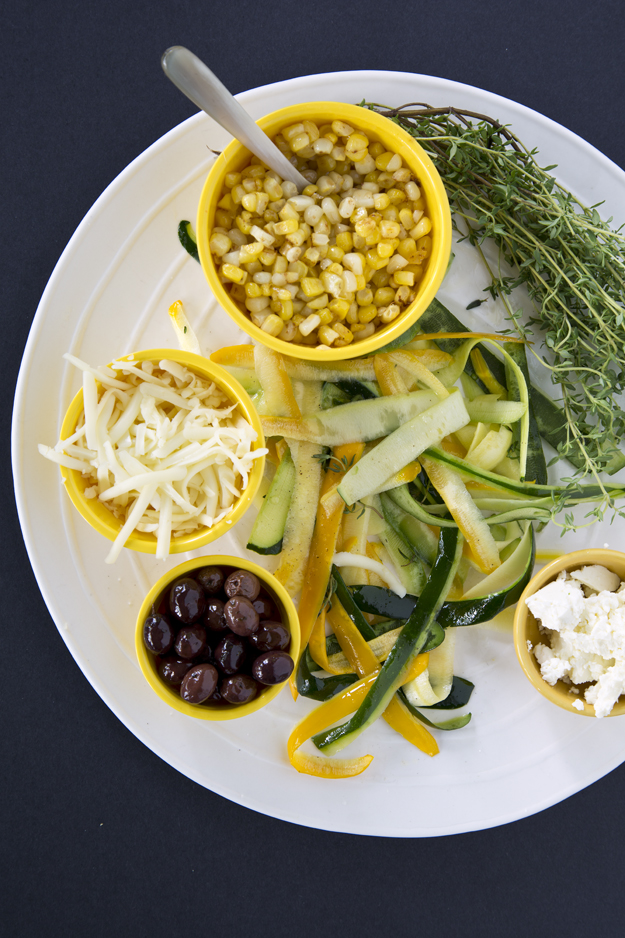
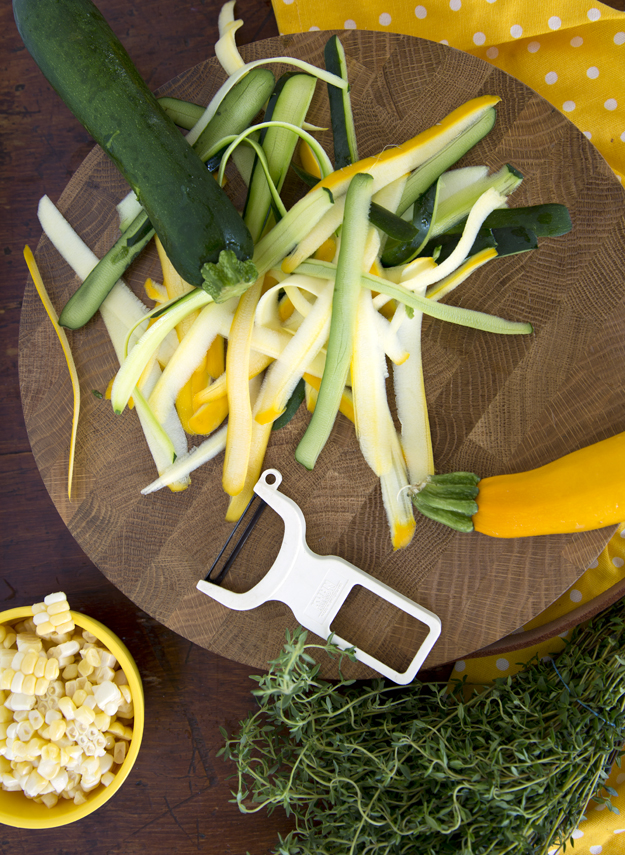
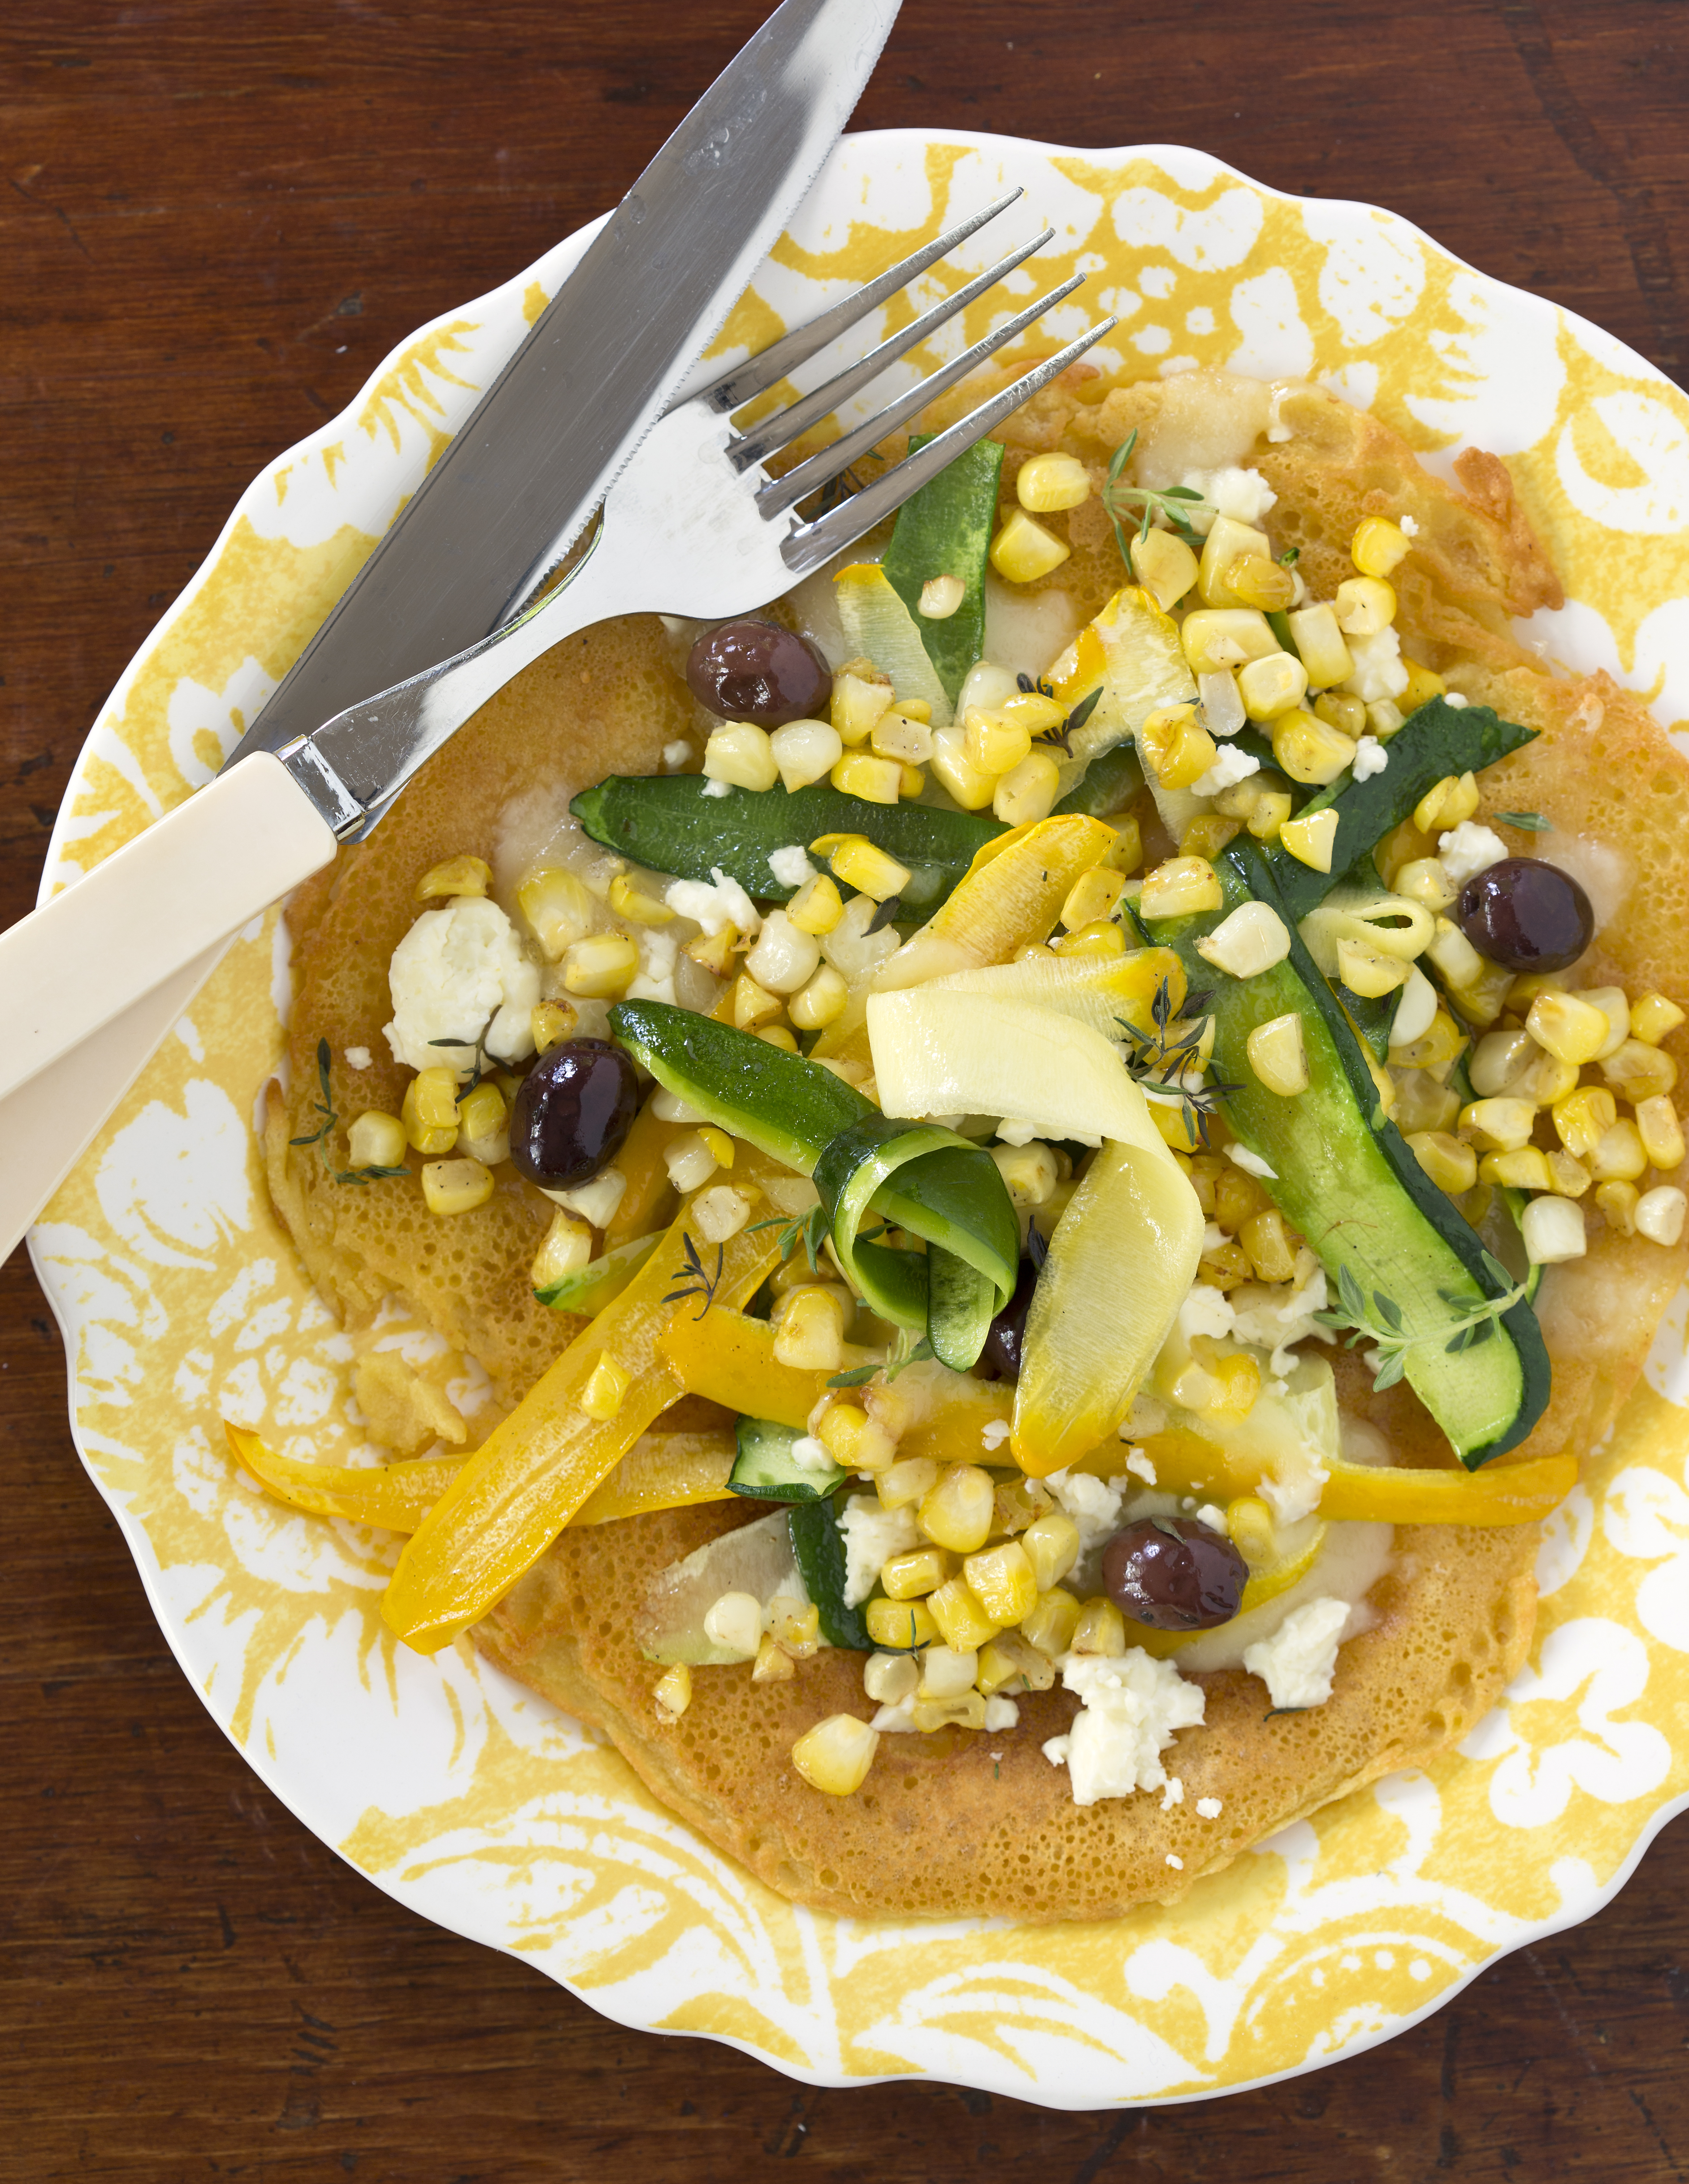
Channel your inner Picasso and top with whatever fills you with joy. For this version I shaved the zucchini and dressed the ribbons with fresh thyme, lemon juice, olive oil, salt and pepper. I sautéed some fresh corn kernels. Feta and olives for salt and some shredded mozzarella to create oozy cheesy goodness. Pop it under the broiler to melt the cheese and crisp up the edges.
Click here to print recipe for Zucchini, Corn and Feta Socca Pizzas.
Stay tuned over the next few days for a virtual “socca-palooza” and watch me create Ricotta, Peach and Honey Socca Pizzas, Za’atar Roasted Carrot and Avocado Socca Pizzas and Margherita Socca Pizzas.
Sweet and Salty Magic Bars
These classic bar cookies have been around since the 1850’s! They also go by the moniker of Magic Bars, Hello Dolly Bars, Five Layer and even Seven Layer Bars. Essentially, they all begin with a melted butter and cookie crust, typically crushed graham wafers. This sweet base gets topped with more sweetness, usually chocolate or butterscotch chips, sweetened coconut and some type of nuts. A thick layer of sweetened condensed milk acts as the glue to hold everything together.
Whatever they’re called, they have never really appealed to me because they just seemed too tooth-achingly sweet. But last week I saw this charming video and knew I had to try this twist on these bars. In her new book, “Modern Potluck”, Kristen Donnelly solves the sickly sweet problem by swapping out a cookie base with a potato chip base. What??? Pure genius.
I had high hopes for these “potato chip crusted magic bars”. The combination of sweet and salty is my kryptonite. I went shopping for potato chips, because I rarely keep them in my house. Shockingly, don’t have much will power when it comes to salt. By the way, did you know that they sell unsalted potato chips? Chicken and waffle flavoured potato chips is one thing, but I draw the line at unsalted! I mean, salt is the whole point of potato chips, right?
I whipped up a batch of Kristen’s potato chip crusted magic bars. I was so excited I could barely wait for them to cool.
The first bite was interesting. The crust was not as crispy as I thought it would be. Nor did it taste as salty as I was hoping for. The second bite left an almost rancid aftertaste in my mouth. I had eaten a few potato chips out of the bag as I was making the crust, and they tasted great. I suspect that cooking the potato chips a second time caused some kind of chemical reaction that changed the taste. I was so disappointed. I knew that Kristen’s idea of adding a salty crust was a great idea and I wanted to make these bars work.
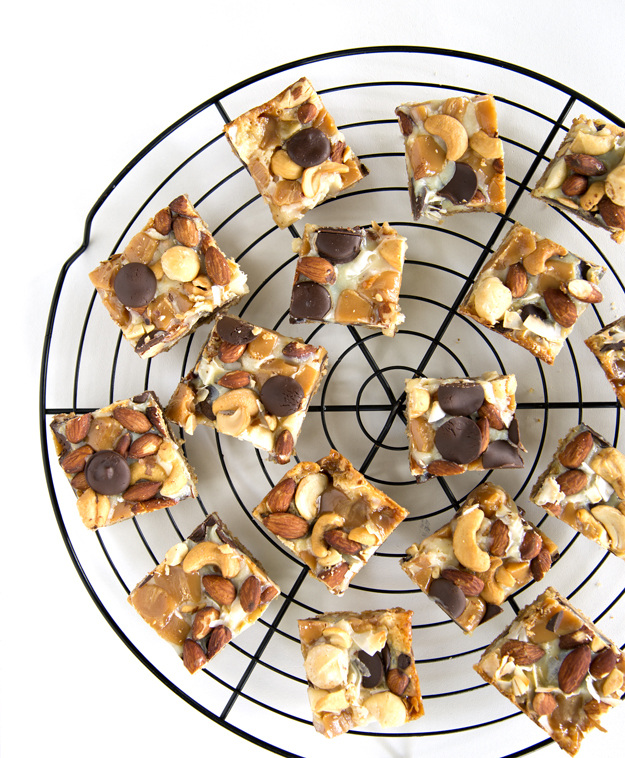
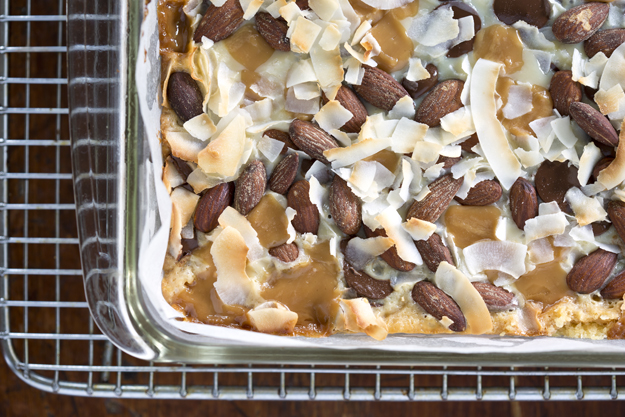
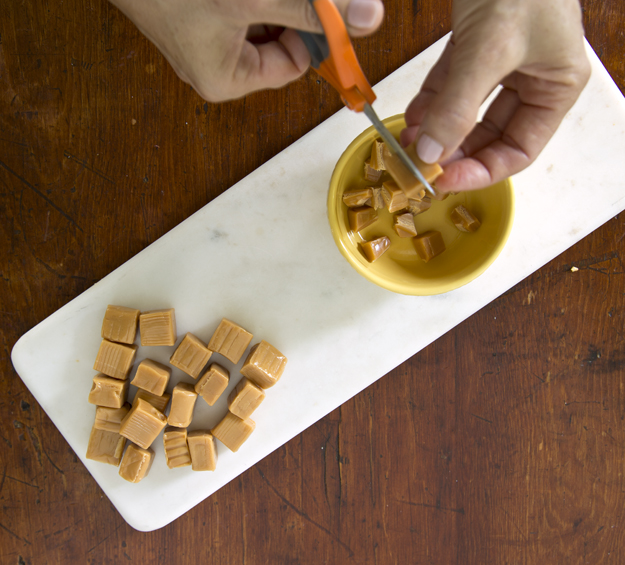
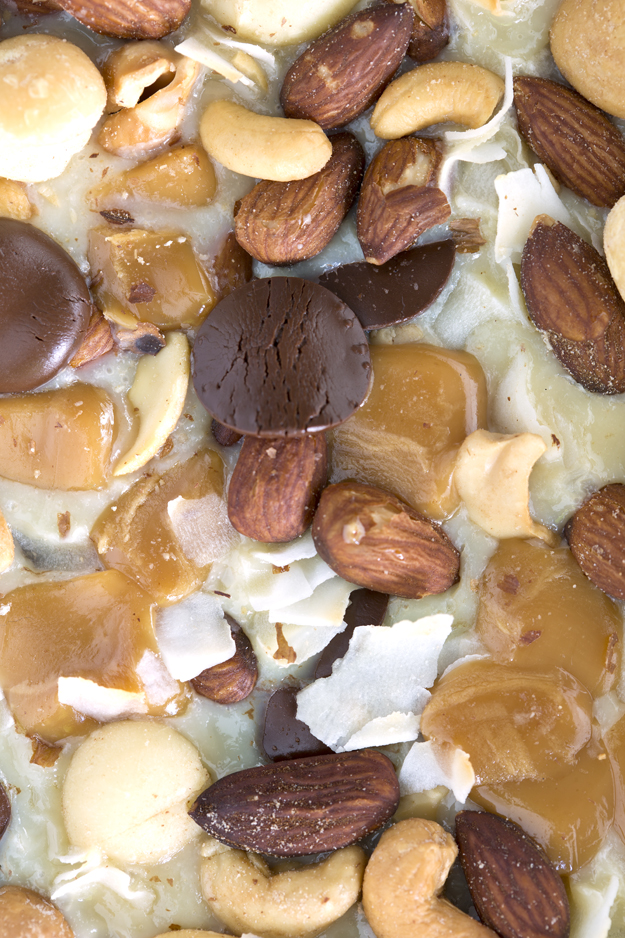
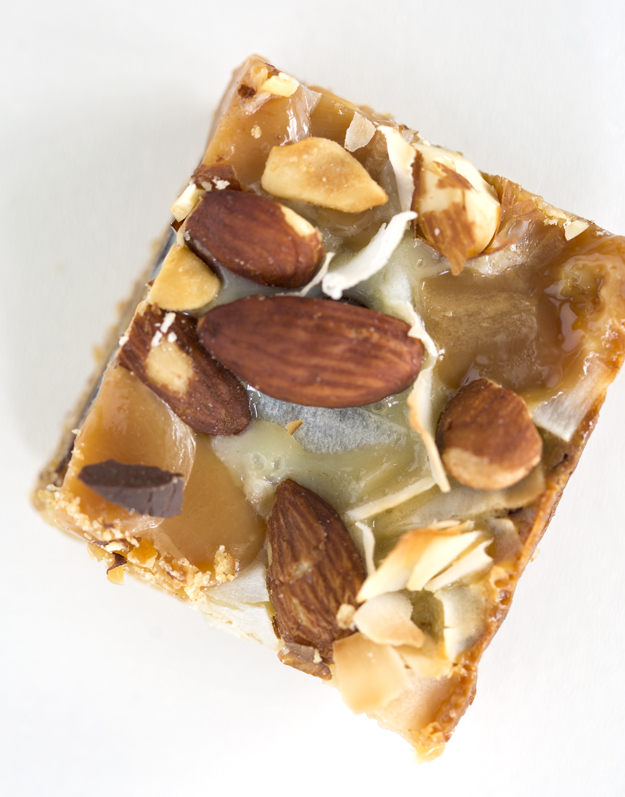
And then I remembered these pretzel crusted treats I made last year. Why not trade potato chips for pretzels? Why not indeed? I topped mine with bittersweet chocolate chips, unsweetened coconut chips, salted cashews, almonds and macadamia nuts, and chopped vanilla caramels.
Watch the magic happen!
These bars have it all. A perfect sweet-salty balance and great textural contrast. Crunch from pretzels, nuts and toasted coconut, gooey sweetness from sweetened condensed milk, bittersweet from the chocolate, and chewiness from the caramel. A perfect treat. 
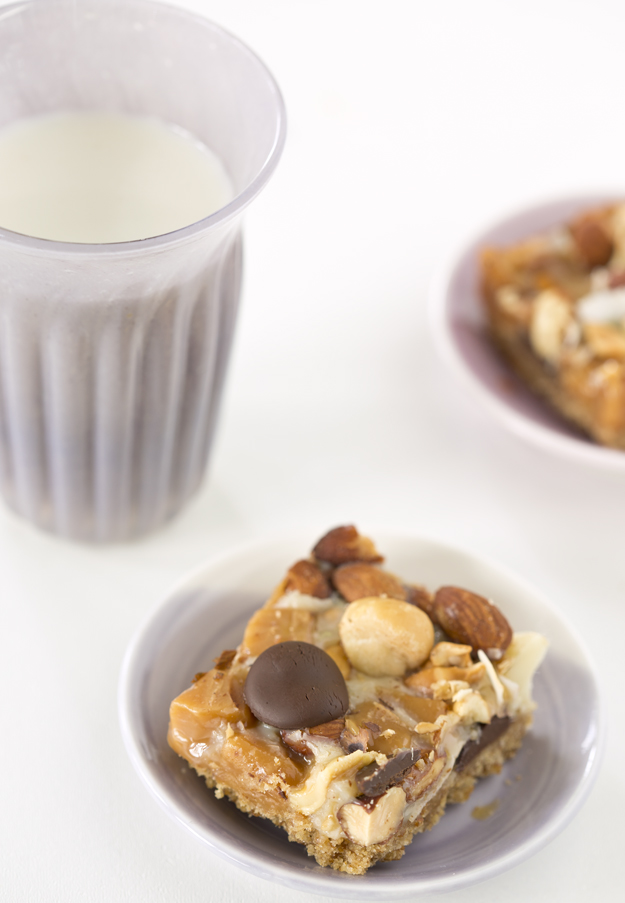
Oh, and I figured out why they’re called magic bars. Set them out with some cold milk and watch them magically disappear. They are even more delicious straight from the freezer!
Click here to print recipe for Sweet and Salty Magic Bars.
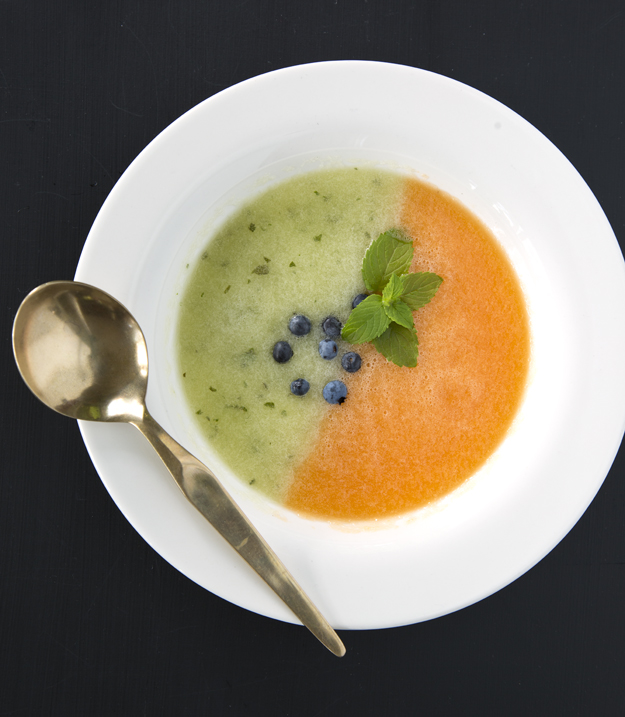
Chilled Melon Soup
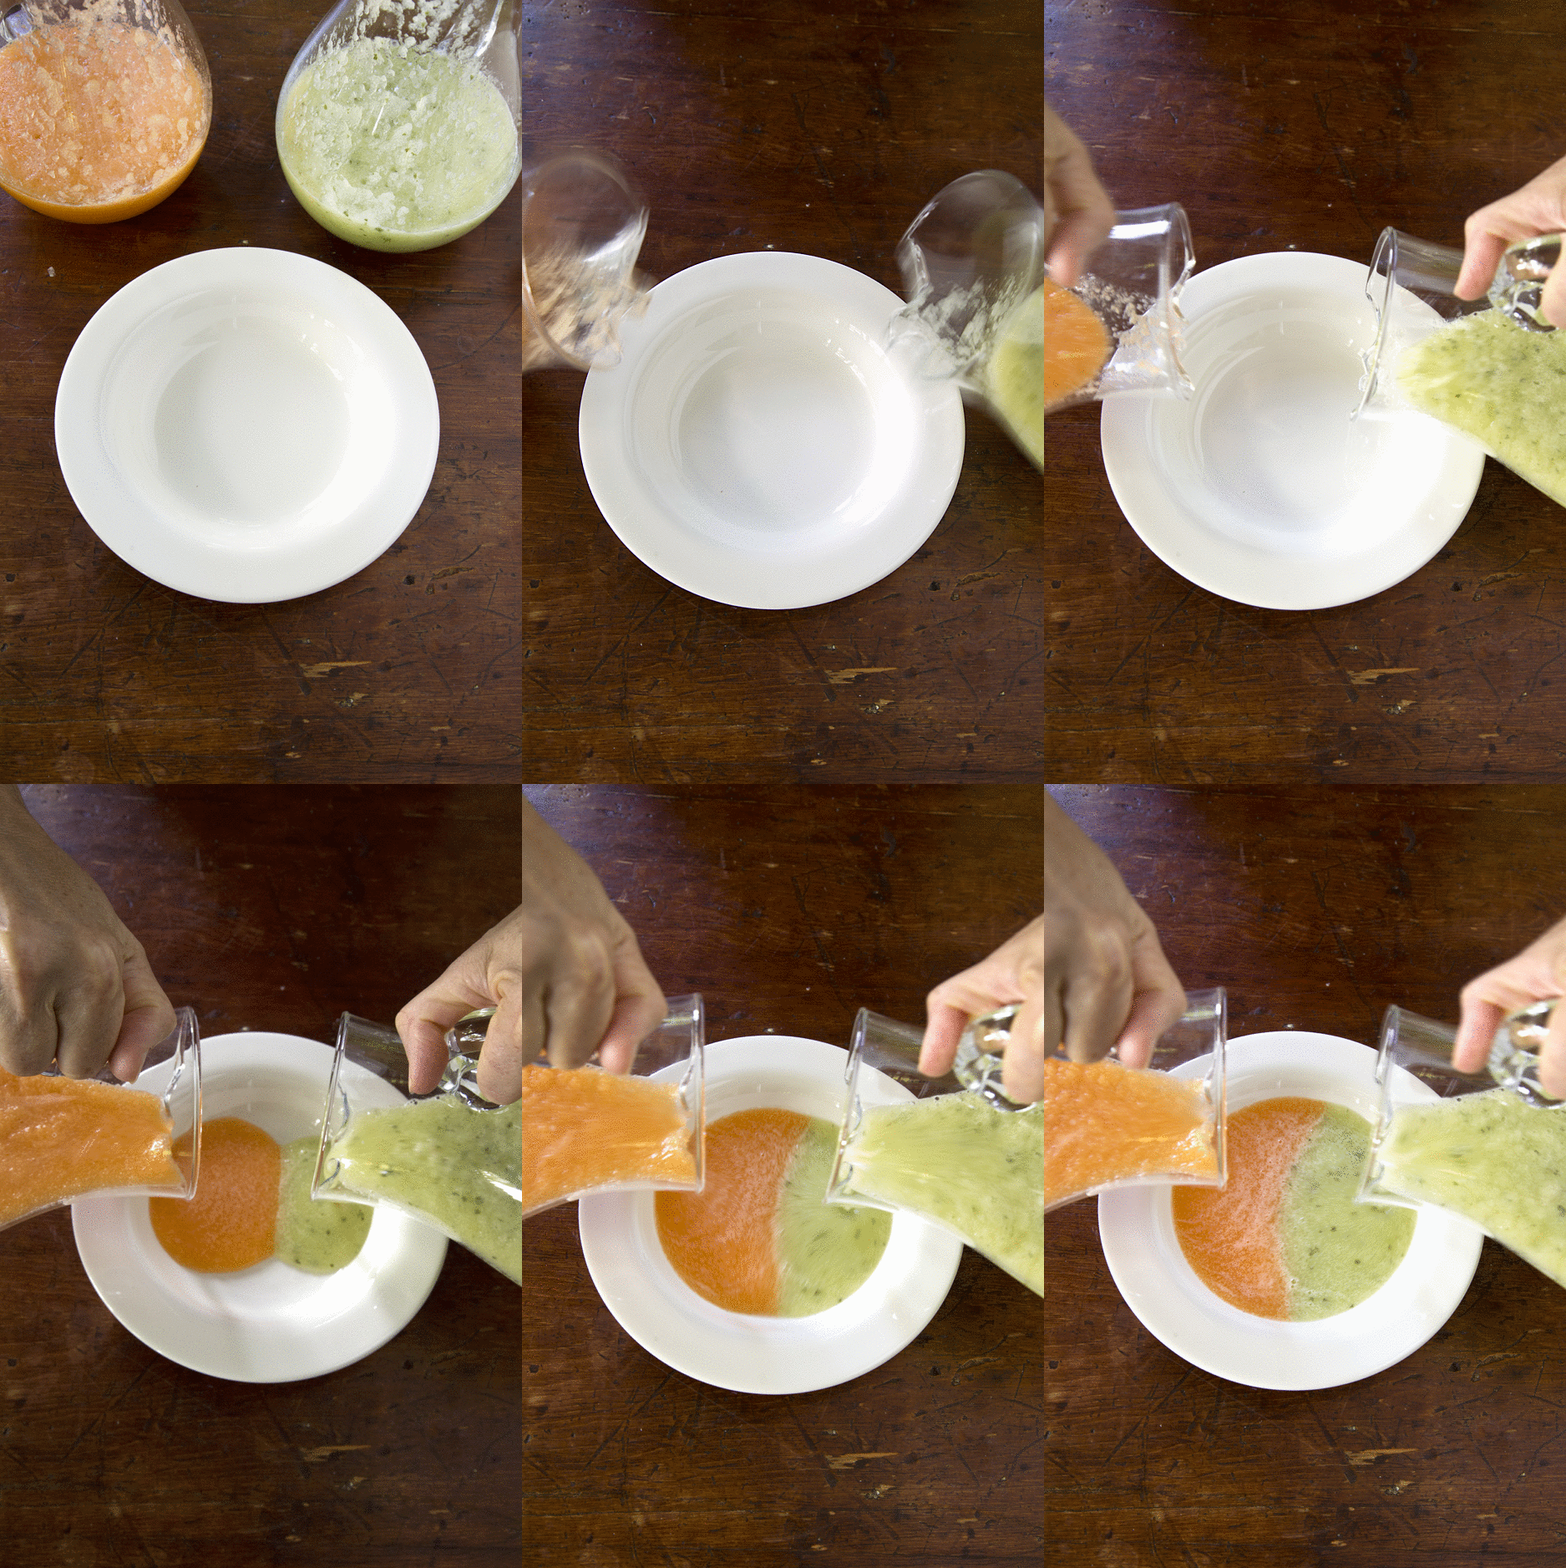
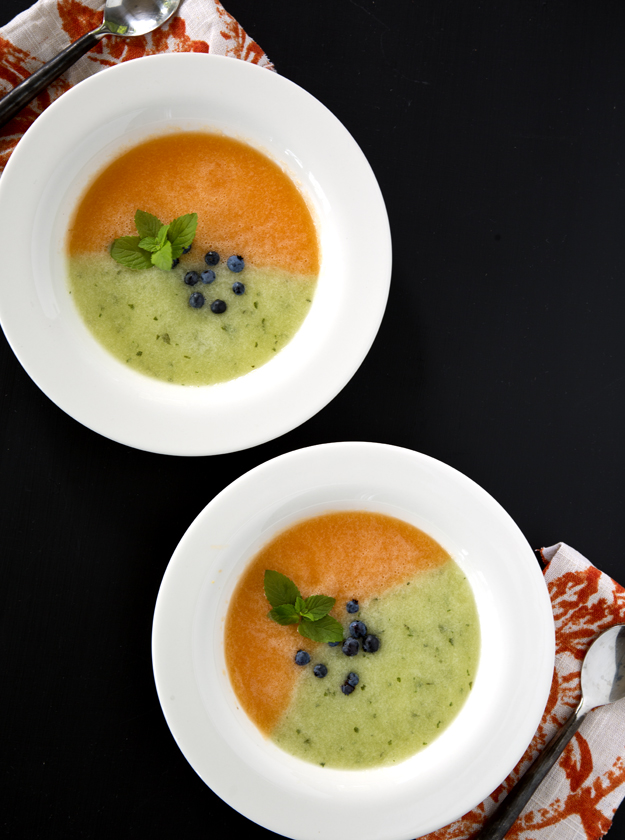
The first time I ever saw two different kinds of soup in the same bowl, I thought it was just so magical. Corn soup on the left and Black Black Bean soup on the right. And they just stayed on their own sides of the bowl, never crossing that center line and mixing! Like at a Chassidic wedding. How did they do it? The secret is to have two liquids of roughly the same consistency, and to pour them at the same time, from opposite sides into a shallow bowl.
I got all fancy for you and poured my soups into glass pitchers. But you can just use two 1/2 cup measuring cups and it will work perfectly.
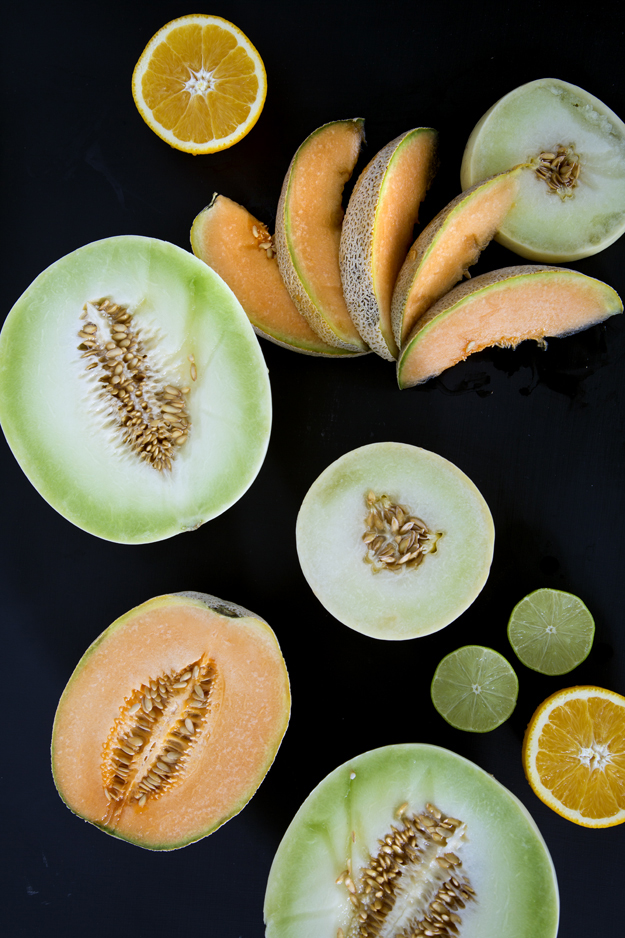
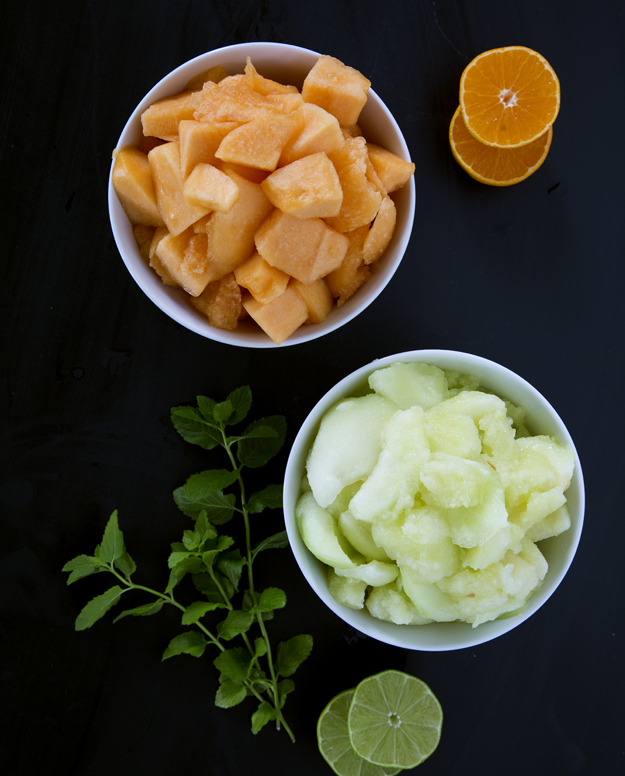
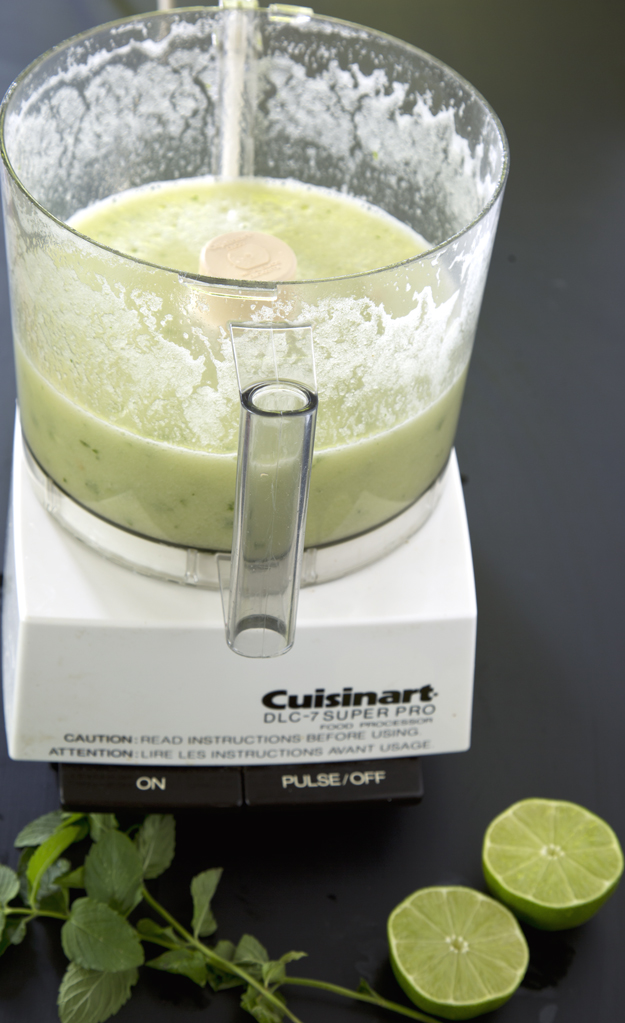
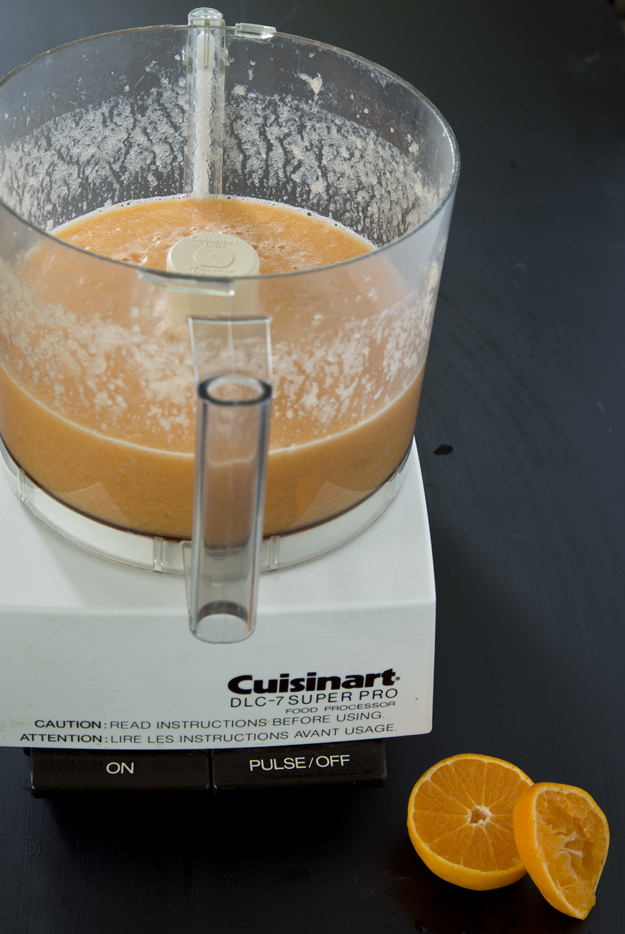
My friend Margo served these melon soups to us a few weeks ago at a big gathering at our cottage. They were so refreshing and light, I had to get the recipe to share with you. I couldn’t believe it when she said that it was simply honeydew pureed with mint and canteloupe pureed with orange juice! I added a touch of lime to my honeydew soup.
Click here to print recipe for Melon Soup.
Wild Blueberry and Corn Galette
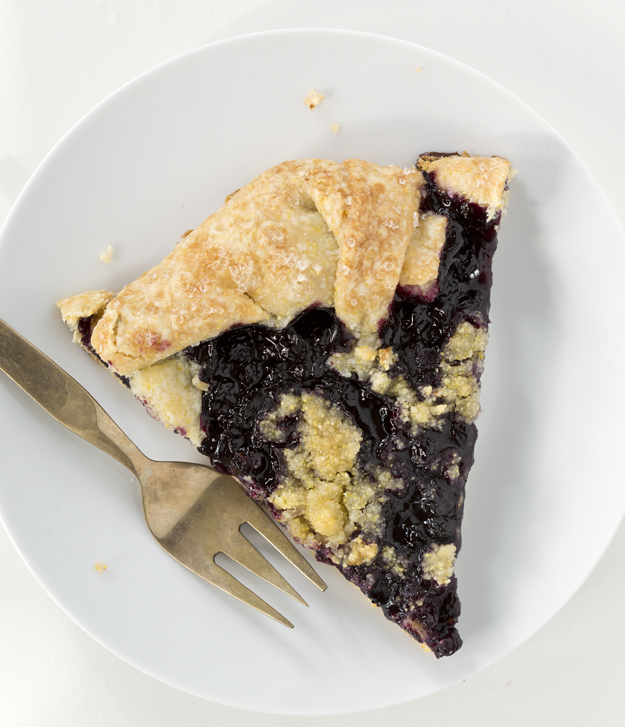
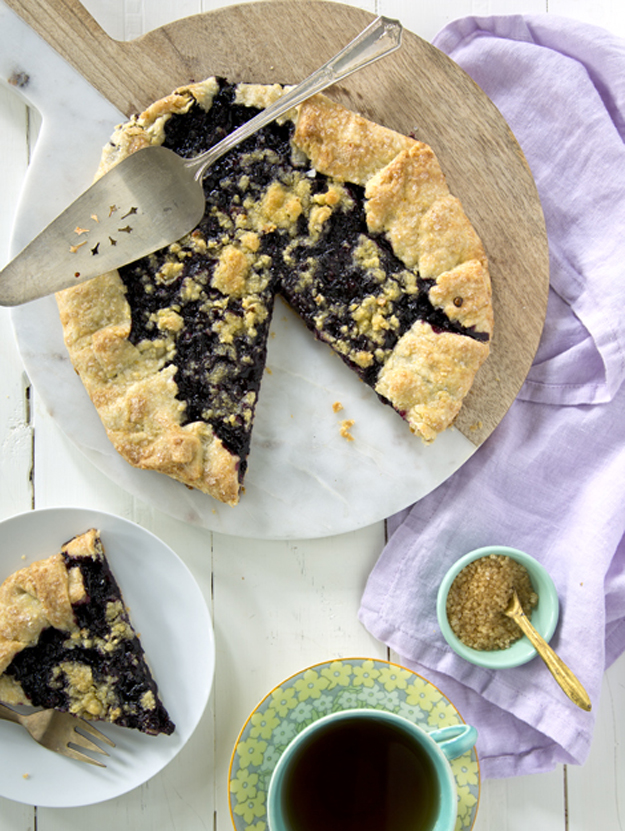
Galette is French for “Lazy Ass Pie.” No, not really. It actually refers to a free-form tart. Pies are a lot of work. There’s all that stress about making the crust and rolling it out without cracking. Plus, I suck at crimping. But a galette is supposed to be rustic. Rolling the dough into a perfect circle is not required, in fact, it is frowned upon. (Well, I frown upon perfect circles)
Wild blueberries have arrived and sadly, they’re only here for a few short weeks, so I take advantage of the short season and work very hard at eating my weight in wild blueberries during the month of August. This recipe would certainly work with regular blueberries, but you may need to add a bit more sugar, since wild ones are so much sweeter. You could also use frozen berries. The PC frozen wild blueberries are excellent, as are Trader Joe’s brand.
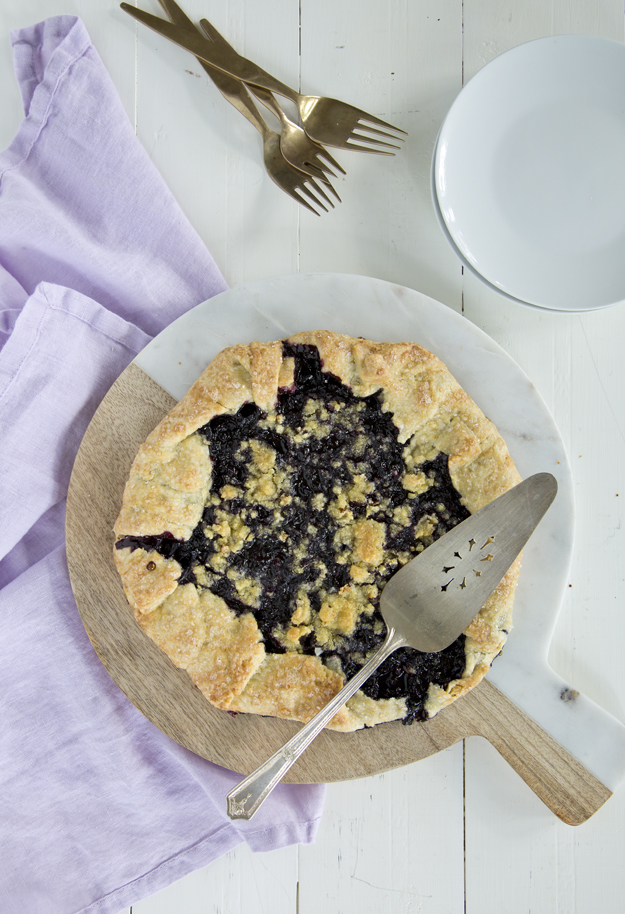
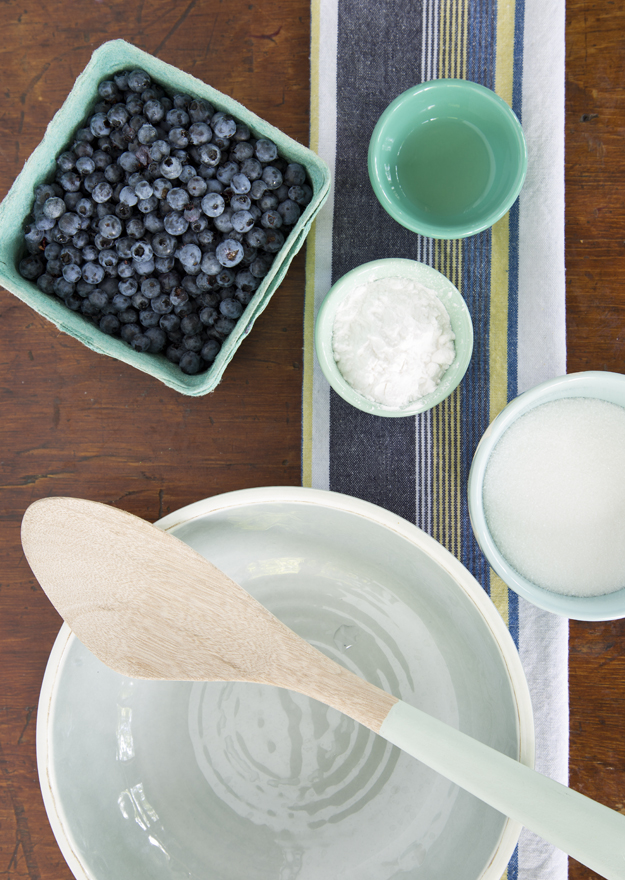
OK, let’s make a lazy ass pie galette. Start with the filling. Mix blueberries, tapioca flour (also called tapioca starch), sugar and lemon juice.
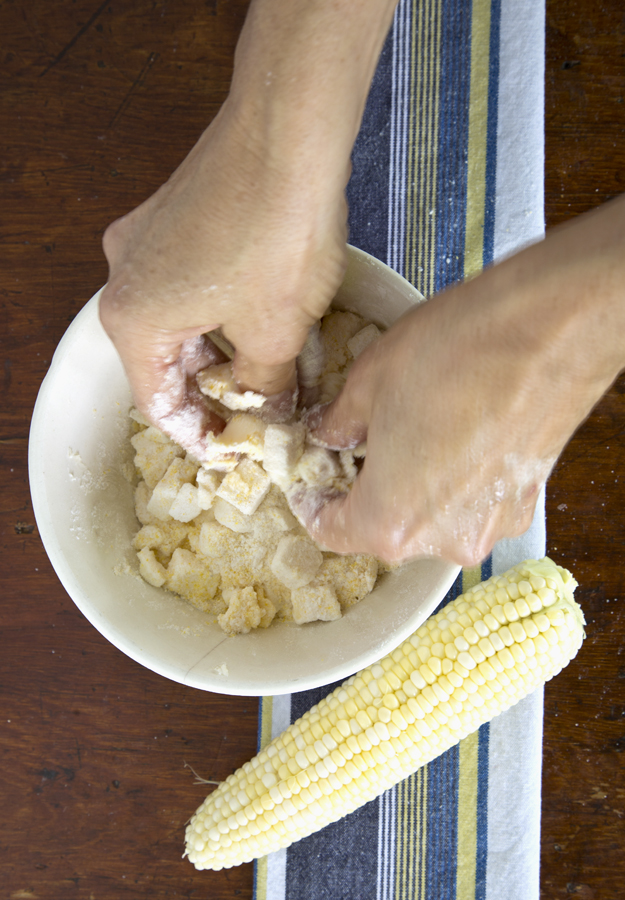
Next we tackle the topping. This corn crisp topping was the genius idea of Bon Appetit Magazine. I saw it in their July 2016 issue, and I knew I had to try it. Such a fun idea to combine blueberry and corn in a dessert. Start with a traditional crisp topping of flour, sugar and butter. Add a touch of cornmeal for added crunch.
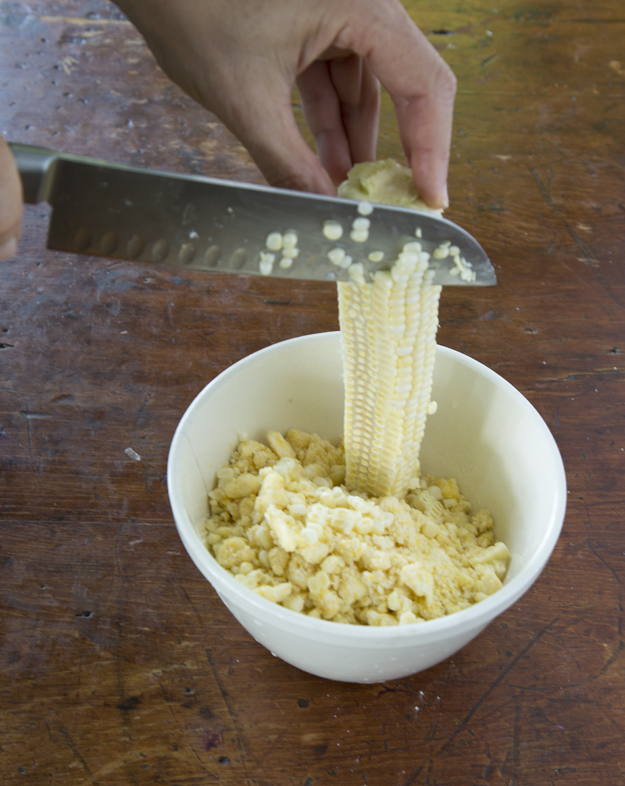
Then cut in fresh corn kernels. Topping done.
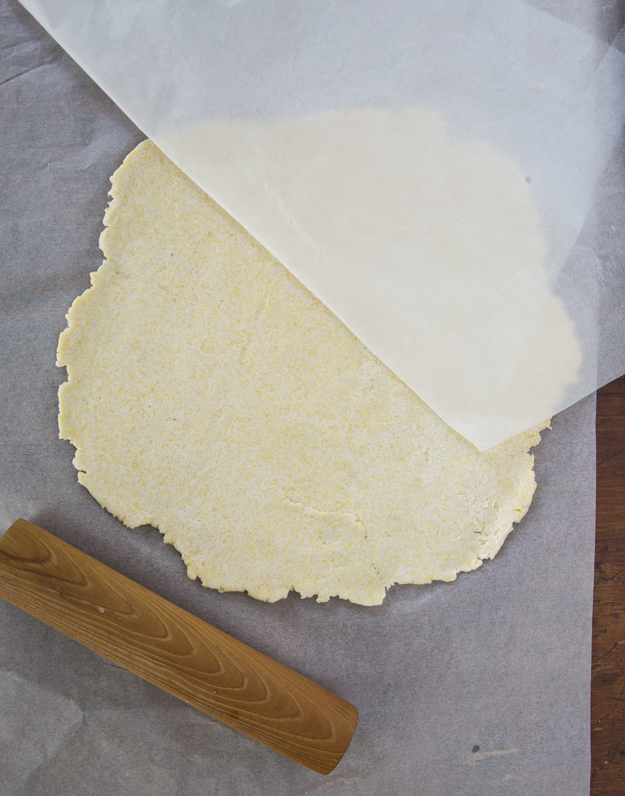
The dough comes together very quickly in the food processor. No need to chill it. Just roll it out right away between 2 sheets of parchment paper, to avoid any fuss.
Time to assemble.
I made a dairy free version of the galette last weekend for some friends. I used chilled coconut oil in both the dough and the topping and it was fantastic. The coconut oil was only detected (and rejected) by one friend, but I suspect he’s a super taster. 
Click here to print recipe for Wild Blueberry and Corn Galette.
Chilled Fresh Tomato Soup
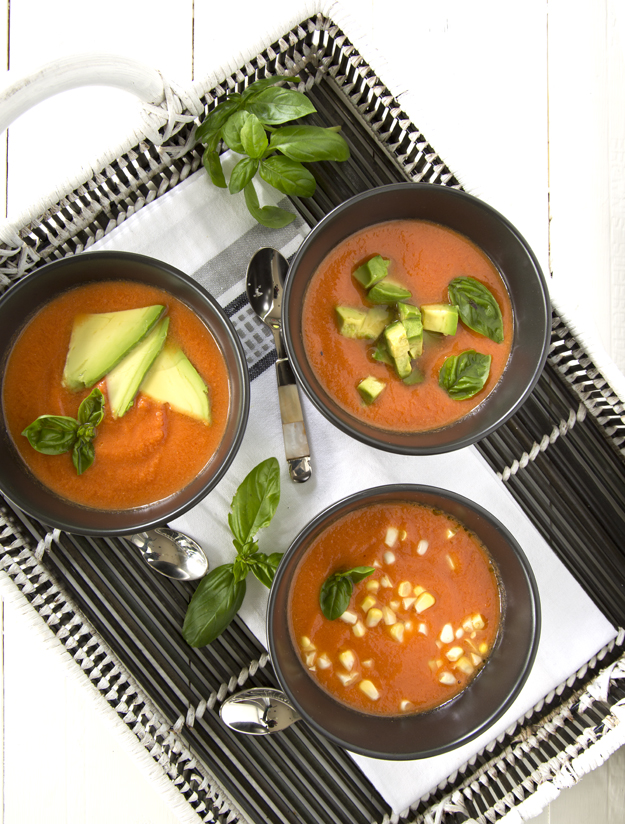
I know what you’re thinking. “Really?? Who needs another gazpacho soup recipe?” But before you abandon this post and surf on over to see what’s new for fall at Joe Fresh, just hear me out. This is a little different than your typical cold tomato soup. Half the tomatoes get roasted, for a smoky depth of flavour, and the other half are left fresh, to enhance their tangy bright nature. Combining fresh and roasted tomatoes was the brainchild of Cook’s Illustrated Magazine. They featured this soup in their July 2012 issue. I tarted it up a bit with some summer toppings.
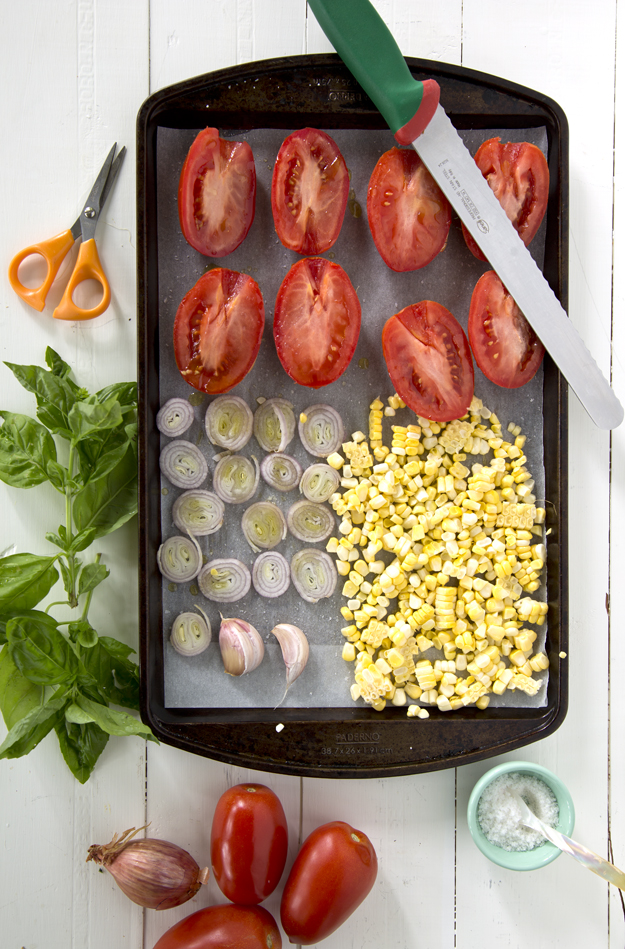
Squeeze in a dollop of tomato paste to ramp up the umami factor. Sprinkle in a dusting of smoked paprika and cayenne and this soup is humming. Throw in some roasted garlic and shallots for fun.
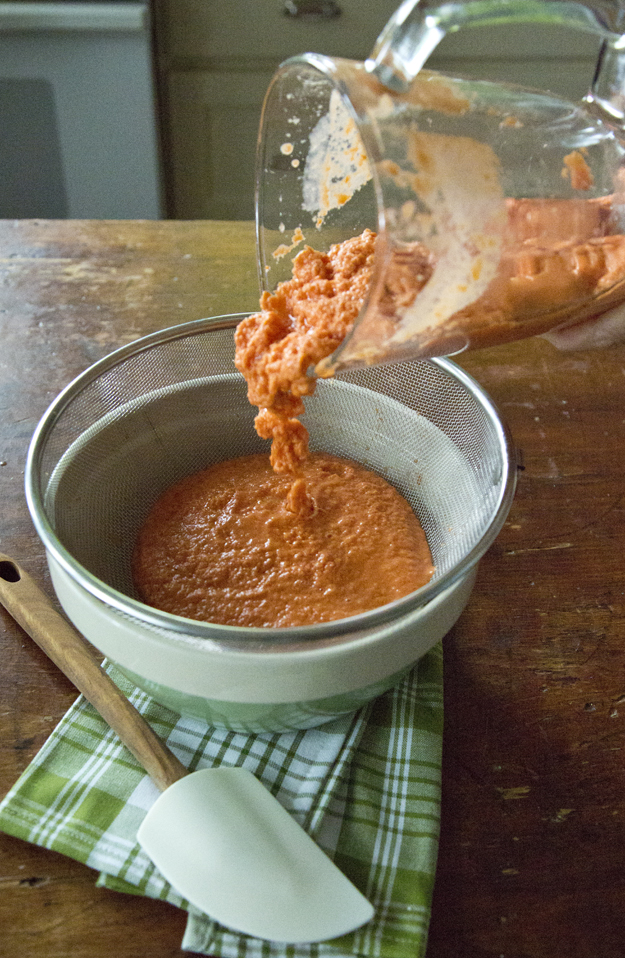
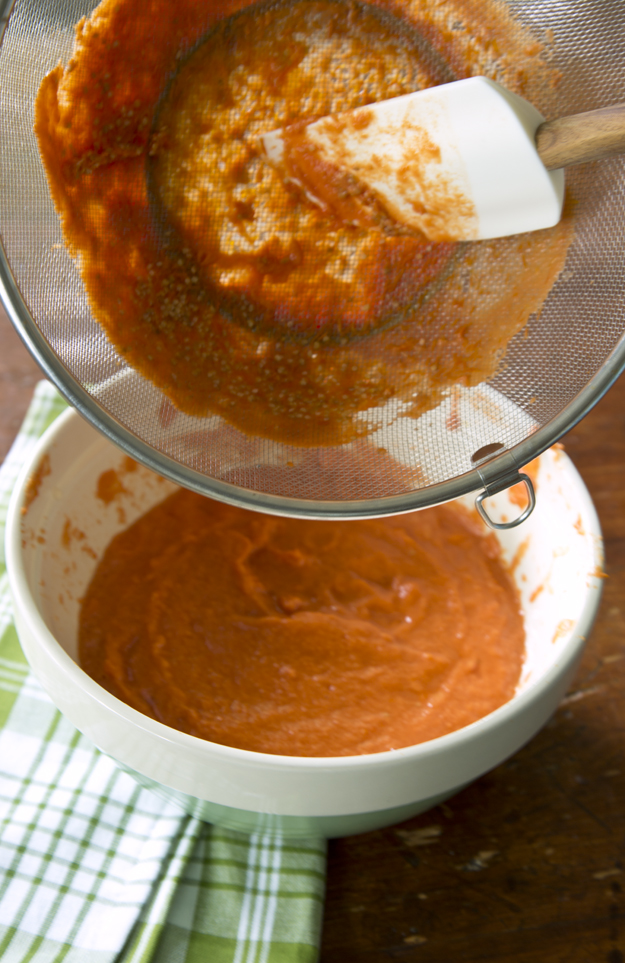
Yes, I’m going to ask you to turn on your oven in August, but it will be worth it. Once everything is roasted, puree the whole lot, along with some fresh tomatoes and strain it for a velvety smooth texture. 
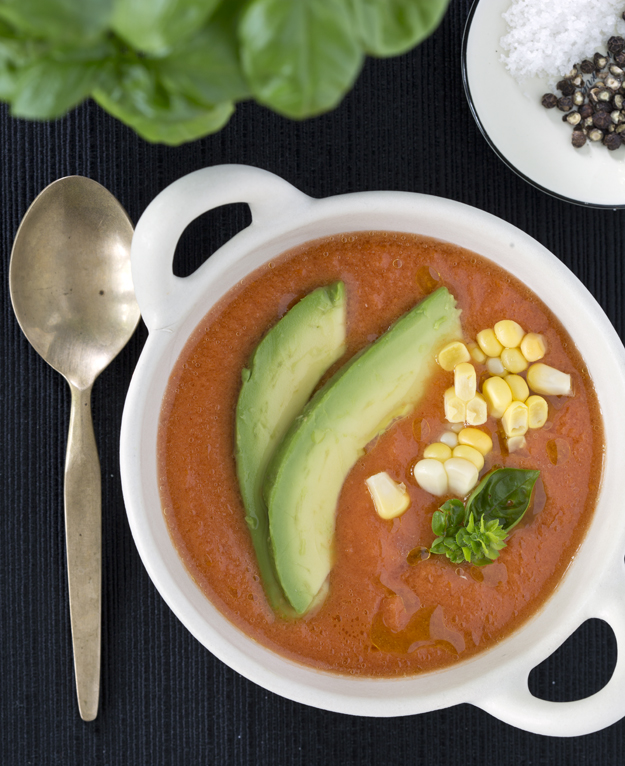
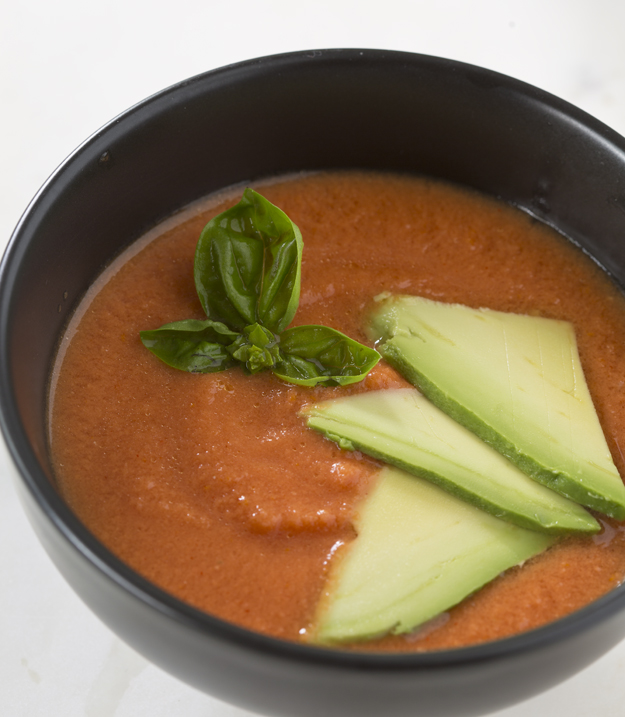
Finish it off with corn, avocado and basil and you have summertime in a bowl. Have I got your attention yet?
Click here to print recipe for Chilled Fresh Tomato Soup.
Beat the Heat with Watermelon Spears
Here’s how I’ve been amusing myself this week – making watermelon spears. This is a fantastic kitchen hack. So much fun to do and eat. (Clearly, I am easily amused!)
Start with a large oblong watermelon and if my mom is around, make sure you wash the skin very well. I must admit she’s right, since a quick cleaning will eliminate the chances of transferring whatever’s on the outside of your watermelon to the inside when you cut into it. Cut watermelon in half widthwise.
Stand one half, cut side down. Using a large sharp knife, cut into slices about 1-2 inches apart.
Now, here’s where it helps to have large hands like me. Hold the top of the watermelon, so that the slices stay together and cut across the other way into slices. Like rows and columns on a spreadsheet.
How cool is this?
Like an edible game of Jenga. Go ahead, you’ll thank me later.
Za’atar Roast Chicken with Green Tahini Sauce
Yes, I admit it’s rather bold of me to suggest that you turn on the oven during this hellish heatwave, but stick with me here, and hopefully I’ll succeed in convincing you to do just that. It goes without saying that if you’re going to roast a chicken in the middle of July, it better be exceptional. This one comes from the master of Mid-East cuisine, Yotam Ottolenghi. Need I say more? This recipe was featured in the August 2014 issue of Bon Appetit magazine.
Start with a heap of thinly sliced red onions.
You could roast a whole roast chicken or chicken pieces, but I like to spatchcock the chicken for a more impressive presentation. Basically this just means removing the backbone to flatten the chicken for quicker cooking. You could ask the butcher to do it, or simply use kitchen shears and do it yourself. I have included detailed instructions in the recipe.
Prepare a marinade of garlic, sumac, allspice, cinnamon, salt, pepper and olive oil and mix withsliced onions and lemons . Give the chicken at least a two hours to soak up all the flavour.
After marinating, generously coat the chicken with za’atar, transfer to a roasting pan and arrange some of the onions and lemons on top of the chicken so that they will get gloriously brown.
While the chicken is roasting, prepare the green tahini sauce. Have you noticed that tahini seems to be popping up everywhere lately? It’s the new darling of the culinary world, and for good reason. It is really quite versatile. Molly made a tahini sheet cake with cream cheese frosting. Ottolenghi made tahini and halvah brownies. If you need more inspiration, check out these amazing desserts.
Parsley for verdant freshness and vibrant colour, lemon for it’s pucker, and garlic for it’s punch, all make good playmates for tahini.
Epicurious.com suggested adding some toasted pita to this recipe. Once the chicken is cooked, remove it, along with the onions and lemons to a baking sheet. Toss some toasted pita bread in all those delicious pan juices. Place the chicken, lemons and onions back on top of the pita in the roasting pan and broil it until the skin gets crispy brown.
Heap it onto a serving platter, top with toasted pine nuts and serve the sauce on the side.