 Sadly, I never met my father-in-law as he died before I met my husband, and my mother-in-law died shortly before we became engaged. But I lucked out with four brother-in-laws and and one sister-in-law. My husband’s siblings welcomed me into the family with open arms and have always treated me as one of their own.
When I moved to Ottawa 25 years ago, I felt quite isolated after leaving all my family and friends behind in Toronto. My sister-in-law (who I am blessed to also call my friend), sent me regular care packages to ease my loneliness. The parcels almost always contained a box of Phipps Krunch, a delicious confection of crunchy caramel, roasted almonds and milk chocolate. Nothing like a heap of butter and sugar to fill the emotional void of sadness.
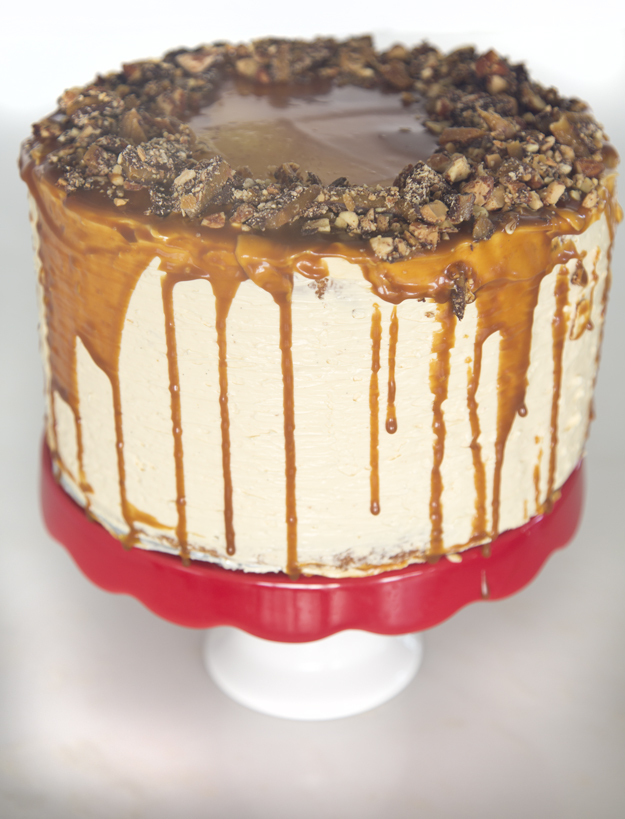
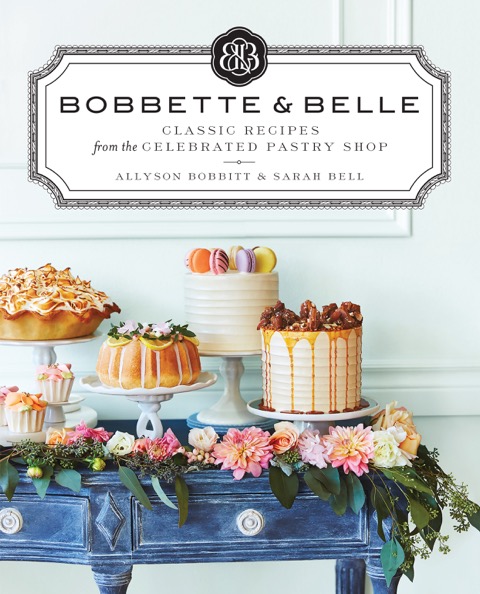
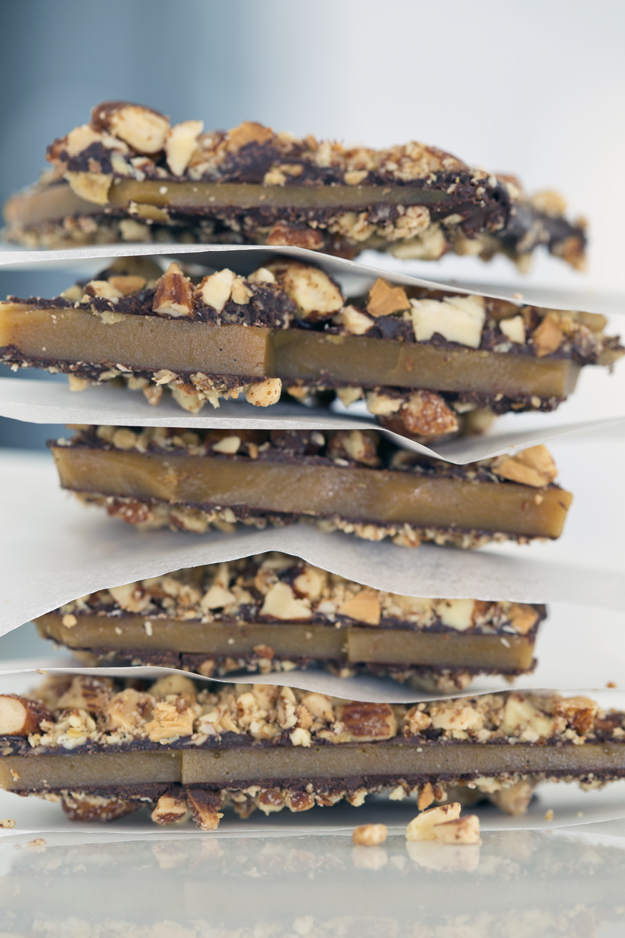
I was so excited to find a recipe for English Toffee in Bobbette and Belle’s new cookbook. It looked exactly like Phipps Krunch. I had to try my hand at making it.
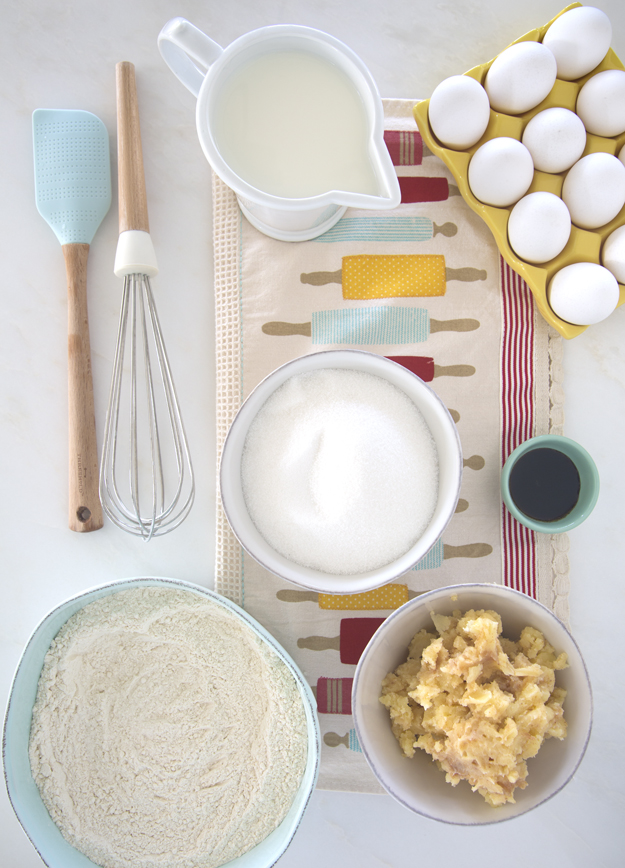
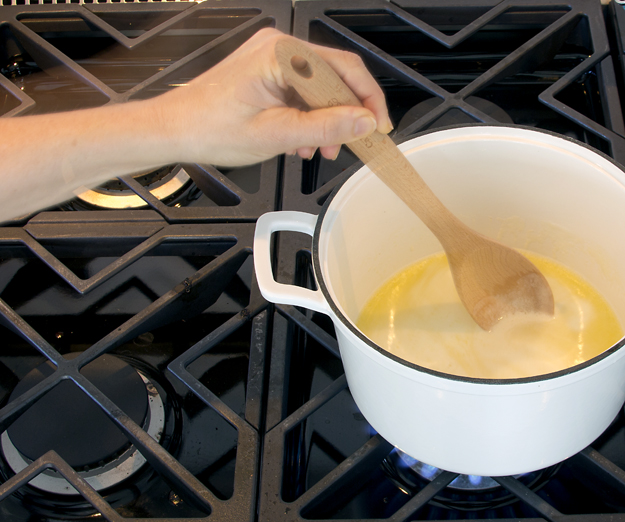
Making toffee is not difficult. It just requires a candy thermometer and some patience. I love the chemistry of candy making. I feel like a magician when I turn simple ingredients like butter and sugar into something so glorious.
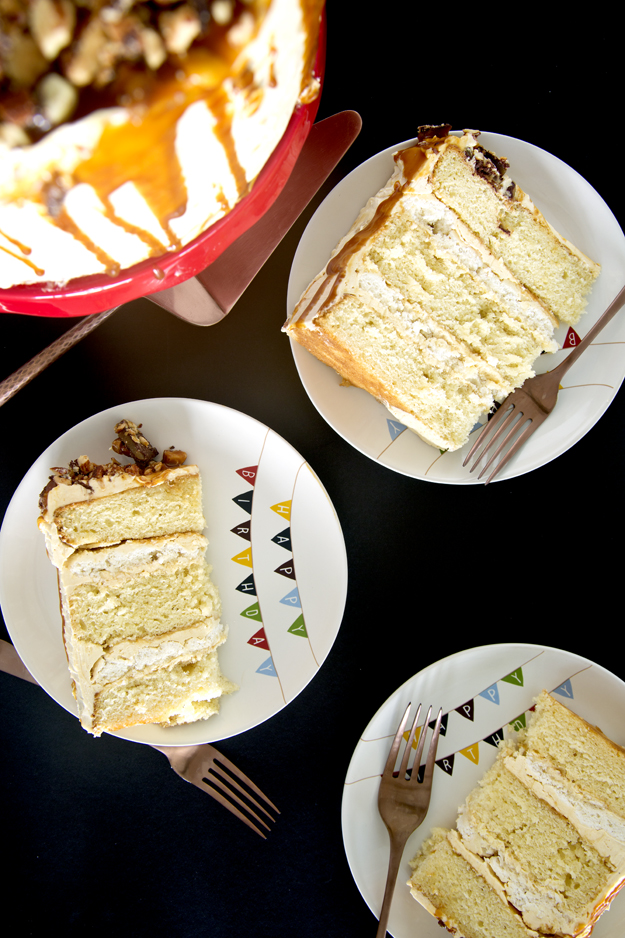
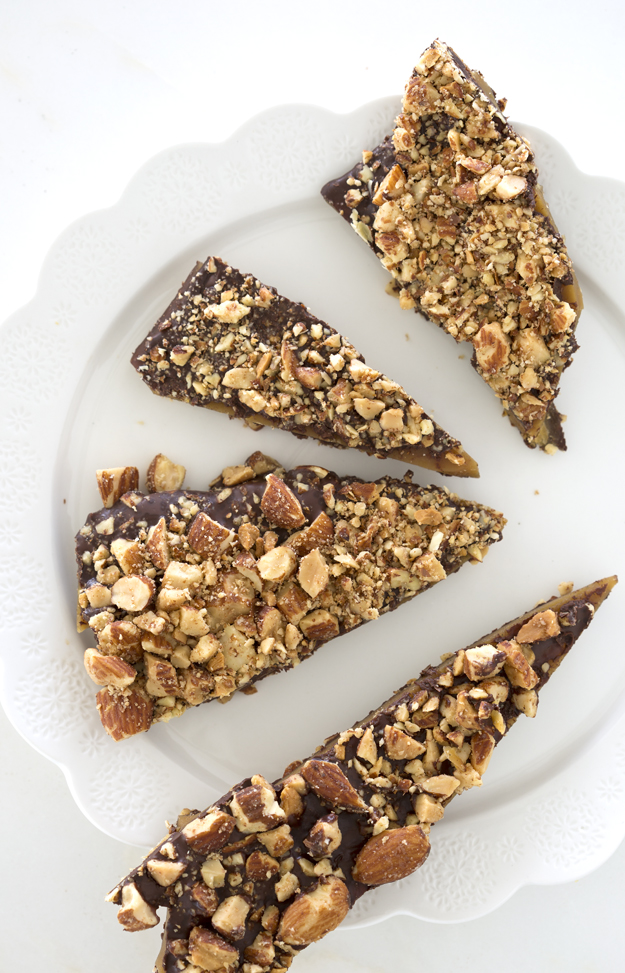
I was thrilled with the results. The buttery crunchy toffee is just on the edge of bitter, making it the perfect companion for that blanket of dark chocolate. Nutty toasted almonds take this candy to the next level. Please do not forget to toast the nuts. Untoasted nuts are one of my biggest culinary pet peeves. They taste like sawdust. Toasting nuts is one of the simplest ways to improve the flavour profile of anything.
Just preheat oven to 350°F and place nuts on a baking sheet. Roast for 10-12 minutes until they become toasty brown and fragrant. Let them cool completely before using or storing. If you are not going to use them right away, store them in the freezer, as they can go rancid quickly.
 This makes a ton of toffee, so keep some for yourself and give the rest away as gifts. You will be quite beloved.