If you grew up in the 1970’s you might recall the iconic Nabisco Icebox Cake. Two simple ingredients and no baking required. Chocolate wafer cookies are layered with whipped cream and then set into the fridge for some culinary alchemy. The cookies absorb the moisture from the cream and become soft and cake-like. The texture always reminded me of the Good Humour Ice cream Sandwich -squidgy, in a good way.
My mom was fancy, so she always sprinkled the top with some chocolate shavings.
This version is Julie van Rosendaal’s clever take on the original icebox cake. As soon as I saw her recipe in the Globe and Mail last month, I became obsessed with trying it. I have tweaked her version very slightly by adding some strawberries to the rhubarb compote. Watch how it all comes together.
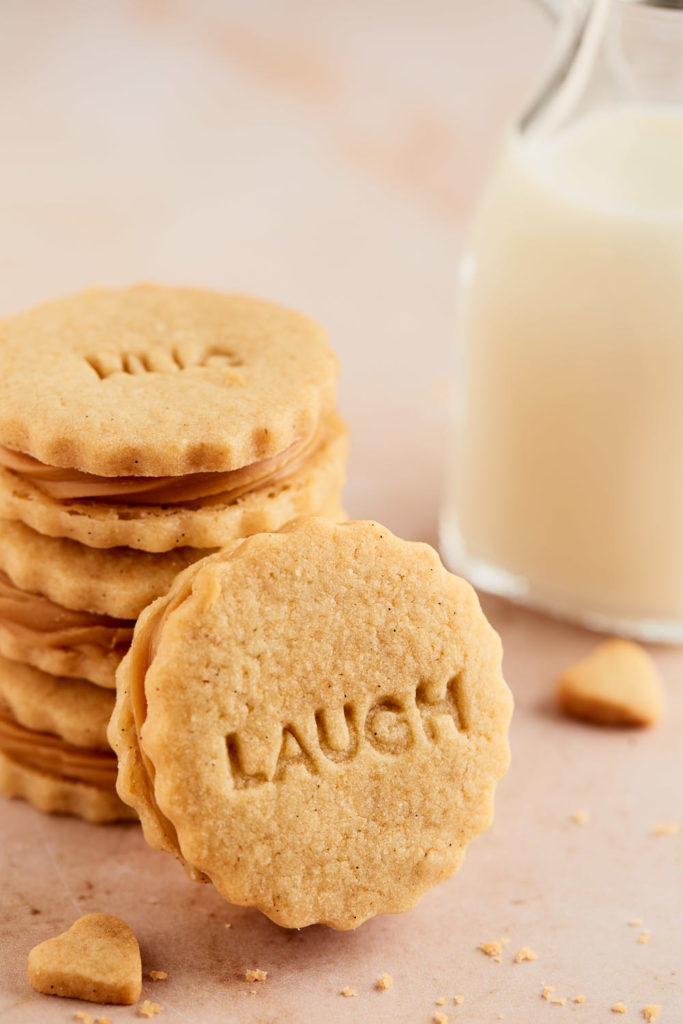
Biscoff cookies originated in Belgium in 1932 and have become Europe’s favourite cookie. They are similar to gingersnaps but have a much crunchier texture, which I discovered comes from Belgian brown sugar , which is quite different from North American brown sugar. If you’re curious about the difference, you can read all about it here.
The first time I had a Biscoff cookie was in 1991. I had just moved to Ottawa and my Belgian neighbour, Brigitte, invited me over for coffee and a playdate with our kids. She served Speculoos cookies with the coffee. I thought she said “speculum” and was slightly perplexed. I discovered that the brand name was Biscoff (a hybrid of biscuit-coffee) , but the generic name of the cookie is Speculoos. A visit to the gynaecologist never fails to make me think of these cookies. Whatever you call them, they are delicious.
I bought my Biscoff cookies on Amazon. If you live near a Trader Joe’s, they make a version of these cookies as well.
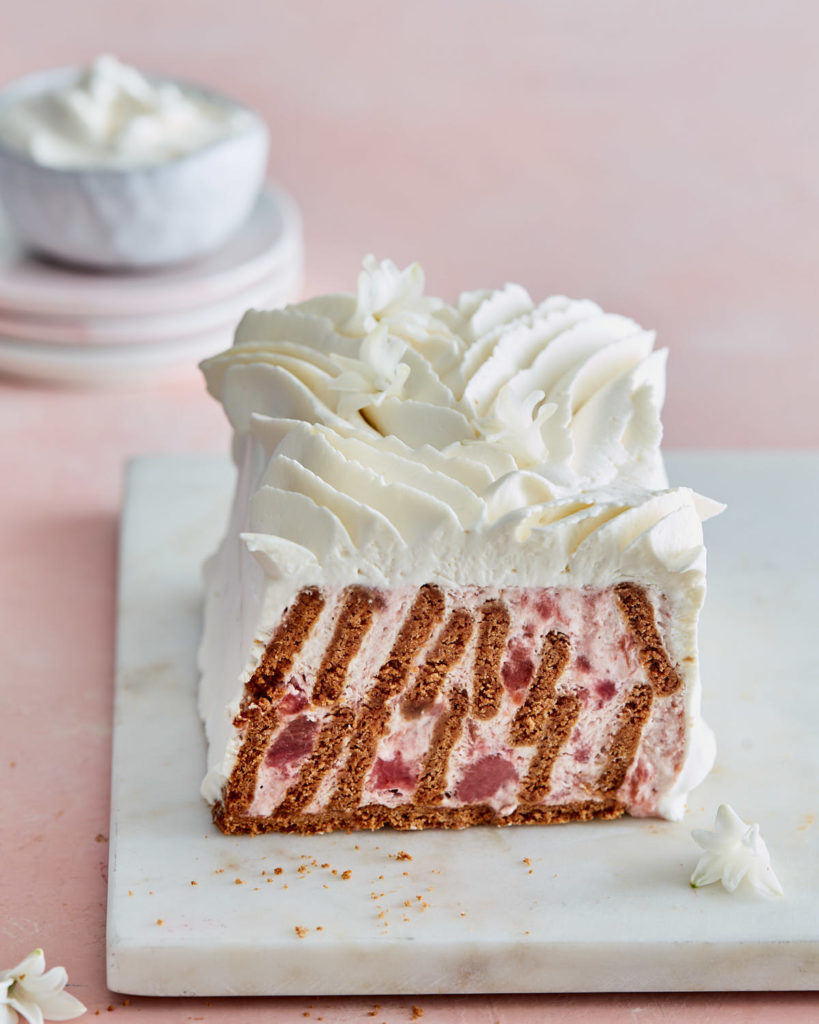
This cake is a great make ahead dessert. Prepare it just to the stage before you slather the top with whipped cream. Cover well and pop it in the freezer for up to a month. Just before serving, unmold from the loaf pan and cover with freshly whipped cream. A great trick I learned from Anna Olson, is to add skim milk powder to your cream before whipping (1 tablespoon per cup of cream). The skim milk powder stabilizes the cream and your beautifully piped or swirled design will hold its shape for hours.
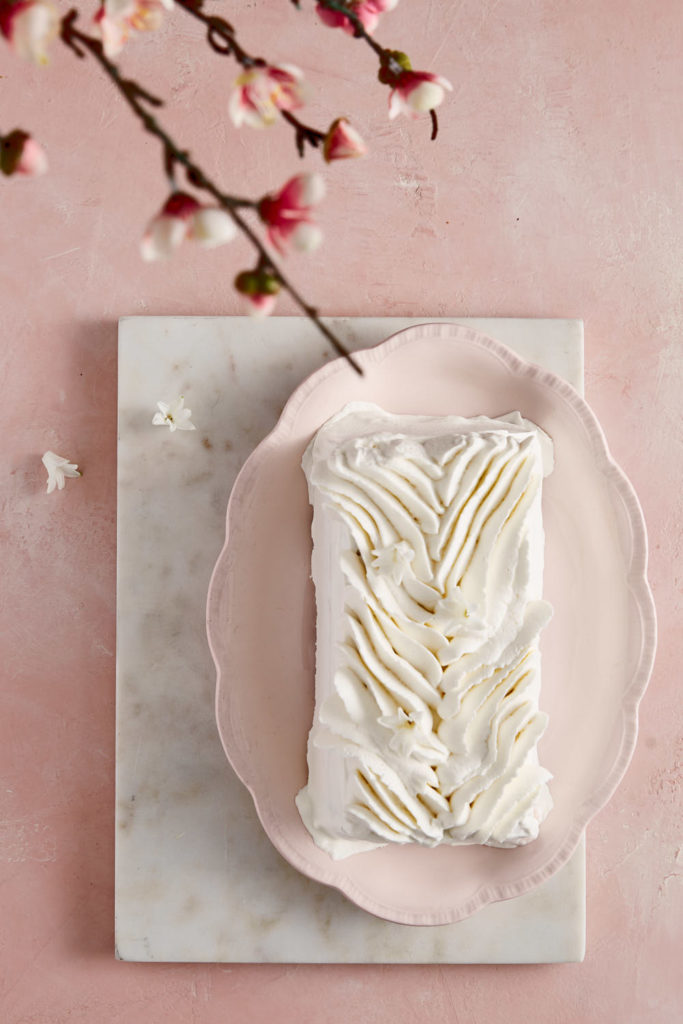
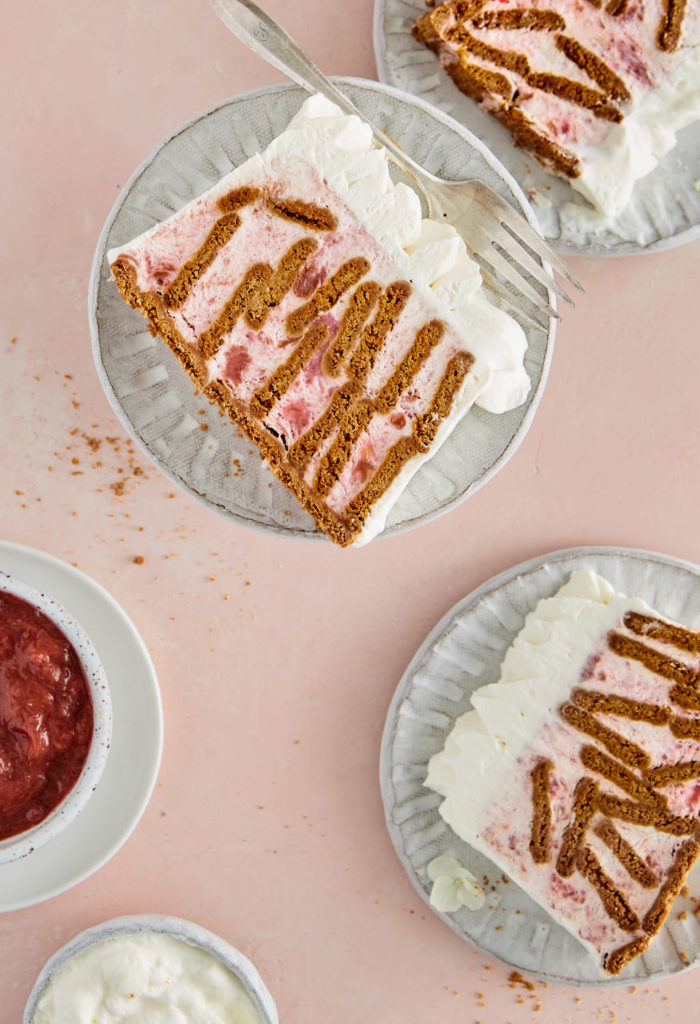
For the design I piped, I used a Wilton #127 piping tip. You could just spread the cream on and use a spoon to swirl it decoratively.
When sliced, the cake is such a pretty surprise. The tartness of the rhubarb provides a lovely fresh contrast to the sweet cookies and cream.