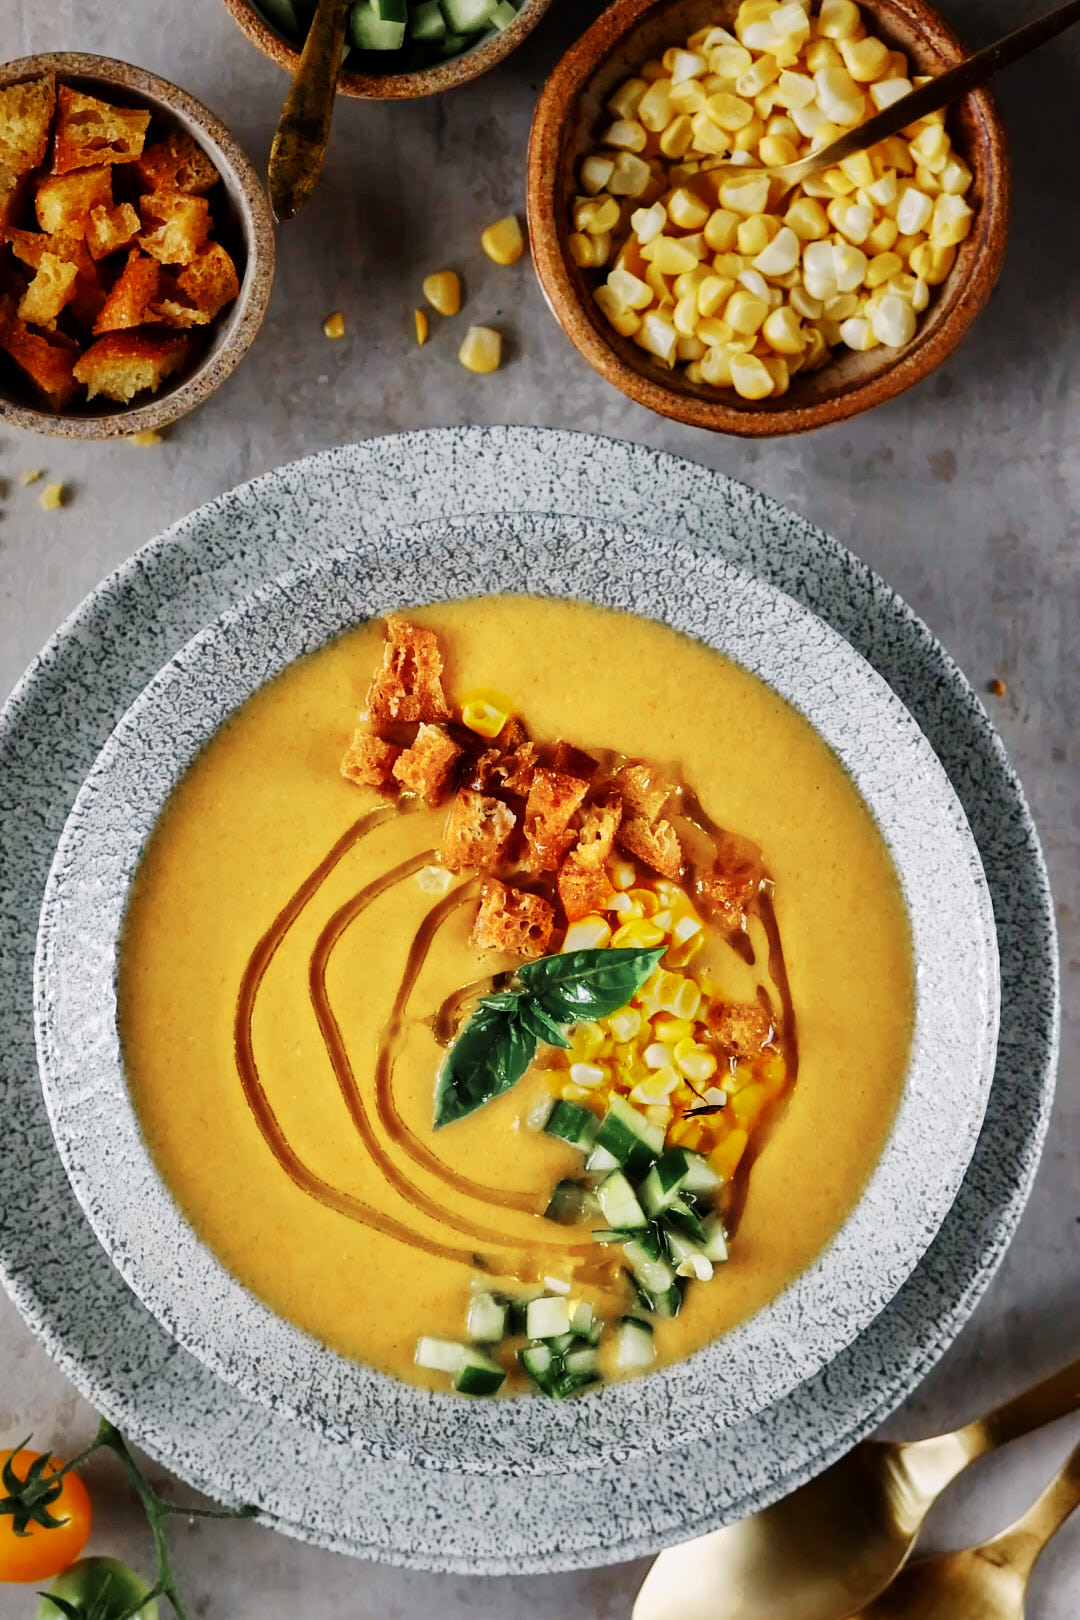
Golden Gazpacho is my sunny twist on the classic Andalusian soup—bright, refreshing, and perfect for overflowing late summer markets.
One of my favourite summer soups is the classic Andalusian gazpacho, a chilled tomato-based soup that I’ve already shared on the blog. This new version—Golden Gazpacho—takes that idea in a sunny direction, using up the golden vegetables that flood the markets in late summer: sweet corn, juicy yellow tomatoes, and golden peppers…
Keys to Success for Golden Gazpacho
- Roast the peppers Raw yellow peppers can taste a little too green and vegetal. A quick roast on the grill or under the broiler softens that edge and adds just enough smoky depth to balance the sweetness of the corn and acidity of the tomatoes.
- Choose your tomatoes wisely Any mix of yellow tomatoes works here. Large heirlooms bring a mellow, juicy sweetness, while little sun golds add a bright, tangy pop. Use whatever’s best and ripest at the market.
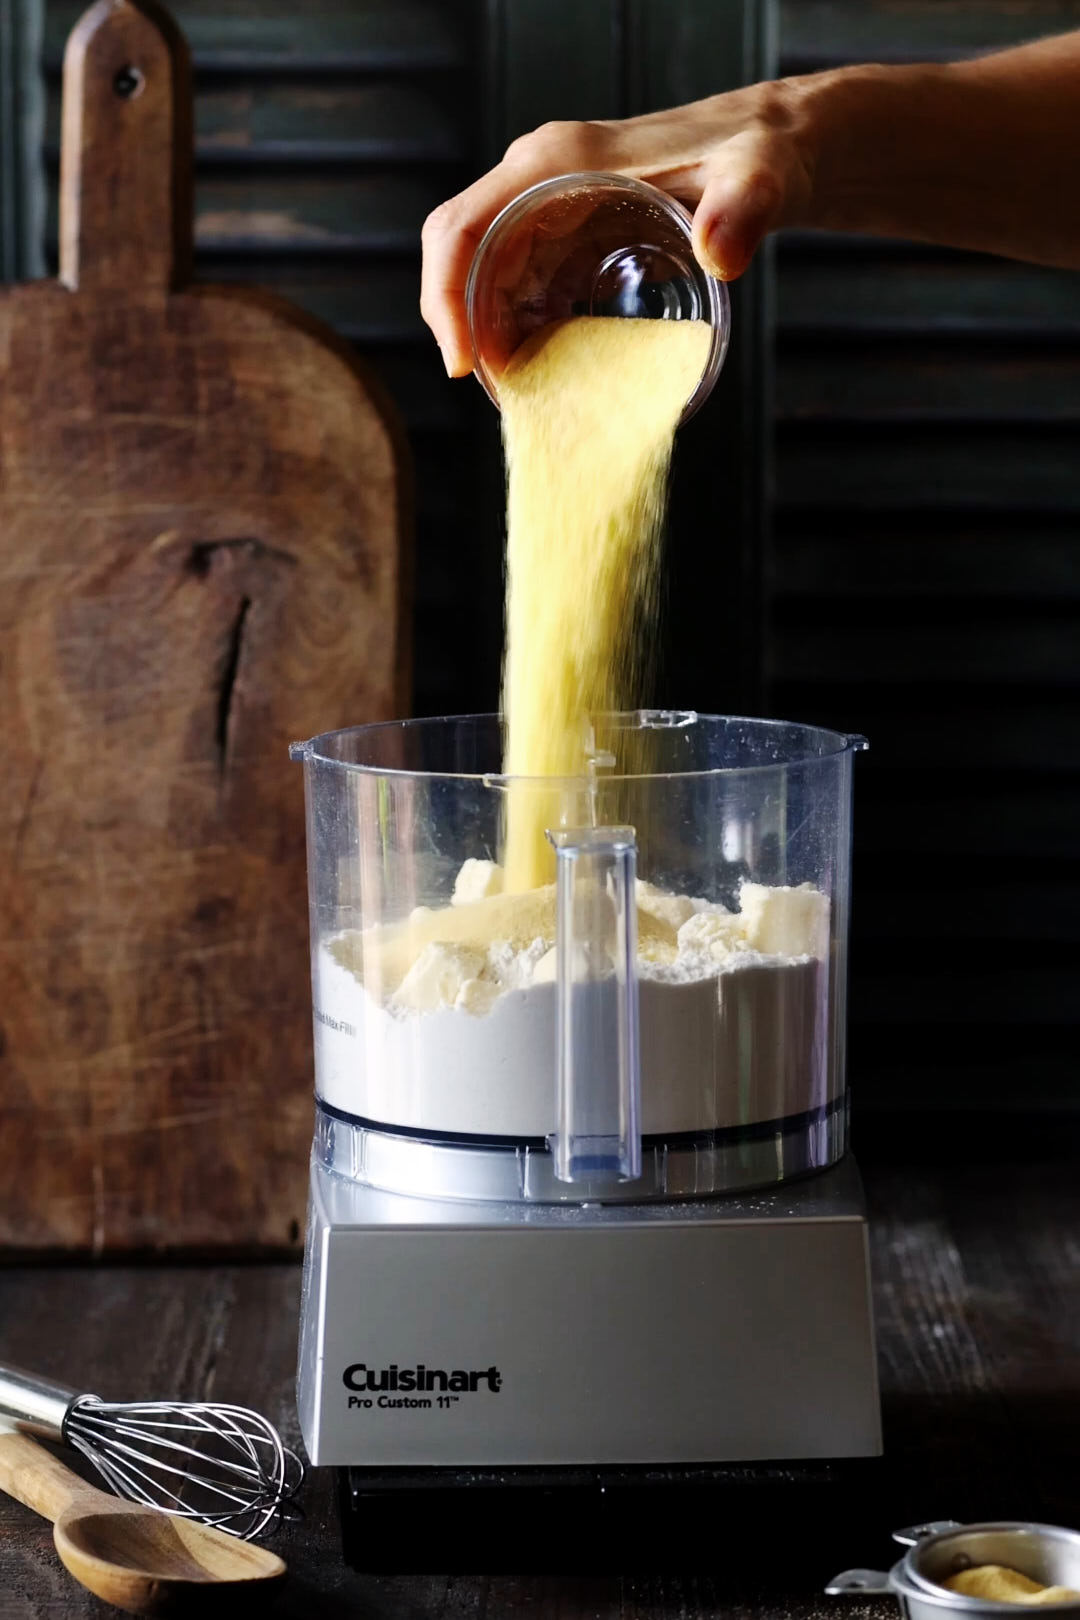
- Soak the bread Don’t skip this step—it’s essential for the soup’s creamy texture. A quick 30-second soak in water is all you need to soften the bread before blending.
- Go easy on the garlic Garlic should lift the flavours, not dominate them. Too much can overpower the delicate balance of sweet corn, smoky peppers, and ripe tomatoes.
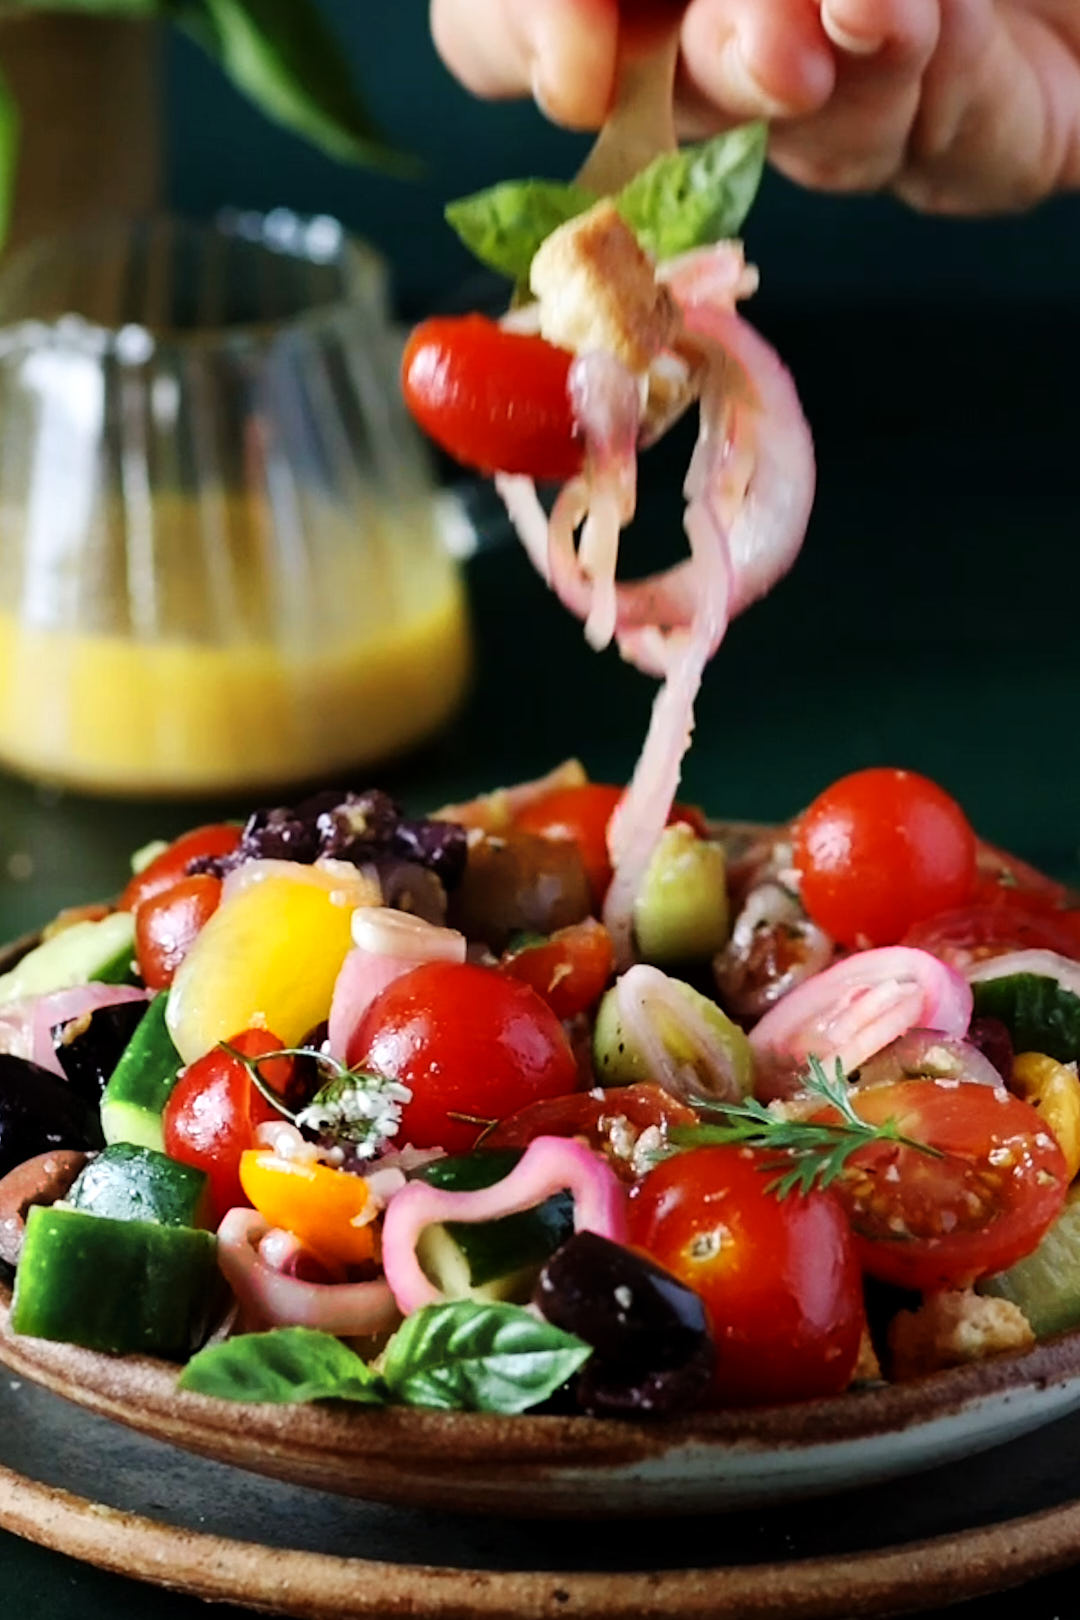
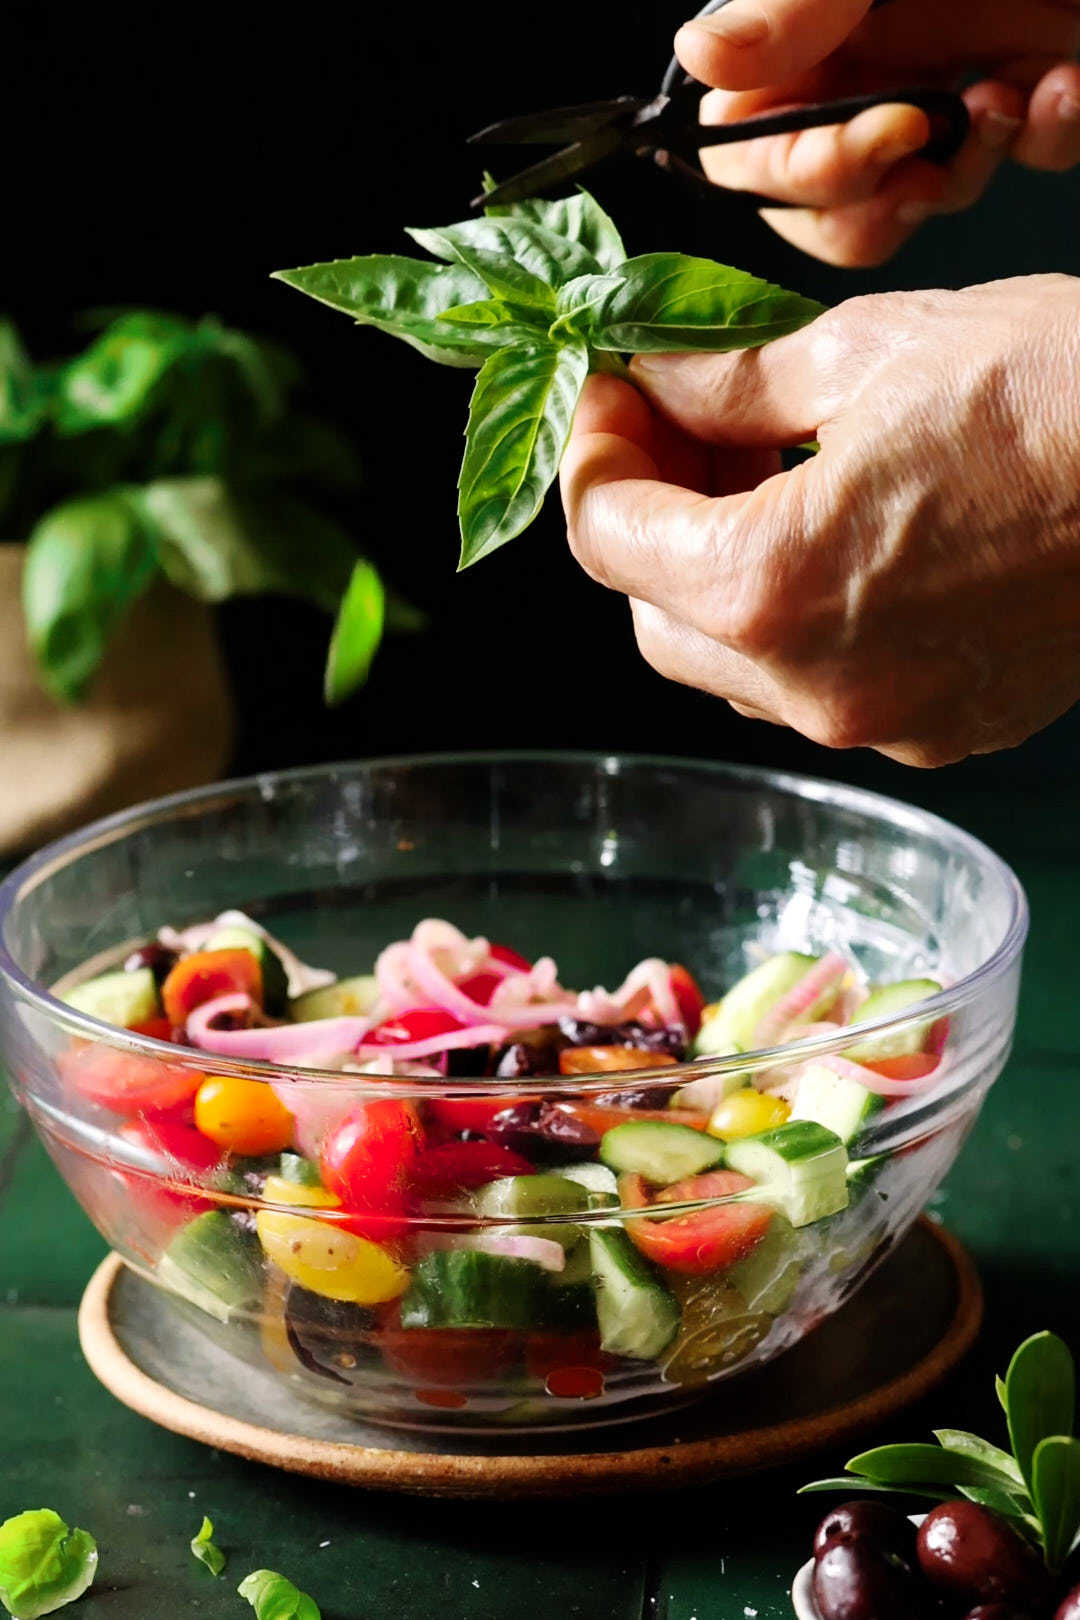
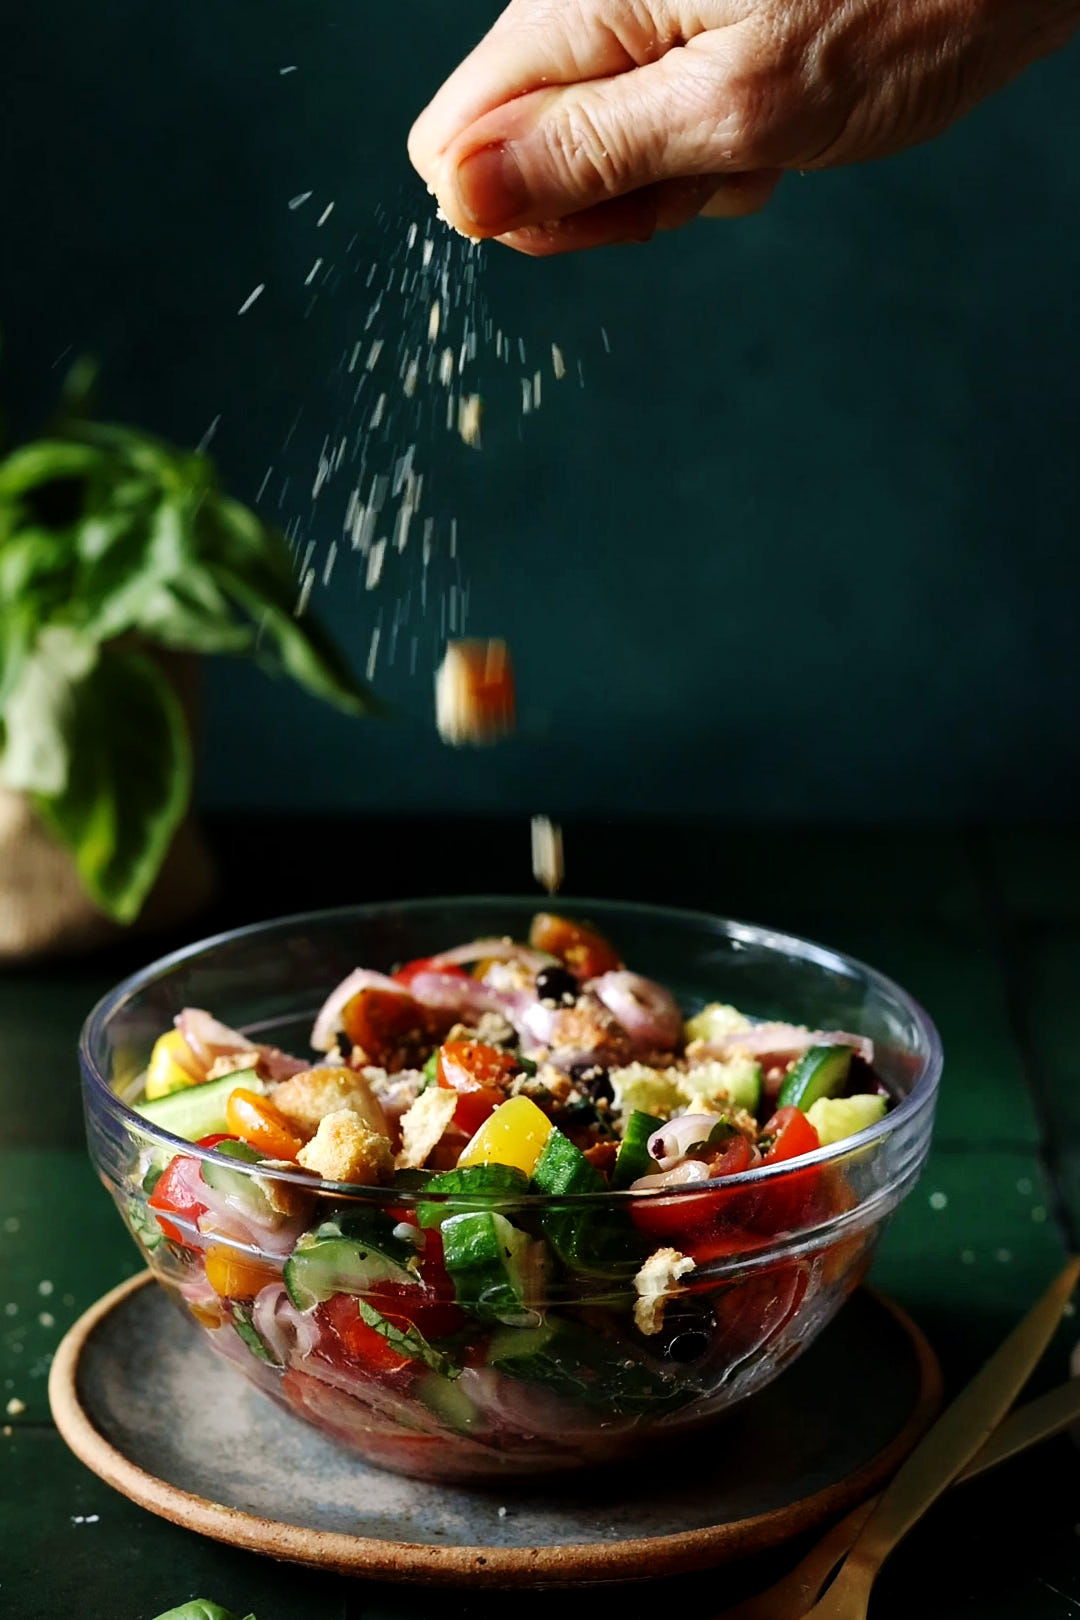
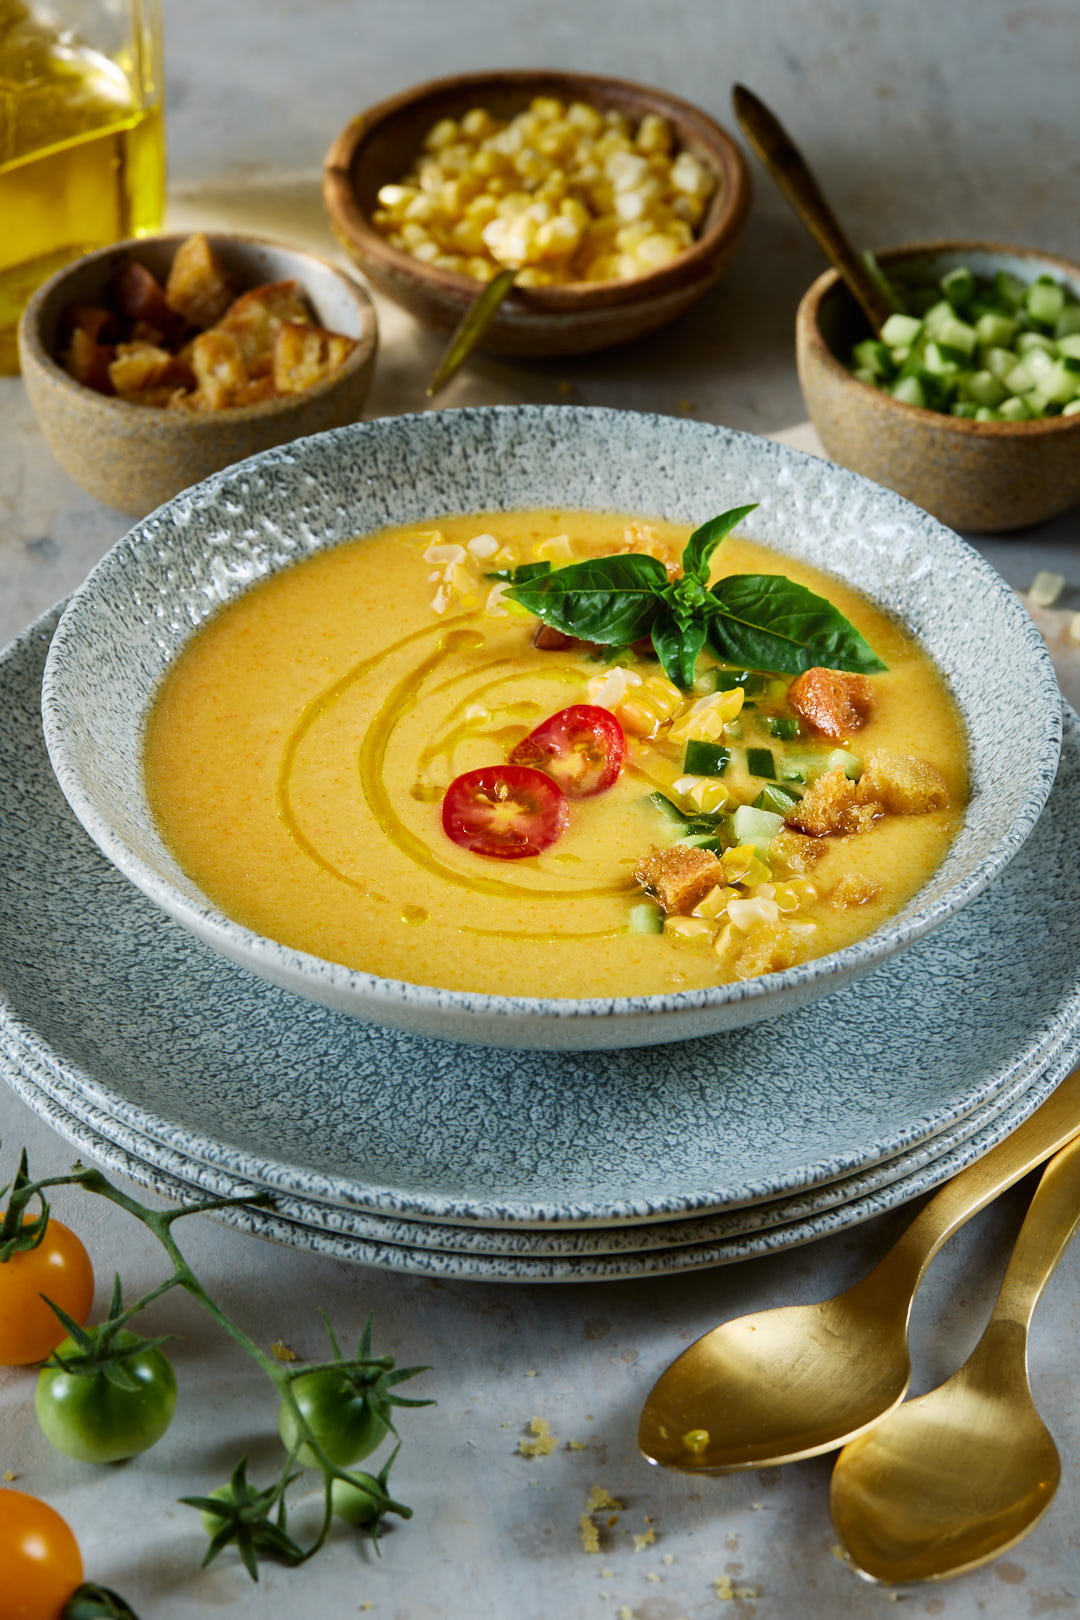
- Texture matters Smooth soup alone doesn’t cut it for me—I need crunch. A mix of toppings like raw corn kernels, diced cucumber, and croutons makes each bowl more satisfying. Yes, you can grab a bag of store-bought croutons, but tiny homemade ones are more adorable and delicious.miles better.
- Don’t skip the straining step Running the blended soup through a sieve is essential. It removes skins and seeds, giving you that silky finish that makes gazpacho so refreshing.
- Make it ahead This soup only gets better with time. Let it chill in the fridge for at least a few hours before serving, but if you can plan ahead, it’s even more flavourful the next day.

Golden Gazpacho
Ingredients
Soup ingredients for blender
- 1 medium yellow pepper, about
- 4 ears corn, husks and silks removed
- 1 four inch piece of baguette, crust removed
- 2 1/2 pounds yellow tomatoes, a mix of large heirloom and small sun gold is fine, whatever you can find.
- 2 cloves garlic
- 1 shallot, peeled and halved
- 2 Tablespoons Sherry or Red Wine Vinegar
- 1 Tablespoon Diamond Crystal Kosher salt, or 1 1/2 teaspoons Morton's Kosher salt
Soup Ingredient to whisk in by hand:
- 3 Tablespoons Extra Virgin Olive oil
Homemade Croutons:
- 1 six inch piece baguette, diced into 1/4 inch cubes
- 2 Tablespoons olive oil
- 1 teaspoon Diamond Crystal Kosher salt, or 1/2 teaspoon Morton's Kosher salt
Garnishes:
- 1 cup reserved corn kernels (from above)
- 2 small Persian Cucumbers, diced into 1/4 inch pieces
- 4 cherry tomatoes, sliced
- 8 leaves fresh basil, cut into julienne
- 4 teaspoons extra virgin olive oil,
Instructions
- Roast the pepper: Place the oven rack about 6 inches below the broiler and preheat, or preheat an outdoor grill to high. Char the pepper under the broiler, on the grill, or directly over a gas flame (using tongs), turning every 1–2 minutes until the skin is blistered and blackened all over, 5–7 minutes total. Transfer to a bowl, cover, and let steam for 5 minutes. Peel off the skin, then remove the stem and seeds. Steaming helps loosen the skin, making it much easier to peel.
- Prepare the corn: Lay the cob on its side on a cutting board. Using a sharp knife, slice off the kernels, turning the cob as you go until all the kernels are removed. You will get about 5 cups of corn kernels. After the kernels are off, stand the cob upright in a medium bowl and scrape down the length with the back of your knife to “milk” the cob, releasing the starchy liquid. This corn milk adds extra sweetness and body to the soup.Set aside 1 cup of corn kernels for garnish.
- Soften bread: Place the baguette in a bowl of cold water and soak for about 30 seconds. Remove and squeeze firmly to expel as much water as possible. The softened bread blends into the soup, giving it body and a naturally creamy texture.
- Blend the base: Place the roasted pepper, corn, corn milk, soaked baguette, tomatoes, garlic, shallot, salt, and vinegar in a blender. If using large heirloom tomatoes, core and quarter them first; small sun golds can go in whole. Depending on the size of your blender, you may need to work in two batches. Blend until completely smooth. Do not add the oil yet—it will be whisked in by hand later to prevent it from turning bitter in the high-speed blender.
- Strain and finish: Set a large mesh strainer over a bowl and pour the soup through, pressing on the solids to extract as much liquid as possible. Whisk in 3 tablespoons of olive oil by hand—adding it in the blender can make the oil taste bitter. Cover and refrigerate for at least 4 hours, or ideally overnight for the best flavour.
- Make the croutons: Preheat the oven to 350°F. Toss the bread cubes with a drizzle of olive oil and spread them out on a baking sheet. Sprinkle with kosher salt. Bake for about 8 minutes, stirring once, until golden and crisp.
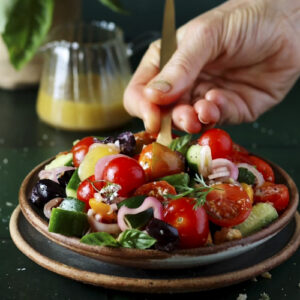
- Serve the soup: Pour the chilled soup into bowls. Arrange the garnishes—reserved corn, diced cucumber, fresh basil, homemade croutons, and a drizzle of olive oil—on the side and let everyone add their own.
Notes
Nutrition
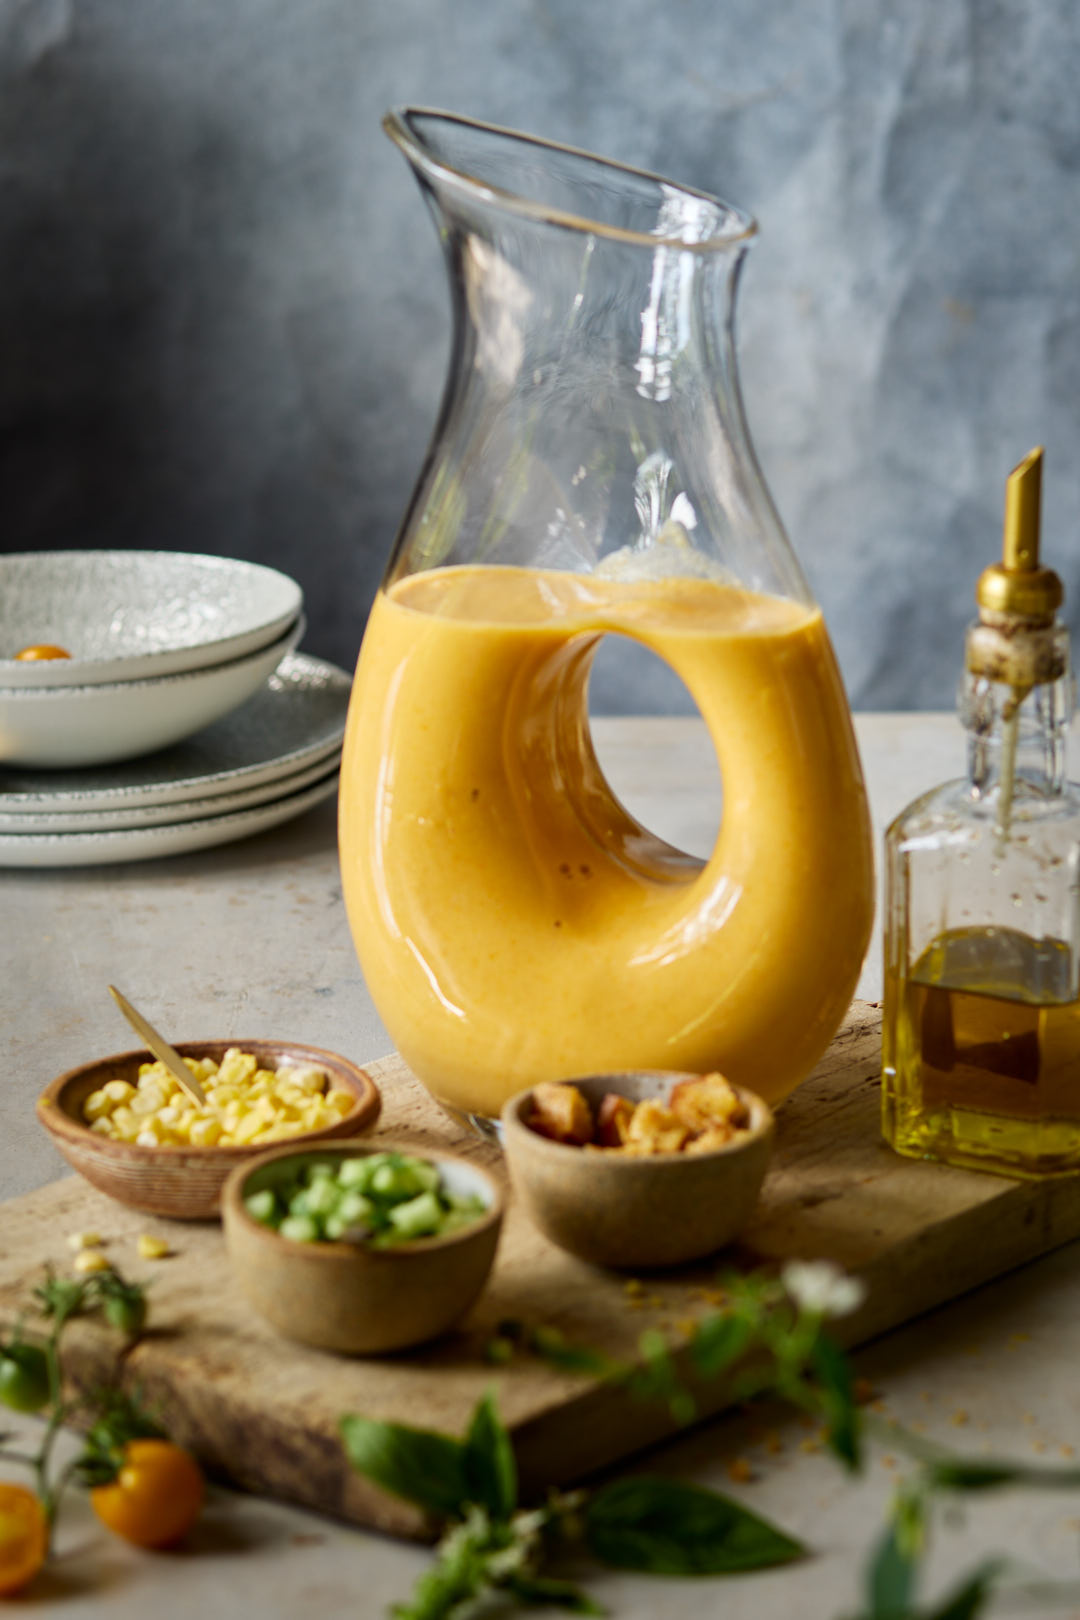
Golden Gazpacho is summer in its brightest form—silky, refreshing, and full of sun-ripened flavour. I love bringing it to the table in a glass pitcher with all the toppings on the side. Guests can have fun making their own bowls, and you get the joy of watching everyone turn it into something uniquely theirs.