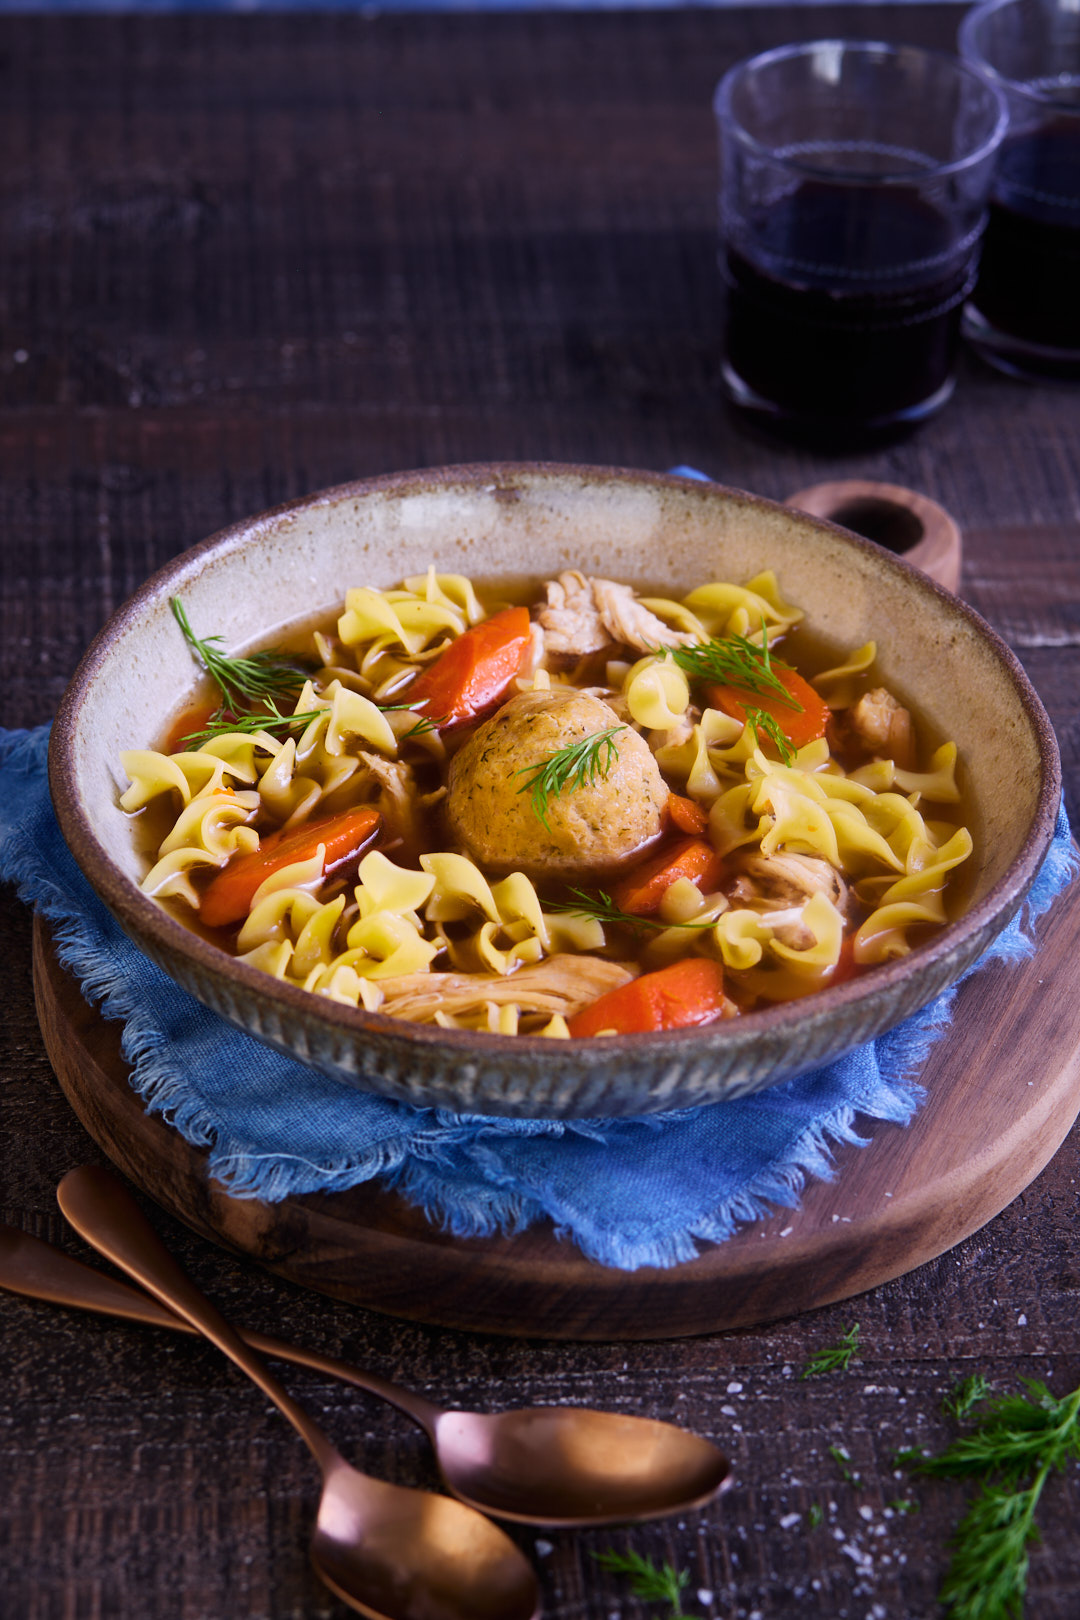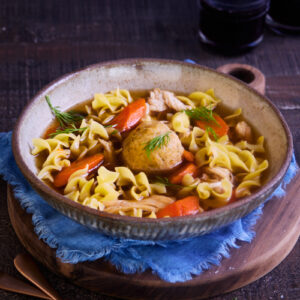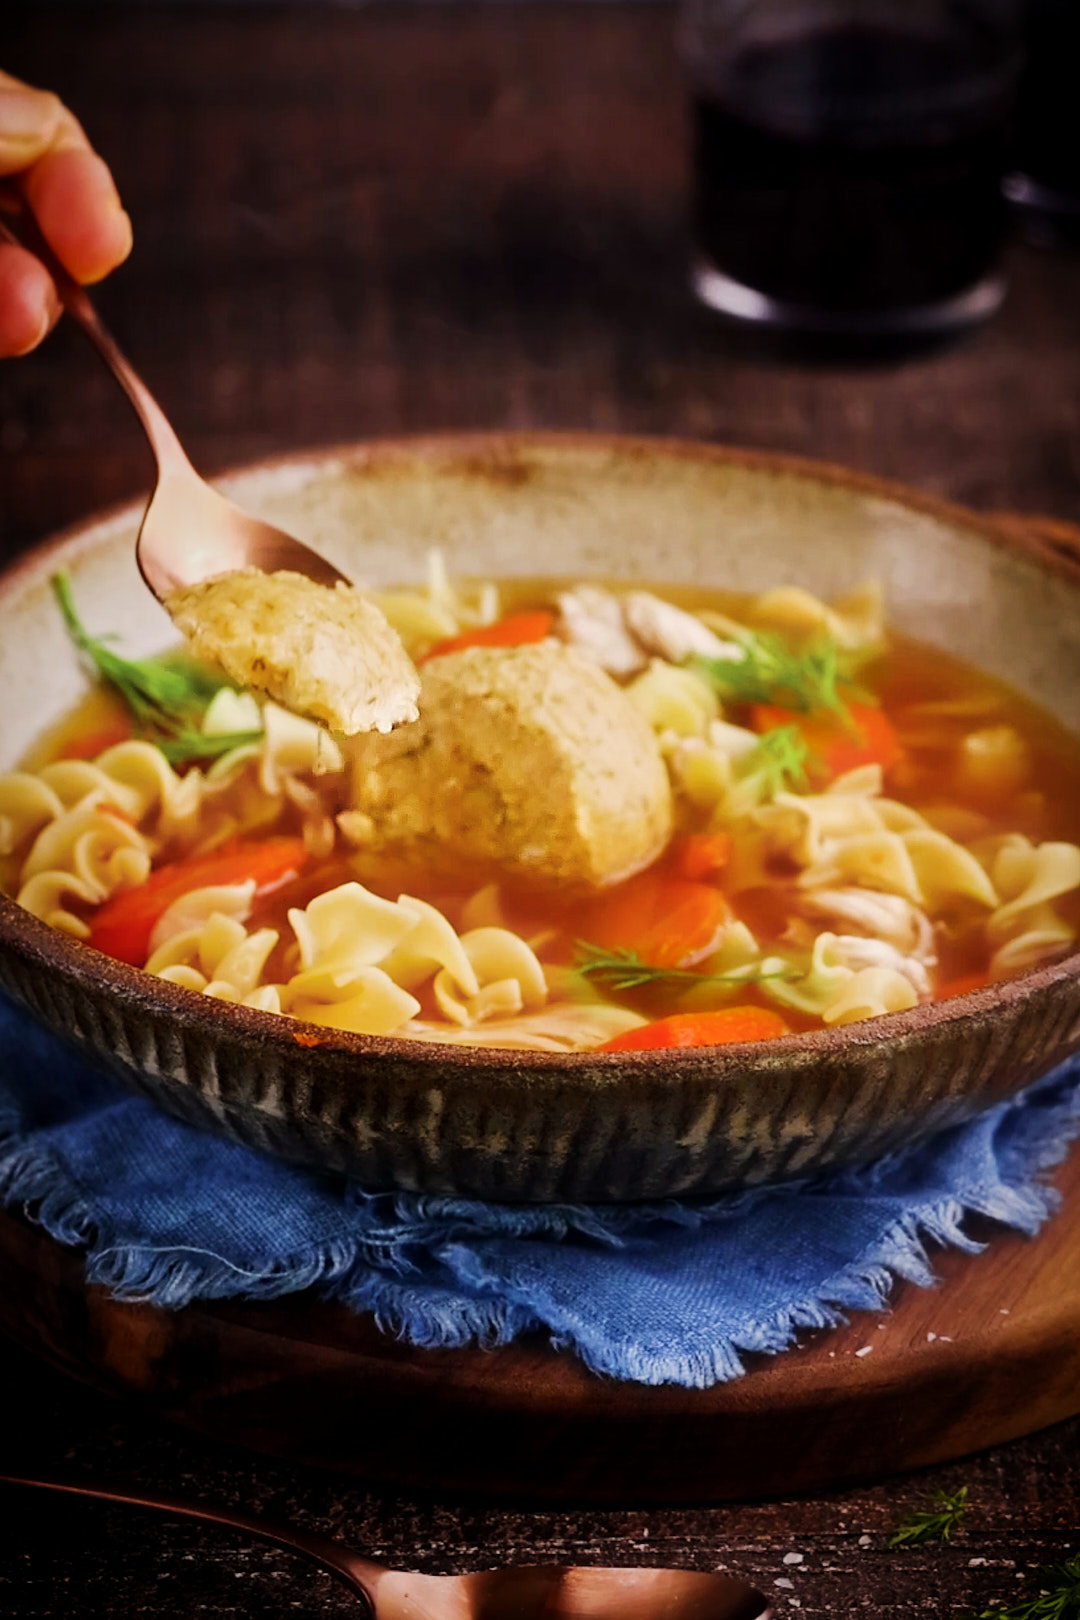
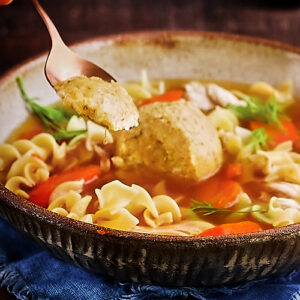
People tend to fall into two camps when it comes to matzoh balls: floaters or sinkers. The light-and-fluffy, bobbing-on-the-surface kind… or the dense, bowling-ball kind that drops straight to the bottom of the bowl like it has somewhere else to be. And if you’re here because you want to know how to make fluffy matzoh balls, you’re firmly in my camp. Because I’m sorry, but who is out here choosing a dense matzoh ball on purpose? It’s the same energy as saying you prefer a cakey brownie. (Do those people exist? I have yet to meet one.)
These fluffy matzoh balls are my mom’s gold standard—the ones I grew up eating—and I’ve only tweaked them slightly over the years. The result is tender, airy, flavourful matzoh balls that hold their shape, warm up beautifully, and belong in every bowl of chicken soup.
Watch as I make them:
Keys to Success in making fluffy matzoh balls:
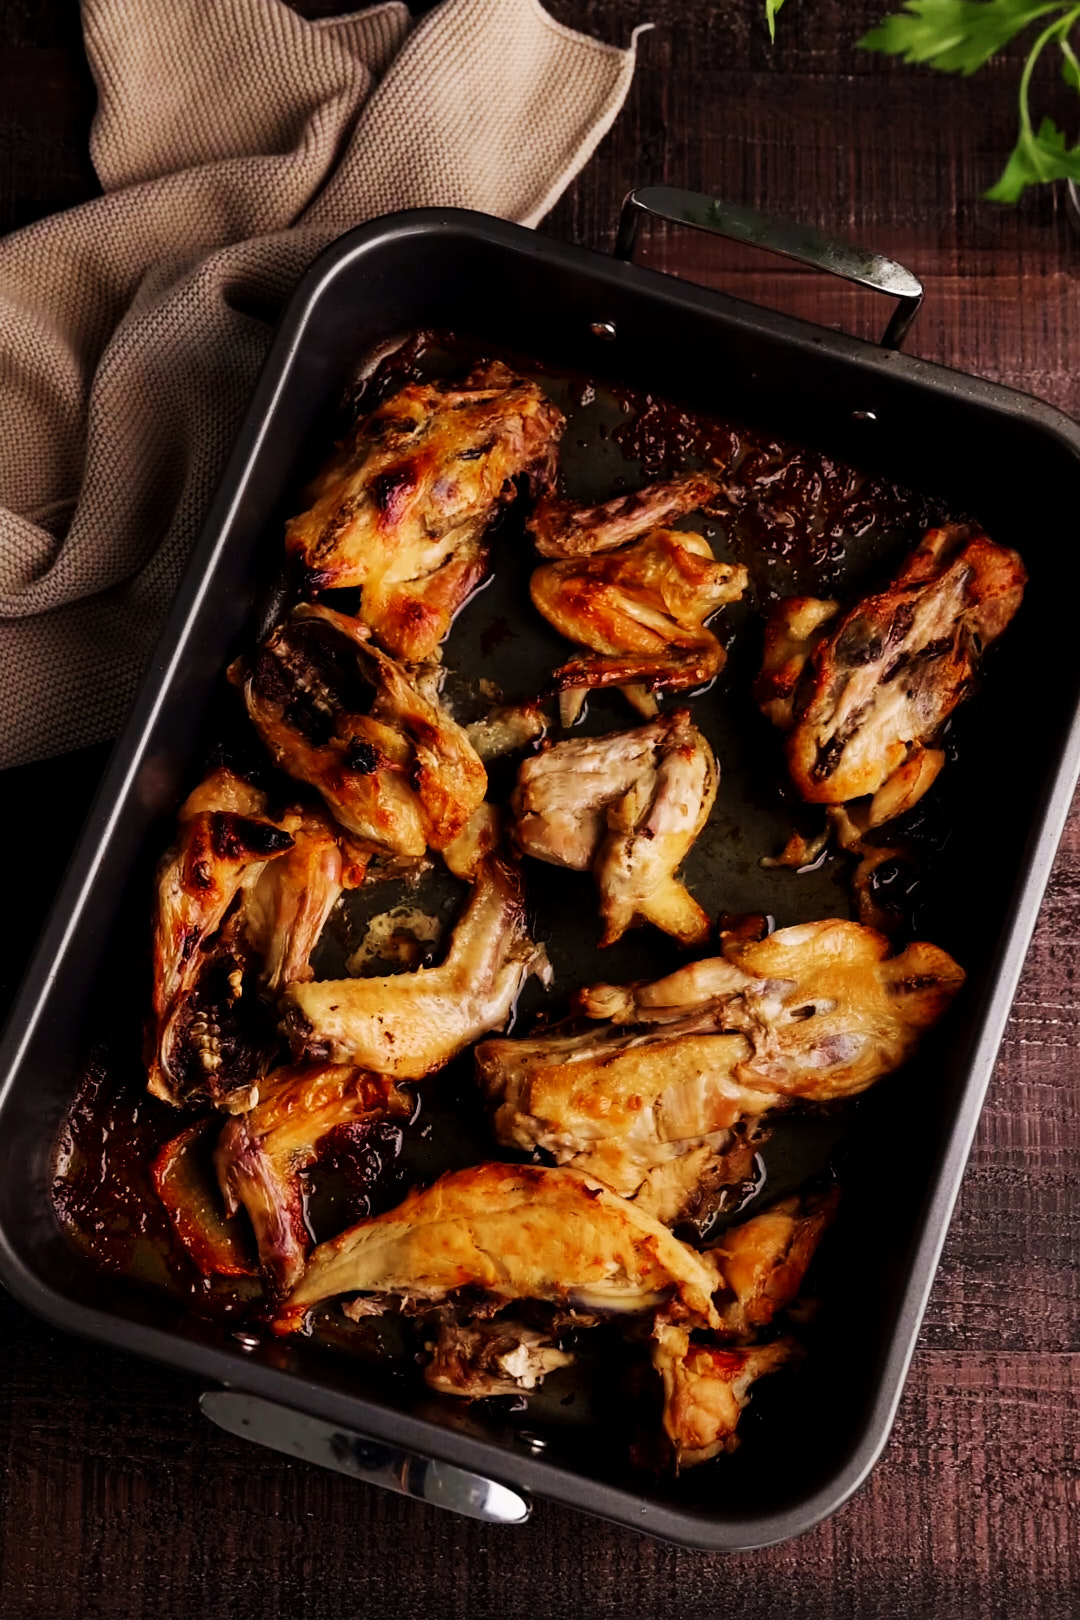
- Use schmaltz (and save it from chilled soup). This is straight from my mom: when chicken soup chills, that golden layer on top is flavour. Skim it off, store it, and use it in your matzoh ball batter. It’s the easiest upgrade with the biggest payoff — richer, more savoury matzoh balls without changing the recipe in any dramatic way.
- Rest the batter (minimum 2 hours). This is the not-skippable step. Resting hydrates the matzoh meal so the mixture thickens and cooks up tender instead of dense.
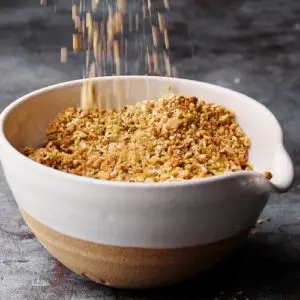
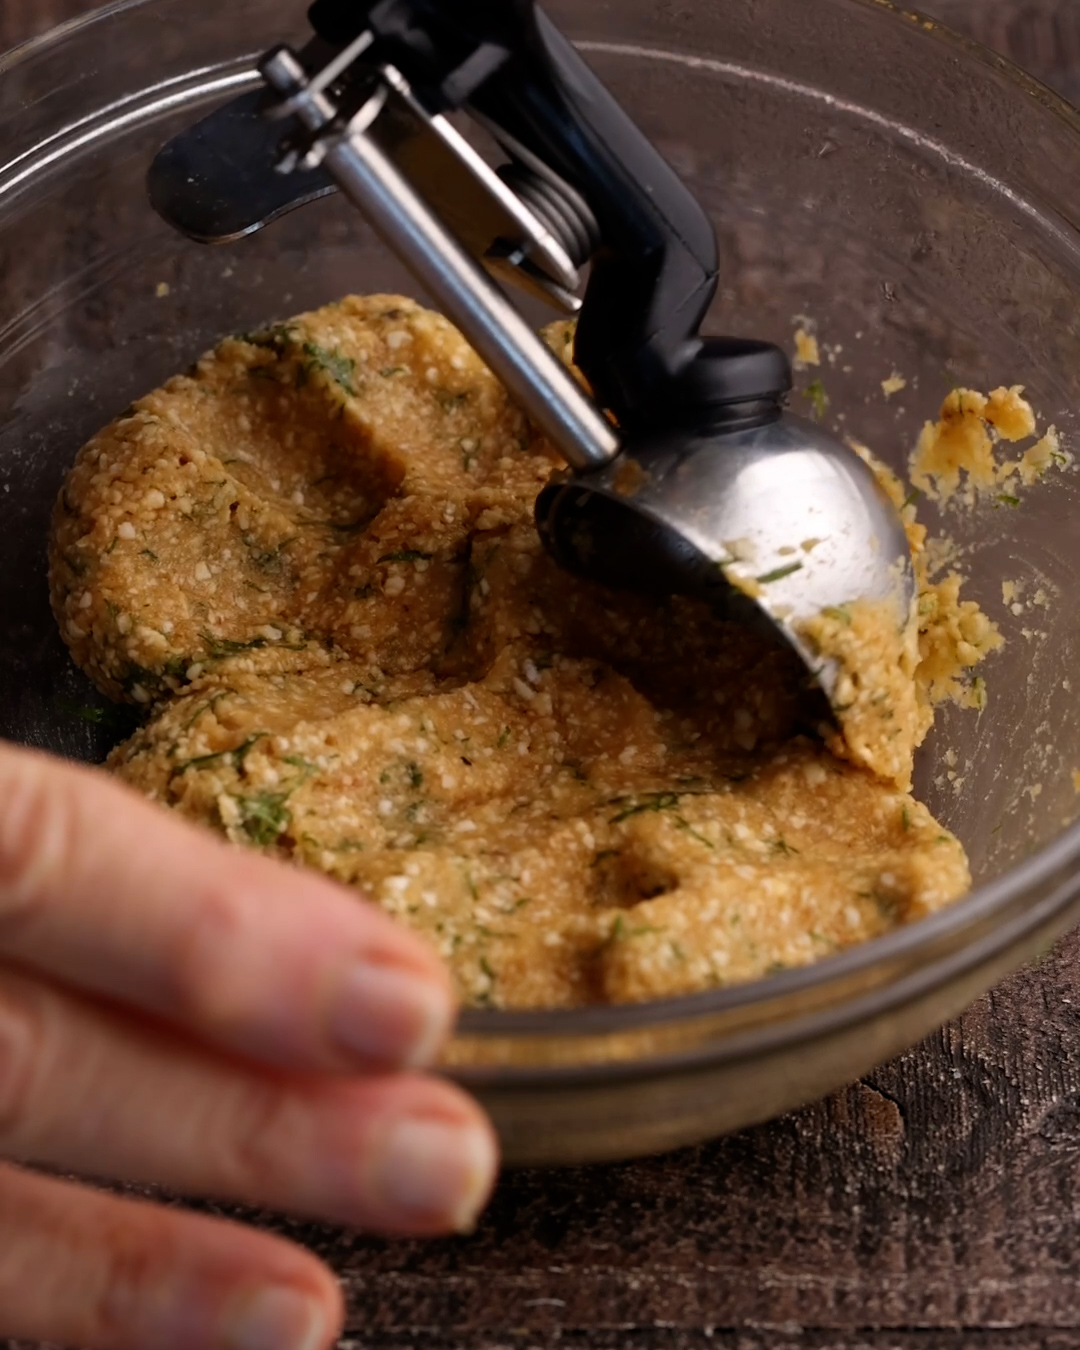
- Don’t overmix or over-pack. Mix just until combined, then scoop and roll gently. If you compact the mixture like a meatball, you’ll get sinkers.
- Wet hands , use a scoop for consistent size. Wet hands prevent sticking and keep rolling light. A 2 Tablespoon scoop gives even cooking (and no surprise “one giant one” in the pot).
- Cook in salted water, never in the soup. Always simmer matzoh balls in salted water, not chicken soup — cooking them directly in the broth can make it cloudy. Warm them in the soup right before serving.
- Gentle simmer and covered. Once they go in, lower to a gentle simmer and keep the pot covered. A hard boil can break them up and make the texture tough.
- Give them the full cook time. They’re done when the centre is the same colour as the outside. If they look even slightly darker in the middle, keep going.
- Make-ahead (and store properly). Cool, then store in a single layer so they don’t stick. They keep well in the fridge for a few days and freeze beautifully — rewarm in simmering soup.
- Don’t skip the dill (even if it’s not “traditional” for your family). My mom didn’t add dill to her matzoh balls — but when I got married, I learned that my late mother-in-law always added dill to her chicken soup, and then I saw @jakecohen mix it right into his matzoh balls. Now I’m fully converted. A generous handful makes the whole bowl taste brighter and fresher, and it plays so well with rich chicken soup (especially if you’re using schmaltz in the batter.
FAQ
- Do I have to use schmaltz? No, but it’s my favourite way (and my mom’s). Schmaltz adds savoury depth and that classic chicken-soup flavour. If the idea of chicken fat makes you shudder, you can swap in melted butter or a neutral oil. The texture will still be great; the flavour just won’t be quite as rich and “old-school deli.”
- Will schmaltz make these heavy? Not if you follow the method. Dense matzoh balls usually come from over-packing, skipping the rest, or boiling too hard, not from the fat you choose.
- Why did my matzoh balls turn out dense (aka sinkers)? A few usual suspects.
- You skipped (or shortened) the rest time. Or,
- You rolled them too tightly (think: gently shaped, not compacted)
- The pot was at a hard boil instead of a gentle simmer
- Your balls were too large, so the centre cooked up heavy
- Why did my matzoh balls fall apart? Typically one of these:
- The batter didn’t rest long enough to hydrate and firm up
- The simmer was too aggressive (rough boiling can break them)
- You moved them around too much early on Tip: once they go in, cover the pot and leave them alone.
- Can I make matzoh balls ahead?
- Yes, and you should. They keep beautifully.
- Fridge: cool completely and store in a single layer
- Freezer: freeze on a tray, then transfer to a bag/container To serve: warm in simmering soup (or simmering water, then add to soup).
- Can I add dill if I’m not a dill person?
- If you’re truly anti-dill, reduce it or skip it — but if you’re even slightly on the fence, try it once. It makes everything taste brighter and fresher, especially alongside rich chicken soup.
- Can I make them gluten-free?
- You can often use gluten-free matzoh meal with the same method. I’d still rest the batter well and test-cook one matzoh ball first, since brands vary.
- How do I know when matzoh balls are fully cooked? The easiest way: take one out and cut it in half. The centre should be the same colour and texture as the outside—no darker or gummy-looking middle. If there’s any hint of a dense centre, put them back and keep simmering a little longer (still low and covered).
Perfect Matzoh Balls
Ingredients
- 4 large eggs
- 1 teaspoon Diamond Crystal Kosher salt , or 1/2 teaspoon Mortons kosher salt
- 1 cup Matzoh meal
- 1/4 cup chicken stock
- 1/4 cup chicken fat (schmaltz), , melted and slightly cooled
- 1/4 cup freshly chopped dill
- 1 Tablespoon Diamond Crystal Kosher salt, for cooking water , or 1/2 Tablespoon Mortons kosher salt
Instructions
- Mix the batter. In a medium bowl, beat the eggs with the salt. Whisk in the matzoh meal and chicken stock. Mix in the chicken fat, then stir in the dill. Cover and refrigerate for at least 2 hours.
- Boil water. Bring a large, wide pot of water to a boil. Add 1 Tbsp kosher salt.
- Form the balls. Using a 2 Tablespoon scoop, portion the mixture. Wet your hands and gently roll each portion into a round ball.
- Cook. Add matzoh balls to the water. Reduce heat to a simmer, cover, and cook for 90 minutes.
- Check doneness. Cut one in half—it should be the same colour all the way through. If not, simmer a few minutes longer.
- Drain and store. Drain matzoh balls. Make up to 3 days ahead; store in a single layer on a baking sheet, cover, and refrigerate.
If you’ve made it this far, you’re officially Team Floater. These matzoh balls are my mom’s gold standard with a few small tweaks I’ve picked up along the way—schmaltz for flavour, dill for that fresh lift, and a proper rest so they stay light and fluffy. Make a batch, stash a few in the fridge or freezer, and the next time chicken soup is on the menu, you’re five minutes away from the coziest bowl possible.